
1. Powder-coated aluminum slat screen with shadow-gap frame
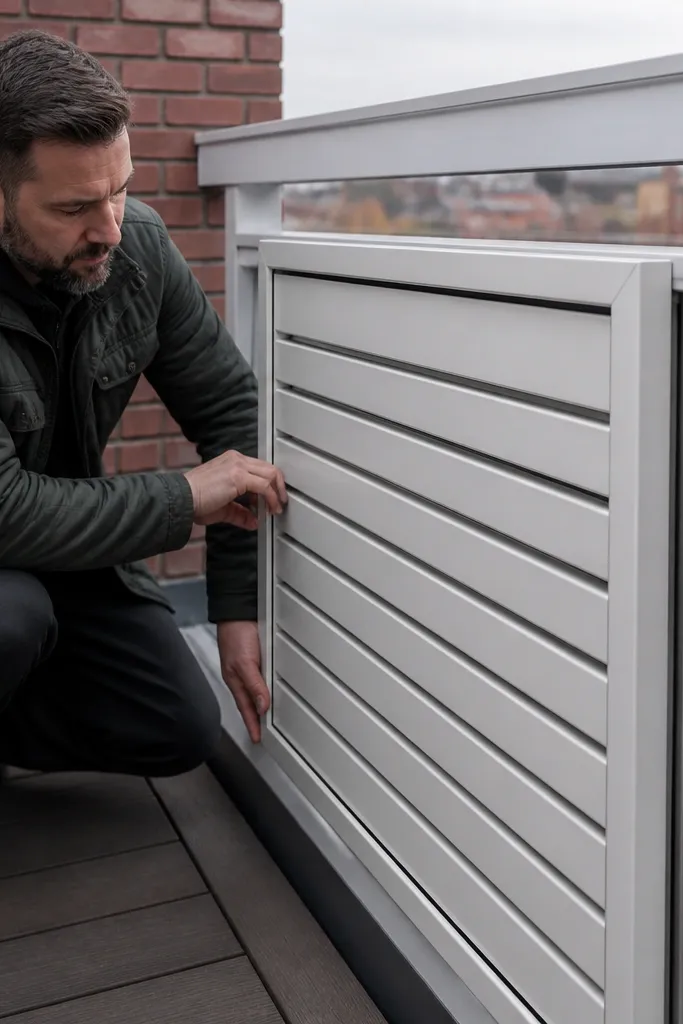
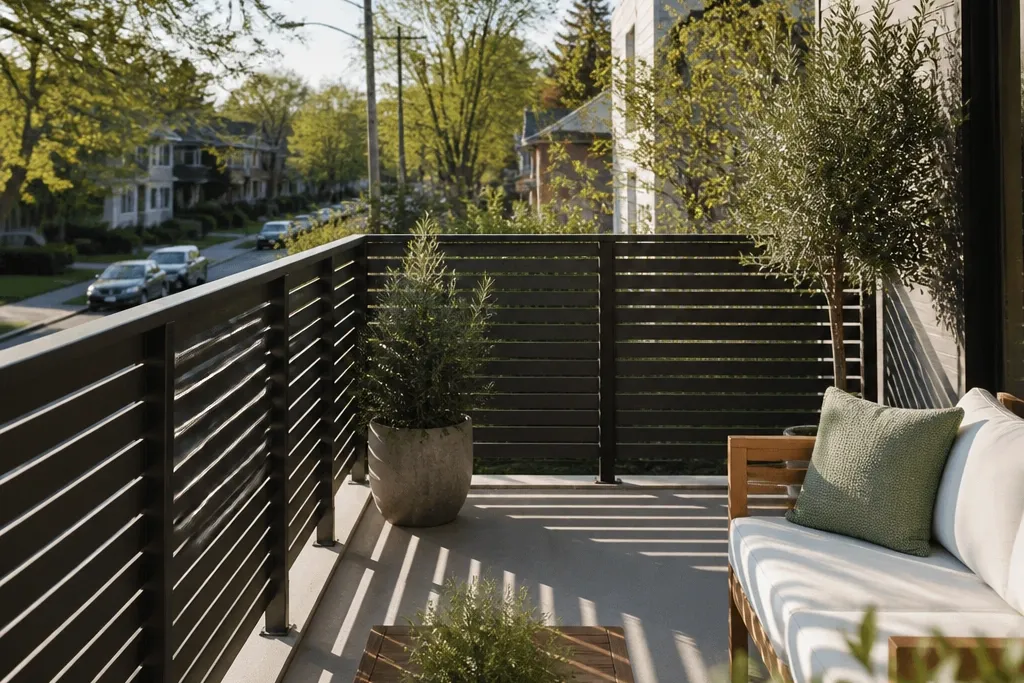
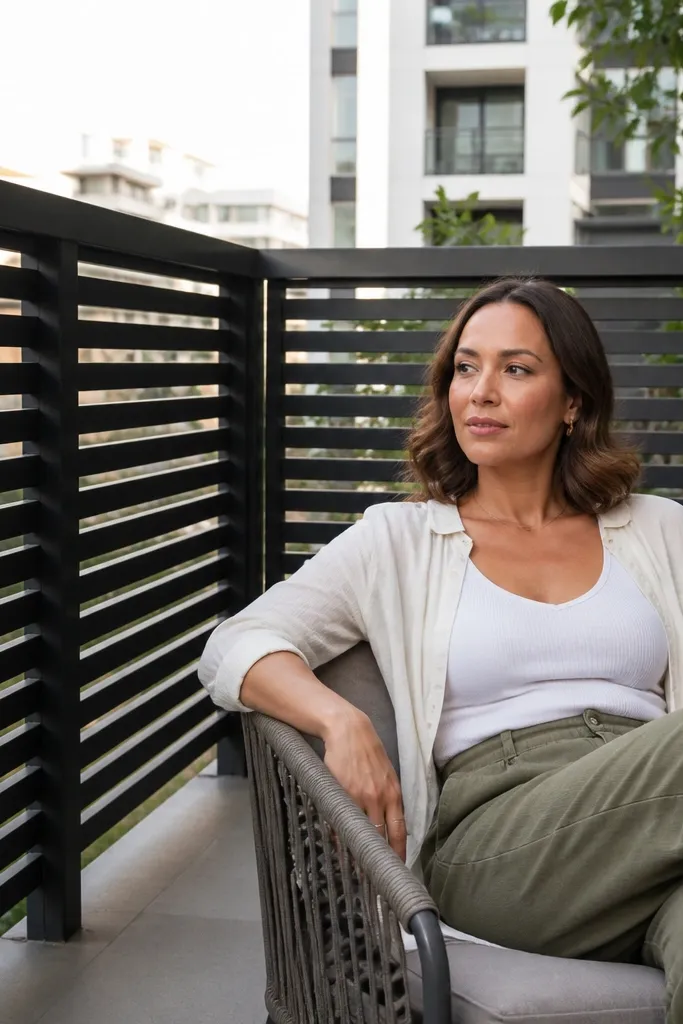
This is the fastest way to make a balcony railing look custom and high-end while giving strong privacy. The slats block faces from across the gap, and the shadow-gap frame makes the screen feel built-in instead of taped-on. Use powder-coated aluminum for a crisp finish that doesn’t rust and stays consistent in photos. The look is clean from every angle because the frame hides the messy edges and fasteners. Skill level is moderate: you’re building a rectangular screen frame and mounting it straight, which is mostly careful measuring and drilling.
Start by measuring the railing span between posts and the height you want to screen, then subtract 1/4 inch on each side so the frame clears and sits flush. Cut aluminum slats and a perimeter frame from the same powder-coated system, leaving a 1/2 inch shadow gap between the slats and the frame face. Then mount the frame to the existing posts using stainless brackets and a level line so every section aligns. Finish by adding end caps on the top and sides so the edges look like a finished product, not raw material.
Editor's noteUse a laser level for the first bracket row; if the top line is straight, the whole railing reads “designed.”
Skip thisDon’t space slats unevenly — even 1/4 inch differences show up fast in daylight.
2. Frosted privacy glass infill panels in a matte black frame
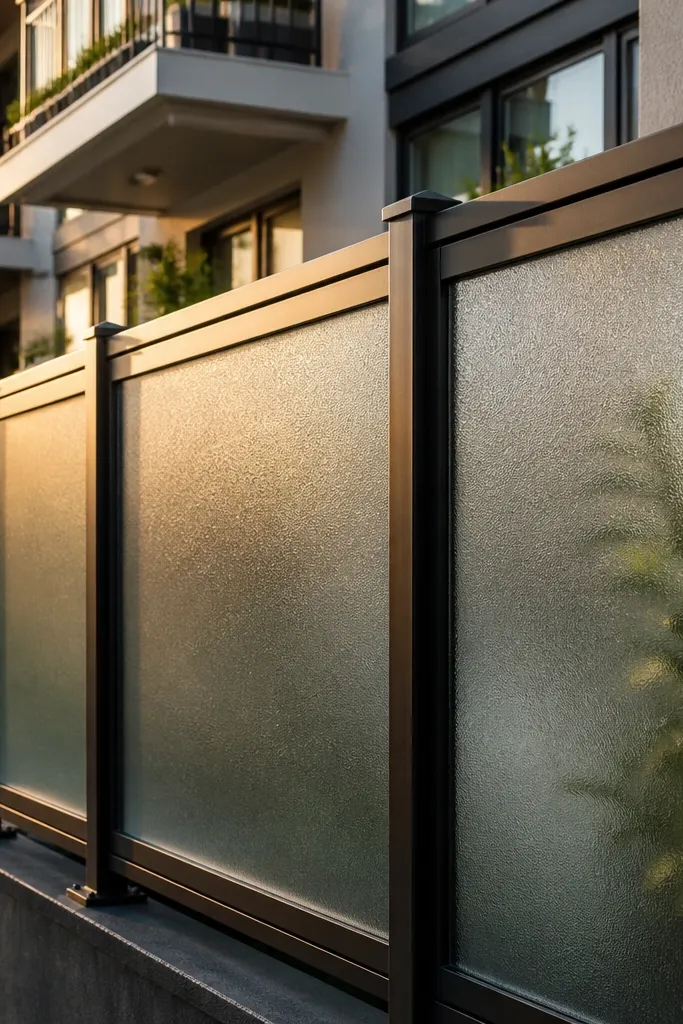
If you want the most “luxury” look with minimal visual clutter, privacy glass panels in a matte black frame do it. Frosted or digitally patterned glass removes the clear view while still letting light travel, so the balcony feels open rather than shut. Matte black hardware and frame finish make everything look intentional and expensive. This design also photographs well because glass hides the complexity of the interior structure. It’s a medium-to-advanced build because you’re installing heavy panels and aligning them safely.
Order glass panels cut to size with a privacy finish that matches your desired visibility (frosted for more privacy, patterned for texture). Build a matte black aluminum or stainless frame with rubber setting blocks so the glass sits evenly and doesn’t rattle. Then install the frame to the railing posts using brackets rated for the panel weight. Finally, seal the edges with a clear exterior glazing sealant and add weep holes or drainage points if your frame design traps water.
Editor's noteAsk for tempered glass with the privacy film already applied for a cleaner edge finish and easier handling.
Skip thisAvoid clear glass with tint alone; it turns into a mirror in bright sun.
3. Vertical teak-look composite slats with angled top rail cap
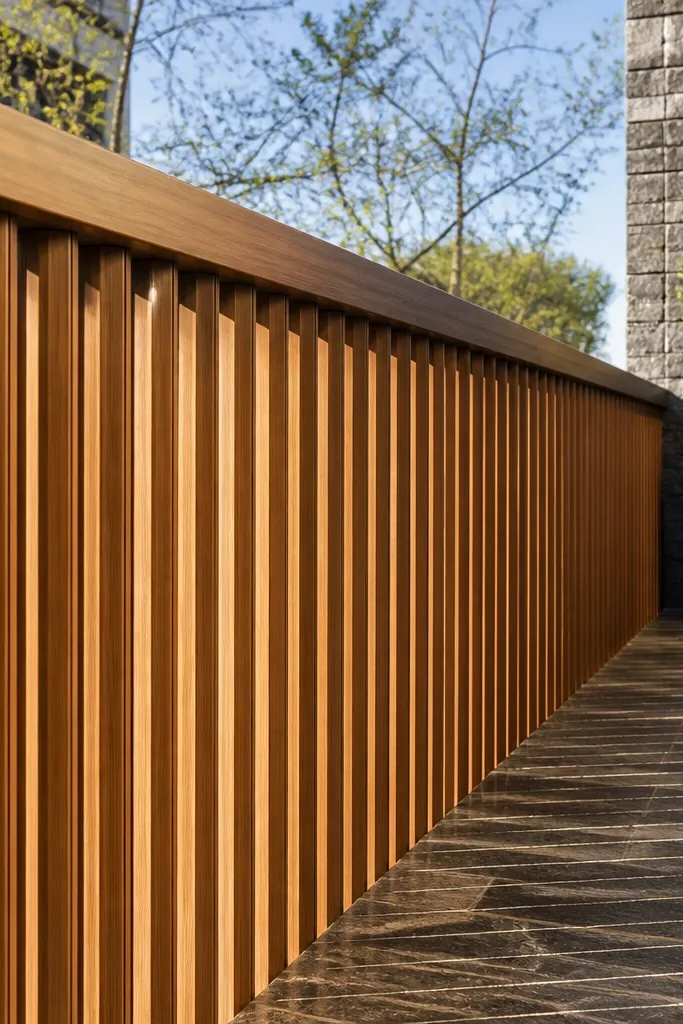
Warm wood tones read high-end fast, and composite slats give you that warmth without the constant maintenance of real wood. This design blocks faces from the street while still letting you see light patterns and shadows — it feels private without feeling heavy. The angled top cap matters: it creates a tailored silhouette and keeps rain from sitting on the top edge. Composite slats also resist warping, so your spacing stays consistent season after season. Skill level is beginner-friendly if you’re using a pre-made composite slat kit and building a simple frame.
Build a rectangular frame using exterior-rated aluminum or treated wood rails, sized so the slats fit with 1/4 inch gaps for drainage. Attach vertical composite slats with hidden brackets or slat clips so the face stays clean. Then install the whole assembly to your existing railing posts with stainless hardware and adjust until the top edge is perfectly level. Finish by installing an angled cap board or metal cover strip on the top to shed water and protect the slat ends.
Seal composite end cuts with exterior-rated primer and sealant so the cut edges don’t soak up moisture.
Don’t use untreated wood for the frame — it will rot where it’s hidden behind the slats.
4. Louvered privacy panels with 45-degree slat tilt
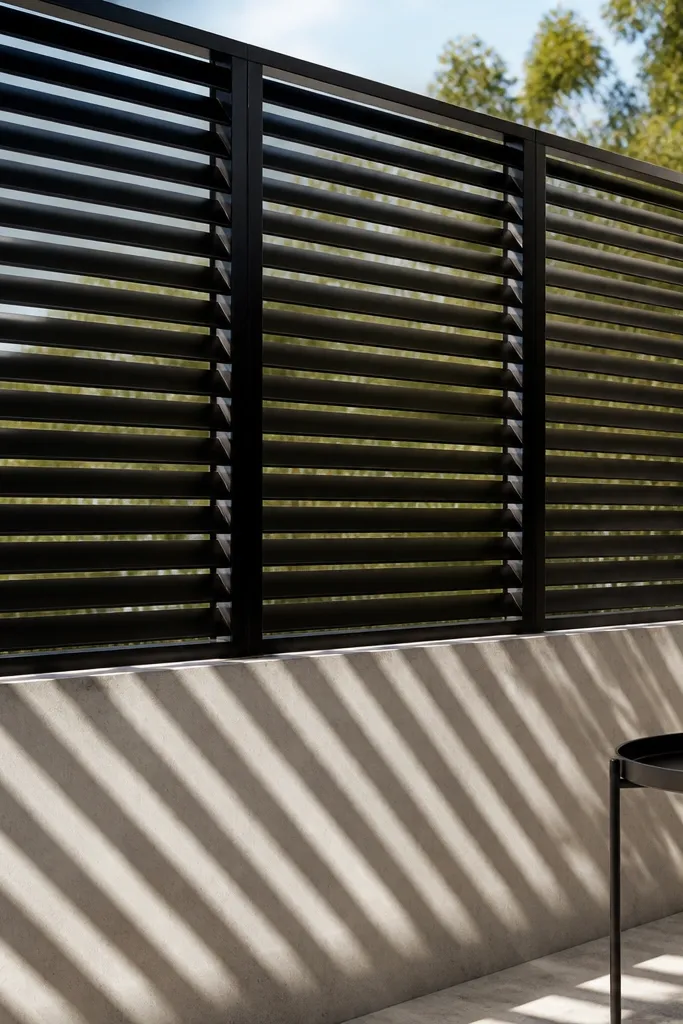
Louvers let you dial privacy up or down, which is why this style looks more “designed” than static screens. Tilting the slats about 45 degrees blocks faces at typical viewing angles while still letting air move through. You get a softer look than solid panels, and it photographs beautifully because the slat shadows add depth. Choose durable louvers in powder-coated aluminum or exterior-grade polymer to avoid rust and flaking. This is a moderate build because you’re aligning louvers and keeping spacing consistent.
Start by selecting louver panels or building louvers from individual slats, then decide your target tilt angle (45 degrees is a strong starting point for face blocking). Create a top and bottom frame with precise slots so each slat sits at the correct angle and doesn’t drift. Mount the frame to the railing posts using brackets that allow small adjustments during installation. Then add a clean trim piece along the edges to hide the hardware line and seal gaps with exterior caulk where needed.
Editor's noteCut all slats from the same batch and dry-fit one section before you commit; spacing errors multiply fast on long runs.
Skip thisDon’t make the louvers too flat; shallow angles let people see straight through.
5. Stainless wire mesh privacy with tight perimeter tension frame
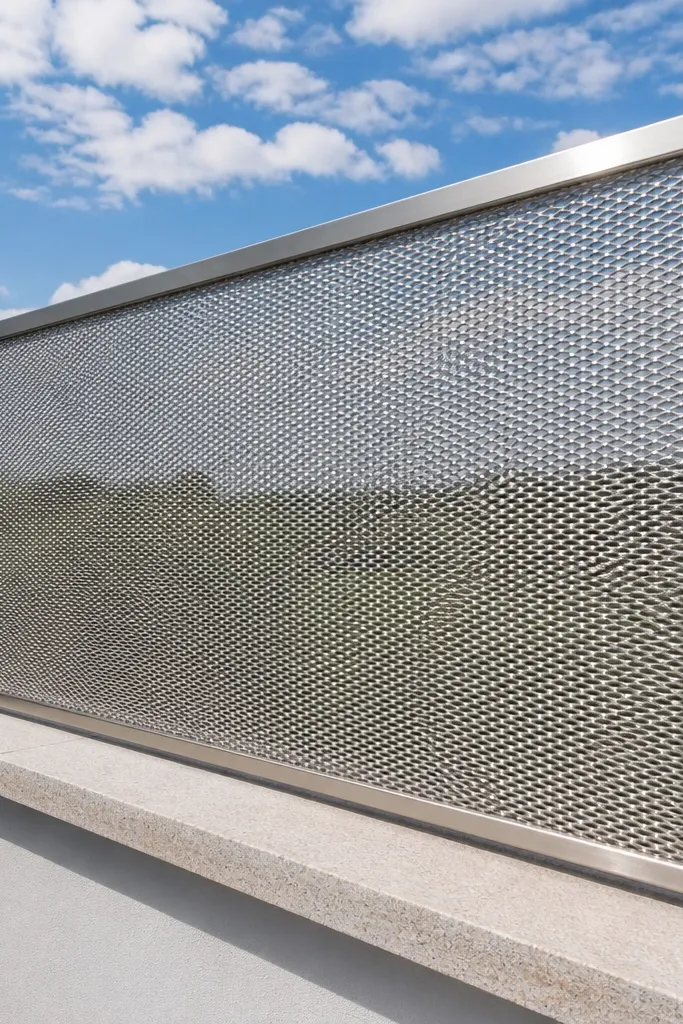
Wire mesh gives you privacy texture without the heavy block of solid panels, and stainless looks expensive even when it’s simple. The trick is tension and frame neatness: a tight mesh reads premium, while loose mesh looks like a temporary barrier. This design is great if you want airflow and a view of sky and light but still want to stop face-level visibility. Stainless mesh also resists corrosion in coastal areas. Skill level is moderate: you’re cutting mesh, building a tension frame, and installing without warping.
Build a perimeter frame from stainless or powder-coated aluminum, then install a rubber gasket channel so the mesh sits evenly. Cut the stainless mesh so it overlaps the frame edges by a small amount, then pull it taut and fasten using frame clamps or tension hardware. Mount the frame to the railing posts with solid brackets and check that it doesn’t bow. Seal the perimeter with exterior caulk to stop water intrusion and tighten any fasteners after the first week.
Editor's noteUse a mesh with a consistent opening size so the privacy level stays uniform across the entire panel.
Skip thisAvoid thin, low-gauge mesh — it sags and looks cheap within months.
6. Decorative wrought-iron privacy grille with black ceramic finish
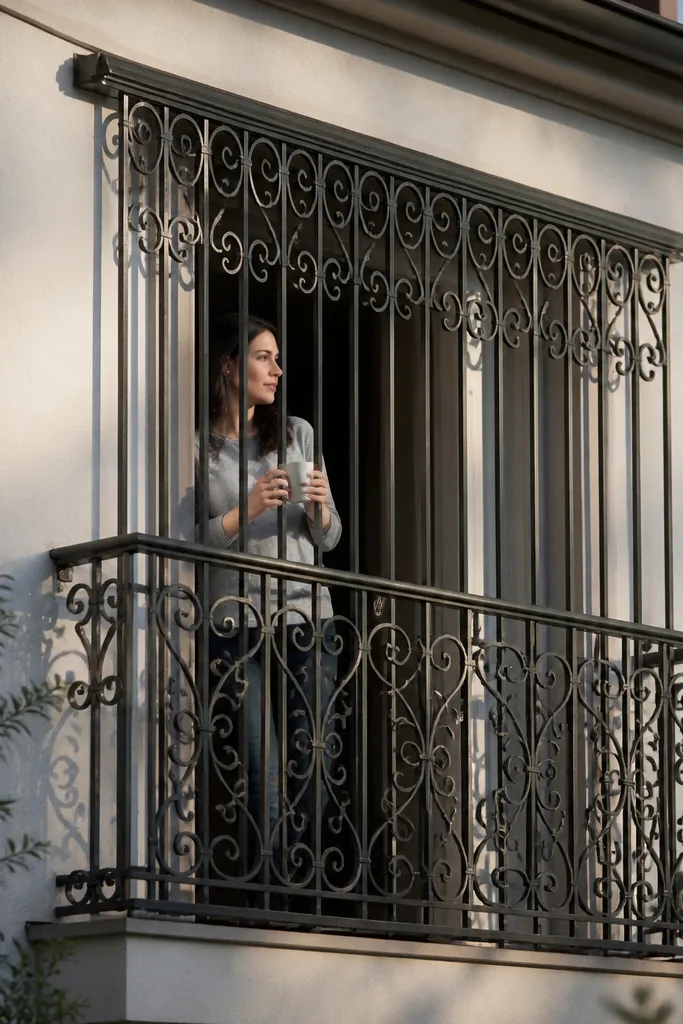
Wrought-iron style grilles look classic and expensive, especially when the finish is ceramic powder coat instead of glossy paint. Narrow vertical elements block face-level visibility while the scrollwork keeps it decorative rather than industrial. This style also hides the uglier parts of older railings because the grille covers the whole span. If you want “high-end balcony railing design luxury” but still want an old-world look, this is the lane. Build time is moderate to high depending on whether you buy a pre-made grille or fabricate your own.
Measure the railing span and buy or fabricate a grille panel sized to cover the opening with at least 1 inch overlap on each side. Use ceramic powder-coated black iron for better UV and chip resistance than basic paint. Install using mounting plates on posts so the grille is anchored at multiple points, not just at the top rail. Finally, add decorative finials or end caps to hide cut edges and seal any contact points against water.
Editor's noteMatch the grille finish to your balcony hardware like lights or door handles so the whole space looks coordinated.
Skip thisDon’t leave the grille sitting directly on wood or unsealed metal — galvanic corrosion spots show up quickly.
7. Clear acrylic privacy panels with micro-texture and brushed aluminum posts
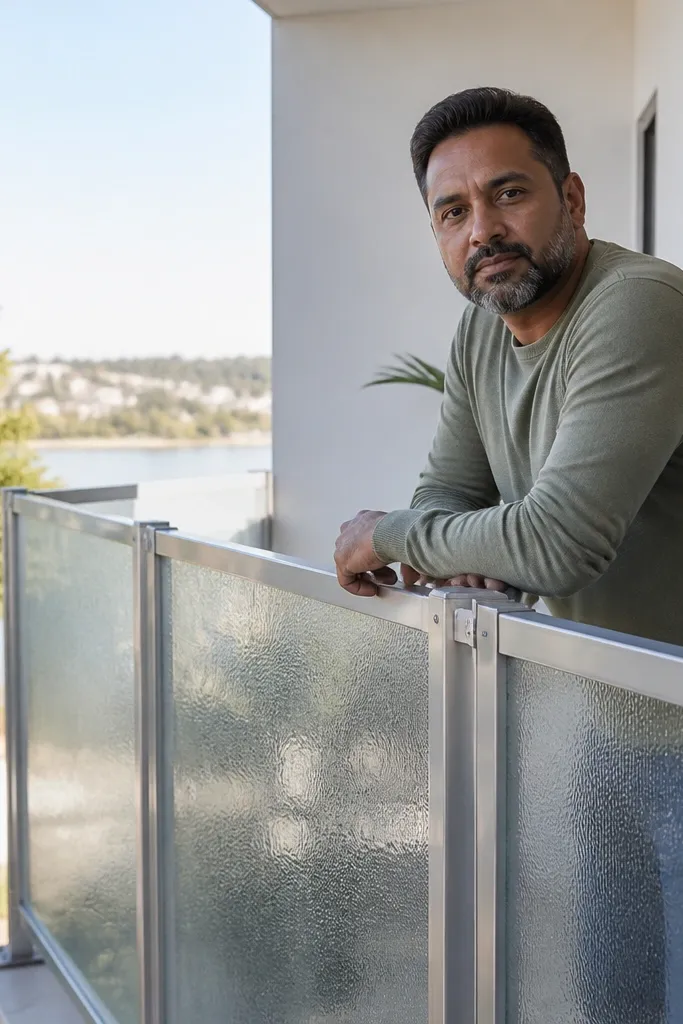
This is a modern privacy look that still feels light. Micro-textured acrylic scatters view lines so people can’t clearly see in, while you keep the sense of open air. Brushed aluminum posts and minimal framing keep it looking tailored rather than bulky. It’s also practical for small balconies where solid screens feel too heavy. Skill level is beginner to moderate: acrylic panels are easy to cut but you must handle them carefully to avoid scratches.
Choose micro-textured acrylic sheets that are rated for outdoor use and cut them slightly undersized so they expand with temperature. Build a slim brushed aluminum frame with a shallow recess and use neoprene spacers so the acrylic doesn’t touch metal directly. Mount the frame to posts using standoff brackets and pre-drilled holes with rubber washers. Finish by cleaning edges, sanding lightly at cut lines, and applying a clear outdoor sealant at frame corners to prevent water intrusion.
Wear nitrile gloves when handling acrylic; fingerprints bake into the surface in sun.
Don’t use standard window cleaner on acrylic — some cleaners leave haze.
8. Outdoor fabric privacy screen with tension cables and stitched edge hems
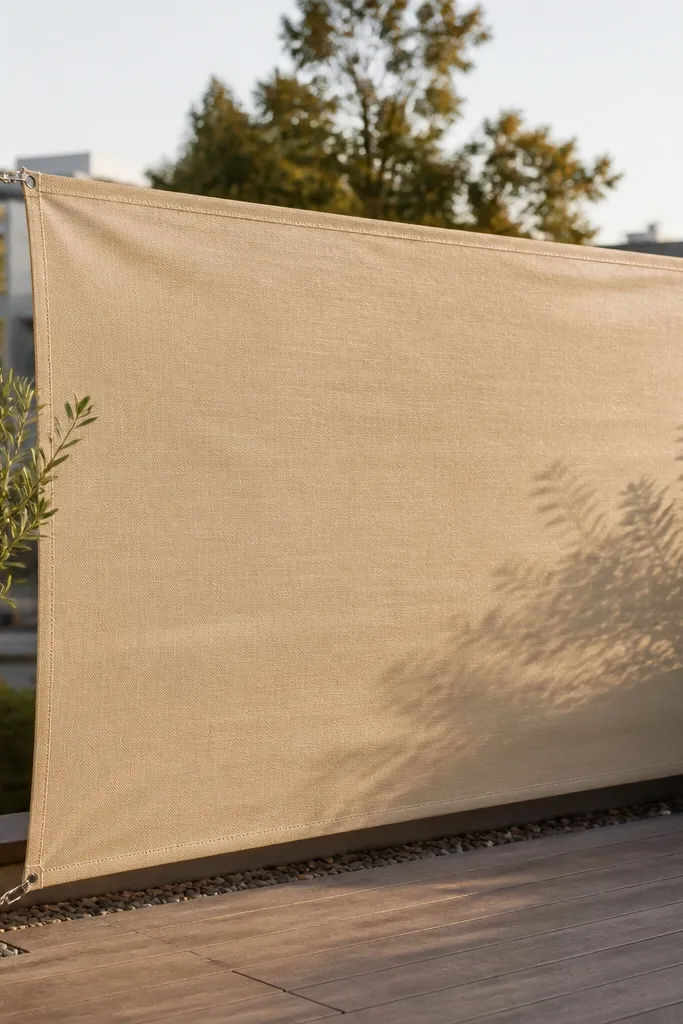
Fabric screens look soft and high-end when they’re tensioned cleanly and have neat hems. This option gives privacy without blocking all light, and it’s great if your building doesn’t allow drilling into the railing frame. Use outdoor-rated fabric with UV protection; the fabric’s weave matters because it creates a textured look from outside. The tension cable system makes it feel architectural instead of like a patio curtain. Skill level is moderate because you need straight cable lines and reliable anchors.
Install two horizontal cable lines between posts at the top and middle of the screen area, leaving slack for tensioning. Sew or buy fabric panels with reinforced hems and grommets or hook-and-loop edges that match the cable attachments. Attach the fabric to the cable using cable sliders or grommets, then tension until wrinkles disappear and the fabric hangs evenly. Add a bottom rail or weighted hem strip so the screen doesn’t billow in wind.
Editor's noteChoose a fabric color that matches your balcony trim; taupe, stone gray, and deep charcoal all look intentional.
Skip thisDon’t skip a bottom weight or stiff hem — wind makes the whole thing look messy fast.
9. Herringbone lattice privacy panels in exterior cedar with stain-and-seal
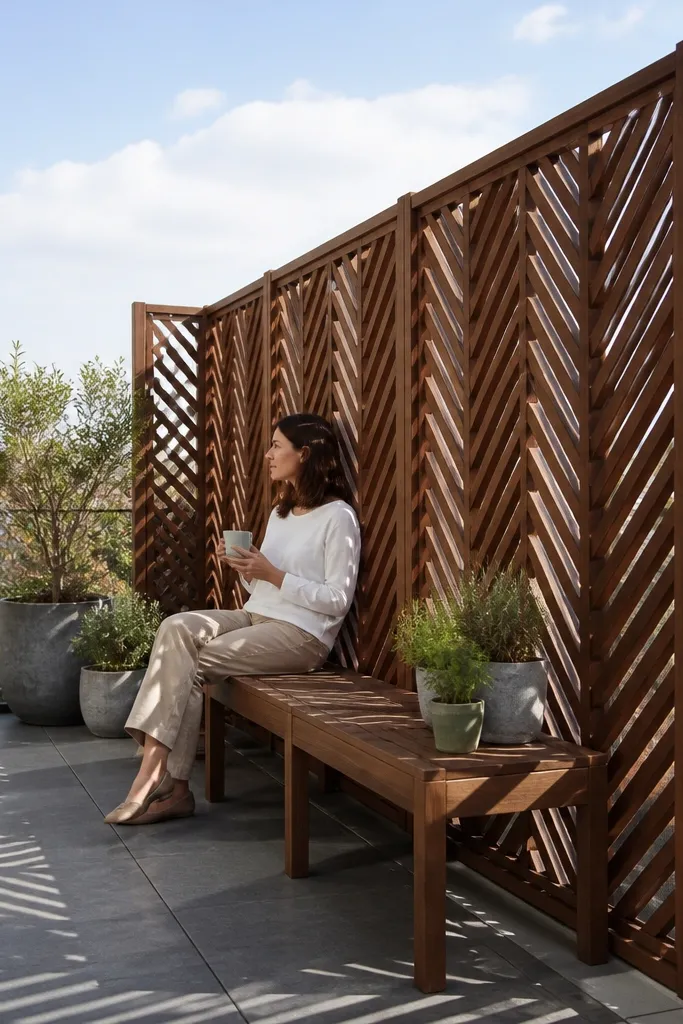
Herringbone lattice looks custom because the pattern creates depth, not just a flat barrier. It blocks direct sightlines while still letting light through, so your balcony stays airy. Cedar is photogenic with its warm grain, and when you use a proper exterior stain-and-seal system it stays attractive for years. This works well for balconies that need privacy but don’t want a solid wall. Skill level is moderate: you’re cutting lattice pieces at consistent angles and keeping the grid straight.
Build a rectangular frame from exterior-rated cedar or pressure-treated lumber, and leave a small 1/8 inch gap between the lattice and frame for expansion. Cut lattice strips and assemble a herringbone pattern using exterior screws and glue rated for outdoor use. Mount the finished panel to the railing posts with standoff brackets so air can circulate behind it. Finish by sanding smooth, then applying a deck stain and a clear exterior topcoat on all exposed edges.
Pre-finish all wood pieces before assembly; it’s easier to get stain coverage on edges and end grain.
Avoid plain lattice with big squares — it looks decorative but doesn’t stop face-level visibility.
10. Stacked stone-look porcelain privacy panels with concealed brackets
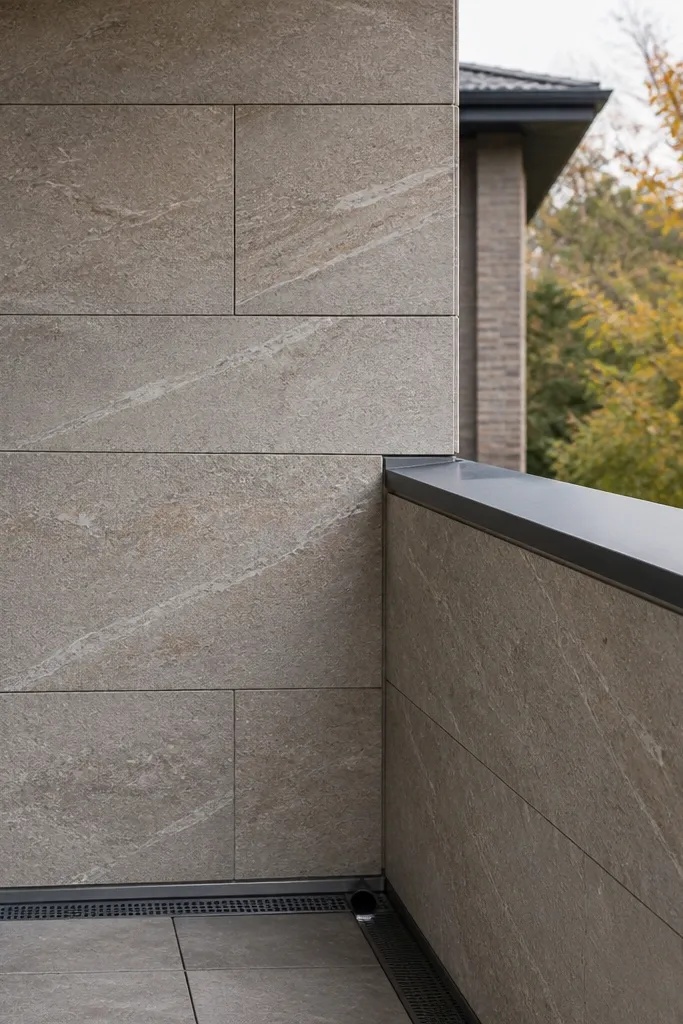
Stone-look porcelain panels look expensive because they read like real masonry without the mess. The surface hides water spots better than many painted finishes, and it photographs with crisp edges and consistent color. This design gives high privacy because the panels are dense and continuous. It also makes a balcony feel more private without adding clutter. Skill level is high because porcelain panels need correct mounting hardware and careful handling to avoid cracking.
Select porcelain panels specifically made for exterior use and cut them to cover the railing opening with minimal gaps. Use concealed bracket systems rated for panel weight, and install a level mounting rail first so the brackets align. Set panels onto the brackets with gaskets so the porcelain doesn’t contact metal directly. Seal joints with exterior silicone and check drainage so water doesn’t pool behind the panels.
Use a backing membrane or spacer sheet behind the panels to reduce vibration and protect the mounting surface.
Don’t fasten porcelain with random screws; the wrong method chips edges and fails over time.
11. Bamboo privacy screen with aluminum mounting track and top cap
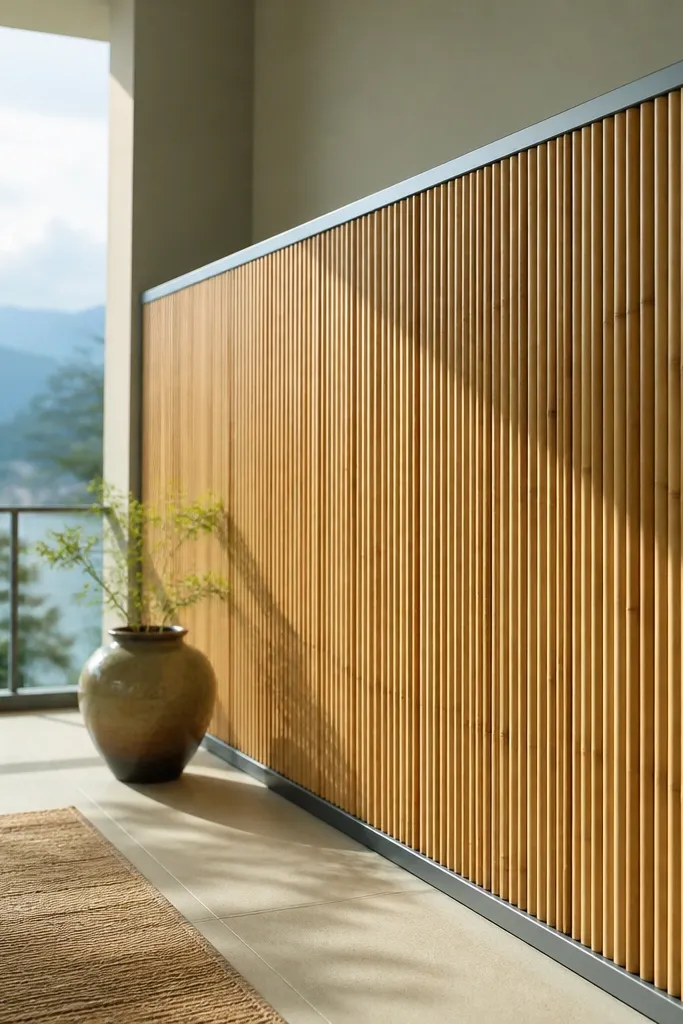
Bamboo screens can look genuinely luxe when they’re mounted like a system, not strapped up like a temporary fence. The aluminum mounting track and top cap make it feel finished and keep the bamboo straight. Bamboo also creates a warm, textured privacy that’s softer than metal. If you’re in a dry climate, it looks amazing; with exterior sealing and the right mounting, it still works in many weather conditions. Skill level is beginner if you buy pre-made bamboo rolls and mount them into a frame.
Mount an aluminum top track and bottom retainer rail across the railing span, making sure both are level. Cut bamboo screening to size and roll it into the track channels, then secure with stainless fasteners through the frame, not through random bamboo strands. Add a top cap cover to lock the screen in and protect the cut edges. Seal exposed bamboo ends with exterior wood sealer and check for gaps where wind can pull the screen.
Editor's noteChoose bamboo thickness that matches your privacy goal; thicker bundles look more substantial in photos.
Skip thisDon’t leave the bamboo ends raw — they discolor and fray quickly.
12. Powder-coated steel tube privacy with vertical blade panels
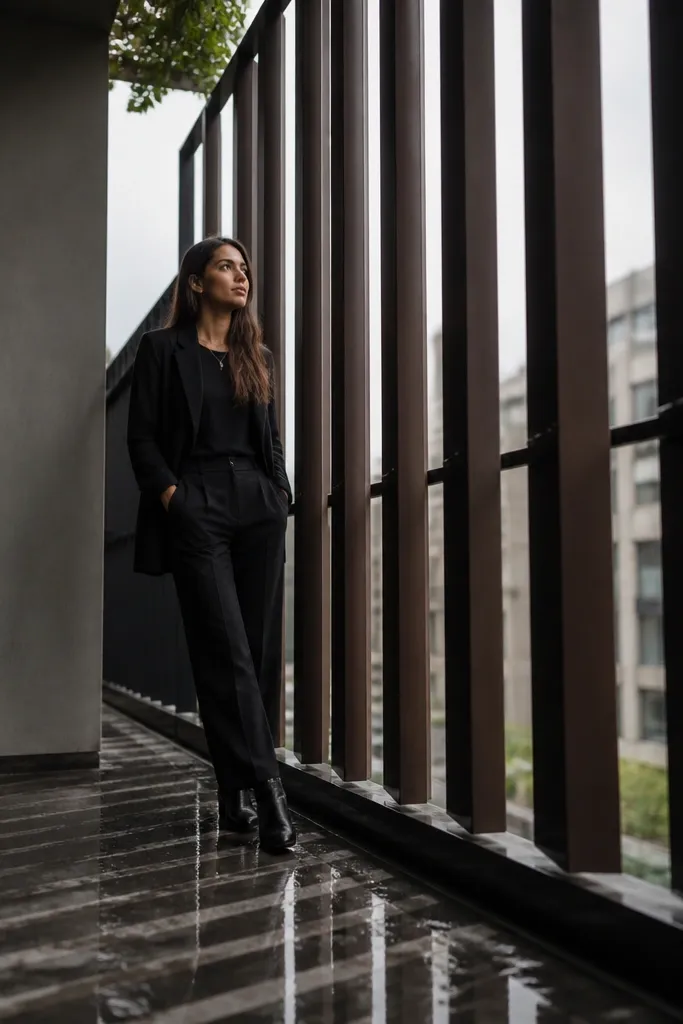
Vertical blade panels on a steel tube frame look architectural and expensive because they create sharp shadow lines. This design gives strong privacy without turning the balcony into a dark box, since the blades still allow air and light. Matte black or deep bronze finishes photograph especially well and hide minor scuffs. It’s also a good option if you already have a steel railing and want an infill upgrade. Skill level is moderate: you’re welding or using a prefab kit plus careful alignment.
Build a rectangular steel tube subframe that bolts to your existing posts, sized so blades sit evenly across the span. Cut or buy vertical blade panels and space them consistently with 1/2 inch gaps or tighter depending on your privacy needs. Attach blades to the subframe with concealed fasteners so the front stays clean. Finish by powder coating (if fabricating) or choosing a matching coating and sealing any hardware contact points.
Editor's noteLock the spacing with a simple jig; it keeps every blade aligned and makes the final look crisp.
Skip thisDon’t use glossy paint — it shows every ripple and looks less “custom.”
13. Reeded glass privacy panels in a slim stainless frame

Reeded glass adds a luxury texture because the ridges distort view lines, not just reduce them. It blocks direct sight while creating a soft play of light across the balcony, which looks great in morning sun. Stainless framing keeps the look clean and modern. This is a good privacy option when you want people to feel sheltered but still want brightness. Skill level is moderate because the frame must be straight and the glass must be handled carefully.
Pick reeded glass panels with the reed spacing you want for privacy, then order them cut to your measured opening. Build a slim stainless frame with gasket channels so the glass sits with even pressure. Install the frame on posts using a mounting kit with adjustable brackets for alignment. Seal the edges with exterior glazing sealant and add drainage gaps if your frame traps water.
Choose a frame that matches your existing railing hardware so the upgrade looks like it was always there.
Avoid thick, overly wide frames — they make the balcony feel cramped.
14. Micro-perforated metal privacy sheet with brushed aluminum edging
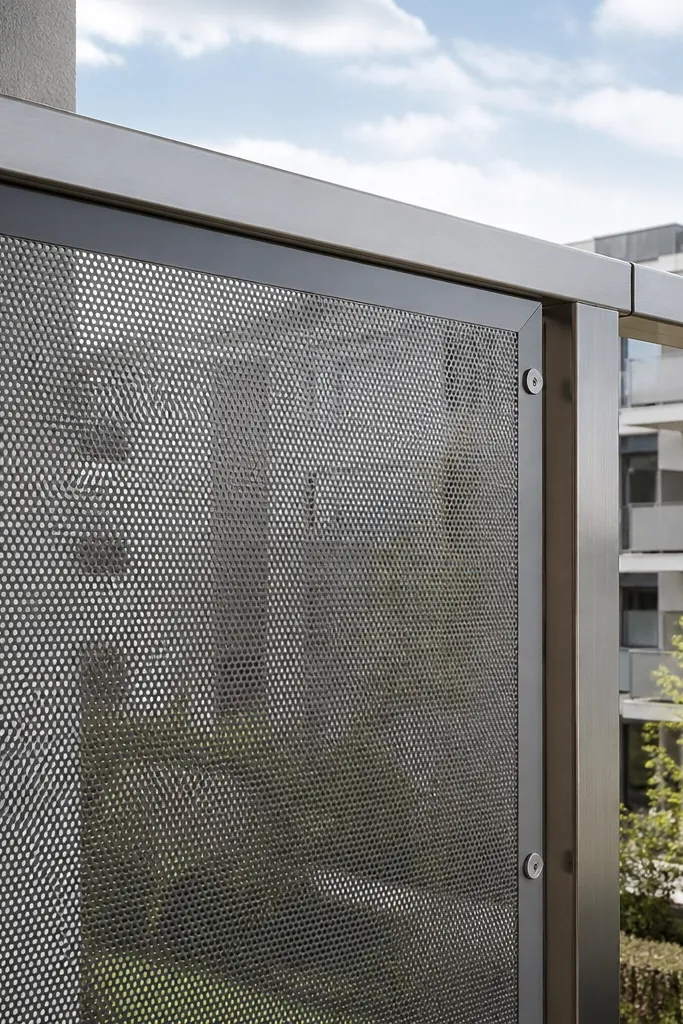
Micro-perforated metal gives privacy through diffusion while still letting air and light pass. From outside, it reads as a solid surface with texture; from inside, it becomes a softer view through tiny holes. Brushed aluminum edging makes it feel tailored and reduces the “DIY cut edge” look. This is a great choice for modern balconies with clean lines. Skill level is moderate because you’re cutting and finishing metal sheet and building a tight perimeter frame.
Select a micro-perforated sheet with hole spacing sized for privacy (smaller holes create higher privacy). Cut the sheet to fit inside a brushed aluminum perimeter frame, leaving a small expansion gap. Attach the sheet using hidden screws and rubber washers so it doesn’t buzz and so the front stays clean. Finish by deburring edges, applying touch-up coating where cuts exposed metal, and sealing the frame corners against water.
Editor's noteDeburr twice. A sharp edge makes installation harder and looks sloppy up close.
Skip thisDon’t choose large perforations — it turns into a clear view from the street.
15. Clear acrylic side privacy with black standoff spacers
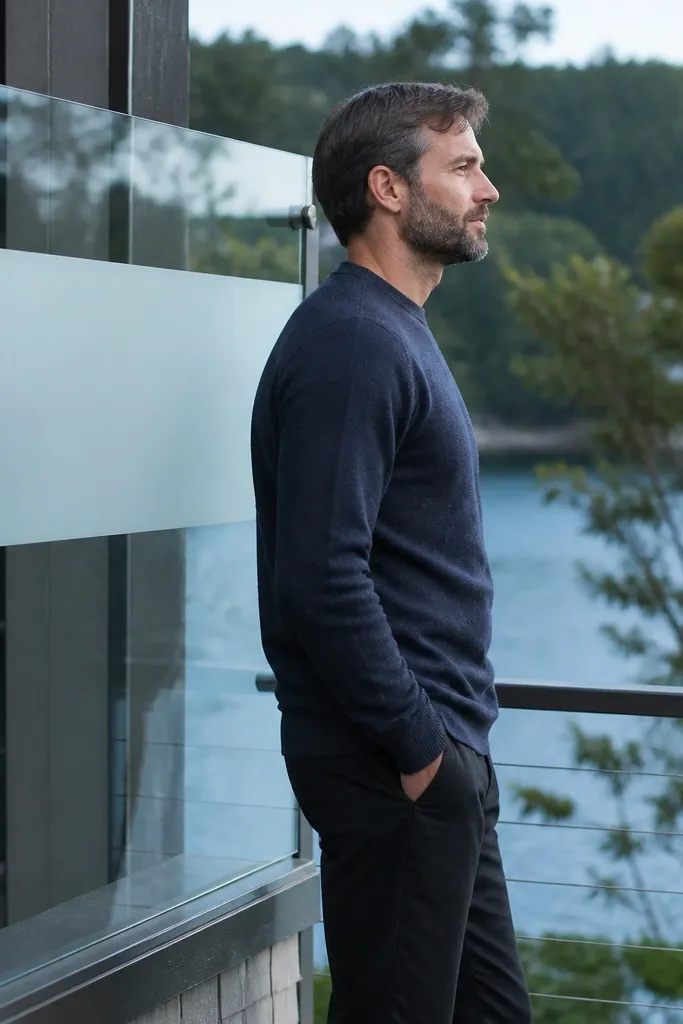
This idea looks light and modern but still protects you from direct face-level views if you pair clear acrylic with a subtle privacy finish like a frosted film stripe. The black standoffs add a designer touch and keep the panel off the railing so it doesn’t trap moisture. It also makes the build easier because you can replace a panel section if it scratches. This works well on balconies with a view you want to keep while blocking the most intrusive angles. Skill level is beginner to moderate with the right standoff hardware.
Cut clear acrylic panels to size and apply a privacy film only to the middle third if you want maximum daytime openness. Install black standoff spacers along the perimeter and pre-drill acrylic holes with a bit sized for clean clearance. Mount the standoffs to the railing posts or an aluminum rail, then attach the acrylic using rubber washers. Seal the bottom edges with a small bead of exterior sealant to reduce water pooling.
Editor's noteUse a matte black standoff finish; it hides minor alignment imperfections better than bright chrome.
Skip thisDon’t mount acrylic directly to metal — trapped moisture causes cloudy edges.
16. Outdoor plant box railing with integrated trellis privacy
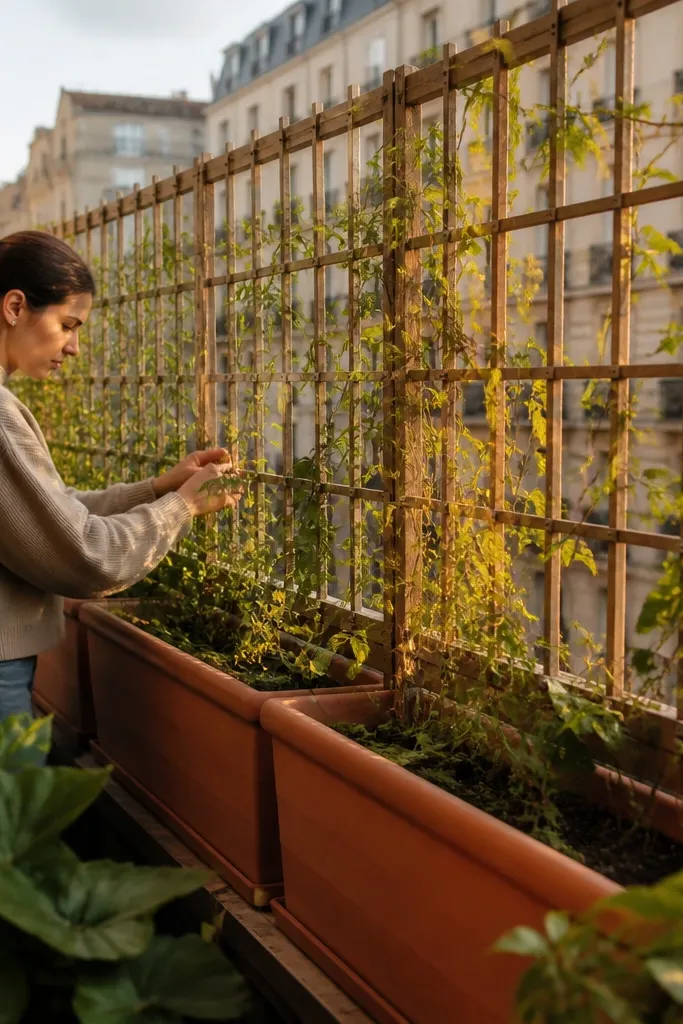
This is privacy that improves over time, but it still looks good before the plants fill in. A planter-box railing with an integrated trellis gives you a built-in structure for climbing vines, and it frames the balcony like a designed room. Privacy comes from the trellis and the plants growing through it, so you can start with partial screening and build toward full coverage. Pick materials that resist rot and match your railing finish — composite planters or powder-coated frames look the most expensive. Skill level is moderate because you’re balancing drainage and secure mounting.
Build or buy planter boxes sized to your railing span and mount them to posts with standoff brackets for airflow. Add a trellis panel behind or above the planter line so vines climb where people can’t see through. Install a drip tray and ensure each box has drainage holes plus a way to route water so it doesn’t streak the balcony below. Finish by painting or coating the frame to match your railing and adding a trellis cap to protect the top edge.
Use a drip line kit and a simple timer if you want consistent vine growth without daily watering.
Don’t skip drainage — wet planters stain and attract mold on the railing frame.
17. Sliding privacy panels on a track for adjustable coverage
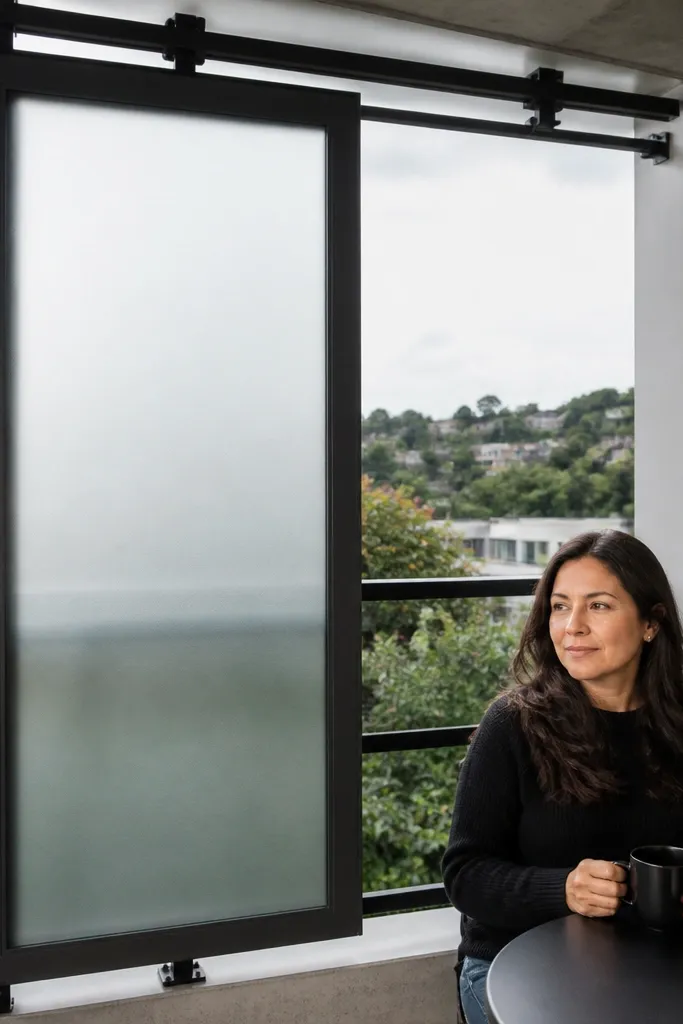
Adjustable privacy looks high-end because it gives control, not a one-size barrier. Sliding panels also hide mess: you can keep them open when you want air and close them when you want privacy. Build this with lightweight privacy material like privacy glass panels, slats, or micro-perforated metal on a track system. It’s especially good for balconies with doors nearby where you want flexible access. Skill level is advanced because you’re installing tracks and ensuring smooth movement.
Install a top and bottom track aligned to your railing opening, using level measurements at both ends so panels don’t bind. Build panels with matching thickness and weight so they slide smoothly and don’t sag. Attach the panels to the track using rollers rated for outdoor conditions, then add a locking stop so panels hold position. Finish by installing weather seals along edges to reduce gaps and add a soft bumper to prevent clacking.
Editor's noteUse rollers with sealed bearings; the difference shows up after rain and dust.
Skip thisDon’t ignore panel weight — heavy panels will jam and look sloppy when they move.
18. Textured polycarbonate privacy sheets with vertical rib pattern
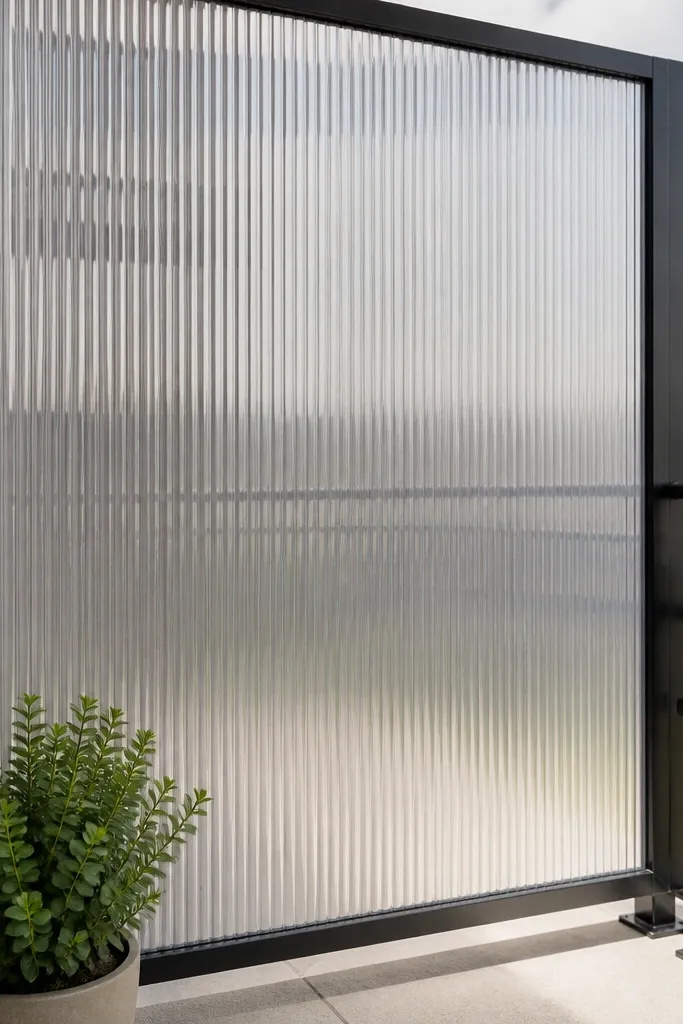
Textured polycarbonate with vertical ribs gives privacy through distortion while keeping the balcony bright. It’s a smart choice when you want a modern look and easy installation without glass weight. The ribs create a premium-looking shadow pattern that reads “architectural” in photos. Polycarbonate is also tough and impact-resistant compared to glass, which matters if you’re near a busy area. Skill level is beginner-friendly: you’re mostly cutting sheets and mounting them with the right hardware.
Pick UV-stabilized polycarbonate sheets with a vertical rib pattern for better view distortion. Cut panels to size and mount them with aluminum H-channel or frame rails using gaskets so expansion isn’t constrained. Install the frame to your railing posts, then secure sheet edges with weatherproof fasteners designed for polycarbonate. Seal joints and leave proper expansion gaps around the perimeter so the panels don’t warp.
Always orient the UV-coated side correctly — it affects how long the sheet stays clear and attractive.
Avoid overtightening screws; it causes cracking around fasteners.
19. Stone-gray acoustic slat panels in a metal frame
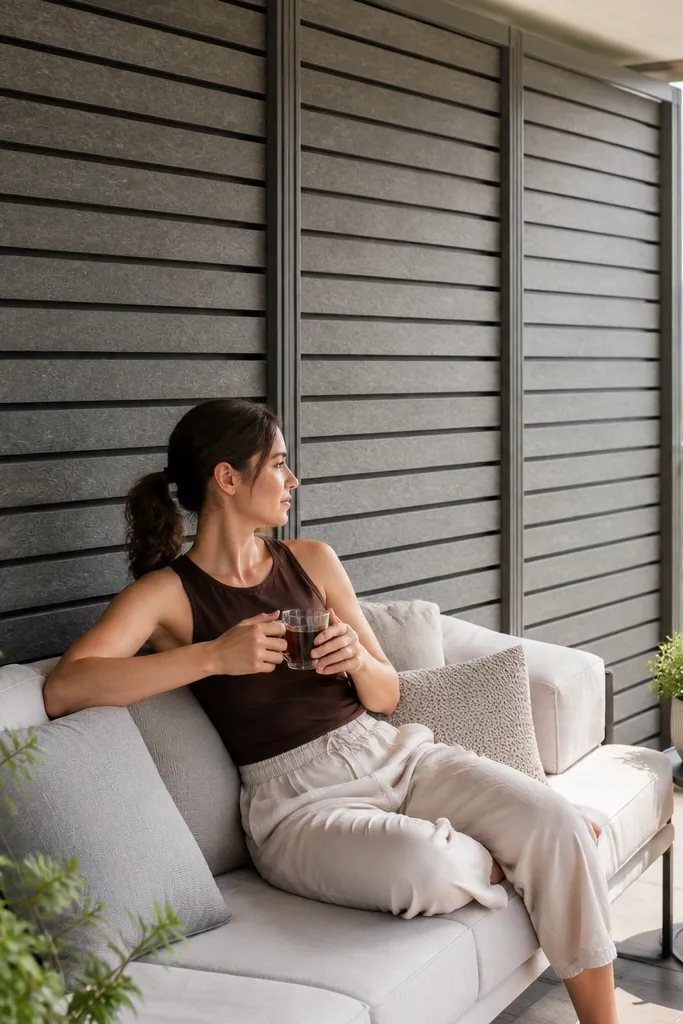
This is privacy with a more “designer” feel because the slats look like wall cladding, not a fence. A stone-gray finish hides dust and small scuffs, so it stays clean-looking between maintenance days. If you choose slats made for exterior acoustic or facade systems, you also get a softer sound experience outdoors. The metal frame keeps everything straight and crisp, while the slats create a layered surface with depth. Skill level is moderate: you’re building a frame and mounting slats evenly.
Build a metal subframe that bolts to your railing posts, leaving a consistent gap between the subframe and the existing rail so water can drain. Install slats with equal spacing using concealed clips or screws so the face stays clean. Use a stone-gray powder-coated frame plus matching slats to keep the color consistent. Finish by adding edge trims and a top cap to protect the slat ends and prevent water from soaking into the back.
Editor's noteUse spacers for every slat run; it keeps the pattern tight and photogenic.
Skip thisDon’t leave slat ends exposed — they weather unevenly and look rough.
20. Matte bronze mesh with geometric wave cutouts
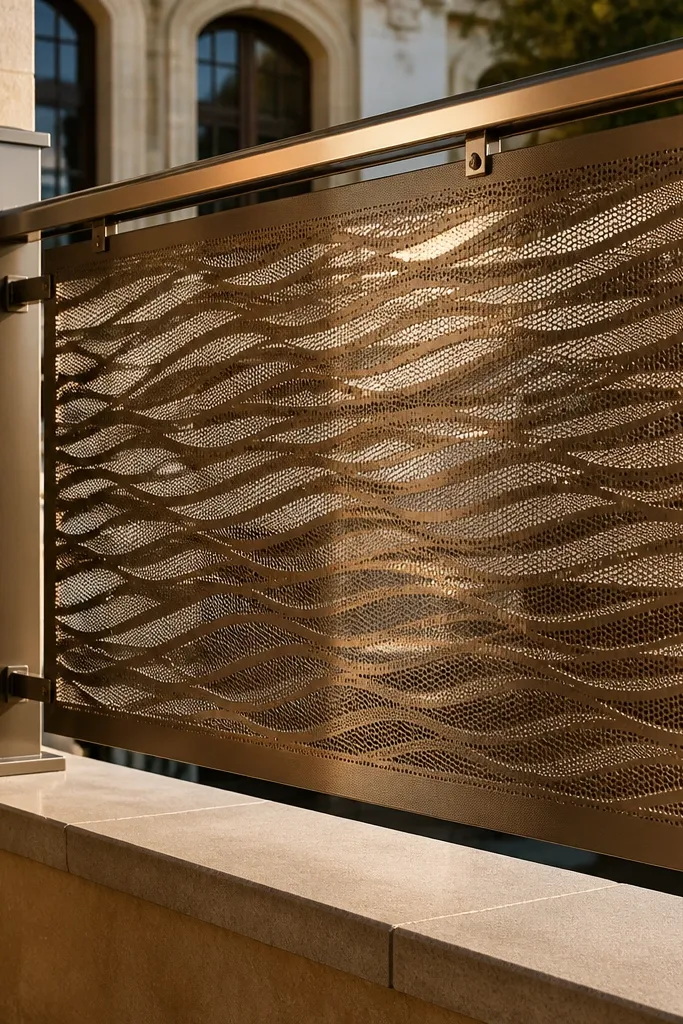
Geometric cutouts make privacy railings look intentionally designed instead of generic screening. A matte bronze mesh finish looks warm and expensive, and the wave pattern creates a soft, flowing shadow effect. This style gives partial visibility so the balcony feels connected to the outdoors, but it blocks direct face-level sight lines. It’s also great for modern homes because the shape language is clean. Skill level is moderate if you buy a laser-cut panel and mount it with a simple frame.
Buy or fabricate a laser-cut mesh privacy panel sized to your railing span, ensuring the cutout pattern doesn’t create a clear horizontal line at eye level. Build a matte bronze frame and use rubber gasket edging so the mesh doesn’t rub and snag. Mount the panel to posts with bracket plates at multiple points and align the top edge to the existing railing. Seal frame corners and add end caps so water doesn’t sit on cut edges.
Editor's noteChoose a panel with cutouts that break up straight lines; straight strips look like accidental gaps.
Skip thisAvoid overly large geometric cutouts — they defeat the privacy goal.



