
1. The "2 Inches Everywhere" Drop That Makes the Room Feel Smaller
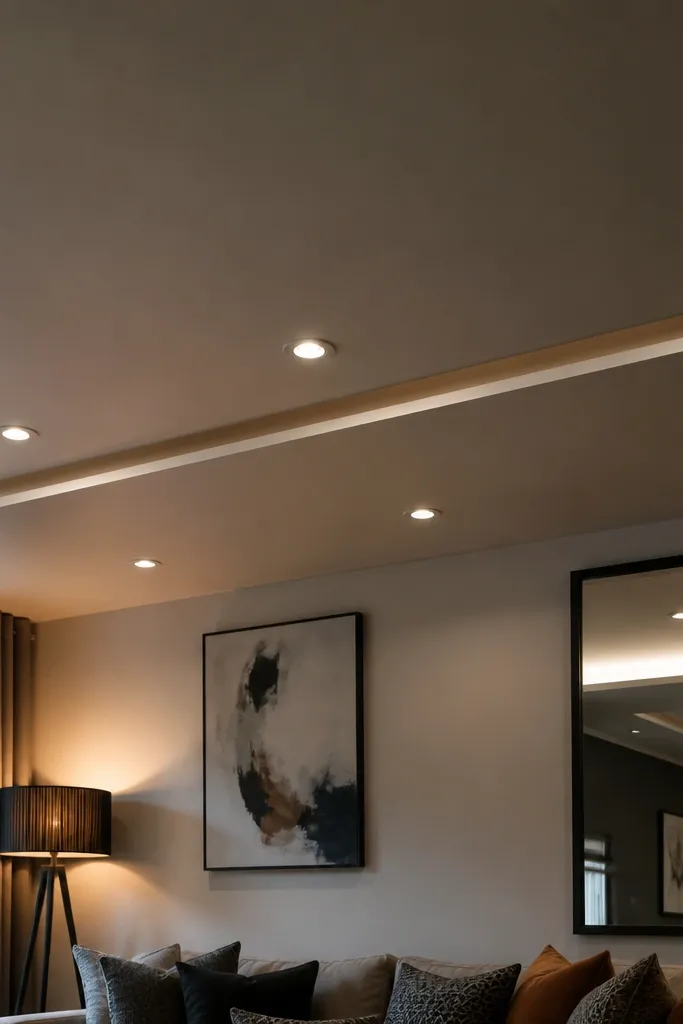
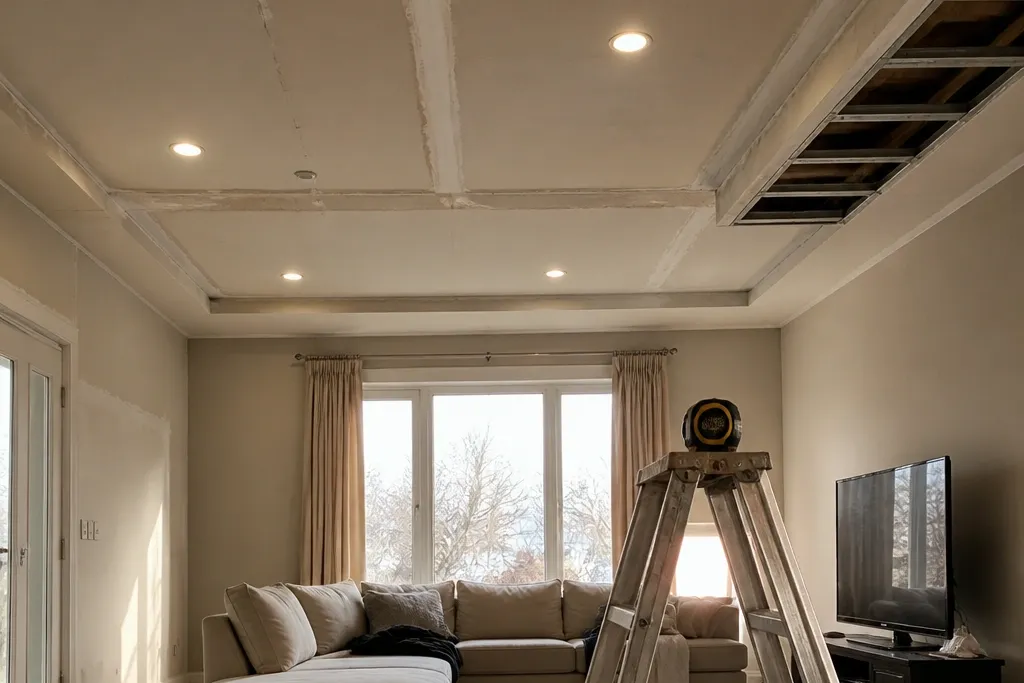
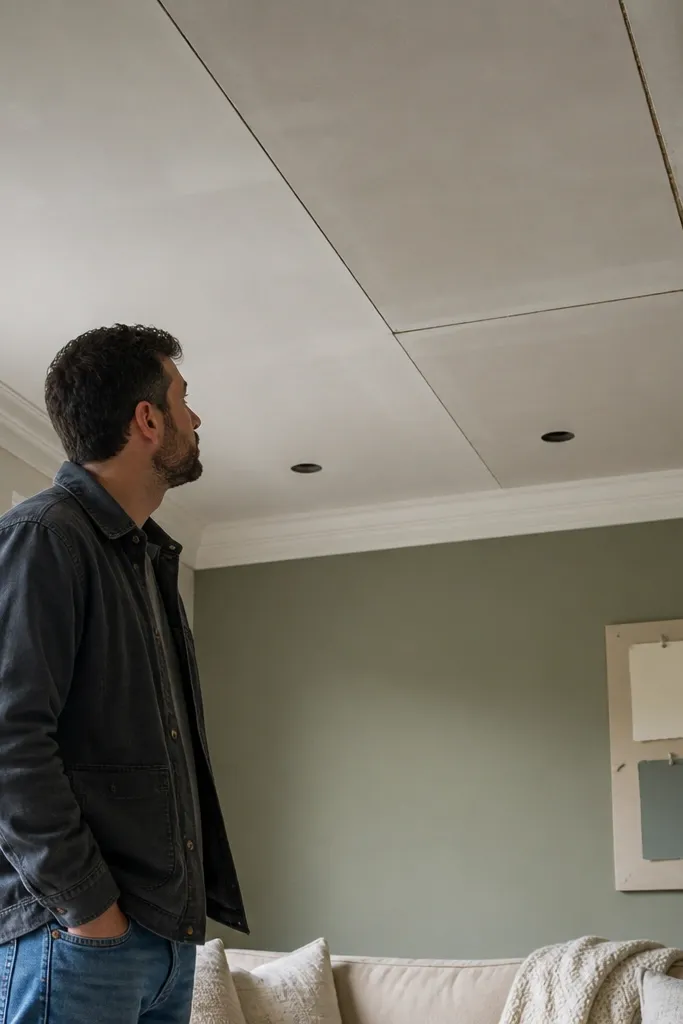
A uniform drop sounds simple, but your living room rarely has a perfectly level slab. When you drop 2 inches everywhere without checking the slab level, you lock in the low spots and exaggerate the saggy areas. The result feels cramped even when the design looks “nice” on paper. If you’re doing a perimeter drop or a central tray, the eye needs reference lines at consistent heights. Fixing this is all about measuring and setting your grid off the lowest workable point, not the average.
First, measure ceiling level at 6-8 points using a laser level. Mark the lowest point and decide your minimum drop based on downlight housing depth plus wiring space. Then set your perimeter chalk line at that calculated height, not at the “typical” 2 inches. Finally, build the grid to that reference line and check with a straightedge before you screw panels or apply any plaster.
Use a laser level and mark heights on the walls with painter’s tape so you don’t lose reference points while framing.
Avoid guessing the slab level from one corner — that’s how you end up with a lopsided ceiling.
2. Downlights Cut Too Close to the Perimeter Edge
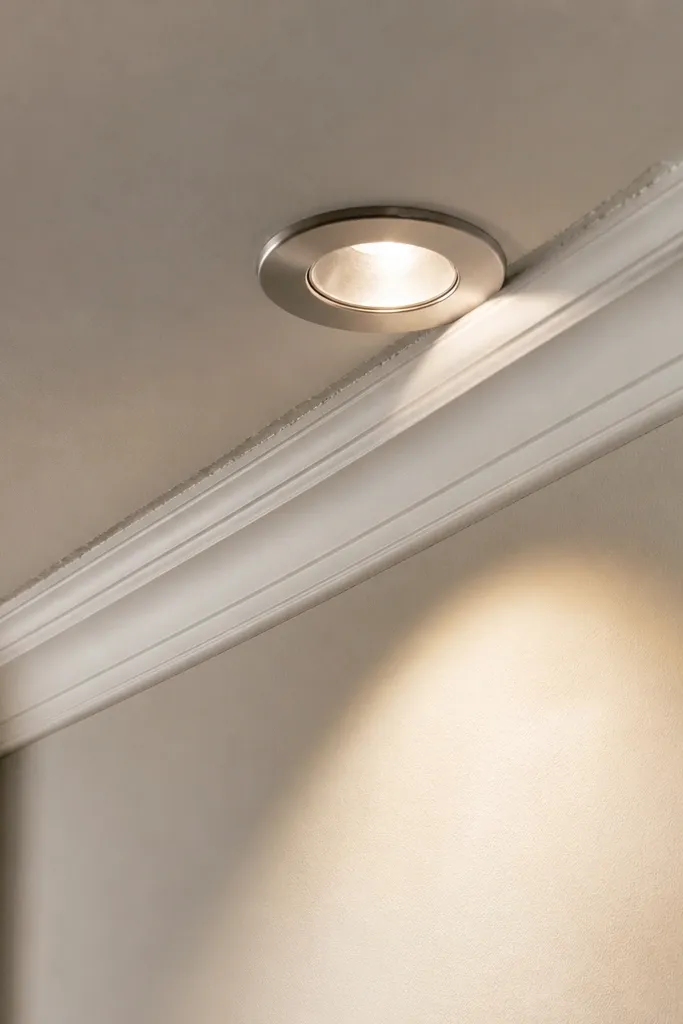
Start by mapping your downlight cutout size and the housing diameter you’re using. Mark hole centers with a spacing grid so the first light is not too close to the edge — keep a buffer zone that keeps the hole away from framing members. Then check the framing layout and reroute suspension points if needed. Finally, cut the holes after the panels are fixed so the cut edges align cleanly, and test the light angles before you paint.
When downlights sit too close to the perimeter, the edge looks weak and the light pattern gets messy. You also risk cutting into the framing zone, leaving thin panel areas around the hole. The light spill hits walls unevenly and makes the ceiling look unfinished. In a living room, downlights should read as a grid, not as random circles. A little spacing planning makes the whole ceiling look intentional.
Skip thisDon’t cut holes early and then change the frame — you’ll end up with awkward rework and visible gaps.
Editor's noteDry-fit one housing in a scrap panel section to confirm the hole size and trim ring coverage.
3. Framing Spacing That's Too Wide for the Panel Weight
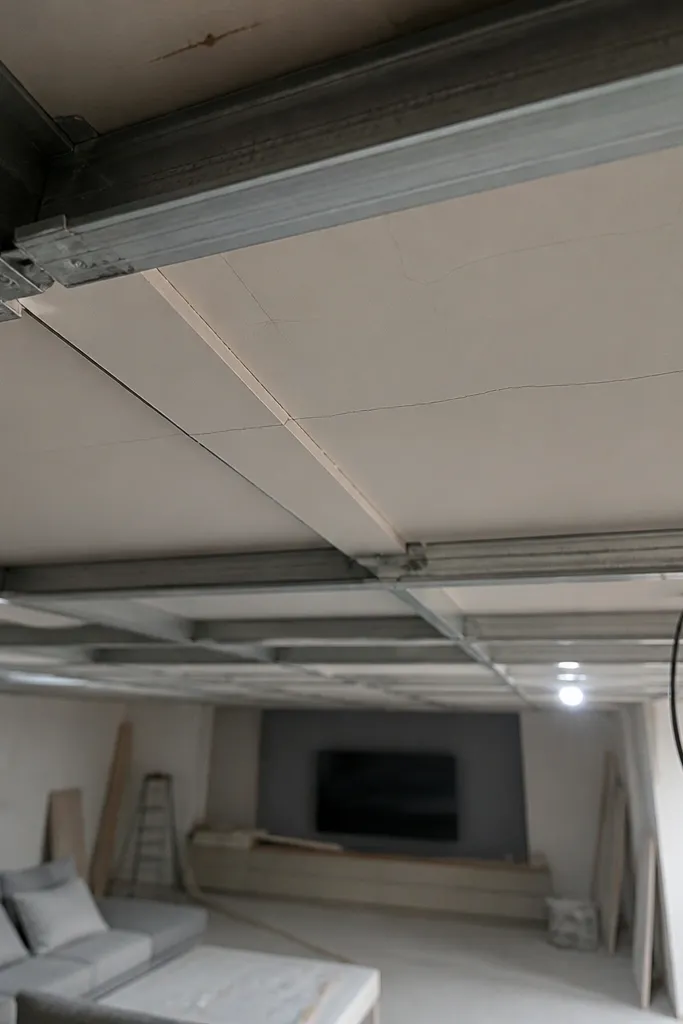
First, identify the panel type and thickness you’re using, then match it to a framing spacing that prevents flex. Lay out the main runners and cross members so they form a rigid grid, not a loose skeleton. Then suspend using proper hangers at planned intervals, and lock the frame level with diagonal bracing where needed. Finally, press-check the surface with your palm before closing — any springiness means you need tighter spacing.
Your ceiling panels are only as flat as the grid that holds them. If the spacing is too wide, gypsum board flexes and seams later crack or telegraph through paint. In POP systems, the wrong spacing can create micro-cracks after curing because the base moves. This is one of the most common comparison False Ceiling Living Room problems because people compare by appearance while ignoring the span. The fix is boring but effective: correct spacing and solid suspension.
Skip thisAvoid using “whatever spacing looks fine” from past work — it fails when lighting and paint reveal every line.
Editor's noteIf the panel flexes when you press it, the finished ceiling will show it — fix the frame before any finishing.
4. No Expansion Gap at the Wall Perimeter
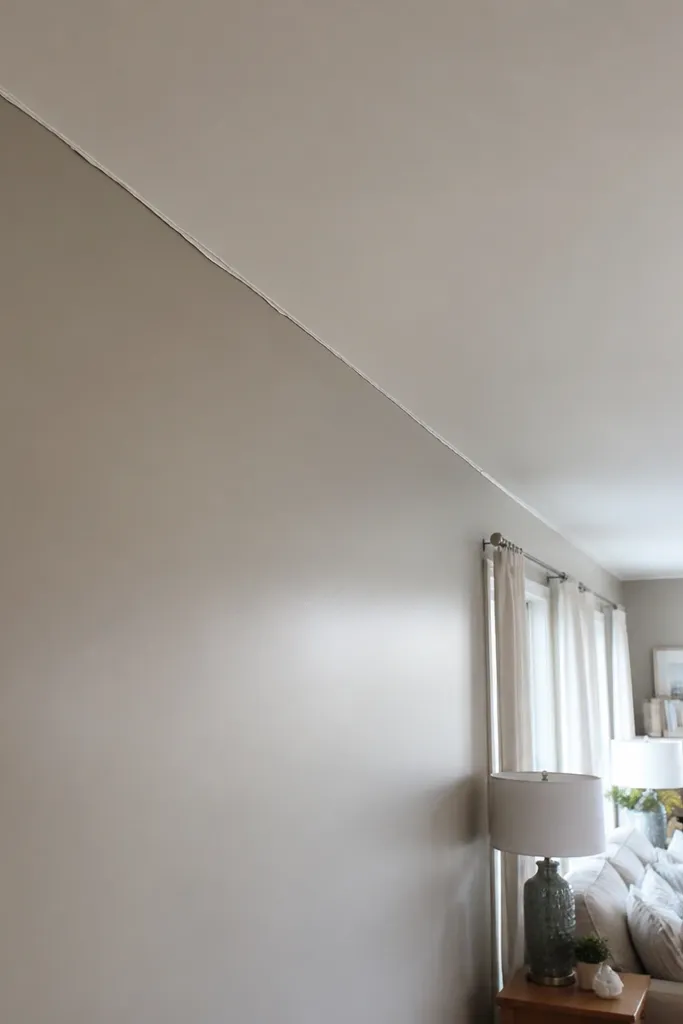
First, measure wall-to-ceiling perimeter and plan a small gap between panel edges and wall trim. Install wall channels level, then leave the gap while fixing panels or plaster base layers. Then use the correct perimeter trim or finishing strip so the gap stays hidden, not filled with hard material directly. Finally, finish with joint compound and paint after the system stabilizes so you don’t trap movement.
Walls move a little with temperature and humidity. If your ceiling finishing touches the wall with zero gap, you invite stress cracks at the perimeter and tiny separations around molding. This shows up worst along long walls where the ceiling has the most movement. A small controlled gap lets the system breathe without splitting. The perimeter line matters visually, so this mistake ruins the clean look even if the center looks good.
Skip thisDon’t pack the perimeter with hard filler straight to the wall — it cracks as the structure shifts.
Editor's noteUse perimeter trim designed for ceilings, not random wood strips, so the joint stays consistent.
5. Screws Too Far Apart or Screwed Without Control
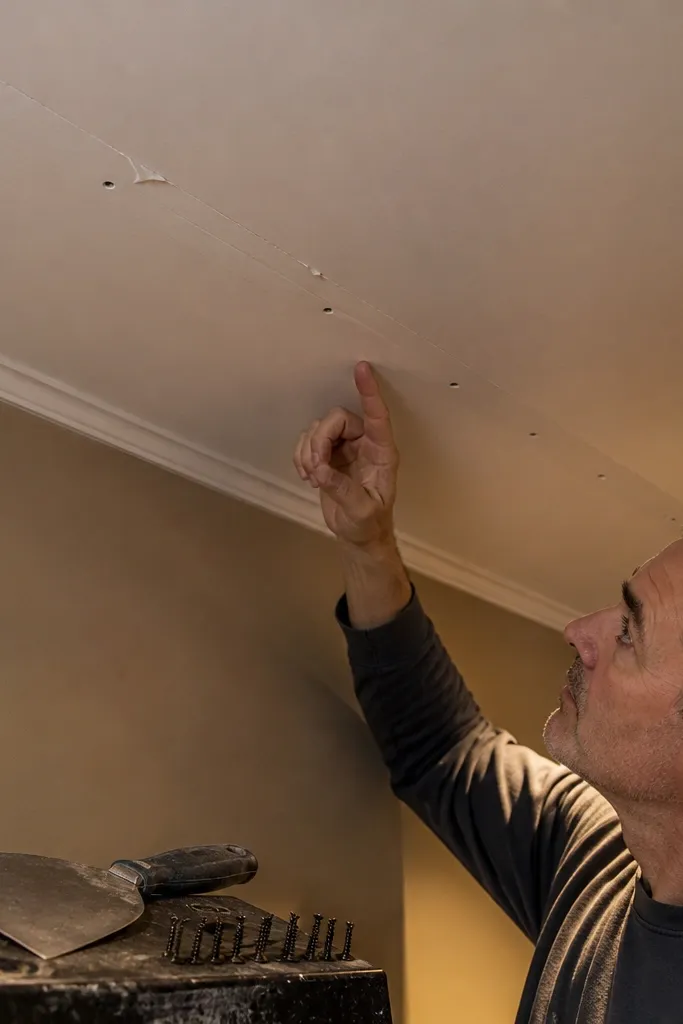
Screw spacing controls panel flatness and seam behavior. Too few screws means the board sags slightly between members, which makes joint tape look like it’s floating later. Uneven screw depth creates dimples that show after the first coat of paint. This is a mistake people make when they rush the board fixing stage. A clean ceiling is built during fastening, not during finishing.
First, mark your grid lines on the panel so you screw into the members, not just the general area. Then fix screws at a consistent spacing pattern and keep the screw heads just below the surface without tearing the paper face. Finally, check the surface with a straightedge and lightly sand any high spots before jointing. Do not paint until you’ve corrected screw dimples and joint unevenness.
Keep a small bucket of spare screws and a head-checking tool so you don’t drift in screw depth after 50 screws.
Avoid driving screws deep enough to break the paper — it weakens the joint area and makes finishing uneven.
6. Using the Wrong Joint Tape for the System
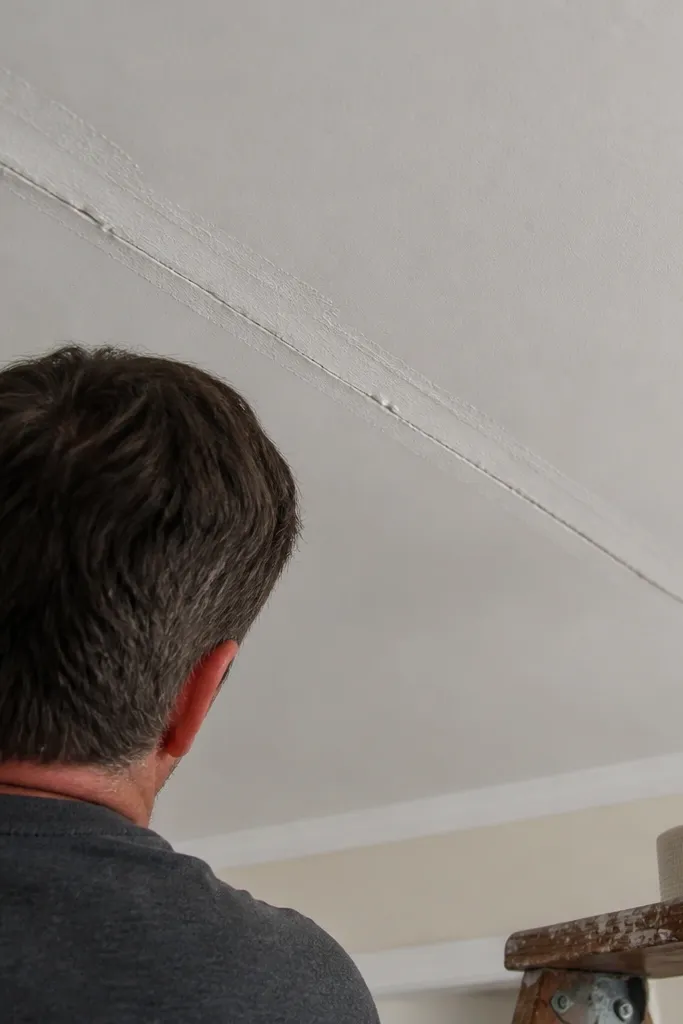
First, confirm whether your ceiling is gypsum board or a plaster/POP base and pick the tape designed for that method. Then apply base coat compound, press tape firmly, and remove excess so tape sits flat in the compound. Next, add two finishing coats with drying time between coats so the seam shrinks evenly. Finally, sand lightly with a consistent grit so you don’t create a visible groove line.
Joint tape is not interchangeable. Paper tape absorbs compound and works well for gypsum systems when you apply the right thickness and drying time. Mesh tape behaves differently and can create a ridge if you overfill or underfill. If you choose the wrong tape for your base and compound, you get hairline cracks that show after the second paint coat. This is one of the cleanest ways to ruin an otherwise good framing job. Tape choice is part of the ceiling comparison, because the systems finish differently.
Skip thisAvoid taping over a dusty joint or over a gap that isn’t filled — tape can’t glue two uneven edges together.
Editor's noteRun your fingers along the seam after each coat; you should feel smooth, not raised edges.
7. Rushing Drying Time Between Joint Coats or POP Layers
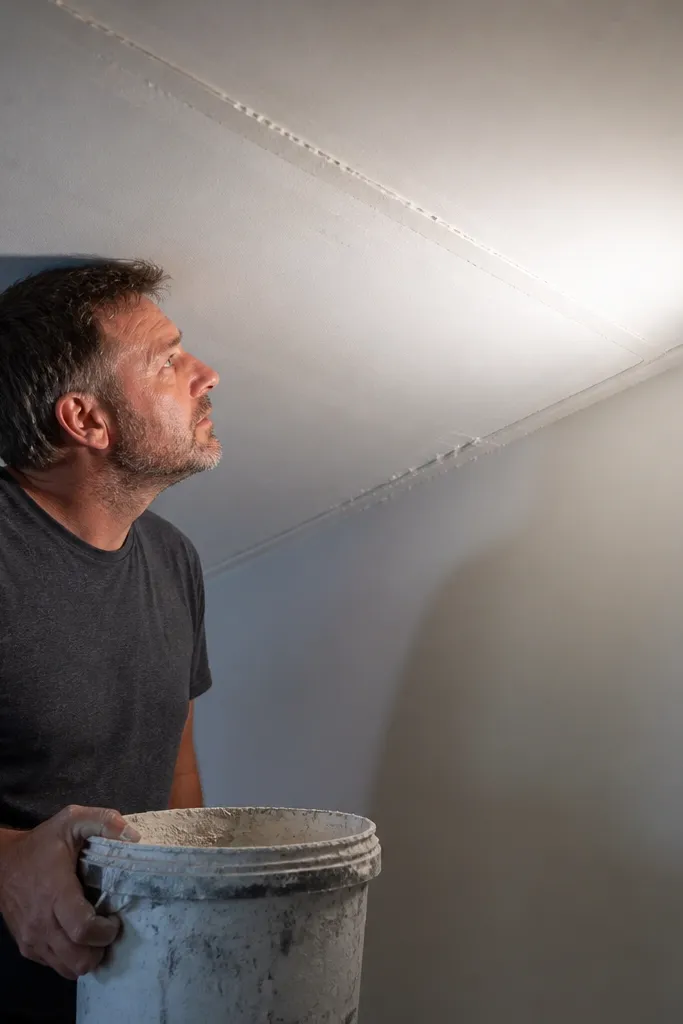
First, follow the drying schedule for your compound or POP mix and don’t “speed it up” with heavy heat. Then apply the second coat only after the surface feels uniformly dry to the touch and doesn’t cool down when you hover your hand over it. Finally, sand and prime before paint so moisture-related discoloration doesn’t show through. If you see pinholes, spot-fill and let it dry again before the next coat.
Drying time is where DIY ceilings crack. If you apply the next compound layer before the previous one releases moisture, the seam shrinks unevenly and pulls the tape or creates tiny ridges. POP layers also need proper curing; painting over damp plaster traps moisture and leads to discoloration. People rush because they want to finish before a weekend ends. It backfires because the ceiling looks fine at first and then changes after paint fully dries.
Skip thisAvoid painting the same day after jointing — even if it looks dry, the seam can still move.
Editor's noteUse a fan for airflow, not a heater blasting directly at the ceiling — uneven heat causes uneven shrinkage.
8. No Primer Before Paint
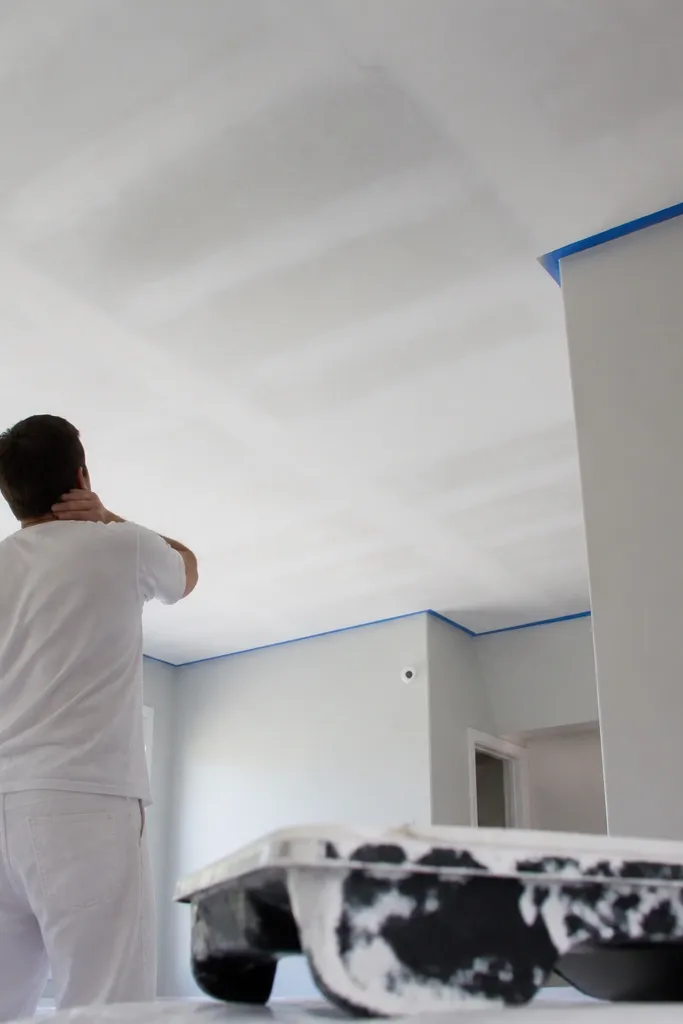
Primer is what makes your paint look even and hides minor absorption differences between base materials and filler. Without primer, the ceiling can show dull patches where joint compound absorbs paint differently than the board or plaster base. In a living room with wall paint meeting the ceiling, those sheen differences are obvious. This is a comparison issue because gypsum board and POP base absorb paint differently. Primer equalizes the surface so your final coat looks consistent across seams and patches.
First, sand the entire ceiling lightly and remove dust with a dry cloth and vacuum. Then apply a ceiling primer compatible with your base material — gypsum primer for gypsum and a suitable primer for plaster/POP. Apply one even coat with a roller and cut in edges with a brush so you don’t get lap marks. Finally, after primer dries, paint your top coats with consistent rolling direction and allow full cure time.
Cut in edges first, then roll — it prevents visible brush lines near walls.
Don’t skip primer thinking filler is enough — filler still absorbs paint differently.
9. Wrong Paint Sheen Choice for Ceiling Surfaces
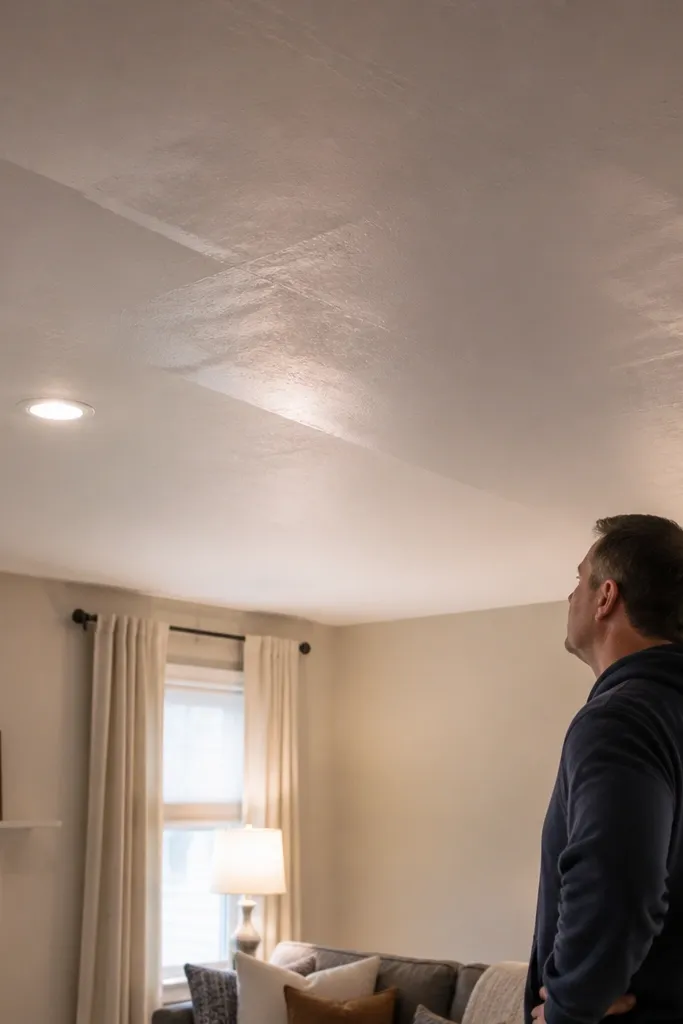
Ceiling paint sheen matters because downlights turn small texture into visible shine. A higher sheen makes roller marks and patch boundaries pop, especially when light hits from above. A flat or matte ceiling paint hides minor surface irregularities better. People choose a wall paint because it matches the room, then regret it when lighting makes the ceiling look patchy. This mistake is subtle but obvious once the lights are installed.
First, pick a ceiling-specific paint with a flat/matte finish designed for overhead surfaces. Then test on a small scrap or hidden area so you see how it reflects under your planned downlight spacing. Apply two coats, letting each coat dry fully and rolling evenly to avoid streaks. Finally, check with lights on from multiple angles before you declare it finished.
Use a roller cover with the right nap for your finish level; too thick a nap adds texture that lights will reveal.
Avoid using glossy or semi-gloss paint on the ceiling — it highlights every sanding and seam.
10. Not Planning a Maintenance Access Hatch for Wiring
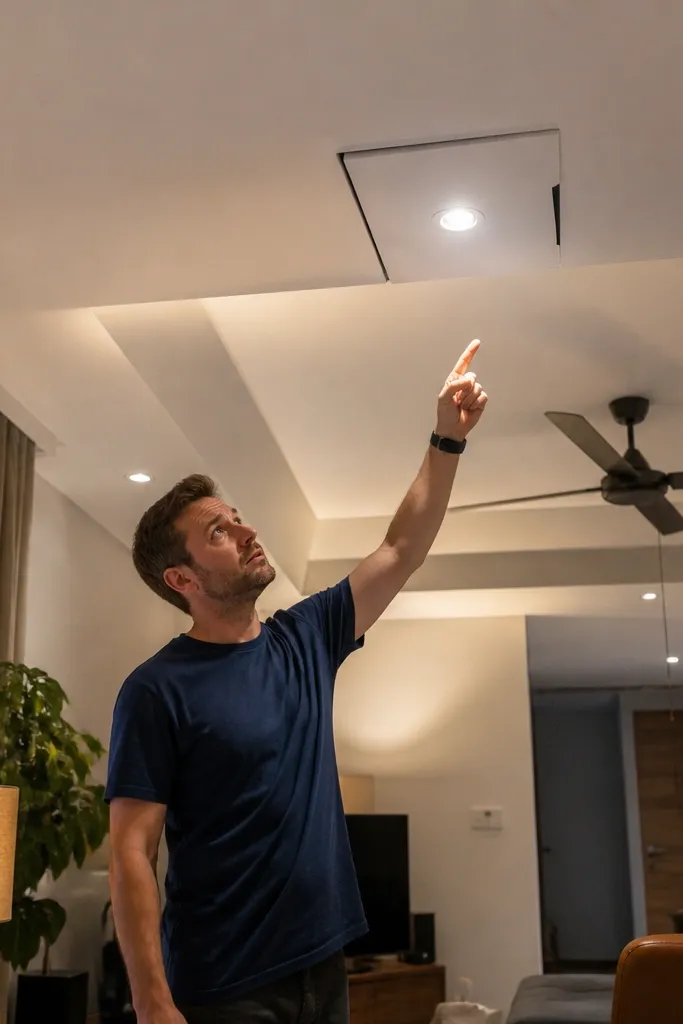
First, decide where junction boxes and drivers sit — usually near the main lighting circuit or transformer location. Then plan an access opening in a less-visible area, such as near a side wall or behind a decorative element. Frame the hatch with the same grid so it can be removed without damaging surrounding panels. Finally, label the wiring and install connectors so you can swap components without rewiring from scratch.
You will need access later — a loose driver, a failed downlight, a fan wire issue, or a dimmer problem. If you close everything with no planned access, you end up cutting a panel messily or calling someone to do demolition. DIY ceilings look clean until the first repair. The best comparison False Ceiling Living Room plan includes access placement, because it changes where you can safely hide wiring and junction boxes. Clean access keeps repairs neat and preserves the ceiling finish.
Skip thisAvoid burying junction boxes inside sealed plaster without a planned way to reach them.
Editor's noteUse a removable hatch with a proper latch and a gasket strip so it sits flush after repairs.
11. POP Applied Over a Weak Base That Moves
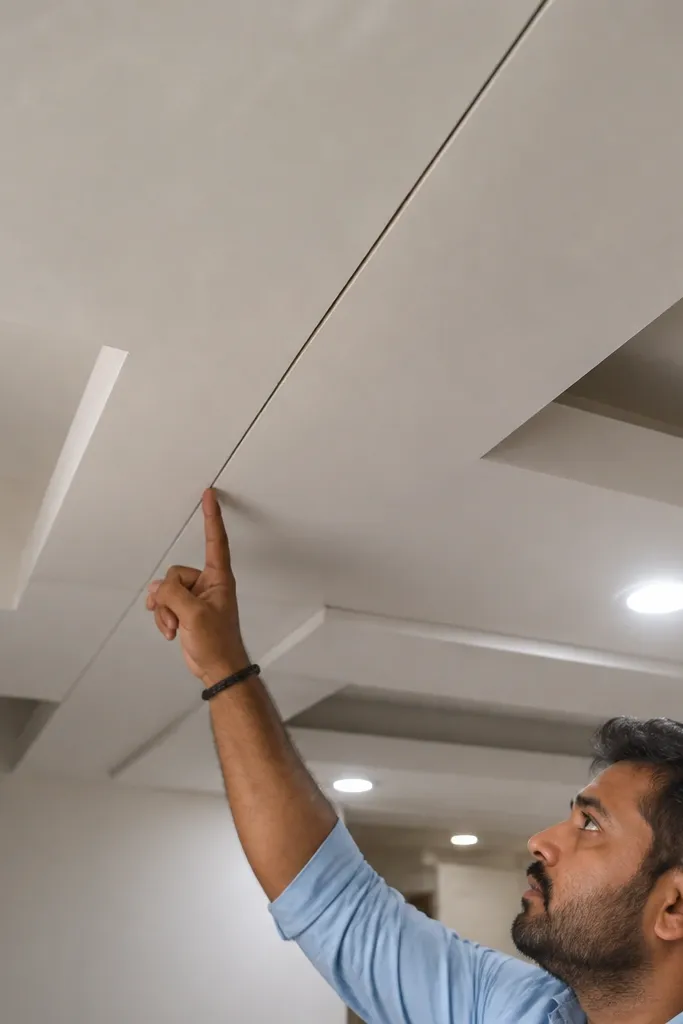
First, build a rigid metal grid with correct spacing and secure hangers before any plaster mix touches it. Then apply POP in controlled layers as per your mix and curing plan, not as one thick slab. Let each layer set and cure so shrinkage happens evenly. Finally, sand and prime before paint, and watch corners and edges where movement concentrates.
POP looks smooth, but it follows movement. If the base layer flexes because the grid is weak or suspension is inconsistent, the plaster layer cracks along stress paths. People think POP strength is the answer; it isn’t. The base has to be rigid first, then POP can create the finish. If you’re comparing POP vs gypsum board, remember: POP is more forgiving on final aesthetics but less forgiving on base movement.
Skip thisAvoid thick POP in one go — it shrinks unevenly and invites cracks.
Editor's noteUse reinforcing mesh at joints and corners where the ceiling changes direction to reduce crack lines.
12. No Level Check After the Frame Is Built
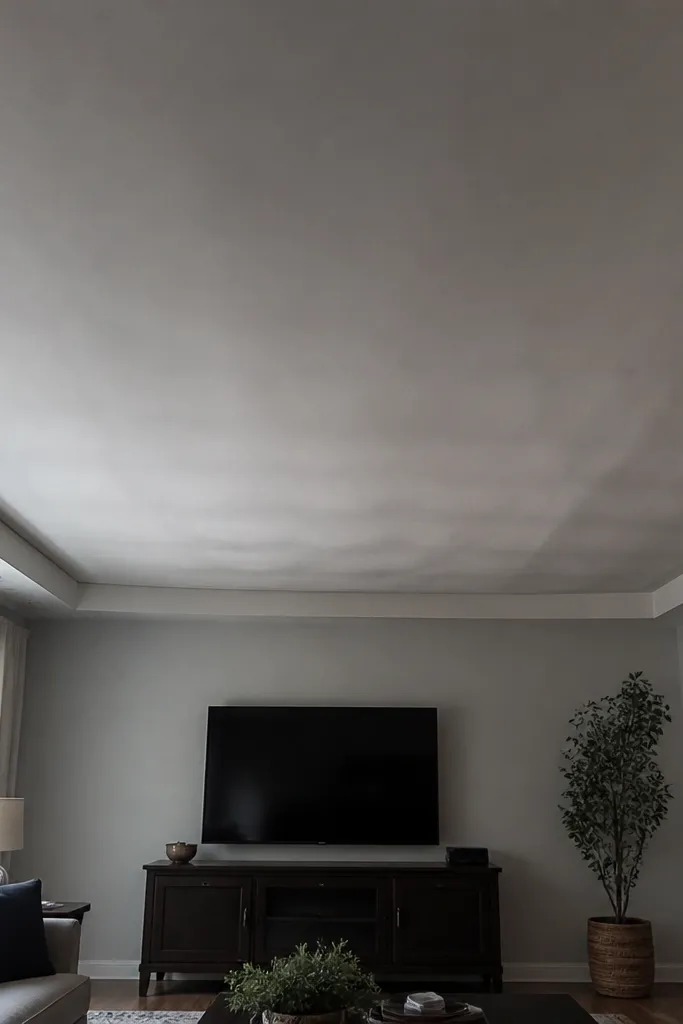
A frame can look fine while you build it, then reveal waves after panels go on. Level checks are where you catch mistakes before they become visible ceiling dips. Straight lines matter more than you think, especially with perimeter trays and cove lighting. This is a comparison issue because different systems hide unevenness differently. Gypsum board may show joint lines more, while POP may show surface waves after sanding.
First, after the grid is installed, run a straightedge across multiple directions and check level with a laser. Mark high spots and low spots so you can shim or adjust hangers. Then re-tighten the frame, because adjustments loosen fasteners. Finally, before closing, do one last pass with a straightedge and look from the side at grazing light.
Use a flashlight at a low angle to spot waves — you’ll see them immediately on an open frame.
Avoid covering the frame and “fixing later” — once panels are on, flattening becomes patchwork.
13. Cove Lighting That Looks Like a Random Glow
Cove lighting fails when the LED strip is too close to the opening or the diffuser is missing. You get a bright line, visible strip hot spots, and uneven wash on the ceiling surface. The goal is a smooth band of light, not a glowing LED. This mistake shows up in living rooms because the ceiling is above the seating area, so the angle makes strip visibility obvious. A comparison False Ceiling Living Room decision should include how you’ll diffuse light, not just where you’ll place it.
First, choose an LED strip with a diffuser channel designed for cove use, and decide the cove height and projection. Then mount the strip so the light bounces off the ceiling surface, keeping the strip hidden from direct view. Use a uniform channel so the line stays straight across the room. Finally, paint the cove surface with the correct matte ceiling paint so the wash looks consistent.
Turn the lights on while the cove is unfinished; you’ll see strip visibility before paint locks it in.
Avoid placing the LED too near the opening without a diffuser — you’ll see the strip, not the glow.
14. LED Driver and Wiring Stuffed Into the Ceiling Void
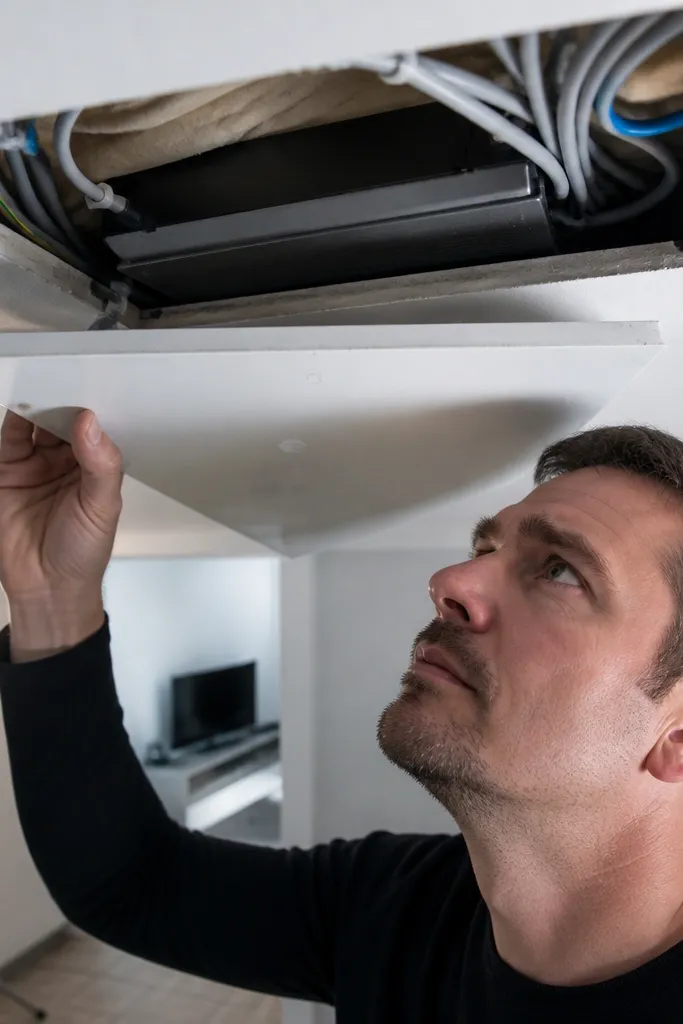
First, place drivers in a reachable location with enough space around them for heat dissipation. Then bundle wiring neatly with clips and leave slack loops so you can pull a driver out without tearing cables. Finally, secure all connections with proper connectors and keep joints away from sharp metal edges using insulation tape or sleeves. Test the lighting before final closure so you don’t troubleshoot through a hatch cut later.
Heat and access kill DIY lighting. If you tuck LED drivers tightly into the ceiling void with no airflow and no service slack, they fail sooner and repairs become ugly. Also, messy wiring bundles create pinched insulation points when the panel closes. In a false ceiling living room, the ceiling cavity is a confined space with limited heat release. Planning driver placement and adding slack keeps your lighting stable and serviceable.
Skip thisAvoid twisting wires together and burying them — loose connections heat up and dim the strip.
Editor's noteLabel both ends of the wiring run with painter’s tape so troubleshooting takes minutes, not hours.
15. Mismatched Panel Direction That Shows Seams
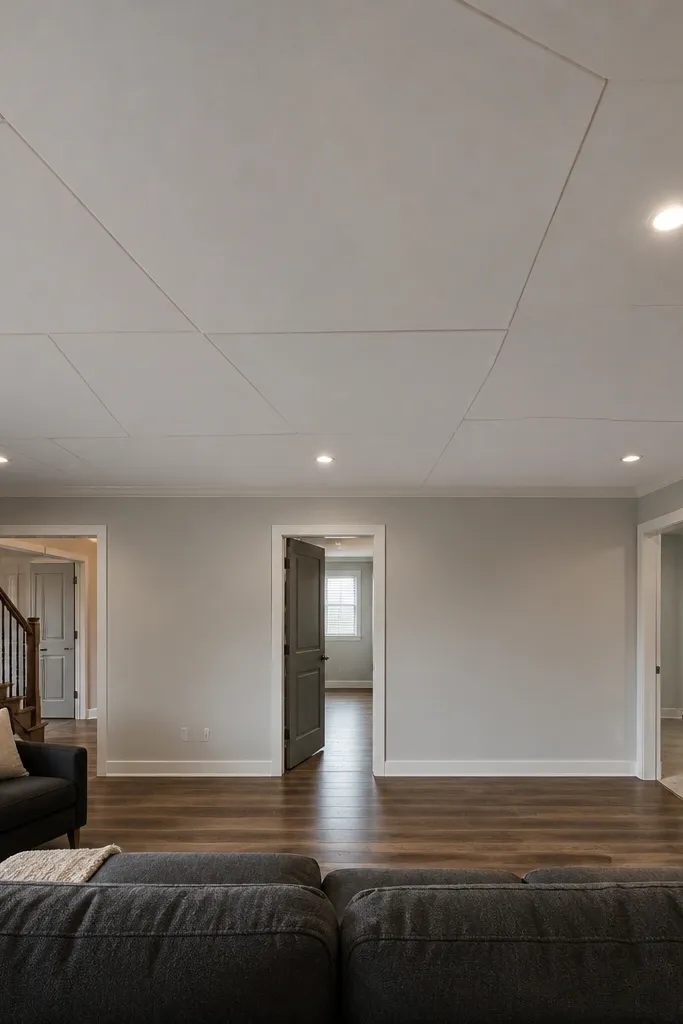
Panel direction affects how seams and joint lines read under light. If you run boards in random directions or offset joints without a plan, you create visible “stitching” lines that look worse after paint. Living rooms have wide sightlines from the couch, so seam alignment matters more than in a smaller room. This is a comparison False Ceiling Living Room issue because gypsum board seams are more visible than a fully plastered surface. Still, even plaster systems show edge transitions if framing changes direction without control.
First, decide on your board layout direction based on the room sightline and lighting angles. Then align joints so they land over framing members and keep joint lines consistent across the ceiling area. Use staggered joints only if your plan keeps the seam pattern neat and predictable. Finally, sand and prime so the seam ridge disappears, then paint with even coats.
Before jointing, dry-check seam straightness by standing at the seating height and looking across the room.
Avoid joining panels mid-span or aligning seams randomly — it creates visible seam “paths.”
16. Skipping Edge Trim and Getting a Crumbly Perimeter
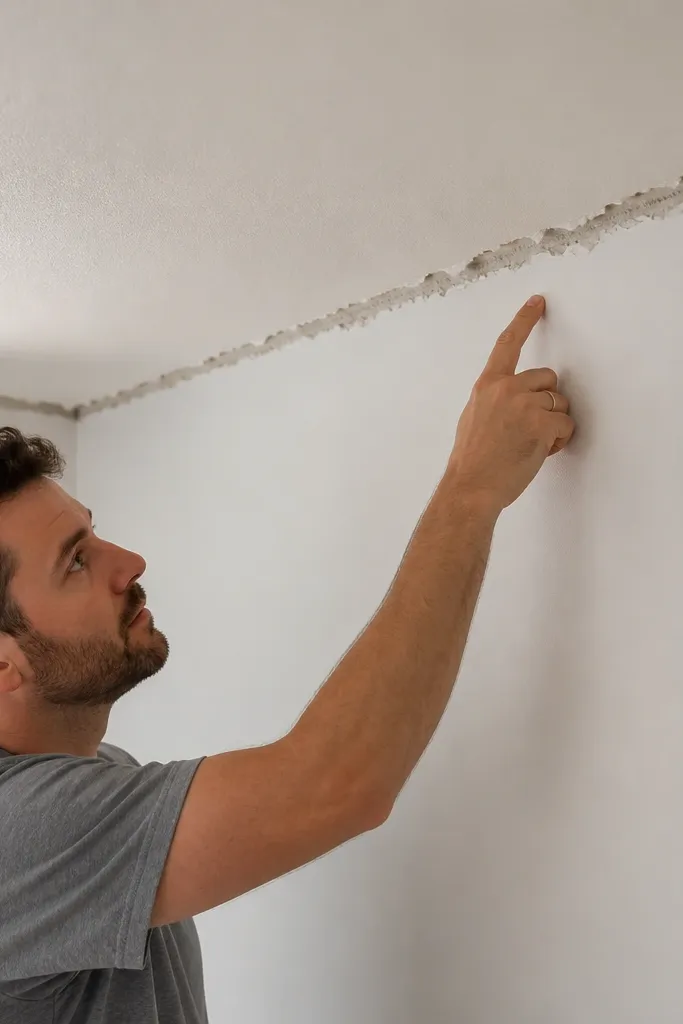
First, install wall channels or perimeter trim so panel edges have a straight support line. Then fix panels to the grid and leave the correct expansion gap. Apply joint compound carefully at the perimeter edges, feathering out so it’s smooth when sanded. Finally, paint after sanding and priming so the edge stays crisp and doesn’t show roughness.
Edge trim protects the perimeter line. Without it, your finishing compound can chip and crack at the wall line, especially where you bump the ceiling with cleaning tools or where humidity changes. Perimeter edges are what people notice first because they frame the room. This is why many DIY ceilings look “almost right” — the center is smooth, but the edge looks messy. If you want crisp lines in a living room, edge trim is not optional.
Skip thisAvoid compound-only perimeter finishing without trim — it chips and gets uneven after paint.
Editor's noteUse corner bead or edge trim made for ceilings so the angle stays consistent across the full perimeter.
17. Trying to Hide Uneven Slab With a Heavy Decorative Layer
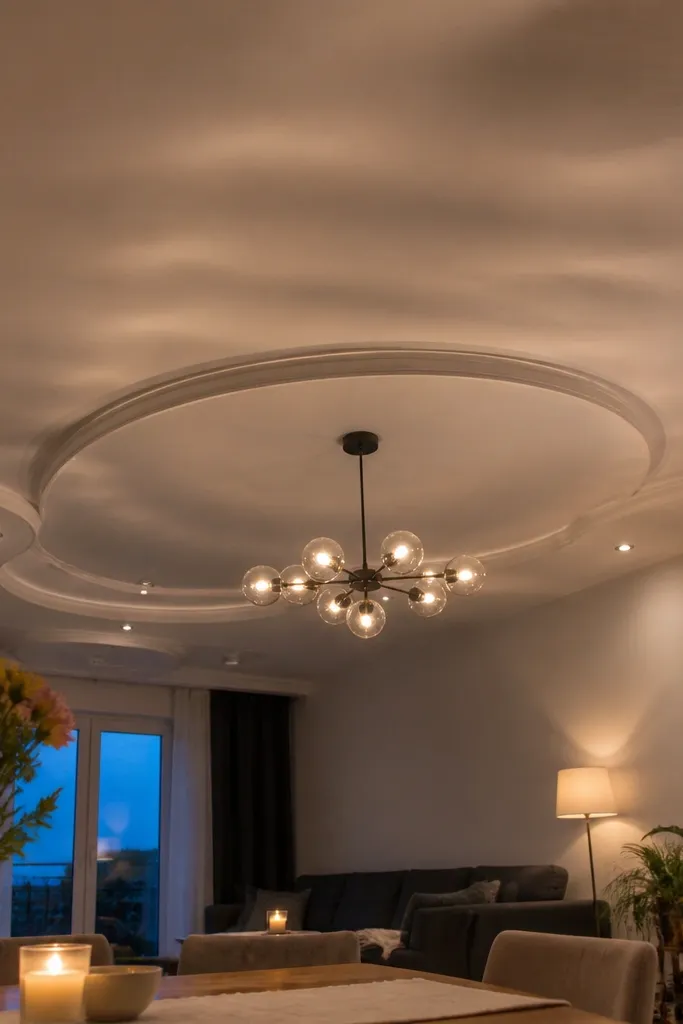
Decorative thickness tricks can look okay in daylight and fall apart under evening lighting. If the slab is uneven, adding extra thickness in some zones without leveling the base makes the ceiling look like it has waves. It also increases weight and can stress the suspension points. POP and plaster can’t “cancel out” structural unevenness — they just reveal it after sanding and paint. A comparison False Ceiling Living Room plan should prioritize leveling the base, not hiding flaws with more material.
First, identify slab low spots with a laser and set your frame reference lines accordingly. Then build the grid so the panel surface is level, even if the slab isn’t. If you want a tray or feature drop, design it on top of the level base rather than on top of the uneven slab. Finally, keep ornamental layers consistent — don’t vary thickness just to cover a dip you didn’t solve.
Solve leveling at the frame stage; finishing materials should smooth, not correct geometry.
Avoid “thickening” one side to hide a dip — it makes the ceiling look wavy later.



