
1. Velvet-look fabric panel with hidden studs
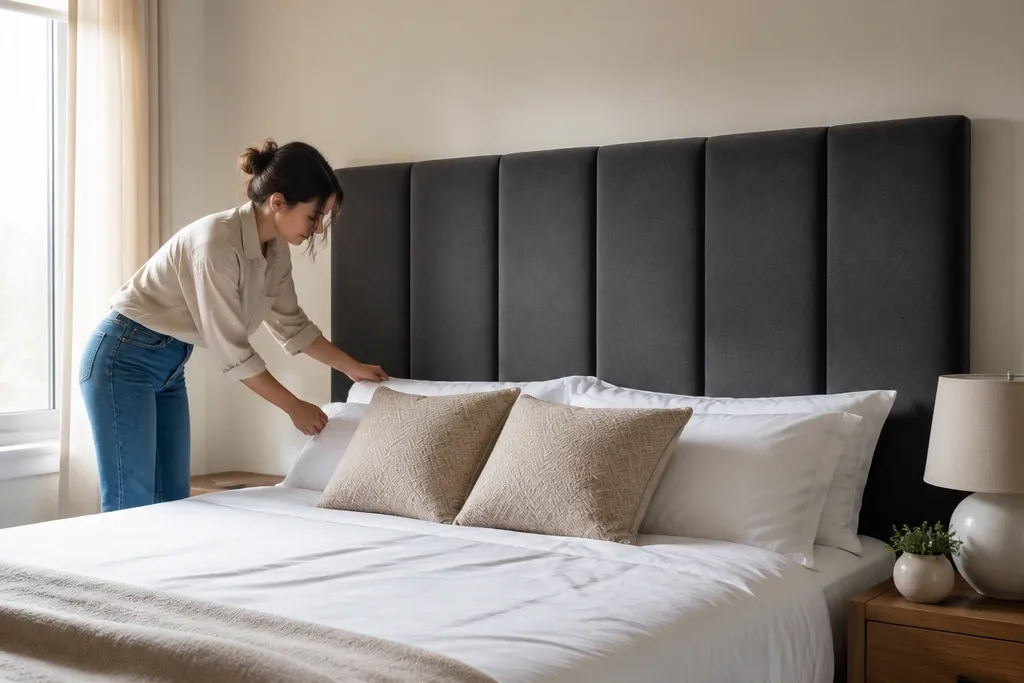
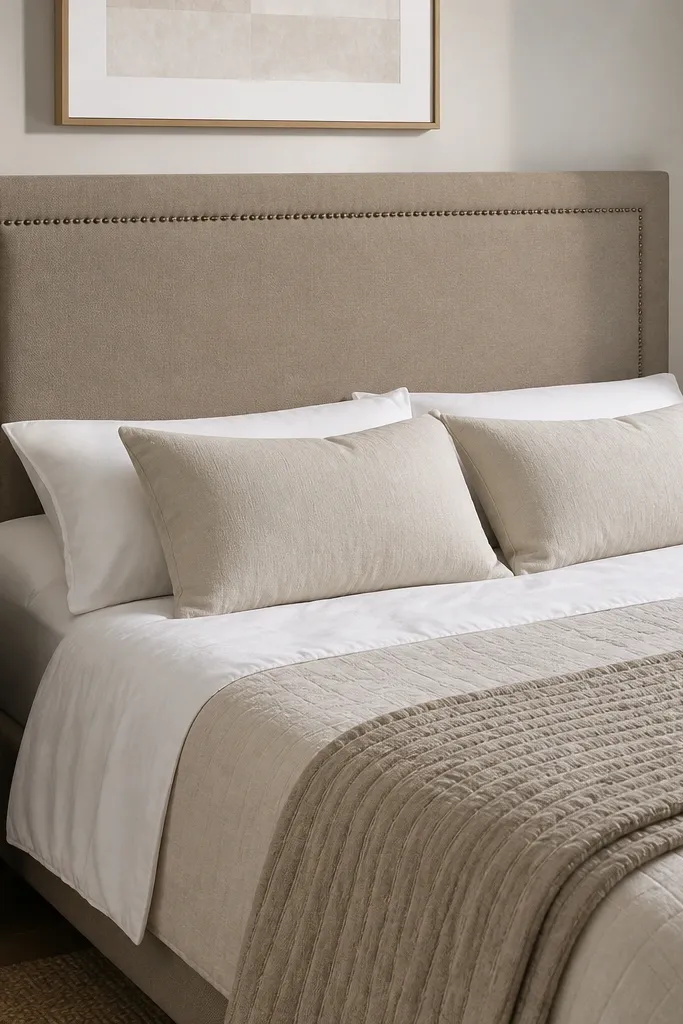
Measure the bed width and cut a plywood panel to that width minus 1/2 inch, so it doesn’t scrape the nightstand. Cut 1-inch foam to the same size and glue it to the plywood with spray adhesive; then wrap batting over the foam like a burrito and staple it to the back. Cut your fabric with 2-3 inches of extra on every side, pull it tight, and staple from the center outward, alternating left/right. Finally, mount the panel using two cleats screwed into studs at the correct height, and add a thin fabric strip over any visible screw lines.
This is the headboard that makes the whole room look pulled together with almost no carpentry. The trick is a firm backing (plywood or MDF) plus foam and batting, then a fabric face that you stretch taut so it looks smooth, not wrinkly. Choose a fabric with a little weight like upholstery velvet or heavy woven polyester — it drapes without sagging. Mount it with two horizontal cleats or a stud-screw method so the panel sits straight, then cover the screw line with a fabric border. Skill level is beginner-friendly, and the “in a day” part is realistic because you’re mostly cutting and stapling, not painting.
Skip thisDon’t stretch fabric first and glue later — you’ll fight wrinkles and end up re-stapling.
Editor's noteUse a staple gun with 1/4-inch staples and set the foam first — foam that’s glued flat makes the fabric stretch easier.
2. Reclaimed-look slat headboard with a black stain top coat
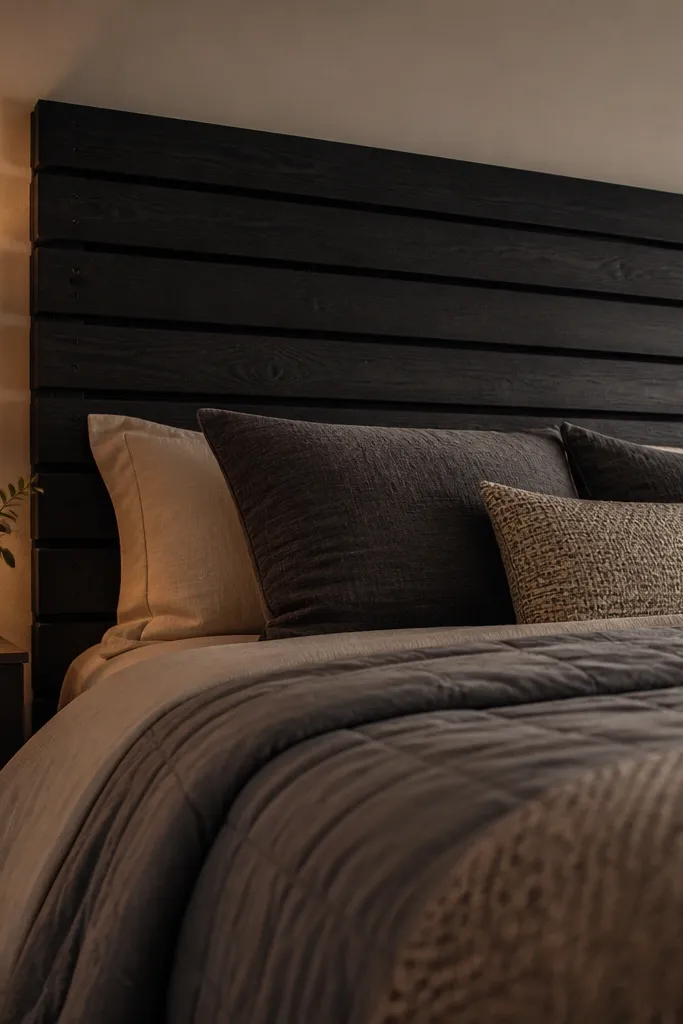
Cut a back frame from 1x3 or 1x4 boards to the bed width, then add cross supports every 10-12 inches. Space slats with 1/2-inch gaps for a bold look, and mark them before you screw so the line stays straight. Pre-drill and screw slats to the back frame using 1-1/4 inch screws; countersink lightly so the heads sit flush. Sand the entire face with 120 grit, wipe with a tack cloth, then apply a dark matte stain with a foam brush and wipe off excess after 3-5 minutes. Let it dry until it’s not tacky, then add one quick-dry top coat if your stain product recommends it.
Wood slats give you that “catalog” look, especially when the spacing is even and the finish is dark and matte. This design works great if you want a headboard that reads modern but still feels warm. The easiest way to get the reclaimed vibe is to use pre-cut slats or 1x3 boards, then sand the edges lightly and stain with a dark color that hides minor imperfections. It’s photogenic because light catches the slat edges and the shadow gaps between them. It takes longer than fabric if you’re staining, but you can still do it in a day by using a stain-and-seal product with a quick-dry time and careful drying between steps.
Skip thisSkip heavy primer — it makes the wood look uniform and kills the “slat depth” effect.
Editor's noteClamp a straight scrap board as a spacing guide so every slat gap matches without measuring each time.
3. Bed-sheet style headboard with a foam-core backing
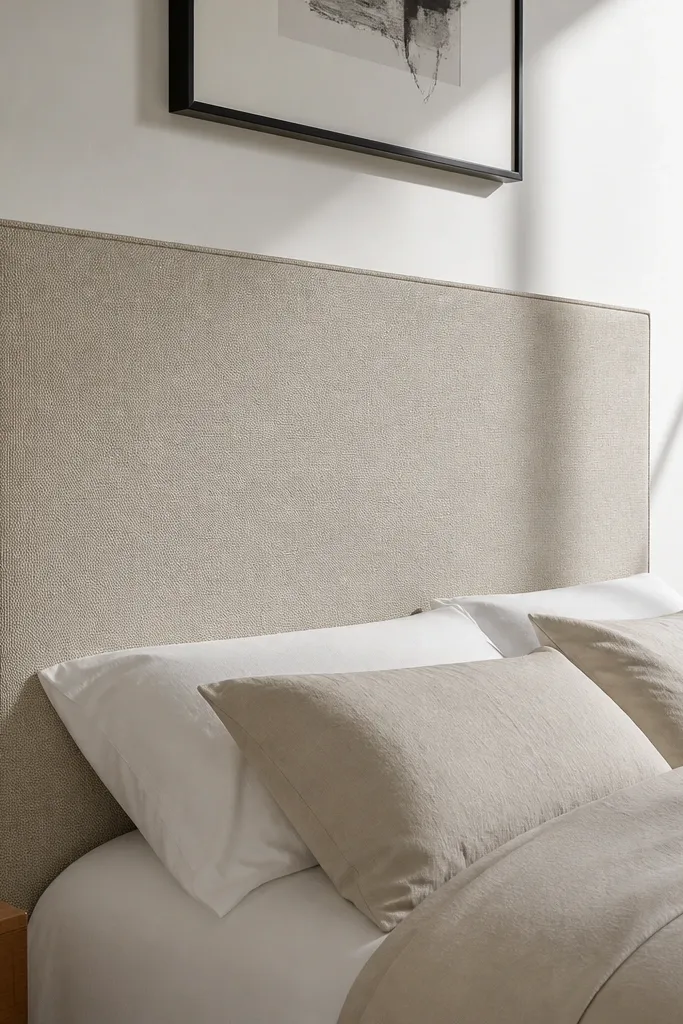
If you like the look of a soft upholstered headboard but don’t want to deal with full-on upholstery, this is the cheat code. Foam-core sheets give you a clean, lightweight panel, and you cover it with a fabric face that has a crisp border. The boxed edge makes it look intentional instead of like a blanket taped to the wall. Pick a bold pattern or solid color — either way, the headboard looks “designed” because the surface is flat and the border is straight. This one is fast because foam-core cuts with a utility knife and you can staple without wrestling heavy wood.
Cut foam-core panels to your headboard size using a straightedge and a sharp blade, then glue the pieces together for thickness (aim for 1.5-2 inches). Wrap batting over the front and staple it to the back side, pulling snug so the surface stays smooth. Cut fabric to size with 2 inches of extra on all sides, then wrap and staple along the back edges in the same center-out method. Add a separate fabric strip for the border to hide staples — glue it to the back edge and fold it tight. Mount using two French cleats or four screw hooks into studs, keeping the panel centered behind the mattress.
Before stapling, run a fingertip over the foam-core seams — any bump will telegraph through fabric.
Don’t use thin, stretchy knit fabric — it will ripple and show staple lines.
4. Faux leather tufted-look panel with button snaps
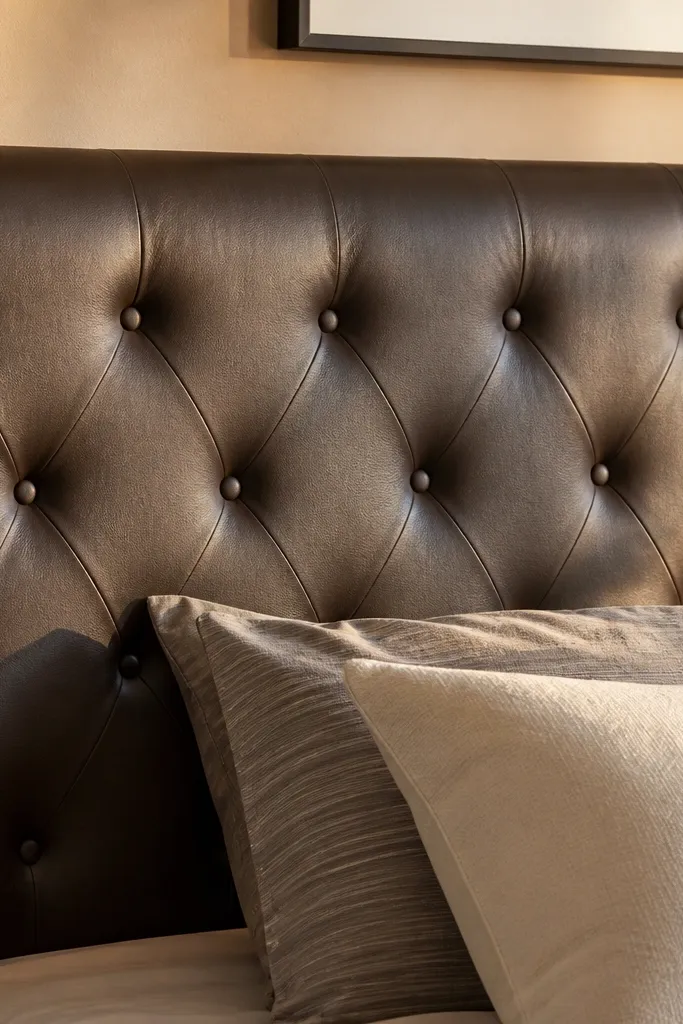
Tufted panels look fancy, but you can fake the look without full tufting hardware. This version uses button snaps and foam so you get those neat dimples that catch light. It’s ideal if you want a sleek, slightly dramatic headboard for a modern bed. Faux leather is forgiving and easy to wipe clean, which matters if you have pets or kids. The look is photogenic because the dimples create shadows and texture even when the room lights are flat.
Cut a backing panel from plywood or MDF to your target size, then glue 1-inch foam to the front. Mark a grid for button snaps — start with 8x8 or 10x10 inch spacing for a clean pattern, then keep it even across the width. Drill shallow holes where each button will go, then cut small fabric circles for the front openings. Pull faux leather over the panel, staple it to the back, then install button snaps through the foam and backing using the snap tool. Finish by trimming excess fabric at the back and mounting with cleats or screws through the top rail into studs.
Do one button at a time and pull the snap tight before you cut any slits — it keeps the dimples symmetrical.
Don’t skip marking the grid — eyeballing button placement makes the whole panel look off.
5. Painted board-and-batten headboard with a soft edge finish

This one reads classic and clean in photos, especially in bedrooms with light walls. Board-and-batten gives you vertical rhythm, and a painted finish makes it look built-in. The key is using the right board widths and keeping the battens evenly spaced so the lines don’t drift. If you want it to feel softer, you can add a thin foam strip under the first top layer so the edges look rounded instead of boxy. It’s a good match for guest rooms, kids' rooms, and any space where you want the headboard to look crisp, not cozy.
Cut side rails for the back frame and attach cross supports every 12 inches. Use 1x3 boards for the main vertical sections and 1x2 battens for the raised lines; keep battens spaced with 1/2-inch gaps for a modern look. Pre-drill and screw everything so the boards don’t split. Fill screw holes with wood filler, sand smooth, then paint with a primer + semi-gloss or satin wall paint. To finish in a day, choose a paint with a short recoat time and let it dry until it’s not tacky before installing.
Lightly sand the edges with 150 grit after the first coat — it knocks down brush texture where light hits.
Don’t paint over dusty wood — you’ll get rough patches that show under bed lighting.
6. No-screw rope-tension headboard using two curtain rods
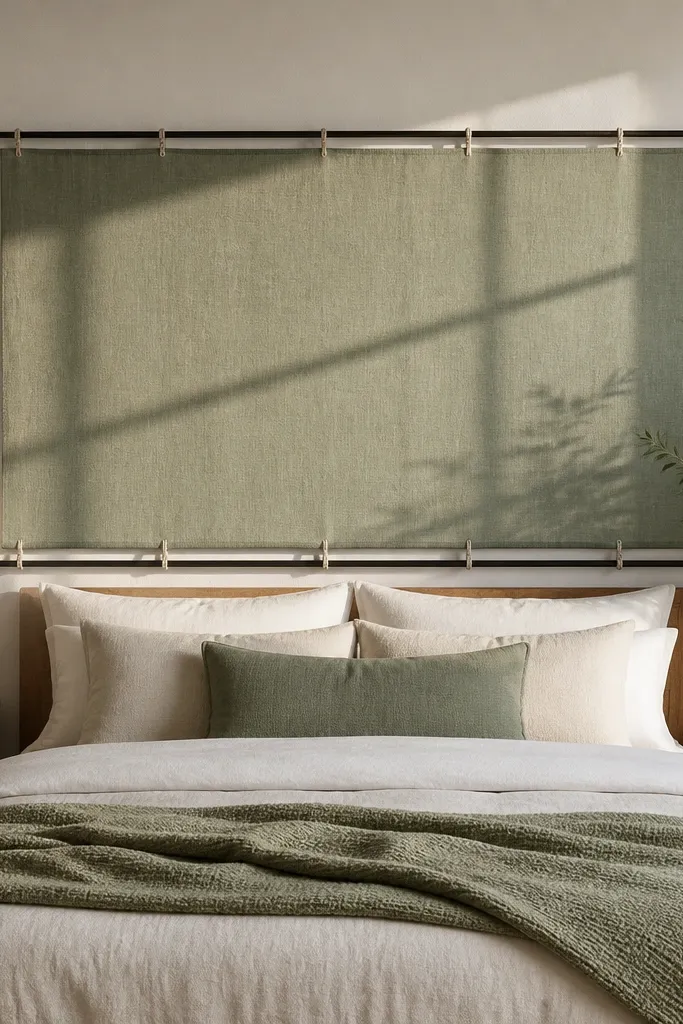
If you’re renting or you hate drilling, this headboard gives you a custom look without touching the wall. It uses two curtain rods or tension poles above and below a fabric panel, then pulls the fabric taut with rope or elastic. The visual payoff is huge because the fabric surface stays smooth and flat instead of sagging like a hanging sheet. Pick a sturdy fabric like canvas or heavy drapery linen blend so it holds tension. This is also great for odd bed setups where studs are hard to find.
Cut a fabric panel to the width of the bed plus 2-3 inches for tension and the height you want above the mattress. Sew or heat-seal a top sleeve for the upper rod and a bottom sleeve for the lower rod, or use iron-on hem tape to make quick channels. Thread the rods through the sleeves, then attach rope or elastic from the rod ends to small loops on the fabric back so the panel stays centered. Mount the rods using existing brackets or tension mounts, keeping the rods parallel. Adjust tension until the fabric surface is smooth, then trim any excess threads.
Choose fabric with a firm weave — soft cotton will stretch unevenly and show wrinkles.
Don’t use thin sheers — they look patchy when tension creates folds.
7. Large woven rattan panel headboard with a simple frame
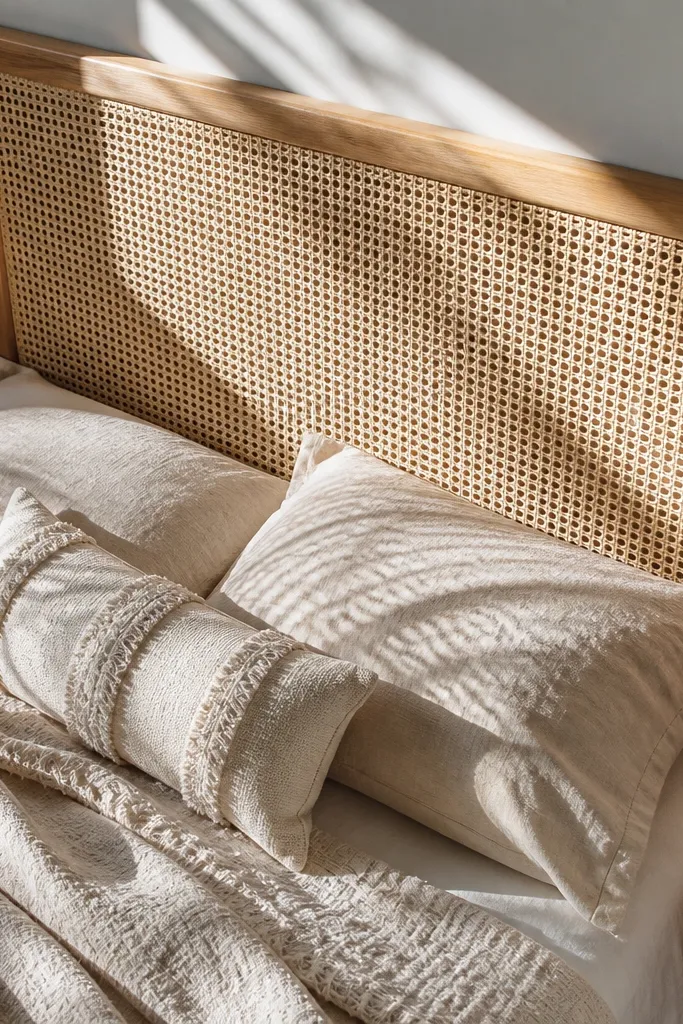
Build a rectangular frame with 1x2 or 1x3 boards, using miter corners if you want a cleaner look or butt joints if you want it faster. Stretch rattan or woven cane sheet into the frame and staple it to the back, pulling tight so the weave stays even. Add corner blocks at the back to square the frame and keep it from racking. Finish the frame with stain and a matte clear coat, then mount with cleats into studs or with two L-brackets that attach to the bed frame. Leave the weave exposed for maximum texture; don’t cover it with fabric that hides the pattern.
Woven panels add texture that looks expensive even with a simple build. This style works best when you use a rigid frame so the weave stays straight and doesn’t sag. It’s photogenic because the grid catches light and creates soft shadow patterns behind the bed. The look is great for boho-leaning spaces, but you can keep it modern by choosing a dark stain frame and a minimal border. If you want “easy cheap DIY headboard” that looks like a store item, this is one of the best bets.
Skip thisAvoid super glossy clear coat — it makes rattan look plastic under bedroom light.
Editor's notePress the weave flat before stapling — any twist shows right away once it’s mounted.
8. Stained wood pallet-style headboard with a foam-wrapped edge
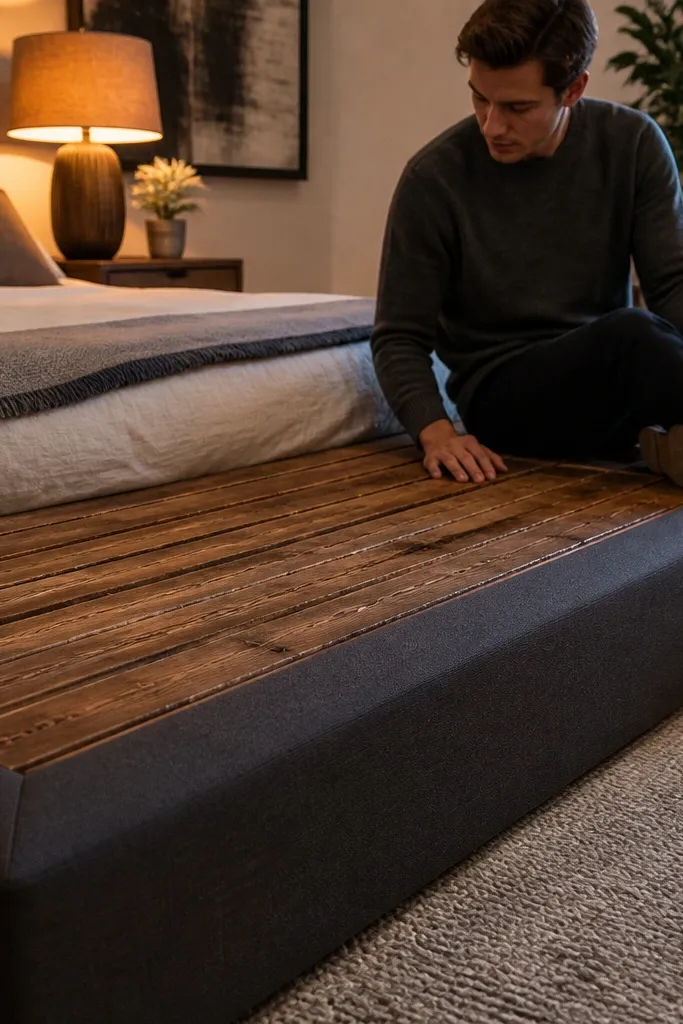
Cut a back frame to bed width and add cross supports so slats don’t wobble. Use boards of similar thickness for the face, then arrange them with small gaps for a rustic look; keep gaps within 1/8-1/4 inch so it stays intentional. Screw slats onto the back frame, then sand the surface flat with 120 grit and soften edges with 150 grit. Wrap foam over the top edge and glue it in place, then cover with a thin fabric strip or faux leather for a clean rounded look. Stain with a dark color, wipe off excess, and let it dry before mounting.
This gives you that chunky, handmade look without needing actual pallets. The “pallet-style” comes from using uneven slats, but you keep it clean by building a frame and sanding the face flat enough to feel nice. The foam-wrapped edge is the secret detail that stops it from looking rough. It’s a strong choice for bedrooms where the bed is the main visual — the headboard becomes the anchor. Expect a medium time investment because you’re sanding and finishing, but you can still hit a day if you use stain instead of paint.
Skip thisDon’t leave sharp corners — the foam edge is what makes this feel finished.
Editor's noteStain after sanding, not before — it penetrates evenly and avoids blotchy spots.



