


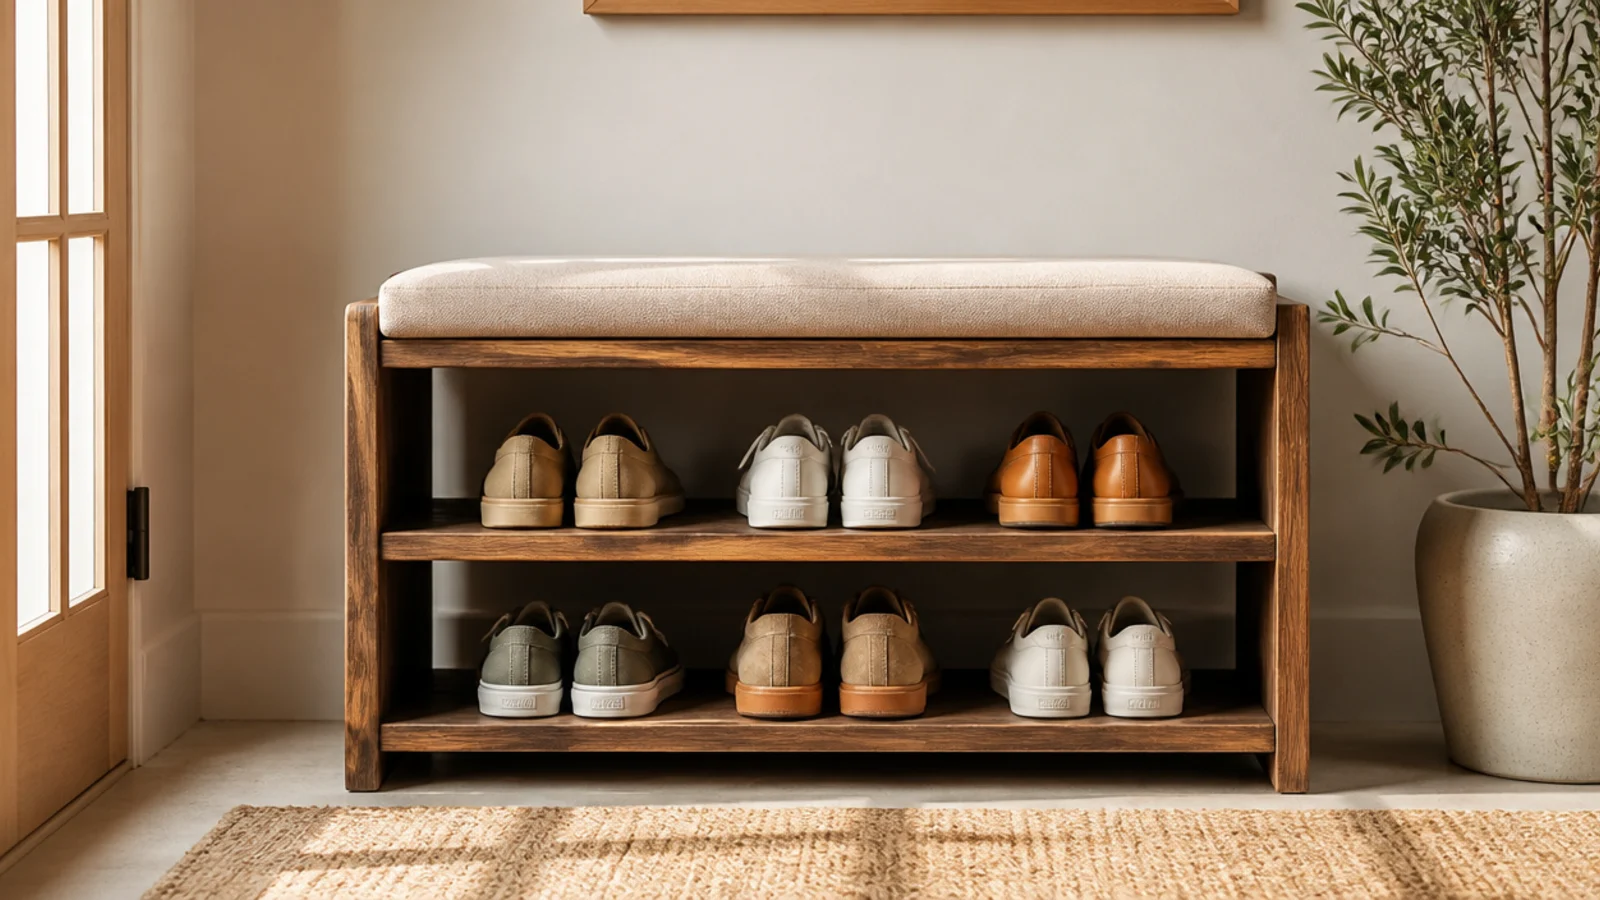
1. Step 1: Measure and Plan
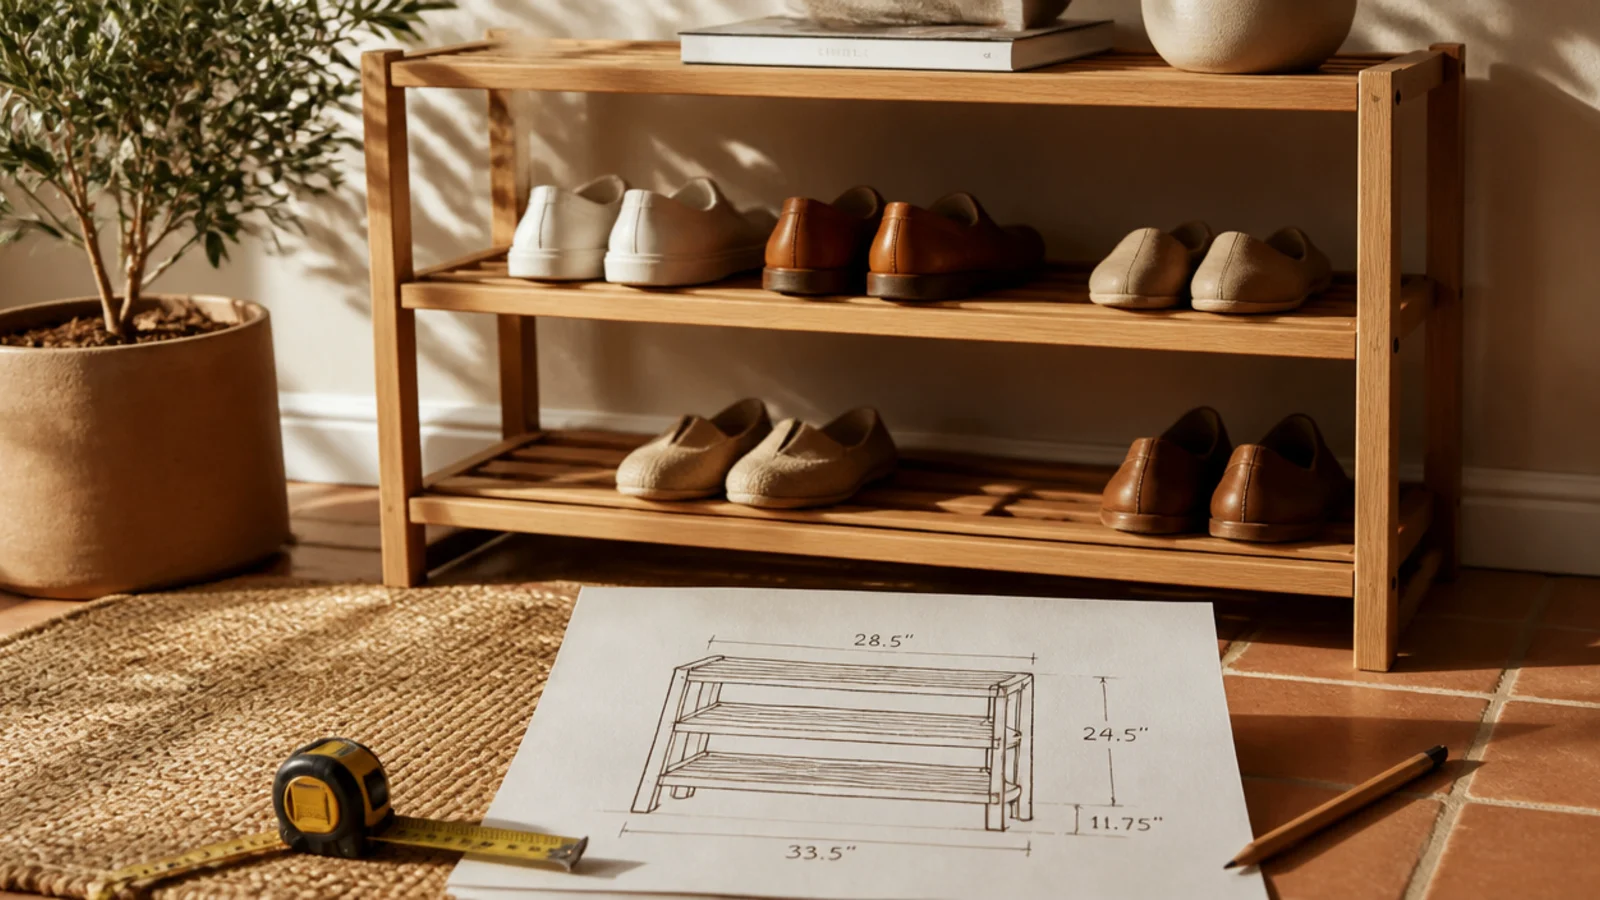
Every good build starts on paper. Measuring your space and writing an exact cut list is the step that prevents wasted wood and a rack that does not fit. Skip it and you will be guessing at the saw.
Editor's noteMeasure your tallest everyday shoe and set at least one shelf gap an inch above it so nothing gets jammed in.
Measure the spot the rack will live — width, depth, and height. Decide on final dimensions (a good starting rack is 30 inches wide, 12 deep, 20 tall) and sketch it with every part labeled. Write a cut list: four legs at 20 inches, side rails and shelf supports to width, and three shelf boards. Set shelf spacing at 6-7 inches for shoes.
Skip thisDo not skip the written cut list; guessing lengths at the saw is how you end up short a board and stopping mid-build.
2. Step 2: Gather Materials and Cut
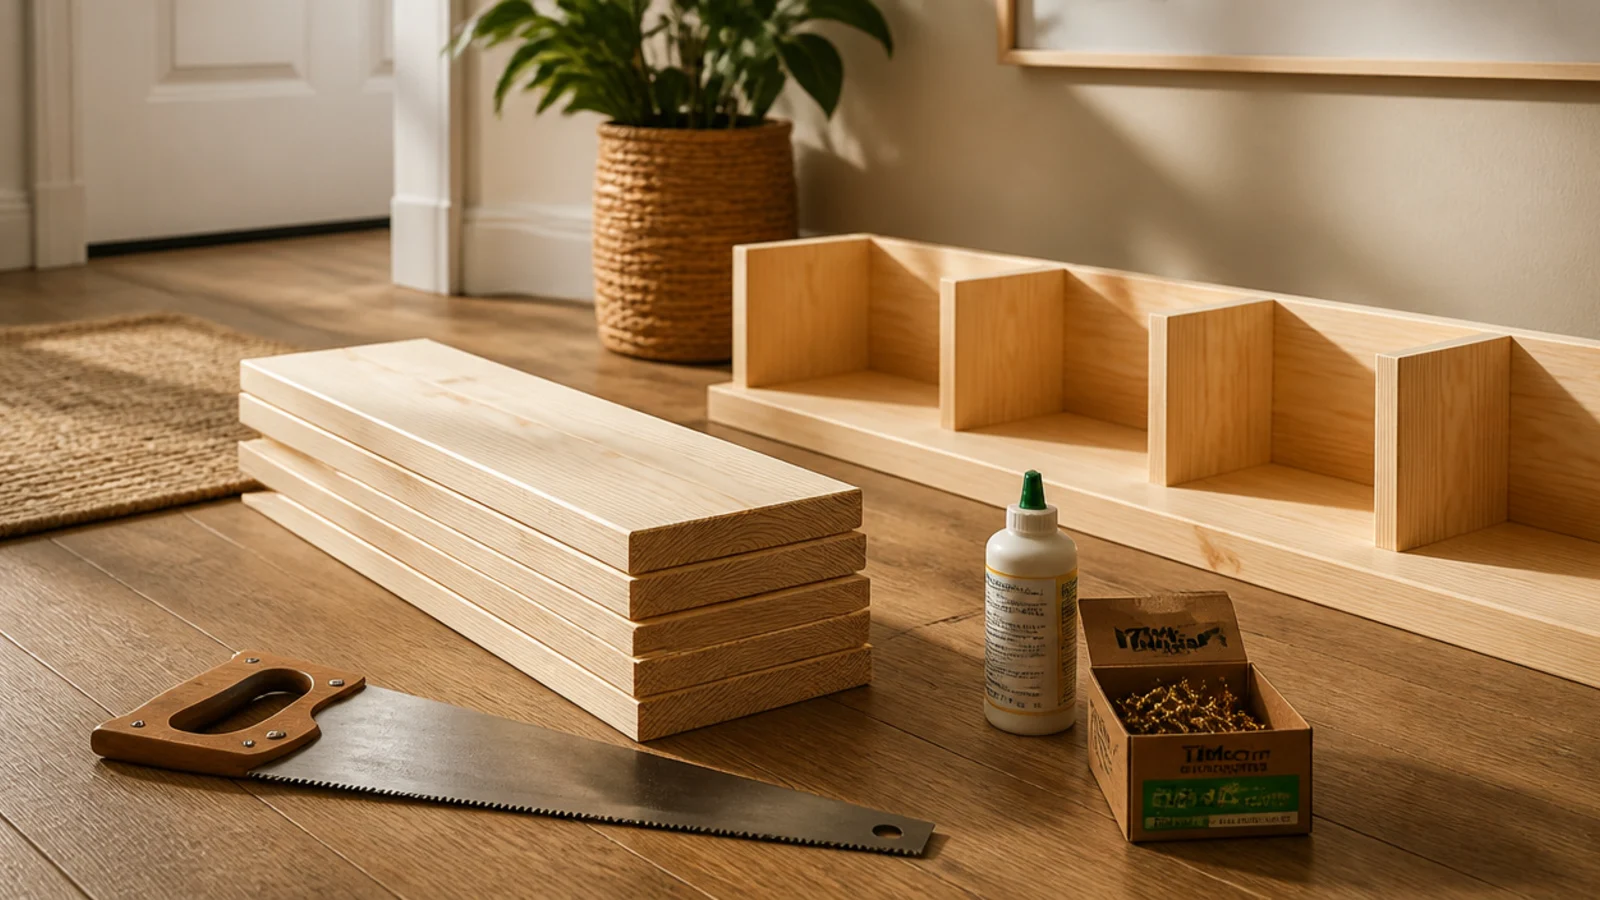
With your cut list ready, gather all the materials and cut the pieces to length. Doing every cut now means the rest of the build is just assembly. Measure twice and cut once.
Editor's noteCut all four legs at once by clamping them together and sawing through as a bundle, so they end up exactly the same length.
Lay out about four 1x4 pine boards, 1.5-inch screws, wood glue, sandpaper, and your finish. Mark each cut from your list with a pencil and a square so the ends are true. Cut with a hand saw, miter box, or have them pre-cut at the store. Label each piece (leg, rail, shelf) with a pencil so you do not mix them up.
Skip thisDo not cut freehand without marking a square line; angled end cuts make the whole rack lean and refuse to sit level.
3. Step 3: Sand Every Piece
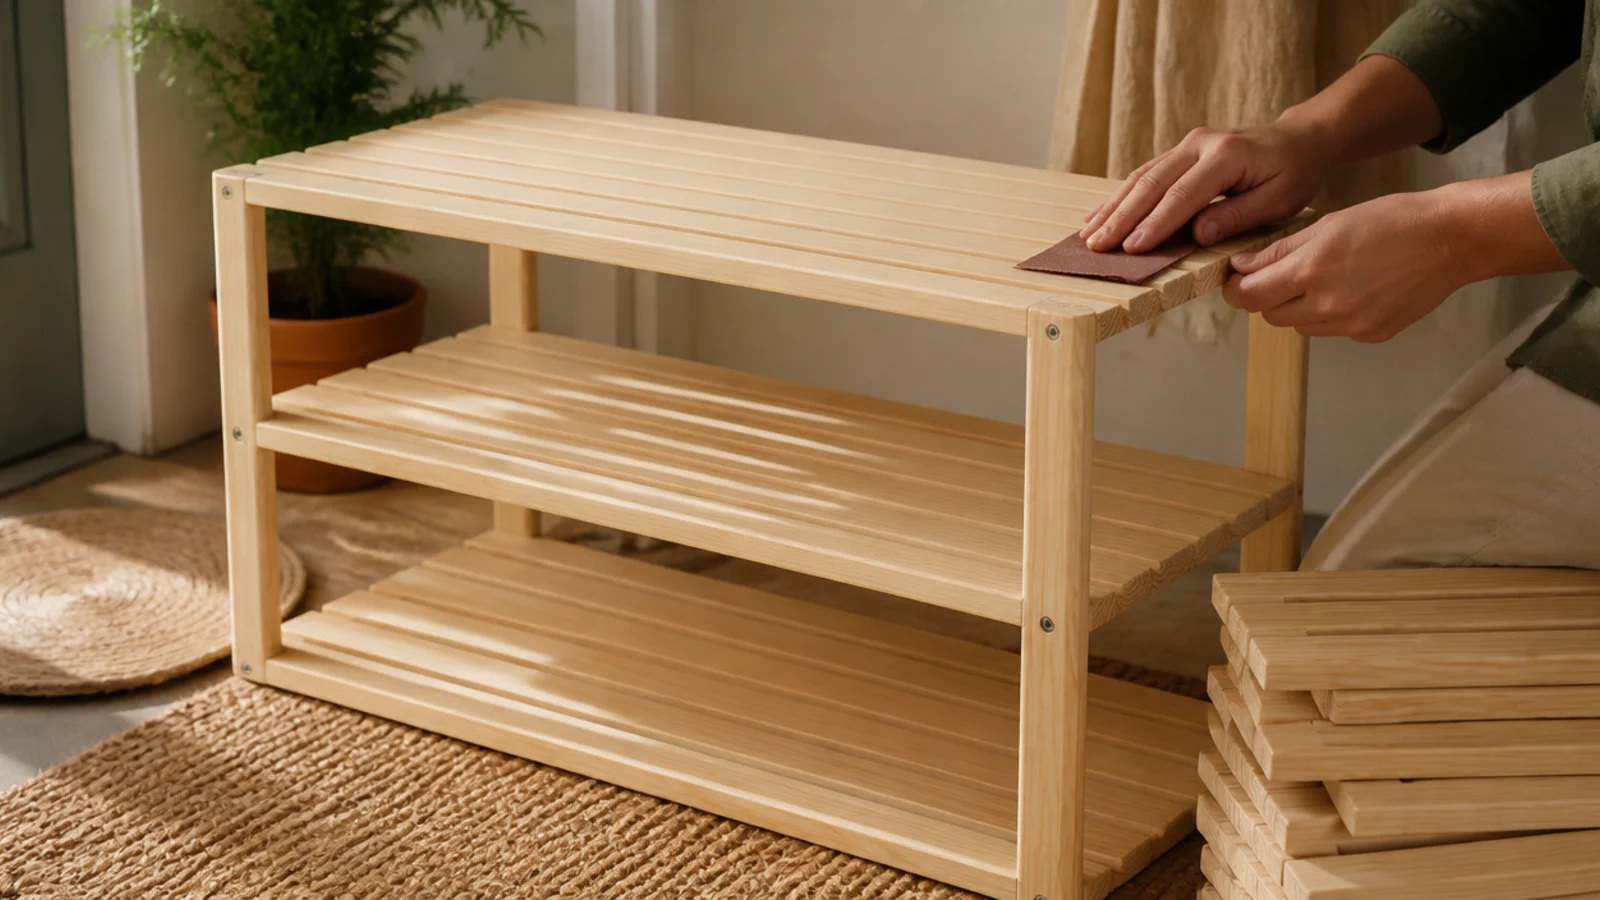
Sanding before assembly is far easier than after, and it is what makes the finished rack smooth to the touch. This step removes splinters and preps the wood to take finish evenly. Do not rush it.
Editor's noteSand with the grain, not across it; cross-grain scratches show up badly once you apply stain or a clear finish.
Sand every piece with 120-grit first to knock down rough spots and saw marks, then 220-grit for a smooth surface. Ease the sharp edges and corners slightly so they are not razor-sharp. Wipe each piece with a dry or barely damp cloth to remove all dust. Sanding now, while the pieces are separate, reaches every face.
Skip thisDo not skip the 220-grit pass; a rack left at 120 feels rough and the finish soaks in unevenly and looks blotchy.
4. Step 4: Assemble the Frame
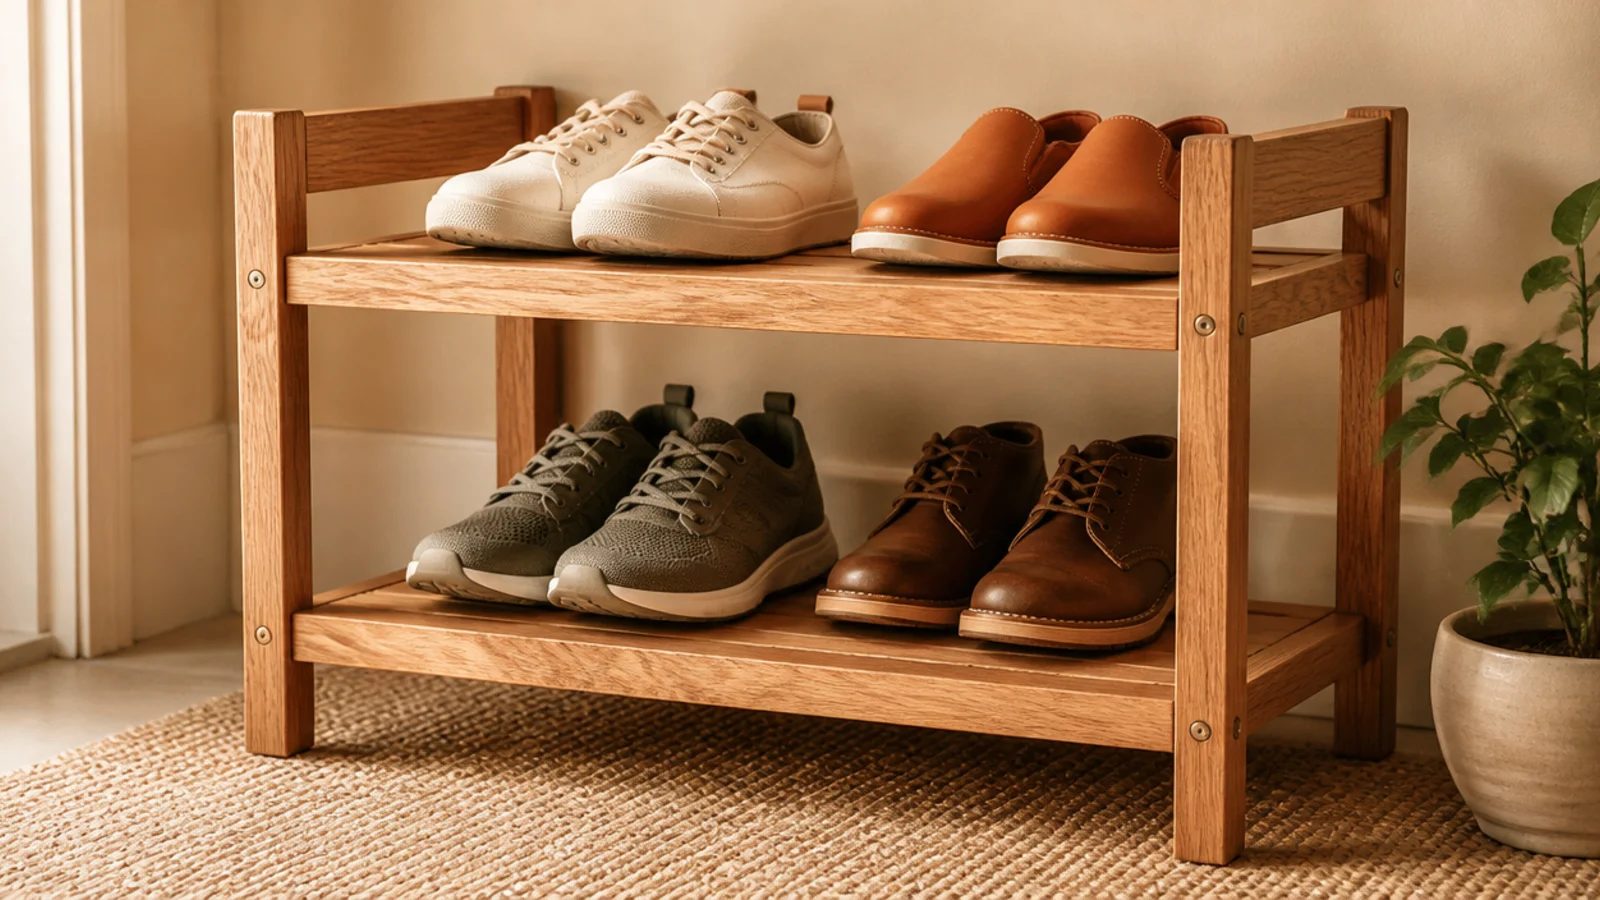
Now the rack takes shape. You join the legs and side rails into the two end frames, then connect them. Dry-fitting first is the trick to a square, wobble-free rack.
Editor's noteDry-fit the entire frame with clamps and check for square before you add glue or drive a single screw — it is your last easy chance to fix it.
Join two legs with side rails to make each end frame, gluing and clamping first, then pilot-drilling and driving two screws per joint. Check each frame is square with a builder’s square before the glue sets. Connect the two end frames with the front and back rails the same way. Confirm the whole thing sits flat and square.
Skip thisDo not drive screws into pine without pilot-drilling; the boards split at the ends and the joint is ruined.
5. Step 5: Add the Tiers
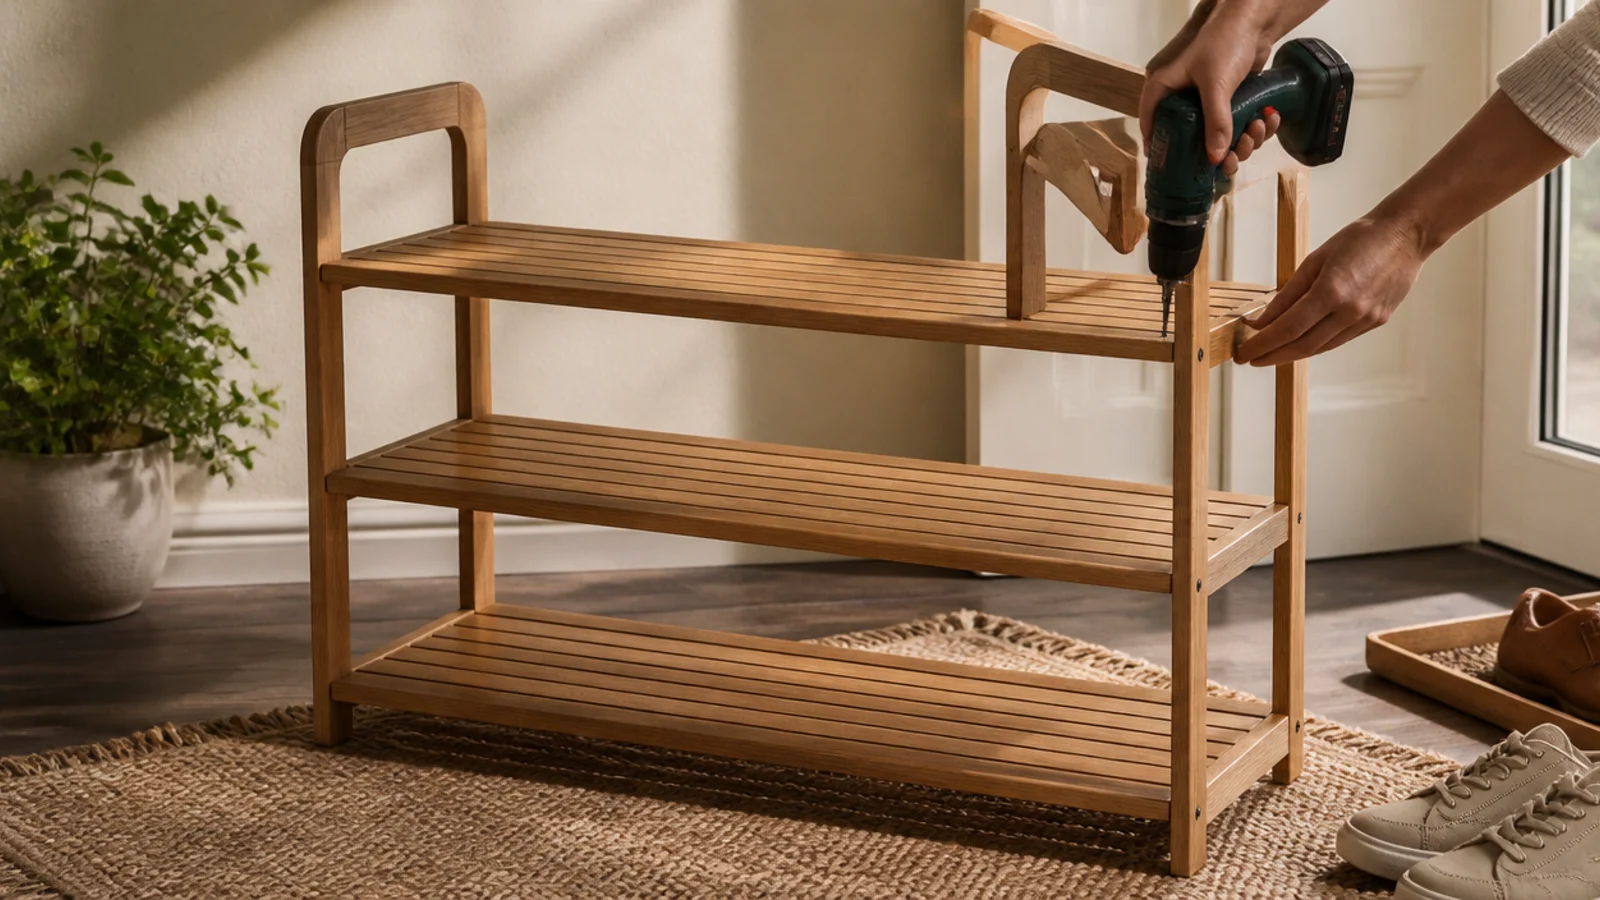
With the frame solid, you add the shelves that hold the shoes. Even spacing and a back rail here give you a rack that holds pairs neatly and does not rack side to side. This is where it becomes a shoe rack.
Fix shelf supports to the inside of the frame at your planned spacing (6-7 inches), leveling each with a small level. Set the shelf boards on the supports and glue and screw them down. Add a back rail or a diagonal brace across the rear to stop the rack racking. Space the tiers so shoes slide in and out easily.
Angle the shelves back slightly, or add a low front lip, so shoes tilt in and do not slide off the front.
Do not skip the back rail or brace; without it the rack leans sideways under load and eventually loosens at the joints.
6. Step 6: Finish, Seal, and Place
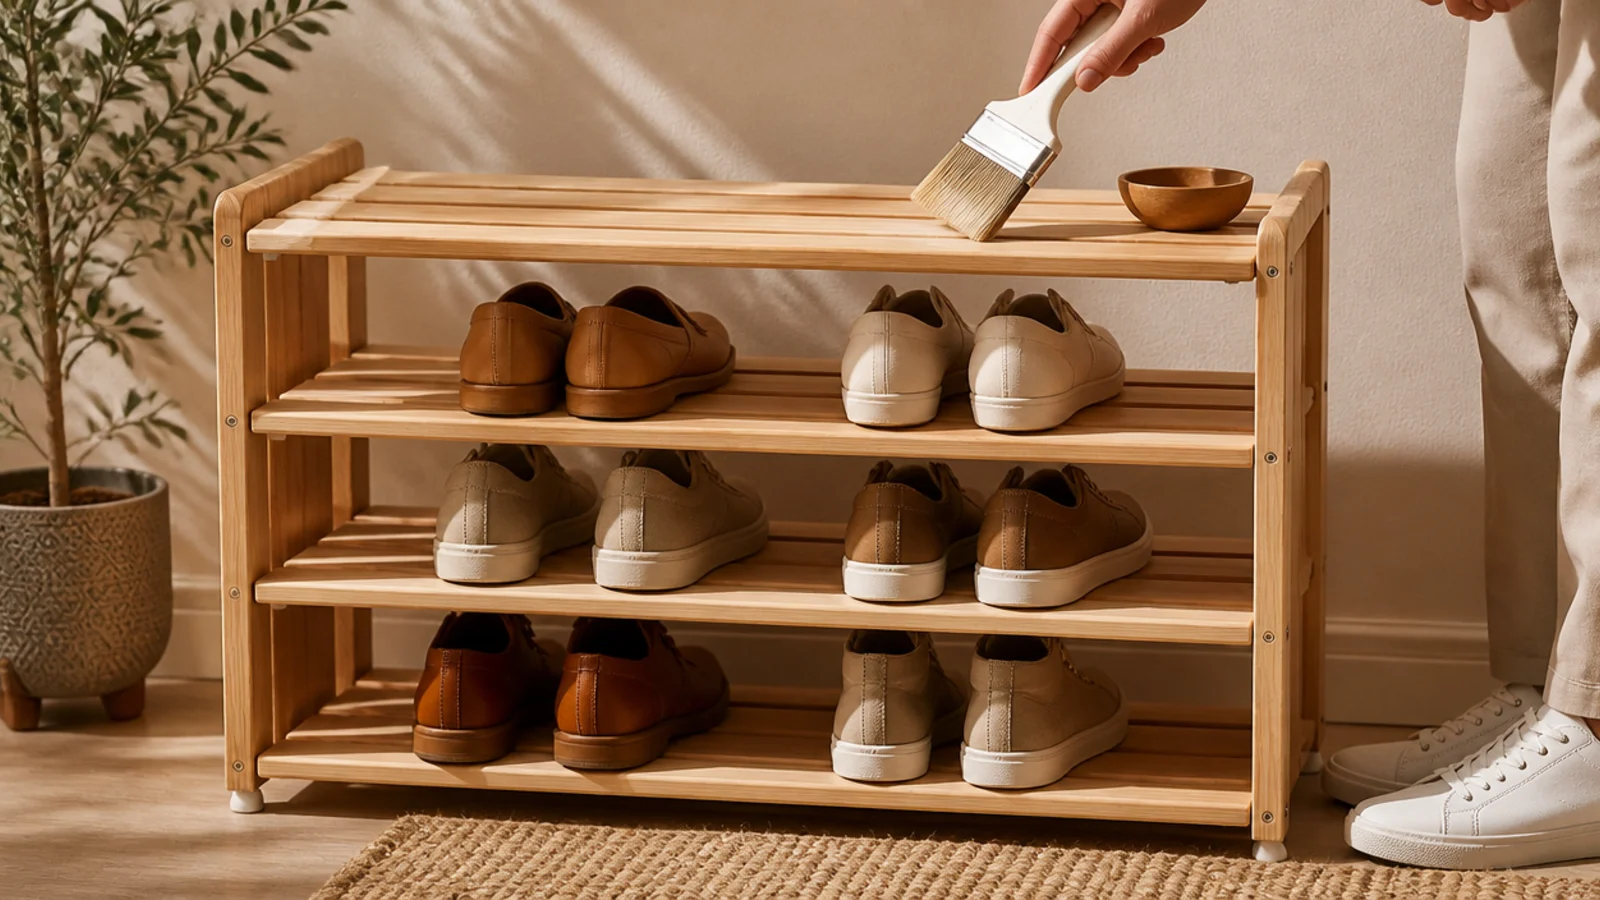
The final step is what separates a homemade look from a bought one. Sealing or painting protects the wood from wet, gritty shoes and pulls the whole build together. Take your time here.
Give the assembled rack a final light sand and wipe off the dust. Brush on two thin coats of clear polyurethane (or prime and paint), letting each coat dry fully and sanding lightly between coats. Stick felt pads under the four feet. Set the rack in place, shim any wobble, and load it with shoes toe-out.
Two thin coats of finish look far better than one thick one; thin coats dry smooth without drips or a sticky, uneven surface.
Do not leave the wood raw to save time; unsealed pine stains from the first wet shoe and the rack looks worn within weeks.



