

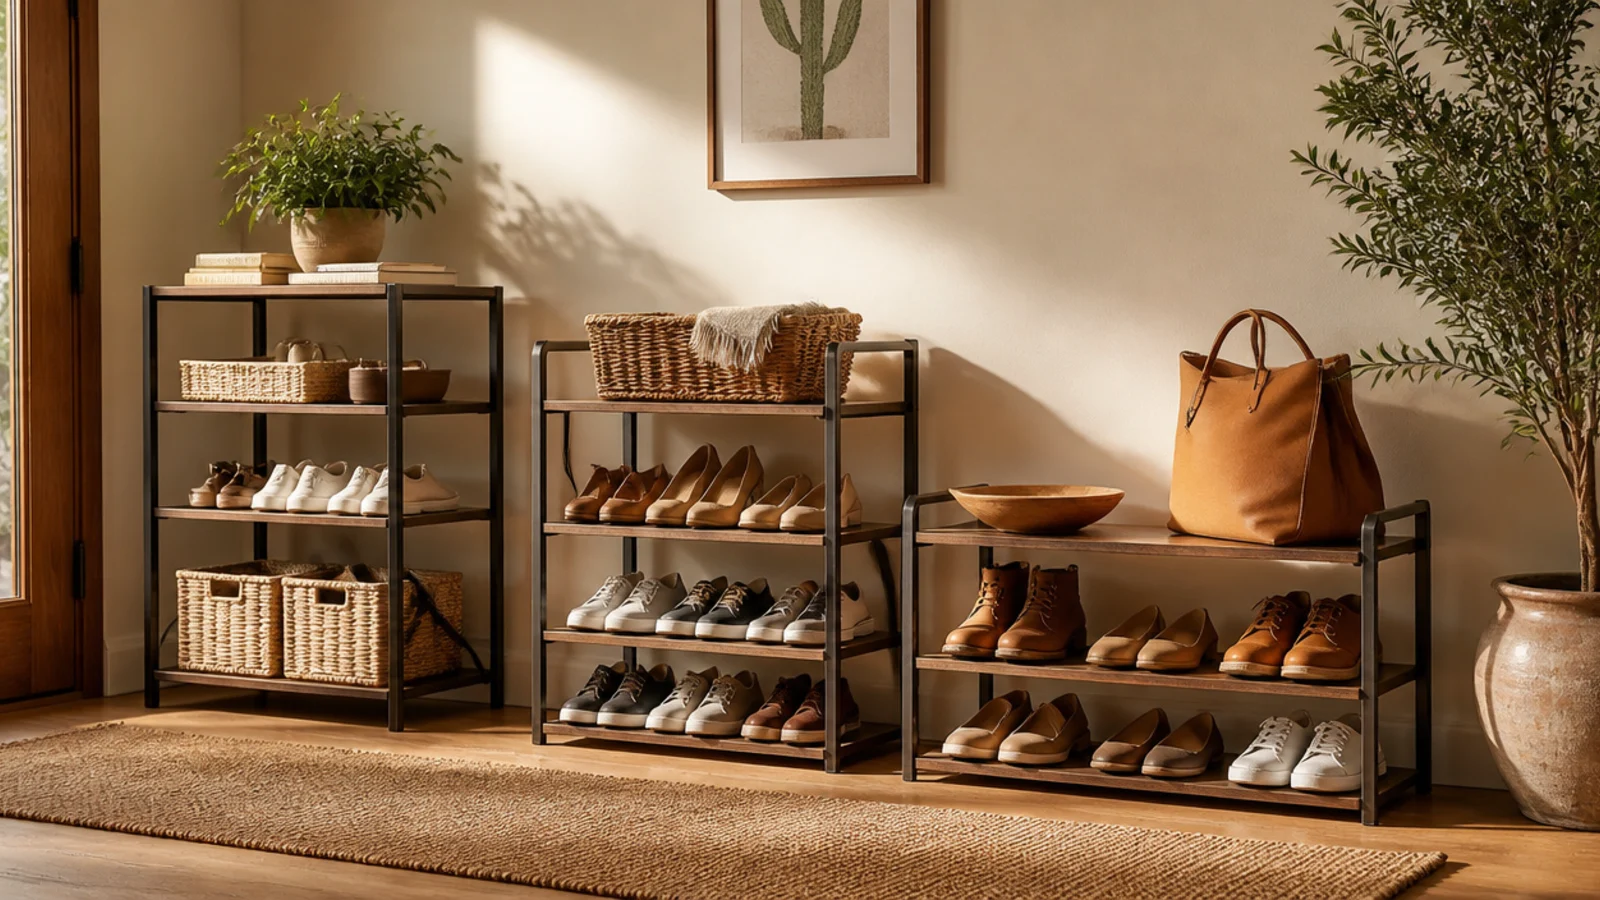
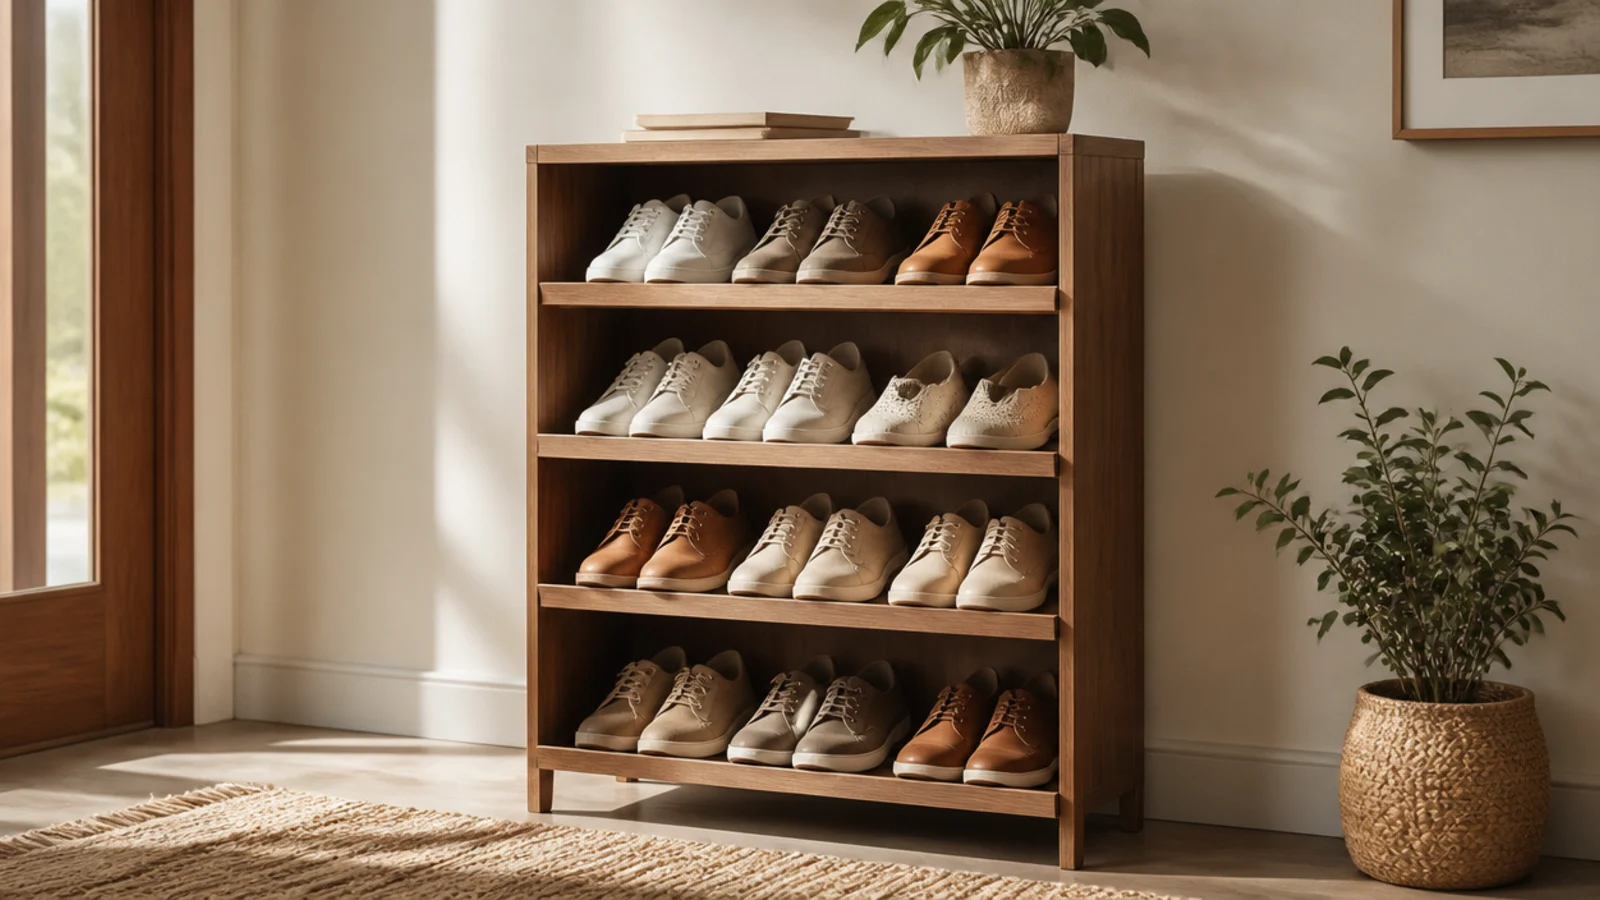
1. Classic Pine Tiered Rack
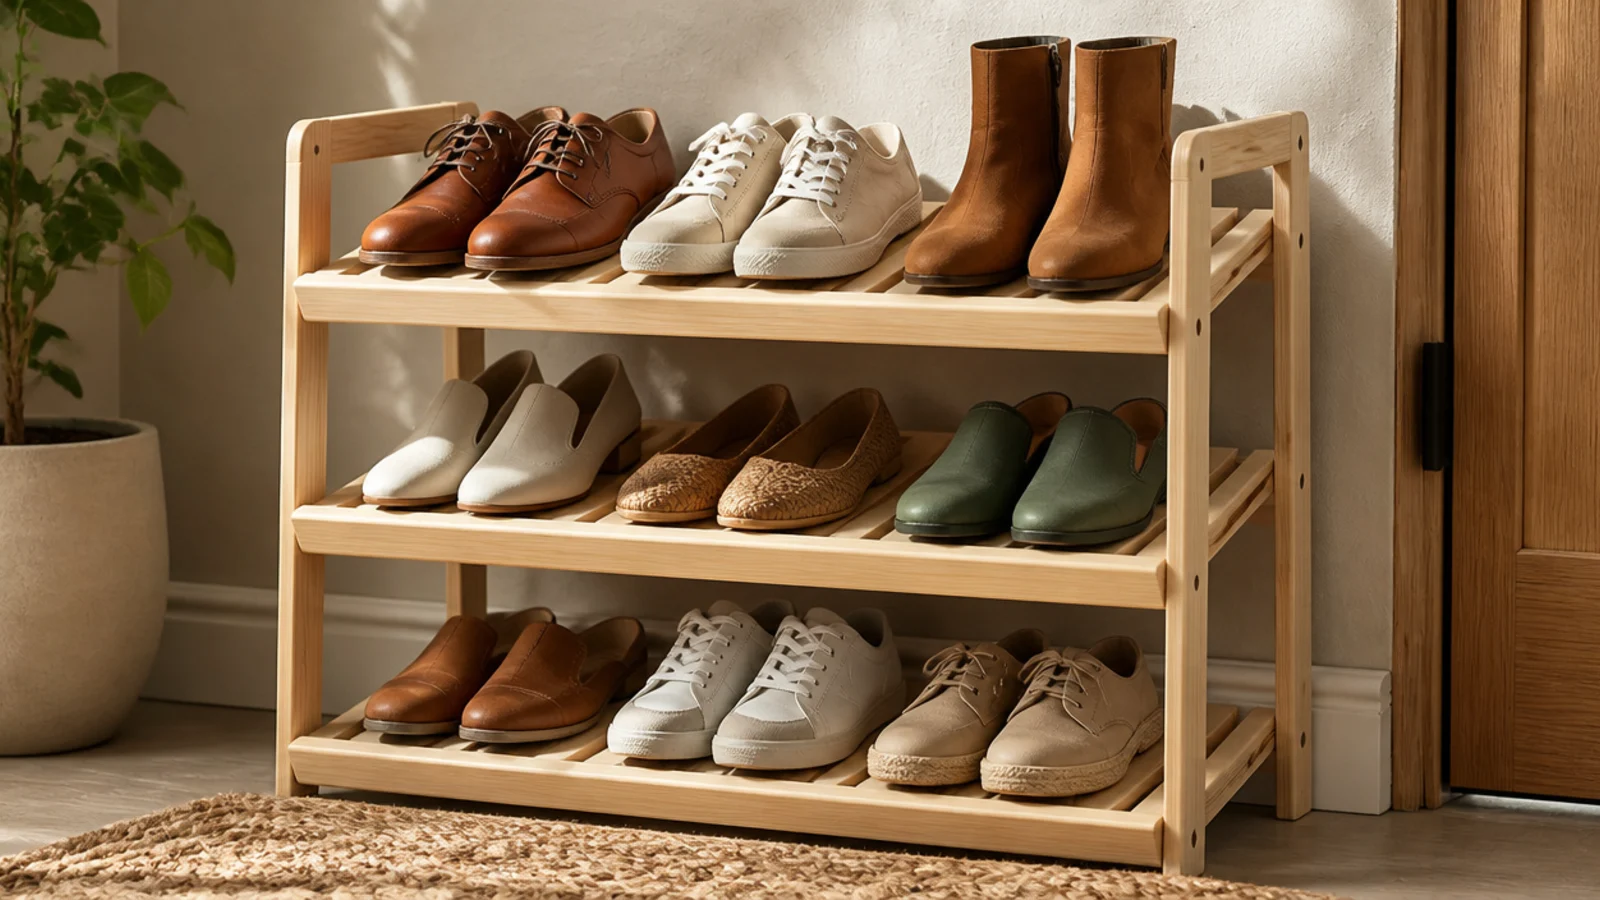
A three-tier pine rack is the friendliest wooden build and the cheapest place to start. Pine is soft, light, and easy to cut, and the tiers hold six to nine pairs. It suits a beginner and any low-traffic entry.
Cut pine boards or use a kit; sand to 220 grit. Assemble three angled tiers with screws so shoes rest toe-down, spacing them about 7 inches apart. Add a back rail or brace so it does not rack. Condition and stain the pine (or paint it), then seal with wipeable polyurethane and line the tiers with pairs.
Use a wood conditioner before staining pine so it takes color evenly instead of turning blotchy.
Do not leave pine raw near shoes; it dents and stains fast, so a protective topcoat is not optional here.
2. Oak Slatted Bench
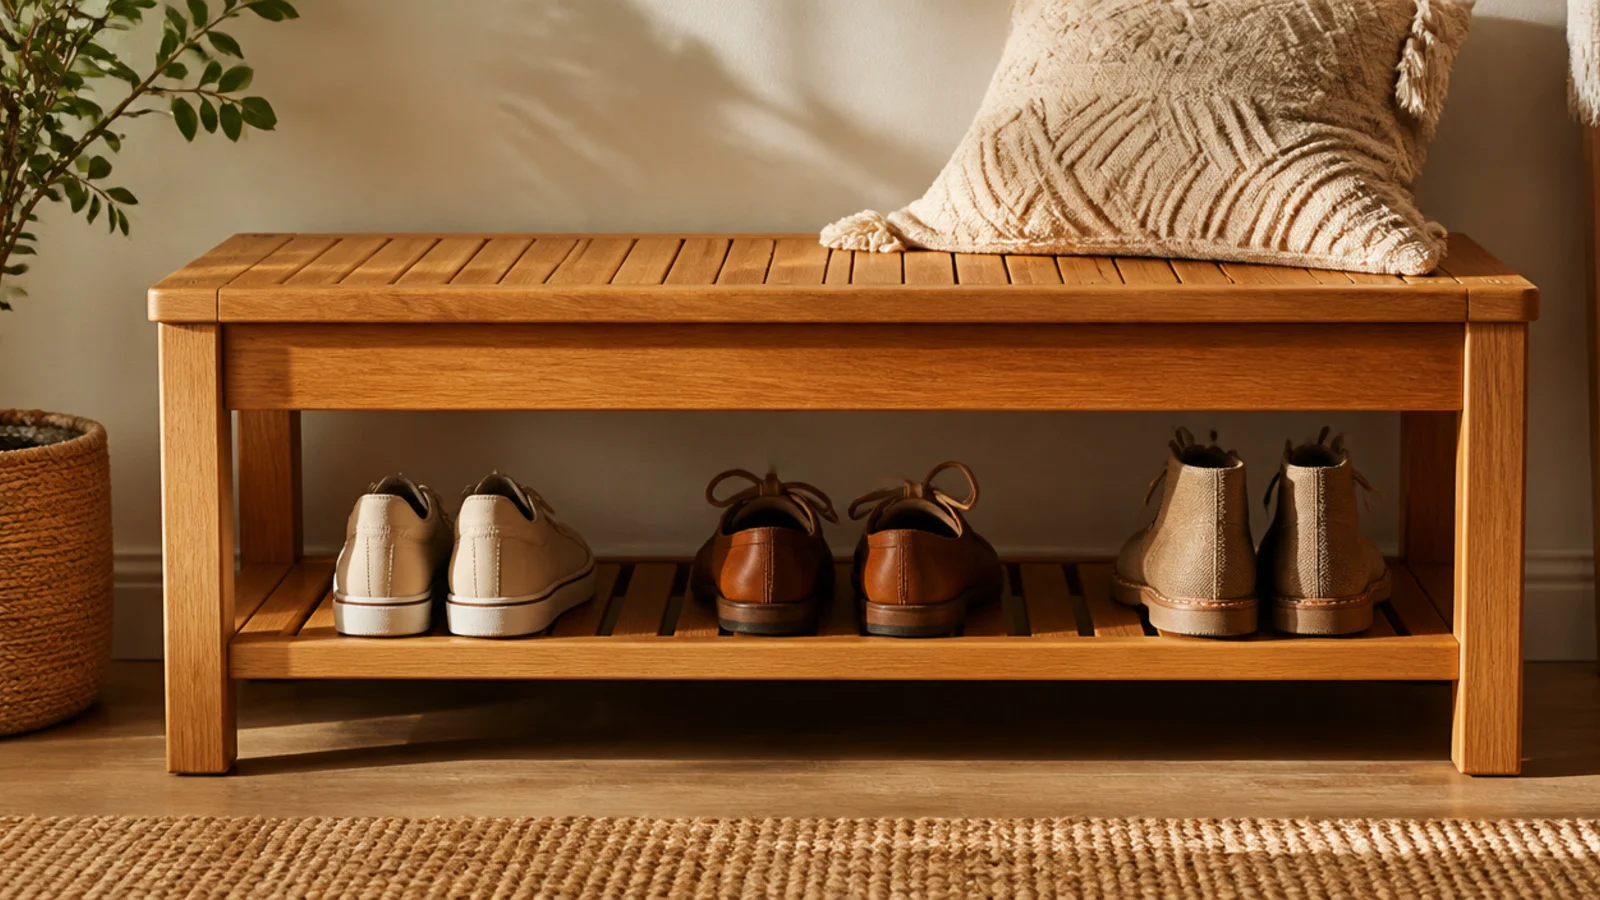
A solid oak bench with slatted seat and shelf is a heirloom-quality piece you sit on and store shoes beneath. Oak takes knocks and a rich finish, and the slats let damp shoes breathe. It suits an entry you want to last for decades.
Build the frame from oak with a slatted seat and a slatted lower shelf, joined with pocket screws or mortise-and-tenon for strength. Space the seat slats close so they are comfortable and the shelf slats wide enough to drop grit. Sand to 220 and finish with hardwax oil to show the grain. Line the shelf with daily pairs.
Editor's noteOil oak rather than varnishing it; the oil deepens the grain and you can spot-refresh scratches without stripping the whole piece.
Skip thisDo not space the seat slats so wide they pinch; comfortable seating needs closer slats than the shoe shelf below.
3. Solid Walnut Cabinet
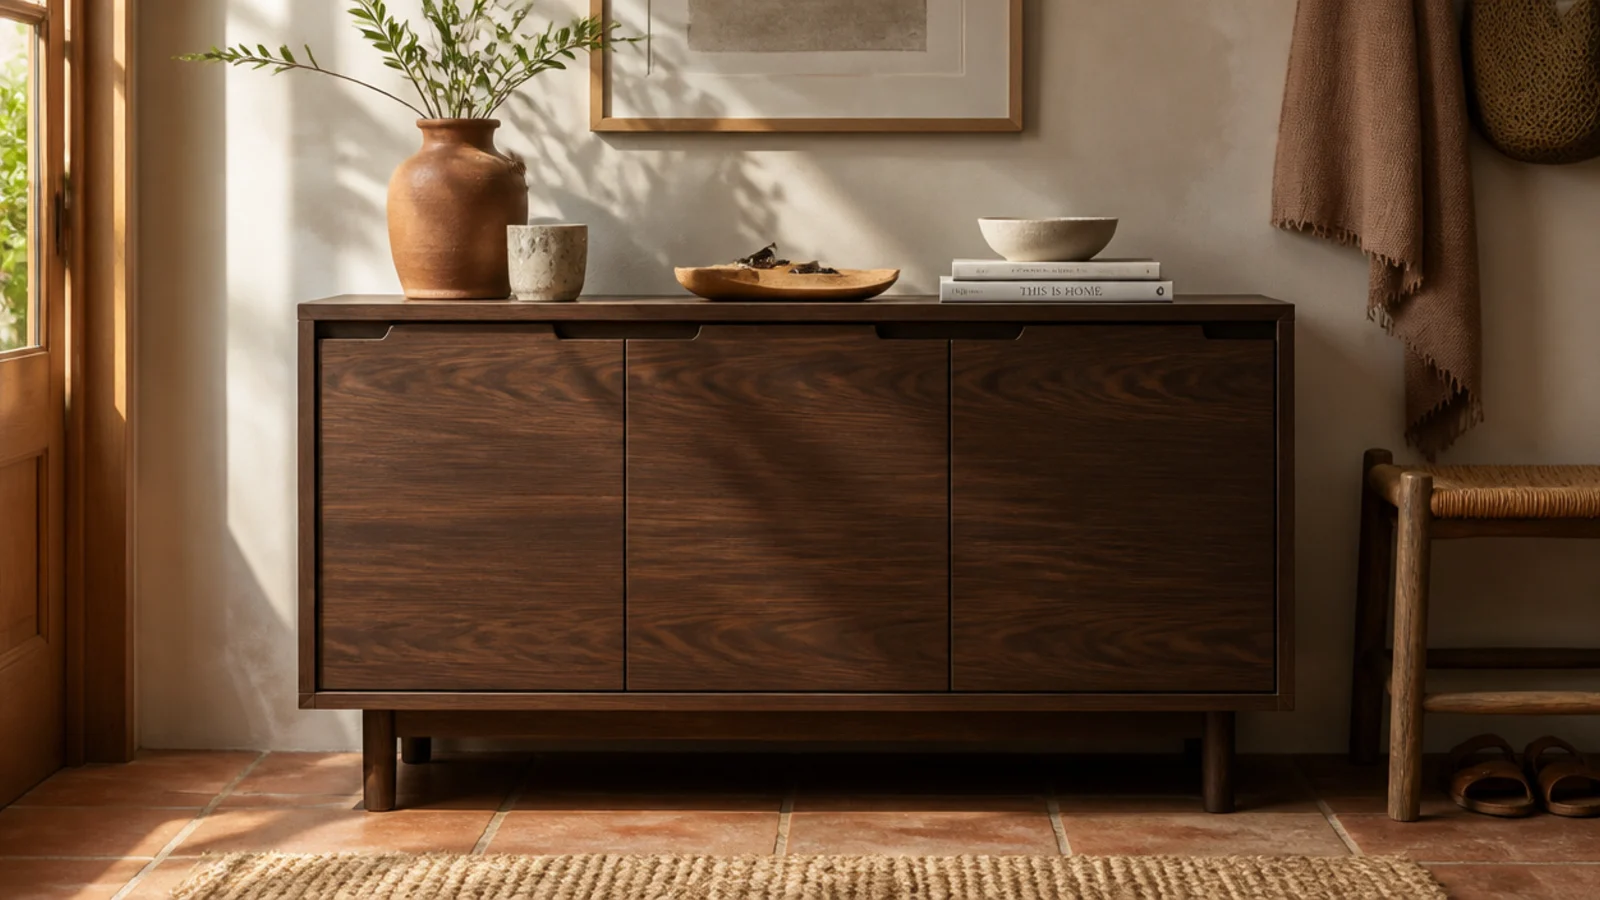
A low walnut cabinet hides shoes behind a rich, dark grain that reads as luxury. Walnut is hard, stable, and stunning finished. It suits a refined entry or bedroom where you want the storage to be beautiful furniture.
Choose or build a cabinet from solid walnut or walnut veneer with flat doors and adjustable interior shelves at shoe spacing. Store pairs on edge to fit more. Finish with hardwax oil to bring out the grain and add slim recessed pulls. Use the flat top as a console surface with a tray and lamp.
Editor's noteBook-match the grain across the two doors so the front reads as one continuous piece of wood.
Skip thisDo not use a heavy glossy varnish on walnut; it flattens the grain, and oil or a matte finish shows off the wood far better.
4. Reclaimed Barnwood Rack
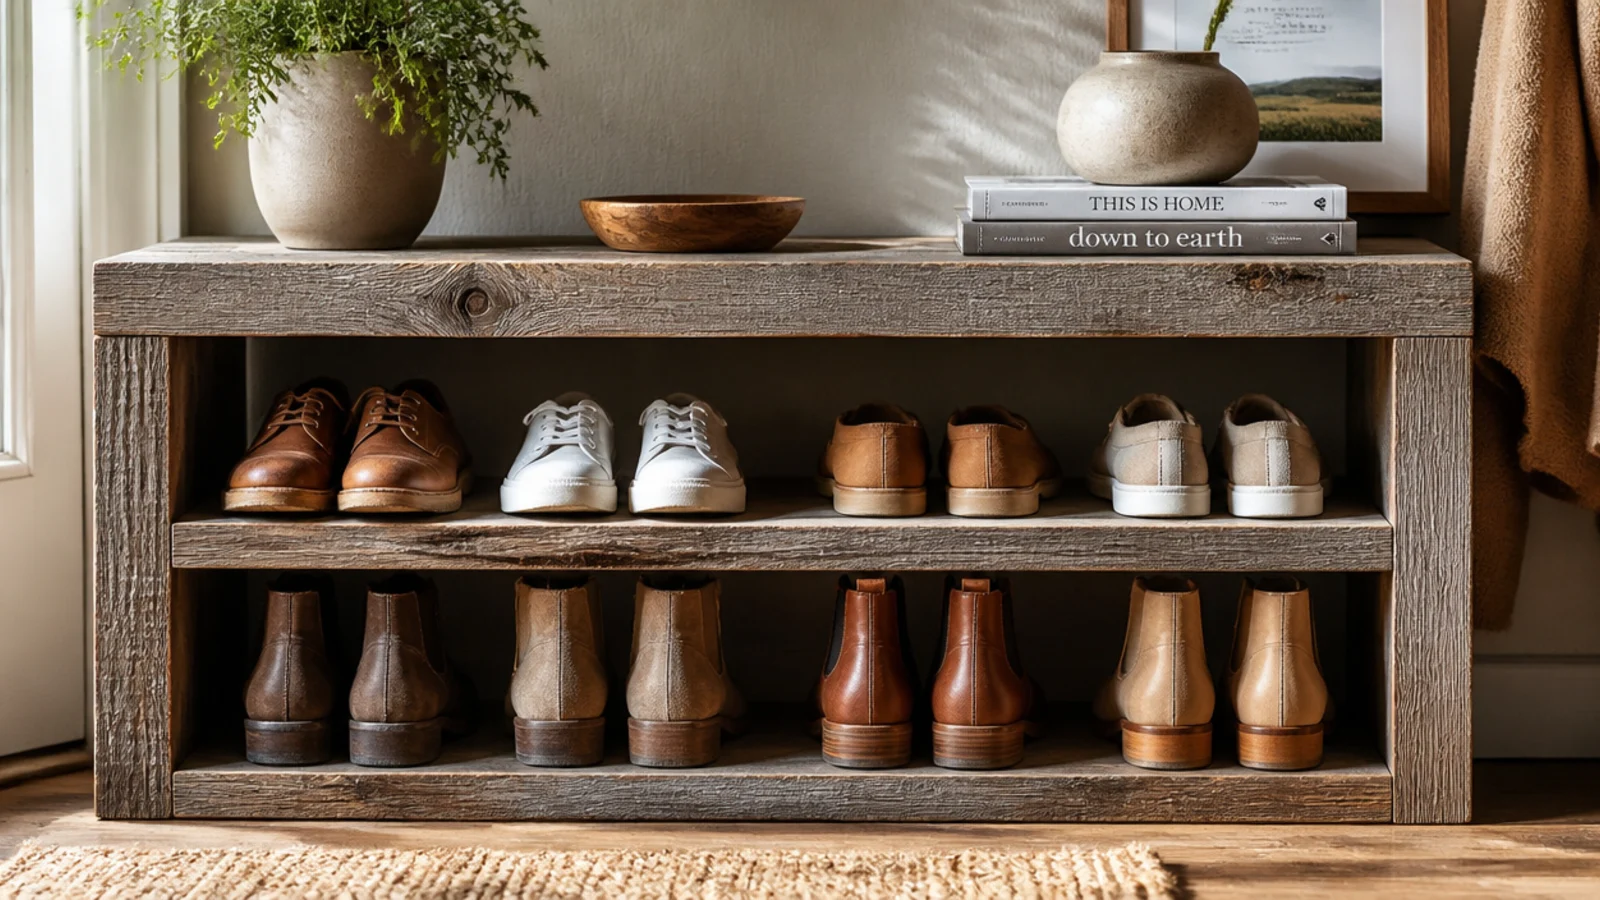
A rack built from weathered barnwood brings instant character and history to an entry. The gray, textured boards look aged in a way new wood cannot fake. It suits a farmhouse or rustic home and reuses salvaged material.
Source clean reclaimed boards; remove any nails and sand off splinters while keeping the weathered patina. Build a simple two- or three-shelf frame with screws, bracing the back. Seal with a matte clear finish that protects without darkening the gray. Line the shelves with pairs, letting the wood’s texture show.
Editor's noteSeal barnwood with a matte, non-yellowing clear so it protects the surface without turning the weathered gray orange.
Skip thisDo not over-sand reclaimed wood; sanding away the patina leaves you with plain wood and defeats the whole point.
5. Live-Edge Shelf Rack
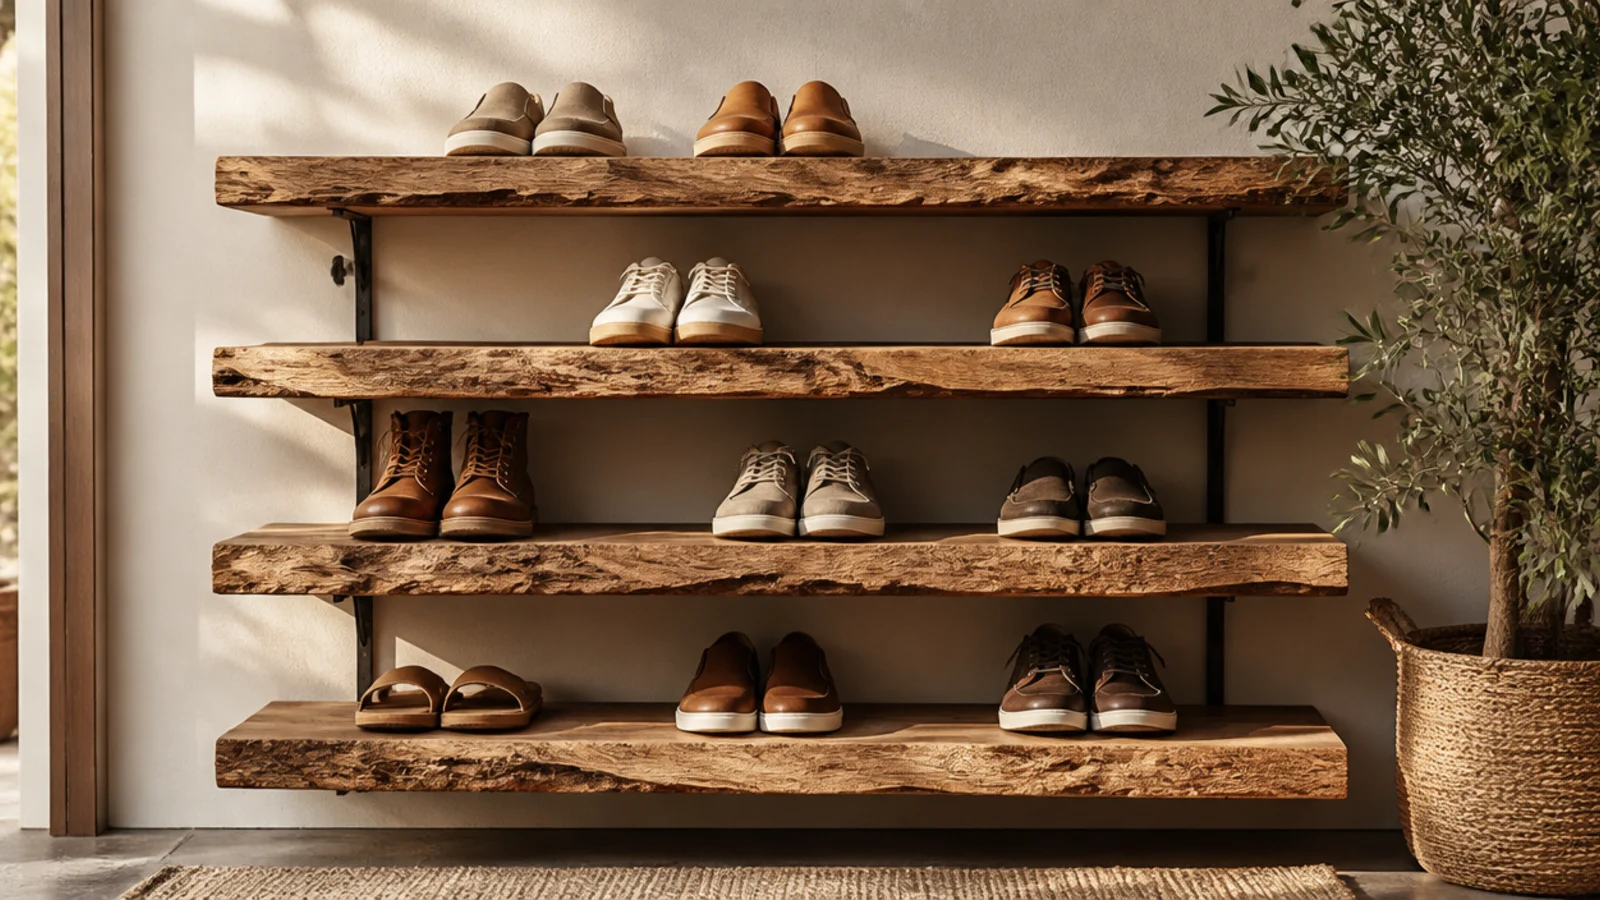
Live-edge shelves keep the natural, wavy edge of the wood for an organic, high-end look. Each irregular shelf becomes a feature. It suits a modern-rustic or nature-led entry with wall space.
Mount live-edge slabs on concealed brackets or wood corbels into studs, level, spaced about 8 inches apart. Sand the tops smooth while leaving the bark or natural edge on the front. Finish with hardwax oil to seal and enrich the color. Line each shelf with a few pairs, keeping the natural edge visible.
Editor's noteStabilize any loose bark on the live edge with thin CA glue before finishing so it does not chip off onto shoes.
Skip thisDo not mount live-edge shelves on flimsy brackets; the slabs are heavy and need concealed steel rods or solid corbels into studs.
6. Aromatic Cedar Slat Rack
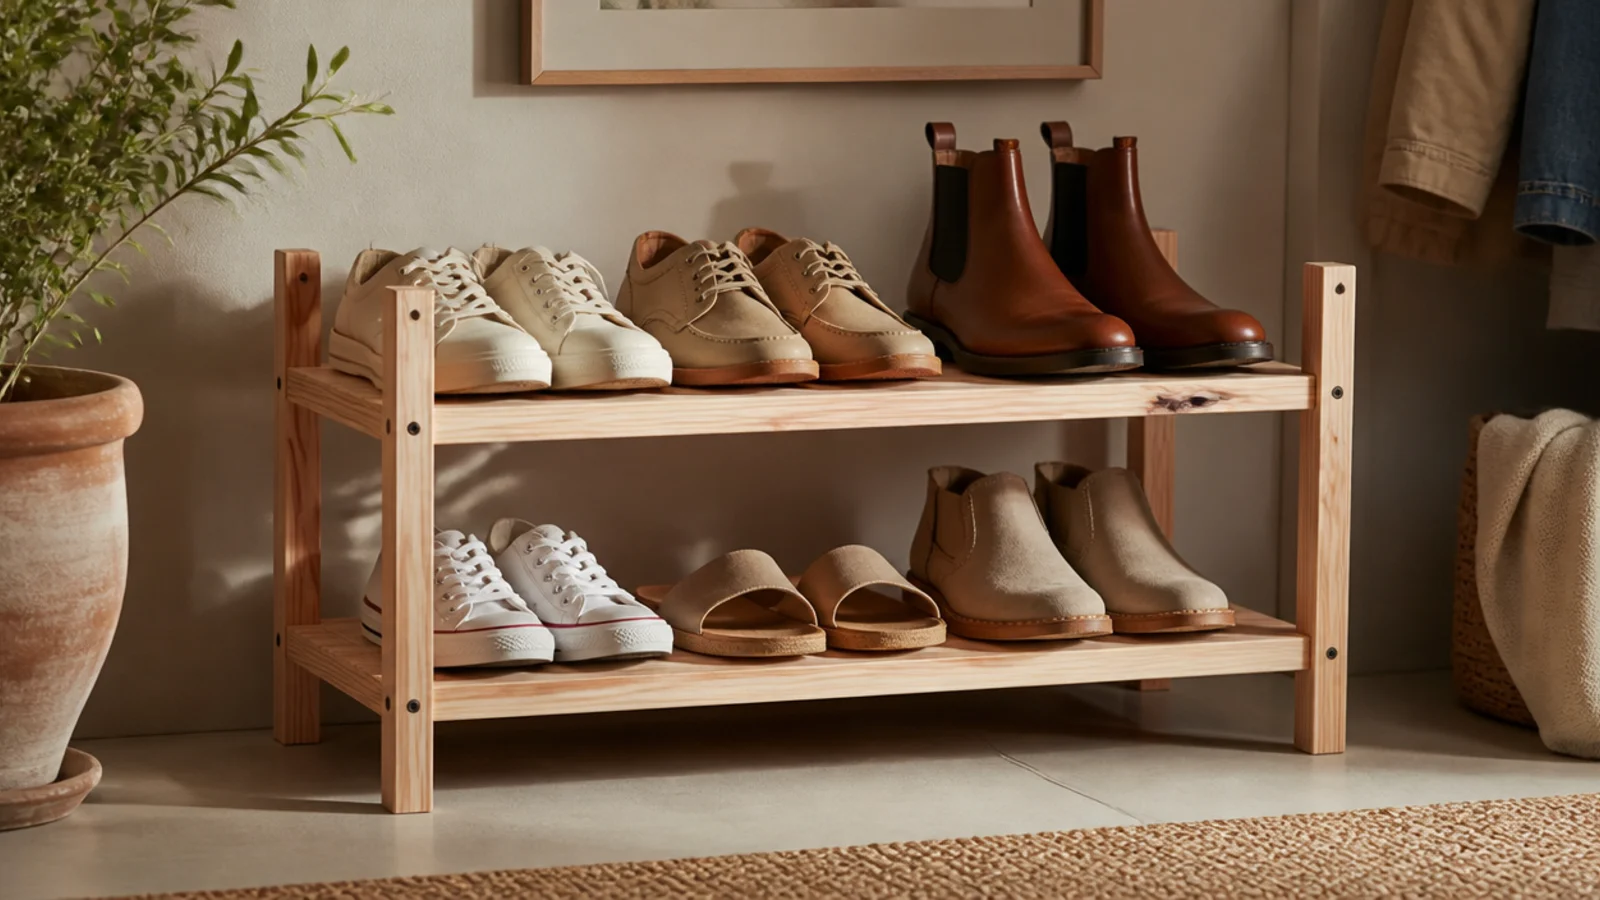
A rack built from aromatic cedar smells fresh and naturally deters odors and moths — ideal near a closet. Cedar is light, easy to work, and pleasantly scented. It suits an entry or closet where shoe odor is a concern.
Build a slatted rack from aromatic cedar boards, leaving the slats close enough to hold shoes but open for airflow. Sand lightly — do not seal the inner faces if you want the scent to keep working. Finish only the outer surfaces with a light oil. Line the tiers with pairs; the cedar keeps them fresher.
Editor's noteLeave the cedar unsealed on the surfaces facing the shoes so the natural scent keeps deterring odor and moths.
Skip thisDo not coat cedar in heavy polyurethane; sealing it fully locks in the aroma and you lose the main benefit.
7. Dowel-Rung Rack
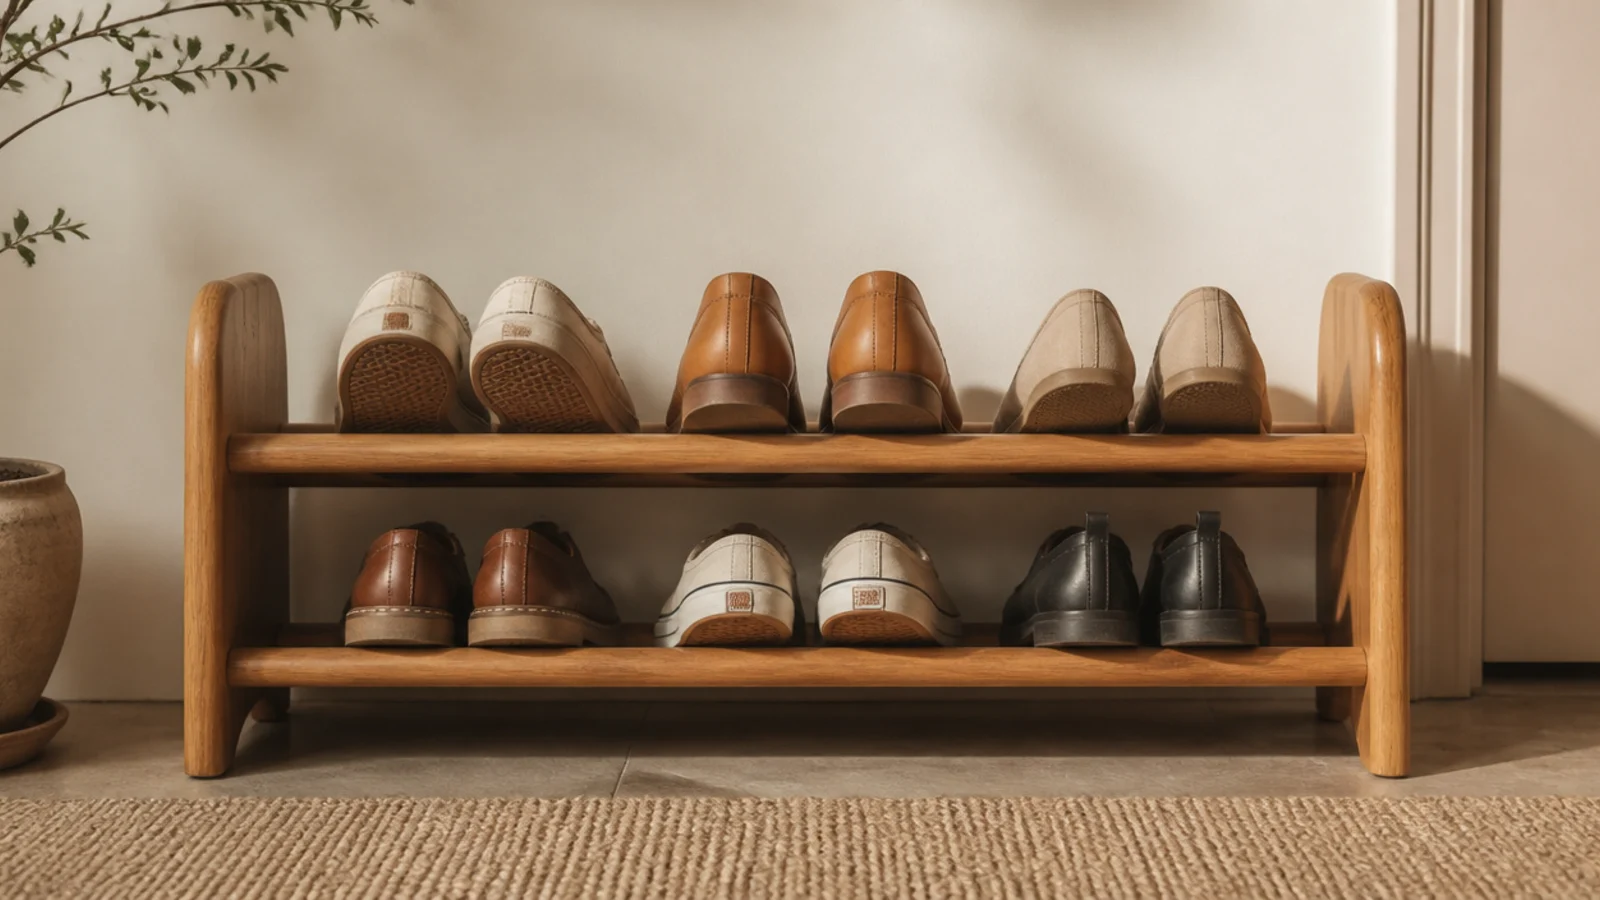
A rack made of horizontal wooden dowels lets shoes rest across the rungs, so it is airy and sheds grit to the floor. The rounded rungs suit all shoe types. It is a clean, simple build that looks Scandinavian.
Drill matching rows of holes in two wooden side frames and glue dowels into them to form rungs, spaced so shoes straddle two rungs. Screw the frame corners for strength. Sand to 220 and oil the whole rack. Rest shoes across the rungs toe-out; grit falls through to a tray or the floor.
Space the rungs so a shoe rests on two at once, heel on the back rung and sole on the front — it holds shoes far more securely.
Do not glue the dowels without pinning or a tight fit; loose dowels spin and pull out under the weight of shoes.
8. Wooden Cubby Grid
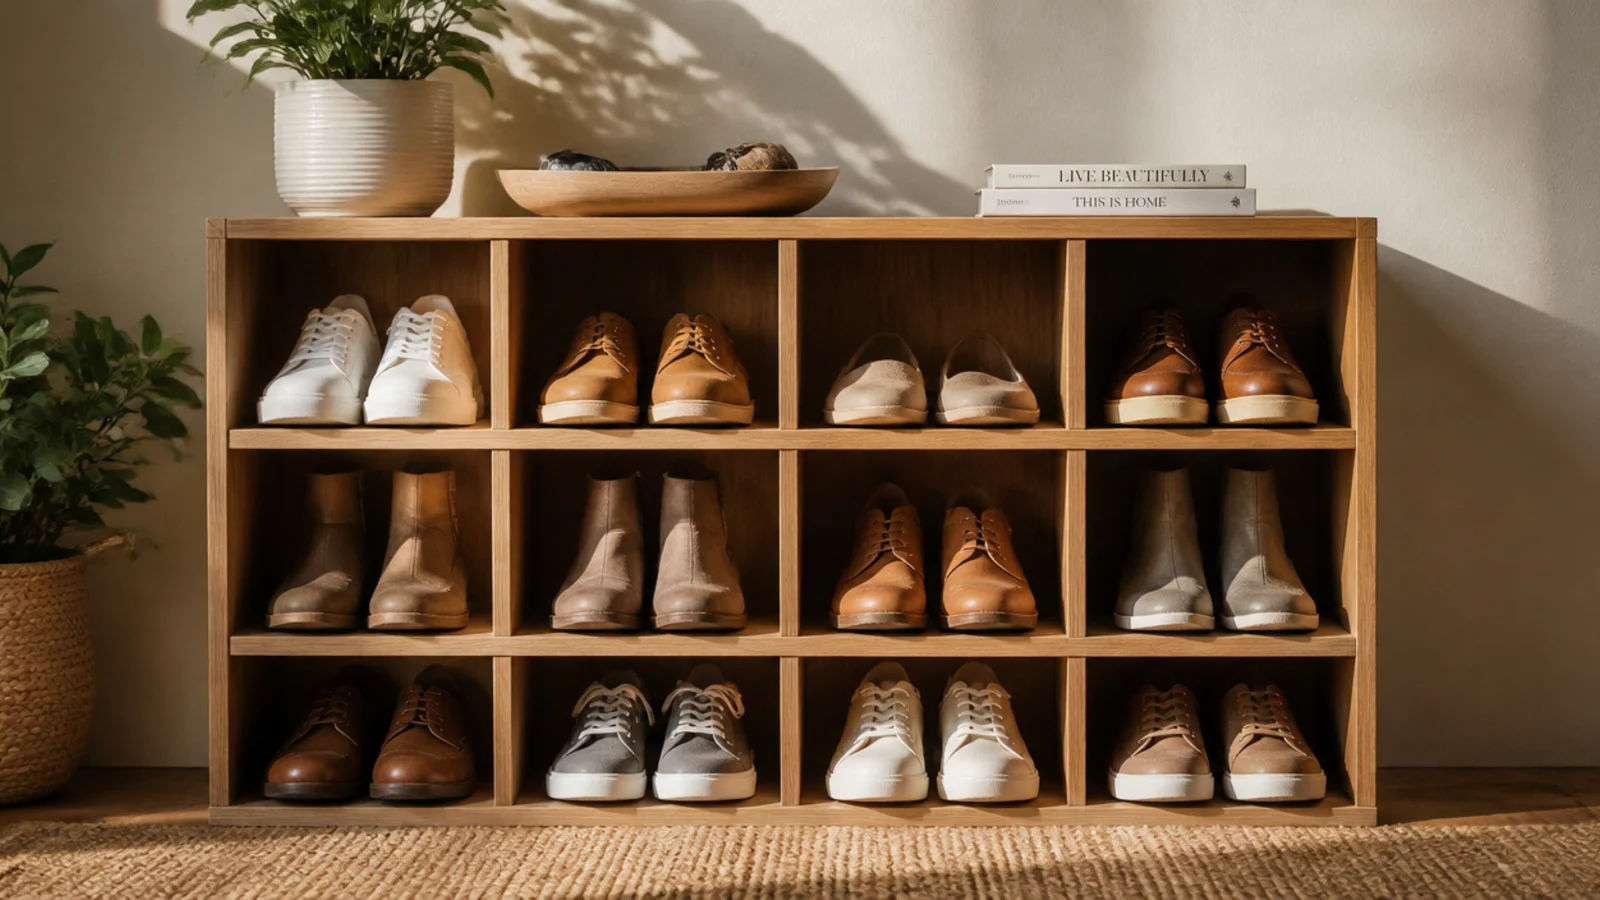
A grid of wooden cubbies gives every pair its own square, keeping shoes separated and tidy. The clean grid suits a family entry where everyone needs a slot. It reads as built-in when sized to the wall.
Build a grid from plywood or solid boards with dividers making cubbies about 7 inches square. Join with dados or screws and add a back panel for rigidity. Anchor it to the wall, sand, and seal or paint. Assign cubbies by person and add fabric bins to lower rows for small shoes.
Editor's noteCut the vertical and horizontal dividers with interlocking notches (a half-lap grid) so the whole unit locks together without racking.
Skip thisDo not skip the back panel on a large cubby grid; without it the grid flexes and the cubbies go out of square.
9. Stained Ladder Rack
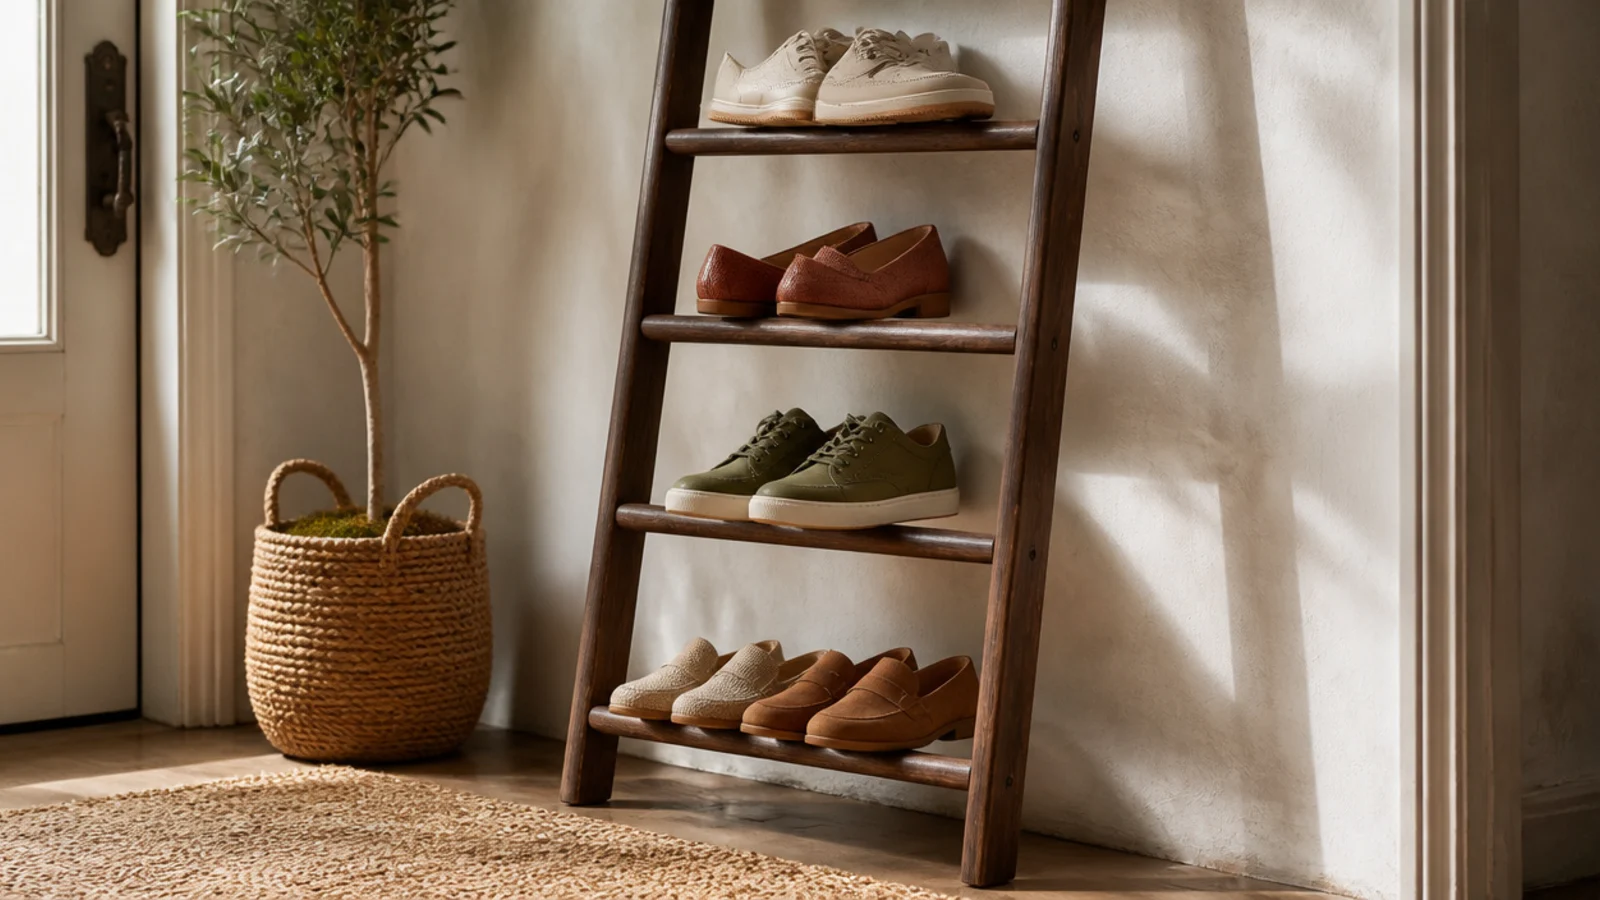
A leaning ladder rack with stained rungs uses vertical space and adds warm wood tone to a narrow wall. Shoes rest on the angled rungs. It suits a slim strip beside a door and is quick to build or buy.
Build or buy a wooden ladder frame and stain it a warm tone, then seal. Lean it against the wall so the rungs tilt back and hold shoes; strap the top to the wall so it cannot slide. Use lower rungs for shoes and an upper rung for a basket. Keep pairs to one or two per rung.
Editor's noteAdd a shallow board across the lower rungs to turn them into small shelves for flats that would slip through the gaps.
Skip thisDo not lean an unsecured ladder rack in a busy or kid-filled entry; strap the top to the wall so it cannot walk out and tip.
10. Butcher-Block Bench
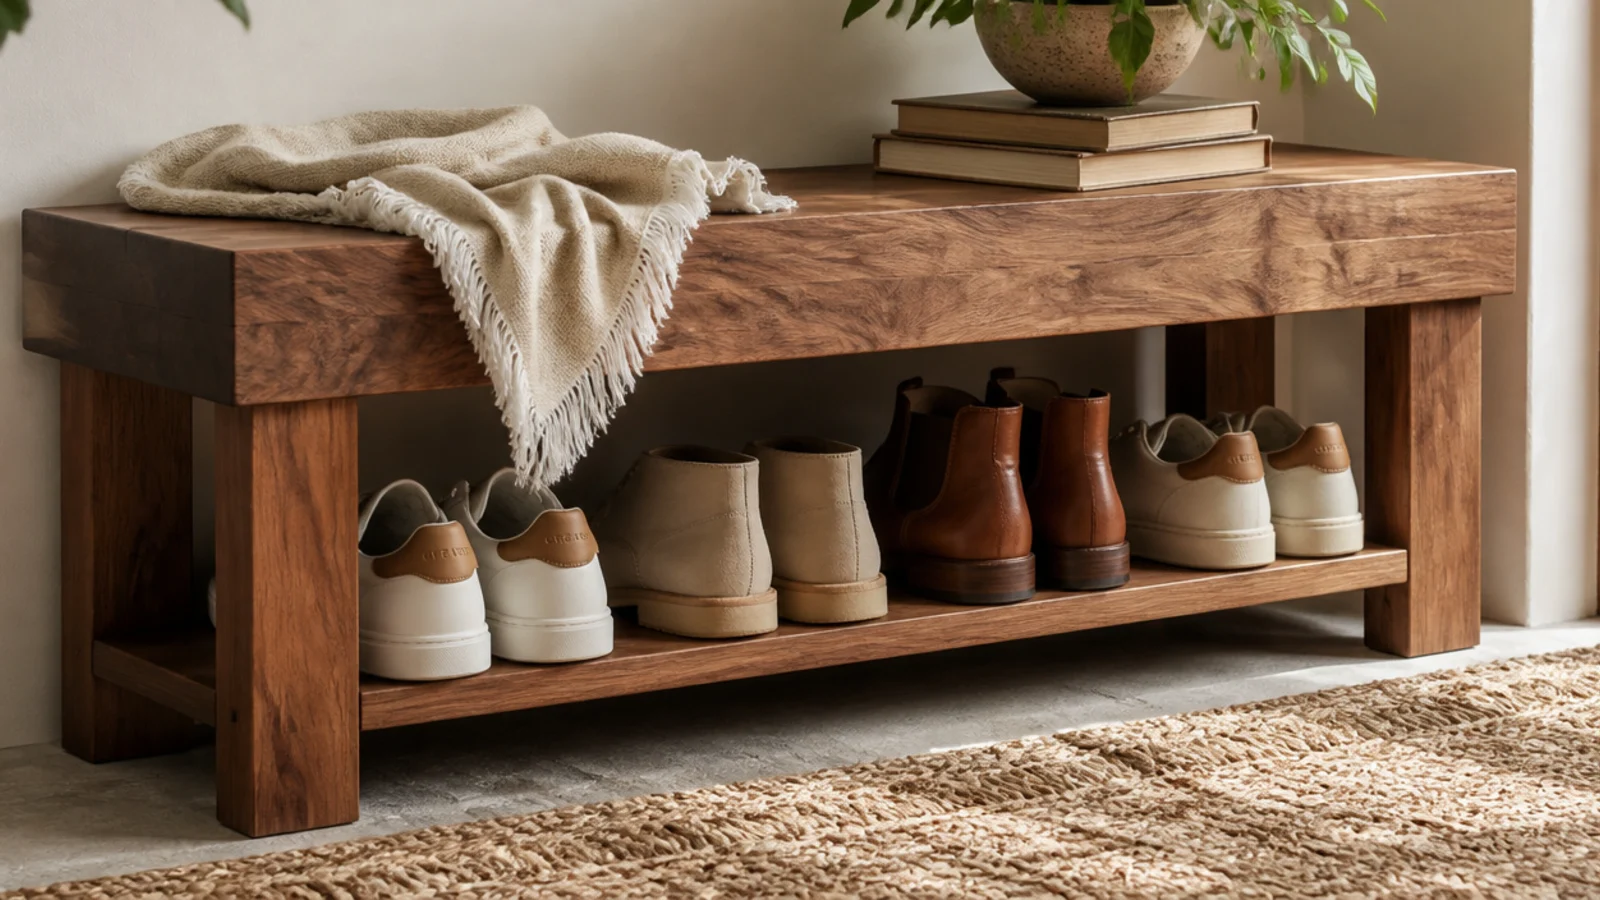
A bench topped with butcher block gives you a thick, durable, seamless wood surface for less than a solid slab. The chunky top looks substantial and takes hard use. It suits a busy entry that needs a tough seat.
Set a butcher-block panel (oak, birch, or acacia) on square or tapered legs with an open shelf beneath. Attach legs and shelf with brackets or pocket screws. Sand and finish the block with a food-safe hardwax oil or polyurethane so it wipes clean. Line the lower shelf with daily shoes.
A pre-made butcher-block counter offcut makes a perfect, inexpensive bench top — check a home store’s cut-to-size section.
Do not leave butcher block unsealed; it soaks up water from wet shoes and coats set on it, and stains permanently.
11. Pallet Wood Wall Rack
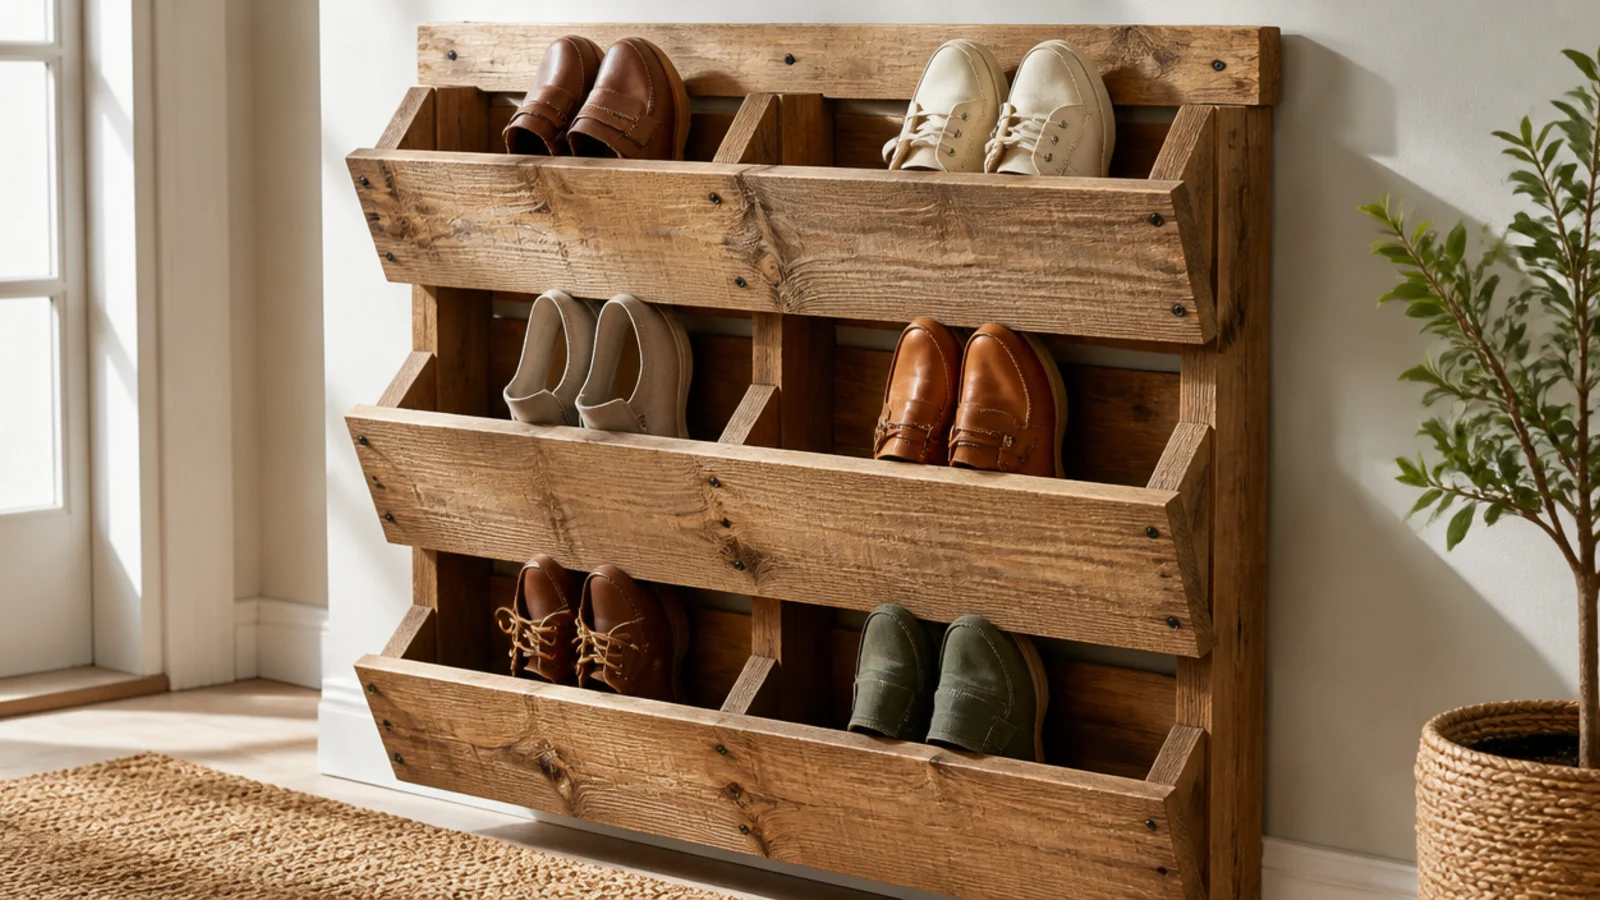
Planks salvaged from pallets, cleaned up and wall-mounted, make an inexpensive rustic rack with angled shoe pockets. It reuses free material and keeps the floor clear. It suits a casual or industrial entry.
Break down a heat-treated pallet and sand the planks. Build angled pockets by fixing a front plank a few inches out from a backing board so shoes tuck in toe-first. Mount it to the wall into studs, and seal the wood. Slot pairs into the pockets, spacing them so the wood shows.
Editor's noteAngle the front plank slightly so shoes tilt toward you and are easy to grab rather than falling flat into the pocket.
Skip thisDo not use pallets stamped MB (chemically treated); only heat-treated (HT) pallet wood is safe indoors.
12. Teak Entry Bench
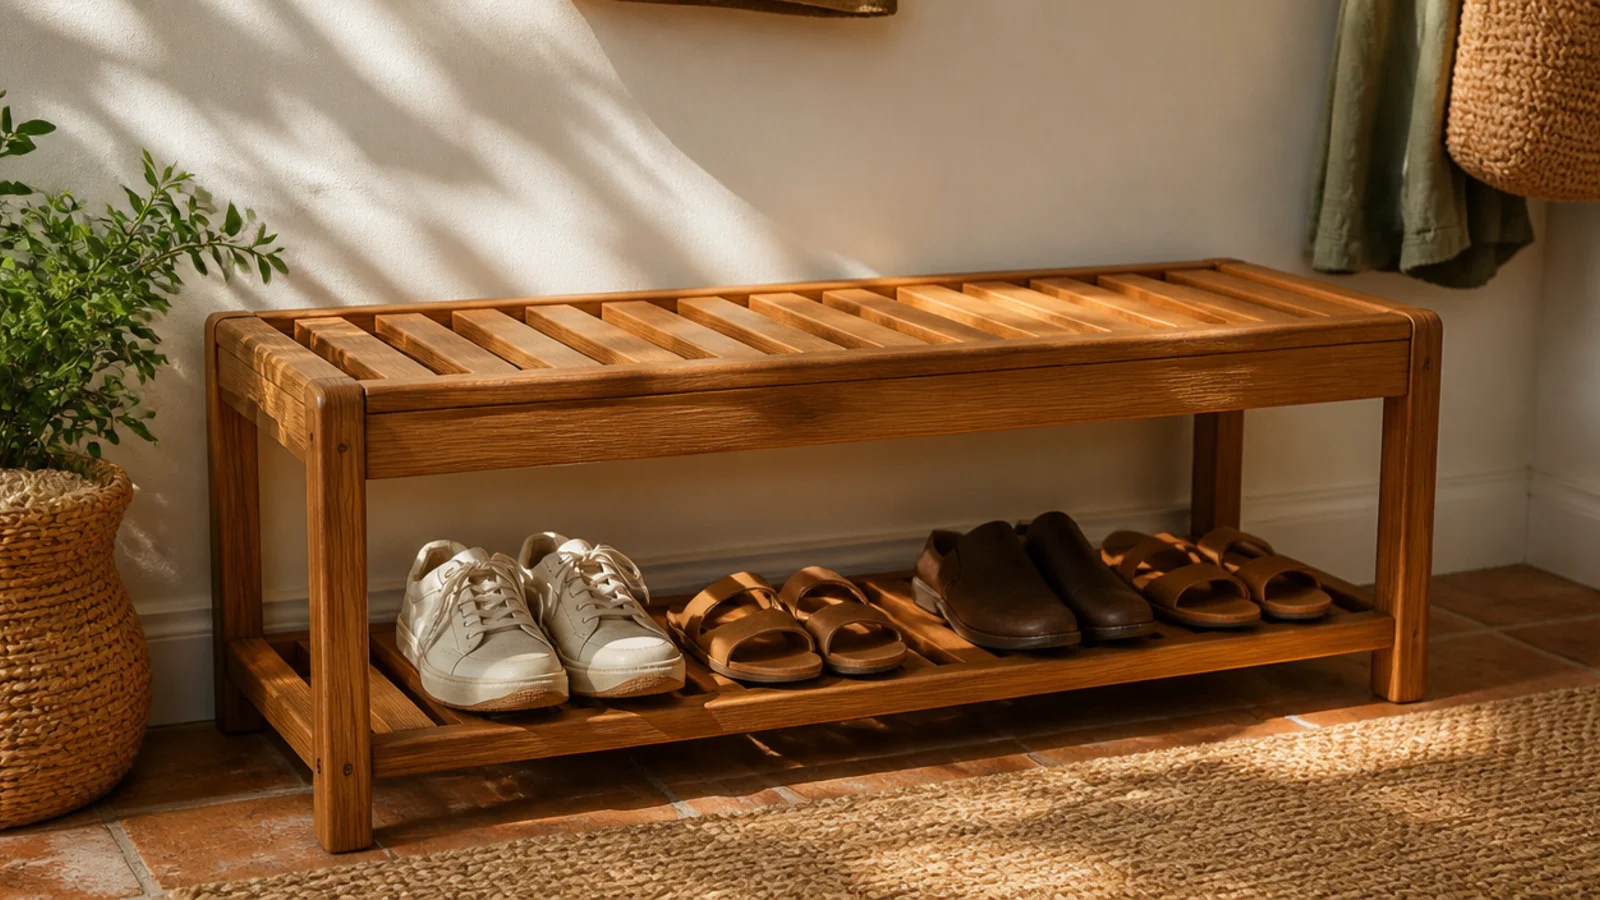
A teak bench handles damp and humidity better than almost any wood, so it suits a wet entry or a covered porch. Teak’s natural oils resist moisture and rot. It gives you a durable seat with shoe storage below.
Choose a slatted teak bench with a lower shelf. Because teak resists water, it tolerates a wet entry, but still wipe it dry and store the wettest shoes on a tray. Oil it once or twice a year to keep the golden color, or let it silver naturally. Line the shelf with everyday shoes.
Let teak weather to a soft silver-gray if you prefer that look, or oil it yearly to hold the warm golden-brown tone.
Do not varnish teak; its natural oils reject film finishes, which peel — use teak oil or leave it to weather instead.
13. Beadboard Shoe Cabinet
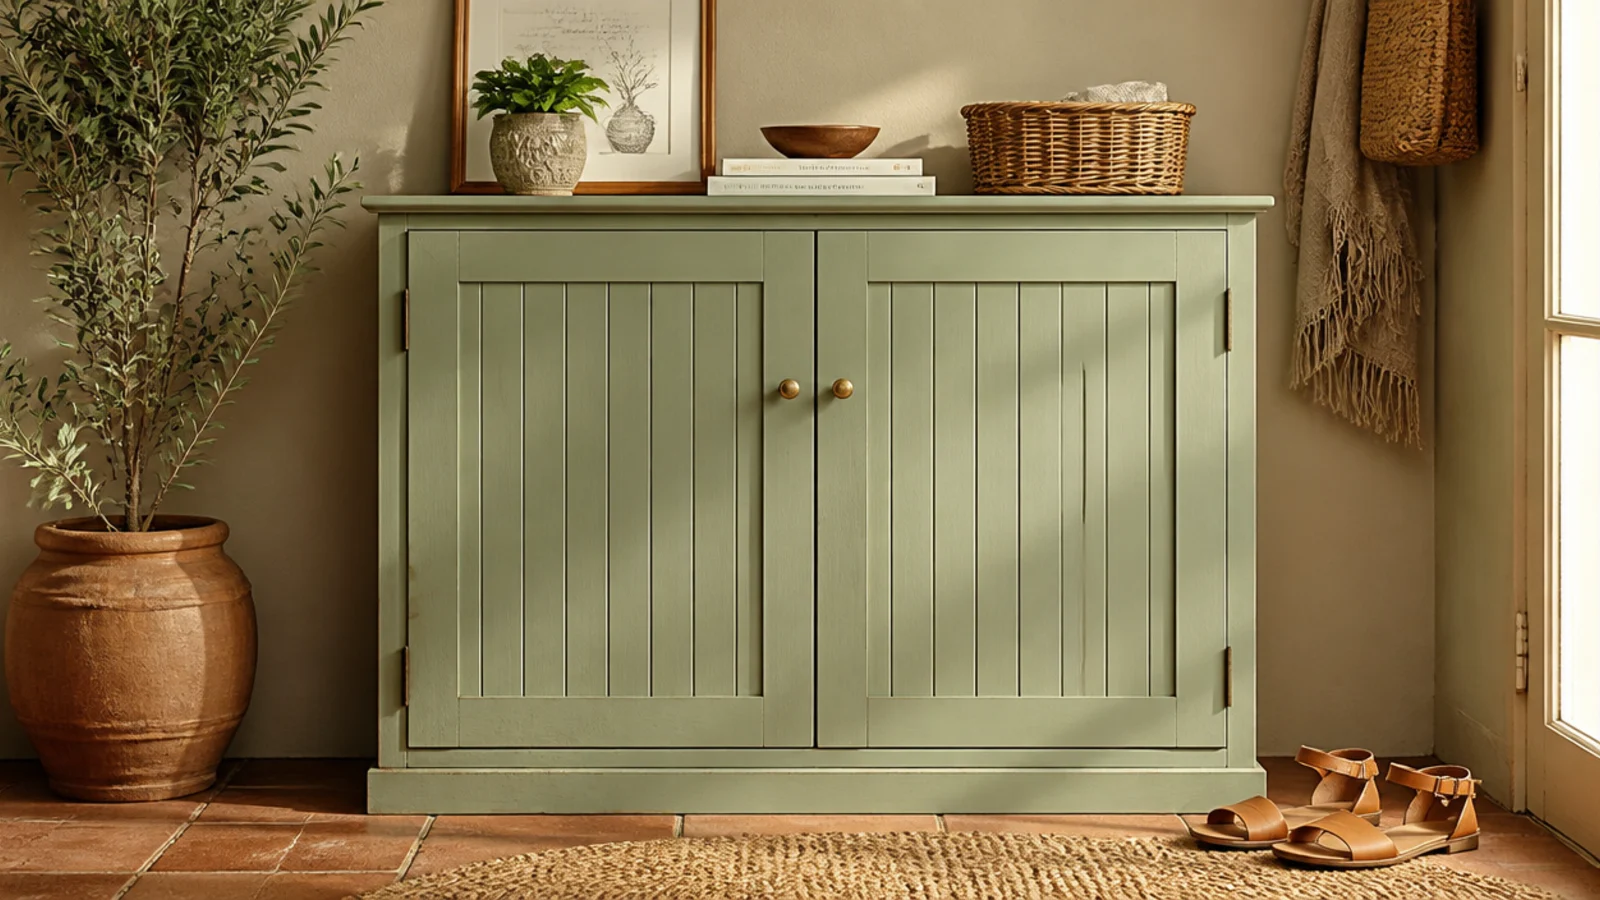
A cabinet with beadboard door panels brings a cottage or coastal charm to hidden shoe storage. The vertical bead lines add classic texture. It suits a traditional or farmhouse entry and looks great painted.
Build or buy a cabinet with beadboard-panel doors and interior shelves at shoe spacing. Prime and paint it a soft color, then seal near-shoe surfaces. Store pairs on edge inside. Fit simple knobs or cup pulls in a finish that suits the style, and use the top for a basket and a lamp.
Editor's notePaint the beadboard with a semi-gloss or satin so the grooves wipe clean; flat paint in the beads traps grime.
Skip thisDo not use real tongue-and-groove beadboard without sealing the grooves; dust and shoe grit collect in them fast.
14. Rustic Branch Rack
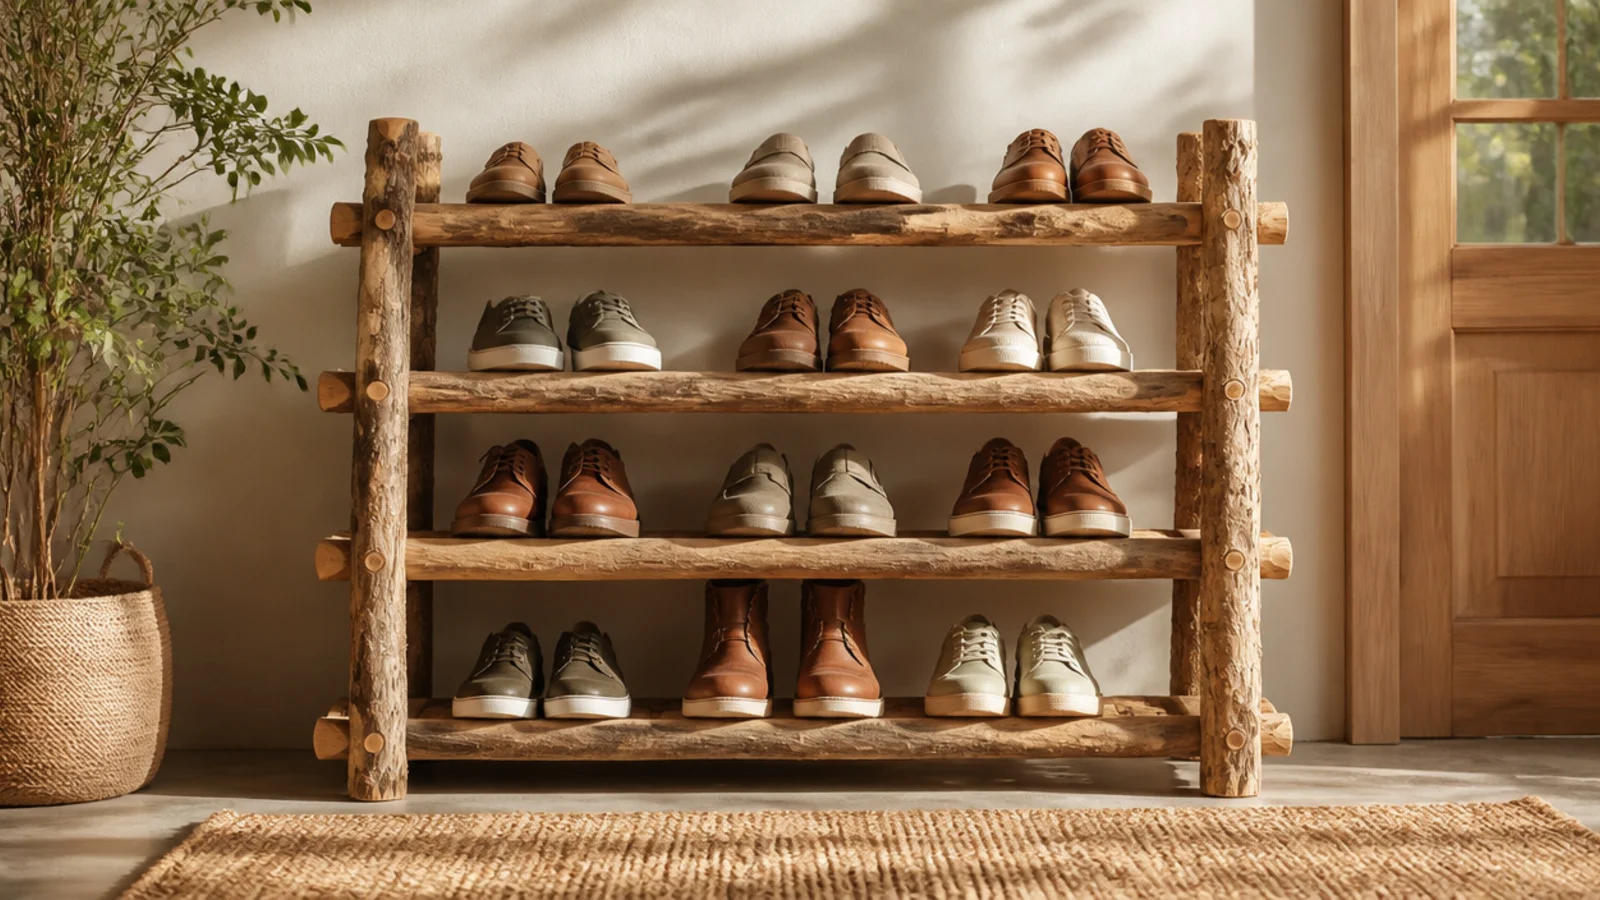
A rack that uses thick natural branches as its rails is a one-of-a-kind, cabin-style piece. Shoes rest across the branch rungs. It suits a rustic or cabin home and turns a walk in the woods into furniture.
Collect straight, dry, seasoned branches a couple of inches thick and strip any loose bark. Fix them as horizontal rails between two solid side frames, drilling and screwing the ends. Seal the whole thing with a clear matte finish so bark and sap do not transfer. Rest shoes across the branch rungs.
Editor's noteUse fully dried, seasoned branches; green wood keeps shrinking and cracking, loosening the joints after a few weeks.
Skip thisDo not bring in branches with loose bark or insects; debark, dry, and seal them before they become indoor furniture.
15. Plywood Waterfall Rack
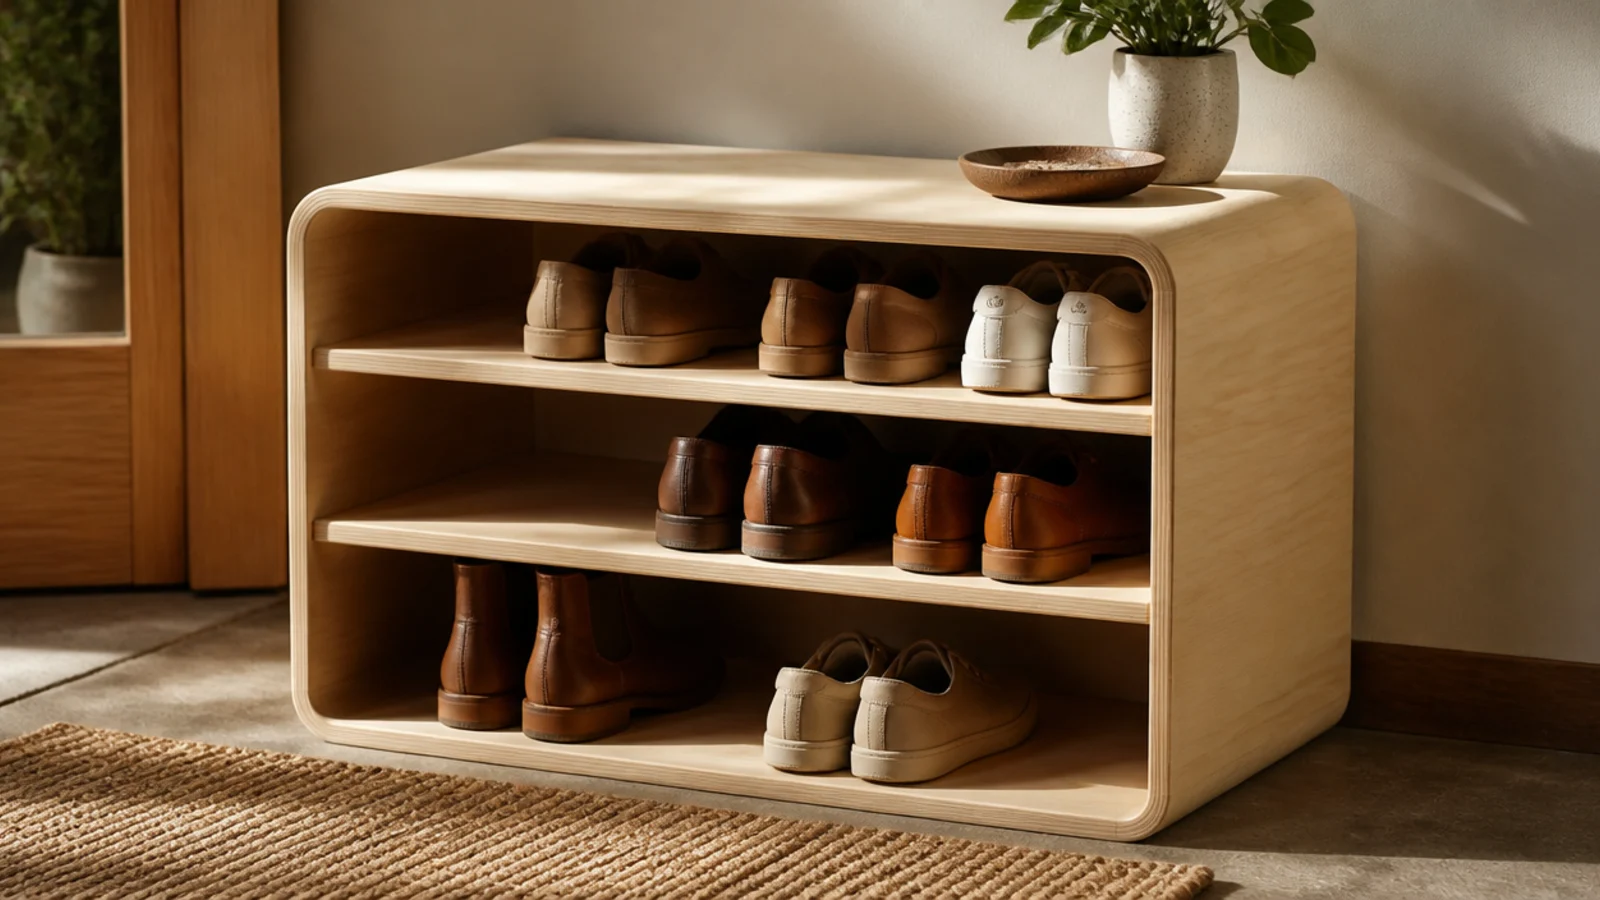
A rack cut from one sheet of birch plywood with a continuous waterfall edge is modern, clean, and affordable. The exposed ply edge becomes a design feature. It suits a modern or Scandinavian home built on a budget.
Cut birch plywood into a top, sides, and shelves; join with concealed screws or dowels so the outer edges run continuously. Sand the ply edges smooth and finish with hardwax oil to show the layered edge. Set shelf spacing at about 7 inches. Line the shelves with pairs toe-out.
Sand and oil the exposed plywood edges carefully; the clean, striped edge is the whole look, so it must be smooth and even.
Do not use cheap construction plywood with voids; use quality birch ply so the edges are solid and paint- or oil-ready.



