
1. Concealed rail shelf with a flush face board
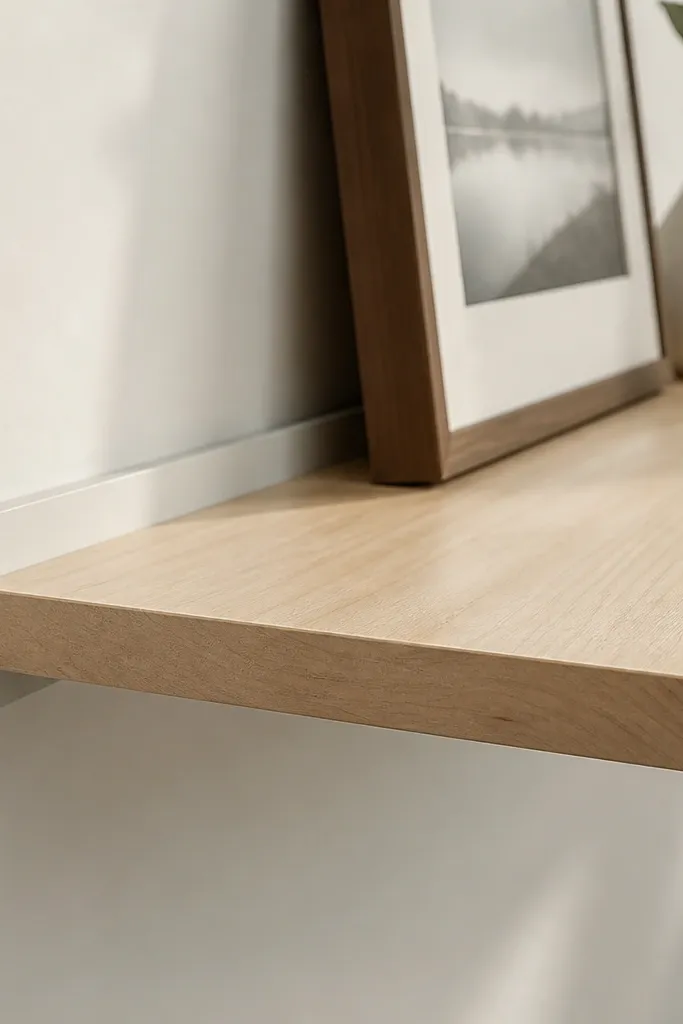
This is the cleanest route to good-looking Floating Shelves because the metal disappears behind a continuous rail and a face board. The shelf looks like it’s hovering, with zero visible brackets, and the load stays spread across multiple mounting points. Use a 3/4-inch shelf board with a 1x face strip that hides the rail line so the front reads as one solid piece. It’s a strong choice for living rooms, hallways, and kitchens where you want the shelf to look architectural but still hold books, mugs, or small decor without wobble. The build is straightforward if you measure carefully; the time goes into lining up the rail level and spacing.
Editor's noteDry-fit the face board once before final screws so the shelf gaps stay even from left to right.
Start by locating studs (or masonry points) and marking a level line where the shelf top will sit. Install a concealed mounting rail using structural screws into studs or proper anchors for masonry; keep spacing consistent across the span. Cut your shelf board to length, then add the face board that covers the rail slot and screws from below. Pre-drill pilot holes so the face board screws don’t split the wood, then attach the shelf to the rail according to the rail hardware method. Finish by sanding edges lightly and applying a hard topcoat like polyurethane so the front edge stays crisp.
Skip thisAvoid relying on drywall anchors alone — if you can’t hit studs, switch to a masonry-rated bracket plan.
2. Boxed floating shelf with a hidden backer for stiffness
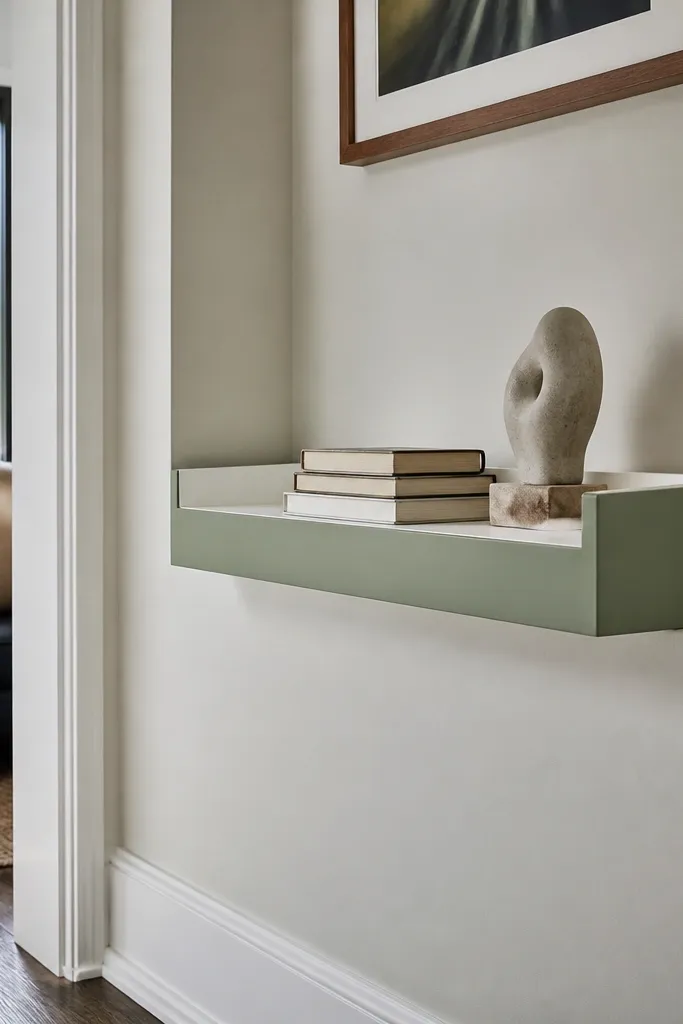
A boxed floating shelf looks substantial because you get a shadow line under the shelf while the underside stays clean. That box shape also stiffens the board, which helps it hold real weight without sagging in the middle. The trick is a hidden backer strip or panel that ties the shelf to the mounting hardware and resists twist. This style is great for heavier items like cookbooks, framed photos, or stacked storage bins where you want a “built-in” look. It’s slightly more work than a simple flat board, but the result reads solid in photos and feels solid when loaded.
Cut a 3/4-inch shelf top and add a backer panel (usually 1/4-inch plywood or solid wood strip) that sits behind the mounting area. Mark and mount your bracket system to studs or rated anchors, then position the backer so it lines up with bracket tabs or screws. Attach the backer to the shelf top using wood glue plus screws from the inside so the backer becomes one rigid unit. Set the shelf onto the brackets, then fasten through the hidden rear to lock it in place. Sand the front edges, then apply stain or paint and seal the top and front lip so the finish doesn’t chip.
Use a thin foam weather-strip behind the backer to prevent squeaks if your wall wood-to-wood contact ever shifts.
Don’t skip the backer — a flat shelf board with only front face hiding hardware flexes and can creep over time.
3. Minimal angled bracket shelf with a decorative side skirt
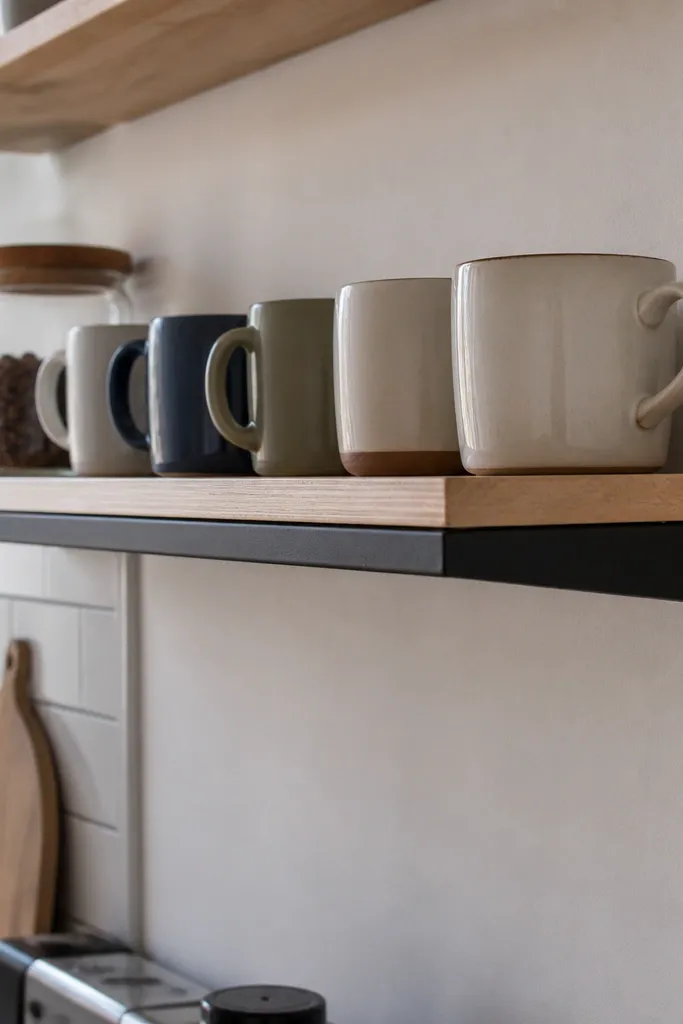
This one looks modern and intentional because the bracket stays mostly out of view, while the side skirt makes the shelf read as a single design object. The angled support gives a cleaner visual line than straight cleats, and it resists downward load well when the bracket spacing is correct. You get the good-looking Floating Shelves vibe without the “rail system” complexity, and the skirt hides the fasteners so it still photographs sleek. This is a strong pick for entryways and offices where you want a tidy shelf for small decor, books, or a compact plant setup. It also makes it easier to adjust bracket height if your wall has slight irregularities.
Pick your shelf length and decide bracket count first; for a 36-inch span, plan at least three supports spaced evenly. Mark mounting points into studs and install angled brackets level with a long level or laser line. Cut the side skirt pieces to cover bracket ends and hide screw heads, then test-fit dry so the skirt sits tight with no gaps. Attach the shelf board to the brackets using screws through pre-drilled holes, then screw the side skirt from the inside or underside. Sand, then seal the top and skirt edges with a durable finish like satin polyurethane or a hardwax oil.
Paint or stain the brackets before mounting if you can access them; it makes the final look cleaner if any edge peeks through.
Avoid wide bracket spacing — angled brackets still need enough points so the shelf board doesn’t bow.
4. Dark stained edge-front shelf with concealed top cleats
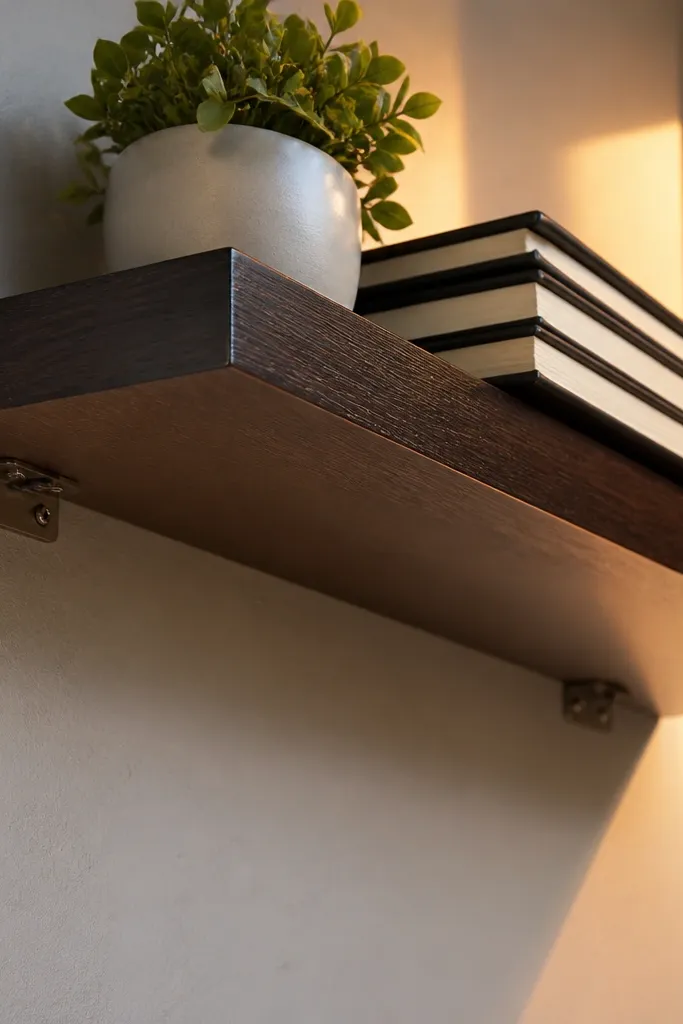
If you want good-looking Floating Shelves that look expensive, the front edge finish is where people notice. This design uses concealed top cleats so the underside stays clean, and it pairs beautifully with a dark stain or painted face for contrast. The cleats transfer load into the wall through multiple fasteners, and the shelf board is stiff enough to hold heavier decor without drooping. It’s especially photogenic in kitchens and living rooms because the front edge catches light and looks sharp in side angles. Skill level is medium only because cleat alignment needs patience, but the build is still DIY-friendly.
Cut your shelf board from 3/4-inch stock and decide on a clean front edge profile, like a small round-over or eased chamfer. Install concealed top cleats into studs using structural screws; keep cleats aligned to a level line so the shelf sits flat. Pre-drill screw holes through the shelf board so you don’t split the wood near the edge. Lift the shelf onto the cleats and secure from below or through hidden access holes depending on your cleat design. Finish with sanding to 180 grit, then stain, then seal the front edge and underside so it resists scuffs.
Use a 2-inch paintbrush for the front edge seal coat — it gives better coverage where chips happen.
Don’t rely on “brad nails” or glue between cleat and shelf — screws keep the shelf tight under load.
5. Plywood shelf with a laminated front strip for a crisp shadow line
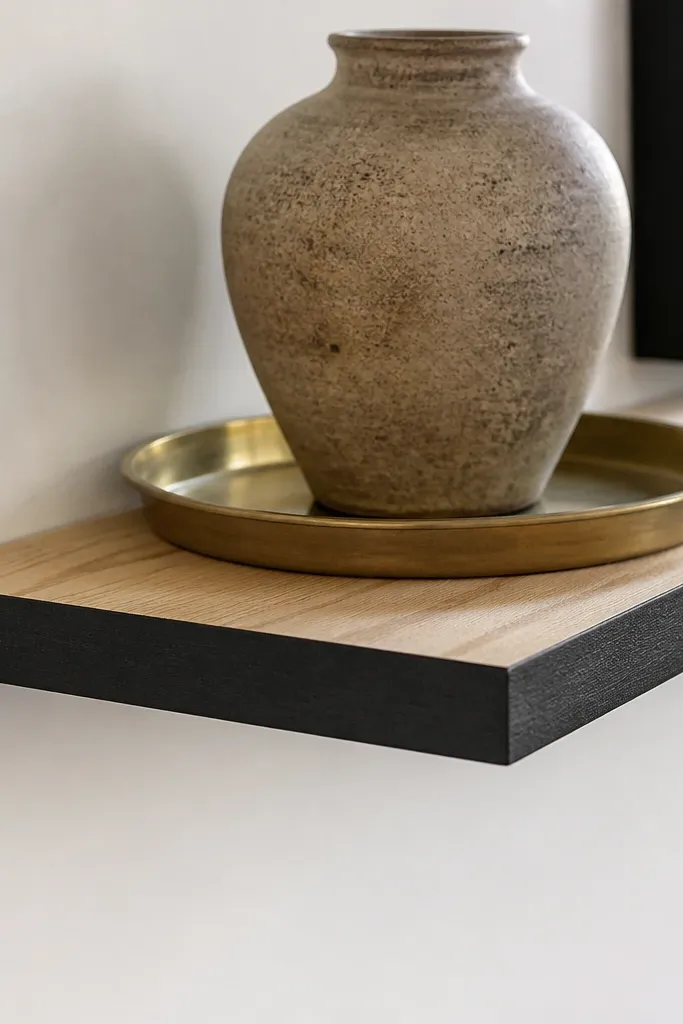
This one is a cheat for a perfect look: plywood stays straight, and the laminated front strip gives you a crisp shadow line that reads like a custom build. For weight, you still mount the shelf to metal brackets or cleats, but the plywood construction helps prevent warping and mid-span sag. The two-tone approach looks great in modern spaces because the front strip creates a clean boundary that shows up in photos. It’s ideal for bathrooms and kitchens too because plywood with the right sealant handles humidity better than bare softwood. The build is beginner-friendly if you’re comfortable with sanding and careful glue-up.
Cut a plywood shelf top (3/4-inch is the sweet spot) and sand all faces to remove mill glaze. Install your concealed bracket system to studs or rated anchors, then hold the shelf in place to confirm the shadow gap height you want. Glue and clamp a laminated front strip along the front edge; use a thin bead of wood glue and keep clamps tight so the strip doesn’t bow. Pre-drill through the shelf into the brackets so screws bite cleanly without splitting the plywood. Sand the front strip edges, then apply primer or stain on the front strip and seal the top with multiple thin coats.
Clamp with cauls across the width so the front strip doesn’t get a wave that shows in the shadow line.
Avoid thick glue lines at the front edge — they create uneven height and a messy shadow gap.
6. Floating shelf with a hidden metal angle inside the back
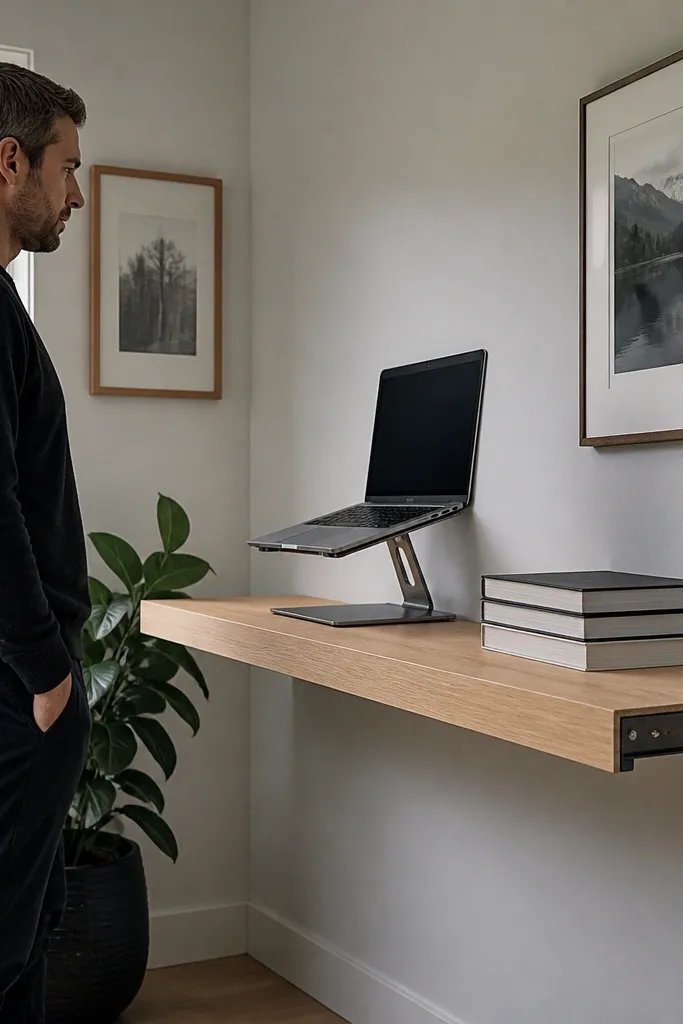
This is the strong-and-sleek option when you want good-looking Floating Shelves but you also want serious stiffness. A hidden metal angle inside the back spreads the load into fasteners and reduces the chance of mid-span droop. The shelf front stays uninterrupted because the support lives inside the box or behind a rear panel. It looks clean in tight spaces like laundry rooms or small reading nooks where you don’t want hardware visual noise. The build takes a bit more measuring because the metal angle needs to align perfectly with your shelf thickness, but it’s very reliable once set.
Editor's noteUse a depth stop on your drill so screws don’t punch through the shelf top.
Cut your shelf top and a rear panel that covers the back mounting area, leaving a small access space for screws. Install the metal angle to studs or rated anchors first, making sure it’s level and set at the exact height that matches your shelf underside. Slide the shelf onto the angle so it seats fully, then fasten through pre-drilled holes behind the rear panel. Attach the rear panel so it hides the metal and screws from view. Sand edges, then apply stain/paint and seal all contact surfaces so moisture doesn’t creep into seams.
Skip thisDon’t mount the angle too close to the shelf edge — keep it positioned so screws land in solid material.
7. Oversized end-cap floating shelf with hidden end brackets
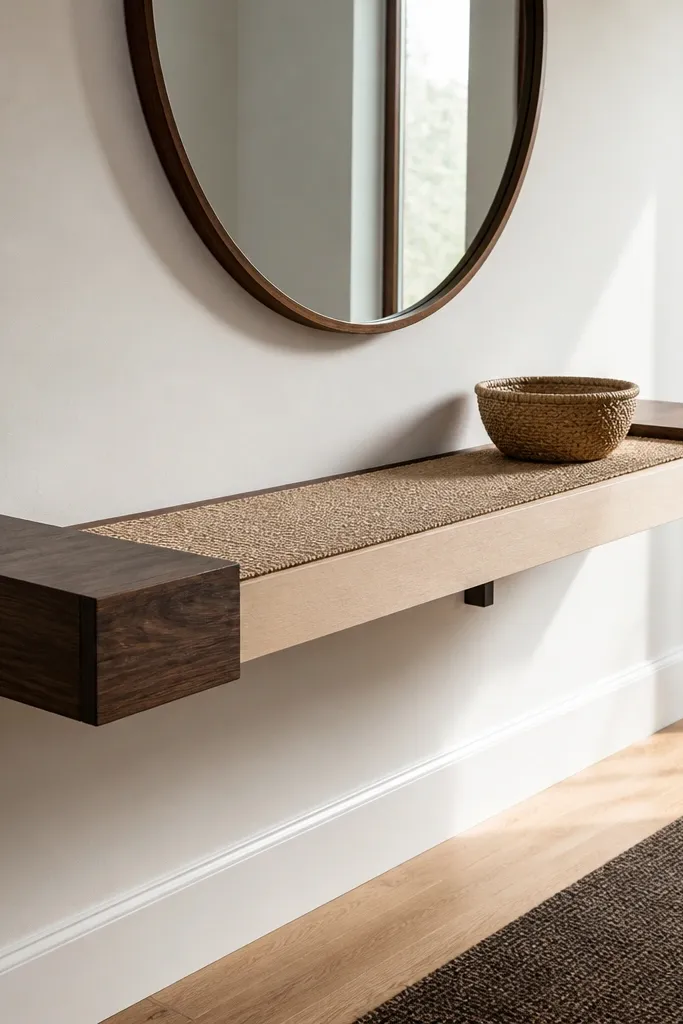
This style looks bold because the ends read like end-caps, not thin boards. The hidden end brackets give you a strong visual frame while the shelf surface stays clean and continuous. It holds real weight when the end brackets are anchored properly and you add one center support for longer spans. Great for entry shelves, media shelves, or anywhere you want the shelf to look like furniture. The “end-cap” look also hides small wall imperfections because the end pieces cover minor gaps that would show with a flat design.
Editor's noteKeep the end-cap overhang consistent by using a single scrap spacer as a measuring gauge for both sides.
Choose a shelf length and cut end-cap pieces that are thick enough to cover bracket hardware, usually 1 to 1.5 inches wide depth-wise. Mark stud locations and install end brackets at each end, then add a center bracket if the shelf is over 30 inches long. Dry-fit the end caps so they cover the bracket lines completely, then attach the shelf top to the brackets with pre-drilled pilot holes. Secure end caps from the inside or underside so no screw heads show on the front. Finish by sealing the end-cap faces and front edge so the shelf looks uniform from every angle.
Skip thisAvoid centering brackets by eyeballing — use a tape measure and mark exact centerline so the shelf doesn’t look crooked.
8. Painted floating shelf with a routed underside lip and hidden mounting
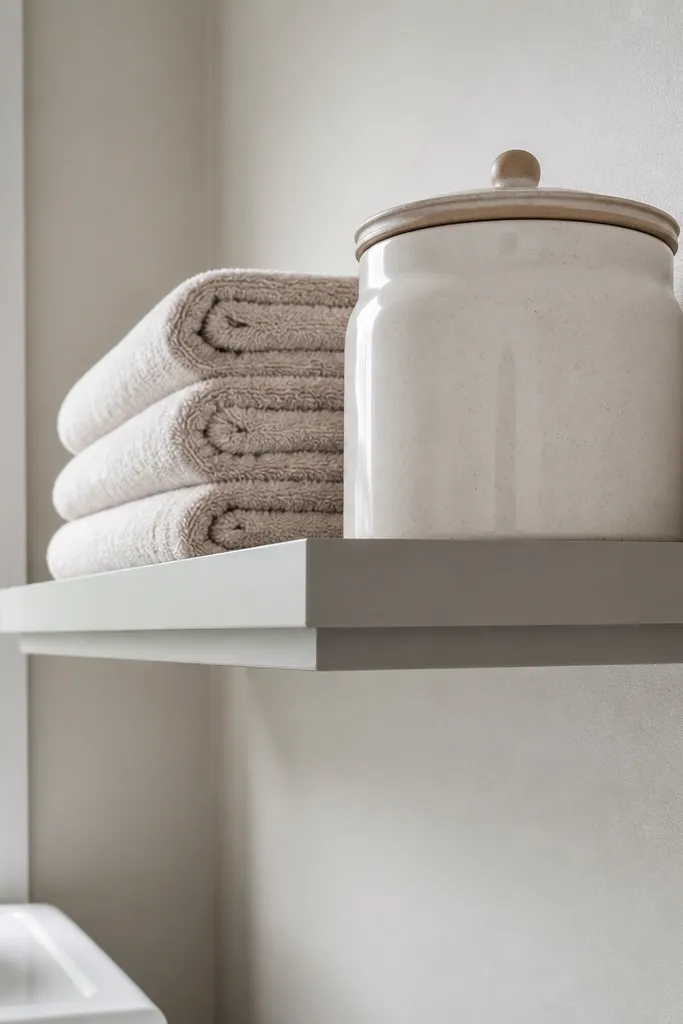
Painted shelves look clean and modern, and adding a routed underside lip makes the shelf read more dimensional without extra hardware visible. The hidden mounting method keeps the underside uninterrupted, while the routed lip stiffens the board edge and hides the smallest imperfections at the mounting line. This is a great option for bedrooms, bathrooms, and kitchens where you want a smooth, photogenic finish that matches cabinetry. It holds real weight when you still use proper brackets and fasteners into studs or rated anchors. The finish is the star here, so you’ll get the best results by sanding and priming properly.
Cut your shelf board to size and route a shallow lip on the underside using a template so both sides match. Install your concealed brackets into studs on a level line, using structural screws and correct pilot holes. Attach the shelf to the brackets, then fill any tiny gaps where the shelf meets the wall with paintable wood filler. Sand the entire shelf smooth, prime with a bonding primer, then paint with a cabinet-grade enamel. Let it cure fully before loading so the coating doesn’t chip around screw points and edges.
Use a foam mini roller for the face so you get an even matte finish without brush marks.
Avoid loading the shelf right after paint dries — soft paint chips fast at the front edge.



