
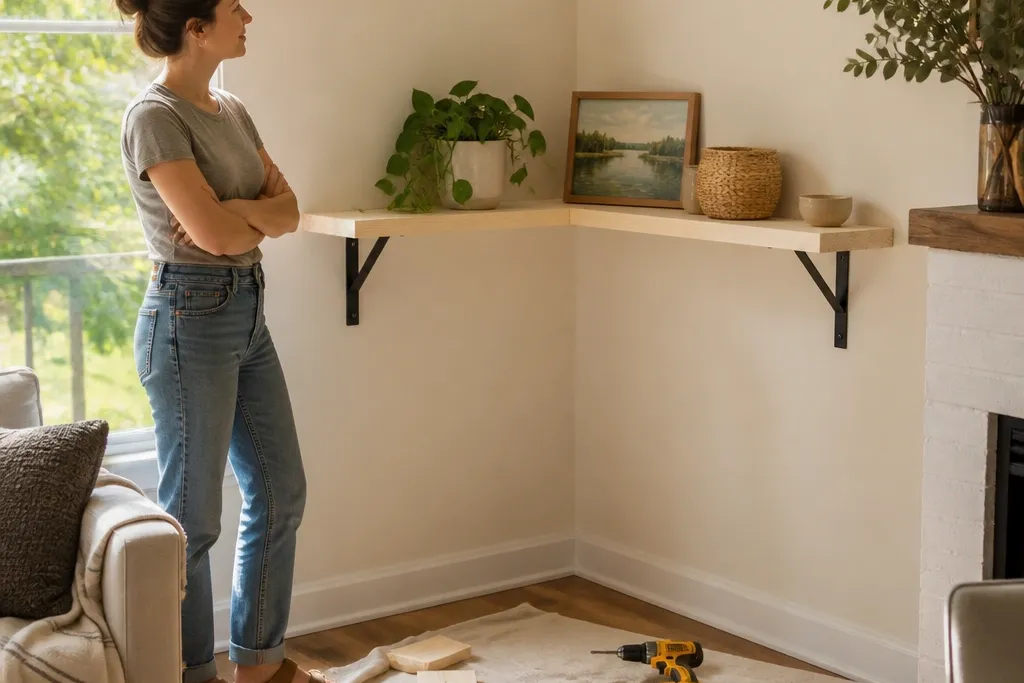
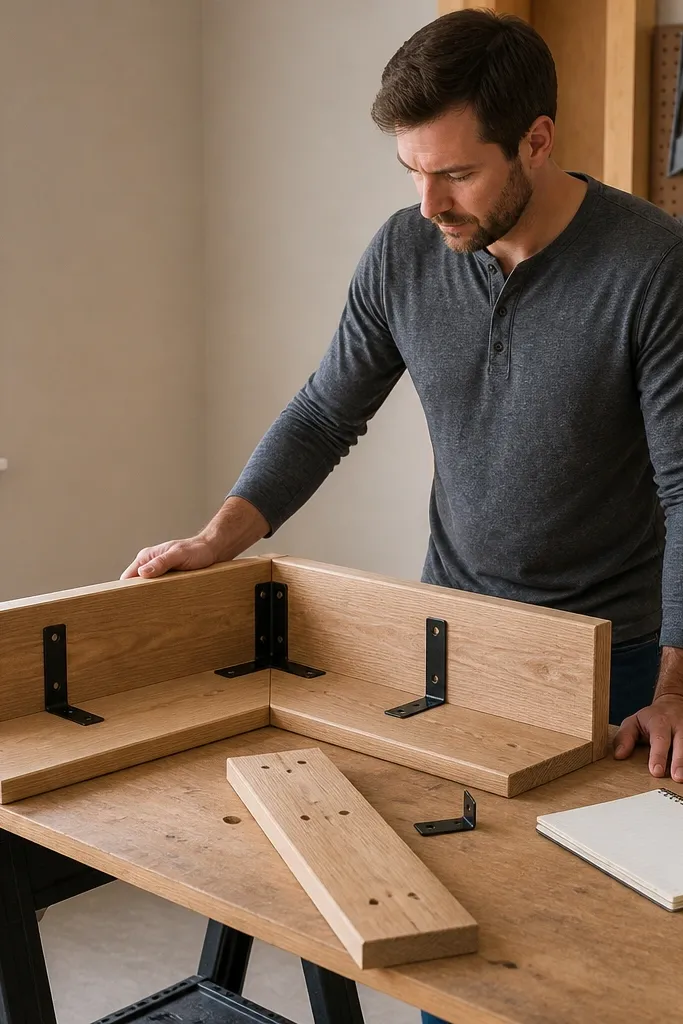
1. Painted Corner L-Shelf With Black Brackets
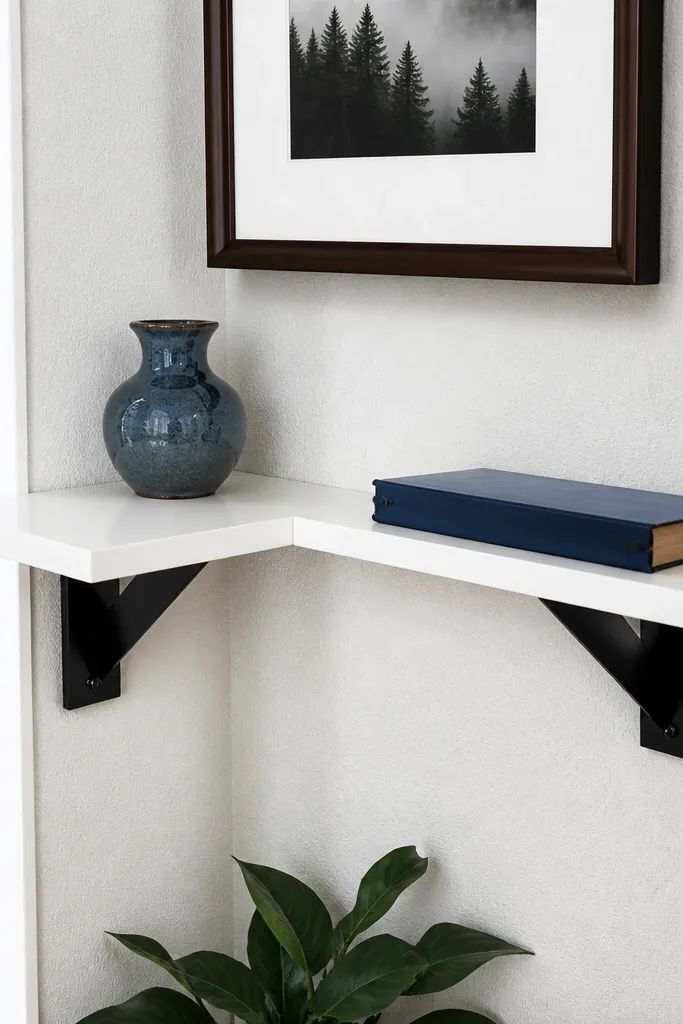
This is the cleanest “I bought it” look for under $30 because the lines are simple and the contrast does the heavy lifting. A white shelf on black brackets reads modern and crisp, and it hides minor corner unevenness because the brackets sit flat against the wall. Pine or MDF boards give you a smooth face for paint, and the bracket color makes the shelf look styled instead of temporary. It’s a great choice for entryways, kitchens, and small bathrooms where you want a corner to feel finished without clutter.
Cut one shelf board to about 16-18 inches long and 7 inches deep. Sand the face and edges lightly, then paint two coats of white cabinet paint, letting it dry fully between coats. Position two black L-brackets so one screws into each wall section with at least one screw per bracket landing in a stud if possible. If studs don’t line up, use wall anchors rated for the shelf weight and keep the shelf load light. Finally, set the shelf on the brackets, tighten screws, and add felt pads under any plant pots so nothing scratches.
Paint the shelf edges too — the sides catch light and make the whole corner look deliberate.
Don’t mount brackets on drywall only without anchors if you plan to put anything heavier than décor.
2. Stained Wood Triangle Brace Shelf
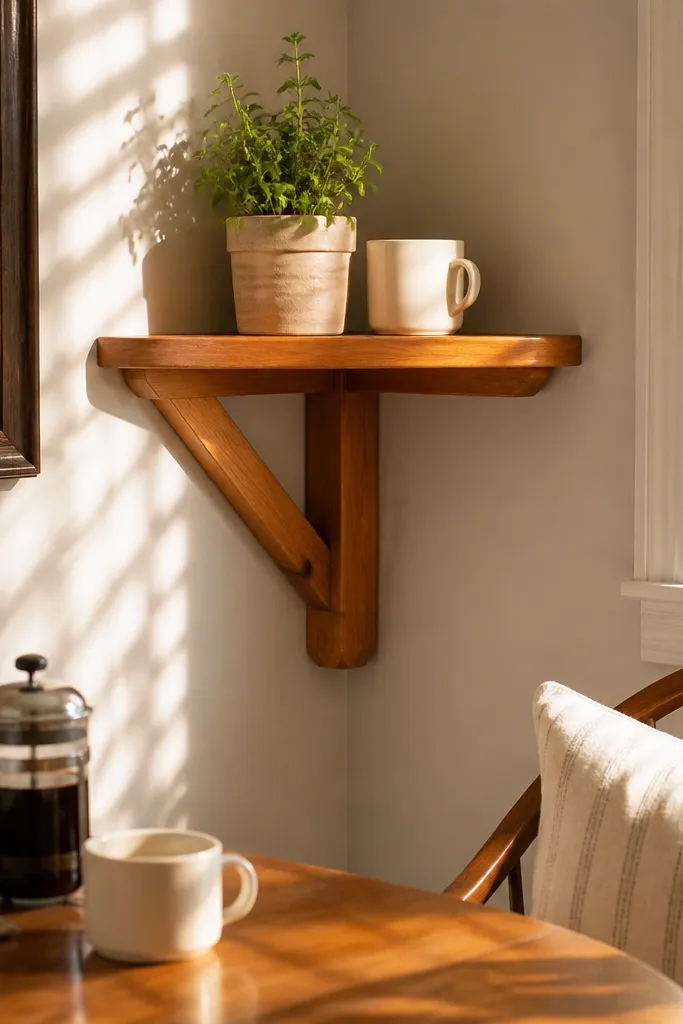
If you want that cozy cabin look without buying fancy hardware, this one nails it. The triangular brace is visible, so it adds structure and makes the shelf look custom instead of like two boards screwed together. Stained pine gives you warm color that photographs well in natural light, and the brace keeps the shelf from bowing over time. This style looks great in living rooms and bedrooms, especially with neutral décor and planters.
Pick a shelf board around 18 inches long and 7-8 inches deep, then cut a triangular brace from leftover wood using a 6-8 inch right triangle. Sand everything to 120 grit, then apply gel stain with a foam brush, wiping off excess after 5-10 minutes. Let it dry, then seal with a clear matte topcoat so the finish doesn’t feel sticky. Screw the triangular brace into the corner walls first, then attach the shelf board on top using wood screws through the brace and into the shelf. Check the shelf level with a small level before the final tighten.
Editor's noteUse matte topcoat rather than glossy — corners show glare fast and glossy finishes look cheap under overhead lights.
Skip thisSkip the stain on raw, dusty wood — you’ll get blotchy patches that show up in photos.
3. Floating-Look Shelf With Hidden Cleat
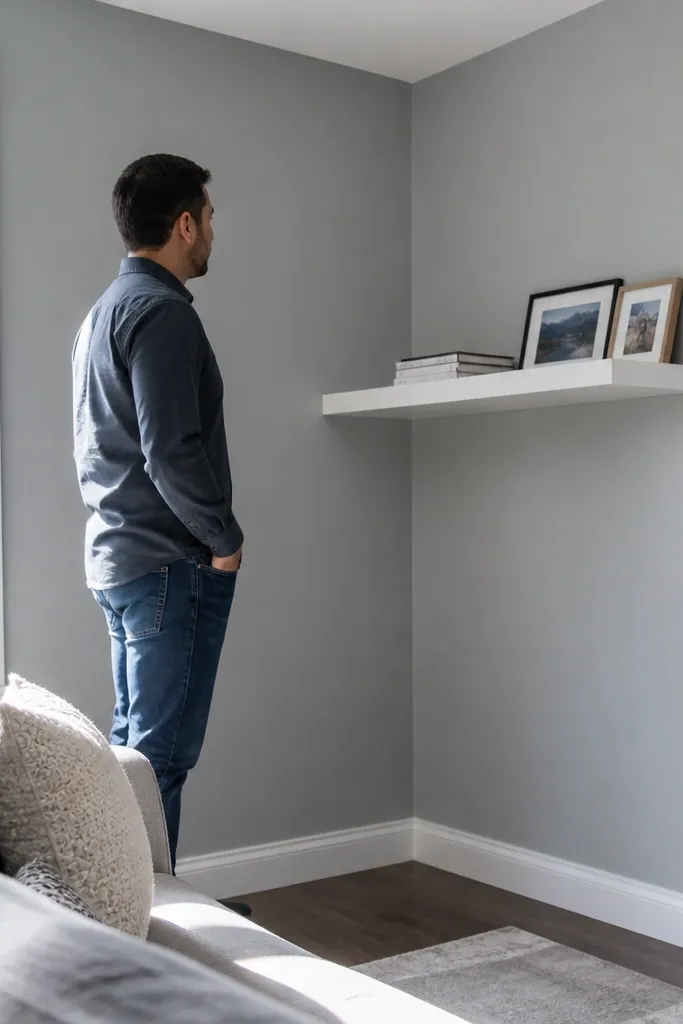
This is the best option when you want the shelf to look sleek and minimal. The mounting hardware disappears, so the shelf face reads clean from across the room. It works well with painted shelves because the cleat line stays hidden and the corner looks intentional. If you’re placing small books, framed photos, or a single plant, floating-look shelves keep the focus on styling instead of brackets.
Cut a cleat strip from 1x2 or 1x3 wood to the length you need, then sand it and paint or stain it the same color as the shelf face. Screw the cleat into both wall sections along the corner with at least two screws per side, aiming for studs when you can. Cut your shelf board to size, then attach it to the cleat using screws from underneath. For a neat fit, pre-drill pilot holes and sink screw heads slightly so you can fill with wood filler. Let filler dry, sand smooth, then touch up paint.
Editor's noteMark the cleat height using a laser level or a straightedge held to the corner — small height errors show instantly with floating shelves.
Skip thisDon’t rely on only drywall anchors for a cleat — the hidden mount still needs solid bite.
4. Two-Tier Corner Ladder Shelves
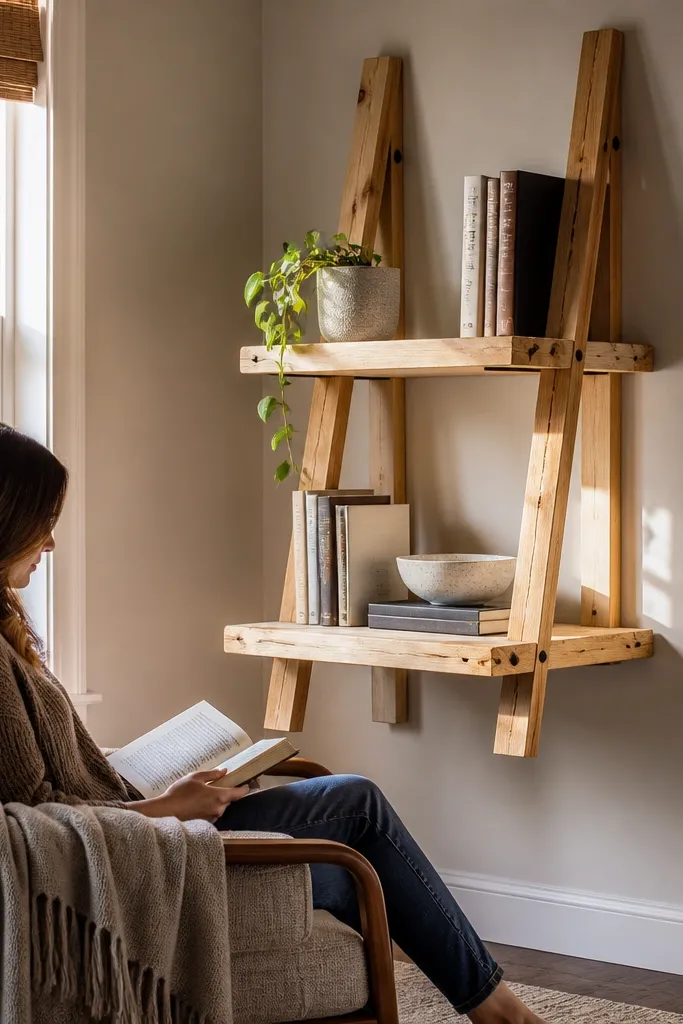
This one looks like a mini display unit, not a single shelf. The ladder frame gives you a strong structure, and it’s visually busy in a good way — it draws the eye upward and makes the corner feel styled. It’s also forgiving if your corner is slightly off, because the frame holds shape. Great for showing a few books and a plant, especially in a reading nook or hallway corner.
Cut two side rails from 1x3 or 1x4 boards to about 20-22 inches tall, then cut two shelves that are each about 14-16 inches long and 7 inches deep. Use wood screws to attach the shelves between the rails, then add diagonal braces if you want extra stiffness. Sand to 120 grit and stain or paint the entire unit so it looks like one piece. Once assembled and dry, mount the unit by screwing through the rails into studs on both walls if possible. If studs aren’t available, use heavy-duty anchors and keep the load light on the top shelf.
Pre-drill every screw hole. The side rails split easily when you’re working near the end grain.
Don’t make the shelves deeper than 8 inches on a ladder style — it gets bulky fast.
5. Reclaimed-Look Corner Shelf From Scrap Boards
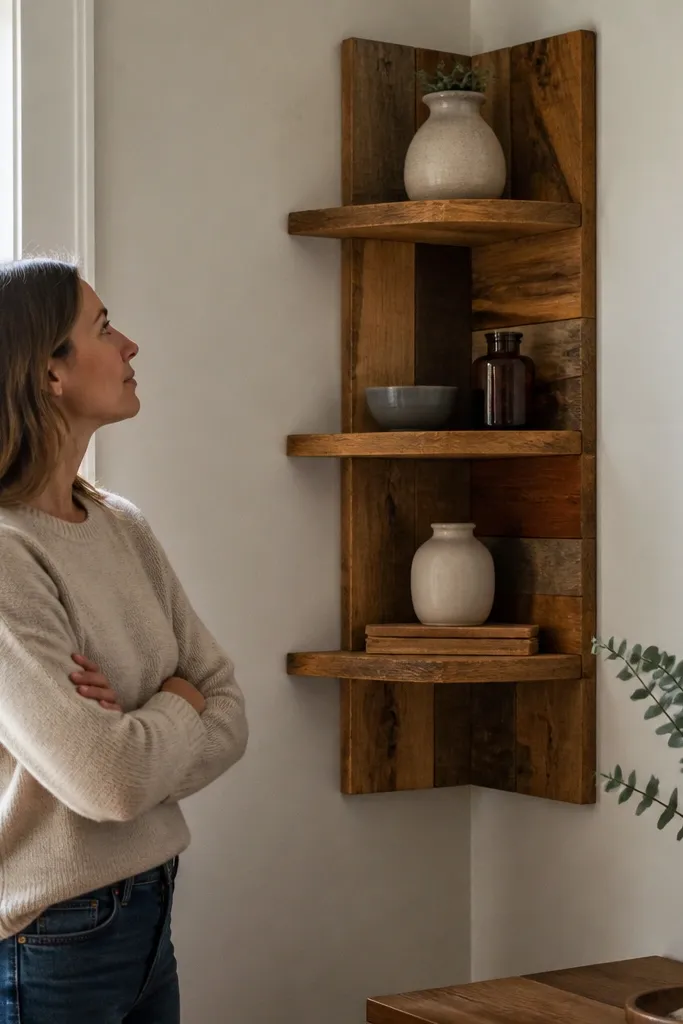
This is the photogenic option when you want character without paying for reclaimed wood. Mixed scrap boards let you create a faux reclaimed face with varied grain and tones, and the corner still reads clean because the structure is simple. Distressing plus a clear matte finish looks intentional when the shelf has a consistent thickness. This works in entryways, farmhouse-style rooms, and anywhere you want texture without clutter.
Select scrap boards that are roughly the same thickness, then cut them to the same shelf length and arrange them like a patchwork face. Glue the pieces edge-to-edge with wood glue, clamp until dry, then sand the face flush. Cut a backing strip from 1x2 to reinforce the underside and keep the shelf straight. Mount with two L-brackets or a hidden cleat depending on how clean you want the hardware to look. Finish with a light distressing pass using sandpaper edges, then seal with matte clear coat.
Editor's noteUse a single stain wash across the whole face — it ties mixed scraps together so it looks planned, not random.
Skip thisDon’t skip sealing. Unsealed distressed wood grabs fingerprints and smudges fast.
6. Minimal Corner Shelf With Shelf Edge Lip
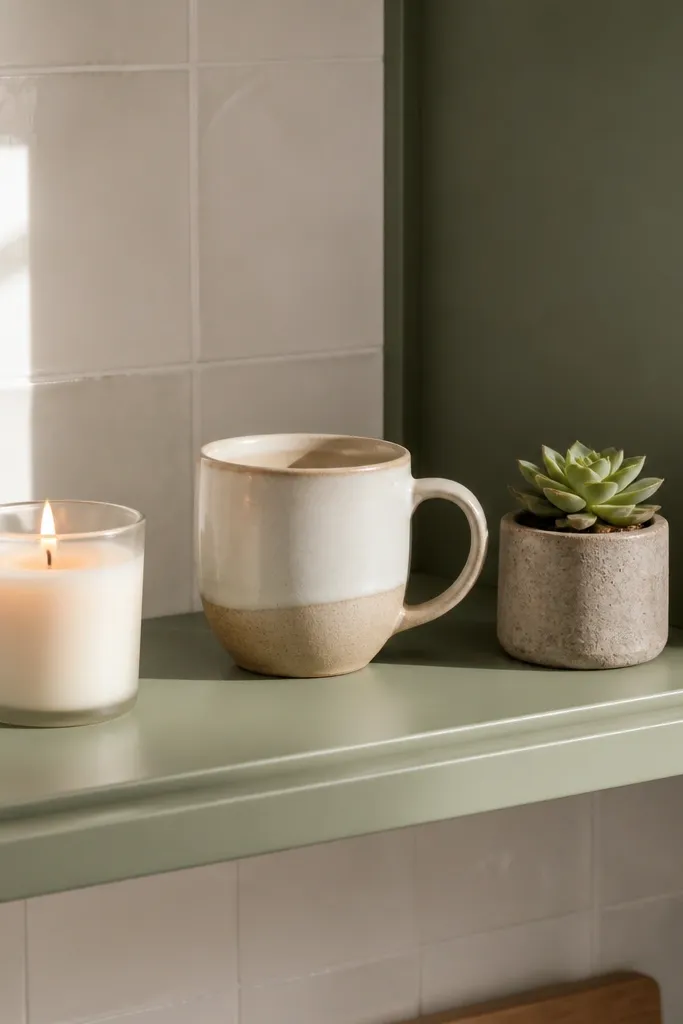
This shelf looks tidy because the front lip prevents items from sliding toward the corner. It’s a small design choice that makes a big visual difference when you put down a candle, a mug, or a small plant pot. The lip also makes the shelf feel more finished, like built-in cabinetry. Choose a painted finish for the sharpest look, or stain for a warmer tone. It’s ideal for coffee nooks, kitchens, and small bathrooms.
Cut the main shelf board to about 16 inches long and 7 inches deep. Rip a second strip to create a front lip about 3/4 inch tall, then glue and screw it to the front edge after pre-drilling. Sand smooth where lip meets shelf, then paint or stain both pieces so the lip looks like one unit. Mount using two brackets under the shelf near the outer edges, and add a third support if the shelf length is closer to 18 inches. Level it, tighten screws, and check that items sit without wobbling.
Editor's noteLightly round the top edge of the lip with sandpaper so it doesn’t look sharp or chip-prone.
Skip thisDon’t place brackets only under the lip — support needs to be under the main shelf surface.
7. Corner Shelf With Removable Tray Surface
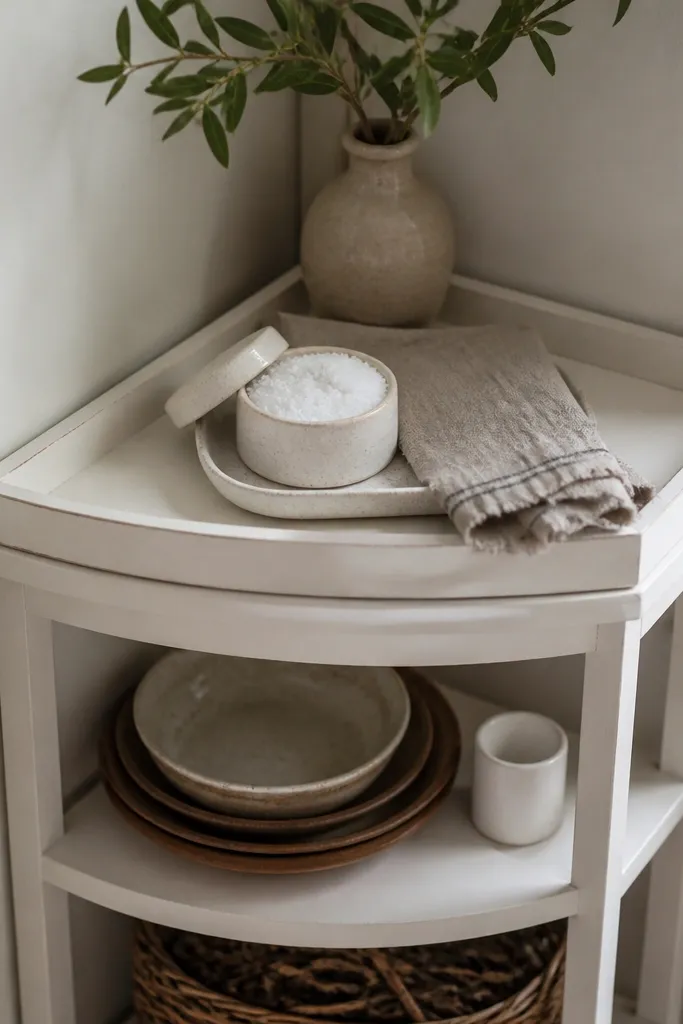
This is a practical aesthetic trick: the tray top makes styling easy and cleaning fast, and it looks intentional because the tray creates a frame. Build the corner base once, then swap tray pieces for seasons. It works especially well if your corner gets dust or if you like rotating décor. The tray also hides small imperfections in the shelf surface because the tray sits on top with a snug fit.
Build the base shelf using a simple board and two brackets, mounted at a height that matches your décor size. Cut a tray to fit inside the shelf opening with a small gap for easy lift-off, like 1/16-1/8 inch clearance around the edges. Add two small cleats inside the shelf so the tray rests securely. Finish the tray separately with stain or paint so it looks like a designed accessory. When everything is dry, place the tray and test that it lifts without catching.
Editor's noteUse felt pads on the tray bottom — it slides smoothly and prevents scratches.
Skip thisDon’t make the tray too tight. If it binds, you’ll stop swapping it.
8. Small Corner Spice Shelf Under $30
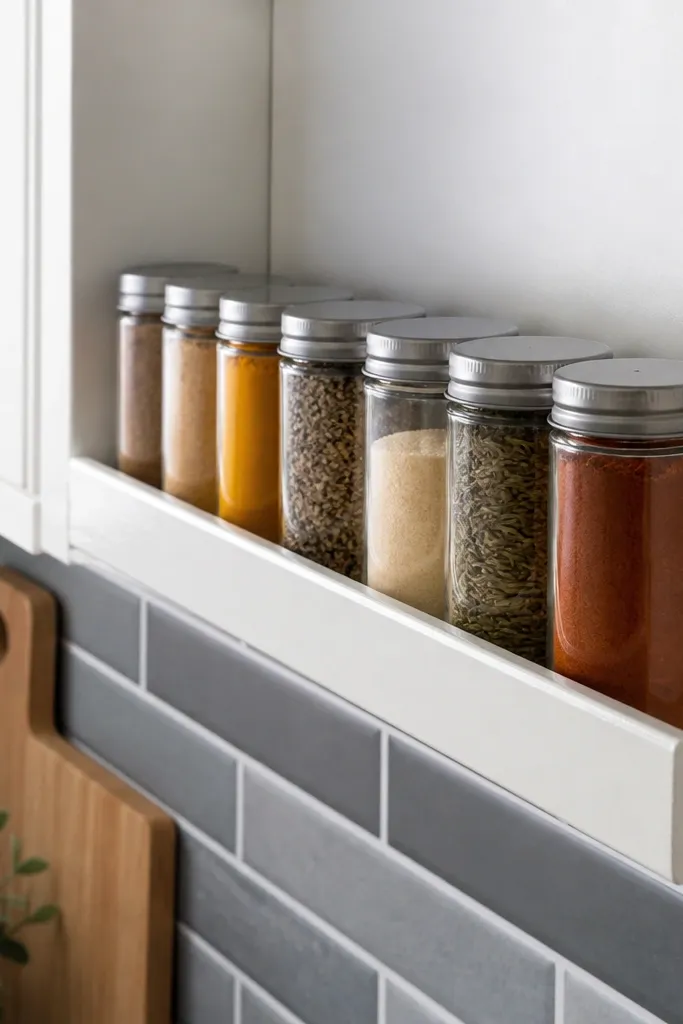
This is the corner-shelf version of a tidy kitchen hack. A narrow shelf with a lip and labels looks styled and also solves a real problem: jars don’t stack neatly on countertops. Keep it small — around 12-14 inches long — and you get a clean look without fighting the corner too much. Use a finish that wipes easily, like painted pine with a matte polyurethane topcoat. It’s great for renters because you can mount it with anchors and keep the shelf load light.
Cut the shelf board to about 14 inches long and 6-7 inches deep, then add a 1/2-3/4 inch lip on the front edge. Paint the shelf, then seal with a matte topcoat so fingerprints wipe off. Mount with two brackets spaced so jars sit centered over the supports. Add a strip of label tape or a thin wood label board on the front lip using small screws or strong tape. Arrange jars so labels face outward and keep jar sizes consistent for the neatest look.
Label before you mount if you want perfectly straight text. It’s much easier on a table than on the wall.
Don’t overload the shelf with tall containers — keep jar height under the shelf’s visual line so the corner doesn’t feel cramped.



