
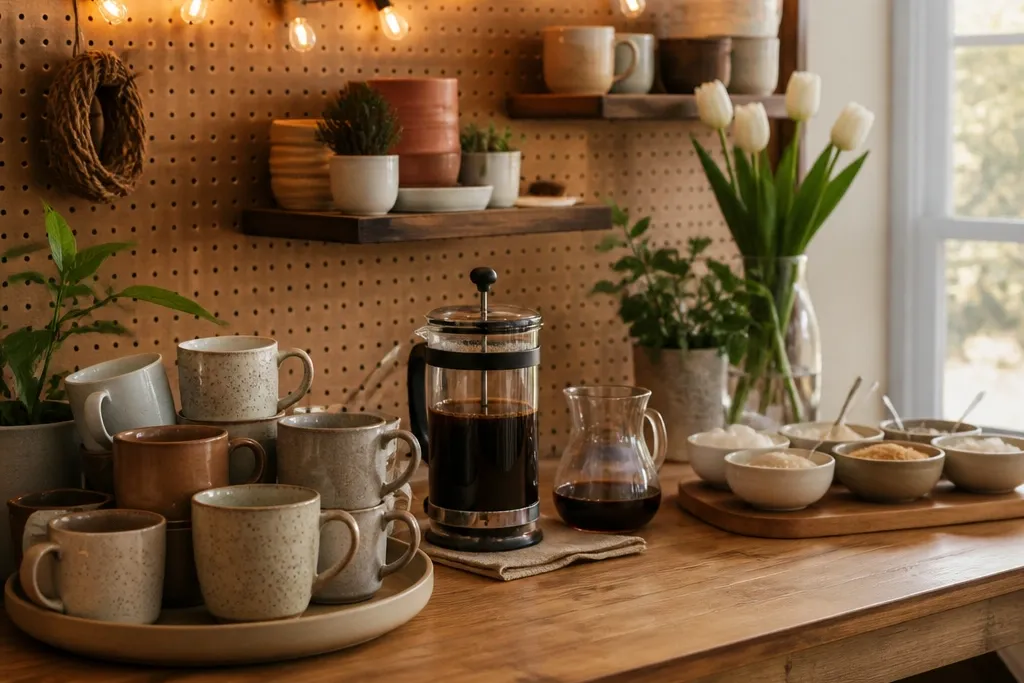

1. Pegboard Coffee Bar with Matching Bins
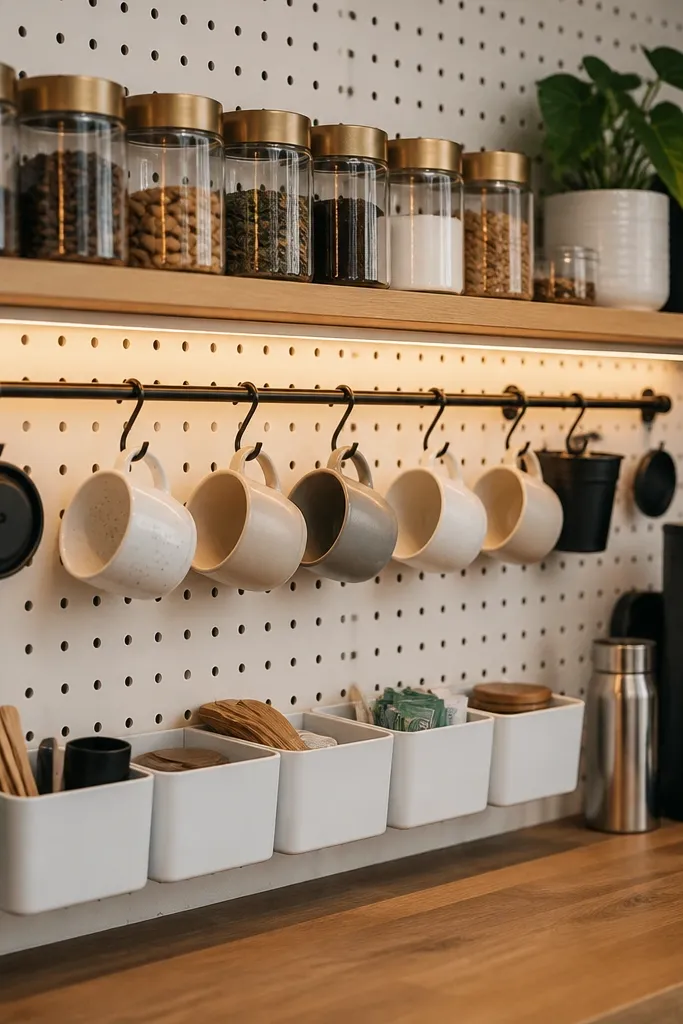
This setup looks like a real café counter because the tools have a home and the add-ons sit in uniform containers. A pegboard grid also photographs cleanly since the background stays consistent and the items don’t spill into random corners. Keep the visual weight low by hanging mugs on hooks or a rail, then place coffee tins and syrups on two narrow shelves. For a cozy year-round feel, use warm-toned wood, black hooks, and ceramic canisters in cream and tan.
Start by marking a 30- to 36-inch-wide pegboard area on your wall above a console or countertop. Mount two shallow shelves around chest height and add 6-10 hooks for mugs and utensils, then install sturdy jar hooks or clips for lids and scoop storage. Fill clear glass jars with sugar, cocoa, and stir sticks, and label the bins with painter’s tape for a clean look. Finish by adding a small tray at the bottom for napkins so it looks intentional instead of like loose extras.
Paint the pegboard frame matte black (or keep it natural) and use identical jar sizes so the station reads as “designed,” not “stacked.”
Avoid mixing too many jar shapes or lid colors — it makes the pegboard look messy fast.
2. Rolling Bar Cart with Tiered Shelf Organization
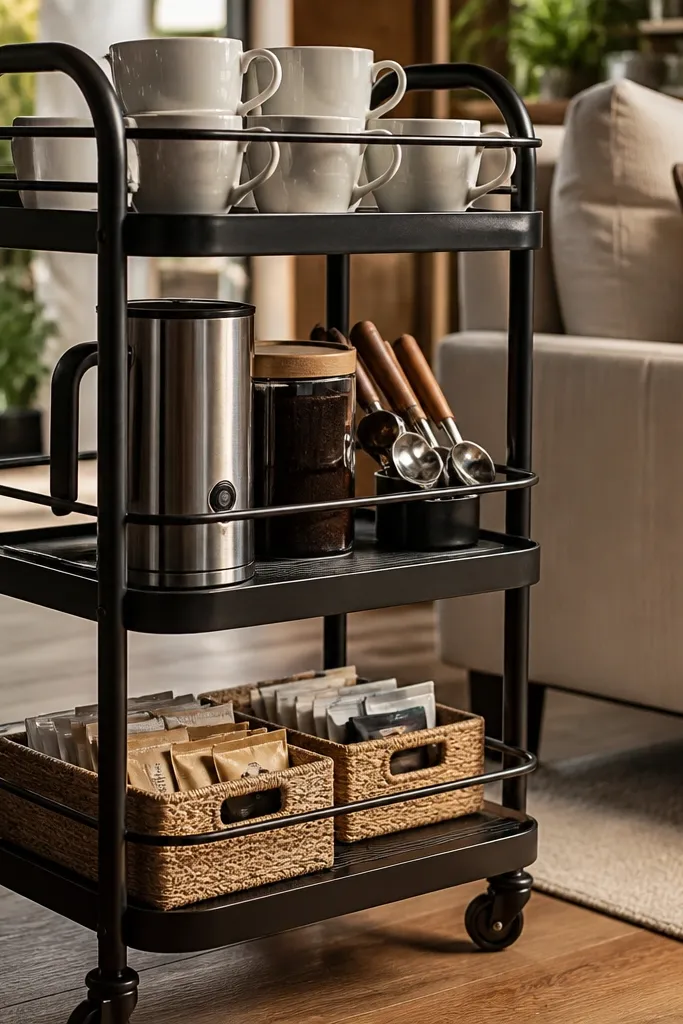
A rolling cart is the easiest way to host without dedicating a whole counter. The tiers create natural layers for photos: cups on top, coffee and tools in the middle, and add-ons in baskets at the bottom. Choose a cart with rails or guard edges so mugs don’t slide when people bump it. For cozy year-round coffee station ideas, swap the basket liners by season while keeping the cart structure the same.
Buy a cart with at least two shelves and a top surface that’s 20 inches wide or more. Place a tray on the top for mugs and a small pitcher or kettle stand, then fill the middle shelf with a coffee tin, filters, and a scoop. Use two woven baskets on the bottom: one for stir sticks and sweeteners and one for napkins or lids. Lock the cart wheels if you have them, and keep the heaviest items on the lower shelf for stability.
Add felt pads under tins and baskets so they don’t rattle and the cart looks smooth in photos.
Don’t overload the top shelf — if cups crowd the tray, the whole station looks cramped.
3. Countertop Tray Table with Faux "Bar" Front
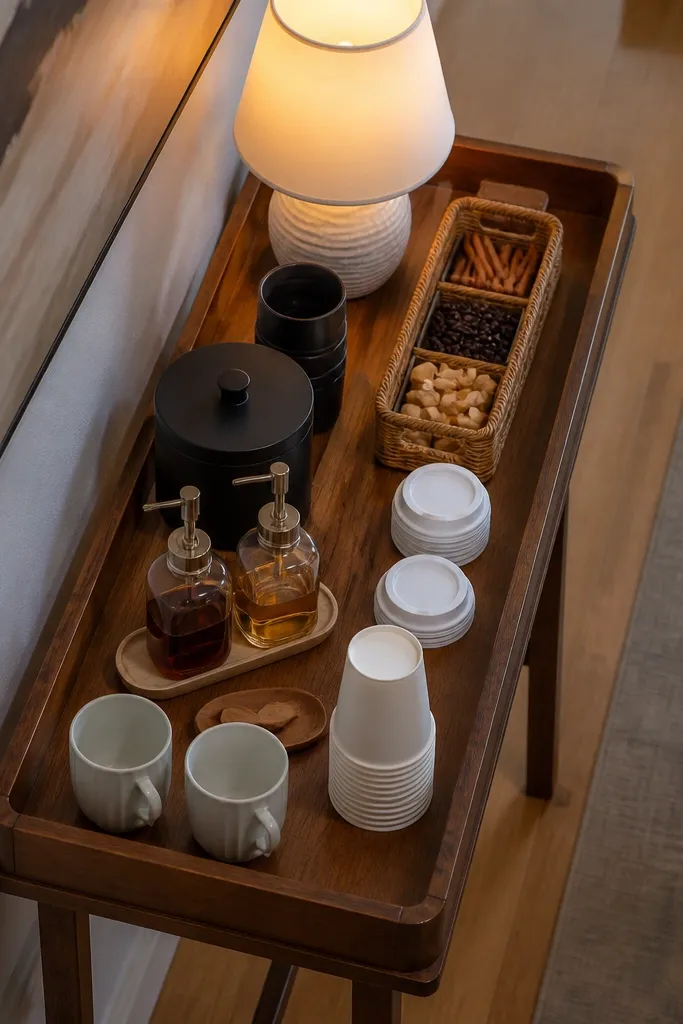
This is the “instant styled” option for small spaces because you’re building a single photo-ready rectangle. A tray table gives you a defined frame, so your coffee station looks curated even when you’re refilling during a party. Use a long tray with raised edges to keep spill-prone items contained. For year-round coziness, keep the base neutral and swap the small sign text and a single seasonal accent.
Pick a tray that’s about 18x30 inches, then set it on a narrow side table or kitchen island ledge. Inside the tray, place two coffee jars on the left, a stack of cups on the right, and a small cup for stir sticks in the front center. Add a shallow bowl for sweetener packets and a tiny pitcher for cinnamon sticks or lemon peels depending on season. Finish by placing a small chalkboard or wood label at the back edge so it reads clearly from the front.
Editor's noteUse a liner under the tray like a piece of linen or faux burlap, cut to fit, so the tray looks intentional even before you load it.
Skip thisSkip loose packets in open piles — they kill the clean “bar front” look.
4. Tiered Stand for Pods, Creamers, and Treats
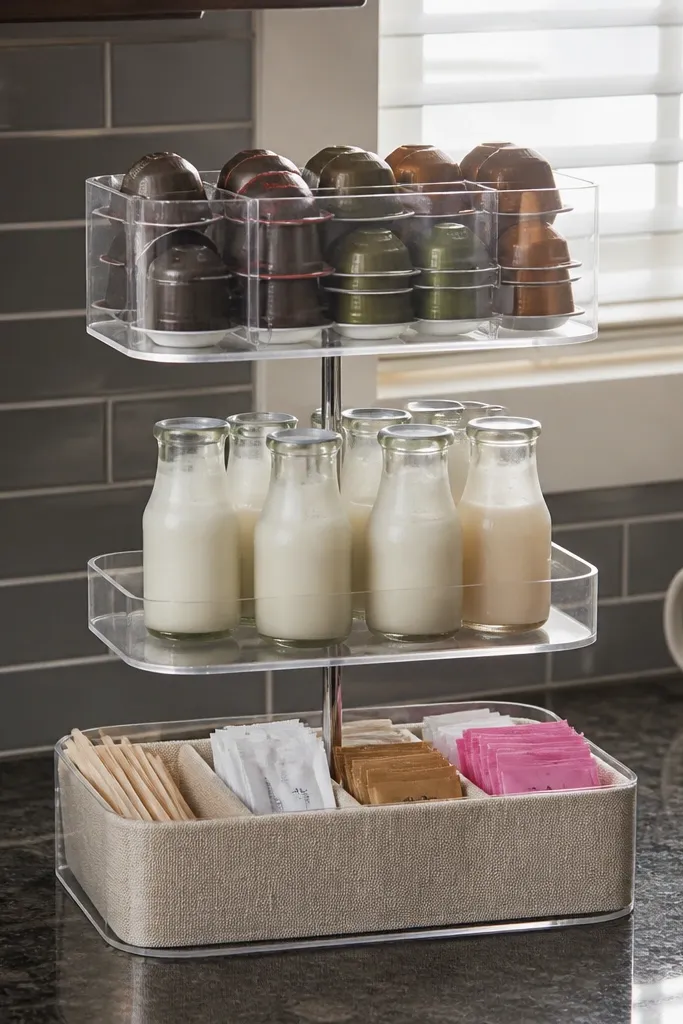
A tiered stand makes the station look like a dessert café without turning your counter into a clutter zone. The top tier is perfect for everyday grab items like pods or single-serve creamers, while the lower tier holds stir sticks and sugar. It’s photogenic because the vertical arrangement creates a clean silhouette. Keep it cozy year-round by choosing colors that don’t scream a single season.
Choose a tiered stand with a stable base and at least two levels, ideally in white ceramic, light wood, or matte metal. Fill the top tier with pods in a clear container and a small jar for cinnamon or cocoa powder. Put sweeteners and stir sticks on the bottom tier in shallow bowls so they don’t spill. Add a small “treat” bowl for cookies or wrapped chocolates if you want the station to look like a full experience.
Editor's noteUse a tray mat under the stand to catch crumbs and keep the look clean under bright overhead light.
Skip thisDon’t mix tall items with tiny ones on the same tier — it creates a lopsided mess.
5. Wooden Crate Coffee Station with Drawer-Style Bins
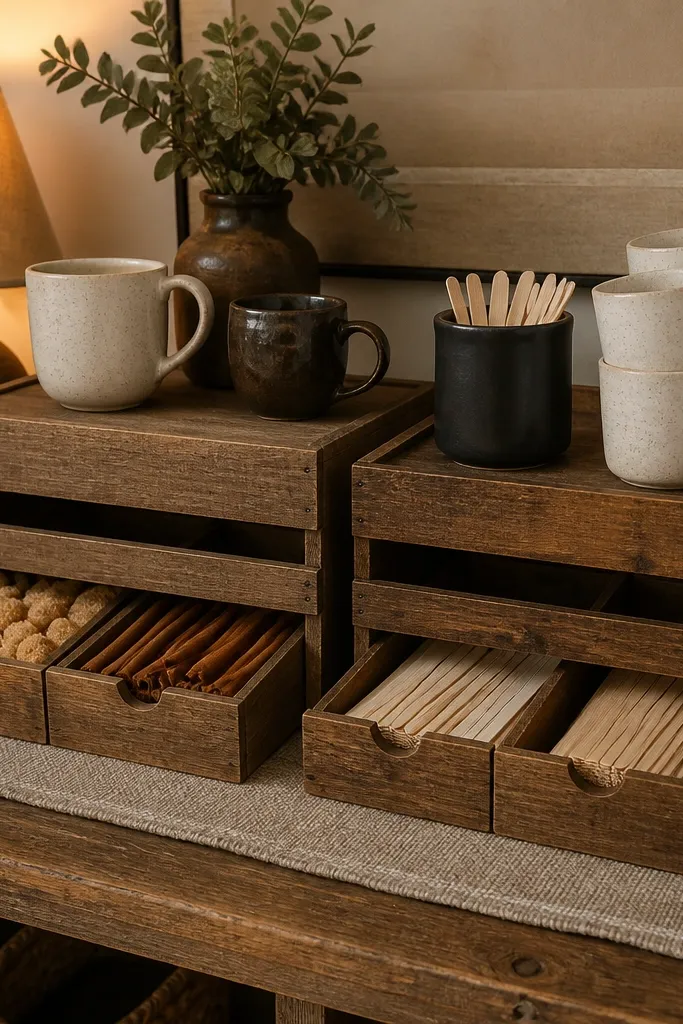
This one looks rustic and intentional because the crates give you built-in boundaries for everything. The drawer-style bins keep add-ons tidy, so even if you restock quickly, it still looks designed. Use a crate that’s clean and sanded — rough, splintery wood looks cheap fast. For cozy year-round coffee station ideas, pair the crate with warm ceramic jars and a small linen runner.
Sand and seal a wooden crate so it feels smooth to the touch, then attach it to a flat base or use it as a standalone block on a table. Install two pull-out bins or small drawer organizers inside the crate opening, one for add-ons and one for filters or cups. Label everything with simple tape labels so the station reads organized from across the room. Place coffee canisters on top and add a small tray for spoons so they don’t roll around.
Editor's noteSeal the crate with matte clear coat so it photographs softly instead of glossy and glare-heavy.
Skip thisAvoid dark, stained wood if your space is already dim — it makes the station look heavy.
6. Magnetic Spice Rack Mounted Coffee Add-On Wall
If your counter space is tiny, this keeps the add-ons off the counter and still looks neat in photos. Magnetic racks let you line up small jars so everything faces forward and stays easy to grab. It also helps you host without digging through a drawer for a specific flavor. Keep the jars matching in size and label style for that clean, café feel.
Mount a magnetic spice rack on the wall or inside a cabinet door at a comfortable height. Use small, uniform jars with metal lids that magnetize securely. Arrange sugar, cinnamon, cocoa, and flavor syrups in a neat row, then keep cups on the nearest counter in a small tray. Add a small hook strip under the rack for a scoop and a spoon so the tools look placed, not scattered.
Editor's noteUse cream-colored labels with black text and a consistent font size so the wall reads cohesive.
Skip thisSkip random jar sizes — the rack looks cluttered when nothing aligns.
7. Blackboard + Wood Shelf Coffee Station with Counter Tray
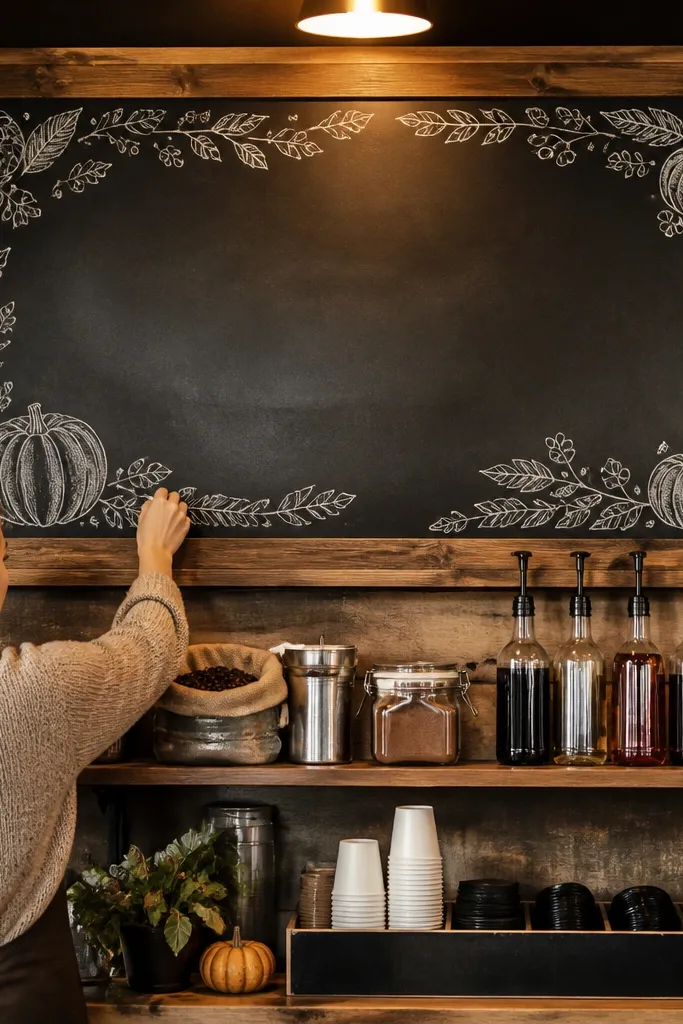
This is the easiest way to make your coffee station feel seasonal without changing your whole setup. A blackboard sign adds charm because people can read it instantly, and it photographs well with the right contrast. The wood shelf holds the “hero items” like coffee beans, syrups, or cocoa, while the counter tray keeps cups and spoons contained. It’s cozy year-round because you can rotate the chalk text for holidays and weather.
Mount a single wood shelf about 48 inches from the floor, then attach a small blackboard panel beside it or below the shelf line. Place coffee canisters on the shelf and keep syrups in a group of 2-4 bottles so the spacing looks deliberate. On the counter, set a tray with mugs and a small bin for stir sticks. Write a simple menu on the blackboard like “House Brew” and “Cinnamon Vanilla” with a chalk color that matches your decor.
Use a chalk marker for crisp lettering so it stays readable in bright kitchen lighting.
Don’t write long paragraphs on the board — it turns into visual noise.
8. Matte Ceramic Canister Set with Linen Napkin Roll
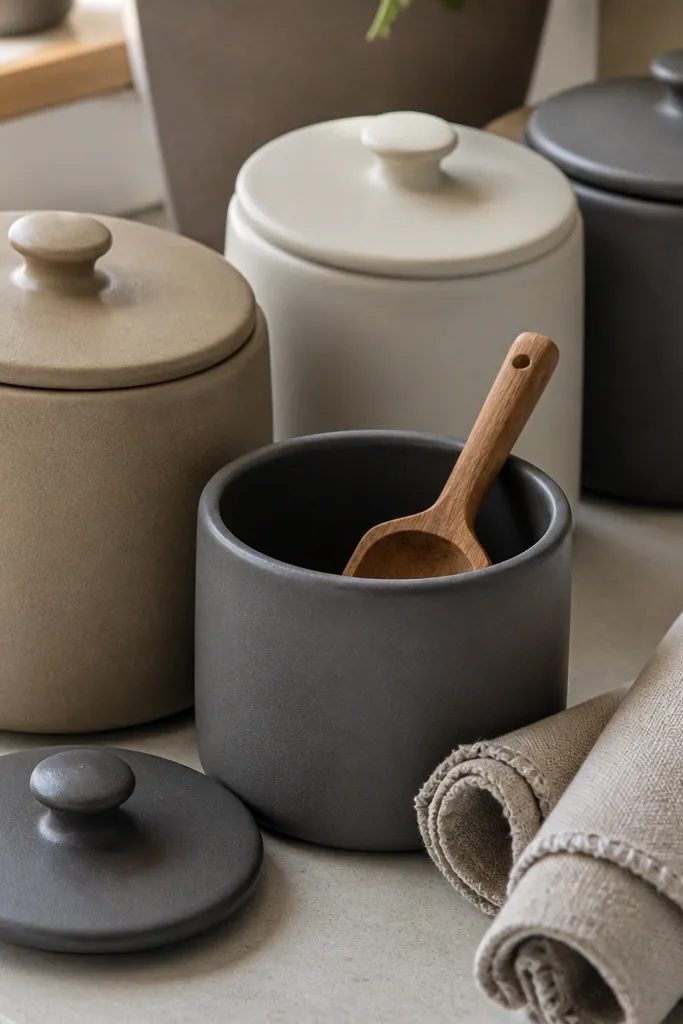
This idea is all about texture and calm. When your coffee lives in matching matte ceramic canisters, the station looks expensive even when the setup is simple. Pair it with a folded linen napkin roll for that cozy, lived-in feeling that still photographs cleanly. It works best when you keep the layout tight: fewer items, better surfaces, and matching containers.
Choose three matching matte ceramic canisters for coffee, sugar, and cocoa, plus a small ceramic dish for stir sticks. Place them on a tray next to a mug stack and a short pitcher for milk or creamer. Add a linen napkin roll under the canisters so the tray has a “finished” bottom layer. Wipe canisters dry and keep lids on when not refilling so the station looks tidy at a glance.
Pick canisters with slightly flared lids — they catch light softly and look better in overhead photos.
Avoid shiny canisters in bright kitchens — glare turns the whole setup into a harsh reflection.
9. DIY Peg Rail with Mug Hooks and Scoop Cup
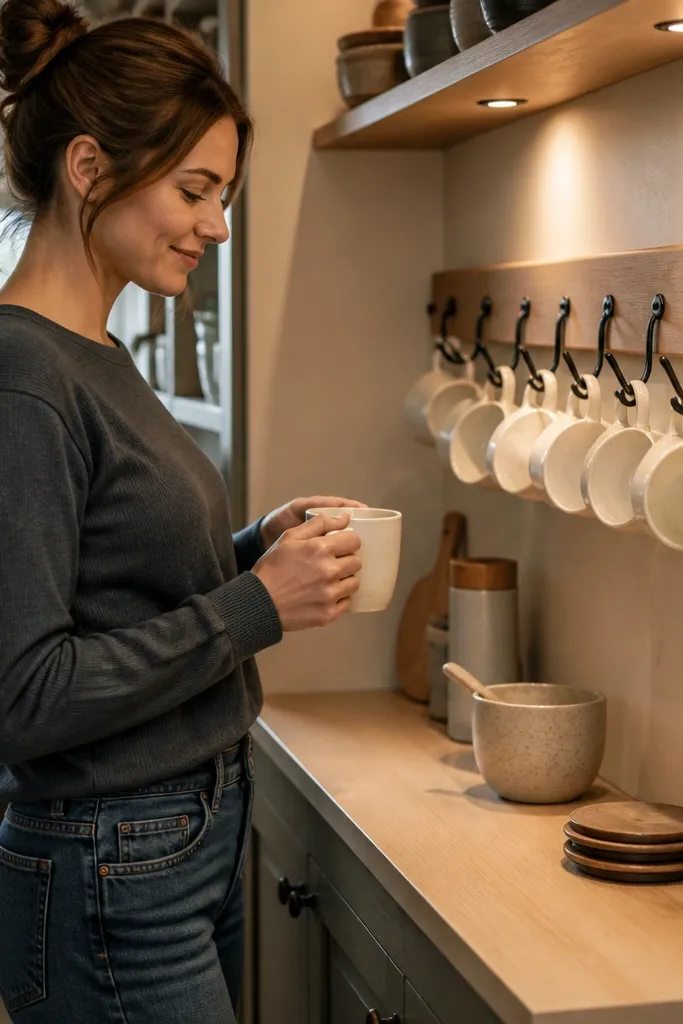
Mugs hanging on a rail instantly makes a coffee station look like a designed bar. You also free up counter space for the parts that matter during hosting: cups, lids, and add-ons. This works especially well in narrow kitchens because it uses the wall without building bulky shelves. For year-round coziness, hang a small seasonal tag on the rail and keep the rest neutral.
Install a metal or stained wood rail above your counter at mug handle height. Add evenly spaced hooks for your mugs and attach a small cup or holder at the rail end for scoops and spoons. On the counter, place a shallow tray with creamer and sweeteners in small bowls. Keep one slim jar for stir sticks and refill it last so the tray looks full right before guests arrive.
Editor's noteMeasure hook spacing to match your mug handle width so mugs hang evenly and don’t crowd.
Skip thisSkip mismatched hook spacing — uneven hangs make the station look sloppy.
10. Reclaimed Wood Mantel-Style Coffee Shelf
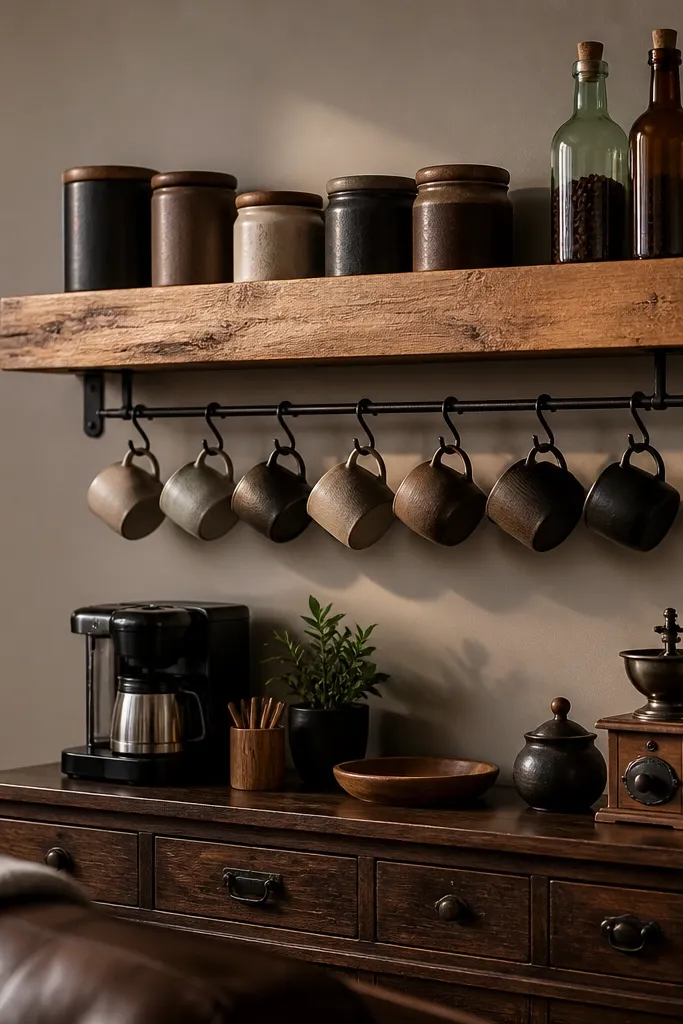
A wide mantel-style shelf creates a strong visual anchor, which is what you want for cozy year-round coffee station ideas. Reclaimed wood looks warm and hides small imperfections, but it still needs a clean finish so it doesn’t look dusty. Use the shelf for coffee tins and a few bottles only, then hang mugs underneath for a balanced look. This is a great choice for dining rooms because it turns coffee into an intentional moment.
Mount a wide shelf (about 36 inches long) with two strong brackets so it holds jars safely. Place coffee tins and syrups in the center, with one small tray on the left for stir sticks. Hang mugs underneath using a rail or hooks, then place a second tray on the counter with napkins and optional treats. Seal the wood with matte clear coat and wipe it down before hosting so it looks fresh.
Use two jar heights max on the shelf so the arrangement stays calm and reads well from a distance.
Avoid stacking too many bottles — the shelf becomes visually heavy.
11. Fold-Down Coffee Station on a Narrow Console
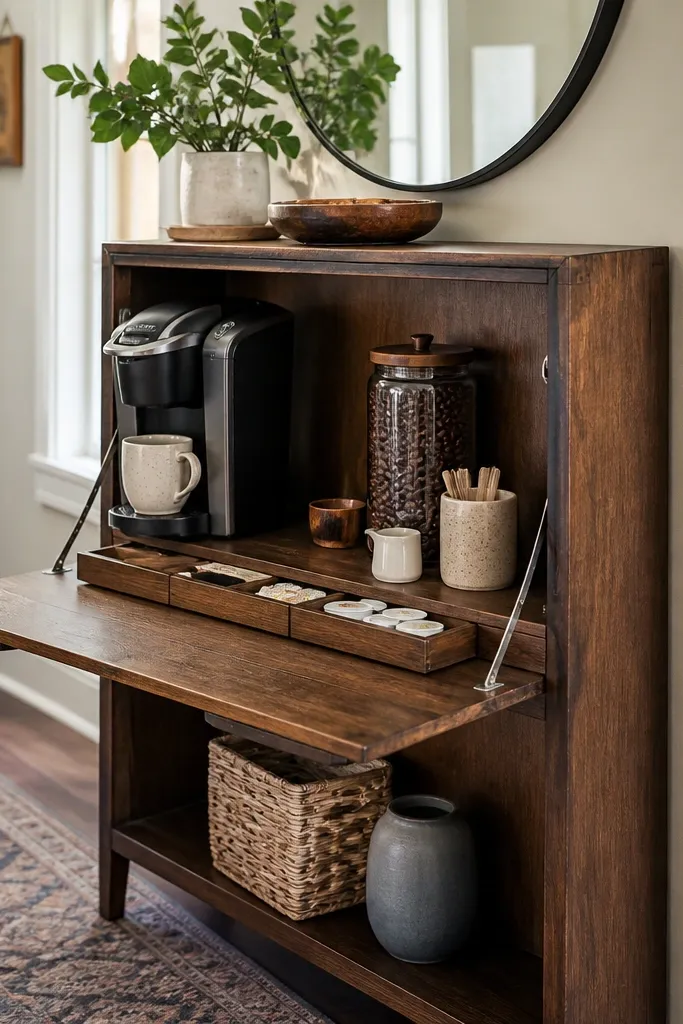
This is a smart hosting move when you don’t want a permanent coffee mess. The fold-down panel hides the clutter when not in use, so the room stays tidy and the station looks like furniture, not storage. When guests arrive, you open it and reveal a photo-ready layout with cups, filters, and add-ons. It’s cozy year-round because you only change the visible front section and keep the hidden storage constant.
Use a narrow console and add a fold-down top panel with a hinge that holds at a comfortable angle. Mount a small rail or board inside the panel for coffee tools and a shallow tray for spoons. On the open side, place a small shelf for mugs and a bin for add-ons. When closed, store extra items inside the console so you don’t have random bags and boxes on the floor.
Add a magnetic latch or soft-close hinge so the panel shuts quietly and stays aligned.
Don’t skip a lip on the open tray area — items slide when the panel angle changes.
12. Glass Jar Wall Grid for Flavors and Sweeteners
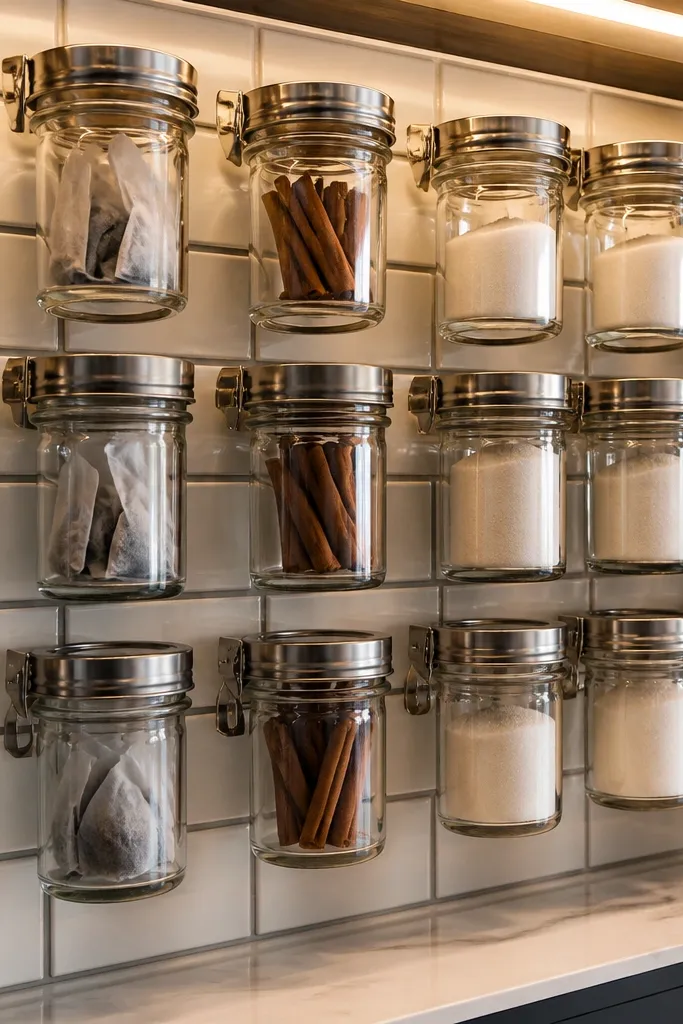
A glass jar wall is the most photogenic way to make add-ons look “organized” instead of “stored.” The grid layout creates a clean pattern, and glass reads bright even in winter lighting. Use it for flavors, sweeteners, and tea bags so you can offer options without clutter. Keep the jar labels consistent so your station stays cozy and intentional, not like a random pantry shelf.
Build or buy a small grid frame and attach it to a wall near your serving area. Use uniform glass jars with matching lids, then secure them to the grid with clips or small brackets. Arrange jars by category: sweeteners on one row, powders on another, and syrups on a side. Place a separate tray on the counter for cups and stir sticks so guests don’t reach across the wall.
Use matte black labels on clear tape so they stay readable but don’t block the light in the jars.
Avoid placing jars too high — guests will crowd the counter and the station stops looking cozy.
13. Woven Basket Coffee Station with a "Service Tray"
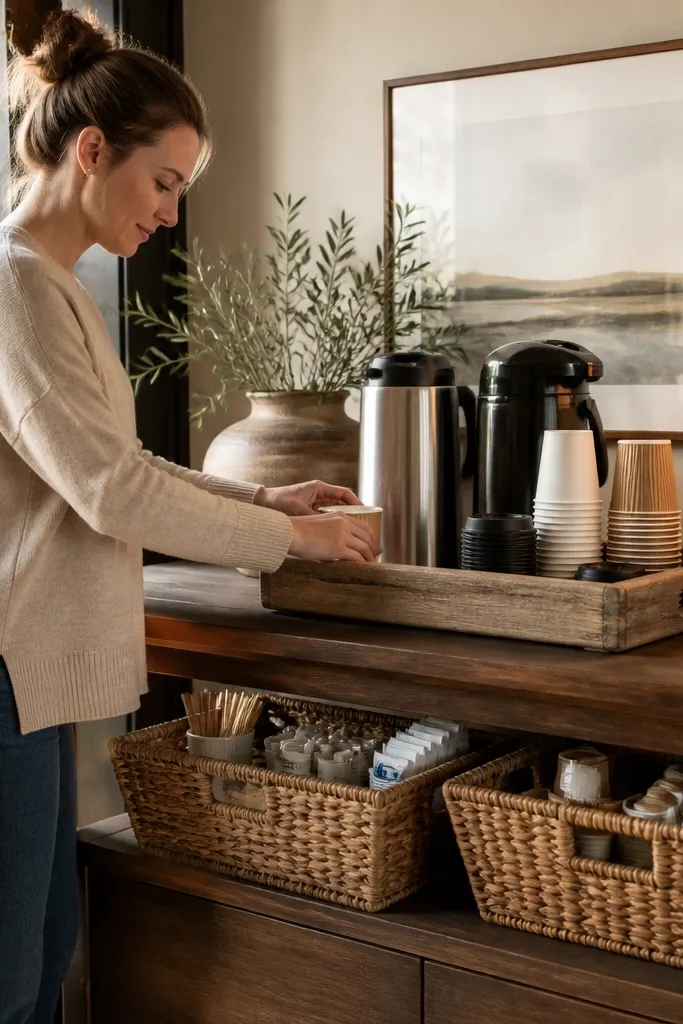
Woven baskets make any coffee station feel warmer instantly, and they hide the mess that happens during hosting. The trick is to use a service tray so the station still looks styled instead of like storage. Put cups and lids on the tray, then keep add-ons in baskets below or to the side. This is one of the best cozy year-round coffee station ideas because you can swap basket liners and seasonal accents without rebuilding.
Choose two baskets in the same weave style: one for add-ons and one for napkins or stir sticks. Place them on a low shelf or cabinet top next to a service tray. Fill small bowls inside the basket for sugar packets, cinnamon sticks, and cocoa, then keep stir sticks in a jar so they don’t spill. Add a tray with mugs and a spoon rest so guests can serve themselves without touching everything.
Editor's noteLine the baskets with thin cotton fabric so dust doesn’t collect in the weave and the station looks cleaner in photos.
Skip thisAvoid baskets with messy fraying edges — it looks worn instead of cozy.
14. Stovetop Coffee Shelf Above the Kettle
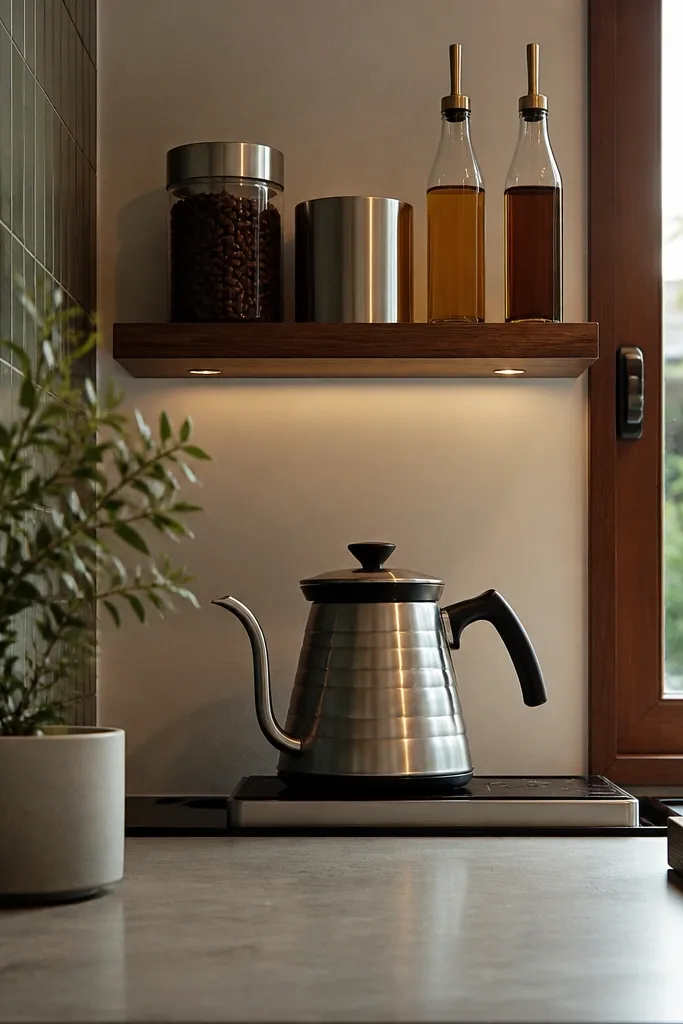
If your kettle lives on the counter, mount a shelf directly above it so the station becomes one tight work zone. This makes hosting smoother because everything is within arm’s reach and the look stays coordinated. Keep the shelf small and focused: coffee jars, filters, and a couple of syrups. For cozy year-round coffee station ideas, choose heat-safe placement and use ceramic jars so the station looks soft and warm.
Mount a heat-safe shelf above your kettle area with proper clearance from the stove surface. Place coffee canisters and filters in small groups so you don’t overcrowd the shelf. Use a metal or stone tray under the kettle as a landing zone for drips and spills. Keep mugs in a tray to the side, and store extra add-ons in a drawer so the shelf stays photo-ready.
Editor's noteUse a small lip on the landing tray so liquids don’t run off when you pour.
Skip thisAvoid putting glass directly above heat sources — thermal stress can crack it.
15. Lemonade-Style Acrylic Beverage Dispenser for Iced Coffee
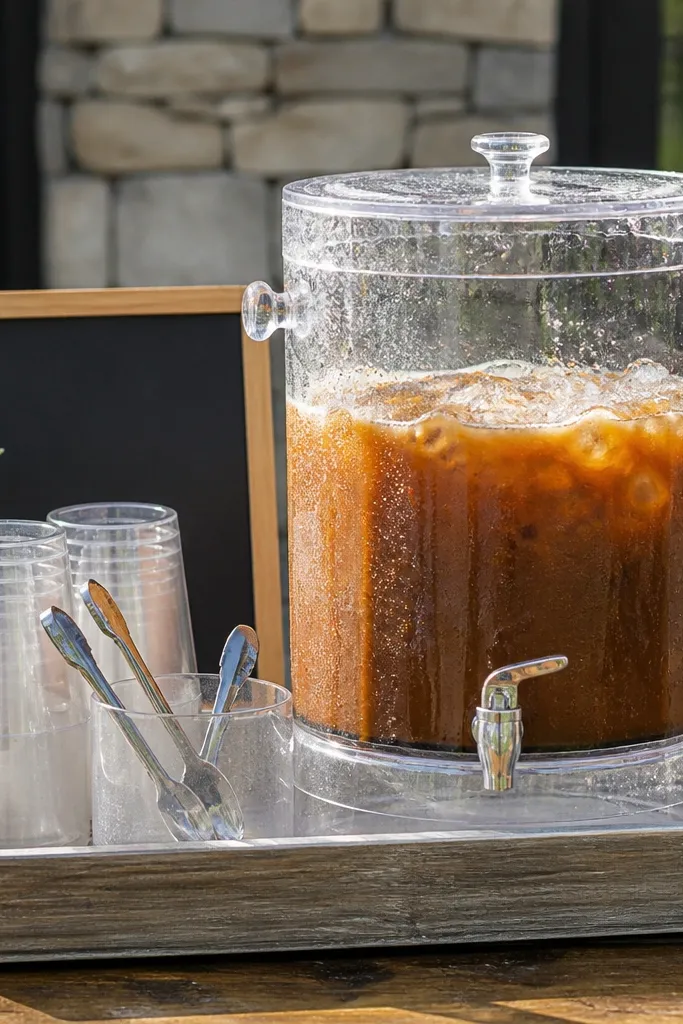
This idea is a summer-friendly move that still looks good in winter because you can swap what’s inside while keeping the same hardware. A clear dispenser makes the coffee station feel like a real service bar and looks great under bright light. Put it on a tray with ice tongs, cups, and a label so guests understand it instantly. Keep the rest of the station warm-toned so the acrylic doesn’t feel too modern.
Buy a clear acrylic dispenser with a wide spout and a spigot you can wipe easily. Place it on a large tray so drips stay contained, then set cups and a small bin for stir sticks next to it. Add a label card with a bold marker and a simple flavor name. For winter, swap iced coffee for hot coffee in a different container on the same tray or keep it filled with spiced tea.
Wipe the dispenser with a microfiber cloth right before guests arrive to remove fingerprints and keep it crisp on camera.
Don’t skip a tray under the dispenser — spigot drips ruin the look fast.
16. Corner Coffee Nook with Floor Standing Ladder Shelf
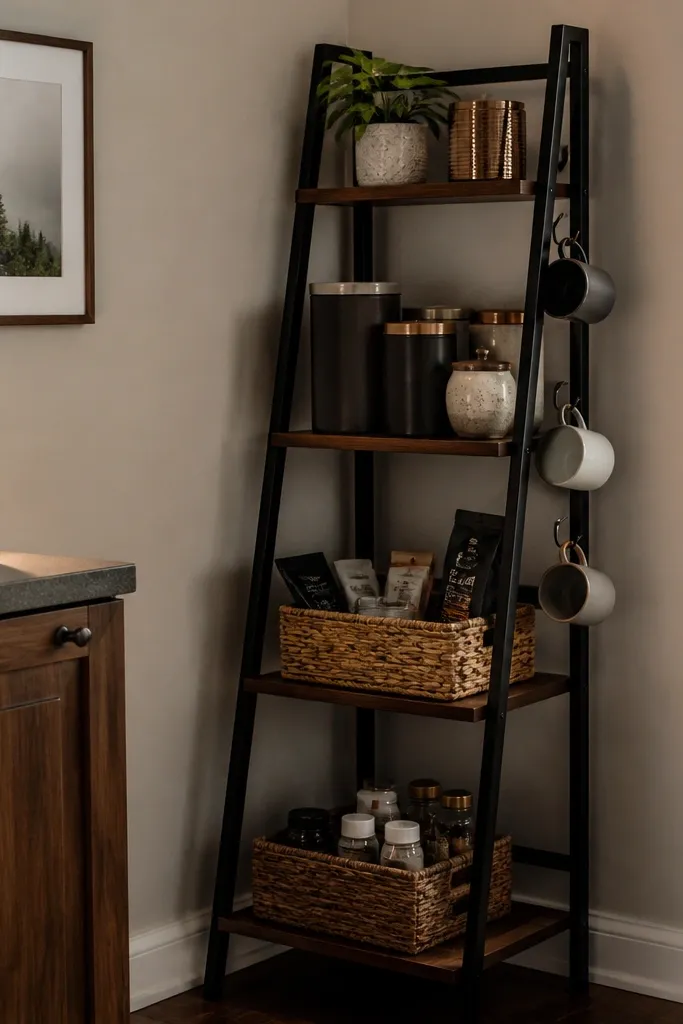
A floor standing ladder shelf turns a corner into a dedicated coffee nook without building into your walls. It’s tall enough to create a styled vertical look, and the lower shelves can hold add-ons in baskets. Mugs can hang on hooks on the side rail, which makes the station feel like a bar. This works well for cozy year-round coffee station ideas because you can change the top shelf decor while keeping the coffee essentials in the same spots.
Choose a ladder shelf with 3-4 levels and a width that fits your corner without blocking walkways. Place jars of coffee and cocoa on the middle shelves and use baskets for sugar and stir sticks on the lower shelf. Add a mug rail or hooks to one side, spacing hooks so mugs hang without touching. Lay a small runner or mat on the floor in front so the nook looks finished instead of floating.
Editor's noteUse one runner color across seasons (cream or tan) and swap only the small decor accents on top.
Skip thisAvoid placing the tallest jar on the lowest shelf — it makes the whole nook look top-heavy.
17. Wine Rack Under-Shelf Coffee Bar with Pull-Out Tray
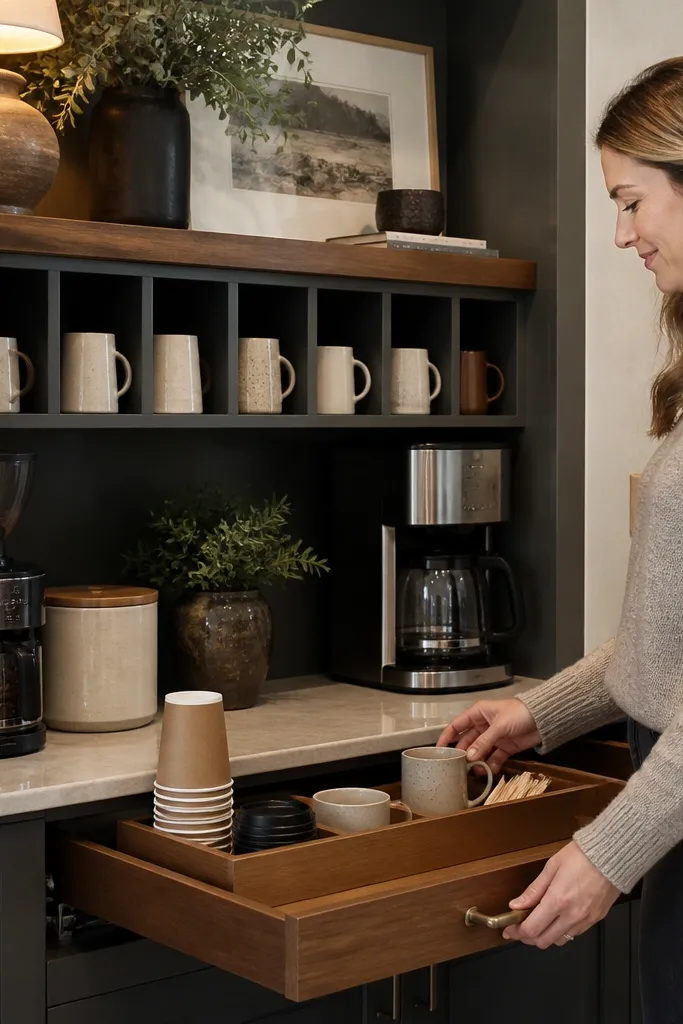
This setup makes coffee hosting feel automatic because everything lives at counter height, but it still looks styled. The wine rack holds mugs upright so they don’t topple when guests grab one, and the pull-out tray gives you a clean “bar” front that hides clutter when you’re not using it. Use it when your counter is narrow or you hate open shelving with loose items. It looks photogenic because the mug handles line up in rows and the pull-out tray frames your sugar, stir sticks, and napkins like a mini serving station. Skill level is beginner-friendly if you can measure and drill straight; plan on a few hours for build time plus drying time for stain.
Cut two side cleats from 3/4-inch plywood, each 3 inches wide and as long as the underside span you want. Mount a 2x4 wine rack (or a prebuilt metal rack) centered under a wall shelf or a cabinet overhang, using wood screws into studs or into a ledger board. Install a bottom pull-out tray using full-extension drawer slides; make the tray 1 inch narrower than the opening so it slides smoothly and doesn’t rub. Line the tray with a thin cork sheet for quiet movement and to protect hot cups. Finish by staining or painting the wood shelf and cleats, then seal with a matte polyurethane so it wipes clean without glare.
Use a scrap spacer when you mount the rack so the mug handles clear each other by at least 1/2 inch.
Don’t mount the rack to drywall alone — use studs or add a ledger board.
18. Pegboard Coffee Bar with Sliding Spice Drawer Inserts
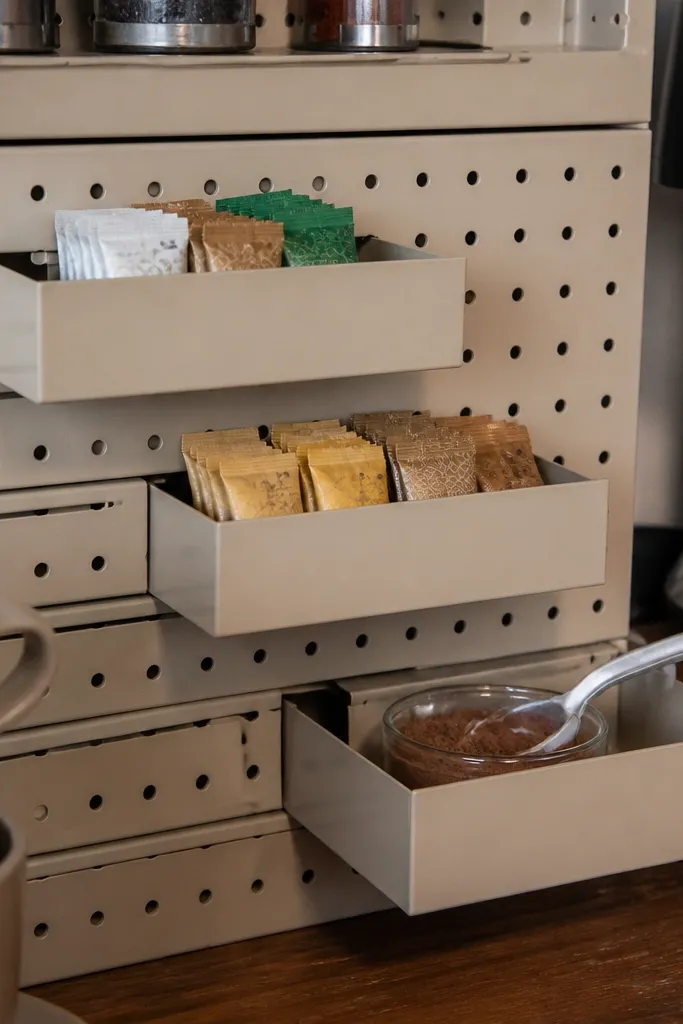
This is for people who hate digging around for cinnamon, cocoa powder, or flavor syrups while guests are waiting. The pegboard keeps the system visible and easy to reach, but the sliding drawers hide the mess and keep tiny packets from spilling. It looks sharp because pegboard grid lines give you an orderly backdrop, and the drawer fronts create a neat rhythm like a real bar. This works in kitchens with a vertical wall where you want the station to stay tidy even on busy hosting days. Build it if you’re comfortable with basic carpentry and want a custom look without buying a full cabinet.
Choose a pegboard sheet 1/4-inch thick and cut it to fit your space, leaving at least 1 inch of clearance around edges. Add a frame from 1x2 lumber so the board sits straight and gives you mounting depth for hooks. Build two to four mini drawers from 1/2-inch plywood boxes sized about 6 inches wide x 3.5 inches tall x 10 inches deep, then attach drawer fronts cut from 3/4-inch wood. Install small drawer slides rated for light loads, centered under the pegboard so the drawers slide out without binding. Drill a simple handle slot or add a wooden pull, then seal the drawer interiors with a wipeable finish so spills don’t soak in.
Mount a shallow lip strip under each drawer so you can push it shut with one finger instead of fighting misalignment.
Don’t make the drawers too tall; keep the top of the drawer fronts below the level of your mug hooks so the wall still looks open.
19. Tile-Backed Coffee Bar with Command-Strip Removable Trays
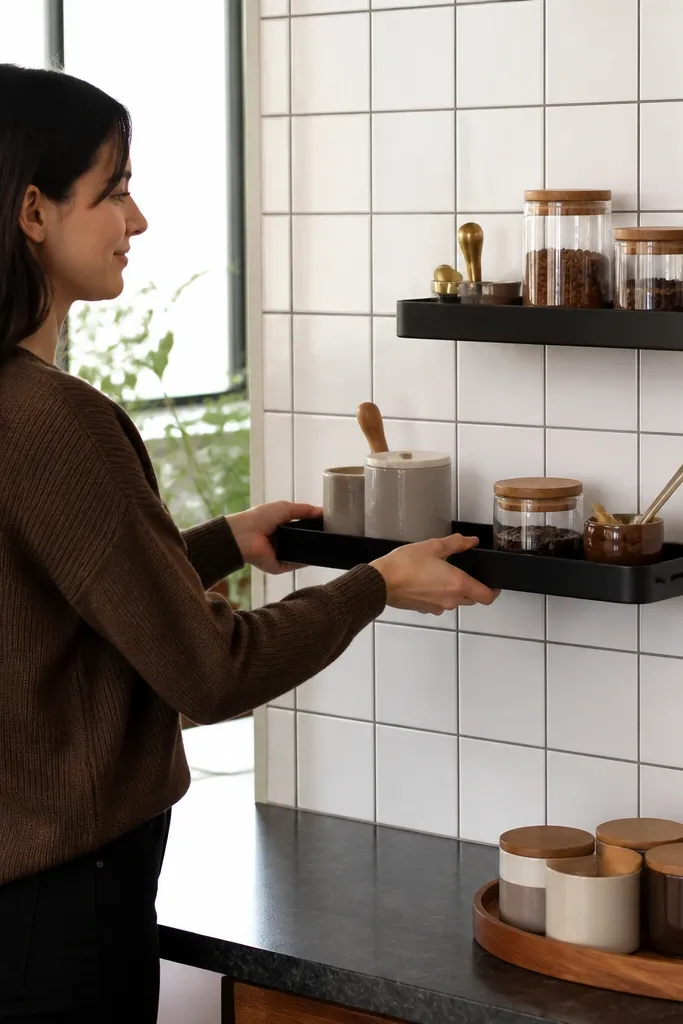
If you want a coffee station that looks built-in but you rent or you don’t want to drill a full bar wall, this is the clean answer. The tile backing gives you a bright, high-contrast background for jars and scoops, and the removable trays let you set up for guests in minutes then store everything neatly. It’s photogenic because the tile grout lines create a grid, and transparent or white ceramic containers pop against it. This works in kitchens with a short wall span by the coffee maker or kettle where you want the station to feel intentional. Skill level is easy, with most time spent prepping the wall and making the tray frames.
Pick a small tile backsplash panel area about 24 inches wide x 18 inches tall, then install tile directly onto a cement board or use a pre-tiled panel. Seal grout and tile with a clear grout sealer so sticky syrups wipe off fast. Build two tray frames from 1x2 pine cut to 20 inches wide x 8 inches deep and add a 1/4-inch lip so items don’t slide. Attach hook-and-loop or industrial Velcro Command-style mounting pads to the tray backs and matching spots on the tile for removable placement. Finish the tray frames with paint, then add a removable liner like washable silicone mat or cork sheet.
Editor's noteUse matching white jars with black lids so the tile background stays consistent year-round in photos.
Skip thisDon’t skip grout sealing; unsealed grout stains from coffee splashes and looks messy fast.
20. Countertop Coffee Bar with Sliding Drawer Insert and Front Rail
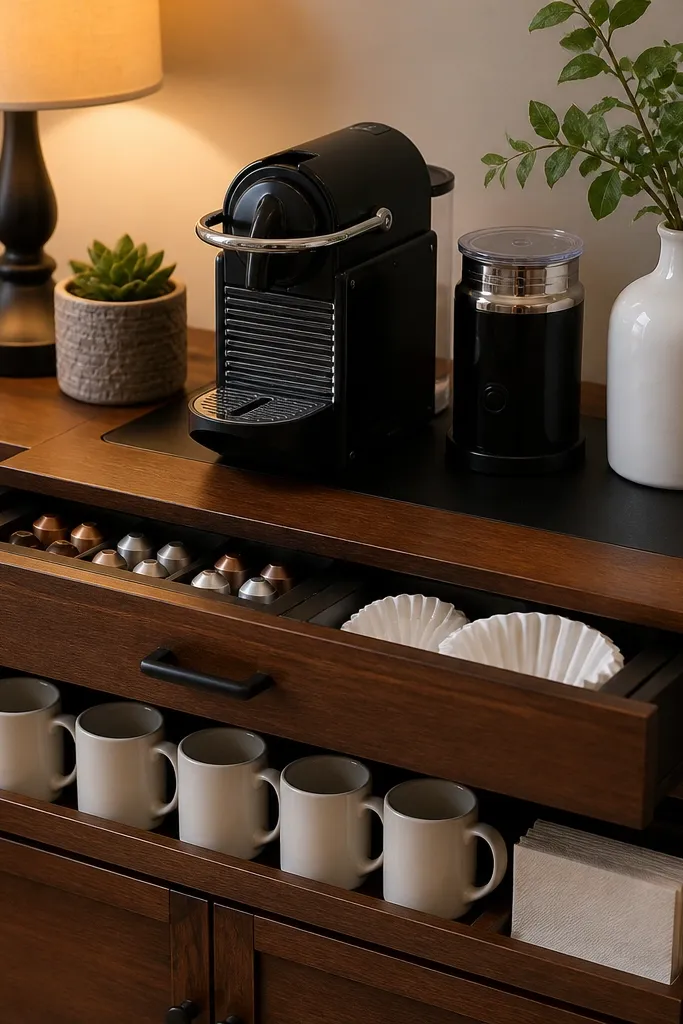
This turns a plain sideboard corner into a real coffee bar without adding a wall system. The sliding drawer insert stores pods, filters, and sweeteners out of sight, while the front rail holds a row of cups or a stack of napkins so the station looks set even when it’s not in use. It’s a strong choice for small kitchens because it keeps items from spreading across the whole counter. The look is tidy and structured: clean front rail, organized drawer contents, and a flat top that can hold a tray for creamer and stir sticks. Build it if you can cut wood panels and install drawer hardware; it’s a weekend project with a satisfying finished result.
Start with a small cabinet or build a 24-inch-wide box from 3/4-inch plywood, with a top surface depth of about 10 inches. Add a drawer insert sized to slide under the top, leaving a 1-inch gap so it clears when opening; aim for 20 inches wide x 12 inches deep. Install a single full-extension drawer slide pair on the sides inside the cabinet, and mount the drawer front last after you test the slide alignment. Build a front rail from 1x2 lumber across the front edge of the top, leaving 1-1/4 inches between rail and cabinet face so cups fit. Seal everything with matte poly, then add a removable tray on top for seasonal items like iced coffee stir sticks or peppermint packets.
Editor's notePre-drill every screw into plywood and use a stop block when you cut drawer parts so the drawer front sits square on the first try.
Skip thisDon’t mount the drawer slides before you confirm the drawer opening depth; one wrong measurement makes the drawer scrape.



