
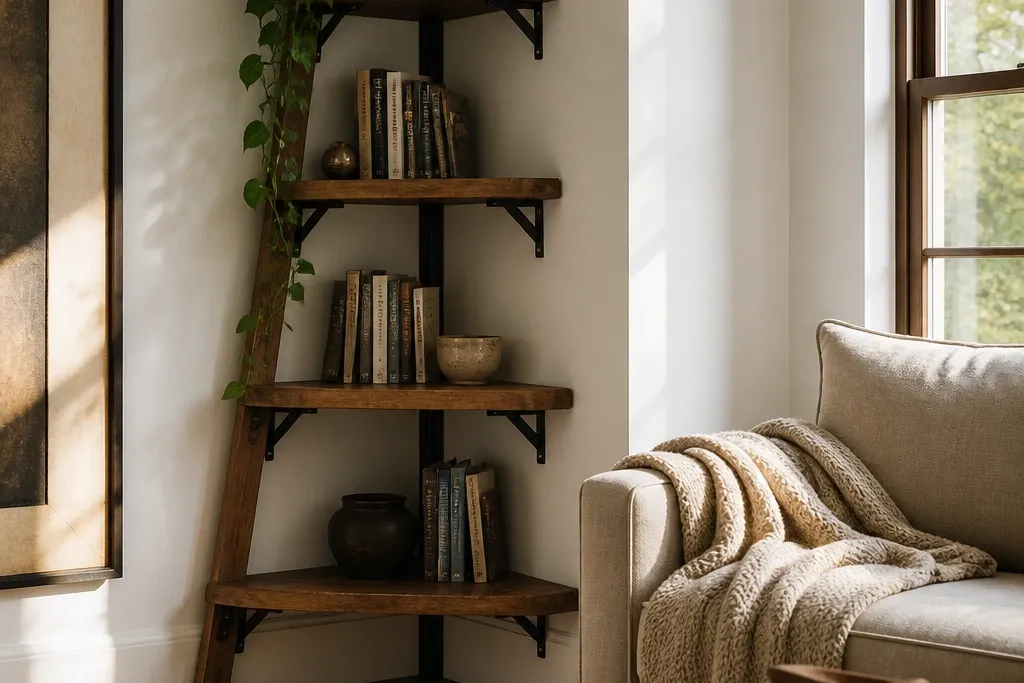
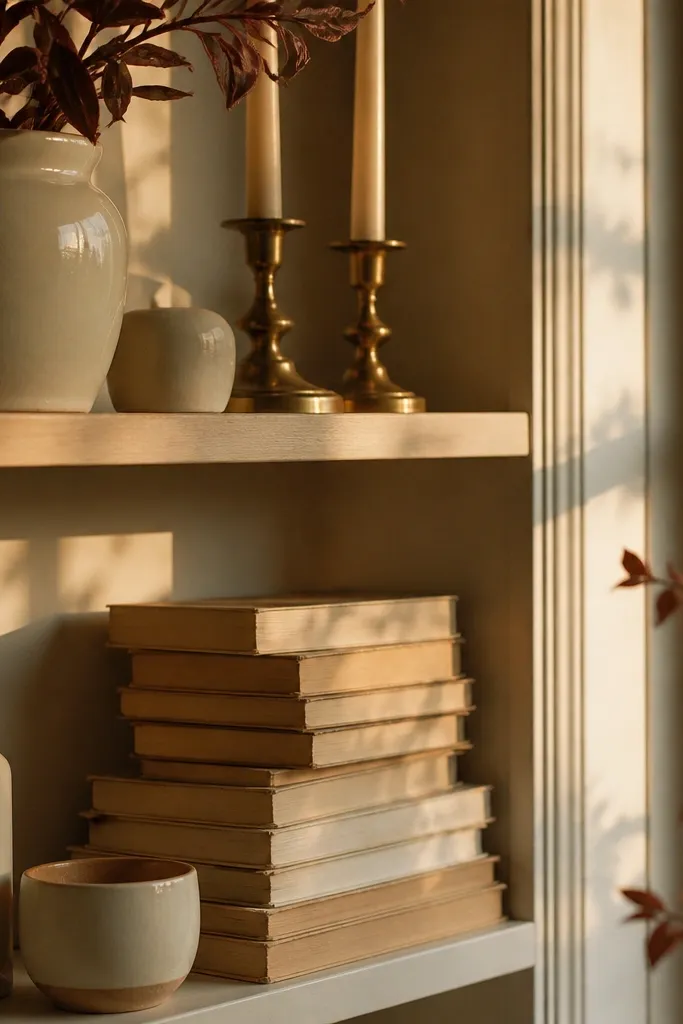
1. Ladder Corner Shelves in Smoked Oak with Matte Black Brackets
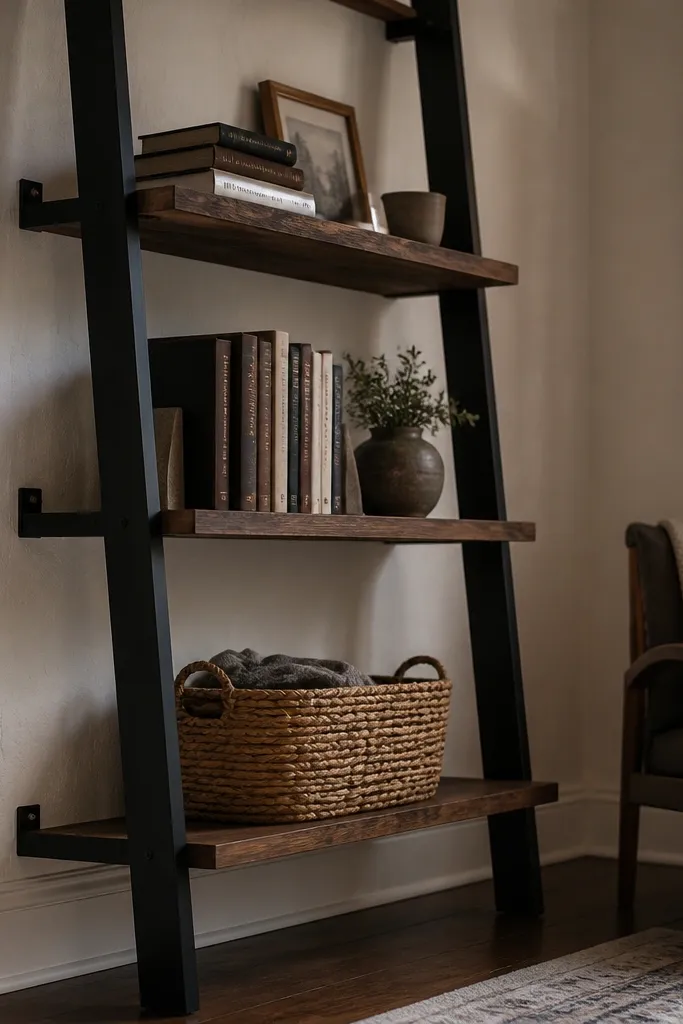
This build makes a corner feel like it has a “home base” because the ladder layout creates vertical movement without making the wall look heavy. Smoked oak gives you that warm, cozy tone, and the matte black brackets add a crisp line so the wood doesn’t blend into the wall. You get built-in styling space for books, small frames, and one taller plant or candle set. It’s also beginner-friendly because you can keep the shelf widths consistent and focus your effort on straight alignment. For a living room, this style looks best when the shelves land around couch-eye height and you keep the decor palette to warm neutrals.
Editor's notePre-drill bracket holes and use a 1-inch bit depth stop so you don’t blow through the shelf top.
Start by marking two vertical lines in the corner wall where the bracket legs will land. Cut and sand three to five shelves from 3/4-inch plywood or solid wood, aiming for 9 inches deep and widths that fit your corner (commonly 18-24 inches). Mount the brackets first into studs, then screw each shelf to the brackets so the ladder steps are level and spaced 12 inches apart. Finish by sealing with a matte wood finish or stain + matte poly, then mount a simple backstop trim if you want extra safety for small items.
Skip thisDon’t set shelf spacing tighter than 10 inches if you want books and decor to sit without looking packed.
2. Floating Corner U-Shelf with Soft Cream Back Panel
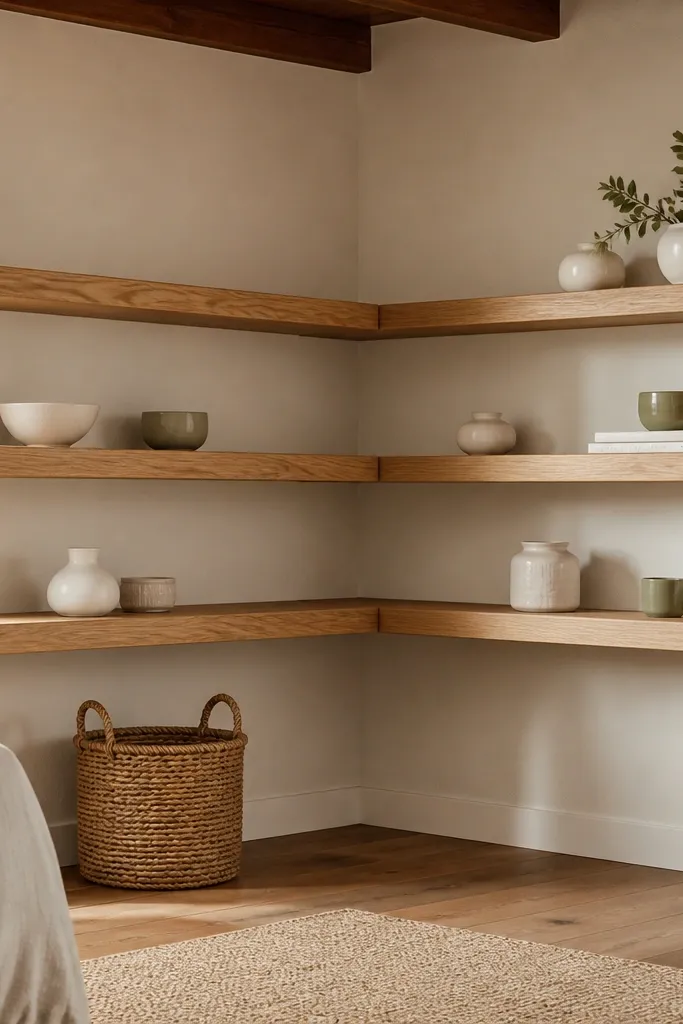
A U-shaped corner shelf reads cozy because it frames the decor like a mini nook. The soft cream back panel makes wood and ceramics pop without turning the corner into a bright spotlight. This is a great option if you want a clean look but still want warmth from texture. The shelves also give you three surfaces in one corner, which makes styling easier than a single long shelf. Build it with matte finishes so the corner looks inviting in both daylight and evening lamp light.
Cut a 3/4-inch-thick back panel from plywood and paint it soft cream, then seal it with a matte clear coat. Install a ledger strip level at your lowest shelf height using stud screws, then add mounting blocks at the correct spots for each shelf run. Build two shelf runs (each 8-9 inches deep) that meet in the corner with a clean mitre or a tight butt joint, then screw them to the mounting blocks. Finally, add small trim pieces at the back edges to hide the panel seams and keep small items from sliding behind.
Use a laser level or a smartphone level app to keep the U shape perfectly even across both walls.
Don’t skip a back panel or you’ll lose the cozy framed look and the corner will feel unfinished.
3. Corner Picture-Ledge Shelves with Warm Wood Stain
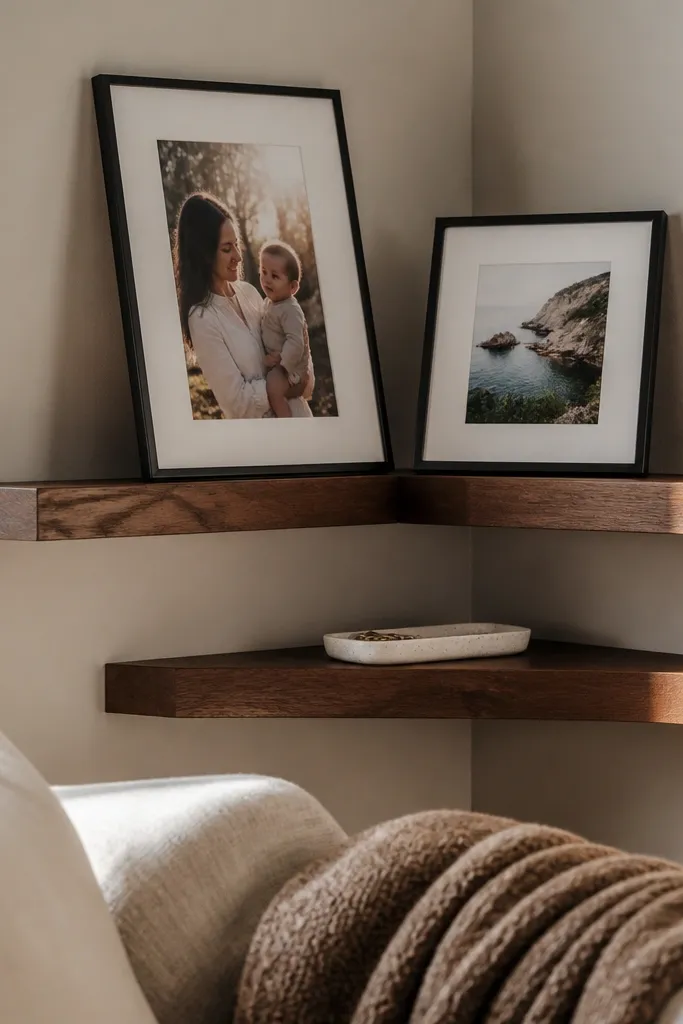
Picture-ledge shelves make corners feel cozy because they naturally hold framed photos and small objects at a comfortable viewing angle. Warm wood stain gives you depth without needing complicated carpentry. This layout is perfect for living rooms where you want personal, layered decor rather than lots of books. The slightly thicker shelf lip keeps items from creeping forward, so your corner looks styled even when you’re not actively arranging it. It’s also a smart move if you want to keep the build simple and still get a high-end look.
Buy or cut 1x4 or 1x6 boards for the ledges, then sand to 180 grit and stain in a warm tone like oak or walnut. Mark your vertical spacing at 12 inches between shelves, keeping the first shelf about 18 inches above the floor. Mount a ledger strip into studs, then attach shelf brackets or cleats so the ledge lip faces forward. Add a coat of matte poly so the shelf looks warm under indoor lighting and wipes clean.
Use foam tape under framed pieces to reduce sliding and to keep the decor from scratching the wood.
Don’t mount picture ledges too low — below 16 inches above the floor, the decor looks awkward from a seated viewpoint.
4. Built-In Style Corner Shelves with Removable Tray Insert
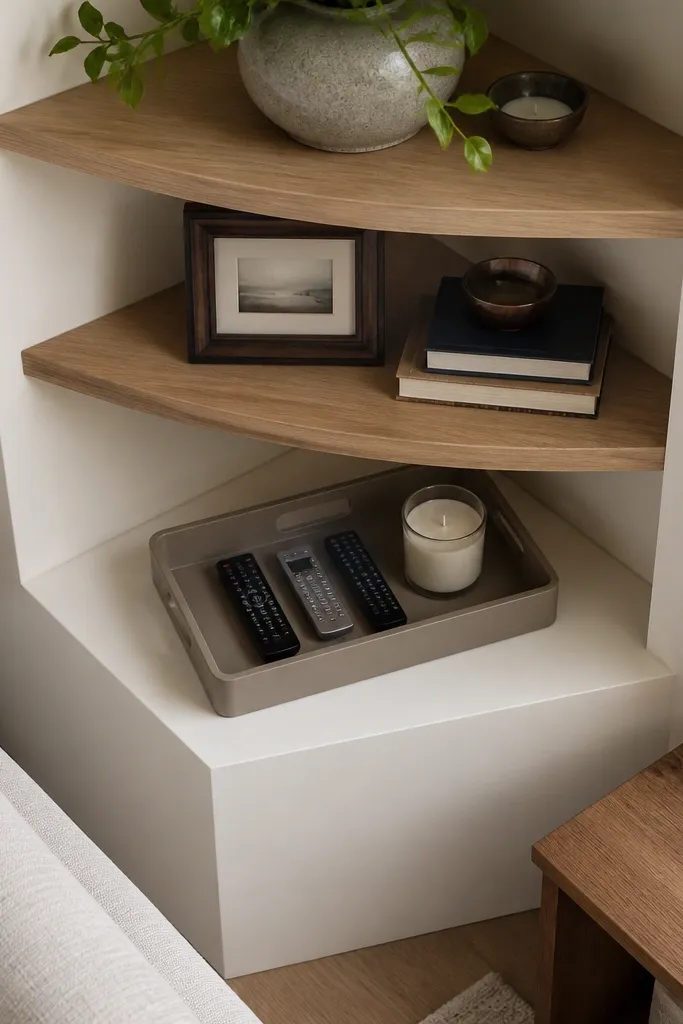
This idea feels cozy because it looks like a built-in even if you’re using modular boards. A removable tray insert keeps small items contained, so the corner stays neat between styling sessions. The tray also lets you switch seasonal decor without moving everything around. Use this if your living room corner collects clutter easily or if you want a “staged” look that stays staged. The clean lines and contained styling space make the corner feel calmer and warmer.
Editor's noteSand tray edges until they feel slightly rounded — it prevents snagging and makes the tray feel premium.
Build two shelf boxes from 3/4-inch plywood with open fronts, keeping outer dimensions around 24 inches wide and 9 inches deep. Install a backing strip and mount the boxes into studs at your chosen heights, then screw in a bottom shelf panel. Make a tray insert from 1/2-inch plywood with a lip, sized to slide into the upper compartment with a 1/4-inch gap. Finish everything with stain or paint, then seal the tray with a durable matte topcoat.
Skip thisDon’t make the tray too tight; if it binds, you’ll stop using it and the corner will revert to clutter.
5. Corner Arc Shelf Run with Curved Front Edge
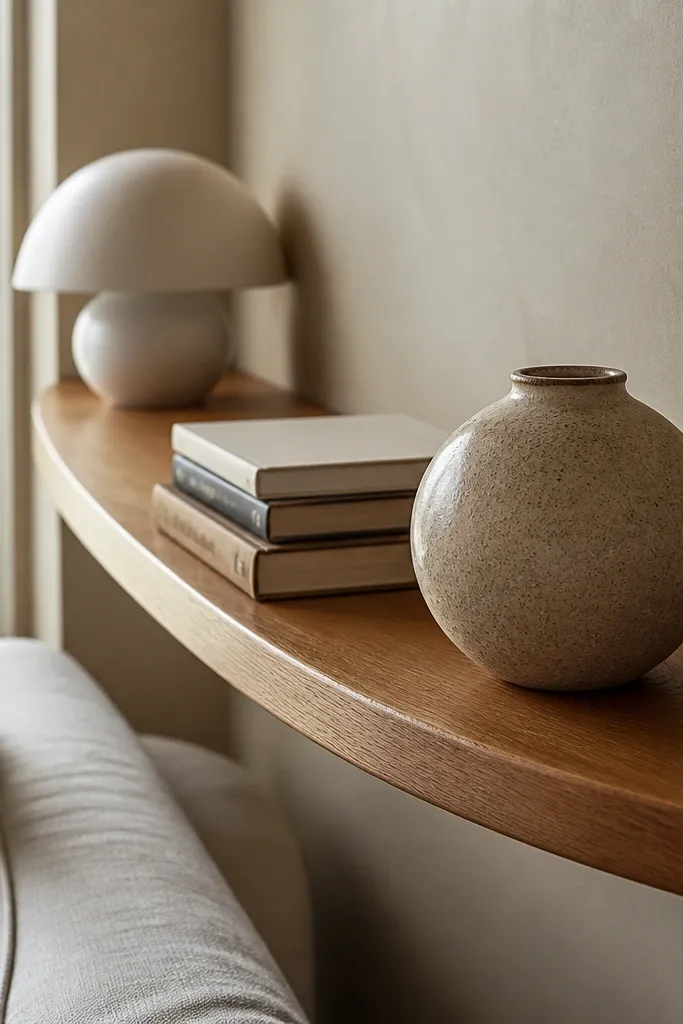
Curved shelf fronts soften the corner and make it feel cozier than sharp right angles. The arc also draws the eye to the corner without making the room feel boxed in. This is a great aesthetic choice if your living room has rounded decor somewhere else, like a round coffee table or a dome lamp. Keep the shelves warm and simple, and let the curve do the styling work. It’s more advanced than a straight run, but the payoff is a corner that looks designer-level.
Editor's noteMake a cardboard template of the curve before cutting wood — it saves you from wasting a full shelf panel.
Use a thin strip of plywood (about 1/4-inch) to create the curved front edge, then laminate it to a thicker shelf base or attach it to a front fascia. Cut two long shelf bases for each wall section, keeping depth at 9 inches and length based on your corner width. Mark your arc using a string jig, then clamp and screw the curved front to the shelf base. Mount into studs with metal shelf brackets, then finish the wood with matte stain so the curve catches warm light.
Skip thisDon’t rush the curve dry-fit; if it’s off by even a small amount, the shelf won’t look symmetrical.
6. Two-Tier Corner Shelf with Built-In Wine-Glass Stem Slot
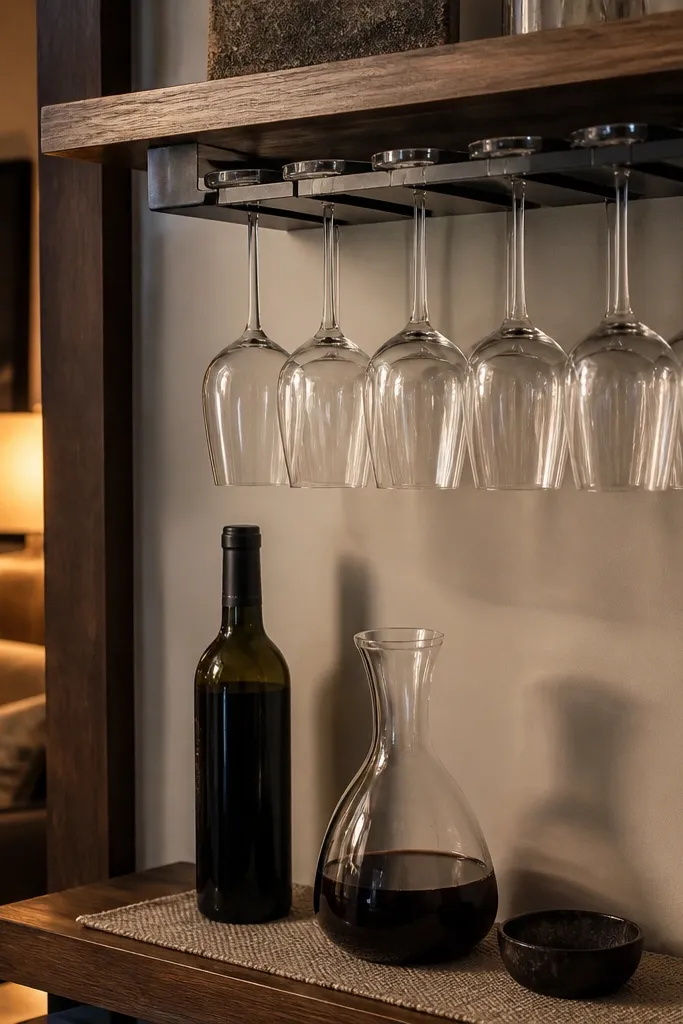
This corner shelf idea feels cozy because it adds function people actually use when they host. The stem slot keeps glasses aligned and makes the corner look intentional, not decorative-only. Pair it with warm wood shelves and matte black hardware and the whole corner reads like a bar nook. If your living room opens to a dining area, this is a tidy way to make the transition feel warm and inviting. It also reduces counter clutter because glasses have a home.
Build a two-tier corner shelf using 3/4-inch wood boards, with the lower shelf at about 28 inches above the floor and the upper shelf 12 inches above that. Cut a 1-inch-wide slot panel for the stem area using a 1-inch forstner bit and a straight chisel cleanup, or use a router jig for repeatable slots. Mount the upper shelf into studs with two heavy-duty brackets, then install the slot panel centered under the upper shelf lip. Seal with matte clear coat and add a small lip on the lower shelf edge so glasses and small items don’t slide.
Use a scrap test piece to dial in slot width — stem glass sizes vary a lot.
Don’t hang glasses from flimsy hardware; use brackets rated for the shelf plus glass weight.
7. Corner Floating Shelves in Whitewashed Pine with Brass Dowel Pegs
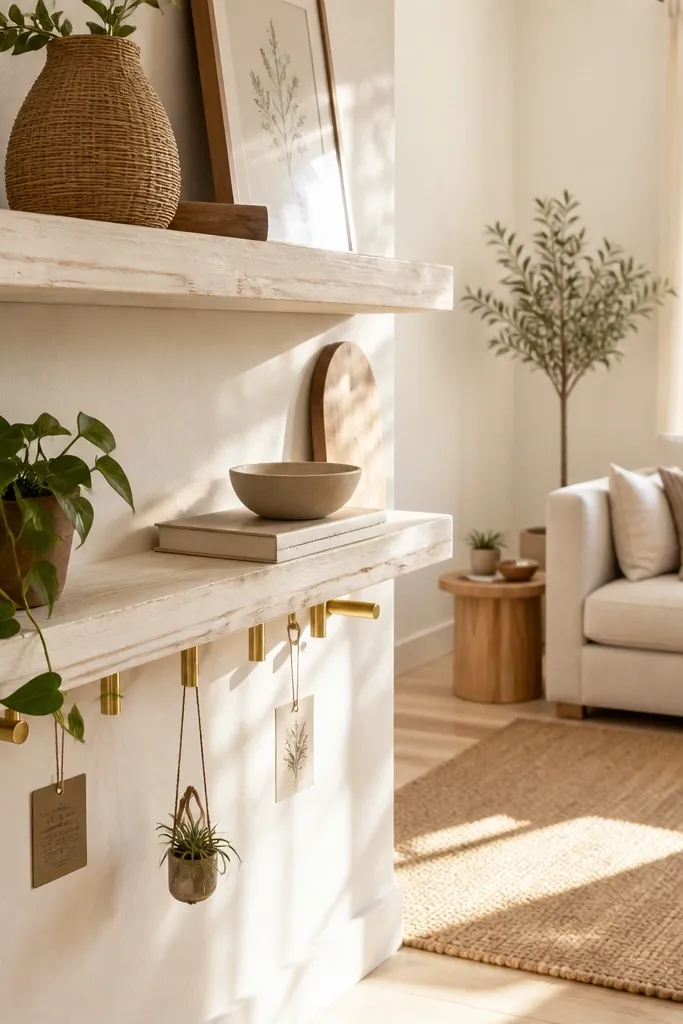
Whitewashed pine makes a living room corner feel airy and cozy at the same time. Brass dowel pegs add a warm metallic accent without going flashy, and they give you a place for small decor like mini planters or hanging tags. This setup works well if you love plants but don’t want them all on the floor. The shelves look light, and the peg points let you style with vertical variety. It’s a very photogenic corner because the brass catches lamp glow.
Editor's noteDrill peg holes using a drill press or a simple guide block so every hole is straight.
Sand pine boards to 150-180 grit and apply a whitewash stain, then seal with a satin or matte clear coat. Mark your shelf line at eye level and mount cleats into studs, keeping shelf depth around 8 inches. Drill evenly spaced holes for 1/4-inch brass dowels on the shelf face, then insert pegs with a tight fit and a small dab of wood glue at the base. Add two shelves at staggered heights, and keep the peg pattern consistent across both levels for a clean look.
Skip thisDon’t use glossy sealer on whitewashed wood; it turns cozy corners into shiny corners.
8. Corner Bookshelf Nook with Open Cubes and One Closed Cabinet Door
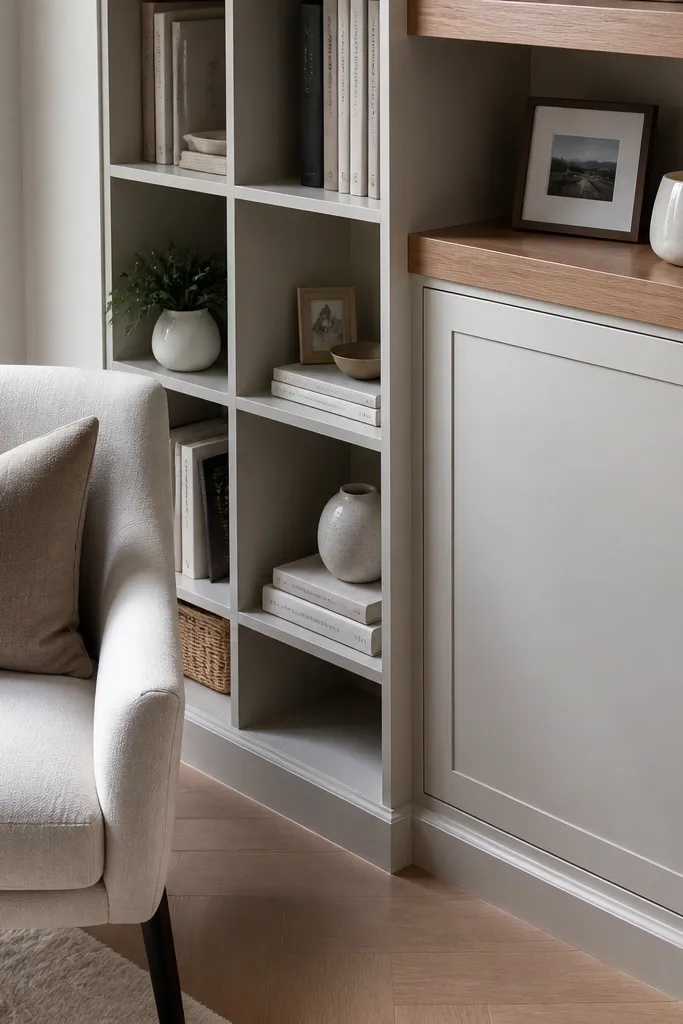
A mixed open-and-closed corner feels cozy because it balances display and storage. The open cubes are for books and pretty objects, while one small cabinet door hides the stuff that makes corners look messy. This is the best option if you want the cozy corner shelves living room look but you don’t want to commit to perfect styling every day. Choose a warm wood finish and a soft matte paint for the door. The result looks like a built-in from a catalog, without the full remodel.
Editor's noteUse a magnetic door latch so the door closes flush and doesn’t swing open when you bump the shelf.
Frame a corner shelf unit from plywood using a simple cube layout, commonly 12-inch wide cubes with 9-10 inches depth. Leave one cube as a door space by installing a face frame or using a pre-made small cabinet door panel. Mount the unit into studs, then add adjustable shelf pins or fixed panels for the open cubes. Finish the open wood with matte stain and paint the door panel in a warm neutral like cream or greige. Add magnetic soft-close hinges if you want a calmer, quieter feel.
Skip thisDon’t make every cube open; hiding clutter is what keeps the corner cozy instead of chaotic.
9. Corner Shelf with Woven Basket Inserts for Instant Warmth
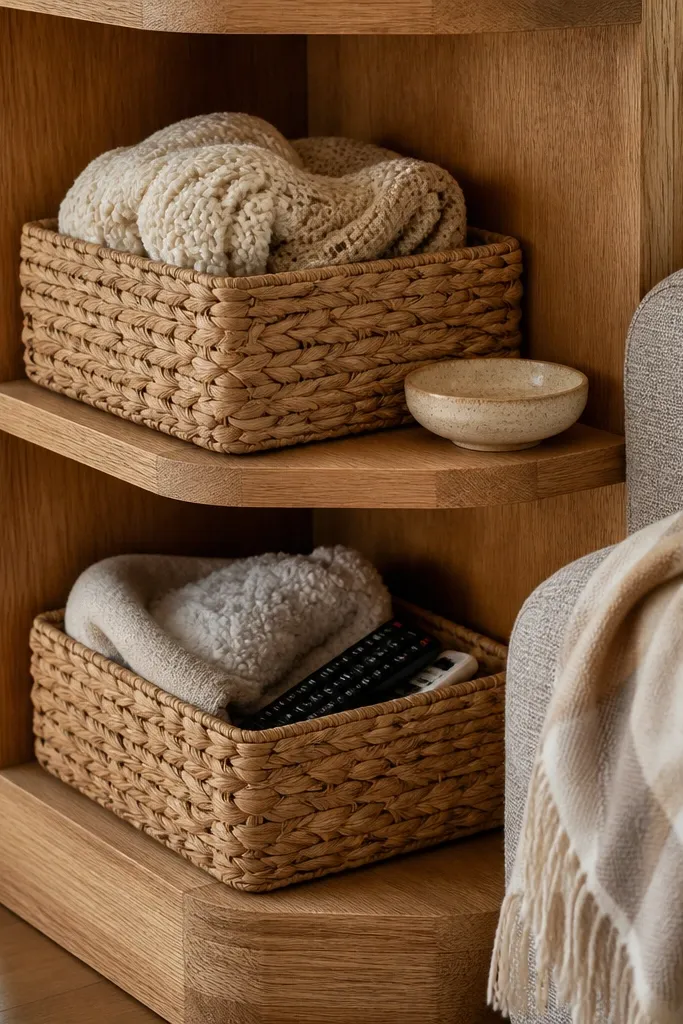
Woven baskets make a corner look cozy fast because they add texture that wood shelves alone don’t give. The shelf stays photogenic even when you’re using it for everyday items like blankets, remotes, and kids' odds and ends. This design is a sweet spot between style and function. It’s also easier than complex carpentry because you can size the openings to match baskets you already like. In a living room, this reads warm and lived-in rather than overly curated.
Editor's noteBuy baskets with straight sides if possible; they sit cleaner and look better in photos.
Choose two or three shelves made from 3/4-inch wood, with the lower section built as a basket bay about 12-14 inches tall. Build a simple frame with internal dimensions sized to your woven baskets, leaving about 1/2-inch clearance on each side. Install the shelf into studs, then add a front lip so baskets don’t slide forward. Finish the wood in a warm stain and add a matte clear coat, then set baskets in place and test fit before final screws if you need adjustability.
Skip thisDon’t oversize the basket openings — if there’s too much empty space, the corner looks unfinished.
10. Corner Triangle Shelf Stack for Small Living Rooms
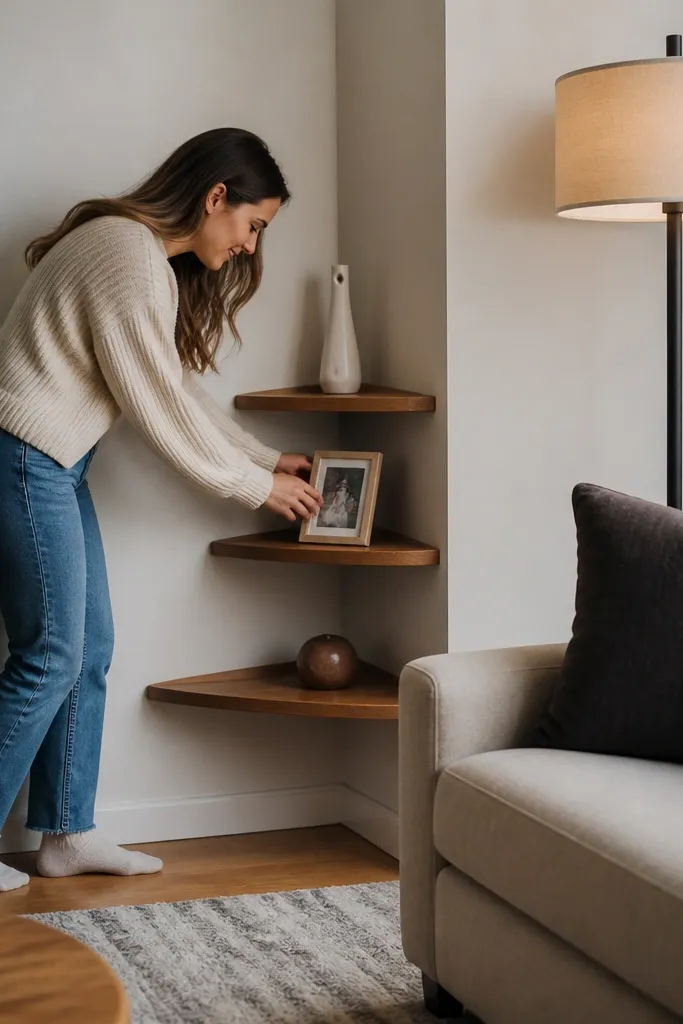
Triangle shelves solve the corner problem when you don’t have much wall space and you still want cozy corner shelves living room vibes. The geometry uses the corner’s depth efficiently, so the shelves feel purposeful instead of sticking out into the walkway. This design is great for narrow rooms, hall-adjacent living rooms, or apartments where every inch matters. Keep the wood warm and limit decor to one plant and a couple frames per level for a tidy look. It’s also an easier build than it sounds because each shelf is a simple wedge cut.
Cut wedge shelves from 3/4-inch plywood using two angled sides that meet at a point, aiming for a shelf depth of 8 inches. Make three to four wedges with the same angle, and vary only the height by 12 inches to create a gentle stack. Mount the wedges into studs by attaching a cleat behind each shelf and screwing through the cleat into framing. Finish with stain and matte poly, then style with one tall item and two smaller items per shelf.
Use a stop block on your saw so every wedge angle matches perfectly across the stack.
Don’t place triangle shelves too close to the corner edge; leave a small margin so the point doesn’t look cramped.
11. Corner Shelf with Built-In LED Warm Strip Under-Edge
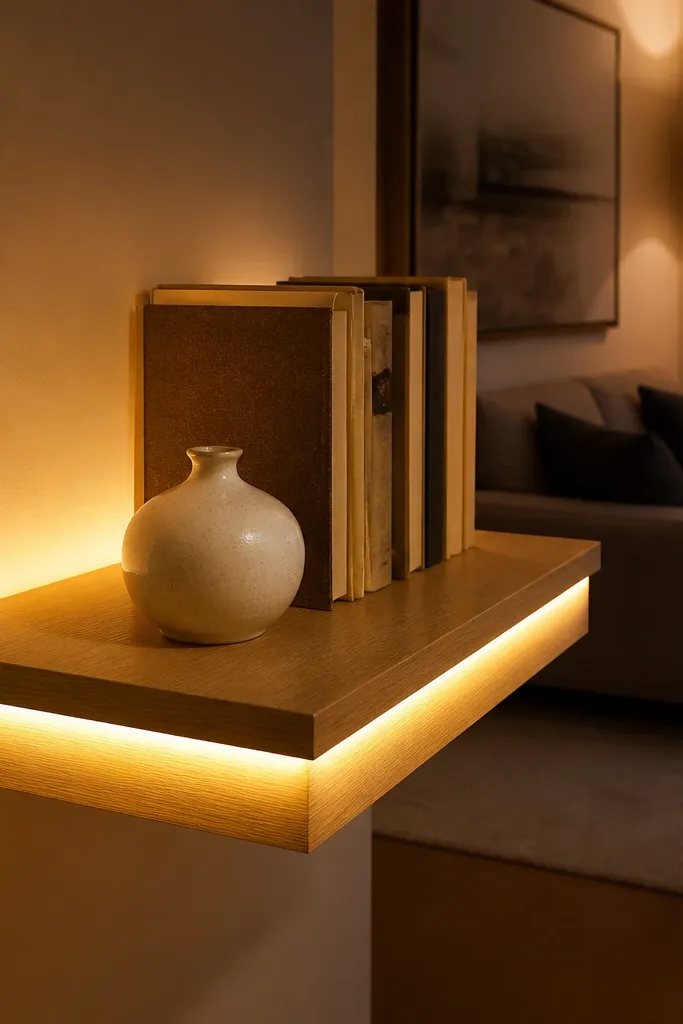
Warm LED lighting makes a corner shelf look cozy instantly because it changes the way shadows fall on your decor. You get that soft glow around books and ceramics, which makes even simple items look intentional. This is especially good for living rooms that rely on floor lamps or have dim corners. The shelf design can stay basic — the lighting does the heavy lifting. Use a warm color temperature around 2700K-3000K so it reads inviting, not blue.
Choose 9-inch-deep floating shelves and route or notch the underside edge to hide an LED strip channel. Install a low-voltage LED strip with an inline dimmer and power supply mounted behind the shelf line. Mount shelves into studs or heavy anchors, then attach the LED channel before final shelf placement. Test the lighting before you close everything up, then seal wood with matte finish so the glow doesn’t reflect harshly.
Use double-sided foam tape rated for heat to hold the LED strip during wiring — it prevents sagging.
Don’t use 6000K cool-white LEDs; they kill the cozy look.
12. Corner Shelves with Slatted Wood Back and Sage Paint Accents
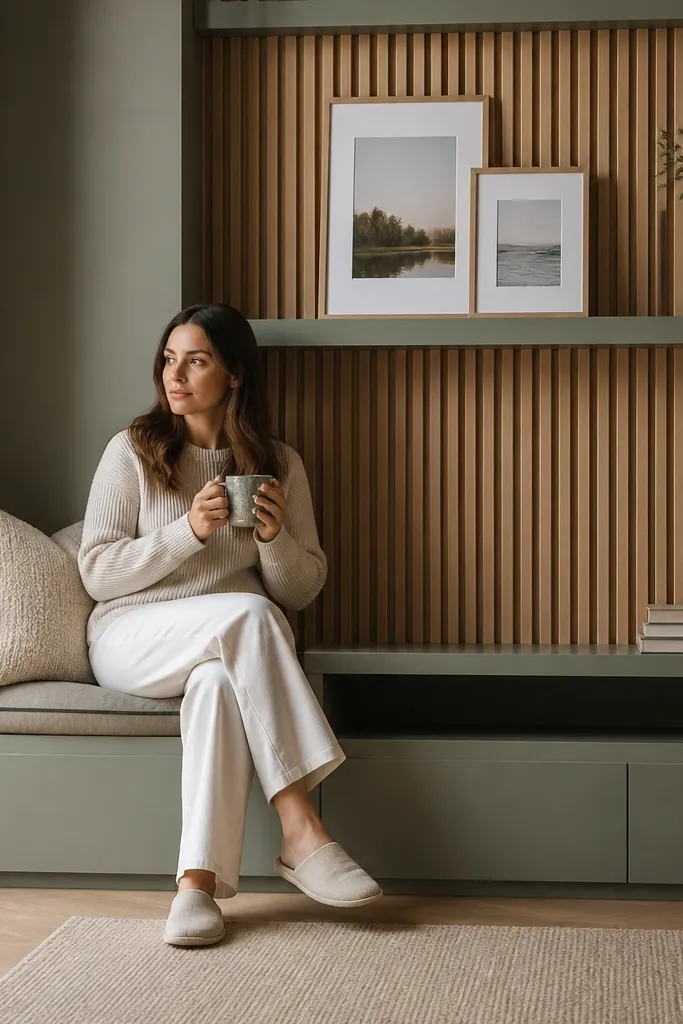
A slatted back panel makes a corner feel warm because it adds depth behind your decor. When you paint small accent sections sage (muted, not neon), you get a cozy color pop without overpowering the room. This idea is great if your living room walls are plain and you want the corner to look like a feature wall. It also helps hide small imperfections in mounting because the slats visually frame the shelves. The result looks styled even when you change decor.
Editor's notePre-paint slats before assembly so you don’t get uneven brush marks in the gaps.
Build a back panel from 1/4-inch slats spaced about 1 inch apart on a plywood base. Paint the panel in a muted sage in select sections and leave other areas in the natural slat finish, then seal everything with matte clear coat. Mount the back panel into studs using screws and spacers, then mount floating shelves on cleats attached to the studs. Keep shelf depth around 8-9 inches so the slats don’t overwhelm the corner. Finish the shelves with a warm stain to match the slat tone.
Skip thisDon’t crowd the slats too tightly; if spacing is under 1 inch, the back looks busy instead of cozy.
13. Corner Shelf with Rope-Wrapped Hooks for Soft Decor Layers
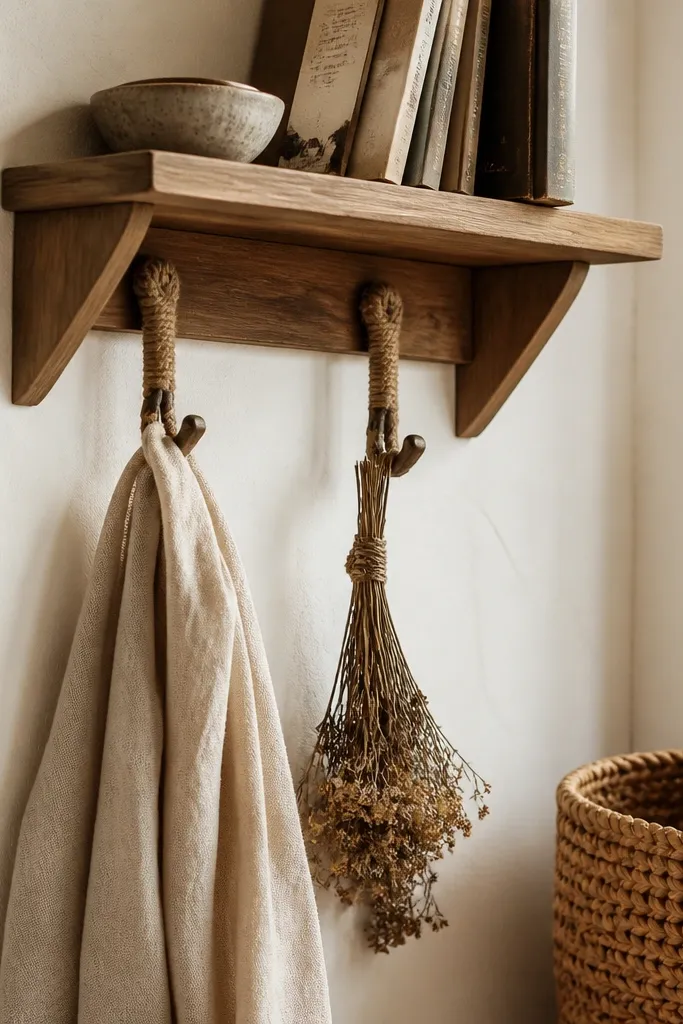
Rope-wrapped hooks make the corner feel cozy because they add a tactile, casual element that looks good in photos. Pair a simple wooden shelf with a couple hooks below or on the side wall and you can hang light decor like a small woven bag, a towel, or even a dried herb bundle. The shelf gives you a stable base for books or a candle, and the hooks add vertical styling without needing more shelves. This works well in living rooms that already lean warm and casual. It’s also a low-cost way to make a corner feel finished.
Editor's noteHang the rope wrap taut and keep the wraps tight at the hook bend so it doesn’t look messy.
Mount one main shelf into studs at a comfortable height, around 30-36 inches above the floor. Install two hook rails or eye hooks on the adjacent wall section, spacing about 8-10 inches apart. Wrap the hooks with natural rope (cotton or jute) soaked lightly with diluted wood glue, then let dry fully so the wrap holds shape. Seal the shelf wood with matte finish and keep the rope natural color or lightly tan for warmth. Style the hooks with lightweight items only.
Skip thisDon’t hang heavy items on decorative hooks; use only lightweight decor or secure with rated hardware.
14. Corner Shelves in Dark Walnut with Light Linen Shelf Styling
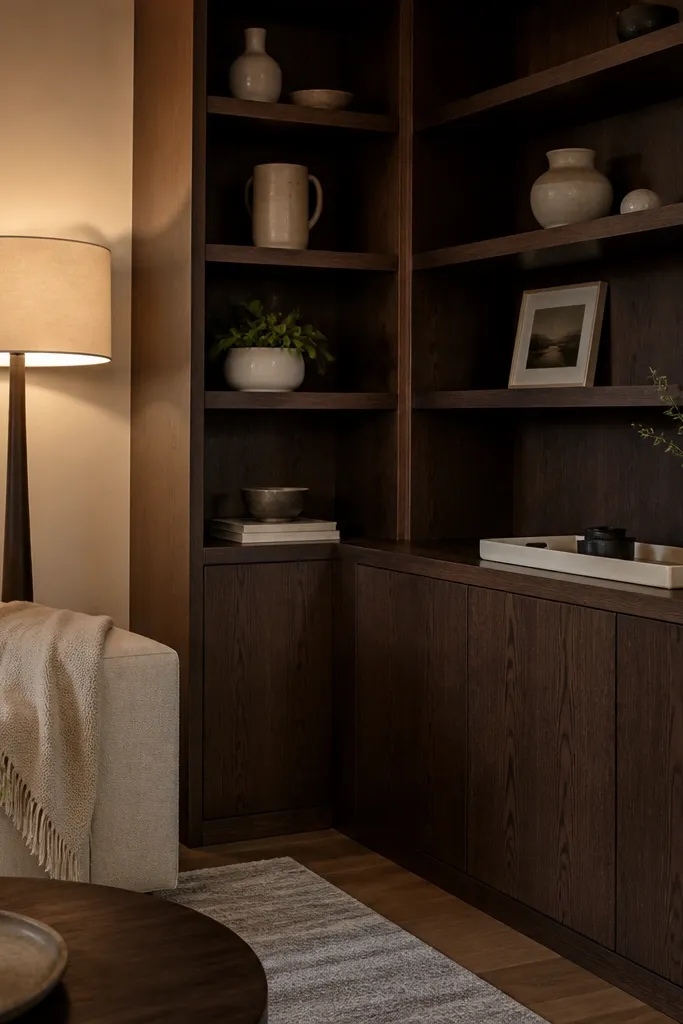
Dark walnut gives you cozy drama because it absorbs light and makes the living room feel warmer at night. The trick is to counter it with light textiles and ceramics — think linen-toned trays, cream vases, and pale frames. This is a styling-forward design where the shelves themselves are simple, but the look is photogenic and grounded. Use it if your living room has neutral walls and you want a stronger focal point without going bright. The shelves become the stage, and the linen-like items soften the contrast.
Editor's noteWhen you place frames, center them to the shelf edge, not to the decor — it makes the corner look intentional.
Use 3/4-inch dark walnut stain on simple boards sized around 9 inches deep. Mount two to three shelves into studs with concealed brackets, keeping 12 inches between shelf surfaces. Add a thin felt or linen runner on the shelf top using adhesive-backed fabric to create a soft base for decor. Style with one large ceramic piece per shelf, one medium framed photo, and two small textured objects. Finish with matte clear coat so the walnut stays warm and doesn’t look glossy.
Skip thisDon’t overfill dark shelves; fewer items read cozier than a busy lineup.
15. Corner Shelf with Built-In Plant Ledge and Water-Resistant Tray
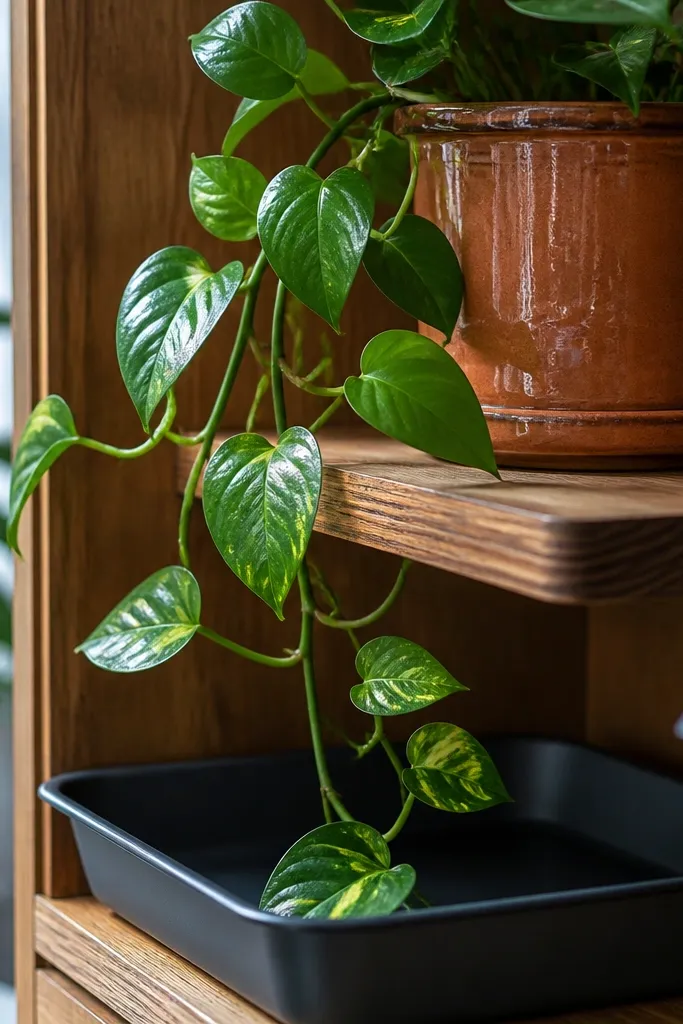
If your living room corner is where plants live, this design is cozy and practical. A plant ledge keeps your greenery at eye level, and a water-resistant tray prevents stains from watering. The look stays clean because the tray catches drips and lets you wipe without moving everything. This is ideal for corners near windows where you want light without crowding the floor. It also looks great because the plant becomes a natural “decor” on the shelf.
Build a shelf with 9-10 inches depth and a lip on the front edge so pots don’t slide. Cut a water-resistant tray from thin PVC or sealed plywood, sized to sit under the plant area with a small gap for airflow. Mount the shelf into studs at around 40 inches above the floor so the plant reads from the couch. Seal the wood with a water-resistant matte finish, then add a small drainage-friendly surface like a tray liner under the pot. Style with one plant and one small accent item on the same shelf.
Choose planters with saucers that fit inside your tray — it keeps the whole corner tidy.
Don’t leave bare wood under pots; water marks show up fast on matte finishes.
16. Corner Floating Shelves with Hidden Cable Channel for Media-Friendly Cozy
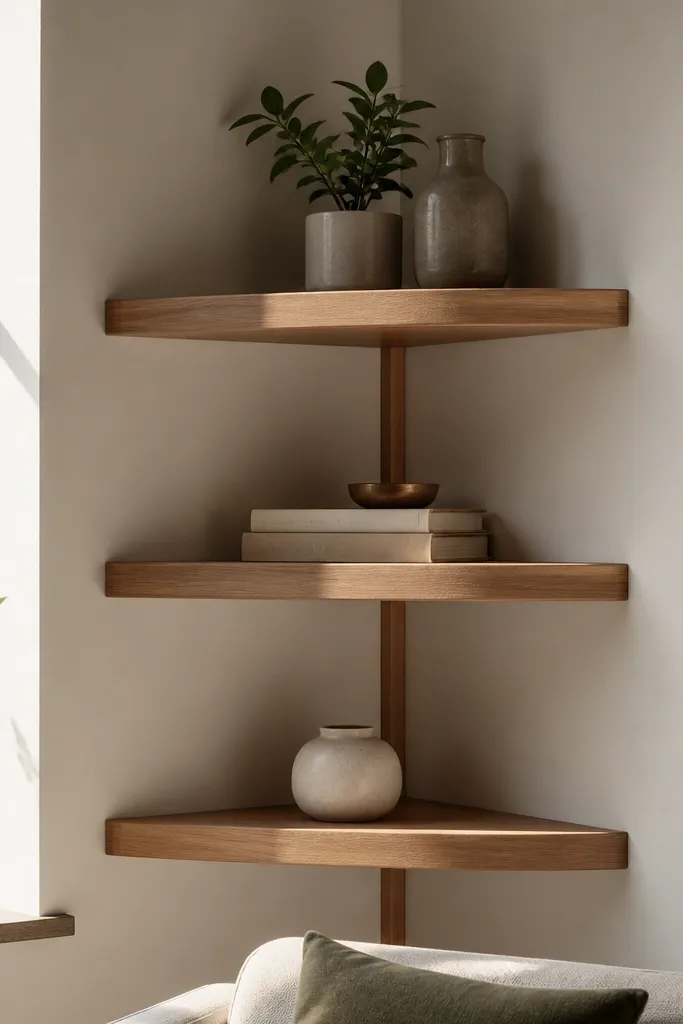
This is the cozy corner shelf idea for living rooms that feel messy because of chargers, remotes, and power strips. Hidden cable channels keep cords out of sight, so the corner still looks warm instead of technical. You get multiple shelf levels for decor, but the build also supports a small media setup like a speaker, picture frames, and a charging station. It’s photogenic because the wall looks clean and the decor has space to breathe. If you’ve ever looked at a corner and thought “why does this always look cluttered,” this solves it.
Editor's noteLabel your cables before routing — it saves time when you change devices later.
Plan shelf positions so one shelf line sits about 10-12 inches below where you’d place a small device or power strip. Install a cable channel in the wall or along the underside of one shelf using a snap-in raceway, sized for standard power cords. Mount shelves into studs with cleats, then route cords behind the shelves into the channel. Add grommets where cords exit the channel so edges don’t fray. Finish shelves with matte stain and keep decor minimal on the cable shelf.
Skip thisDon’t run cords across the open shelf face; the visual clutter kills the cozy look.
17. Corner Shelf with Built-In Curtain Rod for Hanging Light Textiles
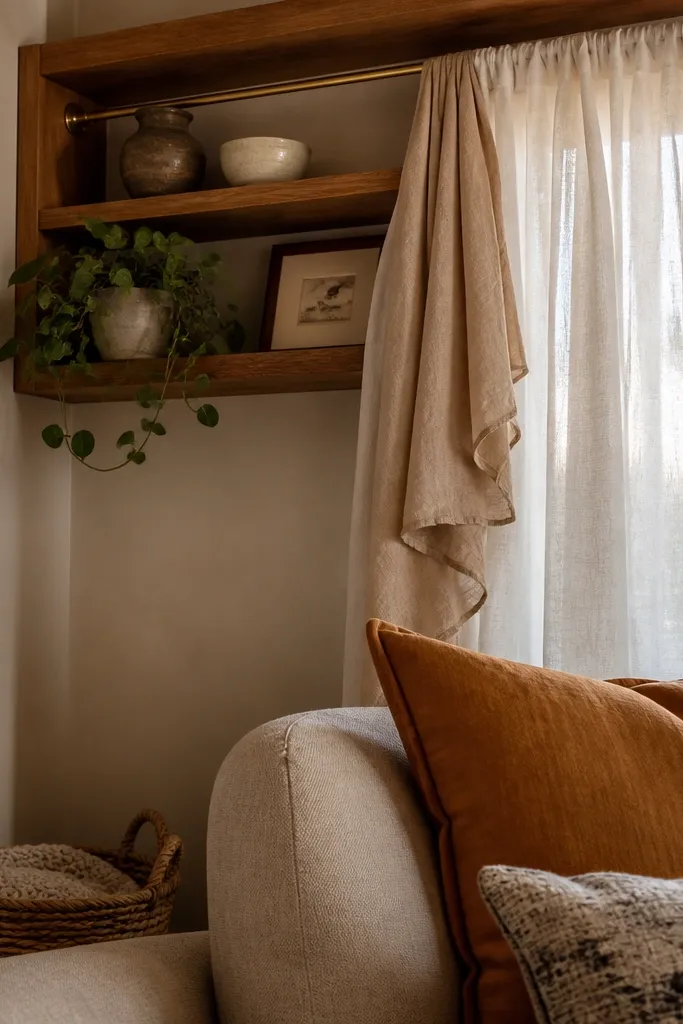
This one feels cozy because it adds softness to the corner, literally. A small curtain rod above a shelf lets you hang light textiles like a sheer panel, a linen scarf, or simple string drape. It turns a plain corner into a warm vignette without adding more shelves or heavy storage. Use it when your living room has hard surfaces and you want balance. The shelf holds a candle or framed photo, and the hanging textile adds movement and softness in evening light.
Mount a corner shelf into studs at about 34-36 inches above the floor, keeping depth around 8 inches. Install a small rod or tension rod above the shelf line into studs or strong anchors rated for the rod load. Choose a fabric panel that hangs 10-16 inches below the rod so it looks intentional, not like a short flag. Hem the top or use clip rings so the fabric doesn’t sag unevenly. Finish the shelf with matte paint or stain that matches your living room trim.
Use a fabric weight that drapes smoothly — thin polyester can cling and look wrinkled.
Don’t hang heavy curtains here; the rod anchors must match the load.
18. Corner Shelf with Reclaimed Wood Look and Shallow Shadow Gap
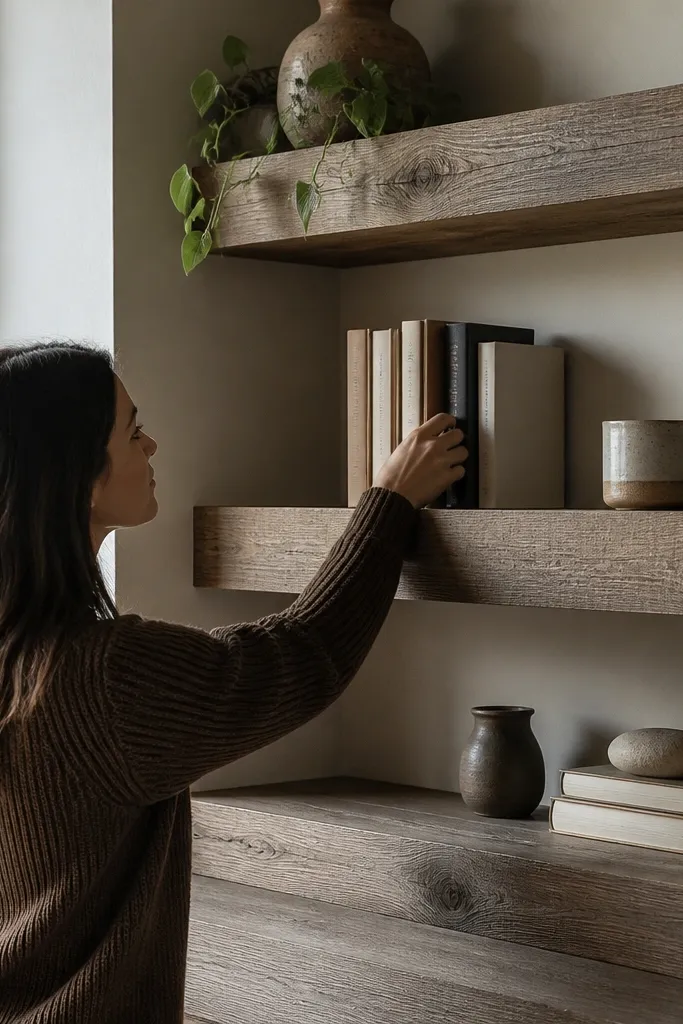
Reclaimed-style shelves look cozy because they add visible grain and lived-in character without needing clutter. The real trick is the shadow gap: a small space between shelf and wall makes it look built-in and gives depth in photos. You can keep the design simple — two shelves and a clean corner alignment — and still get a warm, intentional look. This works well in living rooms with neutral walls, because the grain becomes the focal texture. It’s also a good option if you want cozy without adding bright color.
Use 3/4-inch boards with a reclaimed-style finish (stain + dark wax or a layered stain technique) but keep the wood flat and stable. Build a small spacer strip or use a cleat system that leaves a 1/4-inch shadow gap between the shelf and the wall. Mount the cleat into studs, then screw the shelf so it floats slightly off the wall for that shadow line. Seal with matte clear coat to lock the color and reduce dust pickup. Style with one large framed piece and one ceramic per shelf to let the wood texture do the work.
Sand lightly between stain coats and wipe with a tack cloth so the grain looks smooth, not blotchy.
Don’t use uneven boards that wobble on the wall; reclaimed look fails if the shelf isn’t straight.
19. Corner Shelf Bench-Top Combo with Tapered End Tables
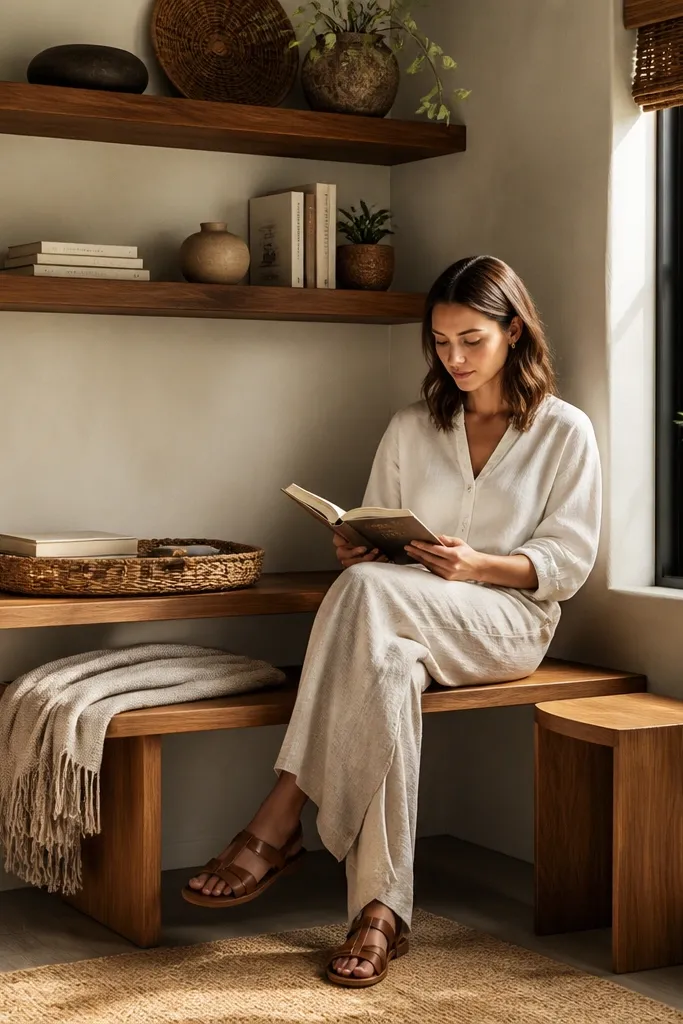
This setup makes the corner feel cozy because it adds seating-adjacent function while still showing off decor. A shelf run over a small bench-top surface creates a layered look: books and frames above, baskets or a tray on the lower surface. Tapered end styling keeps it visually light so the corner doesn’t feel like a block. It’s a strong choice for living rooms where the corner is near a lamp or where you want a place for a drink, a book, or a blanket. The photogenic part is the stacked surfaces with warm materials.
Editor's noteUse felt pads under the bench tray so it slides smoothly and doesn’t scratch the wood.
Build a small corner bench-top from 3/4-inch plywood with a depth of about 12 inches and a height around 16-18 inches. Add a shelf above it using 9-inch-deep boards mounted into studs, leaving 10-12 inches vertical spacing between shelf and bench surface. Finish the bench with the same wood tone as the shelf, then add a removable tray or basket on top. Secure the bench to studs through the back frame for stability. Seal with matte finish and style with a warm lamp, tray, and a couple books.
Skip thisDon’t make the bench surface too glossy; glare makes corners look less cozy.
20. Corner Shelf Set in Two Tones with Walnut Shelf Tops and Painted Sides
Two-tone shelves feel cozy because they add warmth from the wood and softness from paint. Walnut shelf tops look rich under warm lighting, while painted side panels keep the design friendly instead of heavy. This is a great option if you want the corner to match your living room colors without turning the shelf into the whole theme. The side panels also hide the back hardware so the corner looks clean. If your wall is a busy color, keep the painted sides in a muted shade that matches the room’s trim.
Editor's noteUse painter’s tape edge guards when painting side panels so the walnut edge stays crisp.
Cut shelf tops from 3/4-inch walnut-stained boards at 9 inches deep, then sand smooth and finish with matte poly. Build side frames from plywood and paint them in a muted color like warm greige or soft clay, then let the paint cure fully. Mount the side frames into studs using a back cleat, then screw the walnut tops into the side frames. Add a slim back panel or edge trim so the corner joint looks intentional. Style with a consistent color palette: cream ceramics, tan frames, and one green plant.
Skip thisDon’t paint over stained wood without sealing first; you’ll get uneven absorption and rough edges.



