
1. Color-Block Hanger Wall for Shirts
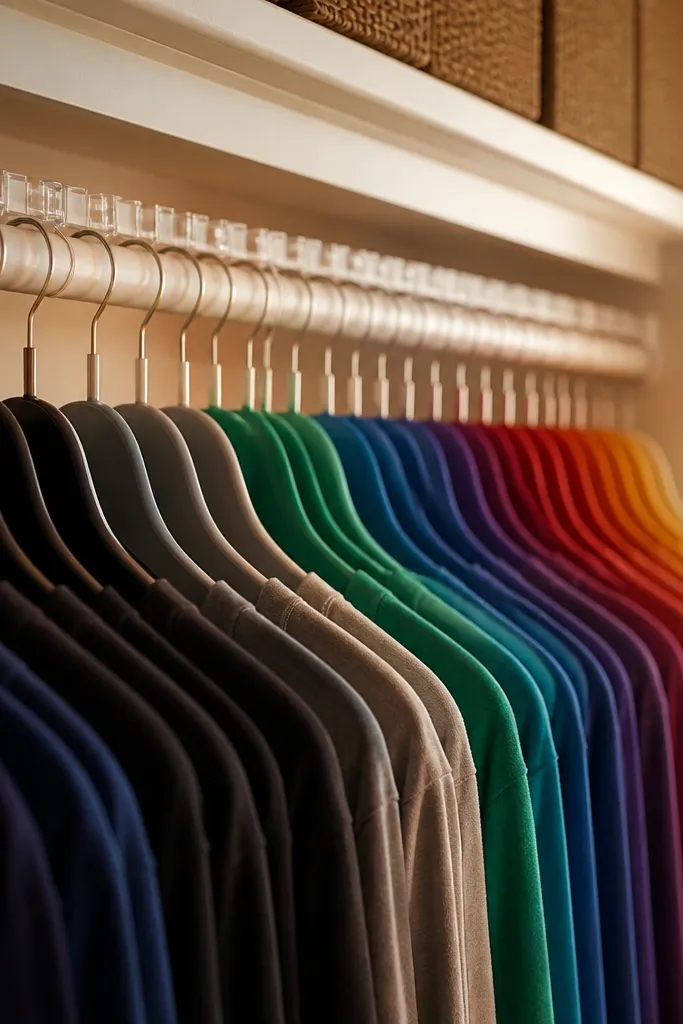
This fixes the “shirt pile on the floor” problem by turning hanging into a visual game. Line up hangers by color family (navy, black, gray, then bright tones) so kids can match what they’re holding to what they see. It looks cozy because the hangers become a tidy rainbow stripe instead of random clutter. Use a small set of consistent hanger colors and keep spacing even — that’s what makes it photogenic. Skill level is beginner, and the time is about an hour since it’s mostly rearranging and adding a simple guide.
Start by removing all hangers and sorting shirts into 4 to 6 color groups. Add a thin strip of painter’s tape or a fabric ribbon to the inside wall to mark each group level, then hang shirts so the shoulder seam lines up at the same height. Use the same hanger style for every shirt and keep the gap between hangers uniform. Finally, remove tape marks and place a small label card at the end of each color group so kids don’t have to guess.
Use matte hangers if you want the closet to photograph softer; shiny hangers make the colors glare.
Don’t mix hanger types — different hook shapes cause sliding and uneven spacing.
2. Non-Slip Shelf Liner + Folded Tee Grid
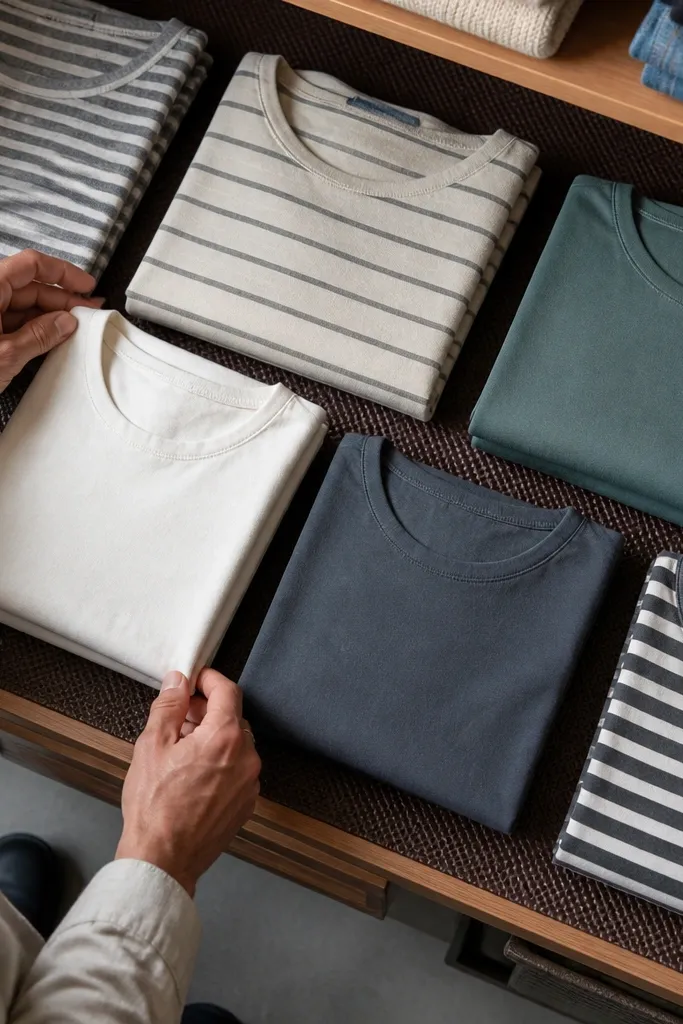
If your kids' folded clothes slide forward, the fix is right under them. A non-slip shelf liner gives friction so stacks stay put when drawers are opened and closed. Then you add a tee grid using fold sizes that look tidy from the doorway. This project is cozy because liner texture reads warm, not plastic-y, especially in neutral tones like oatmeal or warm gray. It’s great for shelves, but it also works on low cubbies. Expect about 60 to 90 minutes for measuring, cutting, and folding the first time.
Measure the shelf length and depth, then cut non-slip liner with a utility knife, leaving a tight fit at the edges. Fold tees into the same rectangle size (aim for a consistent height, around 9 to 10 inches) so each stack looks aligned. Place the first stack, then use a ruler and painter’s tape to mark where each “column” should sit. Remove tape after you’re done and add a small category label like “Tee — 1” if you want kids to rotate quickly.
Editor's noteCut liner slightly oversized and trim after it’s seated — it looks cleaner with less edge curl.
Skip thisDon’t use slippery smooth contact paper; it looks nice for a day and then shifts.
3. Fabric Bin Row with Photo Labels
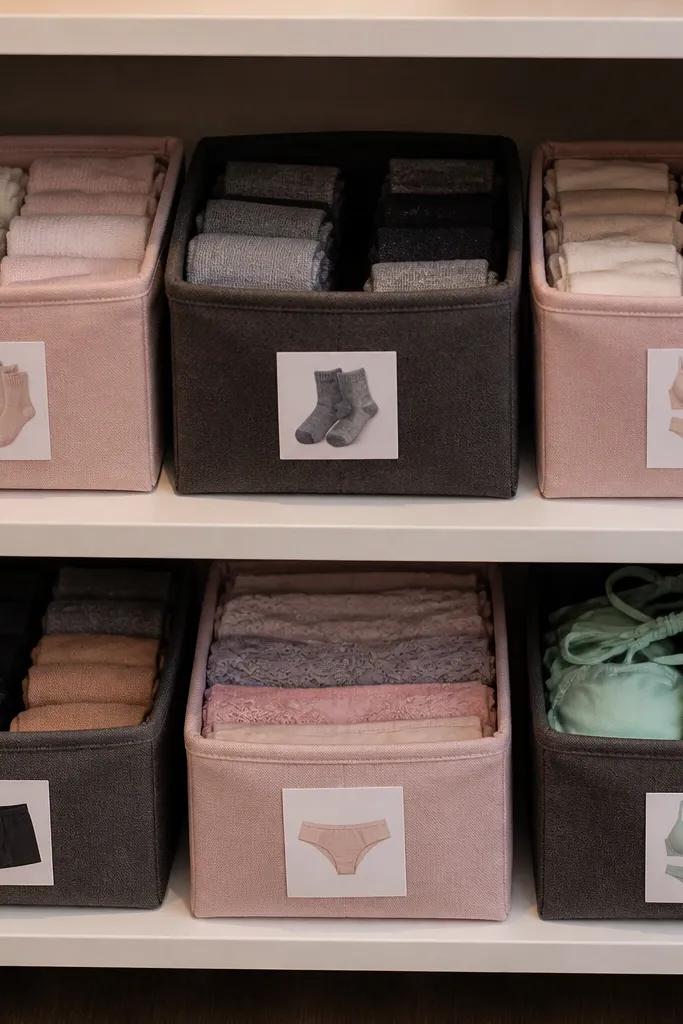
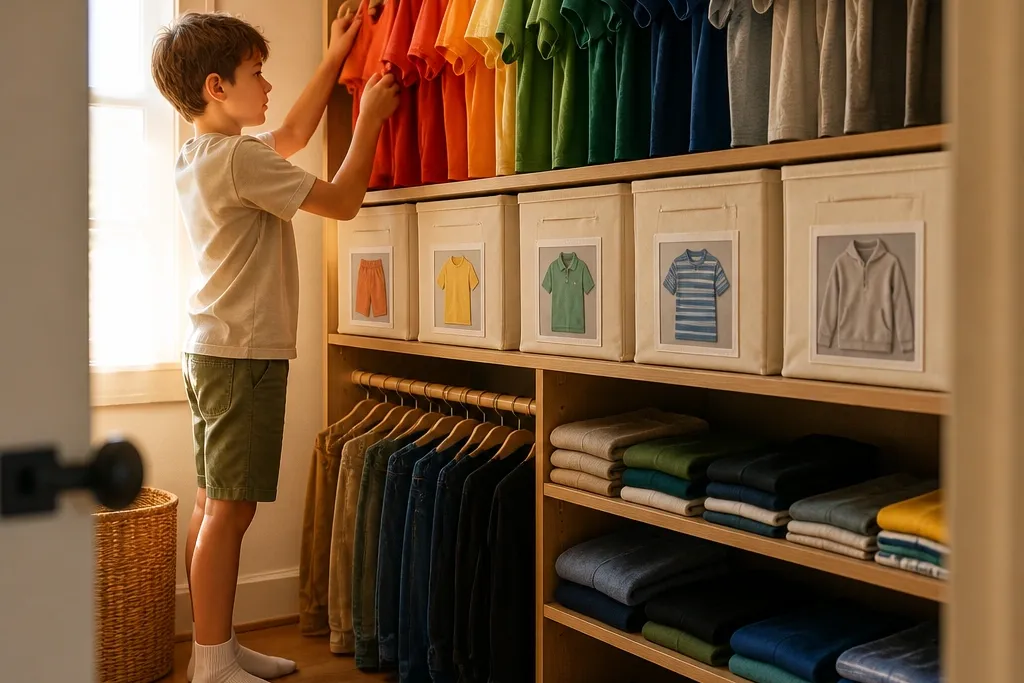
Fabric bins make closets feel soft, and photo labels make them functional. This setup tackles the “every bin looks the same” issue that ruins sticking power. Each bin holds one category, and the front label shows a clear picture of what belongs inside — like socks, underwear, or swimwear. Choose fabric bins with sturdy fronts so they hold shape for photos and daily use. This is beginner-friendly and takes about an afternoon for mounting labels and setting up the first row.
Pick 3 to 5 categories that kids can separate themselves and buy bins that fit your shelf depth with a little breathing room (about 1 inch). Print or draw simple icons or photos on thick cardstock, then cover with clear tape or laminate to survive spills. Attach labels to the front center of the bin using fabric-safe adhesive or Velcro dots. Load items by category, not by size, then leave a small empty “fill line” so bins don’t become dumping zones.
Editor's noteUse Velcro for labels so you can swap categories seasonally without redoing everything.
Skip thisDon’t label with tiny text; kids read images faster than words under stress.
4. Clear-Front Cubby for Socks and Hair Ties
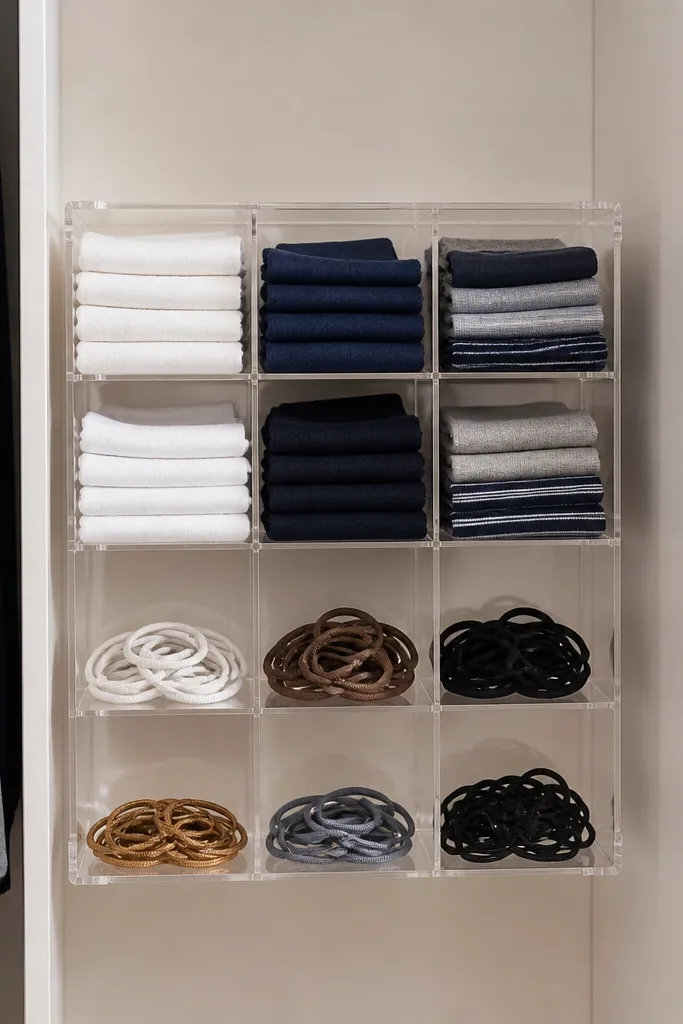
Visibility is the aesthetic and the system. A clear-front cubby makes it obvious when socks are missing and where hair ties go, which reduces “I can’t find it” frustration. Keep everything folded flat so the visual stays calm. This idea looks clean because you can arrange items with color order, not random stacks. It’s also quick to maintain — kids can see exactly what’s left. Skill level is easy, and setup takes 30 to 45 minutes if your closet already has cubbies.
Measure each cubby opening and choose a clear-front organizer that fits without gaps you’ll later lose items into. Fold socks in pairs and hair ties into small trays so they sit flat behind the clear panel. Arrange by color from left to right, then place a small label on the top front edge. Add a second small divider inside if hair ties start mixing with socks.
Editor's noteUse small fabric divider inserts even inside clear organizers; it keeps the look uniform.
Skip thisDon’t overfill; clear containers show mess fast, so keep them to about 80% capacity.
5. Hanging Organizer with Snap-In Pockets
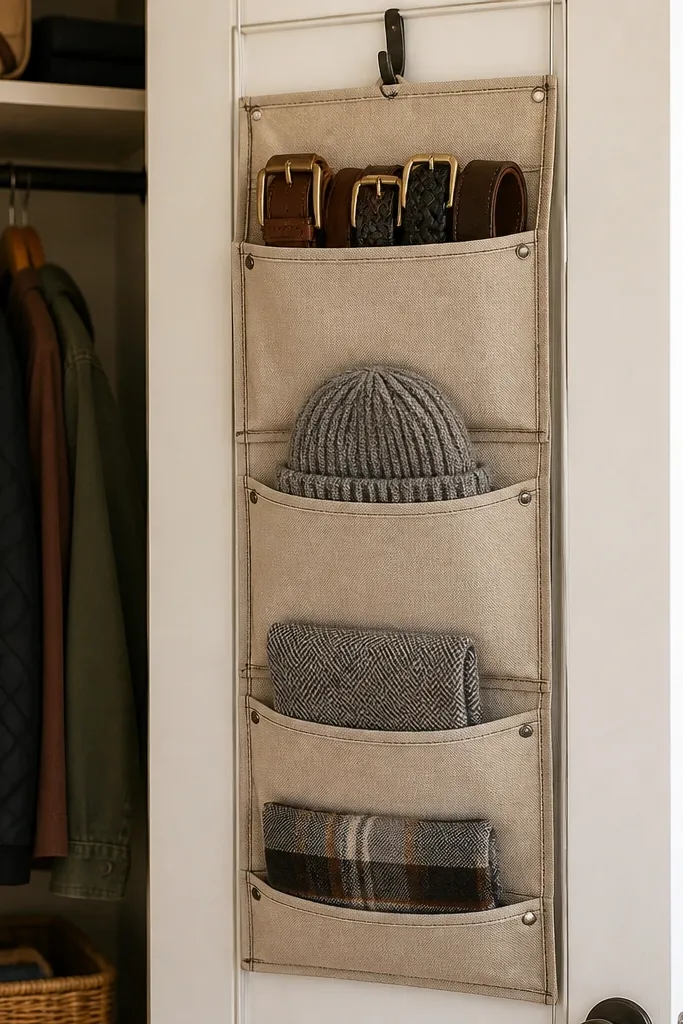
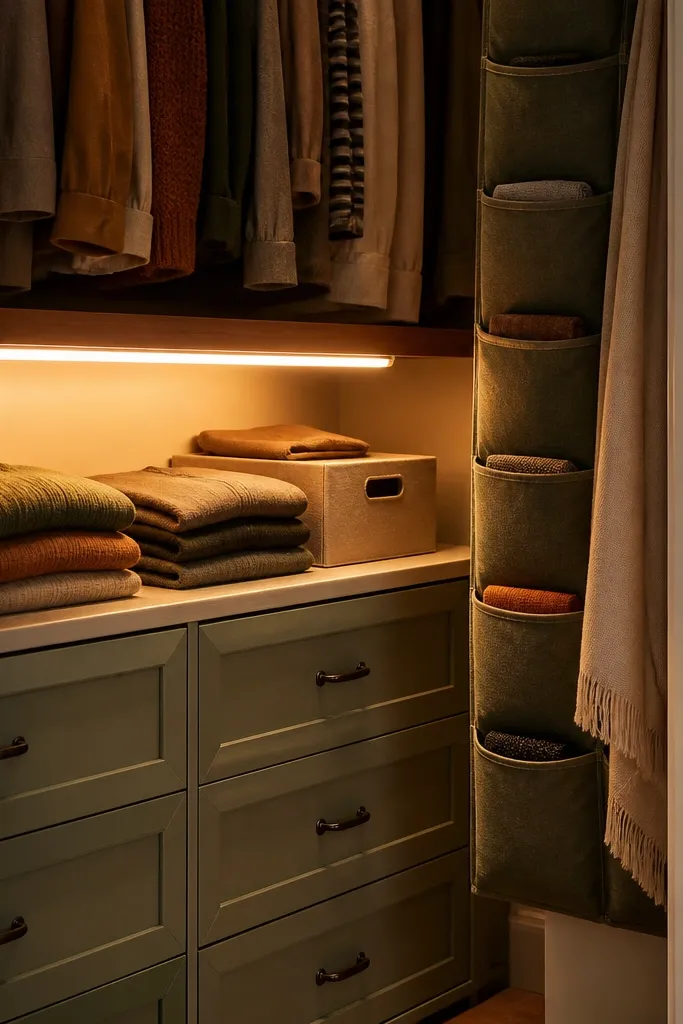
This is for the “small stuff everywhere” closet — belts, hats, scarves, and art supplies. Hanging organizers keep items at eye level and make the closet feel tidy from the doorway. Look for snap-in pockets or removable inserts so you can pull one pocket out during cleanup and put it back in the right spot. Choose a neutral fabric backing so it reads cozy, not hospital-white. It’s medium-easy depending on whether you need to install hooks, and it usually takes under 2 hours.
Find the best height so kids can reach the bottom pocket without climbing — aim for the bottom pocket around 32 to 40 inches from the floor. Install the hanging rail or over-the-door hooks securely, then hang the organizer flat without twisting. Fill pockets with one category each, keeping pocket contents under the seam line so the pockets don’t sag. Add a simple label tag to each pocket with a picture for quick sorting.
Use two pockets for “seasonal” items and swap them monthly instead of cramming everything in permanently.
Don’t hang it too low; if kids have to reach awkwardly, they’ll skip returning items.
6. Drawer Divider Trenches for Underwear
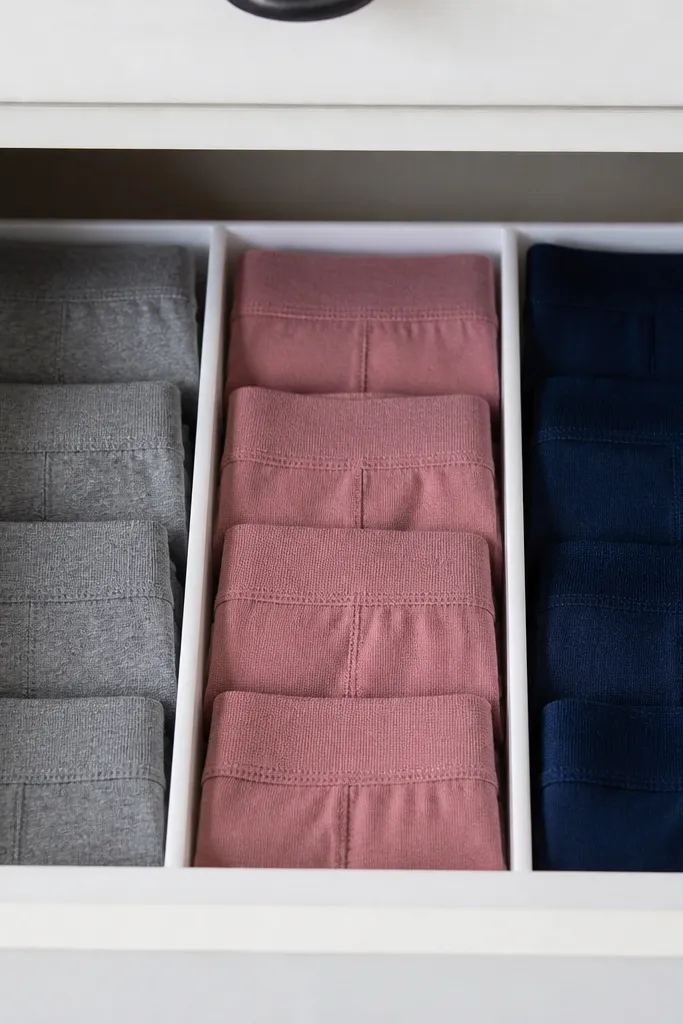
Underwear drawers go chaotic because the fabric bunches and everything mixes. Dividers create trenches so each item gets its own space, and the drawer stays photogenic because the lines are straight. The best part is how fast kids can put things away — they slide each piece into its lane. Keep dividers in a light color for a cozy look that matches closet trim. This is a solid weekend project and takes about 2 hours if you’re installing removable dividers.
Measure the drawer interior width and depth and choose adjustable dividers that lock in place. Install the dividers so each section is wide enough for one folded underwear stack, then test with real items before locking. Add a small label at the front edge of each section so kids know which lane is theirs. Finish by wiping the drawer and placing a thin non-slip liner under the dividers to stop shifting.
Editor's noteMake one section slightly larger for “new or unknown” items so overflow doesn’t ruin the system.
Skip thisDon’t use dividers that are too small; tight lanes force stuffing and collapse.
7. Rotating Season Bin System with Numbered Zones
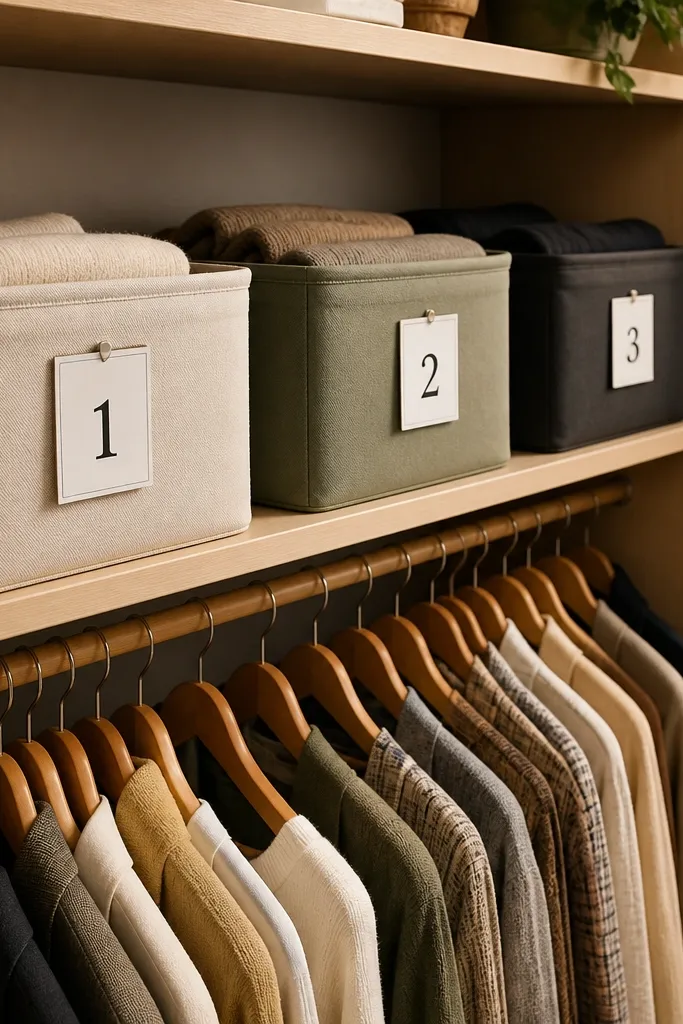
Seasonal clothes are where organization goes to die. This system makes rotation predictable and keeps the closet looking intentional. Numbered zones tell kids and adults exactly where to put current-season items and where to stash off-season bins. Use two to three bins total: current, next, and off-season, each with a clear front label. The look stays cozy because the bins are the same style and color, not random bags. This is beginner-friendly and typically takes 1 to 2 hours to label and position.
Choose bins that stack neatly and fit your top shelf depth without overhang. Label each bin with a big number and a seasonal word like “Fall” or “Winter,” then add a simple icon for kids. Create zones on the shelf using painter’s tape rectangles so bins always land in the same spot. Put current-season clothes in the main zone, next-season in the middle, off-season on top or the far side, then set a repeatable swap month on a calendar.
Editor's noteUse the same bin size for every season so the closet looks uniform across years.
Skip thisDon’t keep off-season clothes in soft bags; they collapse and look messy on shelves.
8. Pegboard Backing for Cute Hook Layout
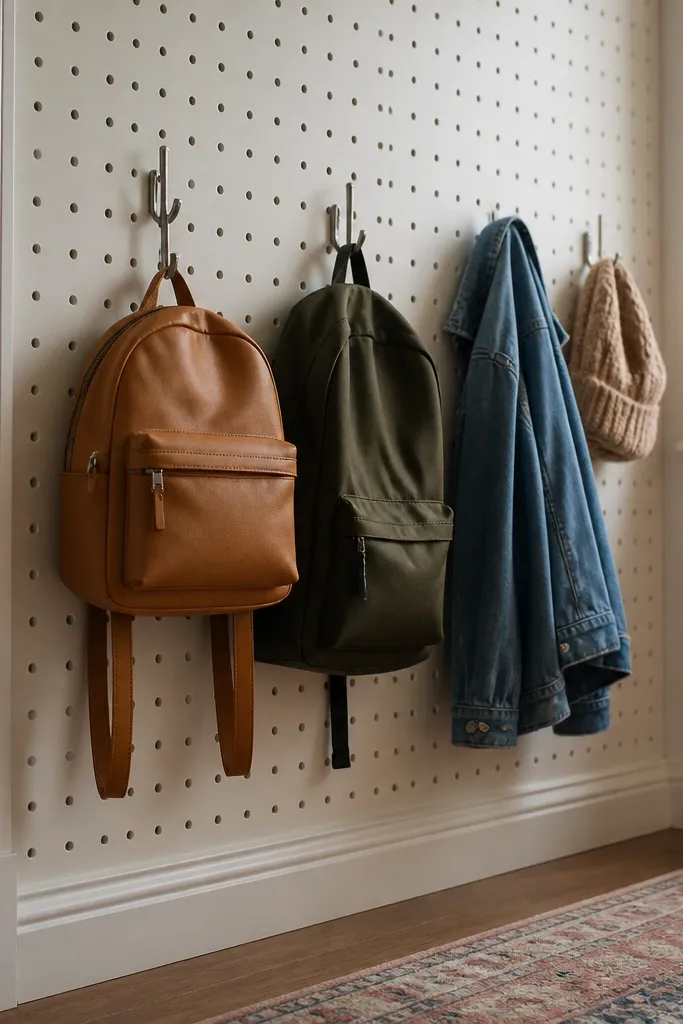
Pegboard turns a plain closet wall into a kid-friendly station. It’s one of the few organization tools that looks great from multiple angles because holes create a clean pattern. Use it for backpacks, jackets, and hats so “where does it go?” becomes obvious. Paint pegboard the closet’s trim color or a warm matte white for cozy vibes. Skill level is medium because you’re mounting, but the payoff is a crisp, photogenic setup. Plan 2 to 4 hours depending on wall type.
Measure the section of wall behind where jackets land and buy pegboard sheets sized to fit with minimal cutting. Install the pegboard using wall anchors rated for the weight you’ll hang, then attach hooks in a neat grid. Hang items by category: jackets on the highest hooks, backpacks on the middle, hats on the lowest. Add a small label strip at the bottom with pictures and secure it so it won’t peel.
Editor's noteUse a mix of hook types — one for backpacks, one for scarves — so items hang without twisting.
Skip thisDon’t guess anchor size; a wobbly pegboard ruins the whole look and safety.
9. Fold-and-Stack Shorts Organizer on Closet Doors
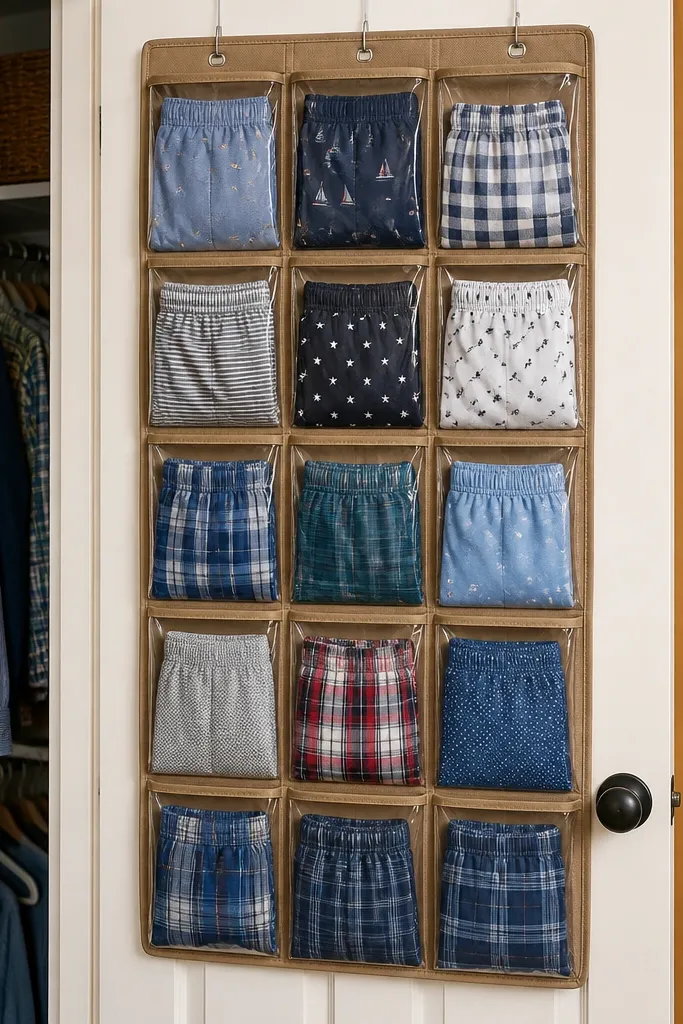
Door storage is a cheat code for small closets. When you use the inside of the closet door for shorts, pajamas, and leggings, you free up shelf space and keep daily outfits visible. The pockets create a tidy, repeating pattern that looks good in photos. Choose organizers with clear fronts or structured fabric so items don’t slump. This project is easy and fast, usually 30 to 60 minutes, and it’s perfect for kids who can’t stand reaching for high shelves.
Measure the door width and the space where the organizer will hang so it clears the closet trim and doesn’t hit the door handle. Choose a door organizer with pocket sizes that match your folded item thickness. Hang it centered, then fold shorts and leggings into consistent rectangles that fit the pocket width. Label each pocket with a simple icon like a shorts silhouette, then set the system so kids only store one category per door row.
Editor's noteUse fabric ties or Velcro straps at the top corners if your door has a little sway.
Skip thisDon’t use floppy organizers with huge pockets; they look messy and encourage dumping.
10. Basket Ladder for Toys and Cozy Storage
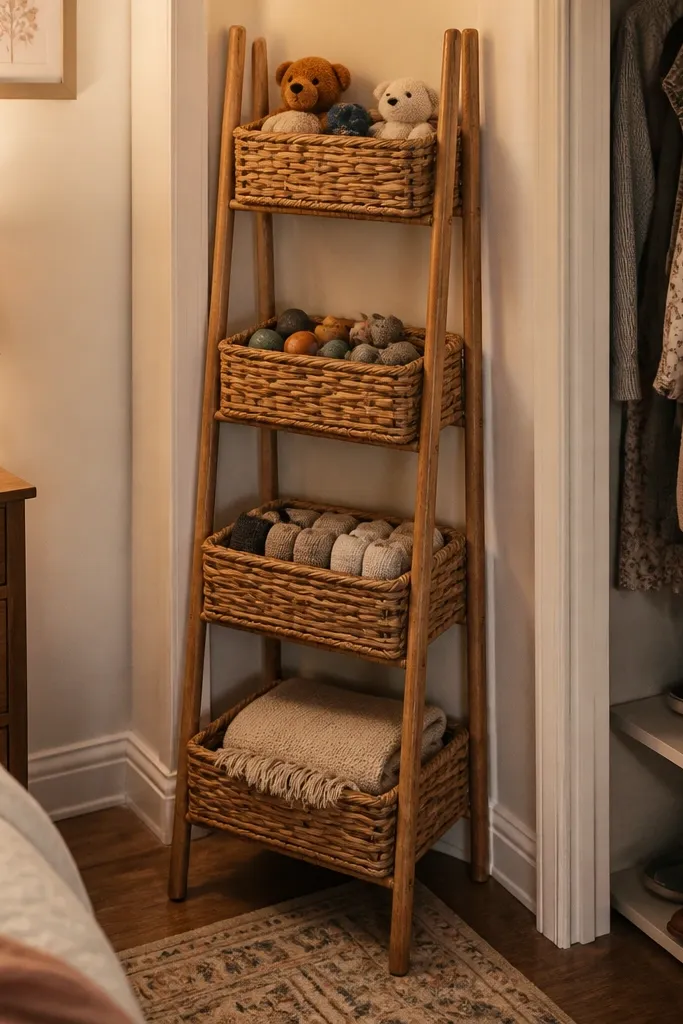
A ladder shelf with baskets turns closet-adjacent storage into a cozy visual corner. It’s great when your closet holds both clothes and small toys or games that keep spilling out. The baskets hide clutter while still looking warm, and the ladder shape makes it easy for kids to see options without digging. Use woven baskets in two sizes so the layout feels intentional. This is a medium project with carpentry or assembly depending on what you buy, and it takes about half a day.
Choose a narrow ladder shelf that fits your closet footprint and has 4 to 6 rungs. Place larger baskets on the middle rungs for bulk items, then smaller baskets on top and bottom for accessories. Use non-slip rug pads under each basket so they don’t slide when kids grab items. Add a label tag on the basket front with a printed picture so kids can match it quickly.
Editor's noteKeep basket colors consistent — two neutrals look calmer than a mix of bright patterns.
Skip thisDon’t stack baskets too high; if items are out of reach, the “system” becomes a shelf dump.
11. Bedtime Pajama Hanging Zone with Matching Sets
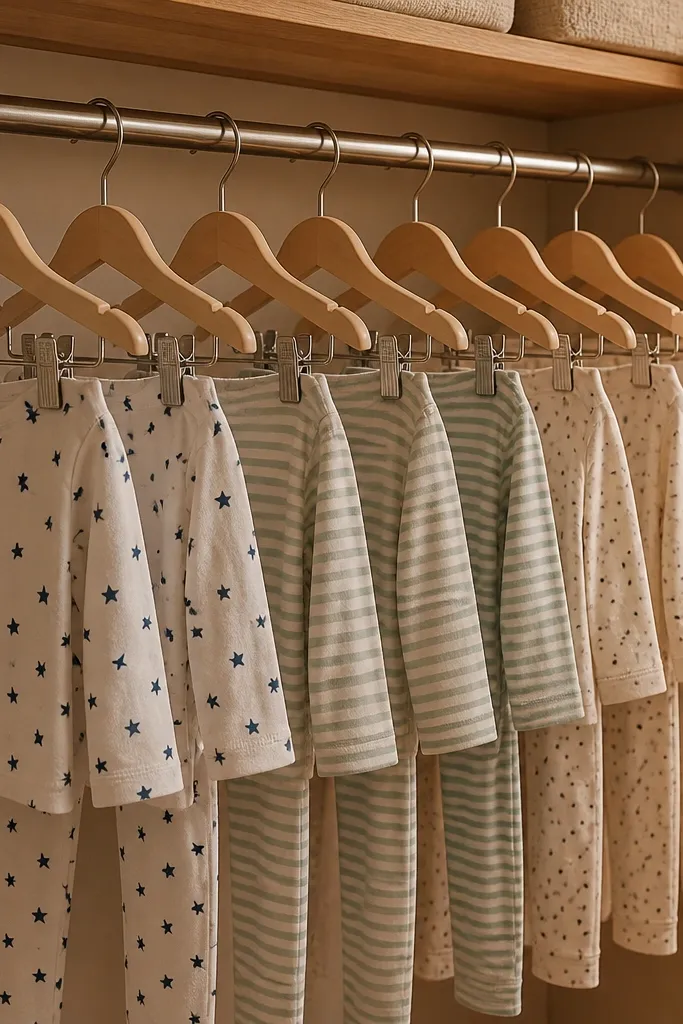
Pajamas are easy to organize because kids use them daily, so the system gets repeated automatically. Hang pajama sets together using matching hanger clips or a small belt loop so kids can grab the set as one. This keeps the closet looking tidy and cozy because the hanging zone is neat and uniform. Add a small sign like “Night” with a moon icon so the purpose is clear. Skill level is easy and time is about 45 to 75 minutes.
Sort pajamas into sets by child and season, then use matching hangers for the top layer. Clip bottoms to the hanger using clothespin-style clips or a small fabric loop so pieces stay together. Install hooks or a rail section at a kid-access height, then hang sets in a single vertical row. Add a front label at the rail end with a night icon so kids know where to put them back after brushing teeth.
Editor's noteUse the same clip color across all kids so the visual cue stays consistent.
Skip thisDon’t hang tops and bottoms separately; it makes sets break apart during the rush.
12. Shoe Shelf with Fabric Dust Covers and Color Pairing
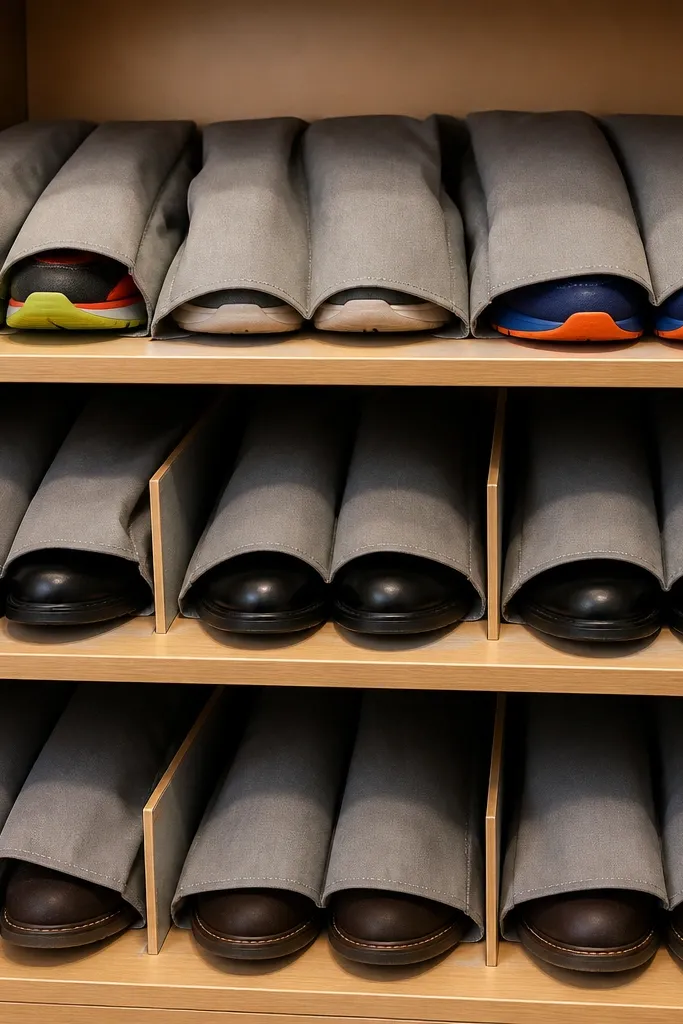
Shoes ruin the look of a closet because they’re bulky and always look messy when they’re not paired. A shoe shelf with fabric dust covers keeps the visual calm, and color pairing keeps finding a match fast. Pair shoes by kid and by type (sneakers, school shoes, boots) so the shelf has clear sections. Choose fabric covers in neutral or kids' bedroom tones so it feels cozy, not industrial. This is beginner-friendly and takes about 1 to 2 hours depending on whether you’re adding covers or just reorganizing.
Measure the shelf depth and pick a shoe organizer or shelf dividers that keep shoes from tipping forward. Add fabric covers over the top or front if your shelf is exposed, then place dividers to create 3 to 5 sections. Pair shoes and keep each pair facing the same direction so the shelf looks uniform. Label each section with a picture, then add a small tag on the cover edge so kids don’t have to lift it to choose correctly.
Store one type of shoe per section; mixing boot heights makes the shelf look uneven fast.
Don’t leave laces tangled across multiple pairs; it turns into a messy visual in a week.
13. Label Tape Direction System for Kids
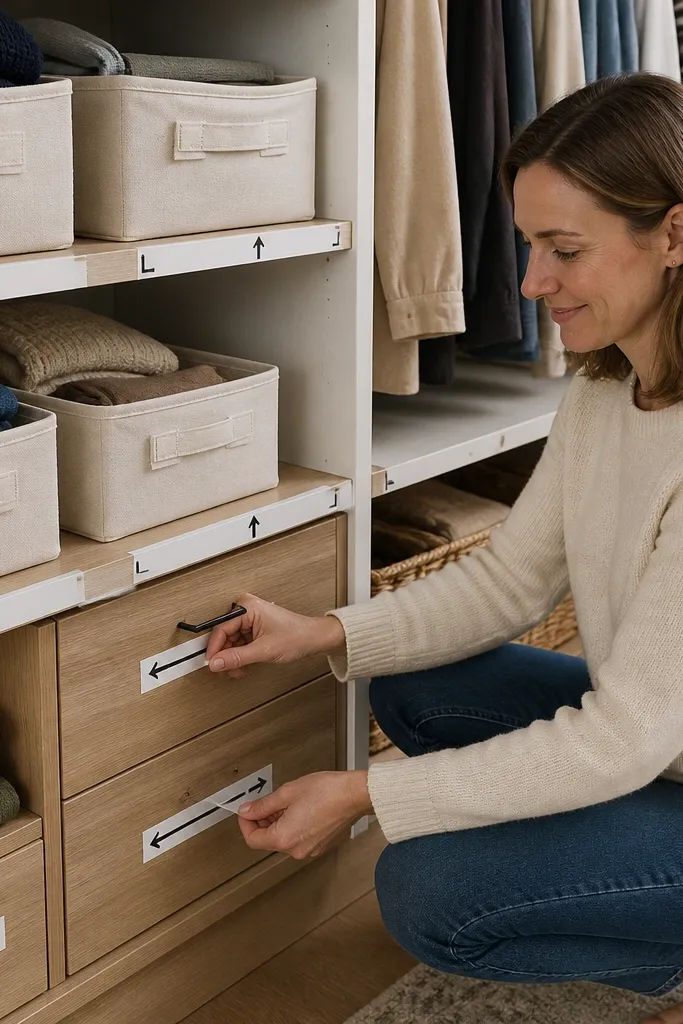
This isn’t a container. It’s the rule that makes every container work. A label tape direction system uses arrows and big placement marks so kids put things back without reading tiny words. You’ll see it in photogenic closets because labels line up neatly and create a clean visual boundary. It’s also a huge help for multilingual households because icons do the heavy lifting. The project takes 45 minutes and works with any of the other ideas on this list.
Pick a consistent label placement: front center of bins, top right of drawers, or bottom edge of shelves. Create a simple arrow set using painter’s tape or removable vinyl — arrows point to where the item goes. Make labels with big icons and one word maximum, then apply them in the same orientation on every organizer. Test by giving your kid one task: put one item away using only the label and observe if they hesitate.
Use removable vinyl if you want labels to last through multiple kids and seasonal swaps.
Don’t mix label locations; if one bin has a label on the side and another on the front, kids lose the pattern.
14. Hanging Skirt and Towel Roll-Up Rail
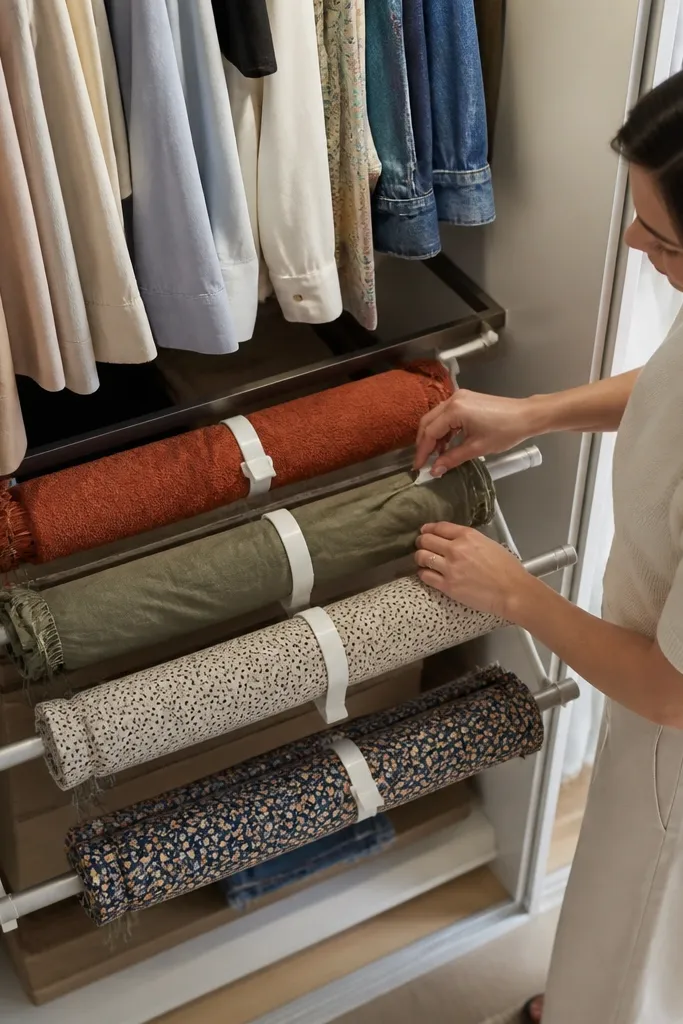
Roll-up storage looks cozy because it’s neat and soft, not crumpled. Use this for towels, scarves, and lightweight skirts that fall off hangers or get tangled. A roll-up rail with clips keeps items compact and easy to grab, which stops the “everything is one big knot” problem. The look is clean because each roll has the same width and sits aligned. Skill level is easy if you use clip hangers, and time is about 1 hour.
Install a second rail or use a row of sturdy S-hooks under your main hanging area. Roll items to a consistent diameter, then secure each roll with a fabric tie or a Velcro strap. Clip the roll to the rail so it hangs flat and doesn’t spin. Add a label card with an icon for each item type and keep the roll ends facing the same direction.
Editor's noteUse fabric ties instead of elastic bands; elastic snaps and creates uneven rolls.
Skip thisDon’t roll too tight; compressed fabric shows creases and looks messy over time.
15. Magnetic Spice-Style Rack for Accessories
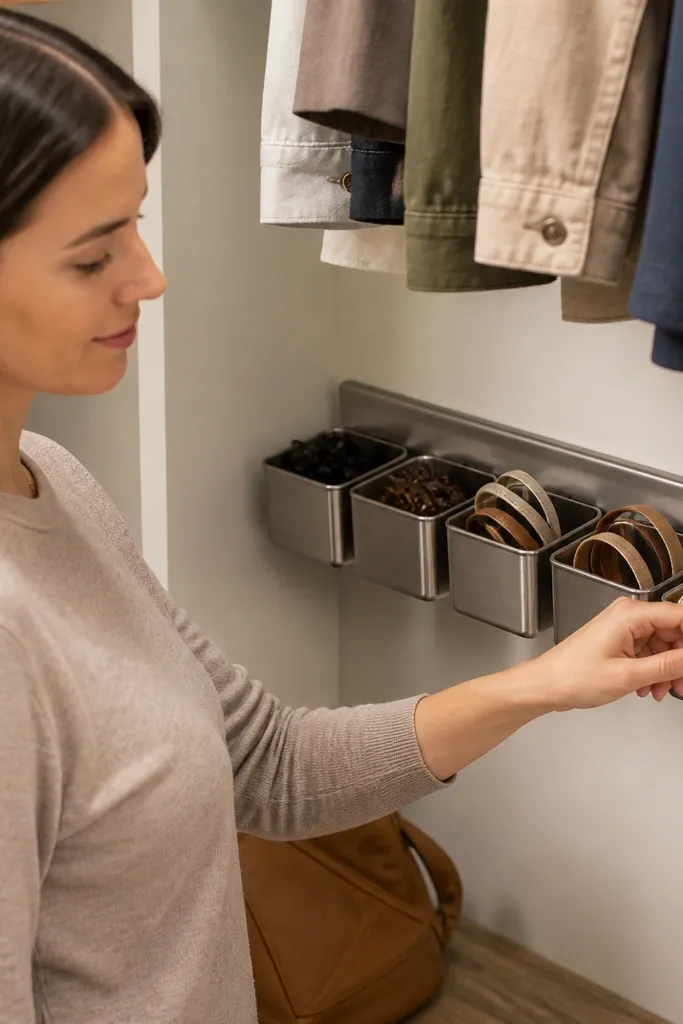
This is the cleanest way to store accessories without tiny drawers. A magnetic rack with small bins keeps hair clips, headbands, and jewelry organized and visually grouped. It looks good because the bins line up in a neat row, and kids can scan them quickly. Use it on a closet interior wall or near the mirror area if you have one. Skill level is easy, and install time is about 30 to 60 minutes.
Choose a magnetic rack system with small containers that hold lightweight accessories. Clean the metal surface or install a thin metal sheet panel inside the closet wall using screws and anchors. Place bins in a single row and label each container with a picture icon. Sort accessories by type and keep only one category per bin so kids don’t dump everything together.
Add a small tray under the rack edge for “loose” items during quick cleanups.
Don’t use it for heavy items; the mounts loosen and the look gets sloppy.
16. Woven Hamper Double-Bin for Lights and Darks
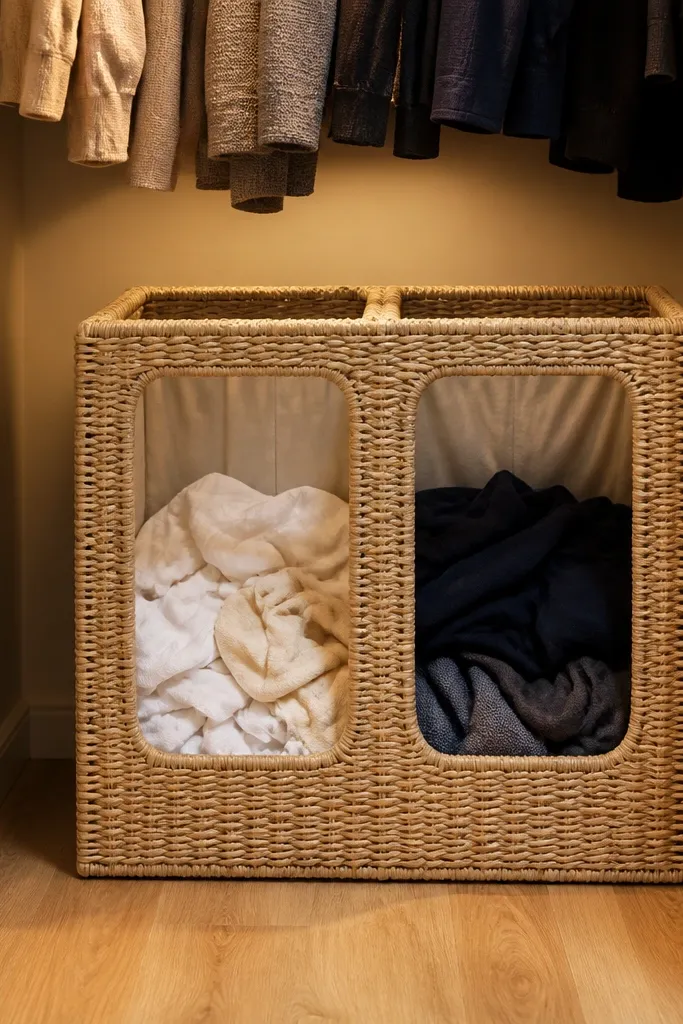
Laundry sorting makes closet organization last longer because clean clothes don’t get dumped back into the closet wrong. A woven double hamper keeps the look cozy and hides mess, while two clear compartments stop the “mixed pile” problem. Choose a hamper with a front opening so kids can drop clothes without tugging the bin. Label with big icons for lights and darks so it’s fast. This project is easy and takes about an hour including placement and labeling.
Pick a double hamper that fits your closet floor space and doesn’t block the door swing. Place it where laundry happens — near the bedroom door or inside the closet entry. Add labels on the front edges with icons and one word maximum. Teach one rule: only drop in clean, not half-clean — then close the lid immediately after each drop.
Editor's noteUse washable fabric labels so they don’t peel when kids wipe the bin.
Skip thisDon’t put the hamper where it blocks turning; kids will tip it or skip sorting.
17. Chair-Style Shoe Bench with Hidden Drawer
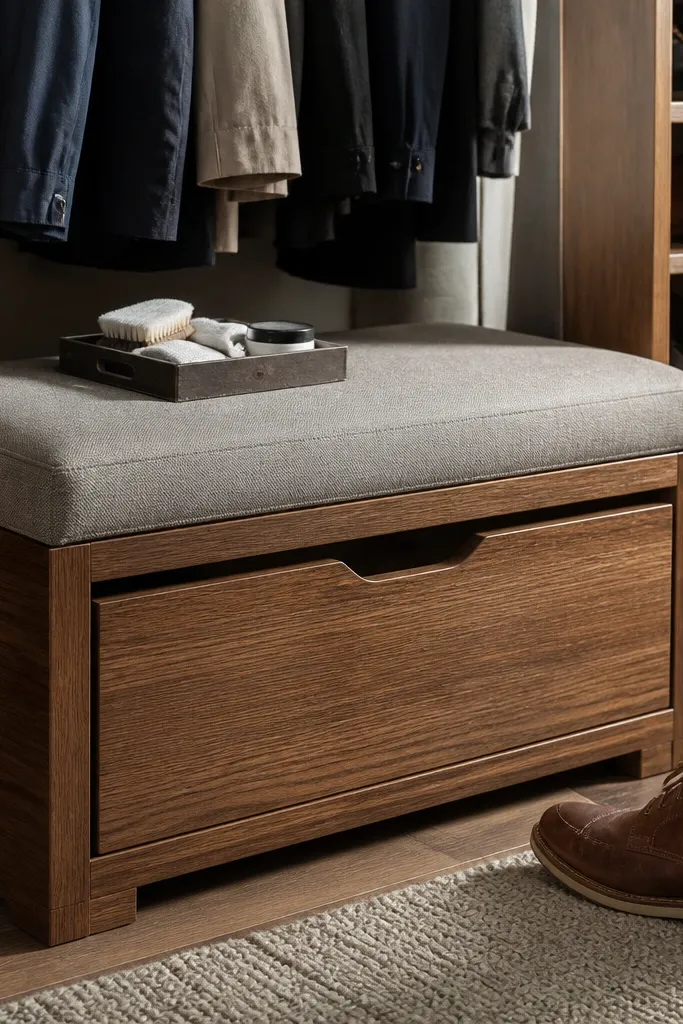
A bench inside the closet makes the entry routine look intentional and cozy. It’s ideal for kids who change shoes often and need a place for socks, shoe wipes, and small items. The hidden drawer keeps the top surface clean for photos, while the drawer holds the “stuff that spreads.” Choose a bench with a cushioned top and a simple drawer front so it looks like furniture, not storage. This is medium difficulty if you’re buying and assembling, but you can complete it in a few hours. It’s also great for narrow closets because it adds functionality without extra shelving.
Measure the closet space for bench length and confirm the drawer clears when opened. Assemble the bench if needed, then add a non-slip mat under it to prevent sliding. Put shoe wipes and extra laces in the drawer, plus a small divider for socks. Add a label on the drawer front with a picture icon for “socks” so kids don’t forget where it goes.
Match the bench fabric or color to your closet bins for a unified look.
Don’t store boots on top of the bench; height changes make it look messy and uneven.
18. Mirror-Edge Outfit Planning Pocket
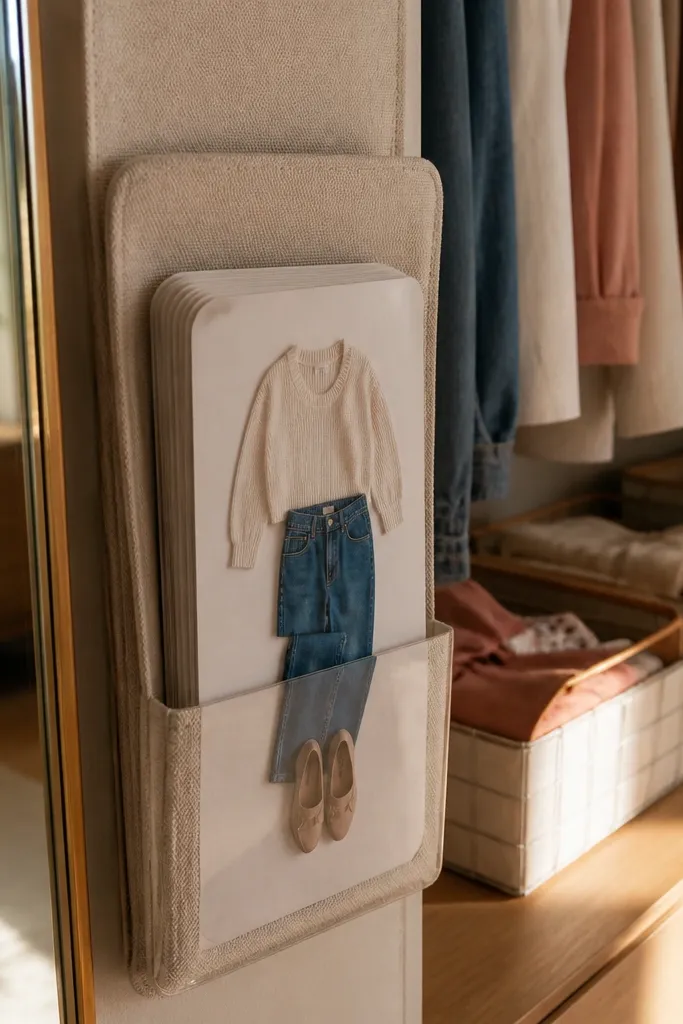
Outfit planning is one of the few systems that prevents chaos before it happens. A pocket organizer near a mirror or closet door holds daily outfit cards and keeps the plan visible. Kids pick an outfit card, then hang it in the right zone because they’ve already made the choice. This gives you a cozy, styled look because cards and pockets are neat and aligned, not loose papers everywhere. Skill level is easy, and it takes about 45 minutes if you already have cards printed or cut.
Mount a small fabric pocket organizer beside the closet door or mirror area at kid eye height. Create outfit cards on cardstock with a simple photo or icon of each top and bottom category. Place cards in the pocket by day or by child, then add a tiny label at the bottom that says “Pick then hang.” After picking, kids hang the outfit in the pajama or shirt zone using the matching label direction system.
Use dry-erase cards for weather-based swaps so you erase and rewrite instead of reprinting.
Don’t place cards inside a drawer; you lose the visual cue that stops the morning scramble.
19. Slide-Out Bookcase Drawer for Closet Bottoms
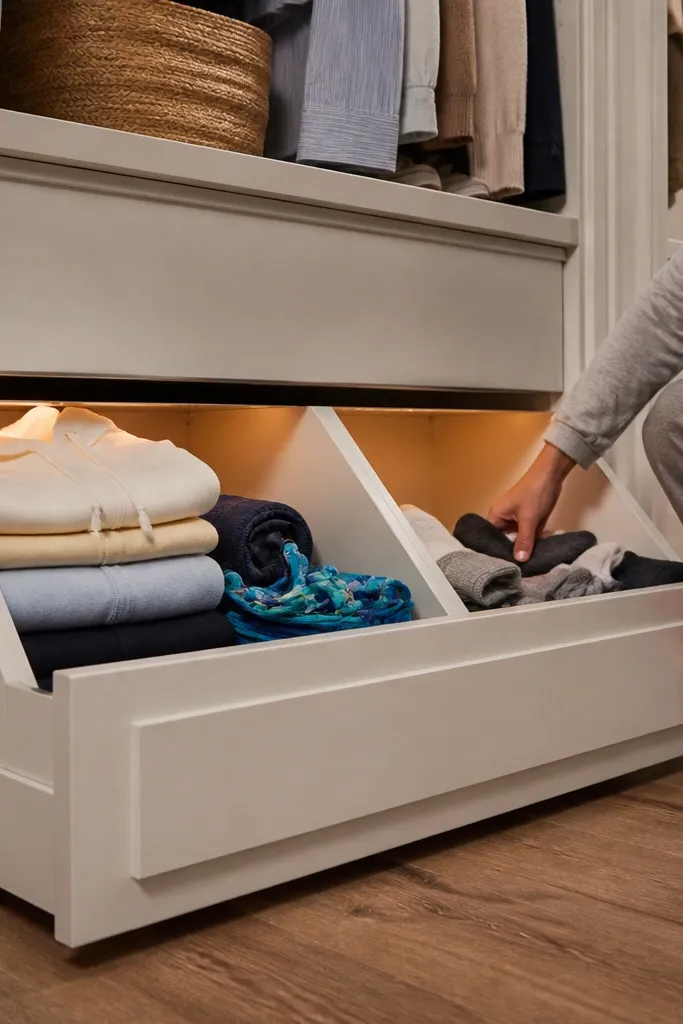
Kids' closet bottoms get messy fast because nothing has a face-up spot to grab. This slide-out drawer system gives you one clean pull zone for bulky stuff like hoodies, swim gear, or extra socks, so the mess doesn’t spill out of the closet every time they open the door. The front looks like a mini bookcase with two or three framed “shelves,” so it reads as a toy-storage piece, not a random bin. Use plywood and a smooth drawer slide so it actually sticks in daily life instead of getting ignored. This is a mid-level DIY project that takes a full weekend, and it fits best in closets with a hanging rod above or a wide open base you can build under.
Measure the closet interior width and depth, then build the drawer box from 1/2-in plywood with a 3/4-in face frame. Keep the drawer height around 6-8 in so it holds folded sweatshirts without turning into a deep pit. Install full-extension undermount slides or side-mount slides so the drawer pulls out smoothly even when kids pack it full. Build the “bookcase” front with a 1x2 frame and add 2-3 vertical dividers, then screw it to the drawer front so it stays square after repeated pulls. Finish by sanding edges, adding felt stops on the drawer frame, and painting or staining the wood before you attach the bins.
Editor's notePre-drill slide screw holes and test the drawer pull with one bin before you add everything. It prevents binding when the closet walls aren’t perfectly square.
Skip thisDon’t make the drawer too tall — it turns into a dump zone kids can’t reach inside.
20. Felt-Backed Peg Rail with Numbered Clip Strips
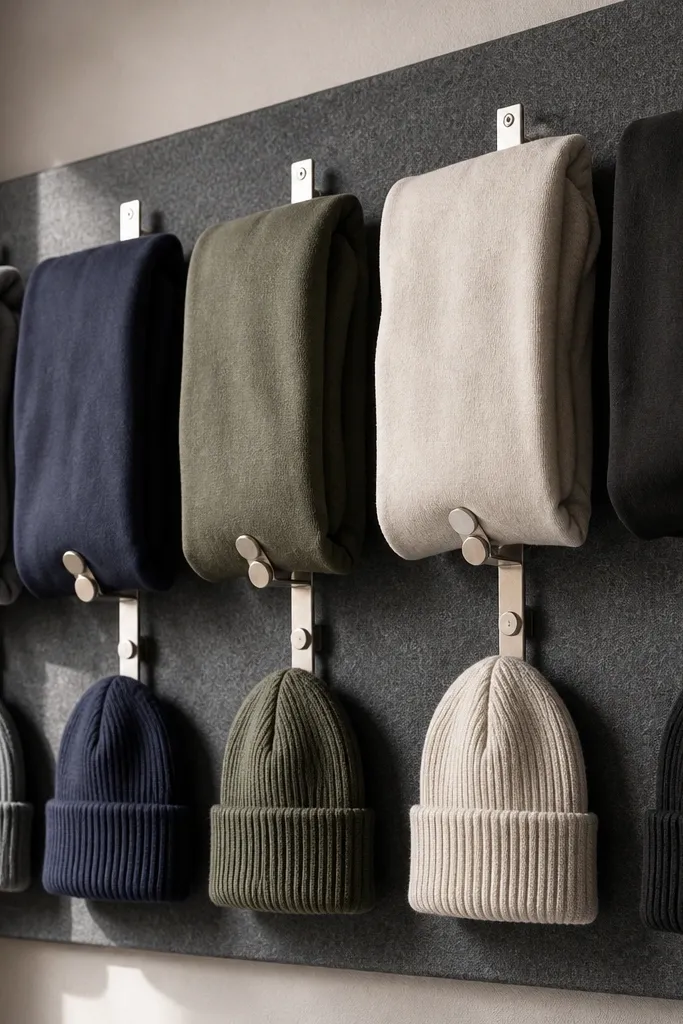
If your kids keep tossing hoodies and beanies into the same basket, the problem is the grab-and-go part. A felt-backed peg rail solves that by holding folded items upright with clips, so each piece has a visible home and they can see what’s missing. The felt backing makes the rail look soft and cozy instead of like a garage wall, and it also reduces scuffs on knit fabric. Numbered clip strips let you assign zones by kid or by item type, so “where does this go?” gets answered in a second. This build is beginner-friendly with basic tools and takes about a day, especially if you keep the rail length short and the clip count manageable.
Cut a plywood backer panel to fit the closet wall or the inside of a door, using 1/2-in plywood and sanding the edges smooth. Cover it with thick craft felt (around 1/4- to 1/2-in) and staple or glue it flat, then trim the felt flush at the edges. Attach a peg rail on top of the felt using the rail’s mounting holes, and space it so the clips you buy can hang without hitting each other. Add numbered clothespin-style clips or small binder clips on the pegs, then label each clip strip with a label that matches the kid’s color system. Seal the felt edges with a thin line of fabric glue so it doesn’t peel, and screw the whole assembly into studs or use heavy-duty wall anchors if you’re mounting to drywall.
Editor's noteUse binder clips with rubberized jaws for knits. They grip without leaving shiny marks on fabric.
Skip thisDon’t mount the rail too high — if kids can’t reach the clips comfortably, the whole system becomes decoration.



