
1. Round turntable for baking staples
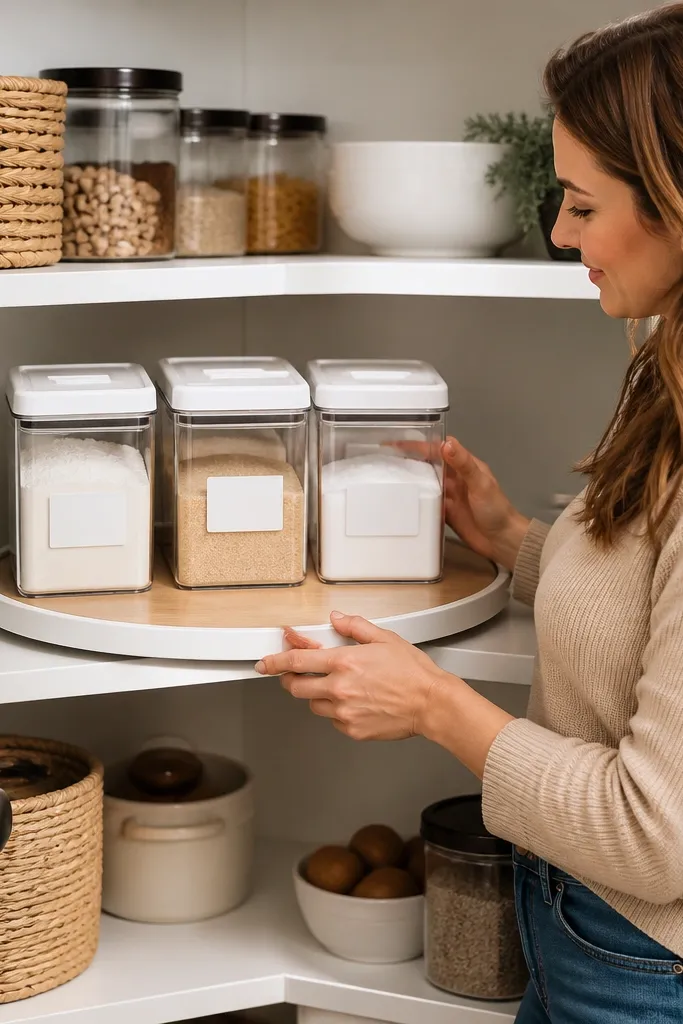
Measure the shelf diameter and buy a lazy susan that sits with at least 1 inch of clearance from the shelf edges. Place a non-slip mat on the shelf, then set the turntable on top and test rotation with empty bins. Load bins in a consistent order (dry baking left to right on the turntable), then label the front lip of each bin with a category name. Finally, add a small “grab bin” for daily items at the front position so you stop hunting through the rest.
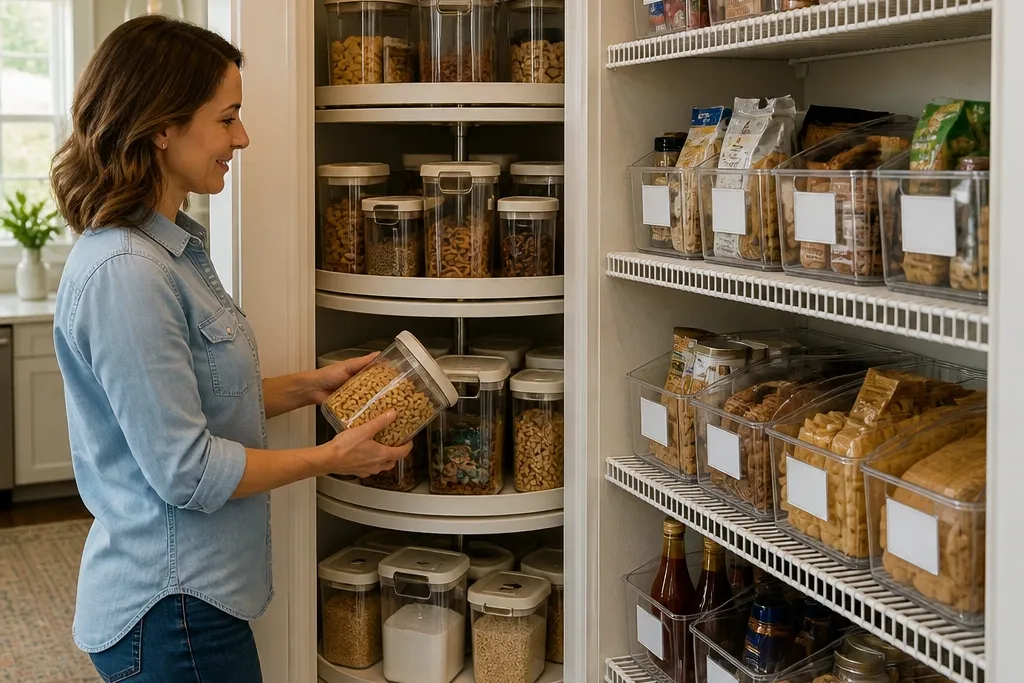
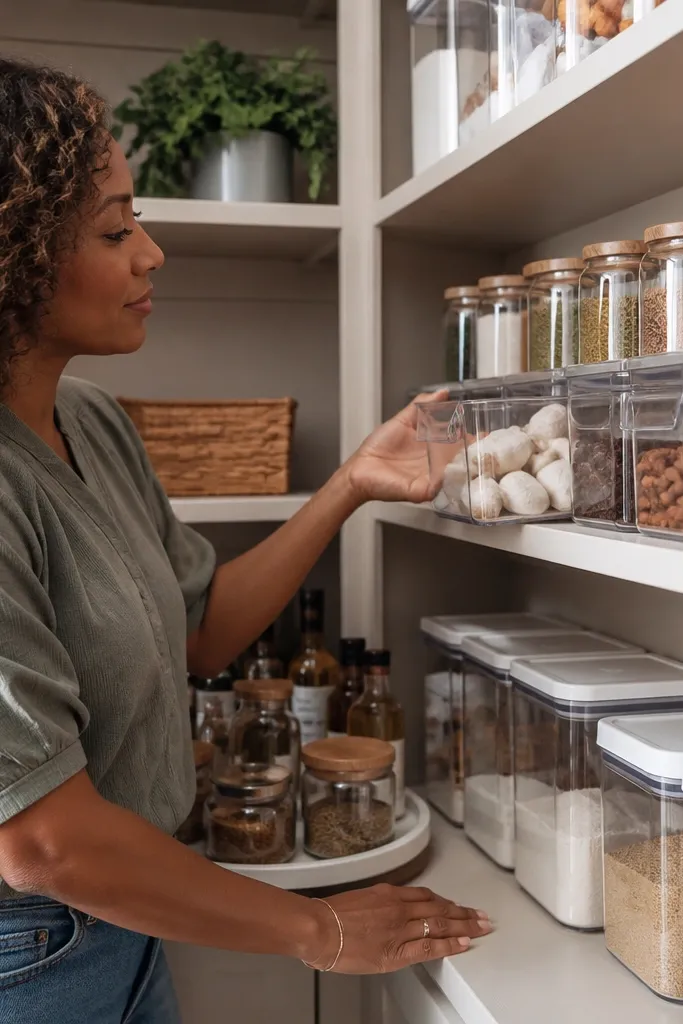
This is the cleanest lazy susan setup when your corner shelf is actually round enough to rotate smoothly. Put baking staples into small, lidded bins so each category stays put when you spin. Use clear plastic bins with white labels so you can scan from the front without opening anything. The finish matters here: choose a turntable with a flat top surface and a smooth bearing so it doesn’t wobble when bins are full. This works best for flour, sugar, cocoa, baking powder, and cookie mix packets.
Skip thisDon’t put loose bags directly on the rotating surface — they slide and tear labels.
Editor's noteUse magnetic label strips on the bin fronts if you swap categories seasonally.
2. Wedge-corner bin wall with straight labels
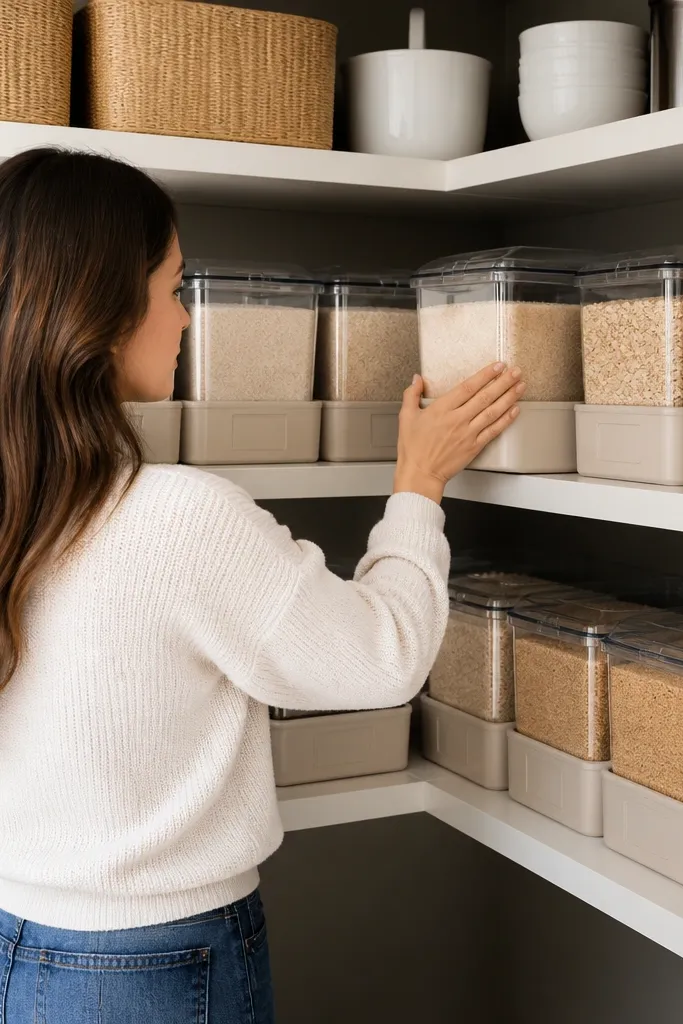
Start by measuring the width of the corner at the front edge and again at the back edge because wedge corners change. Choose bins that match the smaller back width so they don’t jam. Place bin bottoms on a shelf liner, then set the bins so both labels face the same direction. Add a label strip along the shelf edge for quick scanning, then adjust bin heights until the tallest items don’t block the label area.
Bins win when your corner is a wedge and the shelves are two straight planes meeting at an angle. This setup creates two “lanes” so you can reach and grab without spinning anything. Use medium-depth bins that fit the shelf width and keep the label facing outward. It also fixes the common corner problem where items disappear behind tall containers because bins keep them in their own lane. Best for snacks, canned goods (if you use shallow bins), and boxed mixes you want to grab fast.
Skip thisDon’t mix bin sizes randomly in the same lane — the front label ends up hidden.
Editor's noteAdhesive-backed label holders on the front lip survive pulls better than labels stuck to the side.
3. Lazy susan with 3 fixed zones (top shelf rules)
This is the hybrid that keeps the “spin view” but prevents chaos. You divide the turntable into three functional zones: daily grab, weekly restock, and overflow. Each zone gets bins sized by height so nothing blocks the labels. A frequent issue with corner lazy susans is that tall items topple or cover smaller ones; zone sizing fixes that. This works especially well for pantry staples that come in different container shapes, like pasta sauce bottles, rice pouches, and snack boxes.
Use a lazy susan that has a flat top and enough diameter for three bins side-by-side in your layout. Place a non-slip mat, then mark three wedge-like positions with painter’s tape so bins stay in consistent spots after you spin. Add bins with matching heights per zone: short bins for snacks, medium for baking, and a taller bin only if it won’t cover labels. Label each bin and add a small label at the zone level (Daily / Weekly / Overflow) so you don’t have to read every bin to find the right category.
If your turntable wobbles, tighten by placing thin shims under low points before loading heavy items.
Don’t use one oversized bin for everything — the whole point is separate grab points.
4. Deep bins for heavy staples (rice, beans, flour)
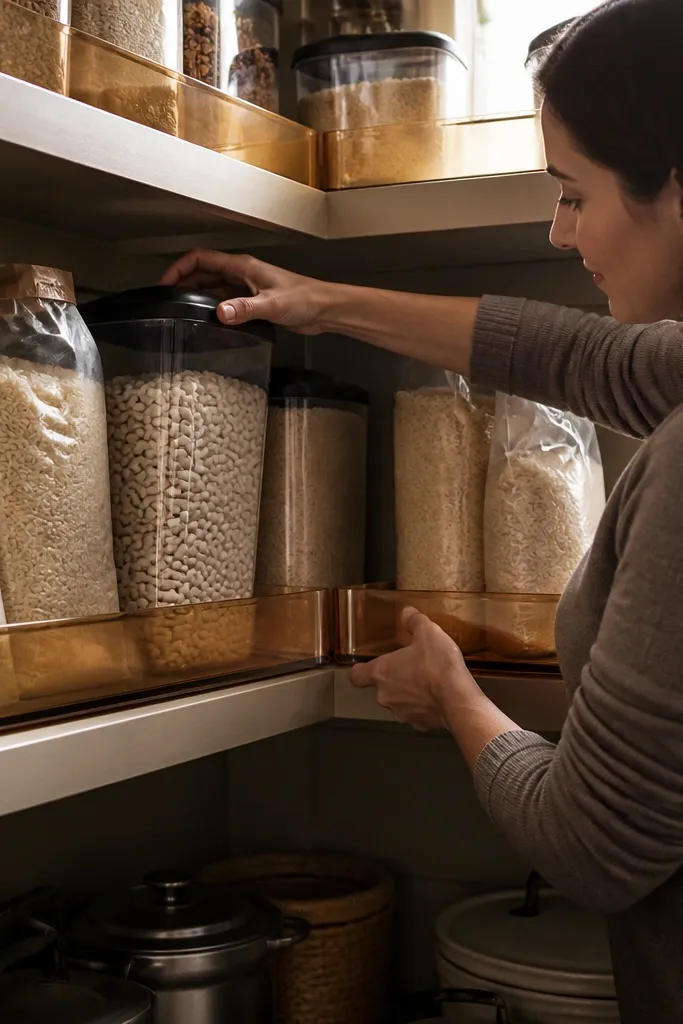
Choose bin depths that match your shelf depth minus 1 inch so lids and handles don’t scrape. Put a shelf liner down, then test sliding one full bin before you commit to the rest. Group items by container type: tall bags in one bin, smaller boxes in another. Label the bin front and also label the container faces if they’re opaque. Finish by adding a “restock” bin at the back of the lane so you don’t stack overflow on top of the daily bin.
If your corner pantry holds heavy bags, bins are the safer, sturdier move. Deep bins keep weight low and stop bags from tipping into the corner gap. The look is also more consistent because you can standardize container shapes inside each bin. Use bins with a front lip so you can pull them smoothly without catching on shelf edges. This setup is best for rice, dry beans, flour, and bulk pantry items where you want one pull to reveal the whole category.
Skip thisSkip shallow baskets for heavy staples — they tip and crush labels.
Editor's noteUse a bin height that keeps the top label visible even when the bin is full.
5. Wire basket insert for packet chaos
Wire baskets are underrated for packet storage because you can see what you have without opening anything. In a corner pantry, they work best when you keep packets in upright, labeled stacks inside the basket. Add a thin liner so packets don’t snag and labels don’t peel from rubbing. This setup is great for seasoning packets, drink mixes, soup packets, and small sauce sachets. The trade-off is stability — wire spreads slightly — so keep baskets sized tightly to the shelf.
Measure the shelf opening and buy baskets that sit snugly without falling through the corner gap. Add a liner cut to fit the basket base and up the sides about 1 inch. Sort packets into categories and store each category in a small tray or organizer sleeve inside the basket. Label the tray front, not every packet, then restock by category so the order stays intact.
Use clear sleeve folders for packets so you can pull a whole category at once.
Don’t overfill wire baskets — overflowing packets trap each other and tear labels.
6. Pull-out bin drawer for true corner reach
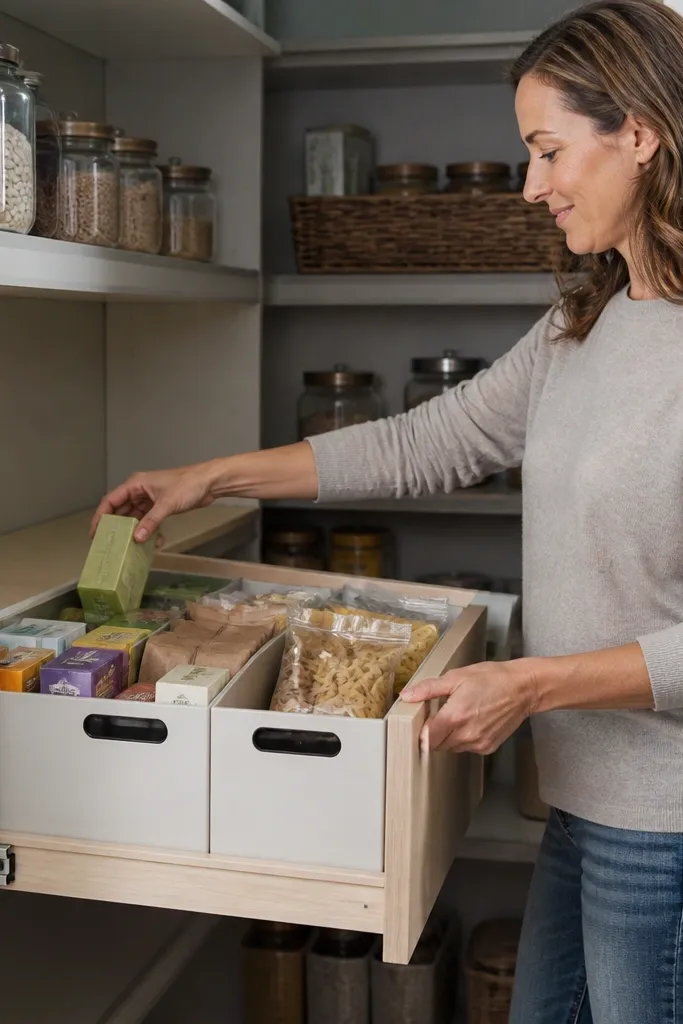
Choose a drawer slide system rated for the weight of your heaviest bin and measure the available side clearance in the cabinet. Install the slide rails level using a level and spacer shims so the drawer doesn’t bind. Mount the drawer box or frame, then add bins sized to the internal drawer width. Label bin fronts, then load heavy items first at the bottom so the drawer stays stable when pulled.
If your corner pantry is deep and you hate reaching, pull-out drawer bins beat both spinning and open shelving. You get full visibility because the bin slides forward, and you don’t have to turn anything to find the right category. This is the best fix when the corner is too far back for your hand to reach comfortably. Use bins that slide smoothly and handle weight without racking. Best for canned goods, dry goods in medium containers, and “grab later” supplies like baking liners and zip bags.
Skip thisDon’t skip a dry-fit test with the empty drawer — binding problems show up immediately.
Editor's notePre-drill screw holes into slide hardware to prevent misalignment during install.
7. Stacked lid bins to stop pantry top clutter
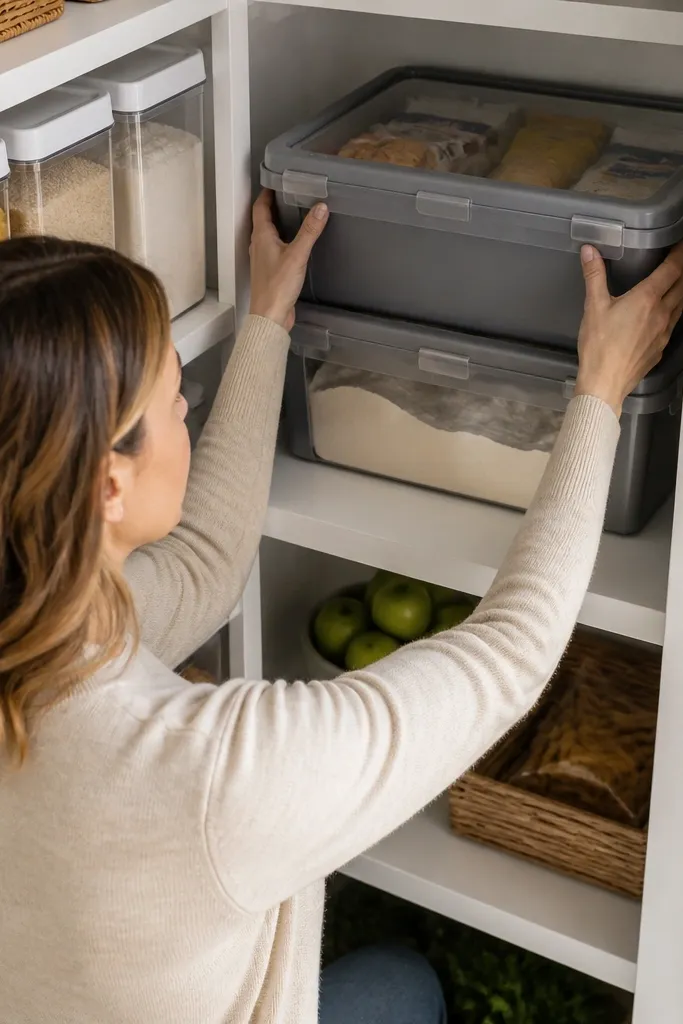
This is a bin-first move that fixes the top-of-shelf mess that corners create. When you store tall items and overflow on the top tier, corners become a dumping zone. Stacked bins with uniform lids control height and make overflow predictable. Choose bins with a lid that snaps closed so dust and moisture stay out. This works for snacks, baking supplies, and bulk items you rotate in and out.
Pick bins with the same footprint so stacking doesn’t waste space. Place the bottom bin on the shelf liner, then stack the second bin only if the lid height still keeps the label visible. Label the front of both bins with category and a “use first” indicator if you rotate inventory. Keep one “open” bin for current stock and one “closed” bin for reserve so you stop shoving new items on top.
Use a small color dot system on labels (blue for baking, green for snacks) so family members grab correctly.
Don’t stack bins with different heights — the lower label gets blocked.
8. Lazy susan for oils and vinegars only
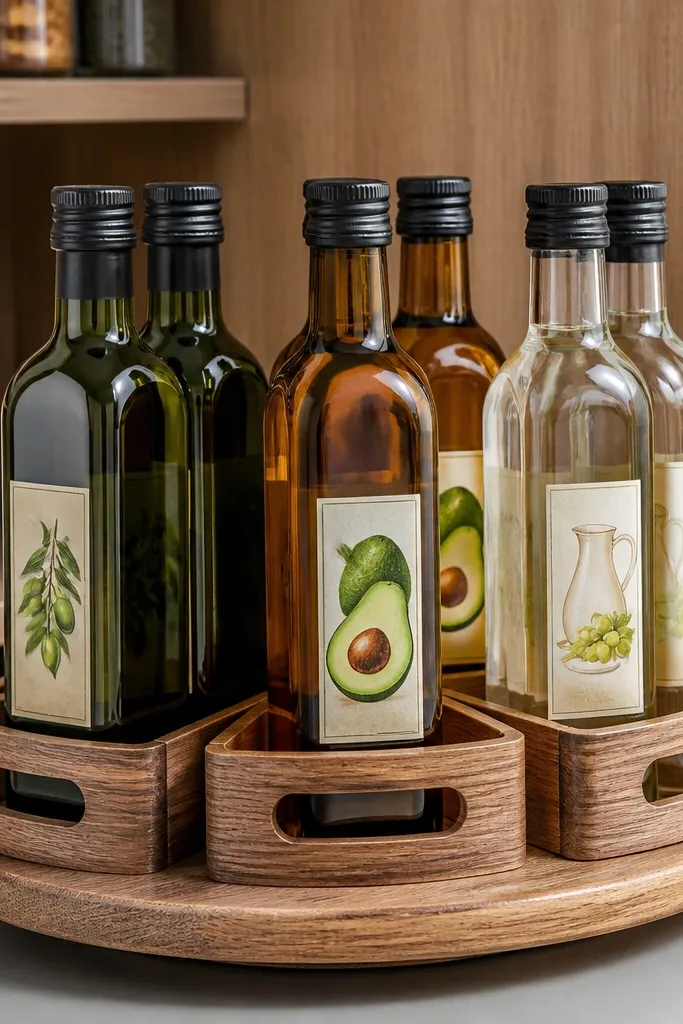
Choose a small lazy susan sized for the number of bottles you store, then line the shelf with a non-slip mat. Use shallow bottle caddies or snug bins so each bottle has a home position. Label each caddy front (Olive Oil, Avocado Oil, Balsamic, Apple Cider Vinegar). Spin test with empty bottles first, then load and check that labels stay visible from the front.
If you’re tempted to put everything on a lazy susan, don’t. Oils and vinegars are the best “single category” use because bottles are easy to position and you can see levels quickly. A small turntable keeps grab time low and stops the back-of-shelf bottle hunt. Use bottle caddies or shallow bins so bottles don’t roll during rotation. This is also a nice way to protect glass bottles from bumping into each other.
Skip thisAvoid placing tall glass bottles loose on the turntable — they clink and cause chips.
Editor's notePut a microfiber cloth under the mat if your shelf is slightly dusty — it reduces sliding and squeaks.
9. Clear-front bins for snack grab zone
Measure the width of your corner shelf opening and pick bins that fit without forcing the door to rub. Put a non-slip liner down, then position bins so the label edge faces the pantry opening. Add dividers or small tray inserts for subcategories like breakfast snacks, baking snacks, and treats. Label each bin front and keep one bin for “open now” snacks while the rest stay sealed behind it.
Snack storage fails because you can’t see what’s inside quickly, so people overbuy and overstuff. Clear-front bins solve that by letting you scan the shelf at a glance. In a corner pantry, place these bins at eye level or just below so you can reach without bending into the corner gap. Use bins with dividers or smaller trays inside so chips, bars, and packets don’t mix and turn into a mess. This is a high-function system for families and anyone who wants fast access.
Skip thisDon’t use opaque bins for snacks — you’ll lose the speed benefit.
Editor's noteUse a label font size you can read from standing position, not from across the room.
10. Corner spice shelf with mini turntable
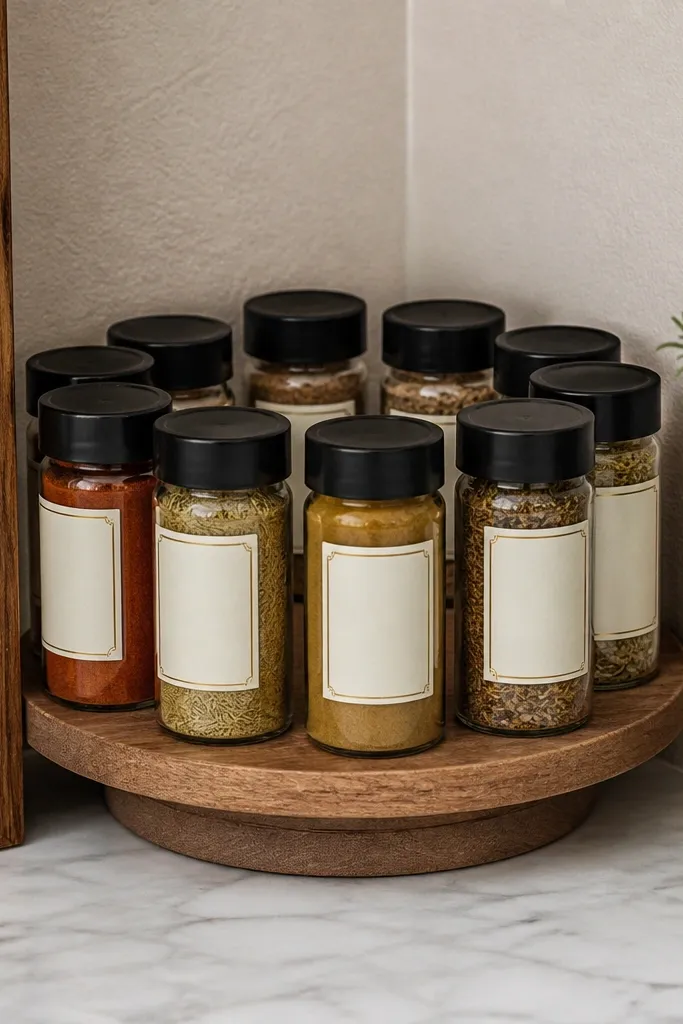
Measure the shelf area and buy a mini turntable that fits with at least a half-inch gap on each side. Line the shelf with a thin non-slip sheet so it doesn’t creep. Fill jars into the turntable positions by frequency (front is daily use). Label each jar with a printed label on the jar body so it stays readable even if you rotate the turntable.
Spices are small, light, and easy to rotate, so a mini turntable can make a corner pantry feel organized in seconds. Instead of a full lazy susan, use a smaller rotating organizer that fits within the corner shelf footprint. This keeps spices visible and stops the “where is cumin” routine. Use jars with similar heights so rotation doesn’t knock lids. This setup is ideal for spice jars you use weekly.
Skip thisSkip loose spice packets in a mini turntable — they fall and spill.
Editor's noteIf you buy new jars, buy a single jar style for the whole spice set so labels align.
11. Two-tier bin ladder for corner height control
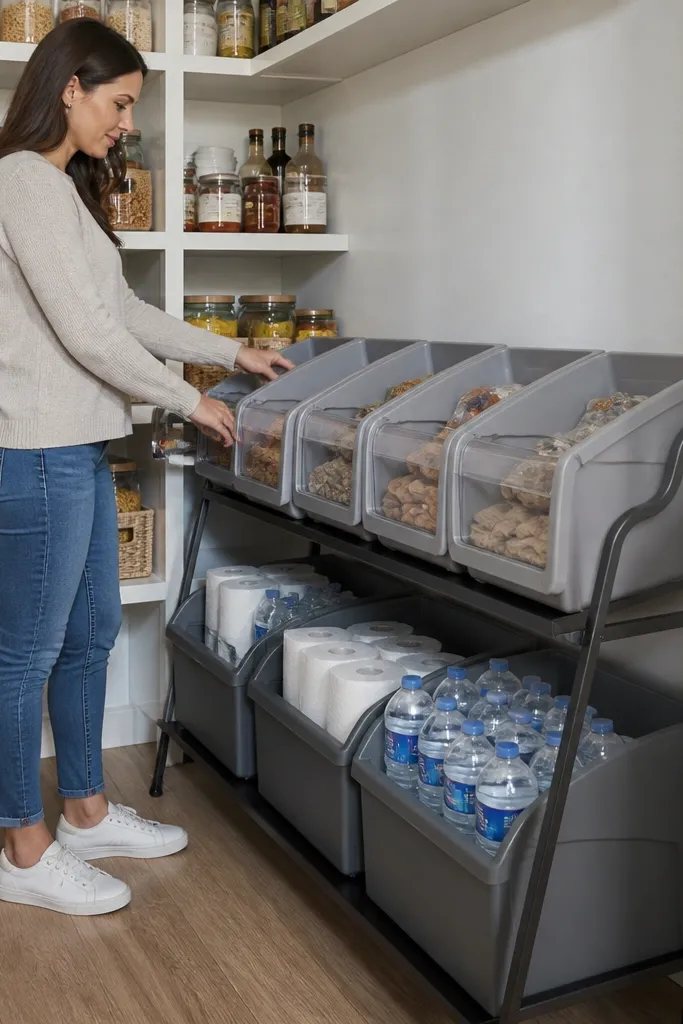
Corner pantries often waste vertical space because people stack tall items and then can’t reach the back. A two-tier bin ladder fixes that by creating two clear grab levels. Use shallow bins on the top tier for lighter items and deeper bins on the bottom tier for heavy or bulky goods. The ladder layout keeps labels visible and stops the corner from becoming a single pile. This works for breakfast items, snack mixes, and dry goods that come in medium containers.
Install a shelf riser or add an additional fixed shelf using the cabinet’s existing supports so it’s level. Place shallow bins on the top shelf and deeper bins on the bottom shelf so you keep reach comfortable. Label both tiers with category names that match your shopping list. Keep tall containers limited to one tier so they don’t block the other tier’s label visibility.
Use shelf liners that grip — they stop bins from sliding when you pull them.
Don’t set the top tier too high — if you need a step stool, the system breaks.
12. Corner shelf accordion dividers for boxes and bags
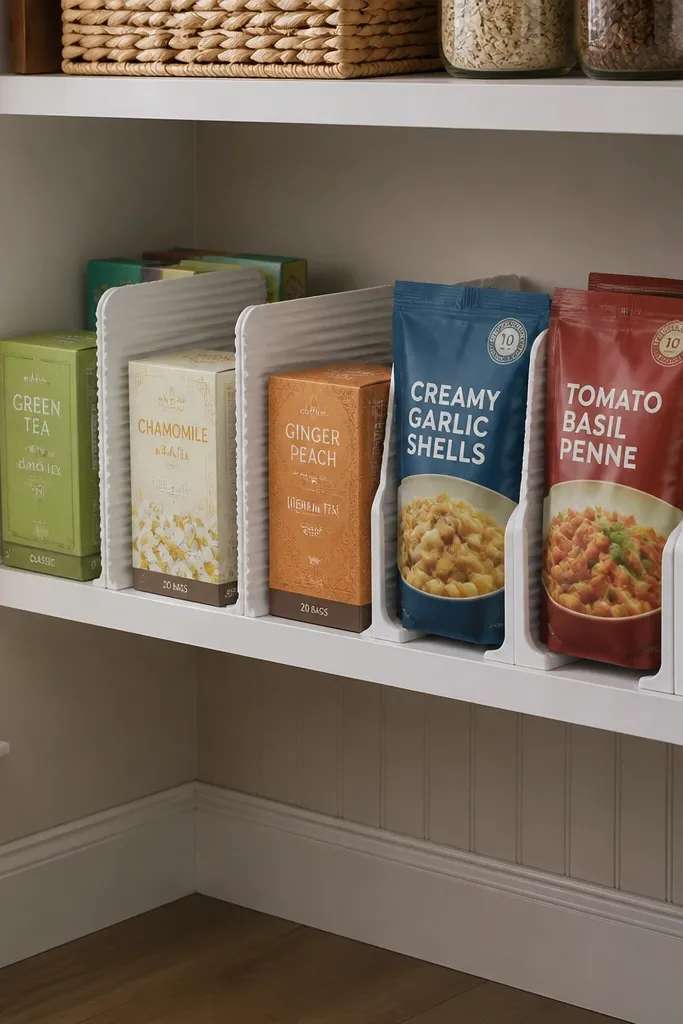
This is a smart option when you can’t add turntables or drawers but still need order in a corner. Accordion dividers create lanes inside a shelf so boxes and bags stop leaning into the corner gap. It’s not a lazy susan or a bin, so it’s best when your items are mostly flat-ish and you can keep them standing. Use dividers to keep one category per lane, then label the lane front. Best for cereal boxes, cracker boxes, and flat packets.
Measure the shelf depth and buy accordion dividers that expand to your lane width without bowing. Install dividers on a shelf liner so they stay put when you pull boxes. Create 2-4 lanes depending on your shelf width, then load items standing and tight to the divider. Label each lane at the front edge with a category name and keep the heaviest boxes on the bottom shelf.
Use a shelf liner with texture so dividers don’t creep over time.
Don’t use dividers for soft, floppy bags — they sag and collapse the lanes.
13. Lazy susan for canned goods with flat trays
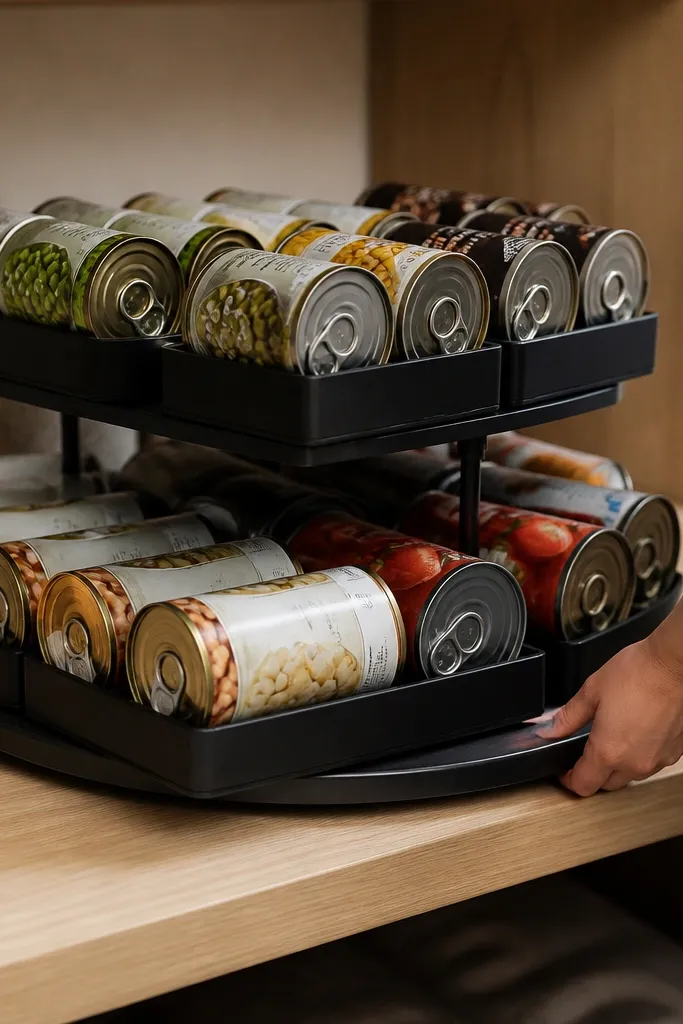
Pick a lazy susan diameter that matches the width of your canned tray. Place non-slip matting on the shelf, then set the turntable and load one empty tray to check clearance. Use tray sizes that let cans sit in rows with labels facing outward. Label each tray by can type, then rotate to confirm the labels stay visible from the front.
Canned goods are a great match for a lazy susan when you store them in flat trays rather than free-standing cans. Trays keep cans aligned and prevent rolling when the turntable rotates. This also makes it easy to pull one tray to restock without dumping the whole shelf. Use trays that fit the turntable footprint with a little clearance so rotation stays smooth. This setup works for beans, tomatoes, broth cans, and small pasta sauce cans.
Skip thisAvoid stacking cans directly on a turntable — they shift and jam rotation.
Editor's noteKeep trays shallow so you don’t block the top row when you spin.
14. Bins with pull handles for pantry door-side access
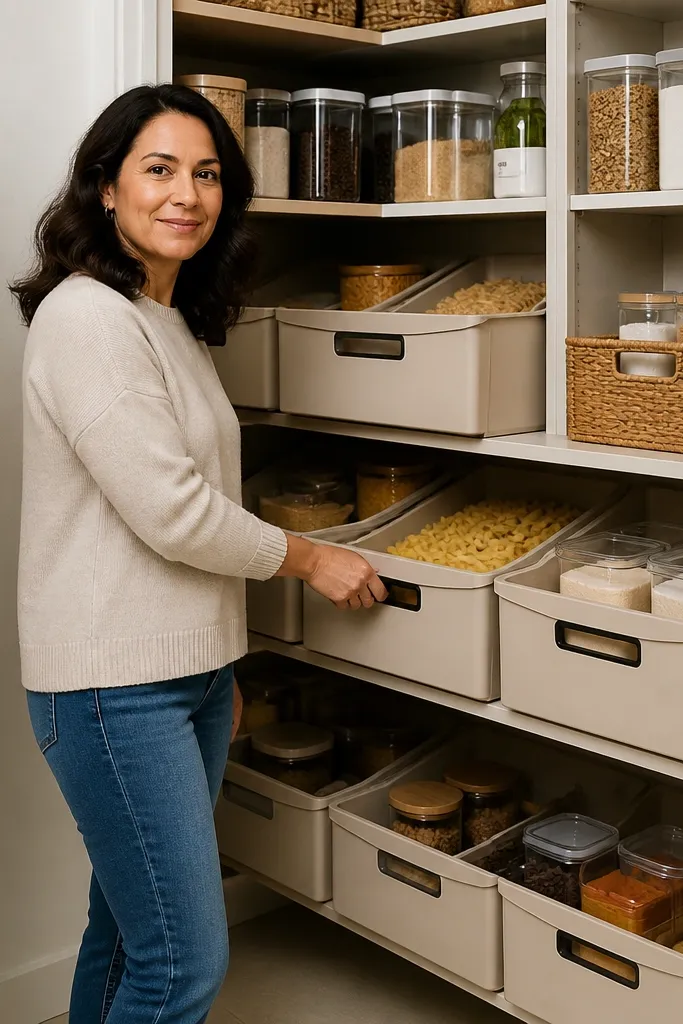
Choose bins with front pull handles or add stick-on handles rated for the bin material. Measure the bin front clearance so the handle doesn’t catch on shelf lips. Place bins on a non-slip liner, then label the front edge with category names. Load one bin per category and keep the heaviest items in the bottom bin so pulling stays smooth.
If your corner pantry is accessed from the front and you want quick grabs without awkward pinching, add pull handles to your bins. Handles make it easier to pull a full bin straight forward, which keeps everything from tipping into the corner gap. Use sturdy bins with reinforced sides so the handles don’t tear off under weight. This setup is ideal for families because it reduces the “I’ll just push it back” problem that breaks organization. Best for snacks, baking cups, zip bags, and small pantry tools.
Skip thisDon’t use flimsy bins without handles — you’ll end up dragging them and scraping labels.
Editor's noteUse a label that wraps slightly around the bin front so it stays readable if the bin tilts.
15. Lazy susan vs bins decision shelf map (do this first)
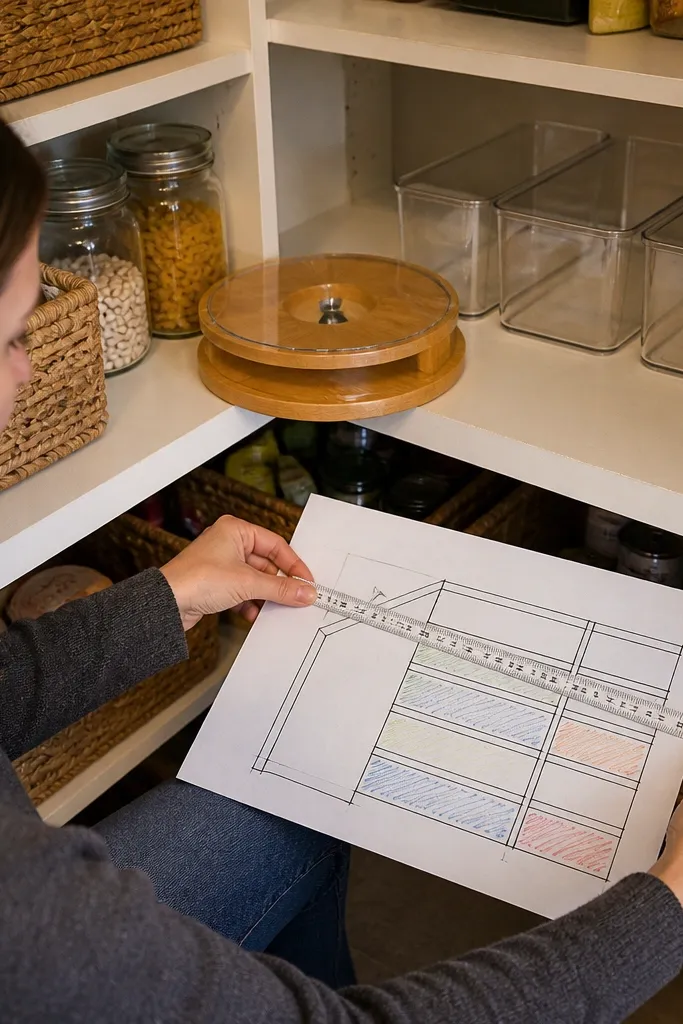
This is the practical step most people skip, and it’s why their corner pantry system collapses. Draw a quick shelf map with your measurements and mark the corner gap and shelf depth. Then assign zones: daily grab (front), weekly stock (middle), overflow (back or top). If a zone is circular and you can rotate without hitting walls, use a lazy susan there. If a zone is wedge-shaped or you can’t rotate cleanly, use bins there. This “decision map” makes buying the right organizer feel obvious instead of random.
Measure shelf depth, front width, back width, and the corner gap. Sketch a simple rectangle for each shelf and mark the wedge corner with a triangle. Decide which zones need rotation (circular access) and which need straight labeling (wedge access). Only after that, choose lazy susan for circular zones and bins for wedge zones, then buy containers sized to the smallest dimension you measured.
Write the smallest dimension on the sketch — it prevents ordering bins that jam at the back.
Don’t buy based on the photo — corner geometry changes everything.



