
1. Crisp vertical grille with equal-width pillars
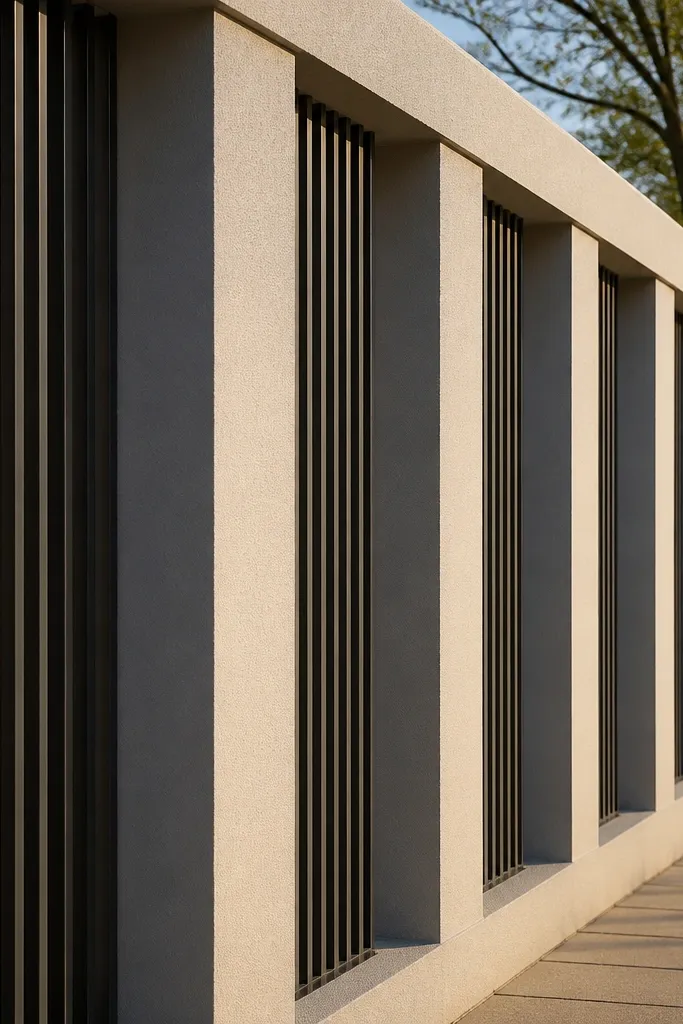
This look is clean because every bay repeats the same geometry. Equal-width pillars (same face size, same spacing, same depth of panel recess) make the wall read as one continuous frame instead of a patchwork. Use smooth panel faces or thin cladding so the light hits evenly across all bays. It photographs well because the top coping stays level and the shadow lines between pillars are consistent.
Measure your straight run length in millimeters, then divide by your chosen bay width plus pillar width to get a whole-number layout. Mark pillar centers on the ground with chalk or string line, keeping the first pillar aligned to a corner or a gate jamb. Build bays in sequence so each panel has the same height, then finish the coping last after the masonry cures and you confirm the top line is straight.
Editor's noteBefore final plaster, dry-fit a straightedge across 3 consecutive pillars and adjust any out-of-plane pillar by 5-10 mm while the mortar is still workable.
Skip thisAvoid mixing pillar widths in the same run; even a 20-30 mm change shows up fast in photos.
2. Stone-clad panel grid with a shadow gap
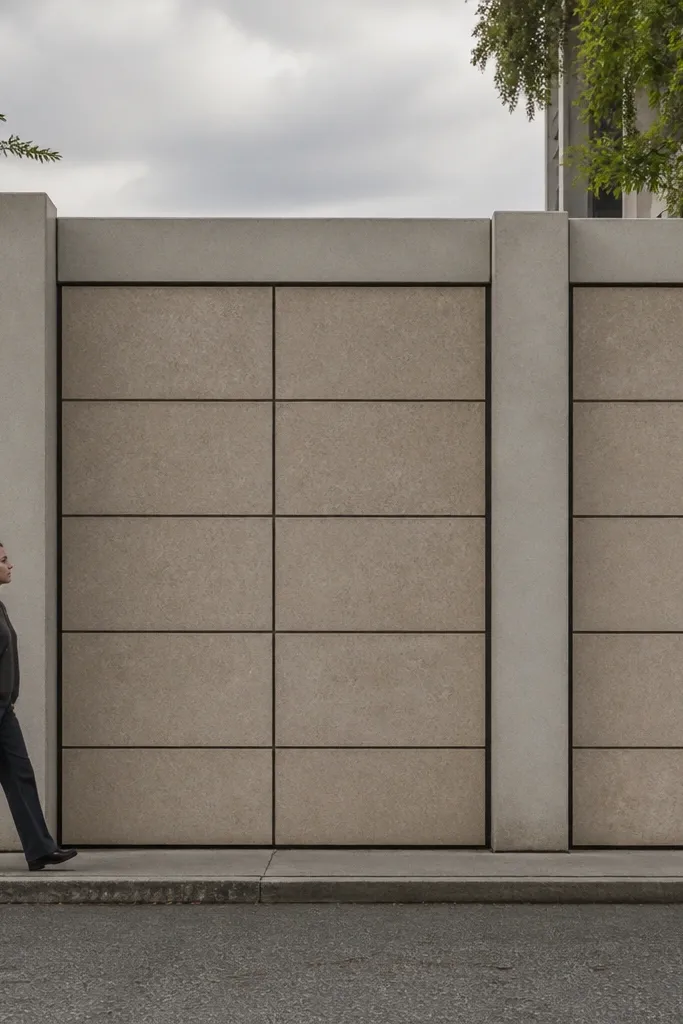
Stone-clad panels look premium because the texture breaks up flat color and hides minor surface variations. The key planning detail is the shadow gap between pillars and panels so the cladding edges don’t blend into the concrete. Plan a consistent joint line thickness across every bay — that’s what keeps it looking intentional rather than random. Pair it with a dark pillar face or a slightly deeper recess to make the panels pop.
Pick a cladding thickness and plan the recess depth accordingly so panels sit flush with a uniform reveal. Dry lay 2-3 stone pieces on the ground and decide your grout joint width, then transfer that to your panel layout marks. After you build the concrete frame (pillars and panel openings), apply a bonding coat, set cladding in small sections, and keep grout joints aligned using spacers and a string line.
Use a water-resistant backer coat on the concrete before cladding so rain doesn’t cause staining around the edges.
Don’t start cladding before the frame is fully cured and straight; minor waviness becomes obvious when stone texture catches light.
3. Half-height plaster panels with full-height corner anchors
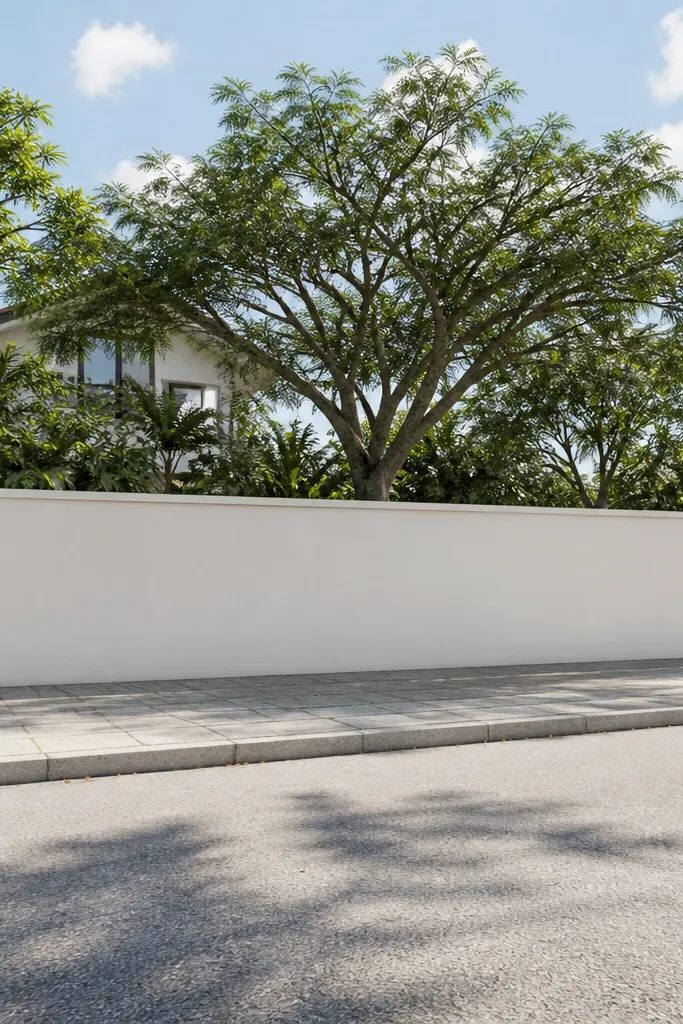
This design balances privacy and openness. Half-height panels reduce the “mass” of a long wall, while full-height corner anchors keep the composition grounded and symmetrical. You get a tidy look because the horizontal line of the mid-panel stays level across the run, and the taller corner pillars provide visual stops. It’s a great choice when your plot has a lot of perimeter length and you want something that looks deliberate, not bulky.
Choose your panel height so it lands cleanly: for example, if your total wall height is 2.0 m, plan a mid-panel height around 0.9-1.1 m and keep the coping consistent. Mark a horizontal reference line on both ends of the boundary, then snap a chalk line for every bay so the panel tops match. Build corner pillars first to lock the height, then fill the mid-panel openings in equal bays and finish the plaster surfaces in one consistent coat schedule.
Editor's noteUse a laser level for the mid-panel line; chalk lines drift over long runs and the error shows up as a wavy horizontal band.
Skip thisAvoid changing panel heights to “fit” measurement errors; instead, adjust bay spacing so the horizontal line stays straight.
4. Matte paint finish with recessed rectangles for a modern panel rhythm
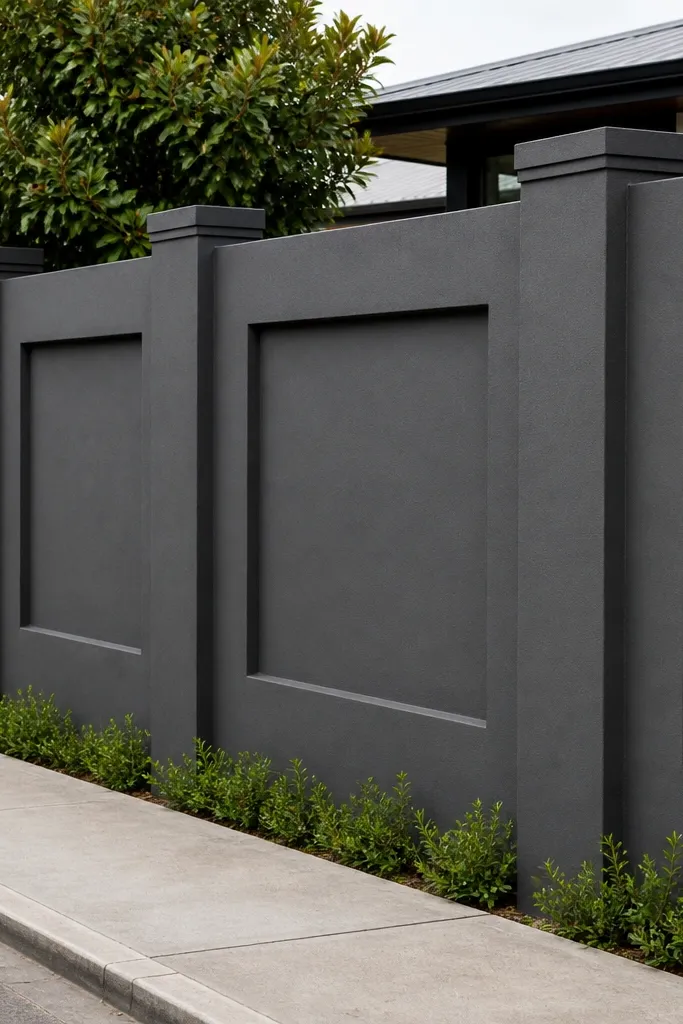
Recessed rectangles look modern because they create crisp shadow edges without needing stone. With a matte exterior paint, the wall reads smooth and clean while the recess lines add structure. The planning win is that you can control the rhythm: same rectangle proportions, same spacing, and consistent recess depth across every bay. It’s also forgiving — small surface imperfections disappear under matte paint, but the recess geometry stays visually sharp.
Decide your rectangle size relative to the panel bay: for example, keep rectangles centered with a 30-50 mm recess border inside the panel. Mark rectangle corners using a measuring tape and square, then apply plaster in layers so the recess edges cure without crumbling. After the wall cures, sand edges lightly, then paint with an exterior primer and two coats of matte finish, keeping a wet edge so you don’t get roller lines.
Do a quick test board: paint a 300 mm square on scrap plaster and check under daylight and evening light before committing to the full wall color.
Don’t paint over dusty plaster; dust makes the recess lines look dull and uneven.
5. Plain concrete look with pigment + broom texture for uniformity
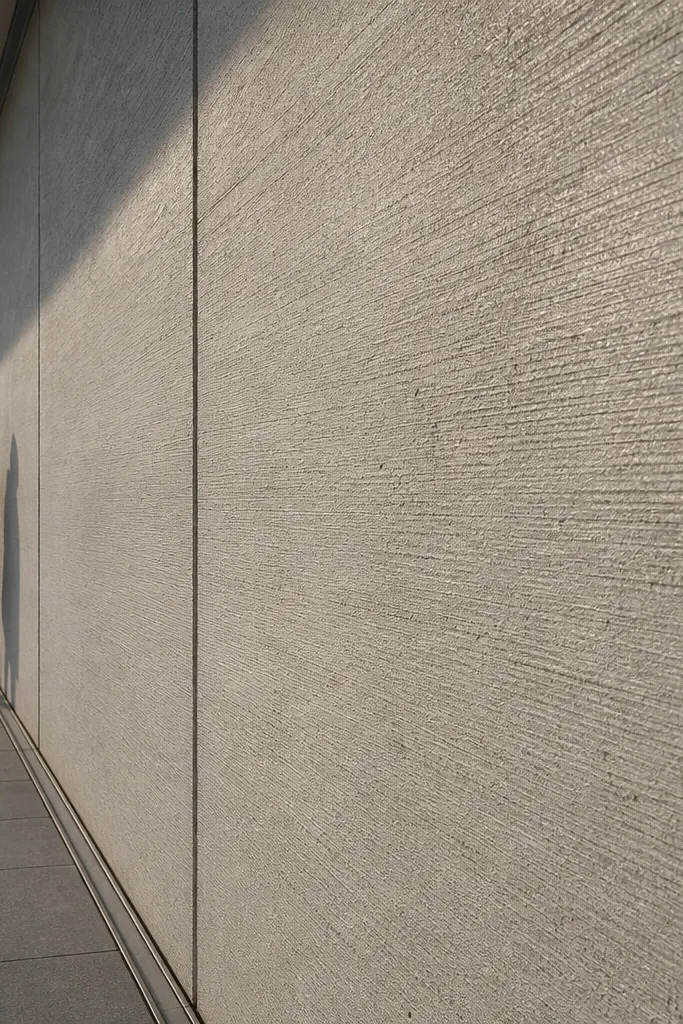
If you want the clean industrial look, plan a uniform texture and pigment so the wall doesn’t look patchy. Pigmented concrete with a controlled broom texture gives consistent grip and hides minor micro-cracks better than glossy finishes. This style also photographs well because the texture creates even highlights across the surface, especially when the sun hits from the side. It’s a good fit when you want a low-fuss exterior that still looks intentional.
Pick a single pigment shade and add it to the mix consistently, then keep batching strict for every bay. Prepare the formwork so panel faces are smooth; rough formwork makes texture inconsistent. After placing and leveling each panel, apply the broom texture in one direction for the full bay width, then maintain the same timing across bays so the surface doesn’t cure in streaks.
Editor's noteUse the same broom pressure every time; light pressure makes texture too shallow, and heavy pressure creates deep lines that trap dirt.
Skip thisAvoid mixing leftover batches mid-panel; color banding shows up immediately under daylight.
6. Tile mosaic band along the top line with matching coping
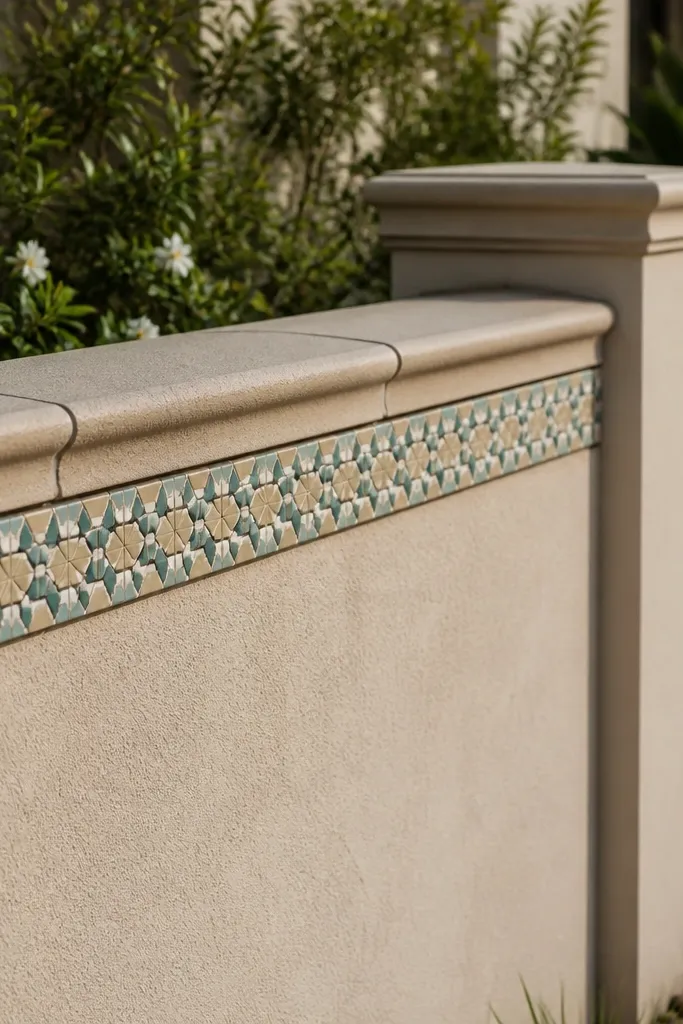
A thin tile mosaic band gives the wall a signature look without covering the whole surface. The beauty is in the planning: the band height stays constant, the tile pattern repeats cleanly across bays, and the coping ties the line together. It also solves a real problem — water splash — because tiles resist staining and the coping directs runoff. This is ideal for long boundaries where you want the wall to look finished even from a distance.
Pick a tile band height, usually 40-70 mm, and set the band line using a laser so it stays level over corners. Plan the coping thickness and ensure the tile doesn’t sit above the coping line where it can trap water. After the main wall cures, apply tile adhesive, set tiles with spacers, and grout only after the adhesive sets; then seal the grout and finish with the coping cap.
Editor's noteDry-lay the mosaic pattern on the floor and measure how many tiles fit per bay so you can avoid awkward half tiles at the ends.
Skip thisSkip the grout sealer and you’ll get darkening around tile edges after the first rainy stretch.



