
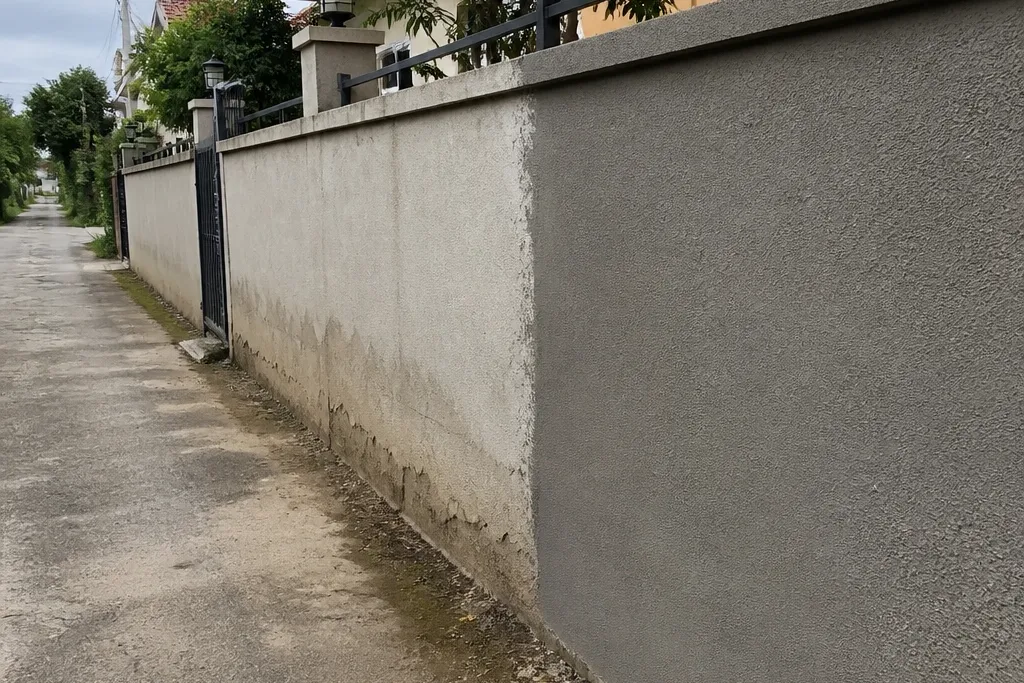

1. Straightening a bowed panel with a continuous footing
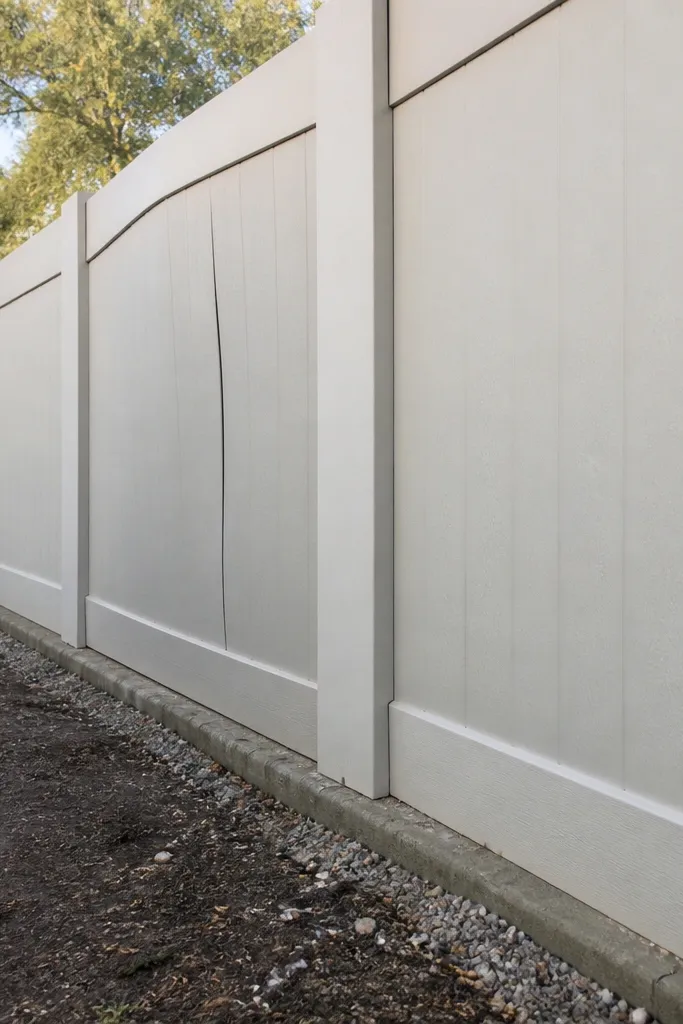
A bowed compound wall usually means the base isn’t continuous or it settled unevenly. In the before stage, you’ll see a gentle curve between columns and cracks that open slightly at one side. The after result comes from rebuilding the footing so the wall has one uniform support line and the load transfers evenly. This isn’t flashy, but it’s the reason the plaster stops cracking and the top coping stops popping loose. It suits DIY builders who can do careful excavation and rebar placement, and it takes longer than “just plaster,” usually 2-4 full days depending on length.
Start by marking panel lines and removing the old soil to a consistent depth along the full wall length, not just under the columns. Lay a base of compacted sand/gravel if your soil is soft, then place rebar for the footing in a continuous strip with proper overlap at joints. Pour the footing in one run per side so it cures together, using a straight guide string to keep the top of footing level. After curing, rebuild the lower masonry with clean mortar joints, then install columns where your design calls for them. Finish with a keyed plaster base in 2 coats, letting the first coat cure before the second.
Use a laser level or a tight string line for the footing top — tiny height differences show up as bowing after plaster.
Don’t dig only under columns and leave gaps under the panels — that’s how bowing starts.
2. Fixing hairline diagonal cracks by moving rebar to the right cover
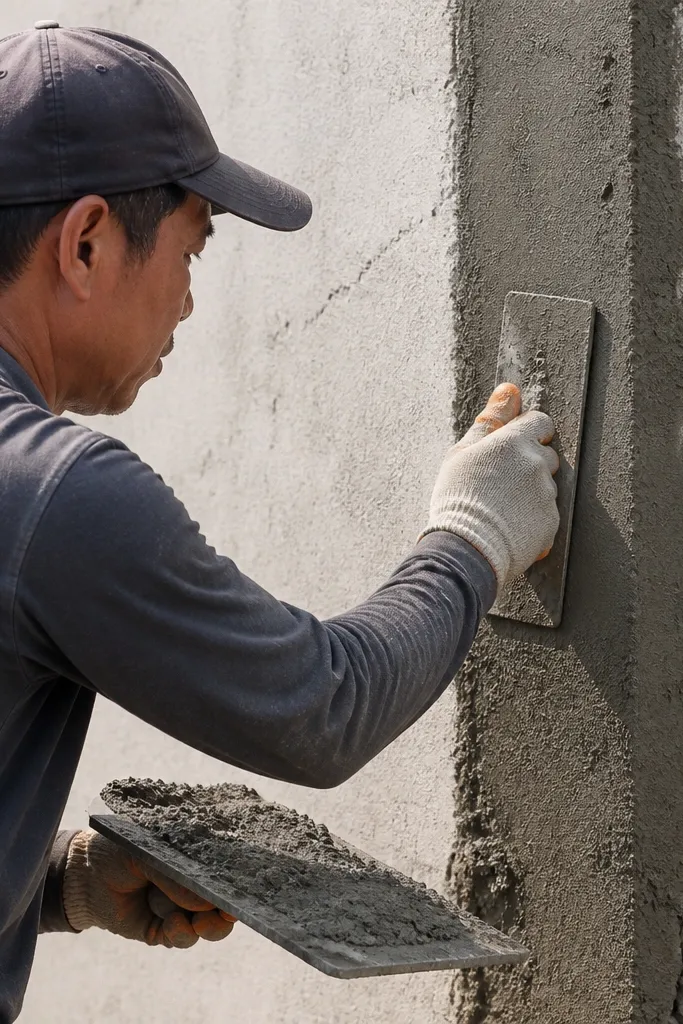
Diagonal hairline cracks usually show up when rebar placement is off — either too far from the surface or too sparse in the right zones. In the before photos, cracks often start near the corners of panels and creep toward the middle, which means the wall is handling tension poorly. The after build uses consistent cover so the steel resists cracking and corrosion long-term. You get a cleaner plaster finish because the wall movement is reduced, not because plaster is thicker. This is a mid-skill repair because it involves opening sections and rebuilding, but the improvement in after photos is obvious.
Start by removing loose plaster and cutting out cracked masonry down to stable material so you can see the existing structure. Tie new vertical bars and horizontal bands at your column/panel rhythm, keeping spacing consistent across the wall. Place a spacer or mortar blocks to hold rebar at the correct cover so it isn’t resting against bricks. Then repoint the masonry with a mortar mix that matches your existing wall and rebuild the panel. Finish with a bonding coat and a scratch coat before applying the final plaster coat.
Check cover with a simple rule — if your plaster is 12mm thick, keep steel at the correct distance so it isn’t exposed to surface moisture.
Don’t rely on “more cement” in mortar to stop cracks — rebar cover and spacing control the crack behavior.
3. Top coping that doesn't crack: slope + tie-in
Top coping failures are easy to spot in before photos: the cap cracks along a line, water runs down the face, and the edge chips off. The after fix is simple but specific — you build a coping with a slight slope and you tie it into the wall so it can’t lift. When water can’t sit on the top, you reduce freeze-thaw damage and reduce moisture migration into joints. The wall face stays cleaner because you’re not constantly washing dust and cement residue down the plaster. This is a DIY-friendly upgrade, usually 1-2 days for a section plus curing time.
Start by cleaning the top of the wall and removing any loose mortar so the coping sits fully. Lay a thin bonding mortar on top, then place the coping formwork with a slight fall — keep it consistent from one end to the other. Install small dowels or tie wires from the coping zone into the masonry where you can, then pour or place the coping mix. Let it cure, then seal the top edge with a cementitious waterproof coating if your weather is heavy rain. Finally, patch and re-plaster the top band so the finish line is uniform.
Editor's noteMake the drip edge crisp — round it slightly with a trowel so water sheets off instead of soaking into the plaster edge.
Skip thisDon’t make the coping flat — flat tops trap water and crack faster.
4. Plaster that actually sticks: bonding coat and scratch texture
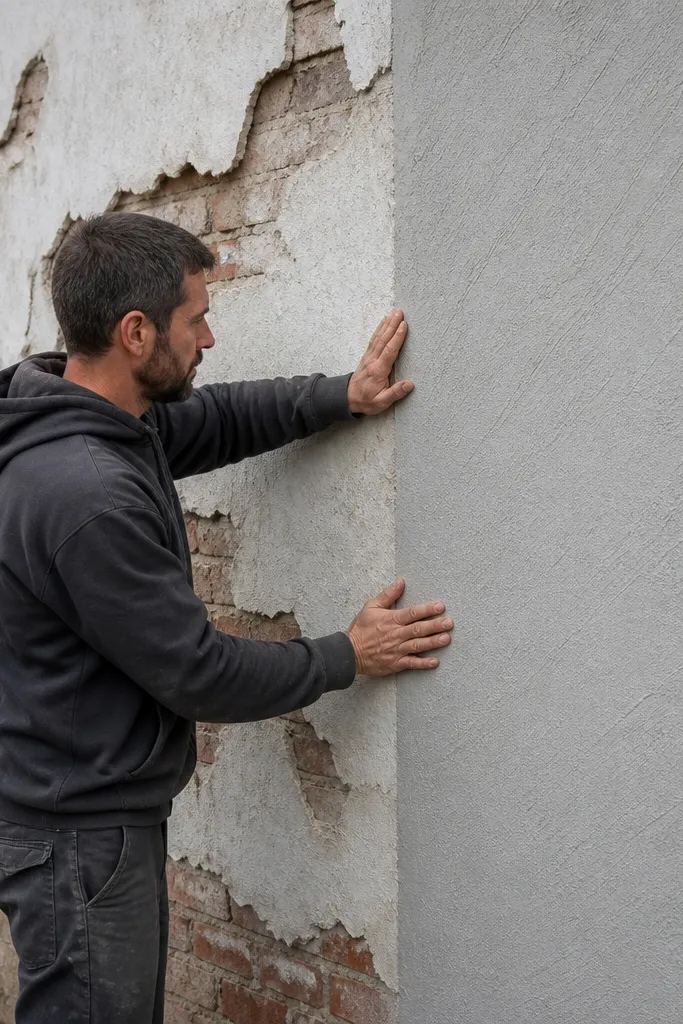
Peeling plaster looks bad in both before and after photos because it usually starts as a thin sheet and then lifts in patches. The cause is usually surface prep: dust, smooth brick faces, or plaster applied too thick in one go. The after result comes from a bonding coat and a scratch coat that gives the final plaster something to grab. You also get fewer hairline surface cracks because the base coat cures evenly. This is a beginner-friendly job if you respect cure times, and it’s one of the fastest ways to improve the look of an existing wall.
Start by pressure-washing or thoroughly brushing off dust and removing any chalky paint or loose mortar. Wet the wall surface until it’s uniformly damp, not dripping, then apply a bonding coat made from cement and sand (thin, consistent coverage). While it’s still workable, scratch the coat with a comb tool or a wire brush to create grooves. After it cures, apply the first plaster coat to your thickness target, then let it cure before applying the final coat. Finish with a straightedge and a trowel so the surface stays even.
Don’t plaster in direct sun — shade the wall for the first cure so the surface doesn’t dry too fast.
Don’t plaster over dry, dusty masonry — that’s the fastest route to peeling.
5. Uniform panel joints: stop mortar gaps from telegraphing
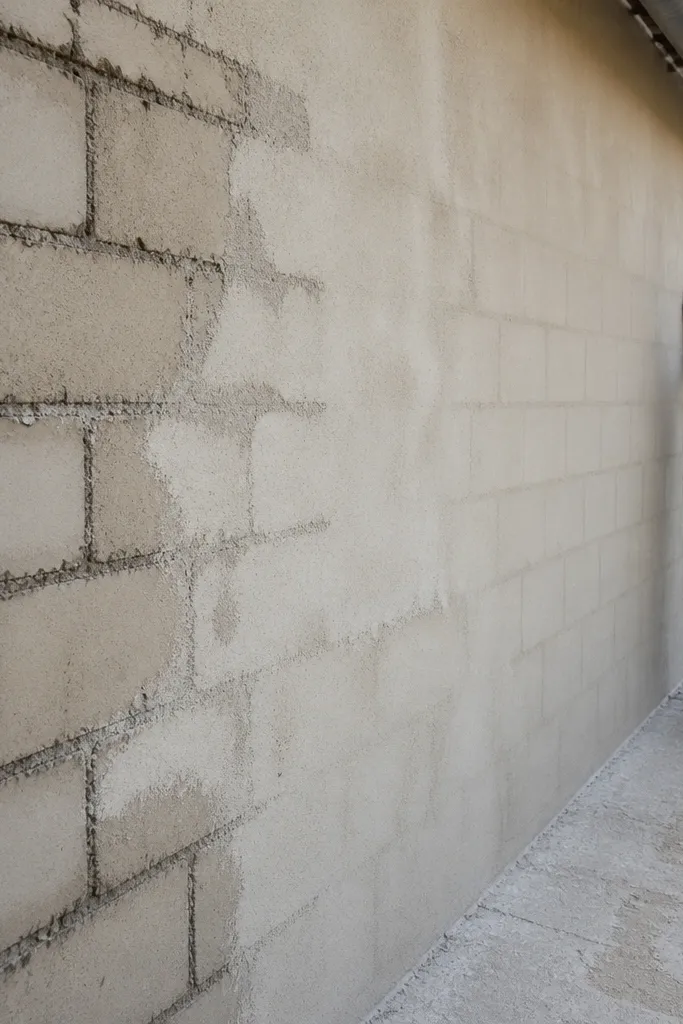
When mortar joints are uneven, the plaster finish looks blotchy. In before photos, you’ll see dark lines and small voids that show through after coating, even when the paint color matches. The after fix is about tight masonry work: consistent joint thickness and no voids at edges. This makes plaster application easier because the wall becomes a regular surface, not a map of gaps. It’s also a durability upgrade since moisture has fewer places to enter. This is best for new builds, but it can be used for small sections of repair.
Start by cleaning brick faces and keeping your mortar mix consistent in thickness — aim for a spreadable paste, not watery mortar. Lay bricks with a single joint thickness target and use a jointing tool to compress mortar into edges. Check alignment with a string line every few courses so you don’t build a wave. Before plaster, scrape out any loose mortar crumbs and fill small voids with the same mortar. Apply bonding coat and plaster after the masonry cures enough to avoid shrink cracking.
Mix in smaller batches and keep the same water ratio — inconsistent mortar is what makes joints look “wavy.”
Don’t leave voids at vertical edges — plaster will bridge them and then crack along the gap.
6. Drainage trench + weep path at the base
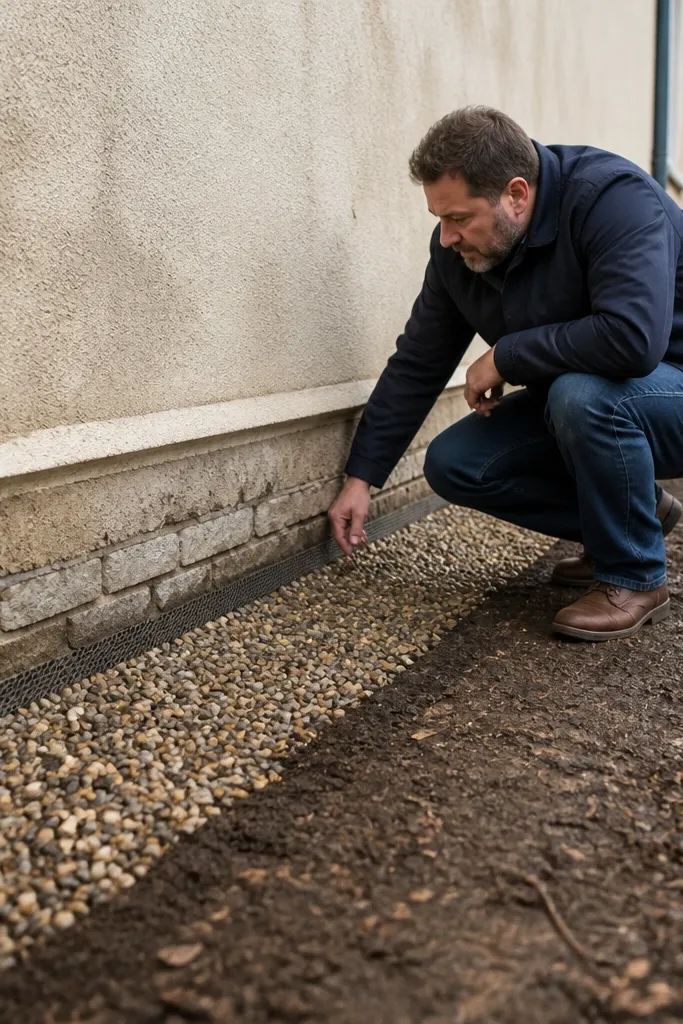
A wall that cracks after rain usually has water pressure building at the base. Before photos show a clean face above, then widening cracks or damp staining near the footing line. The after fix is to give water a path out: a drainage trench with gravel and a controlled weep zone so soil pressure drops. This directly reduces movement and helps plaster stay cleaner longer. It’s not the most glamorous change, but it’s the one that keeps “after” looking good through wet seasons. This suits DIY builders who can dig and compact gravel safely along the wall line.
Start by digging a shallow trench along the wall base on the water side, staying outside the footing footprint. Fill it with clean gravel and compact it in layers so it doesn’t settle later. If you can, place a geotextile strip under the gravel to reduce fine soil migration. Build a simple weep gap strategy at intervals so trapped water can escape without washing soil onto the wall face. After drainage is set, rebuild the base plaster band with a cement-sand mix that’s not too fine.
Editor's noteKeep gravel clean — muddy backfill turns your drainage trench into a slow sponge.
Skip thisDon’t bury the wall face without drainage — the soil stays wet and pushes the wall over time.
7. Rebuilding corner columns first to prevent panel twist
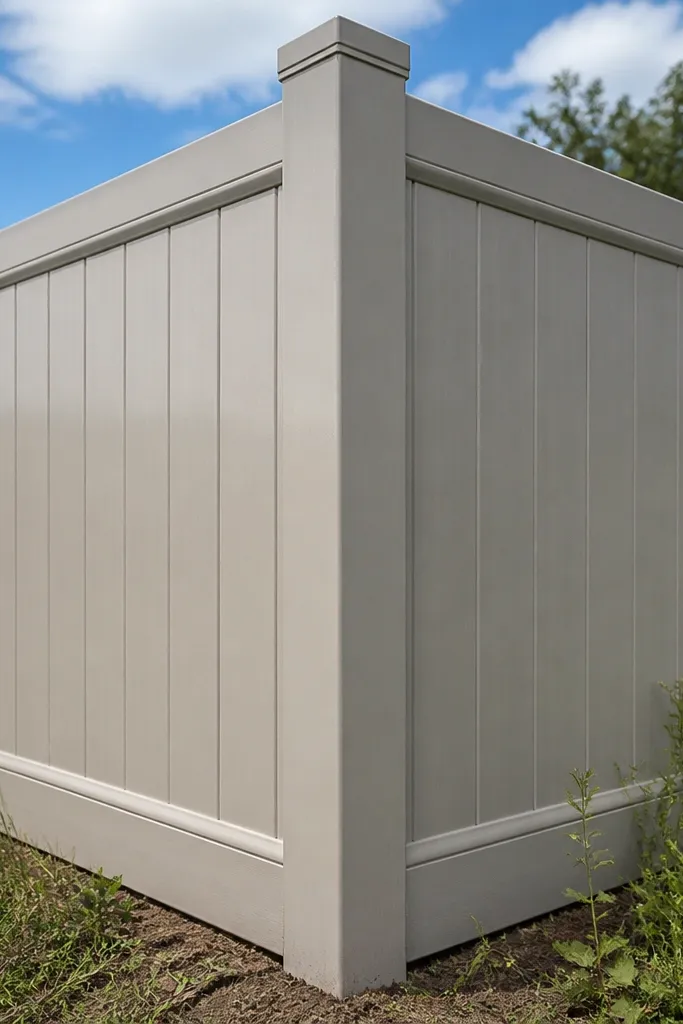
Panel twist usually starts at corners. In before photos, you see one corner slightly out of square, and the top line ends up looking like a shallow parallelogram. The after result comes from building corner columns first and using them as the reference for every panel. When corners are straight and plumb, the rest of the wall behaves during plaster. This makes the final surface look clean and consistent, not like it’s been “pulled” into place with thicker plaster. It’s a practical DIY approach for new builds and major repairs.
Start by marking true corner points and checking diagonals so the rectangle is square. Pour or build corner columns with vertical alignment — use a plumb line or laser to keep them straight. Tie a string line from one corner column to the other at footing top and again at wall height so you can check warping as you build. Then build panel masonry between columns with consistent coursing. Finish with plaster only after the masonry cures and corners are stable.
Editor's noteMeasure diagonals again after the first few courses — square can drift when mortar is wet and bricks are adjusted.
Skip thisDon’t start with random panel sections and hope corners “correct later” — they usually don’t.
8. Bonded brick skin with proper base key
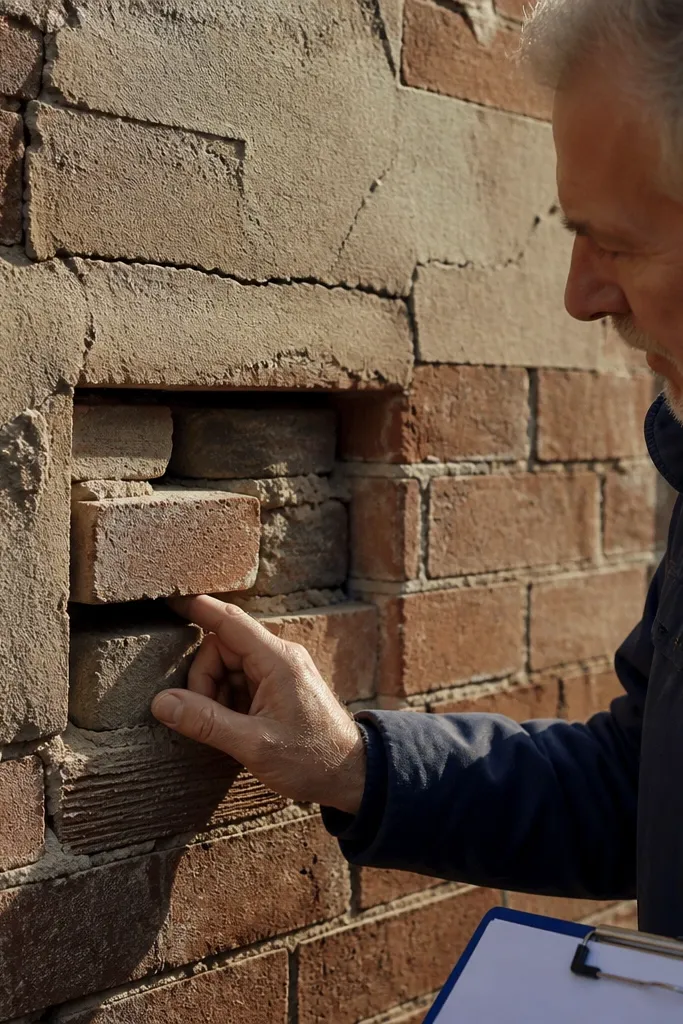
Some compound walls crack because the face layer isn’t bonded to the backing. Before photos show surface cracks that run straight across, and sometimes the face looks like it could be pried off. The after build uses a base key — mortar and brick placement that mechanically bonds layers so the wall behaves as one. You get fewer surface failures because the wall handles stress as a unit. This is a good DIY project when you’re building a single-face brick wall or adding a brick facing to a concrete structure. Time is moderate because it demands careful masonry discipline.
Start by building a solid backing layer or checking the existing base is stable and not crumbly. Lay the face brick with consistent mortar thickness and stagger joints so vertical seams don’t line up. Create a base key by scraping mortar joints and ensuring the face has contact points at the start of each course. Use wall ties where the design calls for them, spacing them consistently along the height. After cure, apply bonding coat and plaster in two coats so the final finish stays even.
Editor's noteKeep face brick alignment tight — uneven brick lines create plaster waves that look worse after paint.
Skip thisDon’t use a face layer that’s only “butted” to backing — it will separate under moisture.
9. Cement paint failure turned into a cement-sand finish
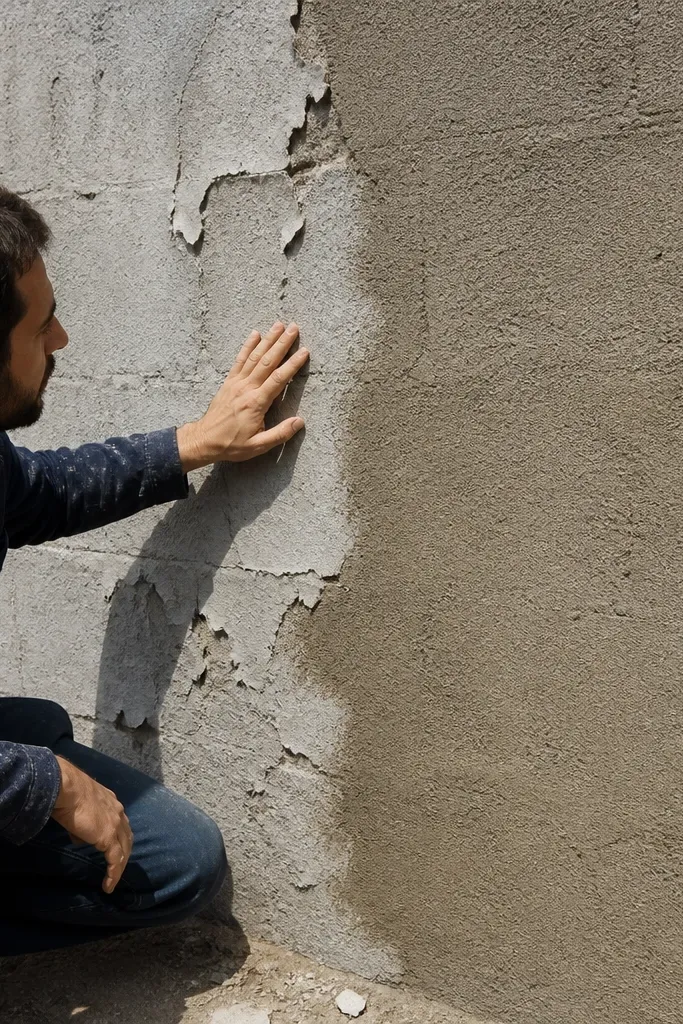
Cement paint that flakes is usually the symptom, not the cause. Before photos show chalky patches and peeling edges around joints, especially after rain. The after result is a cement-sand plaster system with correct curing so the surface becomes stable before any coating. You also avoid thick paint layers that trap moisture. This is a practical fix for older walls and one of the most common “before and after” improvements readers want. It takes a couple days plus drying time, but the surface quality difference is real.
Start by removing loose paint and scrubbing chalky residue until the wall feels gritty, not smooth. Repair cracks and voids with cement-sand mortar and let patches cure. Apply a bonding coat, then scratch it lightly so the final plaster bonds. Use two plaster coats to reach your thickness target, with the first coat curing fully before the final coat. After curing, apply a breathable coating system, not a thick cement paint layer.
Test a small area: if water beads on the surface, it’s still coated or contaminated — clean deeper before plaster.
Don’t plaster over flaking paint — the new layer will fail at the same weak spot.
10. Fixing uneven top edge with a straight formwork method
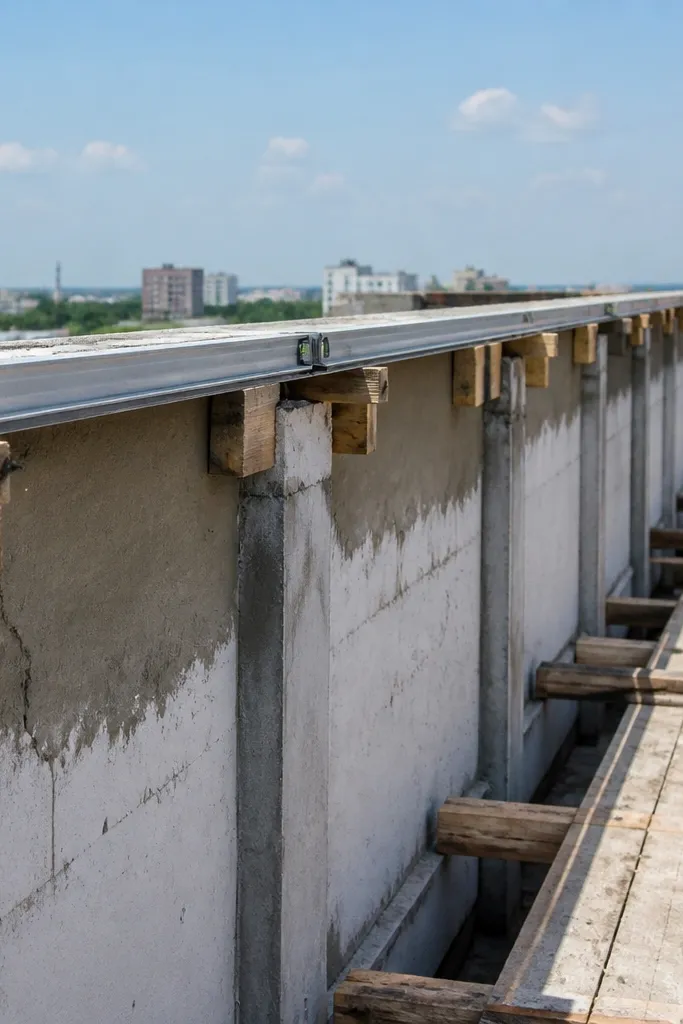
A wavy top edge is the kind of mistake that makes the whole wall look cheap, even if the structure is fine. In before photos, the coping line dips between columns and the plaster top band looks patchy. The after fix is to use formwork and guides so the coping and top band are straight by measurement, not by eyeballing. It also helps avoid gaps where water gets in. This is a DIY-friendly improvement for new builds and for rebuilding only the top strip. It usually takes 1-2 days for setup and placement.
Start by setting a straight reference line using string or laser across the two ends and locking it to corner points. Build side guide forms on the top so your coping thickness and height are consistent over each panel. Mix coping concrete to a workable consistency and place it with vibration or careful tamping so there are no voids under the edge. Finish the top with a slope and smooth the face with a straight trowel along your guides. After curing, patch any minor surface defects and apply a thin finish coat where needed.
Use removable guide strips — they keep the line straight and let you correct height quickly before the mix sets.
Don’t fill coping with random thickness patches — it creates weak spots and uneven shrinkage.
11. Replacing weak mortar with the right cement-sand mix for masonry
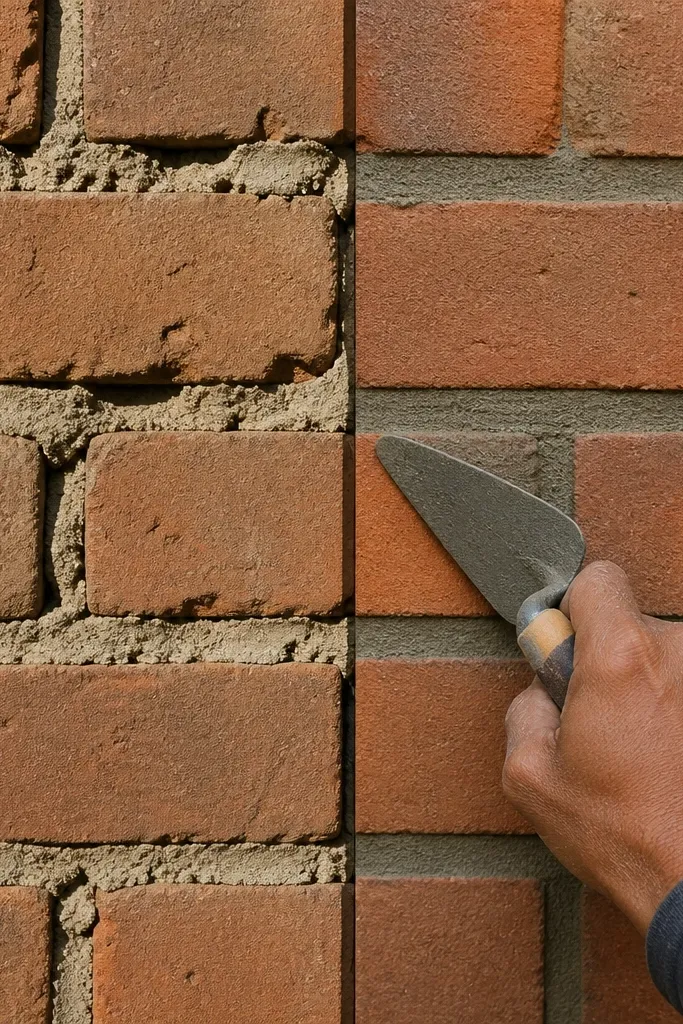
Weak mortar shows up as crumbling joints and plaster that cracks along the brick lines. Before photos often have mortar that looks sandy and light, and you can sometimes pull it out with a finger. The after build is stronger because the mortar mix is correct and it cures properly. You also get better plaster adhesion since the masonry surface is stable. This is a practical DIY fix when you’re repairing a section or rebuilding a small stretch where mortar quality was poor. Time depends on the length, but the learning curve is worth it.
Start by removing loose mortar from the affected joints down to stable brick, then clean out crumbs thoroughly. Mix cement and sand at a proportion that matches your wall system, keeping the sand clean and evenly graded. Add water slowly until the mortar is workable but not runny. Repoint joints in layers and compress mortar into the joint lines so there are no air pockets. Cure repaired sections by keeping them slightly damp for the first days, then proceed to bonding coat and plaster after stability returns.
Editor's noteIf sand is too fine, mortar shrinks and cracks — use sand that feels gritty, not powdery.
Skip thisDon’t use construction waste sand or salty sand — it weakens mortar and ruins after results.
12. Anti-moisture base plaster band on the first 2 feet
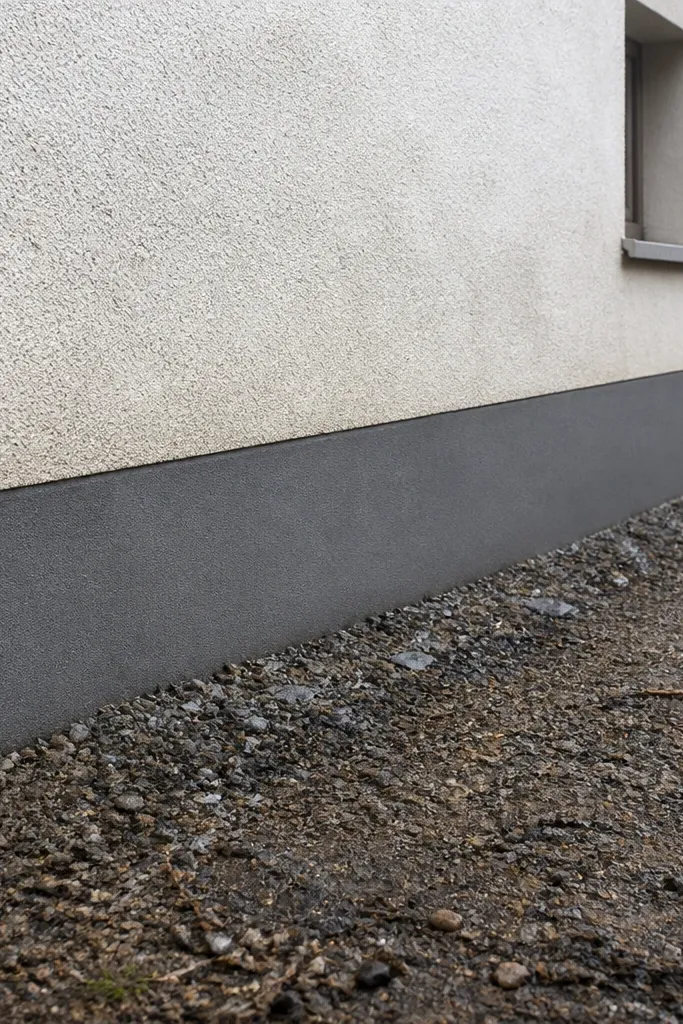
Moisture staining at the bottom is one of the fastest ways a wall looks “unfinished” even after you paint it. Before photos show dark tide marks within a year, usually because the base plaster absorbs water and keeps it against the masonry. The after fix is a base plaster band designed for moisture exposure, usually the first 600mm from the ground. It keeps the wall face cleaner and delays cracking at the bottom joints. This suits DIY builders who want a targeted upgrade without rebuilding everything. It’s also a good approach if you’re working on an existing wall.
Start by cleaning the wall base and removing any loose plaster or flaking coating down to sound material. Wet the surface slightly, then apply a cement-sand plaster band with a roughened key so it bonds well. Let the band cure, then apply a cementitious waterproofing coating over the band in a thin, even layer. Keep edges crisp where the band meets the upper plaster so you don’t create a visible step. After curing, apply normal plaster and finish coats above the band.
Editor's noteMeasure 600mm up from finished ground — consistency makes the after look intentional, not patchy.
Skip thisDon’t waterproof the whole wall with thick coatings if your goal is clean plaster — the base is where you need it most.
13. Using control joints to stop random cracking
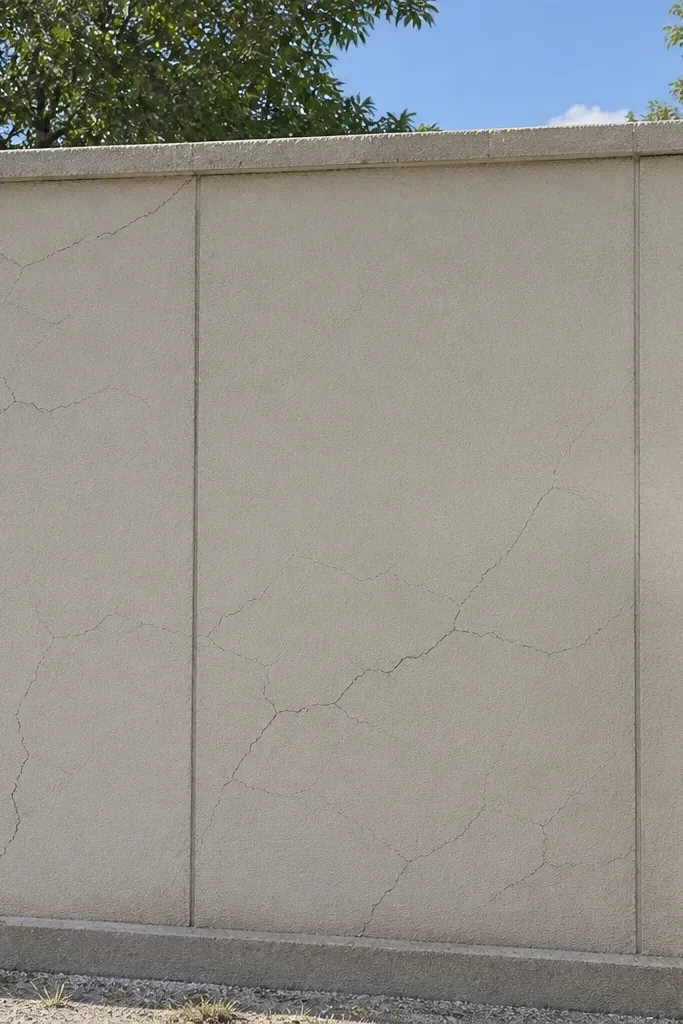
Random cracks look worse than controlled cracks. Before photos usually show multiple hairline cracks that start and stop without a pattern, often because the wall panel is too long without any planned movement lines. The after result comes from control joints placed at a spacing that matches your panel length and column rhythm. This gives the wall a place to crack safely, so plaster doesn’t break unpredictably. You also get a cleaner surface because joints guide the finish and reduce stress concentration. This is a DIY-friendly design fix when you’re building new or rebuilding major stretches.
Start by planning your panel lengths and marking where control joints will go between columns. Cut or form narrow joints in the masonry and keep them consistent in width and depth. Reinforce around the joint with appropriate detailing so it doesn’t become a weak spot — follow your wall system’s spacing logic. After masonry cures, apply plaster with the joint lines maintained, not filled solid. Seal control joints with a compatible sealant after finishing so water doesn’t enter through the joint.
Editor's noteKeep control joints aligned vertically with your mortar lines — crooked joints look sloppy even when they work.
Skip thisDon’t rely on plaster to “hold cracks together” — it will crack around the weak line anyway.
14. Repairing spalled corners with dowels and proper patching
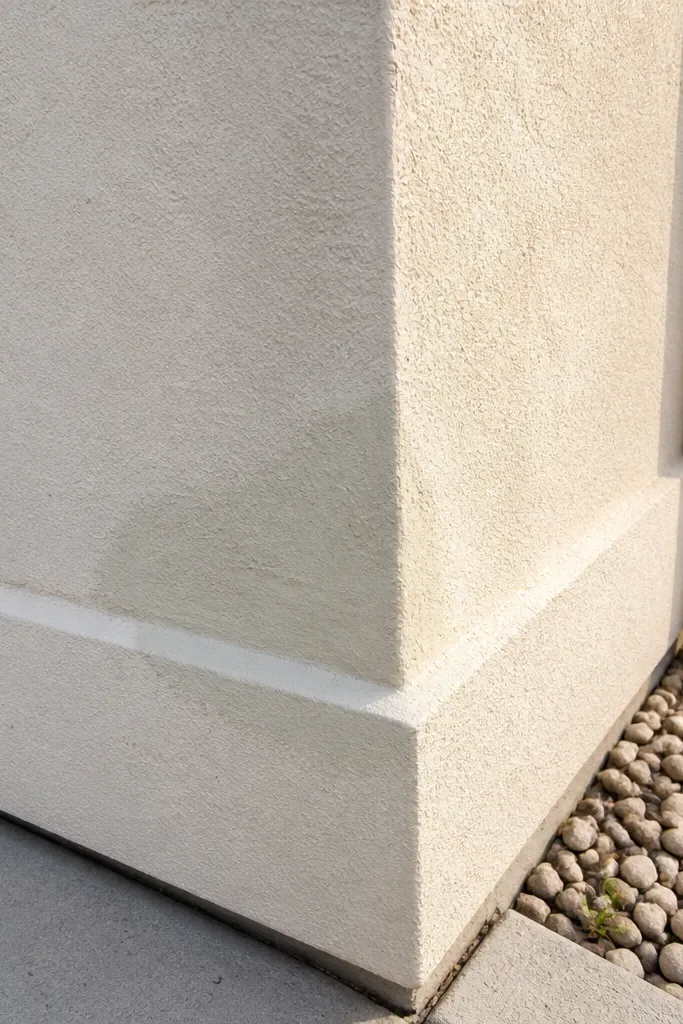
Spalled corners look like a small issue until water gets into the masonry and expands it. In before photos, you see chipped plaster and missing corner chunks, often repeating after rain. The after fix is to tie the repair into stable material with dowels or anchors, then rebuild with the right patch mortar. This prevents the patch from popping off and keeps the corner crisp. It’s a targeted repair that improves the wall’s overall look fast, even if the rest is fine. This is intermediate DIY because you need to remove weak material cleanly.
Start by chiseling out all loose and hollow material at the corner until you reach sound brick/mortar. Drill holes into stable sides and insert dowels/anchors so the patch has mechanical grip. Wet the drilled area and apply a bonding coat before placing repair mortar. Build the patch in layers, keeping the corner line straight with a right-angle guide or straightedge. After curing, apply bonding coat and final plaster over the repair so the surface blends in.
Use a straightedge along the corner before the patch sets — corner geometry is what people notice immediately.
Don’t patch over loose edges — it will fail at the boundary and look worse after paint.
15. Replacing the whole panel section using the correct build order
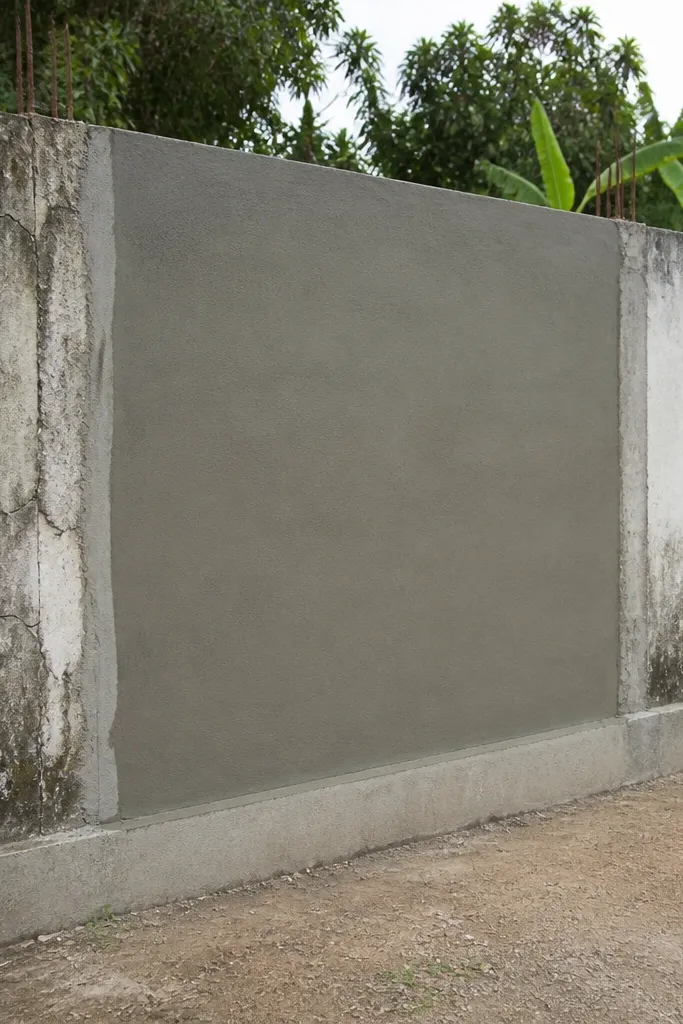
Sometimes the “after” photos are only possible because the builder replaced the failing panel, not because they tried to hide it. Before photos show a cluster of issues — cracks, uneven plaster, and water staining — all tied to one panel’s structural weakness. The after result comes from removing the damaged section fully, then rebuilding in a strict order: footing base check, masonry rebuild, curing, then plaster. This is the most effective approach when repairs keep failing in the same spot. It’s also the most time-intensive, but it gives you the cleanest compound wall before and after contrast.
Start by cutting out the damaged panel area down to stable masonry and checking the footing line for voids or settlement. Rebuild the masonry section with consistent bond and mortar thickness, then install any required reinforcement at the column/panel edges. Cure the masonry before plaster — rushing this step causes shrink cracks and uneven finish. Apply bonding coat, scratch coat, then two plaster coats so the surface is uniform. Finally, match the top band and coping details so the rebuilt section doesn’t create a water trap.
Editor's noteKeep the panel height exactly consistent with neighboring sections — small height differences look like “waves” after plaster.
Skip thisDon’t patch the surface only — if the structure moved, surface-only repairs won’t hold.



