
1. Handrail height guessed from the floor
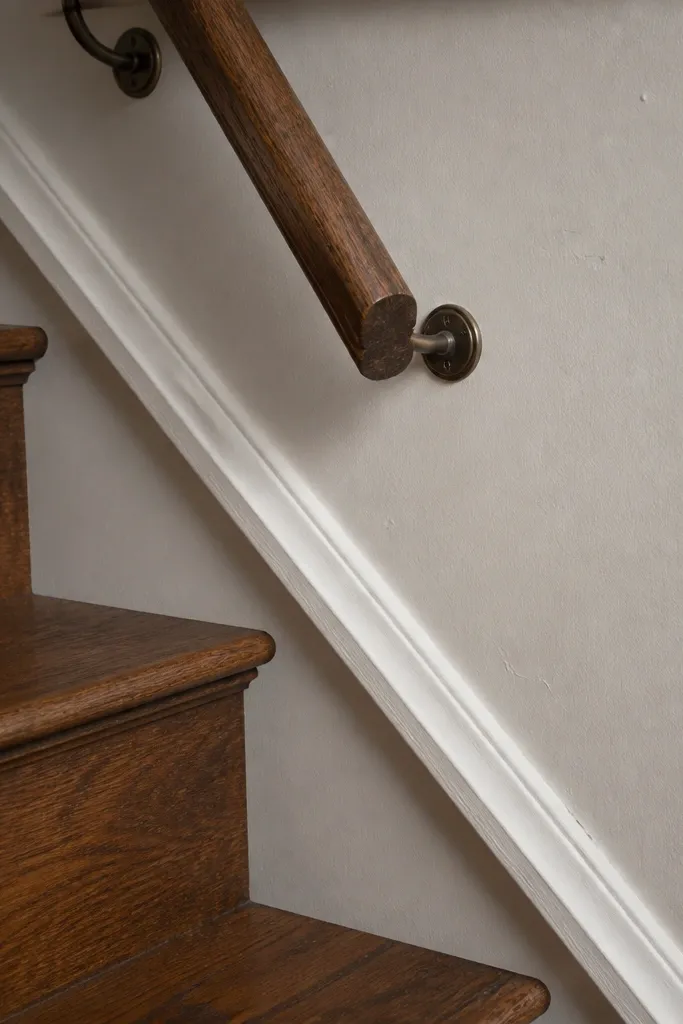
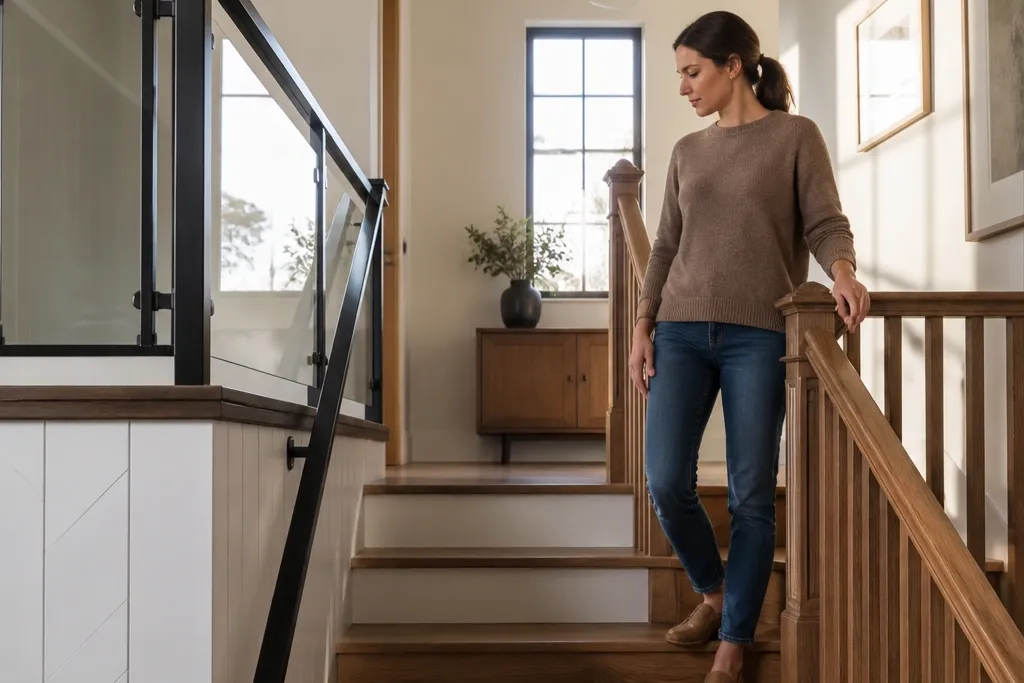
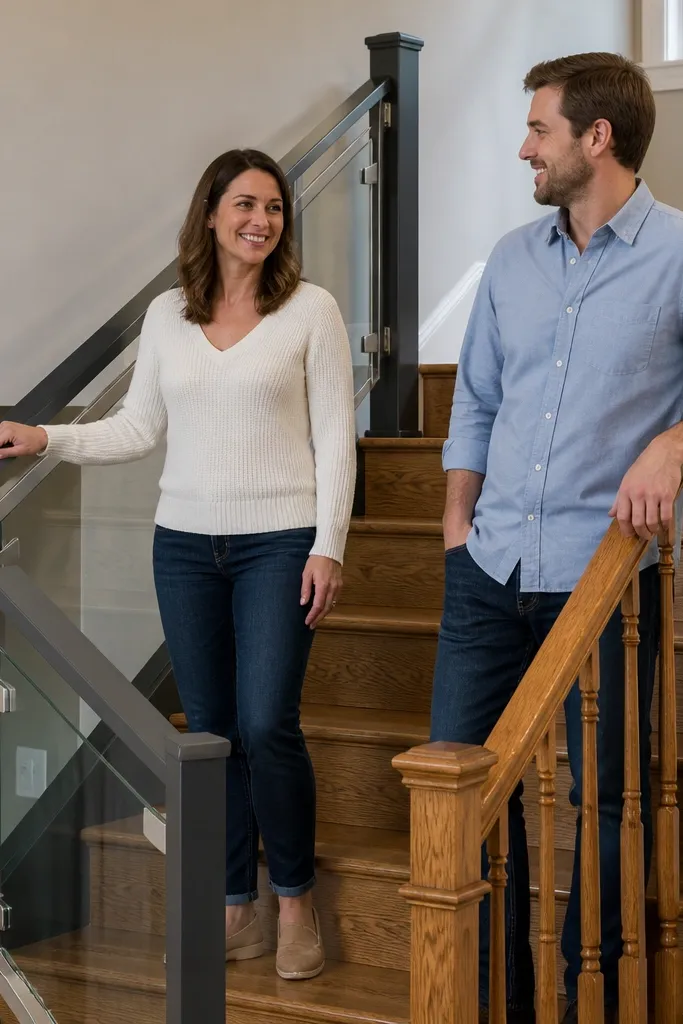
This is the mistake that ruins both modern and wood stair railing plans. When the handrail ends up too high or too low, the grip angle feels wrong and people grab the wall or miss the rail entirely. Wood railings hide small errors with comfort, but metal railings make the mismatch feel sharper. Fixing it after install means re-drilling posts and redoing returns, which is why you should set the height before buying balusters or glass panels.
First, measure from the stair nosing line to the target handrail top height along the walking path. Use a straight level or a story pole to transfer the height consistently along the run. Then dry-fit a temporary straight reference board at that height so you can confirm it lines up with how people actually step on your stairs. Only after you confirm the line do you cut your handrail and set post locations.
Make a cardboard template of your handrail cross-section and hold it at your marked height to check the grip comfort.
Don’t pick a railing style first and “figure out height later.”
2. Baluster spacing copied from the internet, not your opening
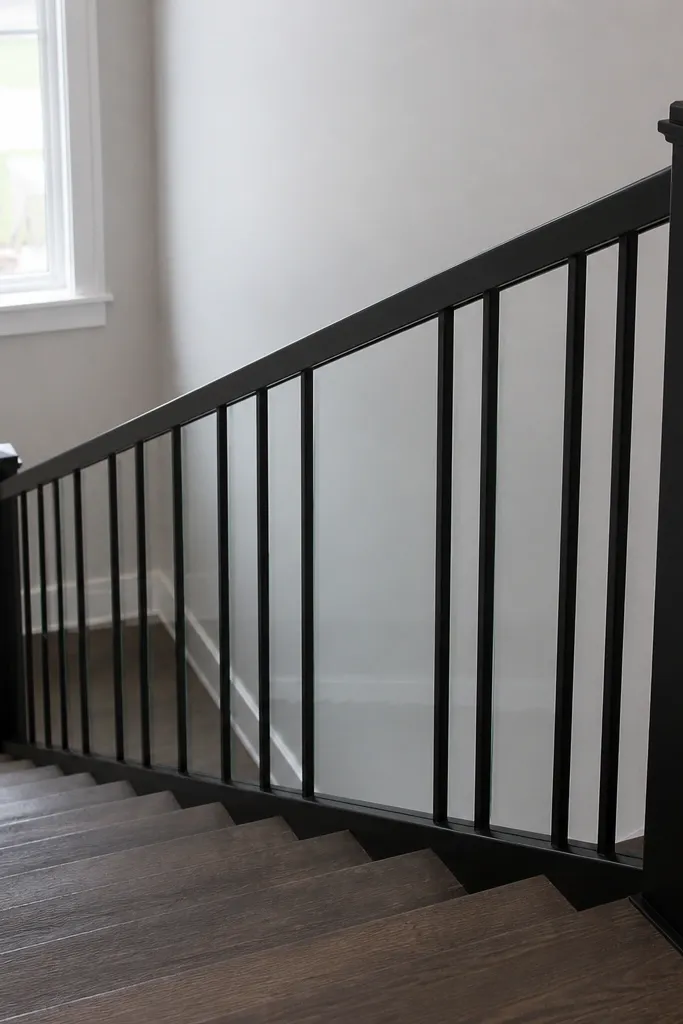
People copy spacing photos and end up with gaps that look off and feel unsafe. Modern systems with glass panels can mask the problem, but thin metal balusters make spacing obvious fast. Wood balusters show it too, especially when the stair angle changes between levels. The result is a railing that looks custom until you notice every third gap is slightly different because the layout didn’t account for the run length.
Editor's noteUse a layout board and write the math on it. If you can’t explain the calculation, the gaps will drift.
Start by measuring the clear span between your first and last posts at the stair angle, not straight across. Divide that span by the number of balusters you want, then adjust so the balusters land evenly without forcing odd partial-width gaps. Mark each baluster location on a straight template board, then transfer marks to the railing run. Finally, cut balusters to length after you confirm the layout on a mock panel or the first two positions.
3. Installing balusters before the handrail is truly aligned
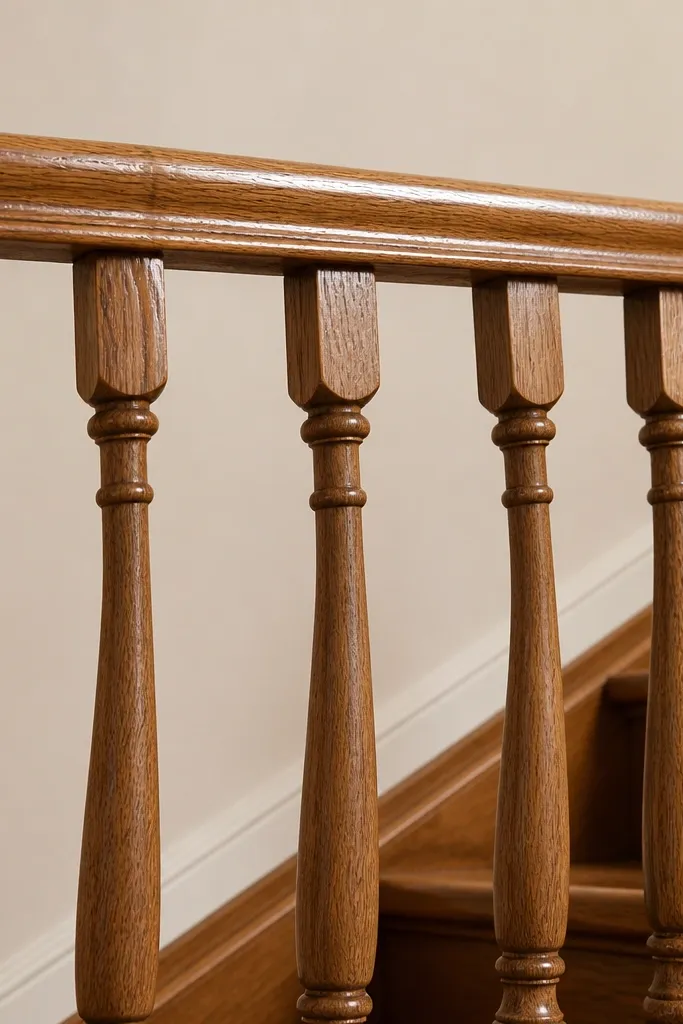
Balusters lock the visual rhythm, so installing them first makes alignment problems hard to fix. For wood railings, you often end up with balusters that sit slightly twisted, which looks “handmade” in a bad way. For modern systems, a misaligned handrail means the glass or metal top rail fights your joints. The build order should keep the handrail as your master line.
Editor's noteUse temporary screws or clamps to hold the handrail, then lock the final fasteners only after you confirm the top line.
First, install and secure the end posts and intermediate structural supports for the handrail. Then mount the handrail loosely so you can fine-tune its angle and level. Only after the handrail line is correct do you measure and install balusters from the handrail down to the base. Finish by checking each baluster for plumb and consistent spacing before tightening everything permanently.
Skip thisDon’t treat baluster placement as the starting point.
4. Using screws that don't match the base material
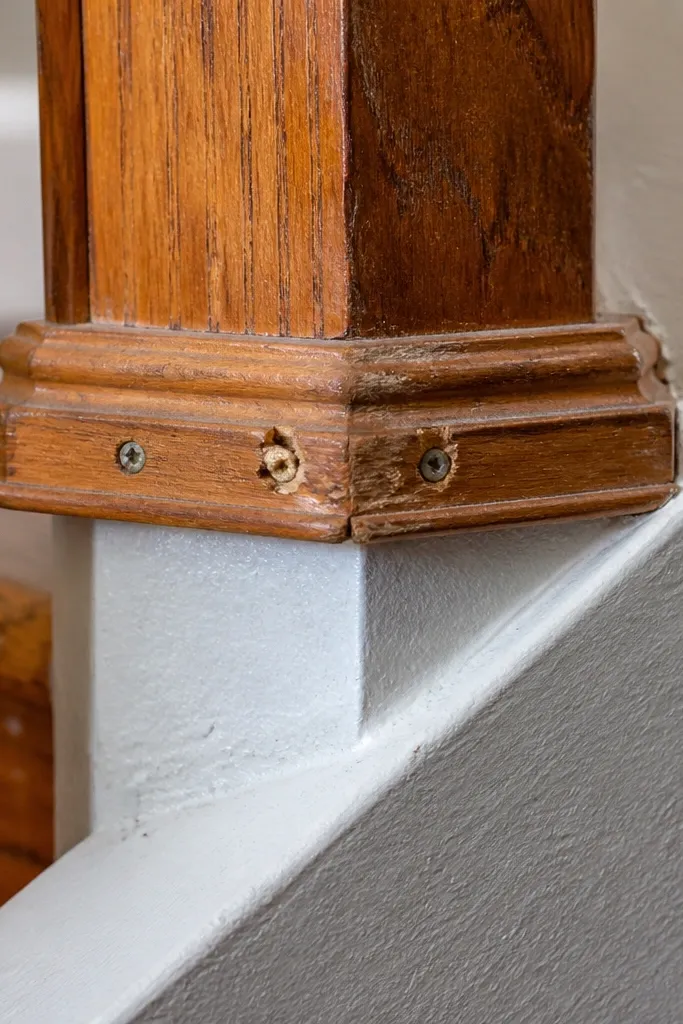
This one causes the “it loosened in a season” problem. Wood railings fail when screws bite only into trim instead of studs or blocking. Modern metal railings fail when the fasteners don’t have the right embedment depth in masonry or when they’re not rated for structural load. A railing can look tight on day one and still be unsafe if the screws aren’t anchored where the load goes.
Editor's noteIf you can wiggle the post by hand after mounting, you don’t have enough bite yet.
Start by identifying what the posts mount into: studs, blocking, concrete, or a steel frame. Then use the correct fastener type — structural screws into framing, expansion anchors into concrete, or through-bolts into steel. Check the embedment depth and keep it consistent across each post. Finally, pre-drill where required and tighten to firm contact, not “as tight as your drill can push.”
Skip thisDon’t mount posts to drywall, baseboards, or thin trim.
5. Painted wood handrails with a slick finish
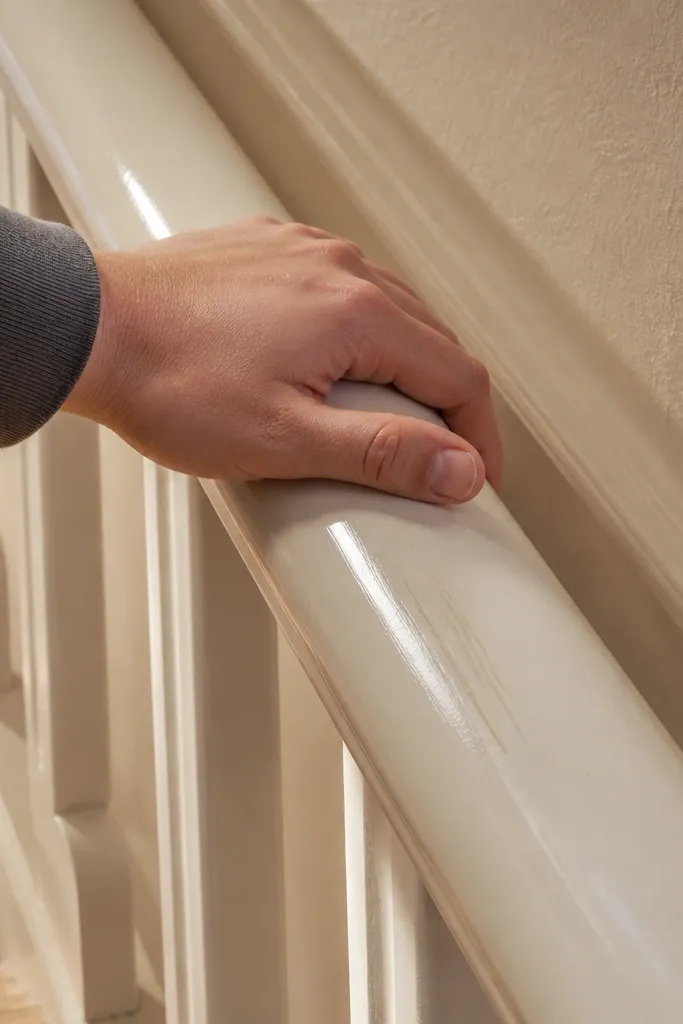
Wood looks great painted, but the finish matters because your hand is the real test. Glossy or even too-smooth satin can feel slippery when hands are dry or when someone carries laundry. Modern metal railings can be grippy by choosing a matte powder coat, but painted wood often gets too smooth. The fix is texture control — sand and choose a finish that stays grippy under daily use.
First, sand the handrail smooth but stop at a grip-friendly finish level, then wipe off dust completely. Then apply a finish made for high-touch surfaces, using thin coats and letting each coat cure before adding the next. After curing, test grip by running your palm across it with normal pressure — it should feel controlled, not slick. If it feels too smooth, scuff-sand lightly and recoat instead of living with it.
Pick satin over semi-gloss for handrails. Semi-gloss shows fingerprints and feels more slippery.
6. Powder coat sheen picked for looks, not grip
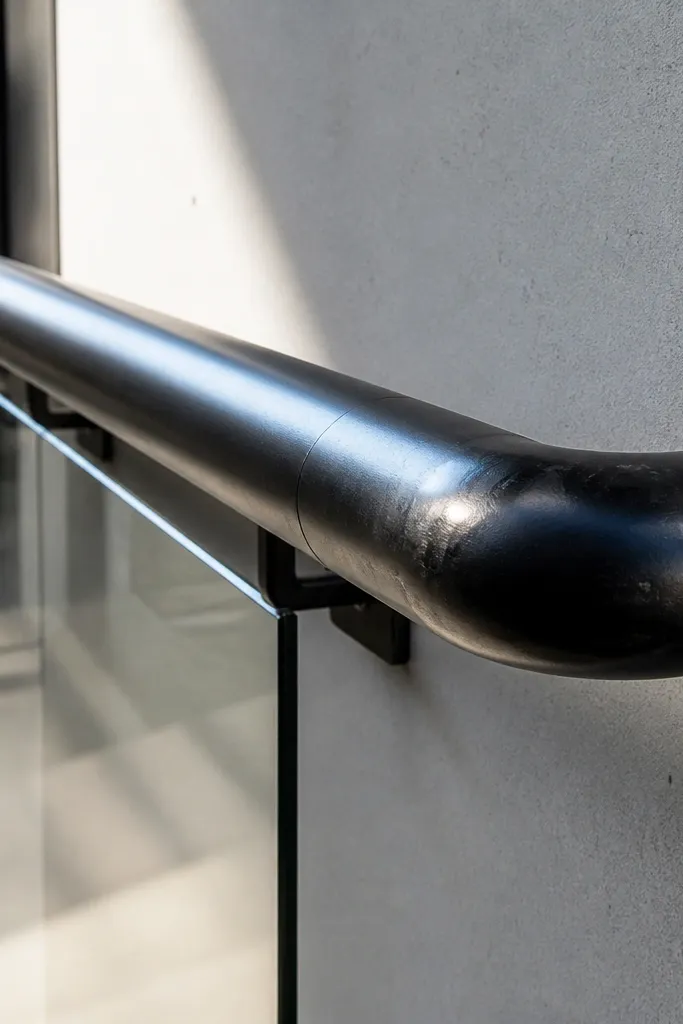
Modern railings often use powder coating, and the sheen changes how the rail feels in real life. High-gloss powder coat reads clean in photos, but it can feel slightly slick and it highlights hand marks. Matte finishes hide touch marks better and give more friction. Choose the right sheen so your “modern” look doesn’t turn into a daily annoyance.
Editor's noteAsk for the manufacturer’s finish code or sheen rating so you can compare samples.
First, decide what you want the surface to feel like: matte for grip, satin for a softer look. Then confirm the finish spec from the supplier, not just the color name. After installation, clean the rail with a non-greasy cleaner and check how it feels with a dry hand. If it feels too slick, you’ll have to re-finish, so don’t skip the tactile check.
7. Mixing wood and metal without expansion planning
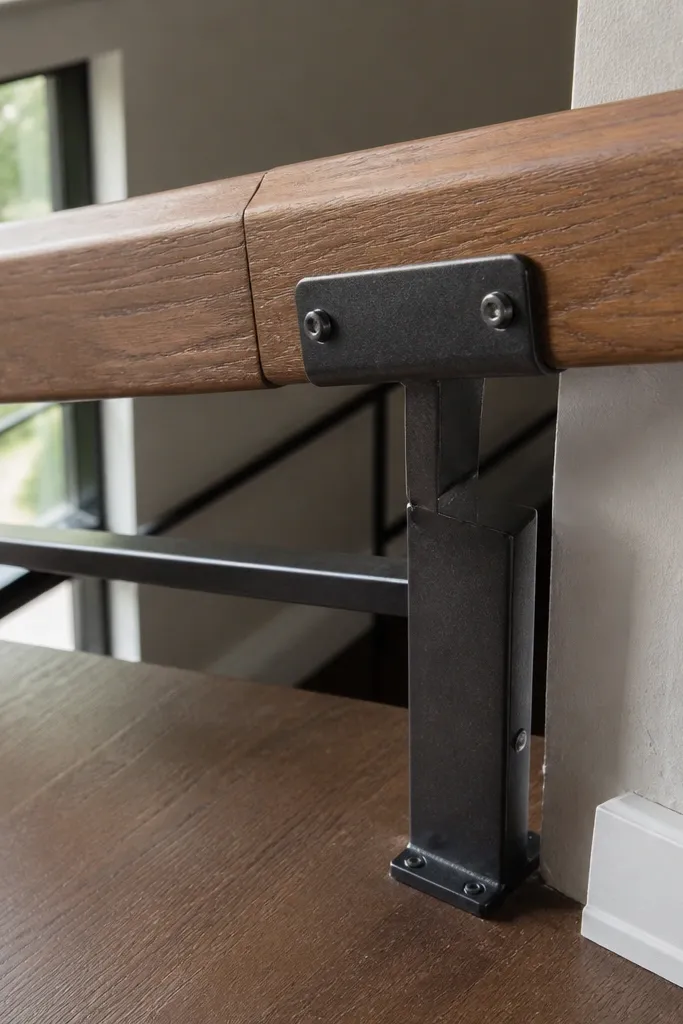
Wood moves with humidity. Metal doesn’t move the same way, so rigid fastening between the two can cause squeaks, cracks, or loosening over time. This mistake shows up in modern vs wood stair railing comparisons when people mix a metal bracket system with a wood handrail and tighten everything as if nothing can shift. The result is small stress lines that get worse after a few seasons.
Start by choosing a joint approach that allows wood movement, like slotted holes in brackets or a fastening method that doesn’t pinch the wood tight. Then install the wood handrail with appropriate clearance at bracket contact points. Use washers where needed and avoid over-tightening. Finally, check the joint after a week of normal indoor temperature — if you hear squeaks, loosen and re-set with proper clearance.
If the bracket hole is round, don’t force wood into it. Use slotted mounting hardware.
8. No intermediate blocking for long handrails
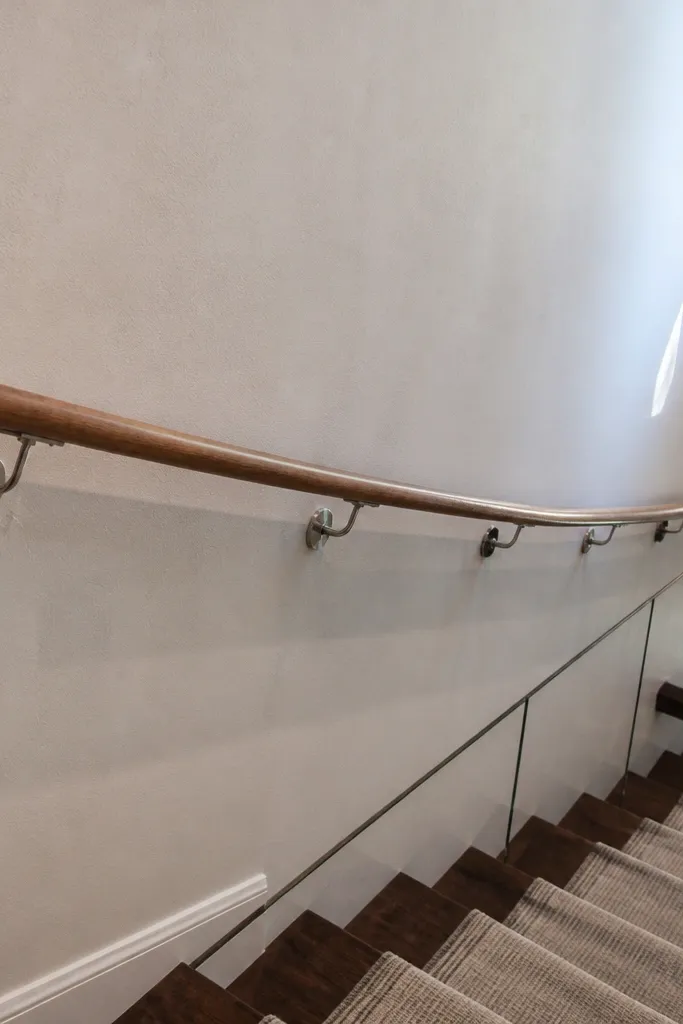
Long runs sag if you only secure end posts and a couple points in between. Wood railings often hide sag until it’s bad, while modern rails can show it through uneven glass spacing or slightly twisted metal top rails. If your stair wall is drywall over studs, you need blocking or additional structural attachment points where the handrail load goes. Otherwise the railing feels springy and people grip harder.
Editor's noteIf you can feel bounce when you press near the middle, you need more support before finishing.
First, locate studs along the stair wall and mark them clearly. Then install blocking or add structural attachment points at a spacing that matches your railing system’s load design. Dry-fit brackets to confirm alignment with the handrail line. Finally, fasten the handrail brackets into the structural points and test by pushing on the handrail — it should feel solid with minimal flex.
9. Railing base cap built like trim, not structure
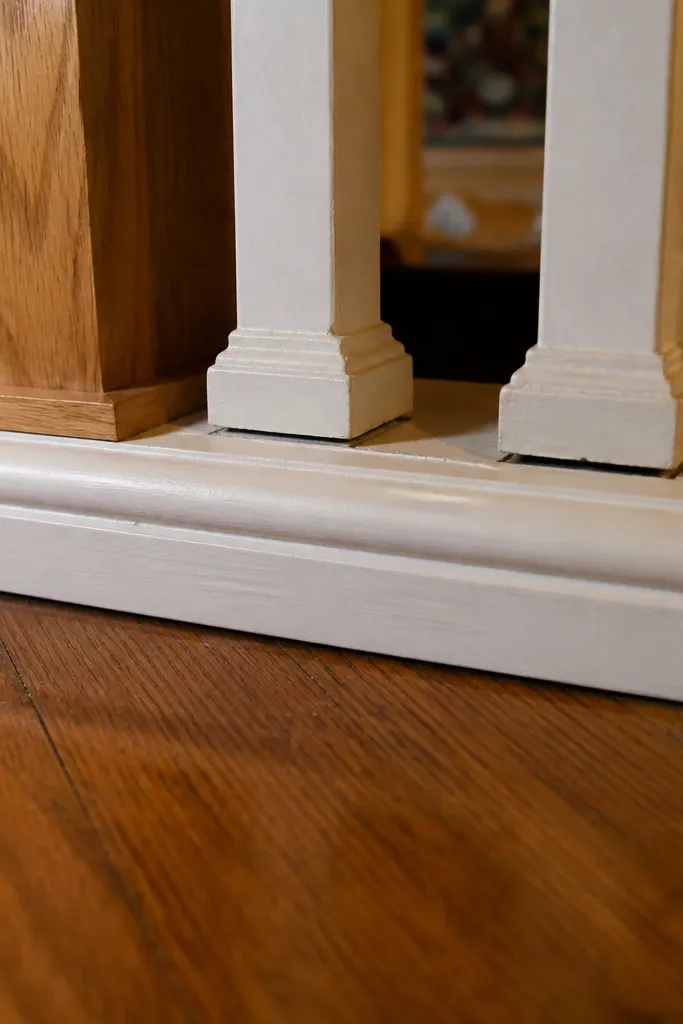
People want the bottom to look finished, so they build a decorative base cap. The problem is that decorative pieces don’t take load — the balusters and posts do. If you mount balusters into a thin cap without structural backing, the whole railing loosens at the bottom first. Fixing it later usually means pulling off the base trim and redoing the attachment points.
Start by identifying the actual structural support at the bottom: posts, stringer blocking, or a real mounting rail. Then attach baluster bottoms to that structural line using proper fasteners and alignment jigs. Build decorative covers only after the structural system is secure. Finally, sand and finish trim pieces separately so you don’t lock them in a way that traps movement.
Treat the base as a cover, not the load path.
10. Wrong handrail cross-section for fingers
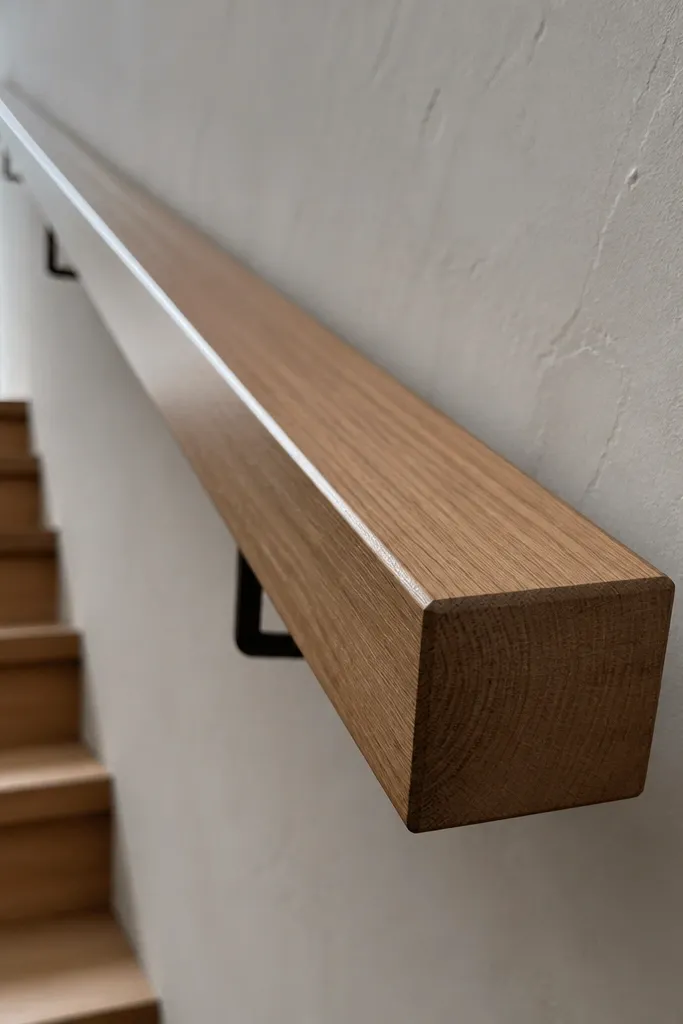
A handrail that looks good can still be uncomfortable or hard to grip. Wood handrails that are too square feel sharp on the palm; overly rounded metal can feel slippery if the sheen is high. Modern vs wood stair railing comparisons often skip this because photos focus on color and style, not hand fit. Comfort affects how people use the rail, and that matters for safety.
Editor's noteIf your rail is a flat-top wood profile, add a gentle roundover on the edges before finishing.
First, choose a handrail profile that fits a typical grasp: a comfortable diameter or rounded top you can wrap your fingers around. Then test the profile by holding the actual piece you plan to install at your marked handrail height and checking palm contact. If it feels like it presses into the base of your fingers, switch profile before installation. Finally, keep the handrail consistent along the whole run so people don’t adjust their grip mid-stair.
11. Returns and corners built with gaps that collect dirt
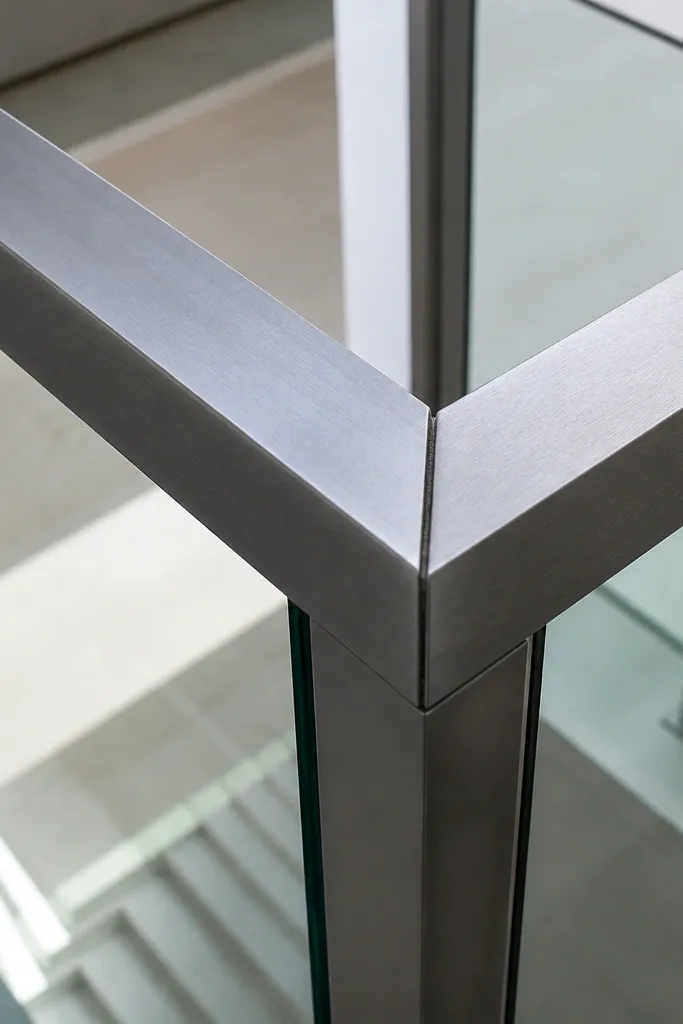
Corners show every join mistake. Gaps in returns trap dust and make the railing look unfinished even if the straight run is perfect. Wood returns often split at miters if the joint isn’t reinforced. Modern systems show the gap through the handrail and post alignment. Fixing it means re-cutting corners or redoing the joint hardware.
Start by dry-fitting the return pieces and checking seam alignment with a straightedge. Then choose a corner joint method that resists movement: miter with reinforcement for wood, or a manufacturer-designed corner bracket system for metal. Apply finish or coating to test-fit pieces separately so you don’t seal gaps with thick paint. Finally, use a thin filler or caulk made for the finish system only after the joint is tight and the seam is uniform.
For wood miters, reinforce with a hidden spline or proper corner bracket instead of relying on glue alone.
12. Sanding and finishing skipped on hidden wood edges
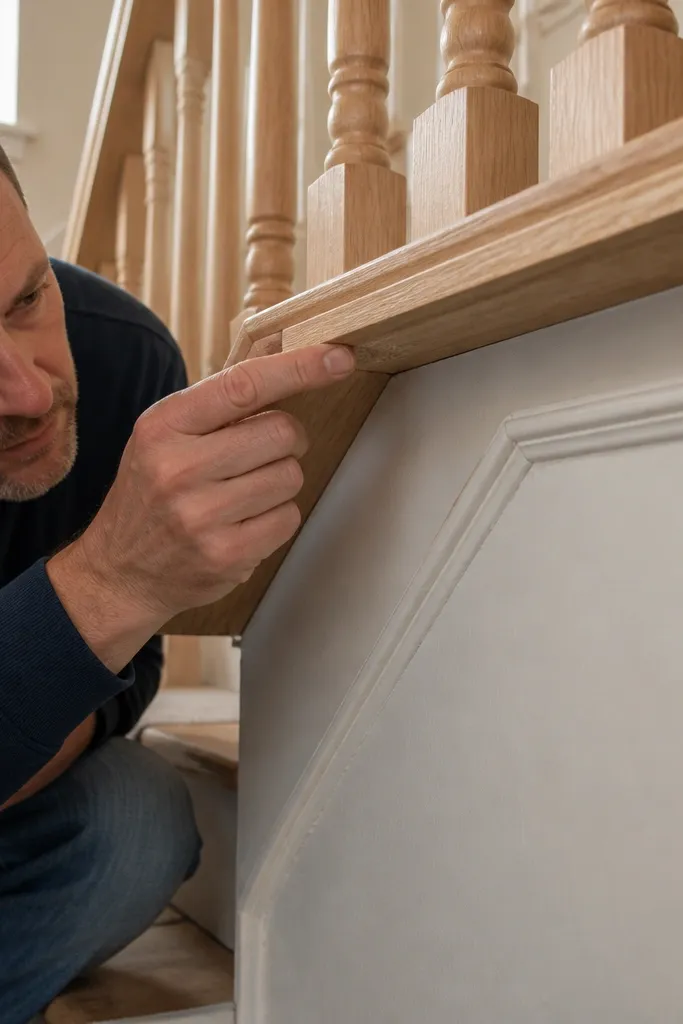
Hidden edges are still touch edges. When wood balusters meet the handrail or base, rough spots can snag hands and look unfinished once light catches them. Modern vs wood stair railing comparisons overlook this because metal hides some imperfections. Wood shows them immediately under indoor lighting. If you don’t sand and finish the contact zones, you’ll feel it every time someone grips or brushes the rail.
Editor's noteMask screw holes with painter’s tape so you don’t glue yourself into sanding hell.
First, sand all wood parts before assembly — including the edges that will be covered by brackets or caps. Then apply finish to contact areas too, but avoid getting finish into the screw holes. After assembly, do a light pass on any seams you created and touch up with matching finish. Finally, cure the finish fully before heavy use so it doesn’t feel tacky under hands.
13. Glass treated like a DIY afterthought
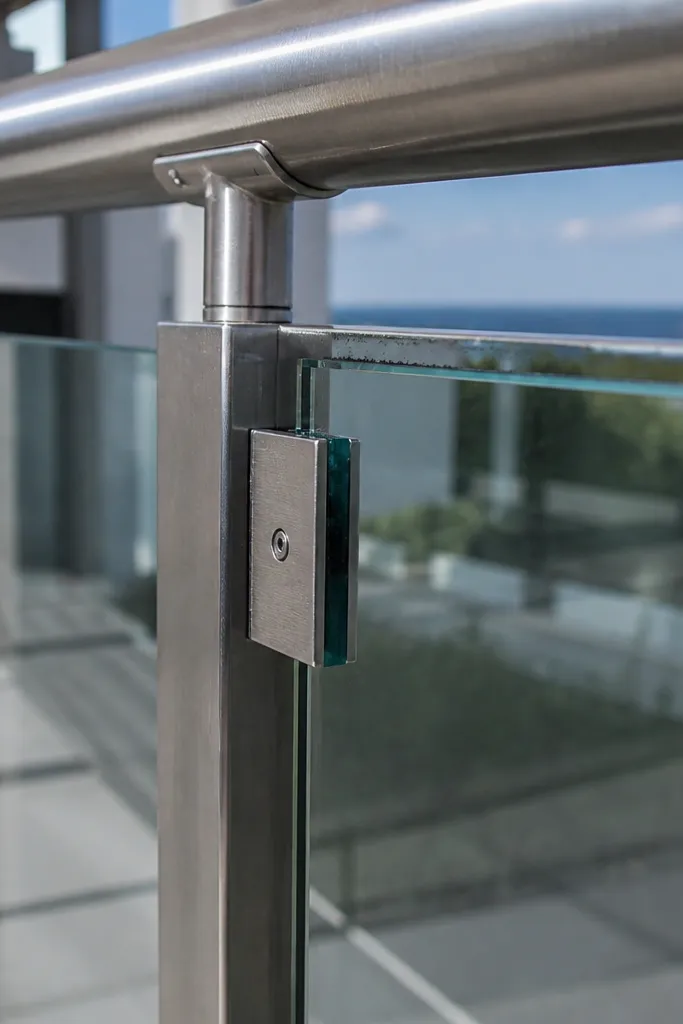
Glass panels look amazing in modern railing systems, but the install details decide whether they rattle or bind. If you tighten clamps without clearance or use the wrong gasket, the glass can squeak or stress over time. People also choose glass thickness without considering the panel span. The fix is careful spacing and the right gasket and clamp setup.
First, confirm glass thickness and panel size for your railing system, then use the exact gasket and clamp hardware specified for that design. Then install standoffs so the glass sits with consistent clearance on all sides. Tighten clamps to spec — snug, not crushing. Finally, check for movement and silence by lightly tapping the panel after installation and re-adjust if you hear a rattle.
Buy the gasket strips and clamps from the same kit as the system. Mixing parts is where squeaks come from.
14. Wood balusters installed without a drilling jig
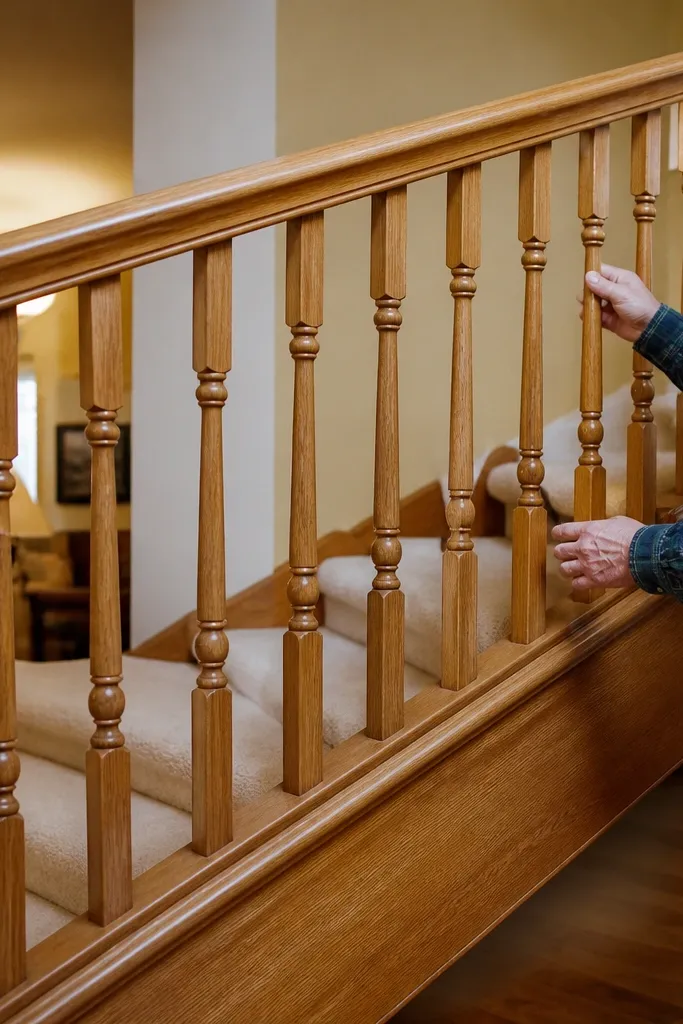
Hand-drilling baluster holes without a jig creates tiny inconsistencies that add up. The railing looks “almost right” until you see uneven spacing or balusters that sit at slightly different heights. Wood balusters also split more easily when holes are off-center, especially near the top where the handrail meets. Modern systems avoid some of this because they use pre-engineered hardware, but wood needs a repeatable layout.
Editor's noteDrill slower than you think and use a sharp bit. Dull bits wander and widen holes.
First, build or buy a drilling jig that matches your baluster diameter and spacing. Then mark the top and bottom hole locations on a test baluster and confirm depth with a stop on your drill bit. Transfer the jig to each location and drill straight down with consistent pressure. Finally, dry-fit all balusters before finishing — if one hole is off, fix it before paint or stain.
15. Underestimating stair stringer irregularities
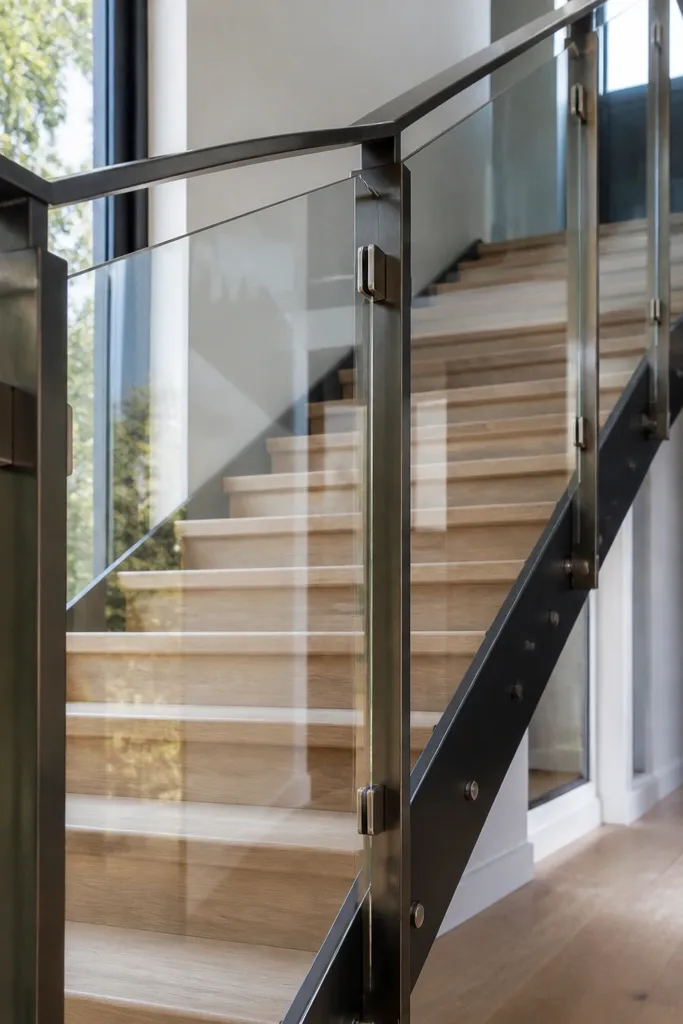
Stairs are rarely perfectly straight. If you assume a straight line across the stringer, your posts end up slightly crooked, and the railing top won’t track cleanly. Wood railings can mask mild misalignment with sanding and careful fitting, but modern railings with glass or metal frames can show every twist. This is a common mistake when people build off a single measurement and ignore the stair’s actual shape.
Editor's noteShimming is normal. Forcing posts to sit flush when the stringer is uneven leads to later loosening.
First, check the stringer surface for high and low spots with a long straightedge. Then mark post locations based on the actual stringer line, not a guessed straight reference. Use adjustable mounting plates or shim where needed so the posts sit in the correct plane. Finally, re-check the handrail angle after shimming before you lock everything permanently.
16. Choosing stain color without testing on the exact wood
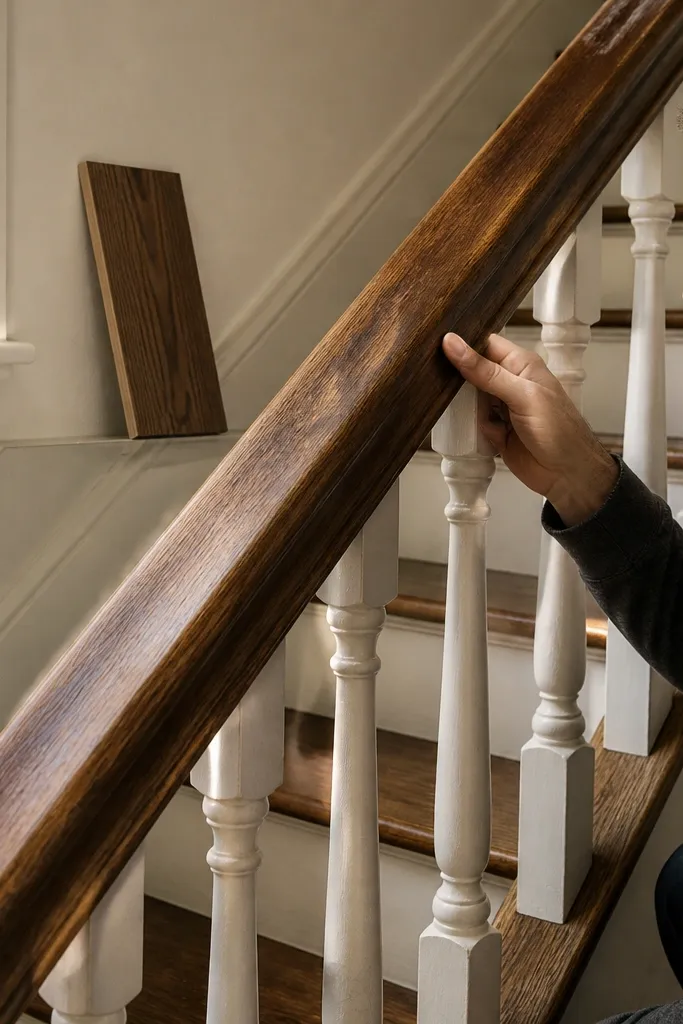
Wood railing color decisions look easy until the stain lands. Different wood species take stain differently, and even the same species varies by board. Modern railings avoid this by using powder coat, but wood needs a test patch because the handrail gets wear and light exposure. A stain that looks right on a sample board can turn blotchy on a smooth handrail blank.
First, cut test pieces from scrap of the same batch and sand them to the same grit as your handrail. Then apply your stain using the same wipe time and wipe direction you plan for the actual rail. Let it dry fully and check in both daylight and warm indoor light. Finally, seal with the same topcoat system you plan to use, because topcoat can shift the final tone.
If you see blotching on the test, switch to a pre-stain conditioner or change sanding grit before you stain the handrail.
17. Skipping a continuous handrail at the landing
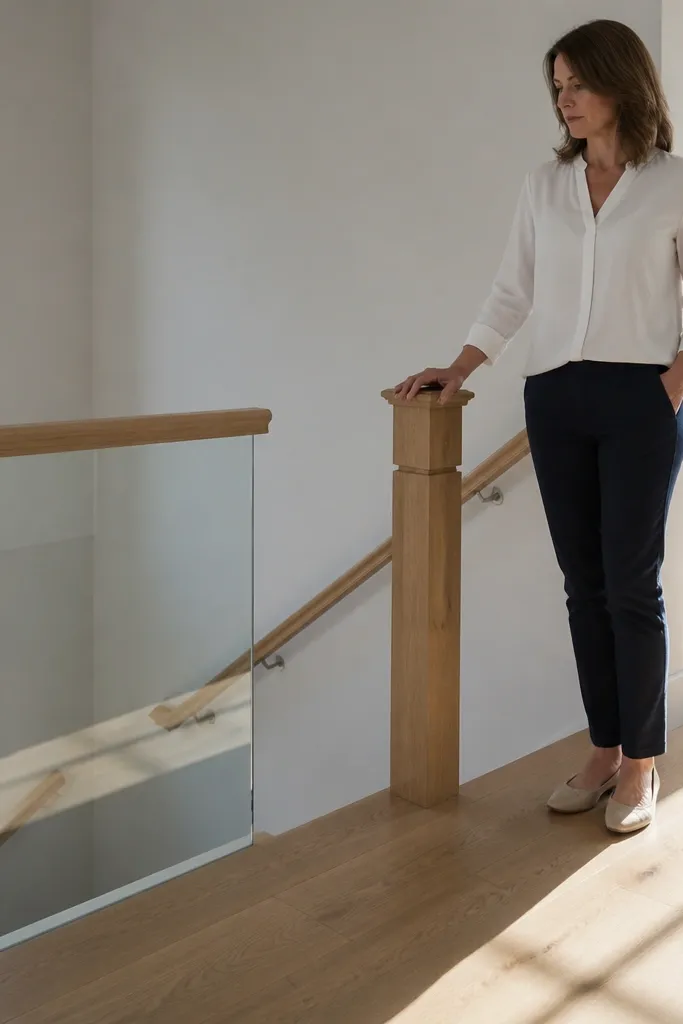
A railing that stops early on a landing forces people to transition grip mid-turn. Wood railings can make this look like a design choice, but it’s a usability problem. Modern systems often stop where the glass panel ends, which makes the break more obvious. Either way, the fix is extending the handrail so it guides hands through the turn and doesn’t leave a dead zone.
Editor's noteIf you’re unsure, stand where someone would turn and reach for the rail. If you miss it, the design misses people.
First, mark where people actually place their hands when turning at the landing. Then plan the handrail run so it continues through the turn and ends with a comfortable grip point. Use the same handrail height and profile through the landing, not a separate smaller section. Finally, check that the end cap or return doesn’t stick out and catch sleeves or bags.
18. Over-tightening clamps on wood posts
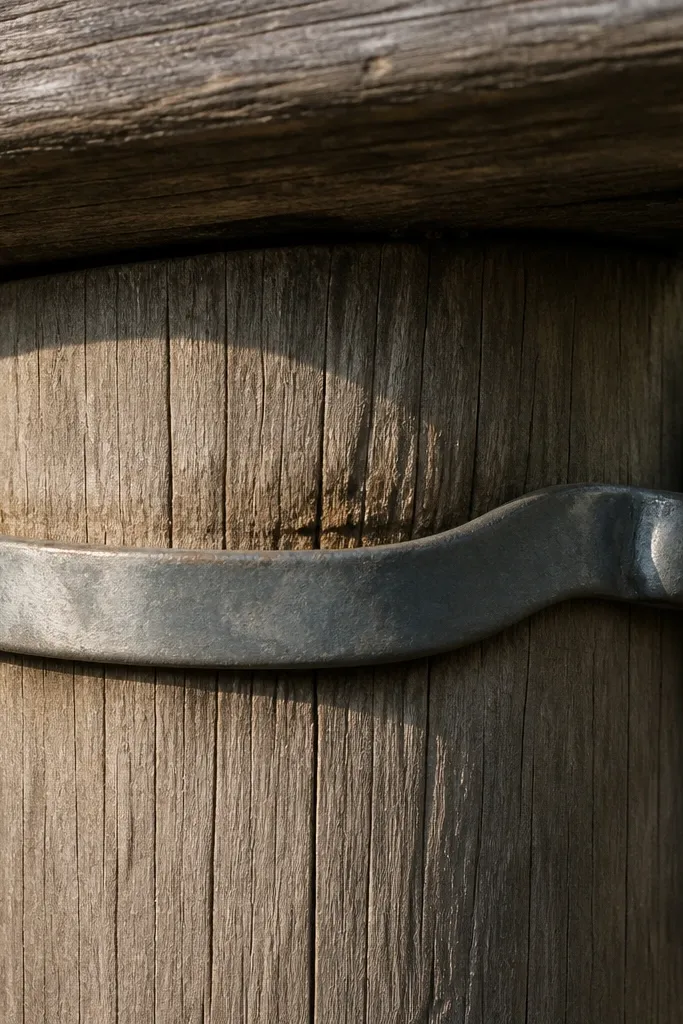
Wood compresses. When you over-tighten clamps or mounts, you crush the fibers and create stress points that show up as squeaks or cracks later. Modern railing kits sometimes use clamps that are designed for metal posts, and people adapt them to wood without adjusting torque or clearance. Wood railings also crack when hardware pinches the post too hard. The fix is controlled tightness and correct clearance.
First, check the hardware instructions for the intended torque or tightness — many kits assume a metal substrate. Then use washers and leave a small clearance where wood needs room to move. Tighten in stages, alternating sides so pressure distributes evenly. Finally, after assembly, inspect for crushed wood fibers around fasteners and re-set if you see dimpling.
Tighten until contact, then stop. If you want it tighter, add structural support, not more clamp pressure.
19. Using the same finish on every component
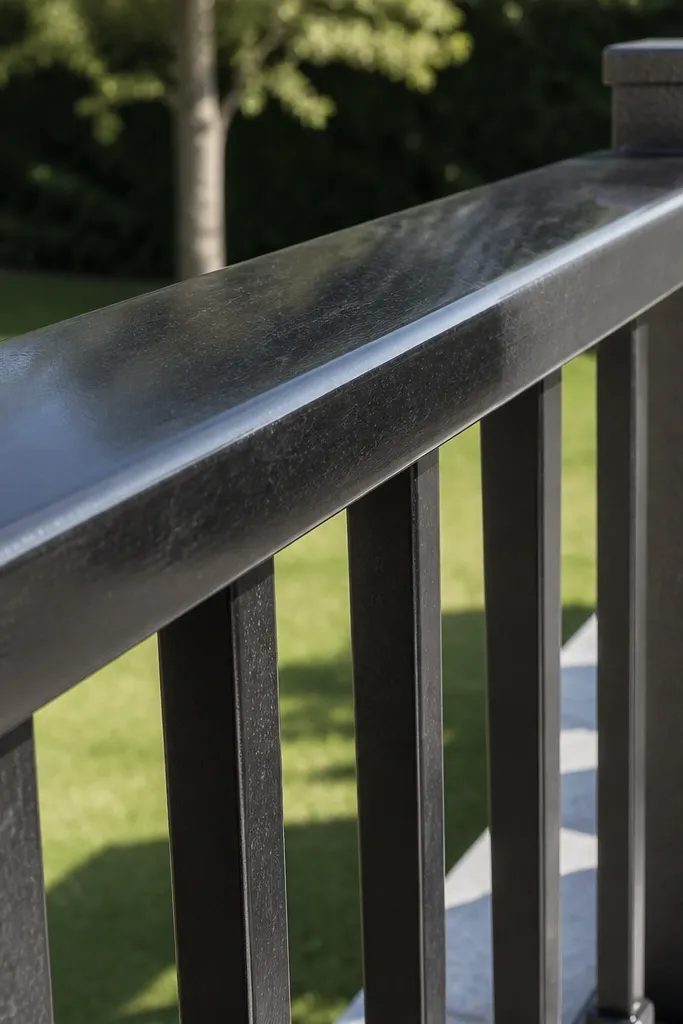
Handrails and balusters take different abuse. The handrail gets constant skin contact, so it needs a finish with the right grip and cleanability. Balusters get bumped and cleaned less directly, so you can choose a finish that’s more about scuff resistance. Modern railings use powder coat on metal parts and clear coating on glass hardware, but DIY wood projects often apply one finish everywhere and regret it when the handrail feels too slick or the balusters show scratches.
First, decide which parts are high-touch (handrail) and which are impact-touch (balusters). Then choose a finish system for each category: a grip-friendly topcoat for the handrail and a durable scuff-resistant coat for balusters. Apply finish in the right order so you’re not sanding through fresh coating later. Finally, touch up only after the full assembly is complete so you don’t trap dust in seams.
Use a satin topcoat on the handrail and a semi-satin or matte topcoat on balusters if you want fewer visible marks.
20. Painting over dust and skipping de-nibbing
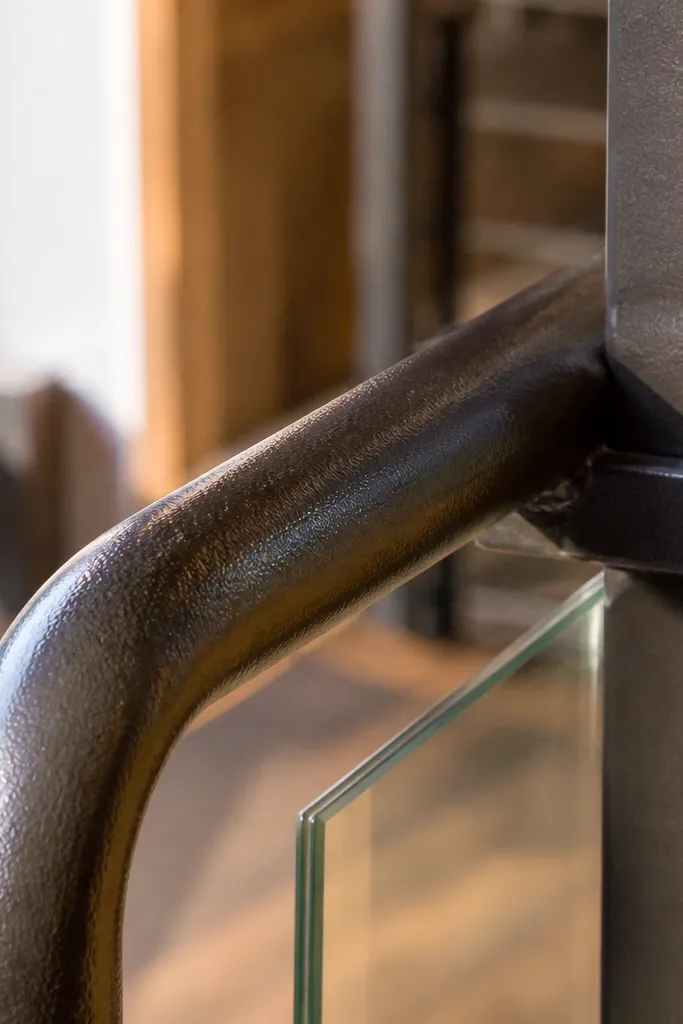
This mistake shows up as roughness or tiny bumps that feel awful on a handrail. Paint can hide a lot from a distance, but your fingers find every defect. Dust nibs also make the finish look uneven under warm lighting. Modern metal railings avoid this because they’re powder-coated in controlled conditions, but wood DIY finishing is where it goes wrong. The fix is surface prep and a real de-nib pass before topcoat.
First, sand between coats lightly and wipe with a tack cloth or microfiber dampened with the right solvent for your product. Then let the coat dry fully before you assess texture under angled light. If you feel bumps, de-nib them with fine sandpaper and wipe again. Finally, apply the final coat and cure it without heavy handling so you don’t pull dust into the surface.
Do a fingertip test after each coat. If you can feel it, it will be worse after cure.
21. Ignoring the wall-to-rail clearance at the grip side
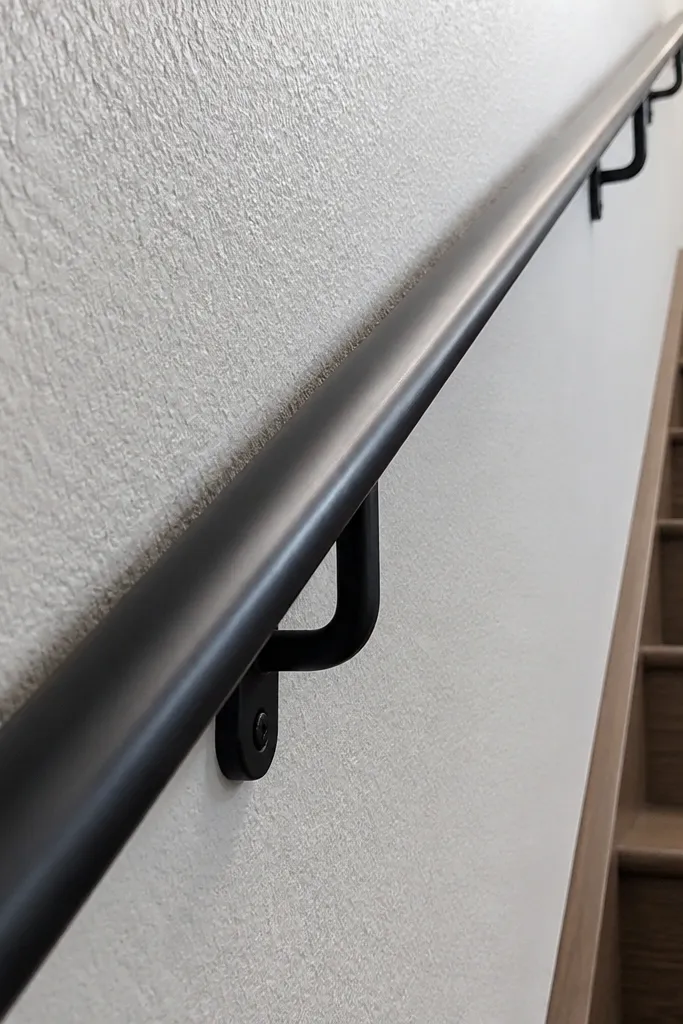
Too-tight clearance can make the handrail feel cramped, especially on tight stair widths. Modern railings sometimes use slimmer brackets that look sleek but leave your knuckles rubbing the wall. Wood railings can also crowd the space if the handrail is too thick or the mount recess is shallow. The fix is spacing planning so the rail sits far enough from the wall for a comfortable grip and safe hand movement.
First, measure the distance from the wall finish to the intended handrail surface. Then choose a bracket or mounting system that sets that gap instead of relying on random shims. Dry-fit the rail and grip it with your hand in the position you’ll use on the stairs. If your knuckles touch the wall, adjust the bracket mounting depth before finishing.
Aim for a comfortable knuckle clearance; if you need to force your hand around the rail, it’s too tight.



