
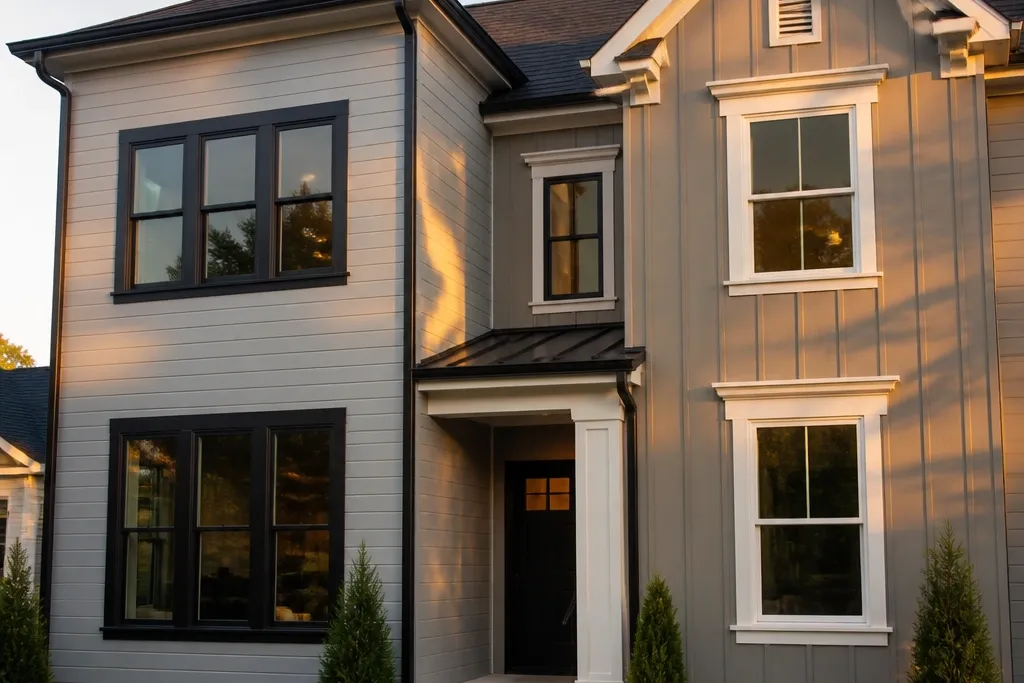
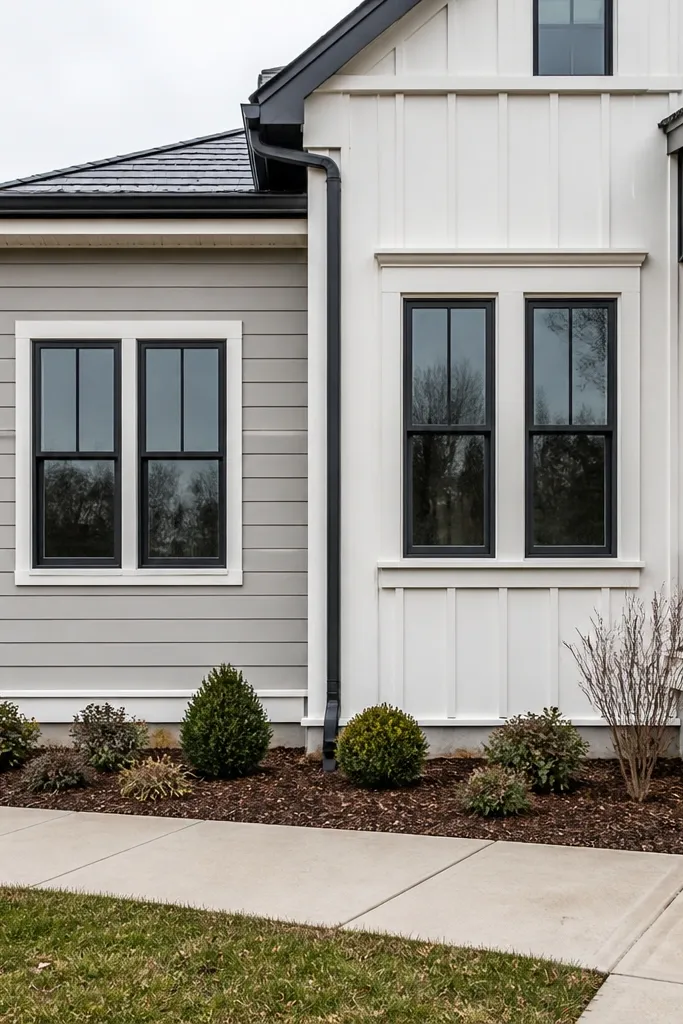
1. Modern batten paneling with 1x3 vertical reveals
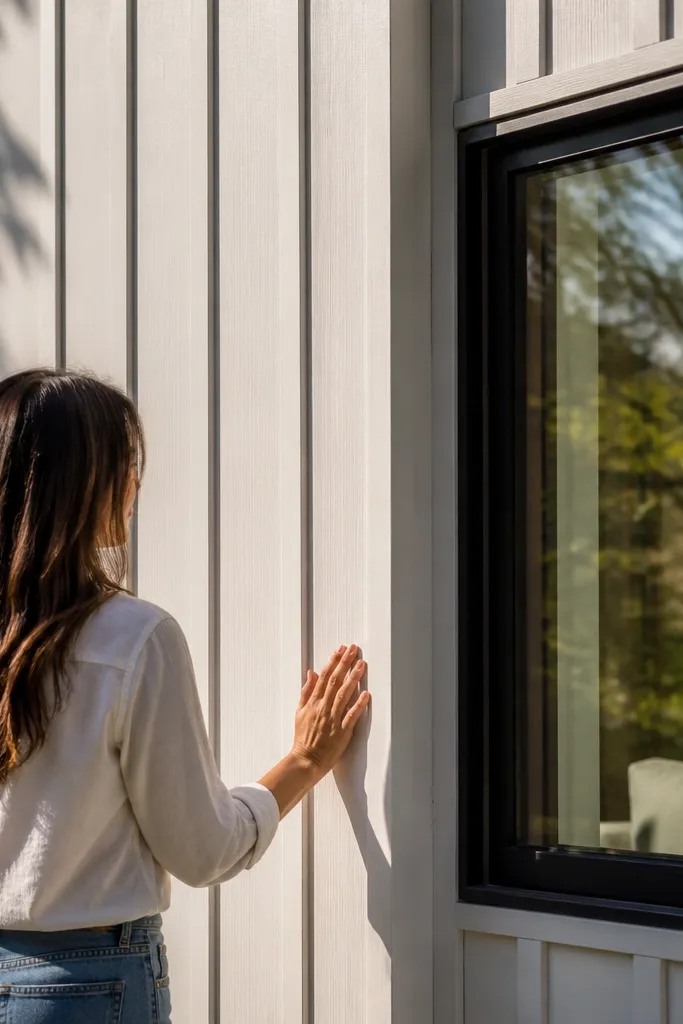
This is the modern move when your house already has siding you don’t want to tear out. Vertical battens create a tight, linear rhythm that reads contemporary from the street, especially when you keep the window surround minimal. Use fiber-cement or primed wood battens with a painted finish so they don’t warp or flash lighter than the wall. It’s a good fit for entry bays, garage fronts, and gable faces where you can control straight lines and reveals.
First, measure your wall and decide on a reveal gap that looks intentional — 1/4 in is a clean starting point for most DIY builds. Mark level reference lines with a long level or laser, then snap chalk lines for batten placement so every batten stays straight. Install battens over a solid substrate using exterior screws and leave a consistent 1/8 in gap at butt joints; caulk the seams with paintable exterior caulk. Prime everything that’s cut or fastened, then paint with exterior trim paint and keep a wet-edge so the battens look uniform.
Pre-drill batten holes and countersink slightly; it keeps screw heads from telegraphing through the paint.
Don’t eyeball reveals — one uneven gap makes the whole facade look off.
2. Classic board-and-batten with thicker trim frames
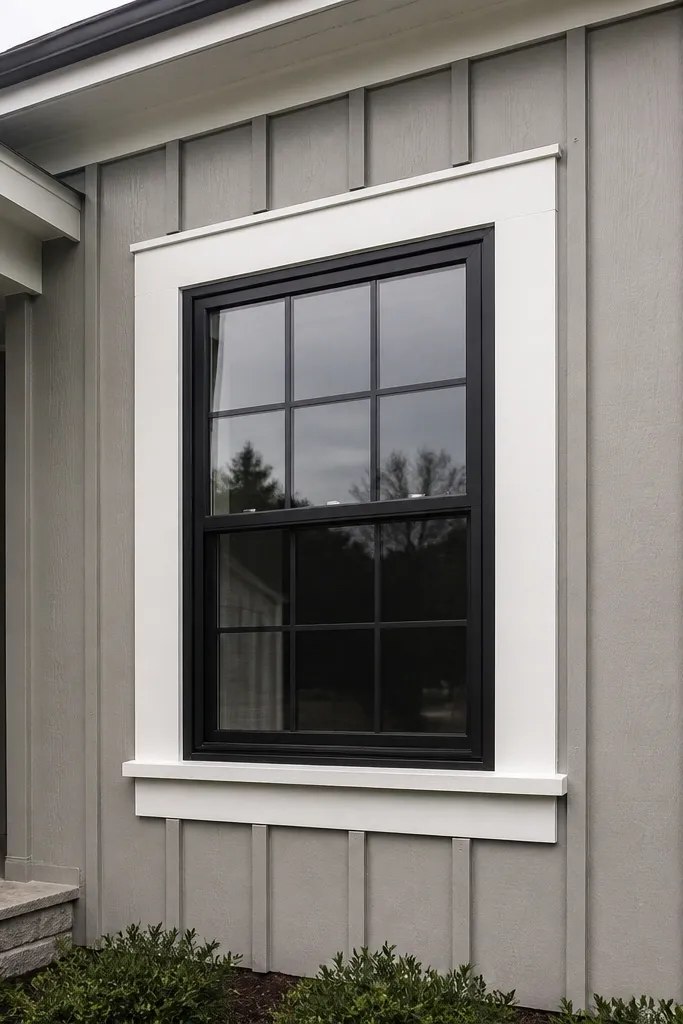
Classic board-and-batten reads traditional because the framing feels heavier and the texture repeats in a predictable pattern. This look works well when you want warmth without going full Victorian. The key is trim thickness: wider casing around openings makes the windows look like they belong in the facade, not stuck onto it. It’s a strong choice for renovations where you can add cladding to one main wall section rather than the whole house.
Start by choosing your board width and battens so the spacing looks balanced from the curb; a 6 in board with 2 in battens is a good starting proportion. Install a weather-resistant barrier if you’re adding over exposed wall material, then attach vertical boards first. Add battens with consistent spacing and use corner trim to hide ends so you don’t get messy lines at corners. Finish by building simple casing headers and sills around windows using pre-primed exterior trim profiles, then prime and paint the whole system together.
Editor's noteUse the same caulk color you’ll paint over — white caulk under a warm cream facade can show through after a few months.
Skip thisSkip tiny trim pieces; classic reads better when the casing is clearly wider than the window gap.
3. Modern window surrounds with flat casing and 2-inch apron
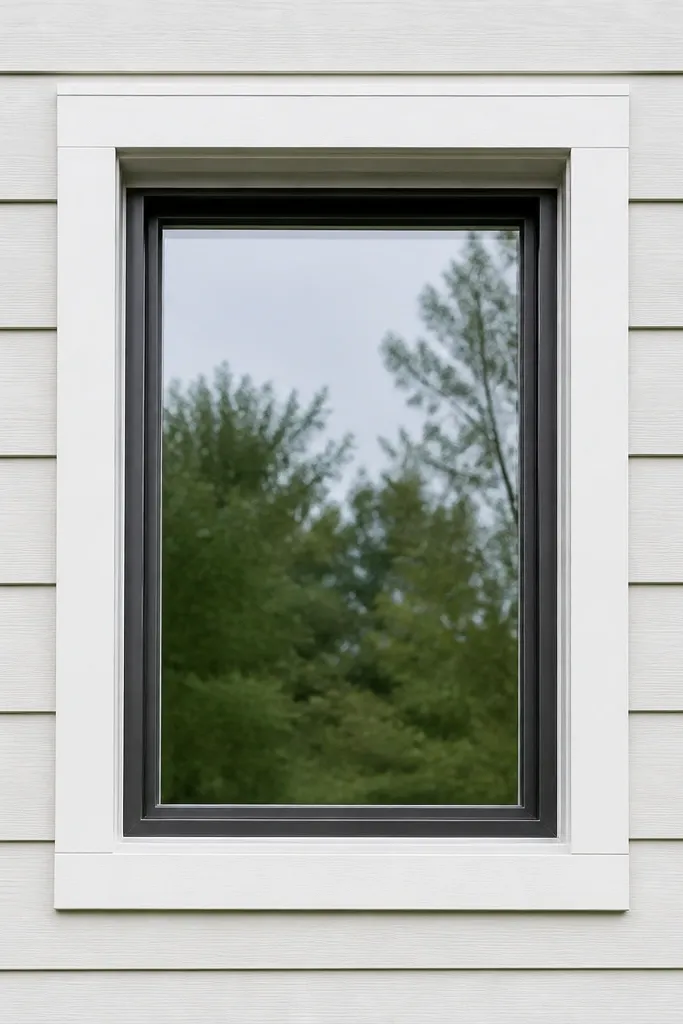
Modern window surrounds are about crisp edges and reduced ornament. A flat casing that’s the same depth all around plus a simple apron under the window makes the opening look built-in. This works especially well if your windows already sit in decent alignment but the trim is thin, mismatched, or missing. You get a cleaner facade without changing siding — it’s mostly trim replacement and paint.
Measure each window and decide on a casing width that matches your facade scale; 1-1/2 in casing with a 2 in apron is a straightforward DIY ratio. Cut casing pieces to length, then dry-fit around the opening so corners meet cleanly. Attach casing with exterior screws into studs or solid backing, not just into old siding, and seal joints with exterior caulk. Prime cut edges and paint with exterior trim paint in a satin finish for a subtle sheen that holds up.
Use a backer strip behind the apron so it doesn’t flex when you caulk and paint.
Don’t trap water — keep flashing and sealant lines continuous at the top casing before you install the sides.
4. Classic window headers with simple crown blocks
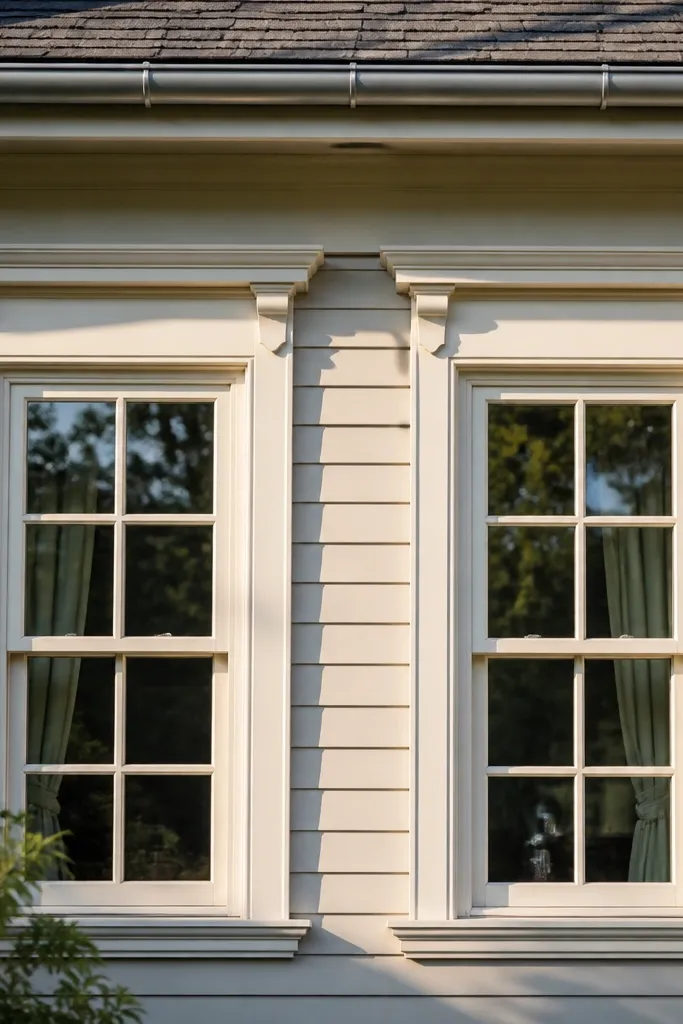
If you want classic without going overboard, add headers and sills that repeat across the facade. Crown blocks give you that traditional “framed” look while staying buildable for DIY. The biggest visual payoff is at eye level — once the window openings look consistent, the whole facade reads more intentional. This is a good choice for a front entry wall, especially if you’re painting anyway.
Pick a header profile you can cut consistently — a simple crown block style in pre-primed exterior trim is easier than trying to build ornate shapes. Mark the header height using the top of the window casing as your reference, then install side casings first so the header sits flat. Add the crown blocks with screws into solid backing, then caulk seams where trim meets siding and where blocks meet casing. Prime and paint in a single pass so the trim reads uniform, not patched.
Pre-cut a few sacrificial test pieces to confirm your miter angles before you commit to the full run.
Don’t install headers over uneven siding; fix the surface first or the crown will look crooked.
5. Modern monolithic cement board cladding panel field
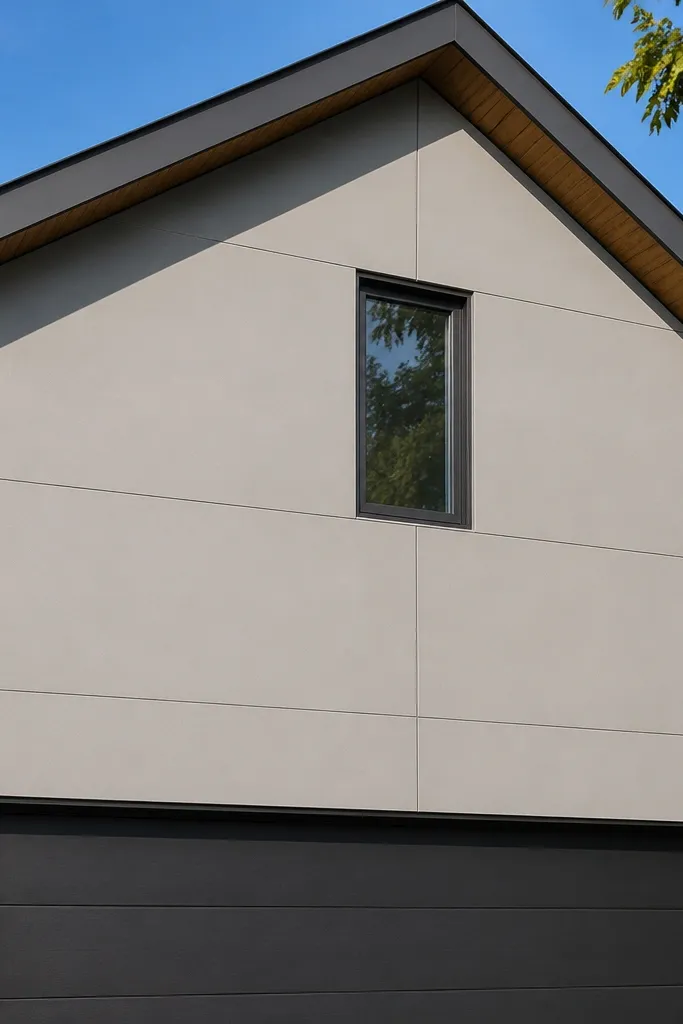
A monolithic panel field is modern at its core: fewer lines, smoother planes, and a clean backdrop for windows and doors. Cement board cladding gives you that flat finish that paint can handle, and it’s more stable than thin sheet goods. Use it on a single facade section like the front gable or garage face where you can control transitions to existing walls. This look is best when you’re okay with a bit more labor and careful weatherproofing.
Install cement board over a proper exterior substrate with corrosion-resistant fasteners, and keep board edges supported so they don’t flex. Stagger joints and follow cement board manufacturer guidance for joint treatment using exterior thinset and mesh tape where required. Sand smooth after the compound cures, then prime all surfaces — especially the joint areas — before paint. Finish by adding only the necessary trim at openings and corners so the panel field stays the star.
Editor's noteUse a straightedge to check board planes before joint compound — it’s faster to correct the surface now than after paint.
Skip thisDon’t rush joint compound sanding; visible joint ridges show up under daylight fast.
6. Classic entry bay with faux brick cladding and wood trim
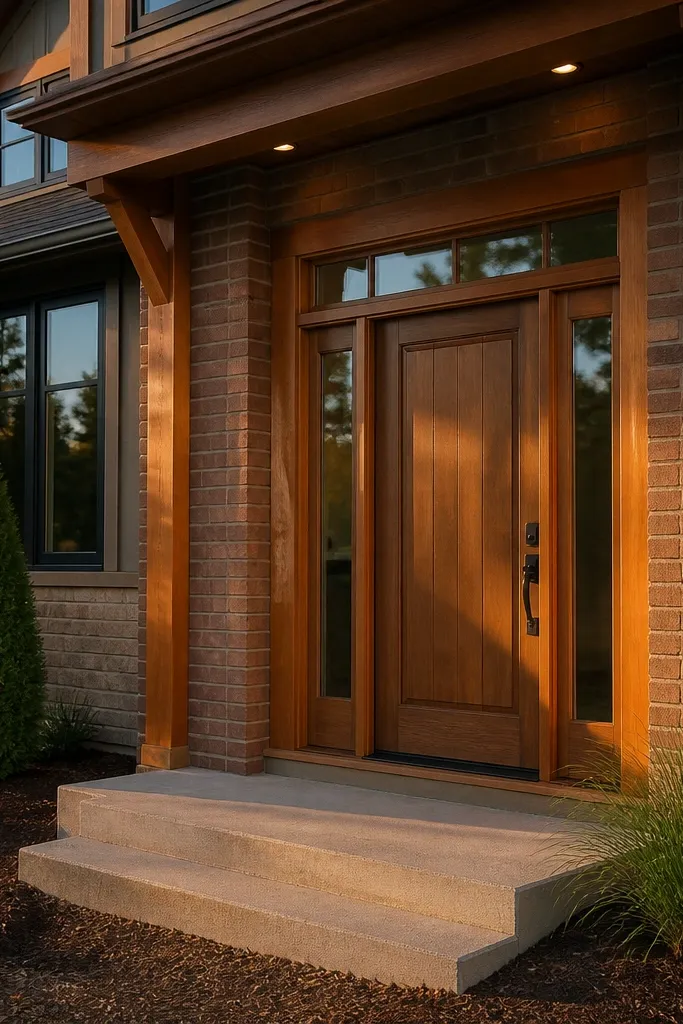
Classic facades often win because of texture at the entry — brick look cladding creates instant depth and makes the door feel anchored. Keep the rest of the facade simpler so the entry bay reads like a focal “room” on the outside. Faux brick panels are DIY-friendly compared to real brick, and you can pair them with wood trim casings and a modest pediment or simple header. This works great when you’re trying to make a plain entry look expensive without changing the whole house.
Start by choosing brick-pattern panels that match your desired scale; larger brick patterns look too busy on small entry bays. Prep the wall by cleaning, then prime any glossy or dusty surfaces so panels bond properly. Install panels from the bottom up, keeping a level ledger line, then cut around door openings with a utility knife and blade meant for the panel material. Seal joints and edges, then install door casings and a header using exterior trim with caulk at every seam.
Dry-fit one panel row before adhesive — you’ll avoid awkward partial bricks above the door.
Don’t skip priming — unprimed walls can cause panel edges to lift after temperature swings.
7. Modern horizontal banding with shadow-gap strips
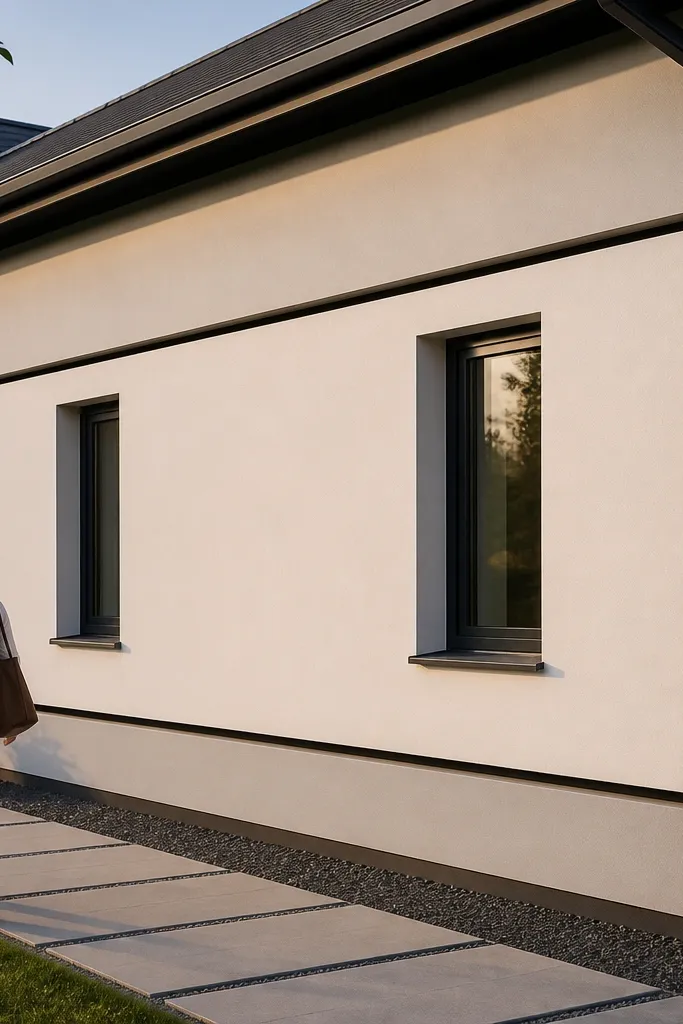
Horizontal banding is the quickest way to push a facade toward modern without changing every material. The shadow gap matters: it creates a crisp separation line that looks intentional instead of like applied trim. Pair two or three bands with consistent spacing and you’ll control the whole facade’s visual scale. This works well on long walls, garages, and ranch-style homes where horizontal lines already feel natural.
Choose strip thickness and spacing — 1x3 or 1x4 strips with a 1/4 in shadow gap looks clean on most facades. Mark your band lines with a level and snap chalk lines so the first band sets the geometry. Attach strips with exterior screws into solid backing, then caulk the ends and seams after you confirm alignment. Paint the bands and wall in a contrasting but coordinated palette, keeping the sheen consistent across both so the lines stay sharp.
Editor's noteUse a spacer board when installing each band so the shadow gap stays identical along the entire run.
Skip thisDon’t install bands over soft, flaking paint; scrape and spot-prime first or the strips will lift.
8. Classic corner boards plus frieze trim for instant proportion
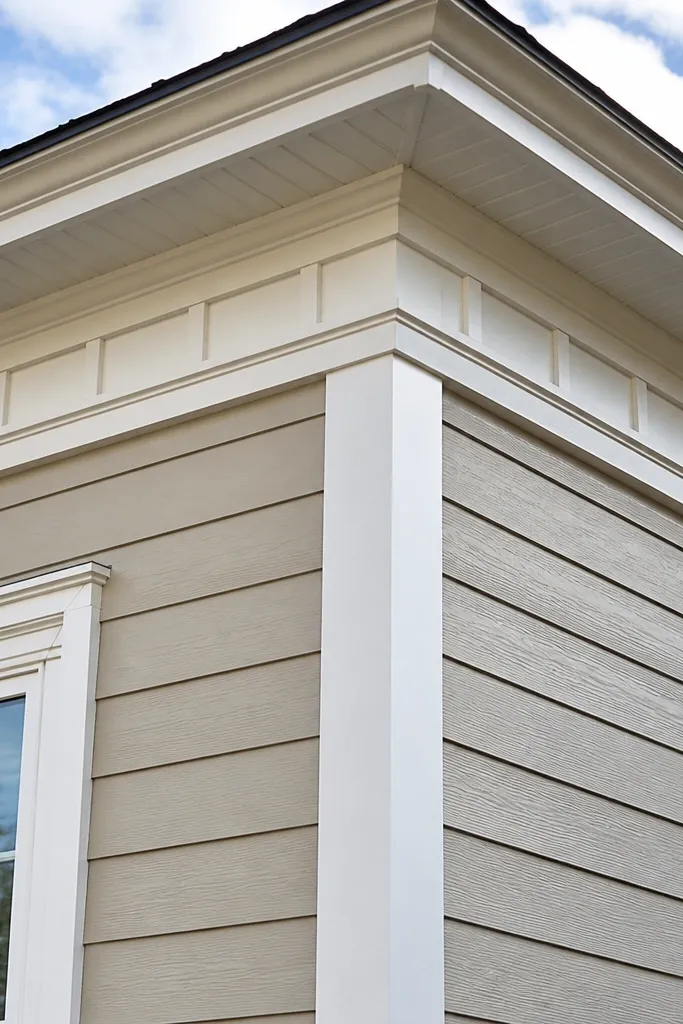
Classic facades often look “right” because the corners are framed and the roofline has a band that ties everything together. Corner boards and frieze trim are a simple combo that upgrades proportions without tearing out siding. You get a traditional silhouette even if your siding is plain. This is a great DIY win for small budgets because you’re adding trim, not redesigning the entire wall.
Start by measuring your corner height and deciding how wide the corner boards should be; 1x4 corner boards read classic on many homes. Install corner boards plumb first — that’s your alignment reference for everything else. Then add frieze trim across the facade under the eaves, using a level line and consistent spacing from window tops. Caulk all seams, prime cut edges, and paint with exterior trim paint so the trim doesn’t dull or chalk.
Editor's noteCheck plumb at multiple heights; one off corner makes the frieze look crooked from the street.
Skip thisDon’t use random trim sizes; classic reads better when corner and frieze widths look like they belong together.
9. Modern porch-less facade with recessed entry frame
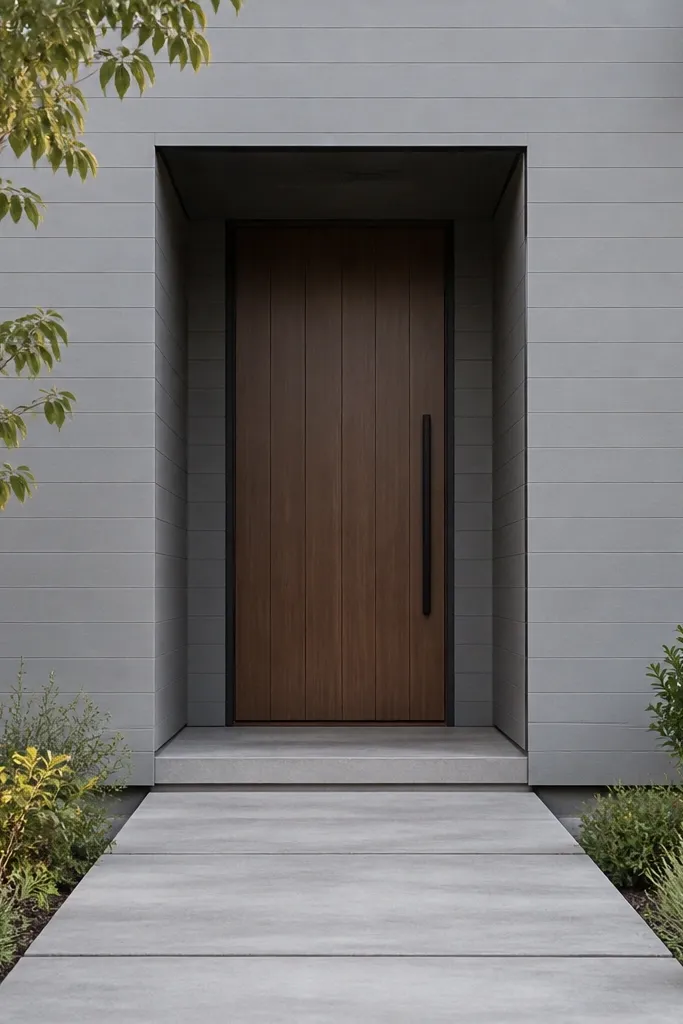
A modern facade gets stronger when the entry looks recessed and composed instead of pasted on. You can create that effect with an exterior frame that makes the door opening feel like a pocket. It’s a smart move when you want modern style but your door placement and porch structure limit changes. The build is mostly trim and weatherproofing around the door, so it’s DIY-friendly if you’re careful with measurements.
Measure the door opening and decide the recess reveal you want; 2-3 in reads modern without looking like a tunnel. Install a rigid exterior trim frame system around the door, using treated lumber or exterior trim boards anchored to solid backing. Seal the perimeter with exterior flashing tape at the top and sides so water sheds correctly, then add a clean apron and side casing. Paint the frame and door trim in a high-contrast color to emphasize the recessed shape.
Editor's noteUse backer rod under caulk lines on the exterior — it gives a cleaner bead and reduces cracking.
Skip thisDon’t rely on caulk alone to seal; tape and flashing lines matter at the top of the door.
10. Classic porch rail revival with simple balusters and matching posts
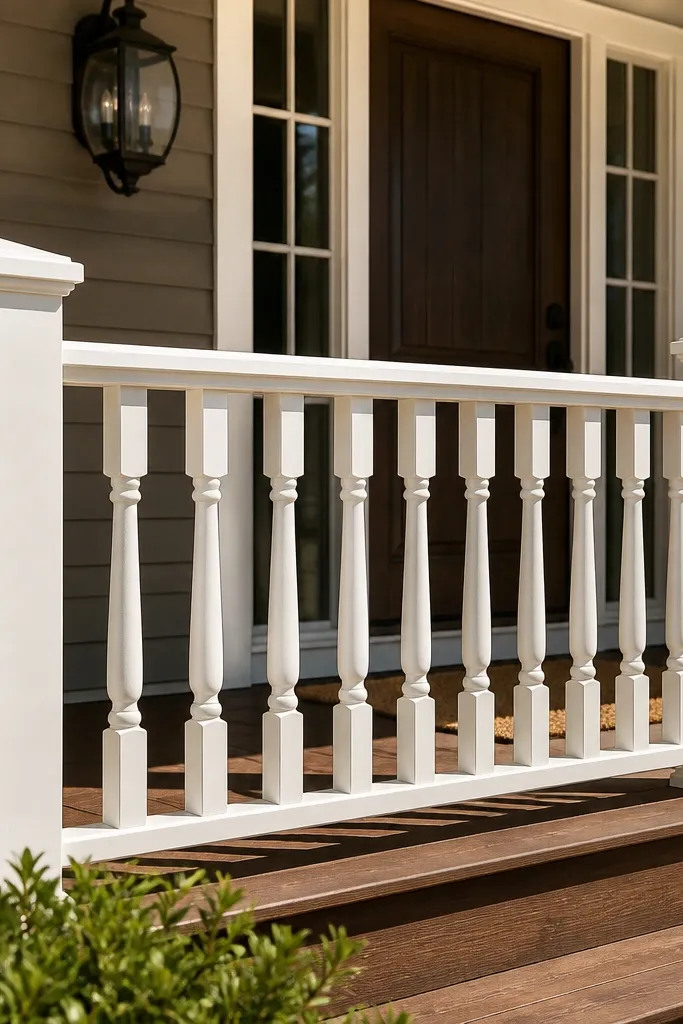
Classic house facades often lean on porch details even when the porch is small. If your front entry is currently plain, replacing worn rails and balusters with matching profiles can bring the whole facade back to a classic rhythm. Keep spacing consistent so the rail reads orderly from a distance. This project is best when your porch structure is solid and you’re upgrading trim and railing components rather than rebuilding the deck.
Take measurements of rail length and baluster spacing before buying anything; spacing like 4 in centers often looks right for front porches. Remove old rails carefully, label parts, and check the deck for level so the new railing doesn’t twist. Install new posts plumb, attach top and bottom rails, then fit balusters evenly using a jig or spacer block. Prime and paint all wood components with an exterior finish system, then seal ends and joints.
Use a metal baluster spacing tool or make a simple cardboard template — it keeps the pattern straight across the entire run.
Avoid mixing paint finishes between rails and posts; gloss differences make the facade look patchy.
11. Modern siding refresh with clean butt joints and matching trim depth
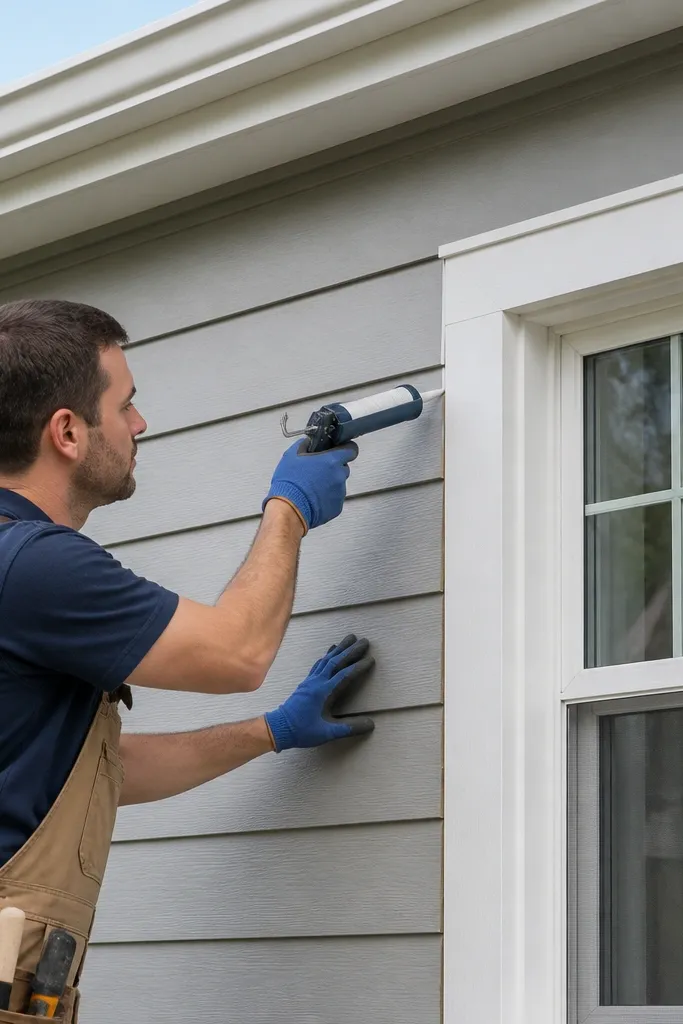
Sometimes modern vs classic is less about adding new elements and more about fixing seams and trim depth. If your existing siding has uneven butt joints, mismatched trim thickness, or inconsistent caulk lines, the facade reads messy. A modern refresh targets that: align seams, replace damaged sections, and standardize trim depth around windows and corners. It’s the best option when you want a modern look but you don’t want to add a lot of trim complexity.
Inspect your siding and mark sections that need replacement or re-seaming — don’t patch over rot or warped boards. Remove damaged panels and install new siding sections with consistent spacing so butt joints line up. Replace trim pieces that are too thin or too thick relative to the window and door casing, then set the casing depth so it looks intentional. Caulk every seam with exterior-grade caulk, prime where needed, and paint with a matching trim system so the whole facade finishes as one.
Editor's noteUse painter’s tape as a guide for straight caulk lines; pull the tape while caulk is still workable.
Skip thisDon’t paint over failing caulk lines; remove and re-caulk first or the modern crispness won’t hold.
12. Classic door surround with fluted casing and simple pediment header
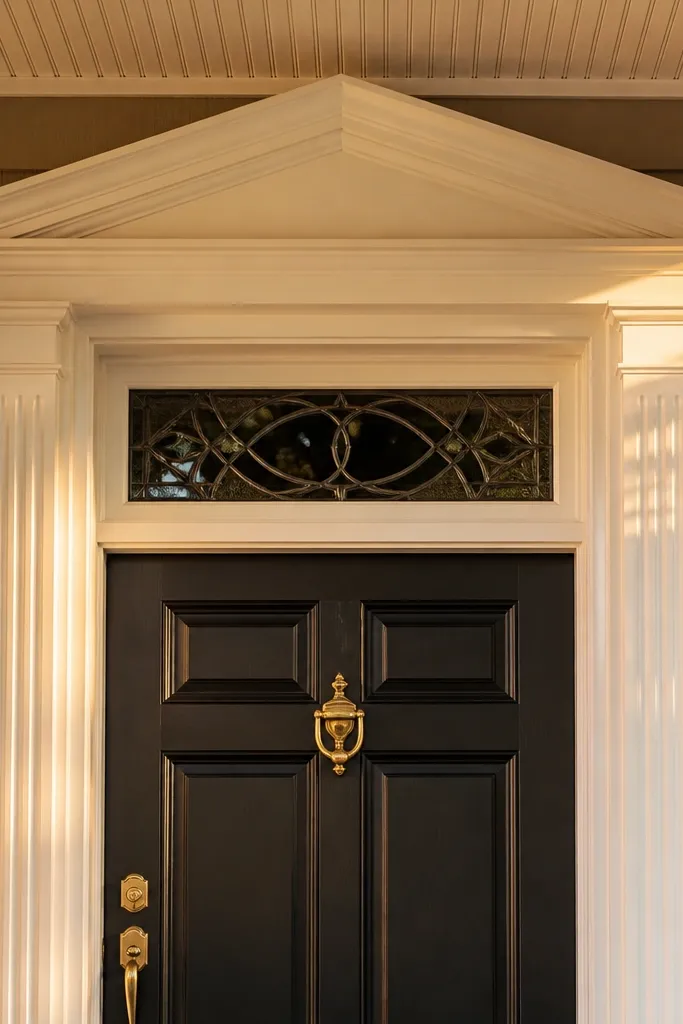
A classic door surround is the fastest way to make the facade look finished because the door is the visual anchor. Fluted casing adds traditional texture without requiring full columns or heavy masonry. A pediment header creates that “framed” look and gives the entry hierarchy even if your porch is minimal. This project is ideal if you’re already painting the exterior and want the entry to look like it belongs to a older home style.
Choose a fluted casing profile you can cut cleanly — pre-primed exterior trim saves time and prevents warping. Measure door height and build the surround so the header sits centered and level above the door casing. Install side casings first, then add the pediment pieces, using a level and square to lock alignment. Seal joints at the corners and around the door, then prime all cut ends and paint the system in one coordinated finish.
Editor's noteTest-fit the pediment on a flat surface first — it’s easier to adjust miter angles before it’s on the wall.
Skip thisSkip thin, flimsy trim stock; it flexes and makes fluted details look uneven.
13. Modern roofline band + fascia trim swap for cleaner lines
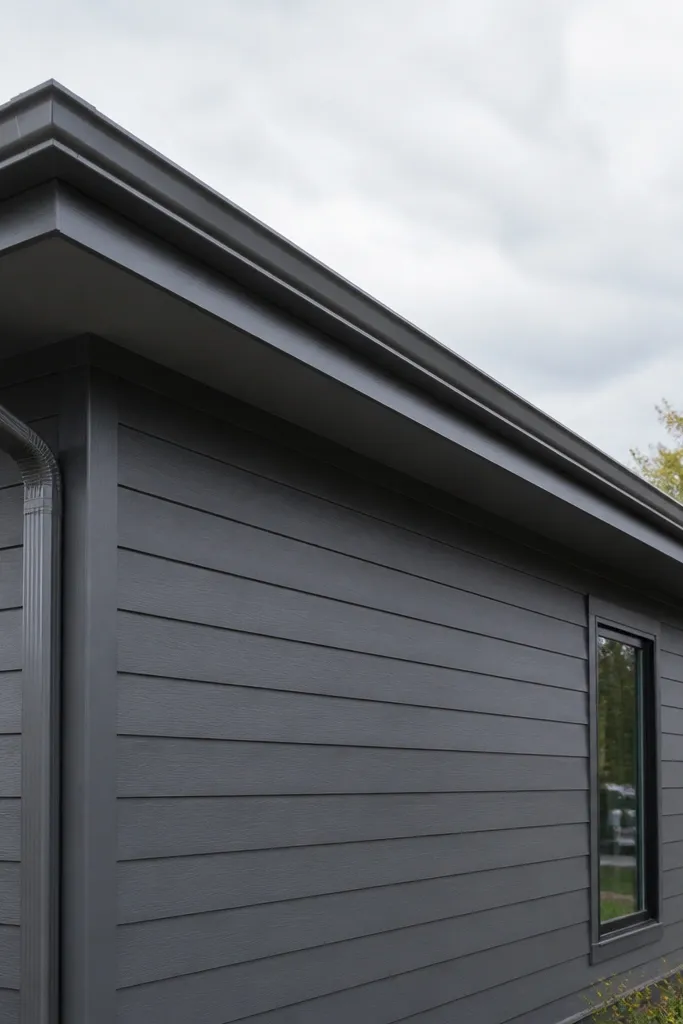
Modern facades often look sharp because the roofline trim is simplified and the lines are straight. Swapping fascia and adding a single clean band under the eaves can remove the “busy” feeling created by mismatched old trim. This is a strong choice when your siding is decent but your upper trim looks outdated or uneven. It also improves durability because you’re replacing weathered wood with exterior-grade components.
Measure the existing fascia and soffit gaps, then choose fascia trim boards with a consistent thickness so the shadow line stays even. Remove deteriorated trim carefully, check the underlying framing, and replace any soft spots. Install new fascia and add a single fascia band or trim cap along the eaves, keeping it level using a laser or long level. Caulk seams, prime where needed, then paint with exterior trim paint designed for horizontal surfaces.
Editor's noteUse corrosion-resistant fasteners and pre-drill; fascia wood splits fast when you drive screws close to edges.
Skip thisDon’t ignore soffit ventilation — if you block vents with trim, you create moisture problems.
14. Classic siding texture upgrade with fiber-cement panels at the front bay
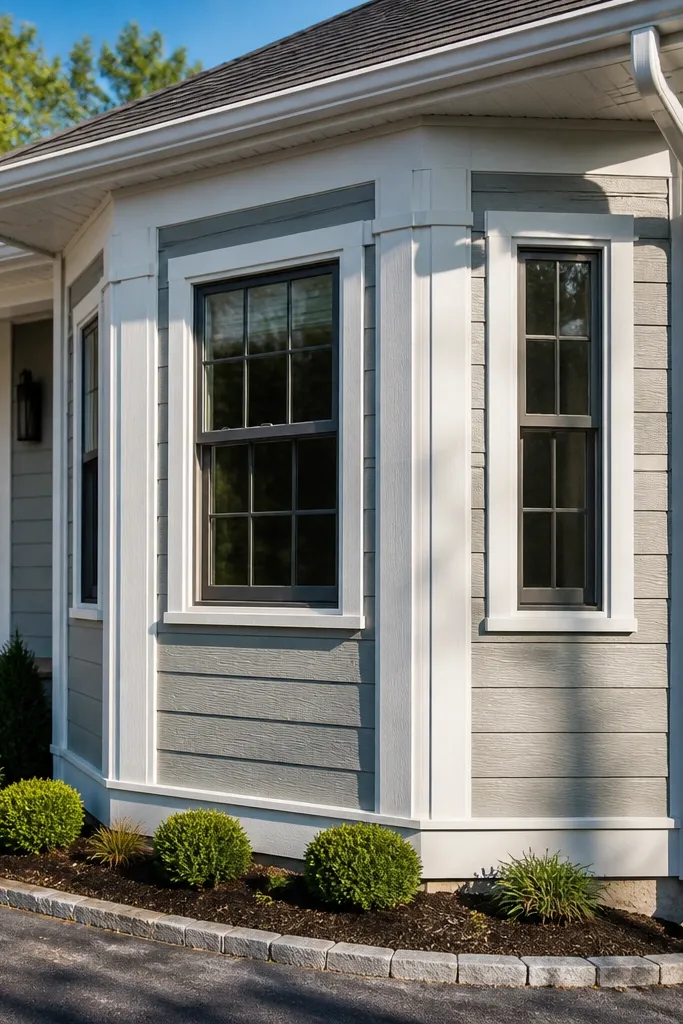
Classic facades often need texture to feel “old-fashioned” rather than plain. Replacing siding only on the front bay with fiber-cement panels or a board-style cladding instantly adds depth without touching the whole house. Pair the texture with classic window casing and you get a coherent look that reads traditional. This is a smart compromise when you want a classic facade but your current siding is flat or worn.
Pick the texture style that matches your classic goal — board-and-batten texture or shiplap-style paneling are easier to read than tiny patterns from the street. Remove the existing siding on the front bay to solid backing, then install fiber-cement panels with proper weather barrier and corrosion-resistant fasteners. Treat cut edges, then prime everything before caulking seams. Add classic window casing and a simple header above openings, then paint the entire bay as one system.
Use a consistent panel layout starting from a corner so the “lines” don’t drift out of alignment near windows.
Don’t mix panel textures on the same facade face; it looks like you patched instead of designed.



