
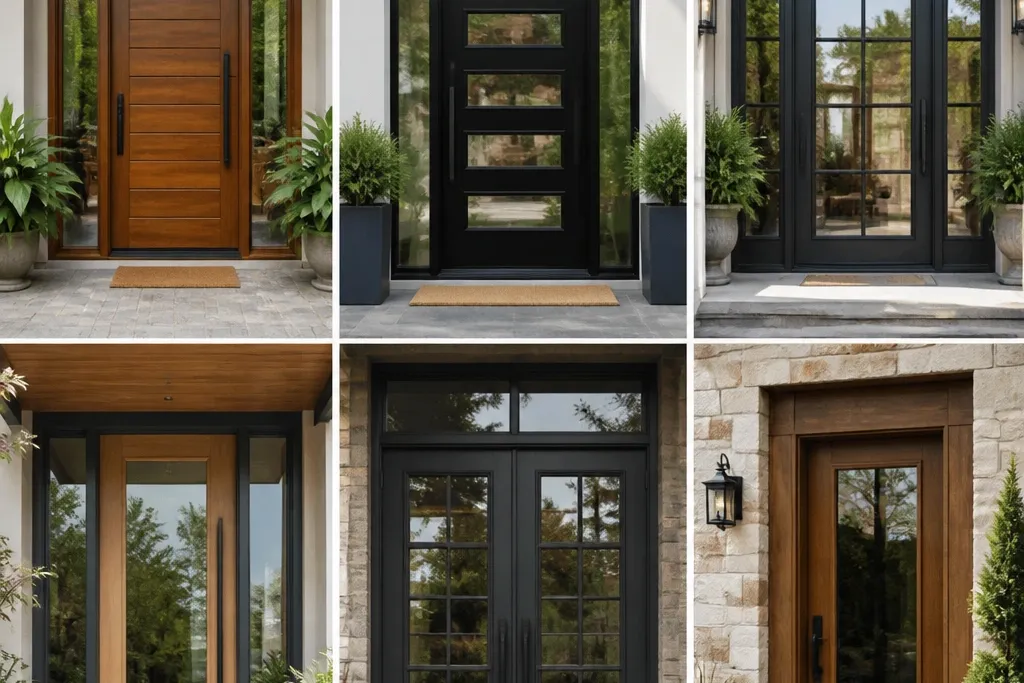
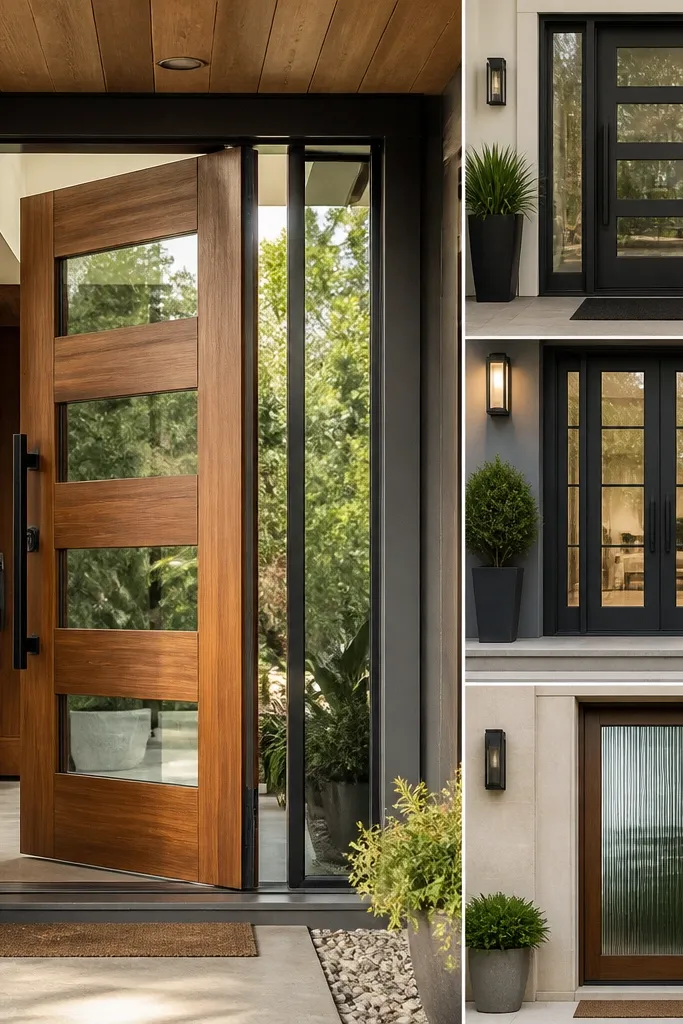
1. The Foggy-Glass Trap
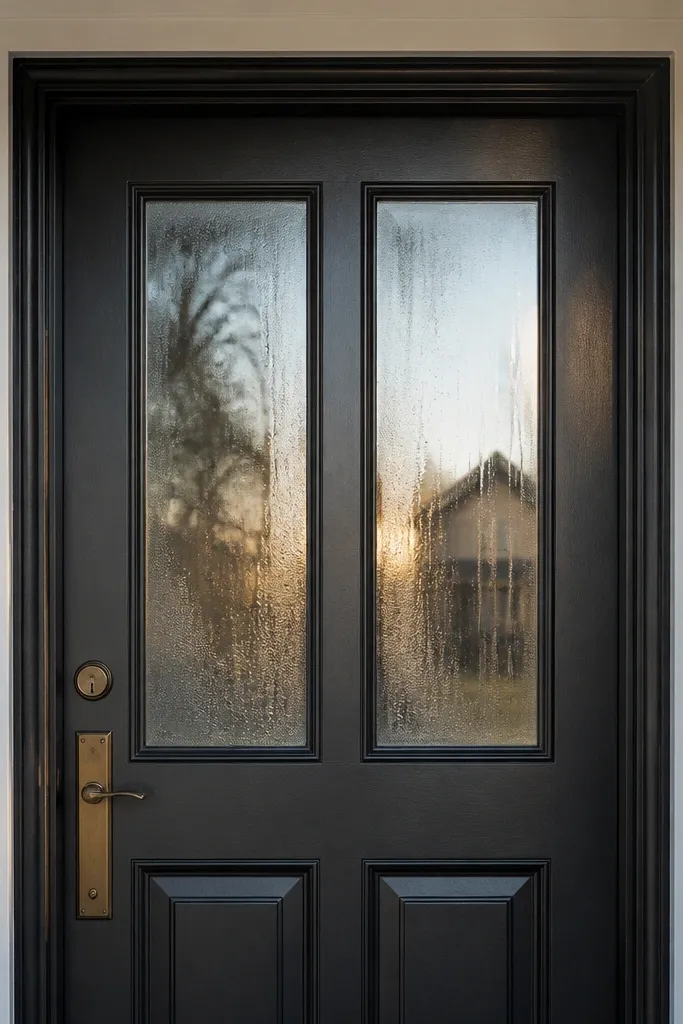
A lot of people compare glass doors and forget that the seal inside the glass unit matters more than the style of the door. If the insulated glass isn’t sealed properly, you get fogging between panes, and you can’t fix that with cleaning. Even with good glass, poor frame gasketing lets outside humidity leak into the gap, then condensation shows up at the coldest spots. Your goal is a clean, clear view year-round, so prioritize insulated glass units and the gasket design that seals around the glass perimeter.
Start by asking for insulated glass details: dual-pane with low-e coating and a sealed IGU (insulated glass unit), not “double thickness.” Then inspect the glass-to-frame contact: you want a continuous glazing gasket that compresses evenly, not four corners only. Finally, plan your install so the door is square and the glass sits evenly in the frame, because uneven gaps create cold spots that fog first.
Use a flashlight at dusk to check for light leaks around the glass edge once installed — it’s the quickest way to spot gasket gaps.
Don’t choose “clear glass” based on looks if the listing doesn’t specify insulated glass and a proper glazing gasket.
2. Wrong Threshold for Real Water
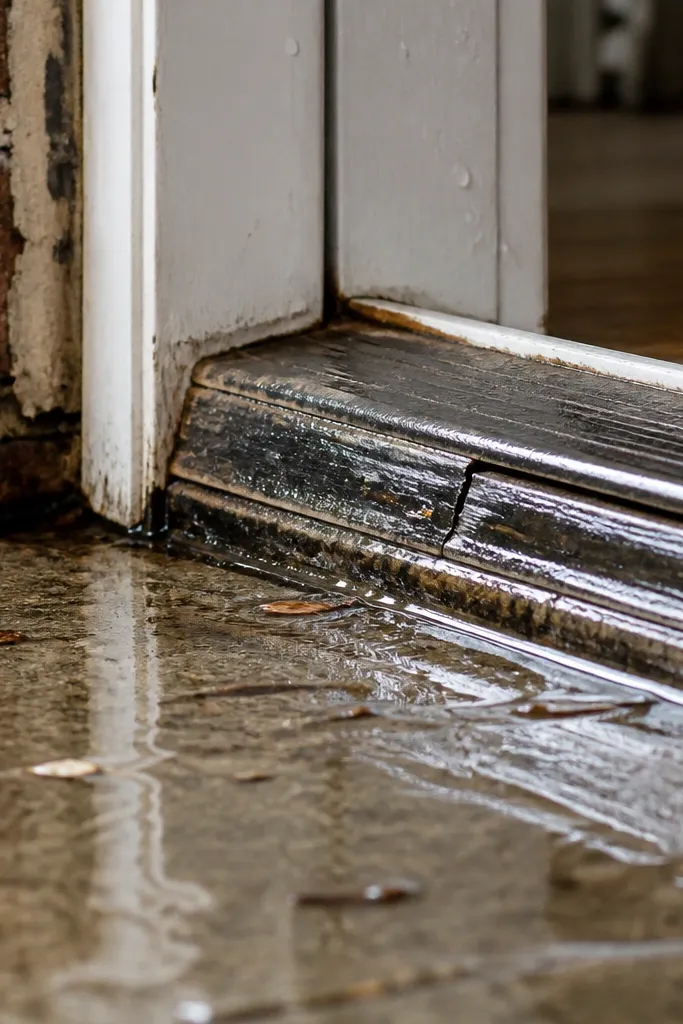
Your door’s threshold decides where water goes. A flat threshold with weak weatherstripping lets water creep under the door, then it soaks wood or swells the bottom rail. In a comparison main entrance door design, glass and color get all the attention, but the threshold is what prevents rot and drafts. If your entrance gets wind-driven rain, you need a threshold that sheds and a bottom seal that compresses firmly.
Measure the current threshold height relative to the exterior surface so you don’t end up with a lip that traps water. Then pick a threshold type that matches your floor: an adjustable aluminum threshold with a proper slope is a safe choice for uneven entries. Finally, install with a continuous bead of exterior-rated sealant on the correct surfaces, and tighten fasteners so the threshold doesn’t rock when the door closes.
After install, pour a cup of water at the threshold edge and watch where it runs — you’ll see the problem instantly.
Don’t reuse an old, flattened sweep or gasket if you’re changing the door slab; it won’t compress the same.
3. Weatherstripping That Looks Fine but Doesn't Seal
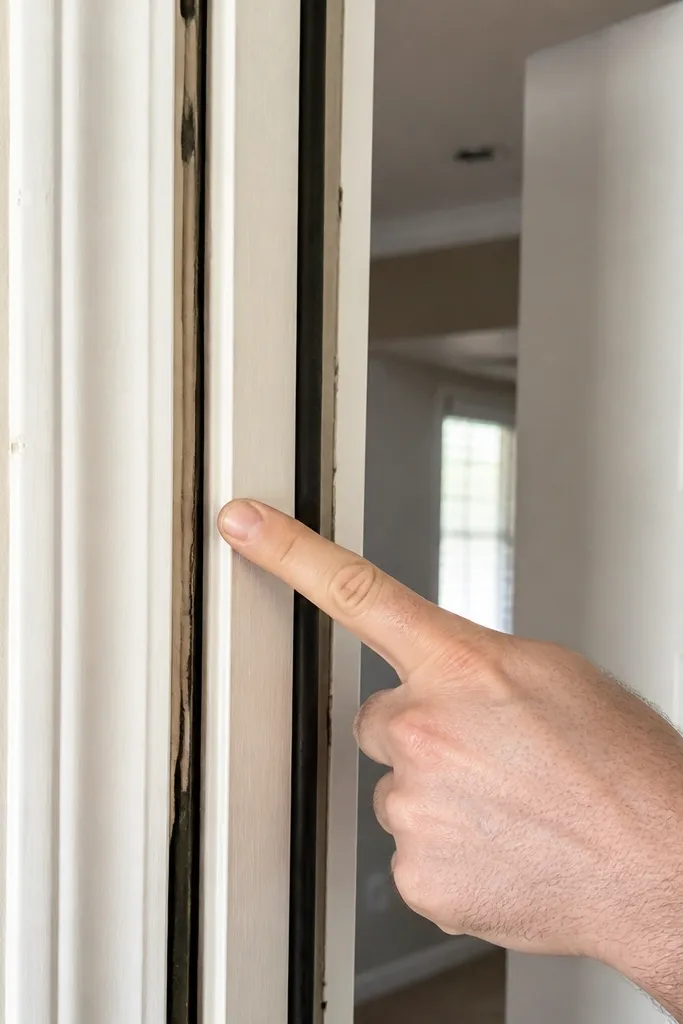
Weatherstripping is one of those parts people judge by sight, not by compression. If the strip is too stiff or the gaps are wrong, it won’t compress when the latch engages, and you get drafts, whistling, and dust. In a door comparison, the best-looking seal might be the one that fails first because the door isn’t adjusted to close with consistent contact. You want a seal that compresses along the whole height, especially near the latch side where pressure builds.
Check the gap with a thin strip of paper at multiple points along the jamb — you want similar resistance along the latch side. If you’re adjusting, loosen hinge screws slightly and shift the slab until the latch-side gap is even. Then confirm the weatherstrip makes contact when the deadbolt is thrown, not just when the door is pushed shut.
Mark the jamb with painter’s tape before adjustments so you can see where the slab moves after each hinge tweak.
Don’t ignore the latch-side gap; drafts usually come from that side, not the hinge side.
4. Hinges That Can't Carry the Glass Weight
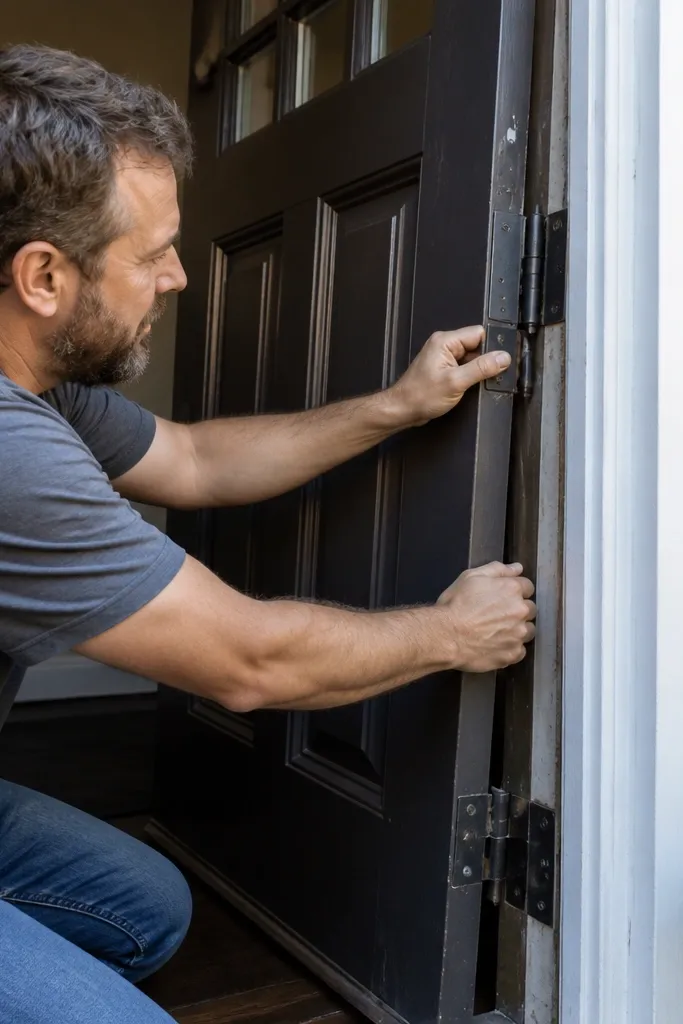
Glass-heavy slabs add weight and change the leverage at the hinge line. People compare door styles and pick a beautiful glass pattern, then use whatever hinges came with the old door. Over time, that mismatch causes sag, which makes the deadbolt miss and the weatherstrip stop sealing. If you want the door to stay tight, you need hinges that match the slab weight and are installed into solid framing.
Find the slab weight or at least the door thickness and construction, then choose hinges rated for that weight class. Use at least three hinges for most standard entry doors, and for heavier doors, consider four. Finally, install with proper screw length into framing — don’t rely on short screws that only catch the trim.
Editor's noteIf the door sags even a little, fix hinges first before touching the lock — a sagging slab makes every lock adjustment pointless.
Skip thisDon’t install decorative hinges that look right but are undersized for a glass door.
5. Deadbolt Misalignment from Sloppy Door Geometry
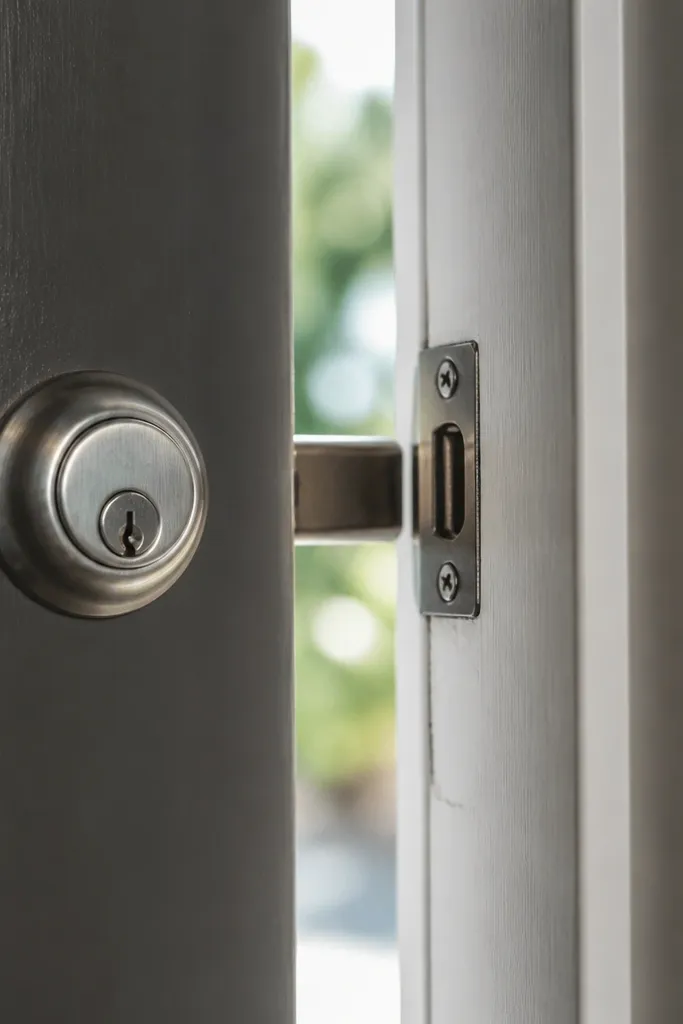
A deadbolt that doesn’t land cleanly is usually a geometry problem, not a lock problem. When the slab is out of square or the latch-side reveal is off, the bolt hits the strike edge, then users push harder. That pressure damages the strike plate and makes the door squeak and rattle. In a comparison main entrance door design, you need to compare how each door system allows adjustment during install, because alignment is what prevents future lock wear.
Before final tightening, test the bolt throw with the door held steady at the latch side reveal you want. Adjust hinges to square the slab so the bolt enters the strike without force. Then set the strike plate position so the bolt fully engages — mark with tape, adjust, and re-test until it latches with firm, smooth motion.
Editor's noteUse a strip of masking tape on the bolt edge to see exactly where it hits the strike during test closes.
Skip thisDon’t “fix it” by filing the strike plate — fix the slab alignment first.
6. Buying a Door Slab Without Checking Jamb Depth
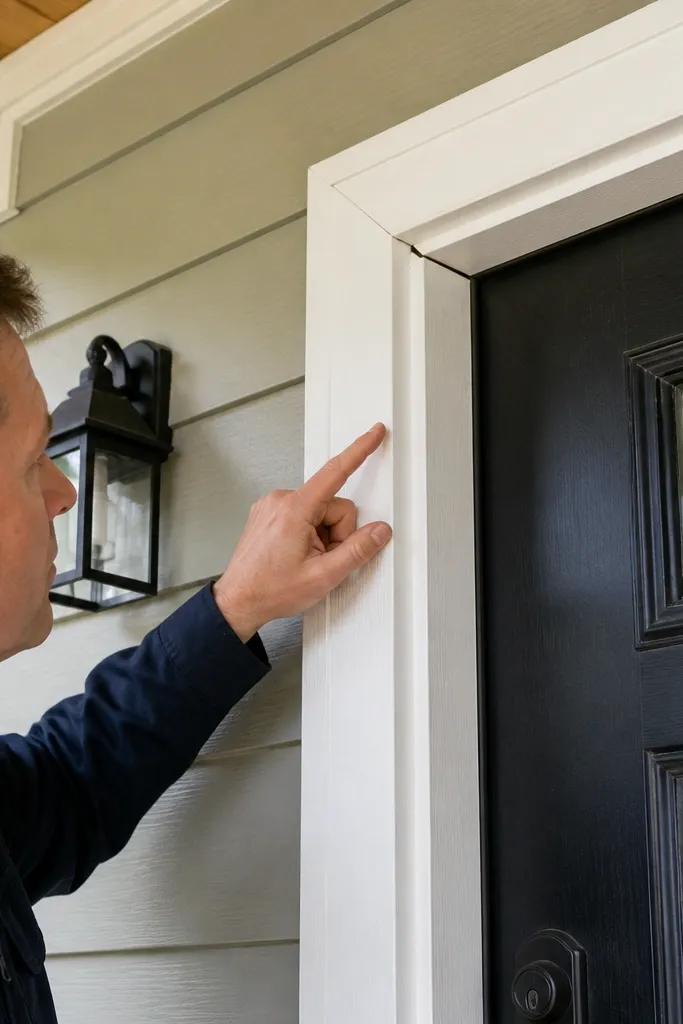
A common mistake is comparing door looks and ignoring jamb depth, which controls trim fit, weatherstrip contact, and how far the door sits in the opening. If the jamb is too shallow for your wall build-up, you end up with gaps that are hard to seal cleanly. That also affects the latch throw and deadbolt alignment. In a door comparison, the “same size” door can still fit differently because the jamb and weather system aren’t standardized.
Measure your rough opening and the jamb depth you have now, not just the door slab width. Compare that to the door’s installation instructions and confirm you can hit the correct reveal on both sides. Then plan your trim and shimming sequence so the door is centered and square before you seal around it.
Editor's noteDry-fit the door and frame hardware before any caulk — it’s the moment you catch fit issues without committing to sealant.
Skip thisDon’t assume “standard size” means it will seal; jamb depth is what decides the gap.
7. Ignoring Material Expansion in Your Climate
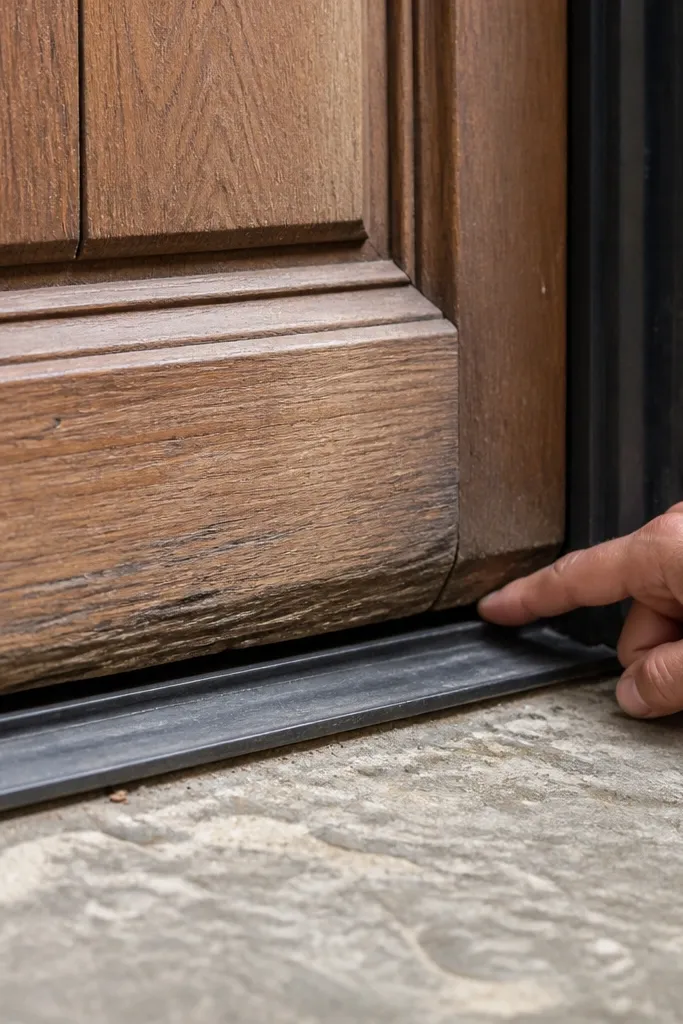
Wood, fiberglass, and steel all behave differently as temperatures swing. If you pick a door material that expands more than your weatherstripping and installation allowances can handle, the door binds, then the seal fails. In a comparison main entrance door design, you need to think about your region’s temperature swings, not just the door’s color. The wrong match shows up as sticky operation in winter or gaps in summer.
Check the door material and construction: solid wood panels move more than engineered cores, while fiberglass often stays more stable. Choose a door with an installation method that allows for seasonal movement, including correct shimming and not over-compressing seals. Finally, set clearances at the top and sides so the door can expand without rubbing weatherstripping.
Editor's noteIf your old door stuck in one direction, measure the gap on that side before choosing the replacement — it tells you how your opening moves.
Skip thisDon’t pick a tight-fit door just because it looks “flush” in the showroom.
8. Panel Design That Warps or Rattles
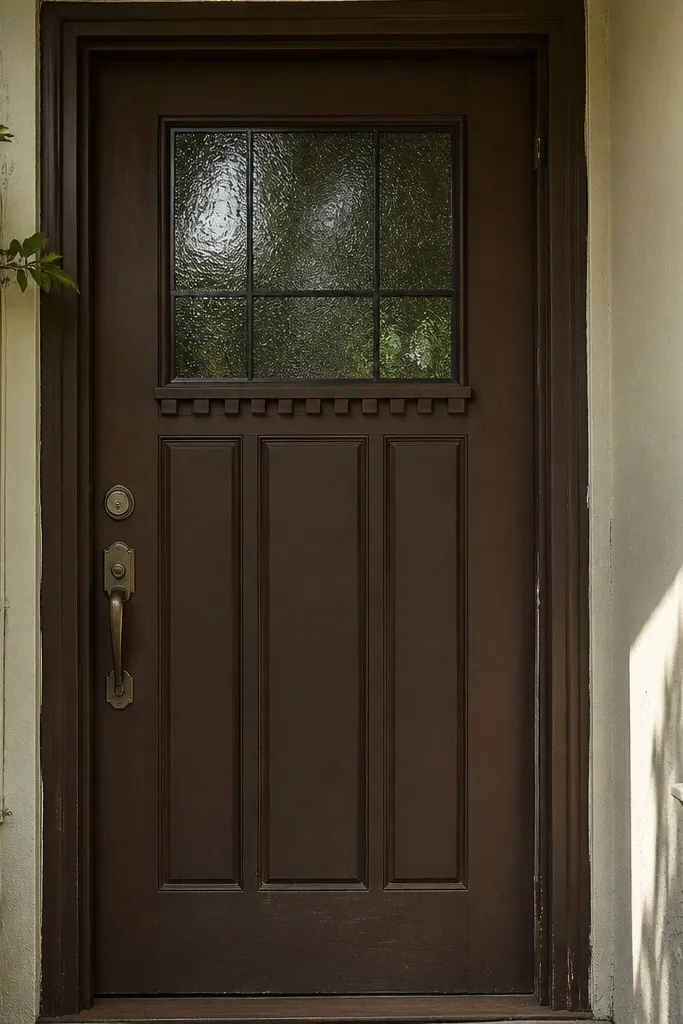
Door panel construction matters more than you think. Some panel styles flex and create micro-gaps that let air leak, especially around glass inserts and raised moldings. Over time, that flex can also loosen trim and rattle when wind hits the door. When you compare main entrance door design options, look for stable panel construction and solid mounting for any glass or decorative inserts. The best-looking door is the one that doesn’t move on the frame when you push near the corners.
Check how the panels are attached to the stiles and rails, and look for reinforced corners where the frame takes stress. Test the slab by pressing lightly around the glass corners and panel edges — you want minimal movement. During install, shim behind hinge and latch points so the load transfers into the frame, not into thin trim areas.
Editor's noteIf you hear a click when closing, stop and find the loose contact point before you seal the trim — it’s easier before caulk sets.
Skip thisDon’t ignore door slab flex; if it moves in the showroom, it will move outside.
9. Using Wrong Sealant or Too Much of It
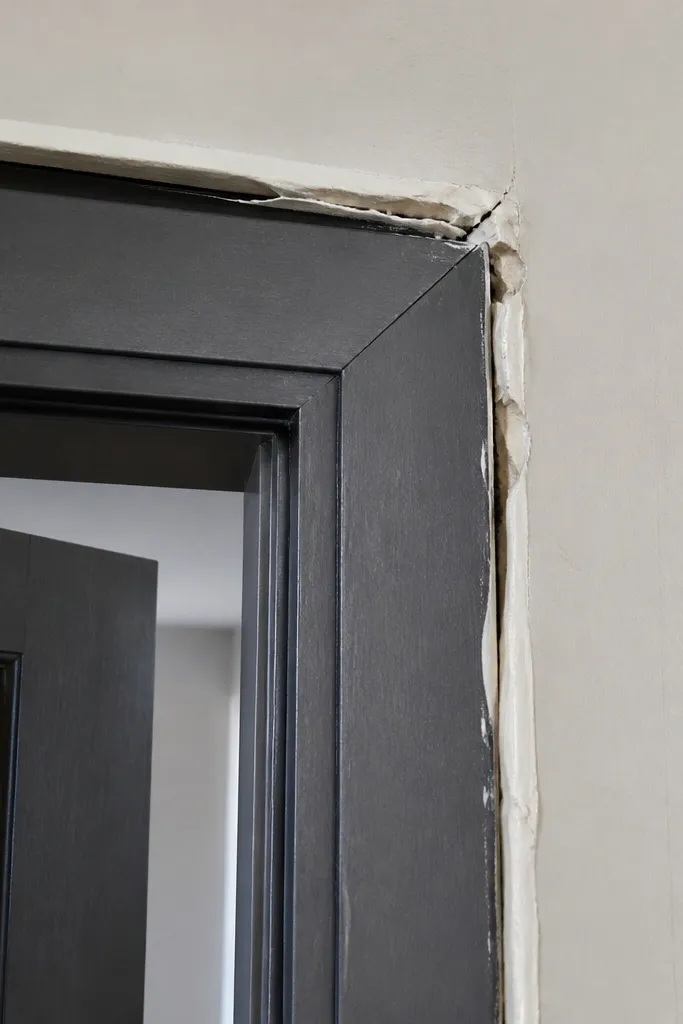
Sealant is not a filler for bad fit. If you use the wrong product or gob it on to cover gaps, it can interfere with drainage paths and adhesive bonding. Too much sealant can also trap moisture where it shouldn’t sit, which leads to rot around the jamb. In a comparison main entrance door design, the door might be great, but the installation materials decide whether it stays solid. You want a clean, controlled seal that supports drainage and doesn’t block weep routes.
Use exterior-rated sealant that matches the door manufacturer’s instructions, and avoid general-purpose interior caulk. Apply a controlled bead where the instructions call for it, then tool it so it doesn’t smear onto weatherstripping surfaces. Finally, keep weep holes clear and don’t pack sealant into areas meant to drain — that’s where moisture should exit.
Editor's noteTape off the jamb before caulking so you get a straight line and don’t contaminate the gasket surfaces.
Skip thisDon’t seal over weep holes or use silicone as a thick gap-filler.
10. Paint Finish That Fails at Hands and Corners
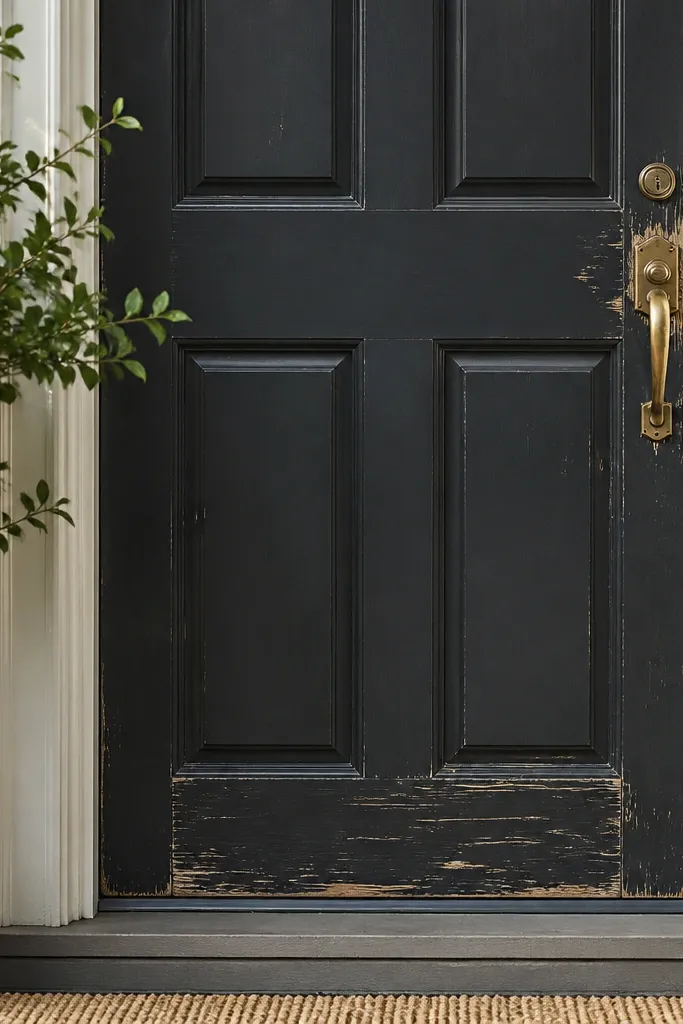
A front door takes constant contact and abrasion. If you compare doors by color but ignore finish type, you’ll end up with paint wear at the handle height, corner edges, and bottom rail. That’s not cosmetic only; worn finish lets moisture reach the substrate and speeds up failure. The fix is choosing the right coating system for exterior use and prepping edges carefully. You want a finish that resists scuffs and holds up to cleaning.
Pick a finish system designed for exterior doors, such as factory-cured coatings or properly specified exterior paint/primer. If you’re painting, scuff-sand glossy areas, clean with the right degreaser, and prime all raw edges and cut lines. Then apply paint in thin, even coats and let it cure fully before heavy use, especially around the handle cutouts.
Editor's noteUse painter’s tape to mask glass edges so paint doesn’t bridge onto gaskets, which can prevent sealing.
Skip thisDon’t touch up with indoor paint — it flakes where the door flexes.
11. Glass Pattern That Blocks Natural Light Too Much

This is a mistake people make when they compare main entrance door design options: they chase privacy and forget how the pattern affects daylight. Heavy muntin grids, tinted glass, and dense decorative inserts can make an entryway feel dim, even with ceiling lights on. The result is a door that looks “right” at purchase but feels wrong in daily life. Pick a glass pattern that matches your entry lighting, not just your style preference.
Decide your goal first: privacy, visibility, or maximum daylight. Then test it by looking at a full-size sample under your entry’s lighting — not in the store. If you want daytime brightness, choose a larger clear area or a lighter grid pattern and keep tint minimal. Finally, confirm the glass height aligns with eye level so you get the privacy effect without turning the whole entry into a shadow box.
If you use frosted or patterned glass, aim for partial height rather than full-height coverage for better daily light.
Don’t buy a heavily tinted, full grid glass pattern for a small entry unless you’re fine with it staying dim.
12. Choosing Hardware That Doesn't Match Door Thickness
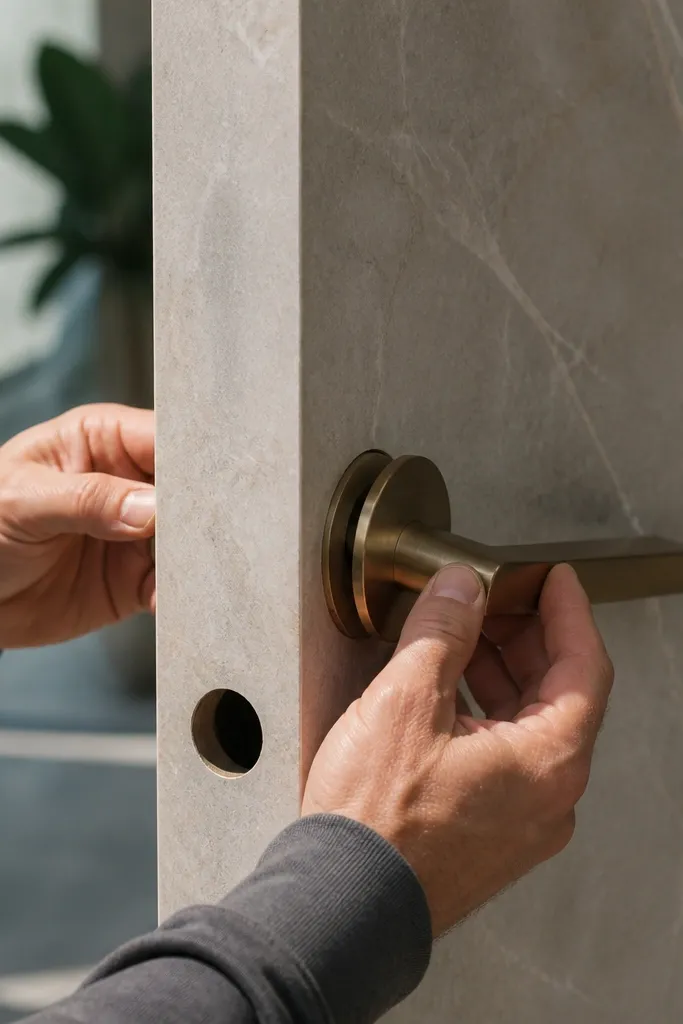
Hardware fit is a comparison factor that gets skipped. If the lockset backset and latch size don’t match the door thickness and pre-drilled holes, the strike won’t line up and the handle may sit loose. That leads to wobble, wear, and a door that never closes quietly. When you compare main entrance door design ideas, plan hardware early so the slab and hardware system are compatible from day one. A beautiful door with wrong hardware is a headache.
Measure your door thickness and check the lockset specs for latch width and backset. Confirm that the pre-drilled hole pattern matches the lockset you want or that you can drill accurately with the right jig. Then dry-fit the latch and handle so everything sits flush before tightening screws. Finally, check deadbolt alignment against the strike plate and adjust hinges if needed before you finalize.
Editor's noteUse a drill guide jig for latch installs — a slightly off-center latch will create alignment problems that look “mysterious” later.
Skip thisDon’t order a lockset based on handle style alone; thickness and backset decide fit.
13. Not Planning for Screen and Storm Door Clearance
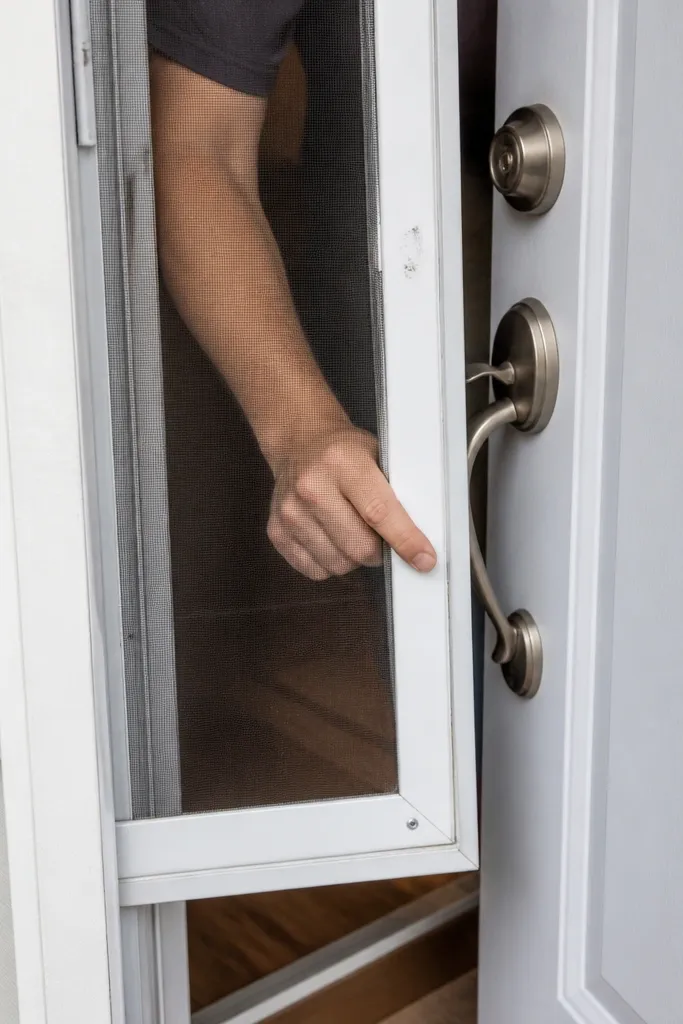
If you add a storm door or screen later, clearance becomes a make-or-break detail. People compare main entrance door design ideas and pick a slab with glass and decorative trim, then forget that storm door hardware needs space to swing without rubbing. The fix isn’t complicated, but you have to plan it before install. If the storm door frame hits the main door, you’ll fight alignment forever and wear weatherstripping quickly.
Measure the distance from the main door’s edge to the nearest wall and trim so you know what clearance you have for a storm door frame. Choose storm door hardware that matches that clearance, and check hinge swing direction. Then keep the main door weatherstripping contact point in mind so you don’t install extra seals that increase thickness at the edge. Finally, test the storm door swing before final caulking and trimming so you can reposition shims if needed.
Editor's noteIf you’re unsure, dry-fit the storm door frame first — it’s cheaper than redoing weatherstrips.
Skip thisDon’t assume the storm door will “work out” after install; clearance issues show up fast.
14. Overlooking Sidelight and Door-Jamb Interaction
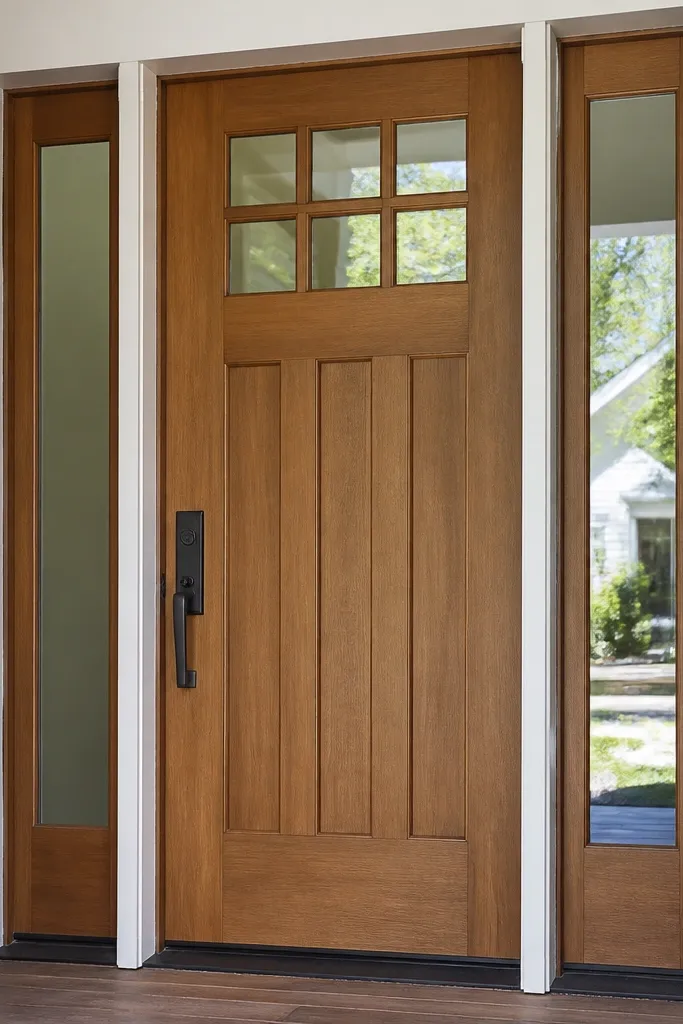
Sidelights change pressure and airflow patterns, and they also complicate sealing along the jambs. In a comparison main entrance door design, you might focus on the door slab and ignore how the sidelights meet the frame. If the jamb seals aren’t continuous, you get drafts and moisture tracking at the corners where the sealants meet. The result is a door area that looks fine but feels cold and looks messy after a year.
Inspect the full assembly design: the door jamb and sidelight frame should have continuous gasket lines where they meet. During install, focus on shimming and squaring across both the door and sidelight sections so the reveals stay even. Then apply sealant only where the system calls for it, and avoid blocking any drainage paths at the bottom of the sidelight frames. Finally, check light leaks along the meeting line with a flashlight — it exposes gaps that your eye misses.
Use a long straightedge across the jamb line to verify alignment; sills and jambs creep when framing is uneven.
Don’t seal corners blindly; if the meeting line isn’t square, sealant just hides the problem until it leaks.
15. Wrong Glass Thickness for Impact Resistance
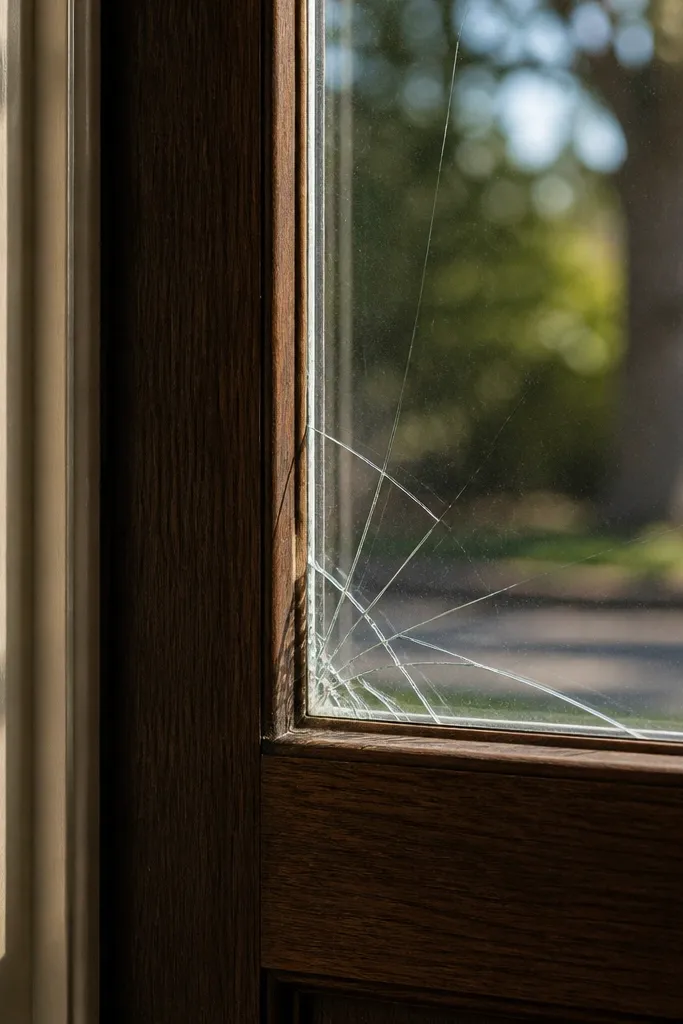
People compare glass doors by style and privacy, then overlook impact resistance. If the glass is too thin or not rated for your local requirements, you increase the chance of cracking and safety issues. Even without extreme events, thinner glass can crack from everyday stress like a bumped corner or repeated pressure from wind. For a main entrance door, choose glass thickness and rating that matches your risk level and local code. It’s a safety and durability choice, not a design one.
Check the glass spec for thickness and rating, and confirm it’s appropriate for exterior doors in your area. If you’re selecting patterned or decorative glass, verify the IGU construction still has the required safety level. Then inspect installation: glazing clips and gaskets must seat correctly so the glass doesn’t shift under wind pressure. Finally, after install, run your hand along the glass edge to confirm there’s no loose movement.
If you live where wind gusts are common, prioritize doors with tighter glazing gasket systems and solid clips.
Don’t swap to “nicer looking” thinner glass inserts after the fact.
16. Skipping the Square Check Before Caulking
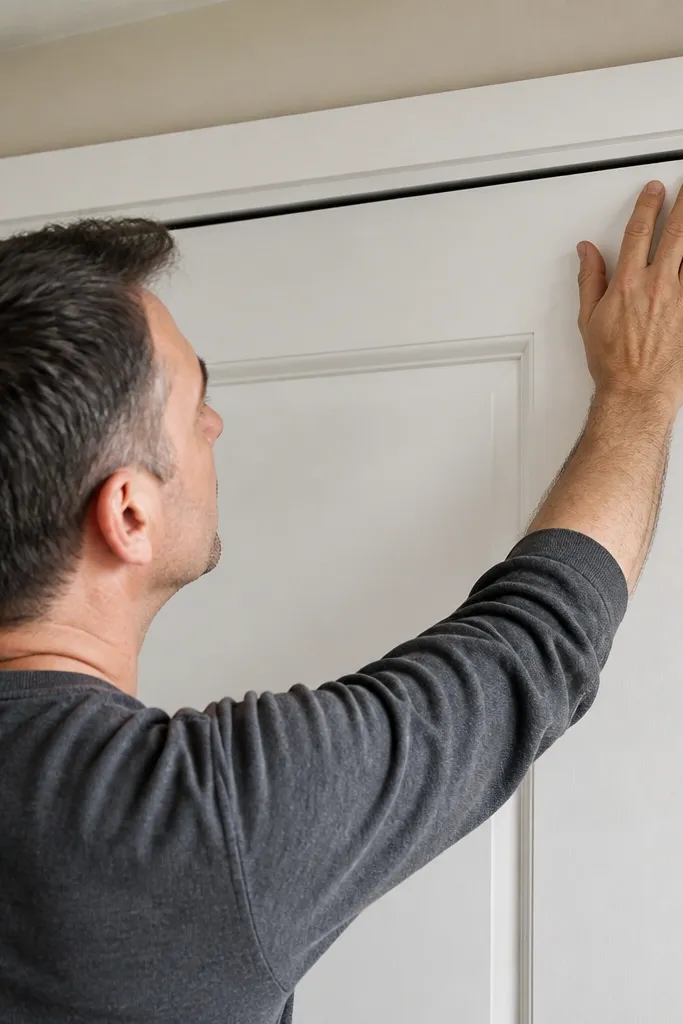
Once the door is caulked and trimmed, correcting a slightly un-square opening becomes annoying. That’s why this mistake keeps showing up: people compare main entrance door design options, choose the door, then install without verifying squareness at multiple points. A door that’s even a little out of square will seal poorly, bind on one side, and make the deadbolt feel “almost right.” The door might look fine in daylight but fail under wind pressure and temperature swings.
Before you apply final sealant, check squareness at the top and bottom reveals on both sides. Use a tape measure to compare diagonals if you can access the framing — the opening should measure evenly. Adjust shims behind hinges and latch until the reveals are even and the door swings smoothly. Only then do you caulk and trim around the jamb so the geometry stays locked.
Mark shim stacks with a pencil line so you can replicate small adjustments without guessing.
Don’t caulk first and “fix later”; the door will keep pulling as sealant cures.
17. Choosing Decorative Glass Without Cleaning Access

Decorative glass patterns hide smudges until the light hits at an angle. Then you see streaks along the bottom corners and around muntins where water dries. In a comparison main entrance door design, people pick the pattern they like and ignore how they’ll clean it with an entryway that has a porch overhang or limited reach. If cleaning is annoying, streaks stay, and the door starts looking neglected even when the rest of your entry is tidy.
Choose a glass pattern with enough open surface area that you can reach with a cloth or squeegee. If you have a porch overhang, measure how far your arm can reach from inside or outside so you know the cleaning path. Then pick a door with removable glazing elements only if you’re comfortable with maintenance; otherwise choose patterns that wipe clean easily. Finally, plan a simple cleaning tool kit: microfiber cloth, gentle glass cleaner, and a small squeegee for the bottom edge.
Editor's noteKeep a small squeegee in a zip pouch near the entry — it prevents those stubborn dried-water streaks.
Skip thisDon’t choose a dense grid or textured glass if your entry has limited access for cleaning.
18. Using the Wrong Hinge Placement for Your Door Weight
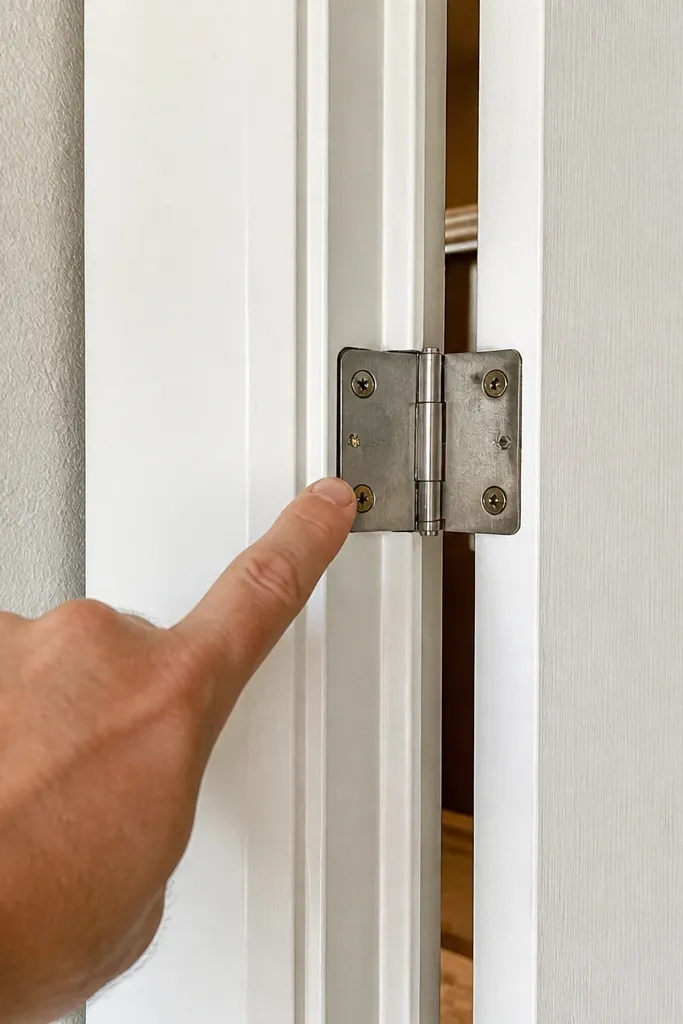
Hinge placement affects how the door loads the frame. If hinge positions don’t match the door slab design or the framing locations, you get a door that closes with uneven pressure and wears weatherstripping faster on one side. This isn’t about looks; it’s about the door moving the way it wants to move. In a comparison main entrance door design, you need to ensure the hinge set you choose matches the slab instructions and that you can anchor into solid framing.
Use the hinge locations specified for the door slab, not the old door’s hinge holes. Dry-fit hinges and confirm they land on structural framing or use appropriate anchors where the manufacturer allows. Then install with the correct screw length and tighten in stages to avoid pulling the hinge plate out of alignment. Finally, check the latch-side reveal and adjust hinges before installing strike plate final position.
Editor's noteIf screws land in weak material, swap to longer screws or proper anchors before you finish — don’t leave it “good enough.”
Skip thisDon’t reuse old hinge hole locations if you’re swapping to a different slab design.
19. Underestimating Door Swing Clearance at the Porch Corner
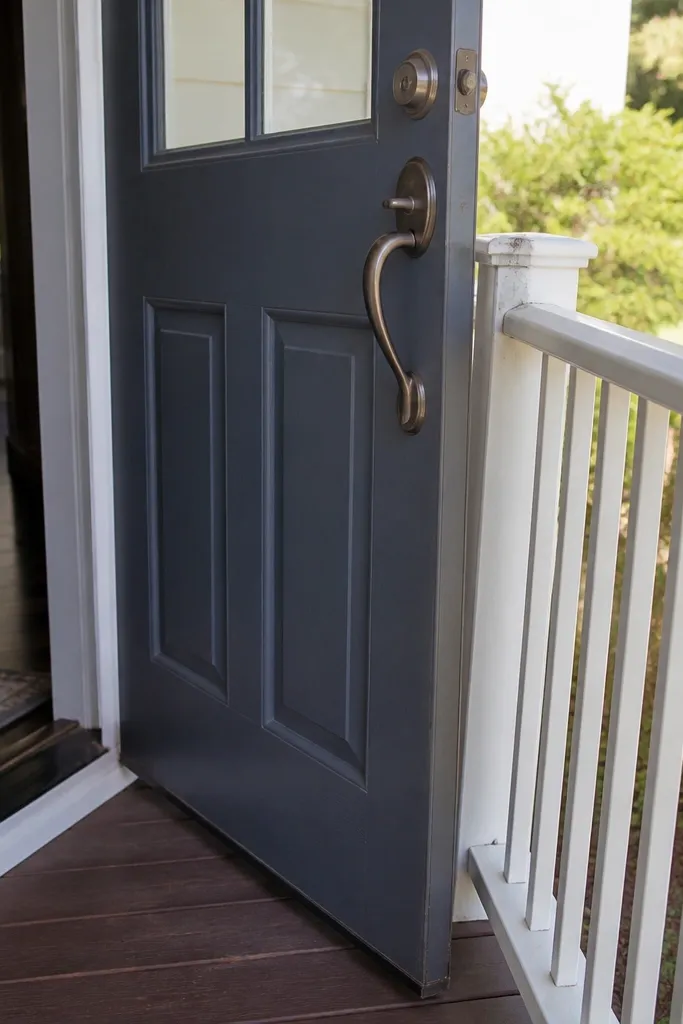
A door that nearly hits a porch post is a daily annoyance and it can damage weatherstripping at the contact point. People compare main entrance door design ideas and ignore the swing arc, especially when they add a glass slab with a more pronounced handle shape. The result is a door that gets slammed or held open awkwardly, which wears hinges and loosens hardware. Measure your swing clearance in real space, not on the plan view.
Find the exact handle-to-wall distance and measure the arc the door travels when opened to 90 degrees. Then check for obstructions like porch rails, planters, and storm door frames. If clearance is tight, choose a handle style with a smaller projection and consider lever placement that doesn’t extend past the door edge. Finally, confirm the door closing angle so the latch engages firmly without forcing the door into the jamb.
Editor's noteOpen the door while standing where you’ll normally reach for the handle; your body stance changes how far the door swings.
Skip thisDon’t pick a door because the glass pattern looks good if it makes the handle hit your porch rail.
20. Buying "Energy Efficient" Without Looking at the Whole System
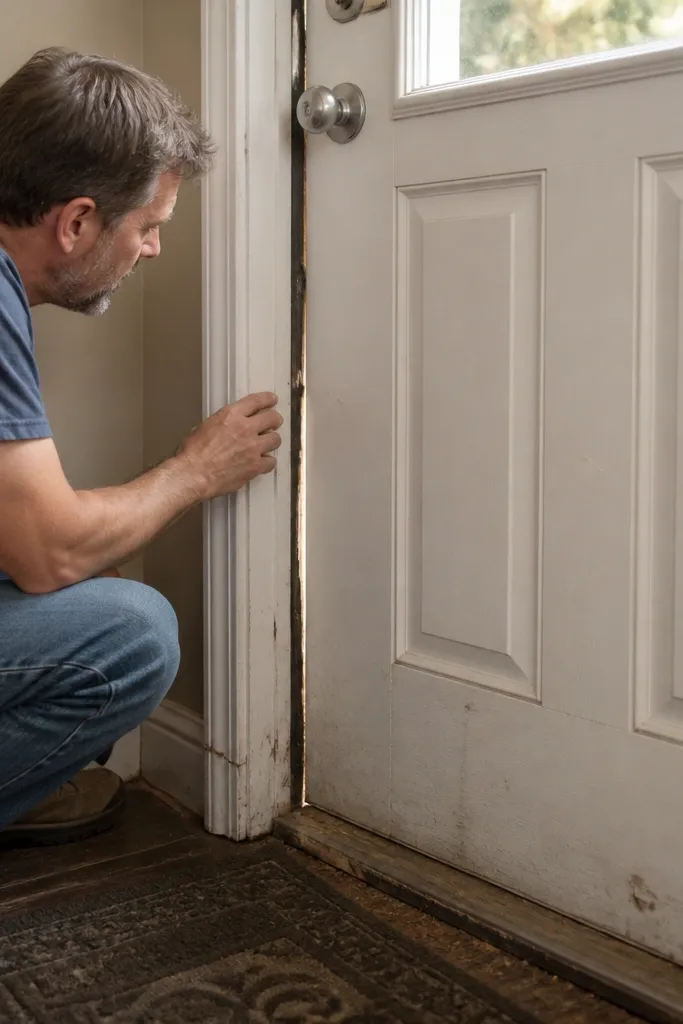
Marketing “energy efficient” can mislead you when the actual air leakage comes from gaps around the frame and threshold. A door might have great insulation, but if the weatherstripping compresses inconsistently or the threshold seal is wrong, you feel drafts immediately. In a comparison main entrance door design, the best move is to compare the complete sealing system: gaskets, sweeps, threshold, and how the door is installed. That’s where heat loss and cold air sneak in.
Before buying, inspect the door’s sealing components: door perimeter gaskets, bottom sweep type, and threshold design. Then plan install details so the frame is square and the reveals are even across the jamb. After install, test for drafts with a thin strip of tissue or a smoke source near the seams. If you feel air where the door meets the frame, adjust shims and weatherstripping before adding extra caulk.
Editor's noteUse a cheap infrared thermometer on a windy day to find the cold seam — it tells you exactly where to adjust.
Skip thisDon’t assume a high R-value door slab fixes leaks caused by poor installation.
21. Finishing the Exterior Trim Too Early
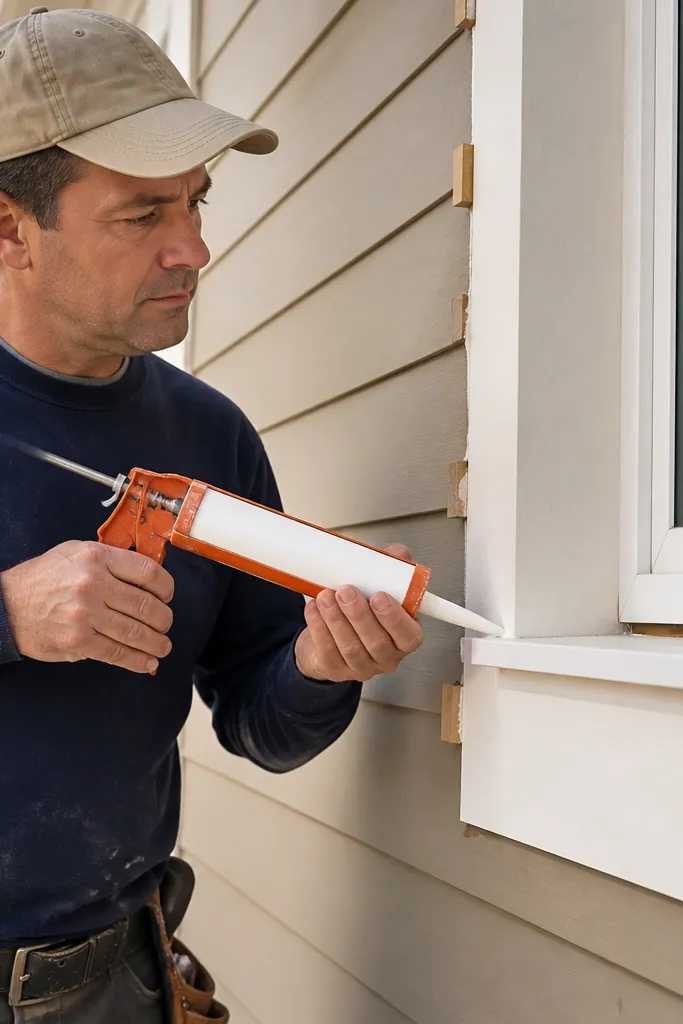
Trim work can lock in a bad reveal. If you finish the exterior trim before the door swings smoothly and seals consistently, you trap alignment problems under caulk and paint. People compare door styles, then rush trim so the entry looks done. The door ends up with a gap on one side, and adjusting later means removing trim and repainting. The door should open and close cleanly before you make the outside pretty.
Install and adjust the door first with shims until the reveals are even and the door latches smoothly. Then test weather sealing by closing and checking for light leaks and drafts. Only after those tests pass, install exterior trim and seal in the order the door system expects. Finally, paint or finish trim only after the sealant cures so you don’t trap moisture under fresh coatings.
Editor's noteLeave a small access gap for adjustment hardware if your system allows it; it saves you from demolition later.
Skip thisDon’t caulk and paint trim until you’ve confirmed the door seals and the lock lands perfectly.



