
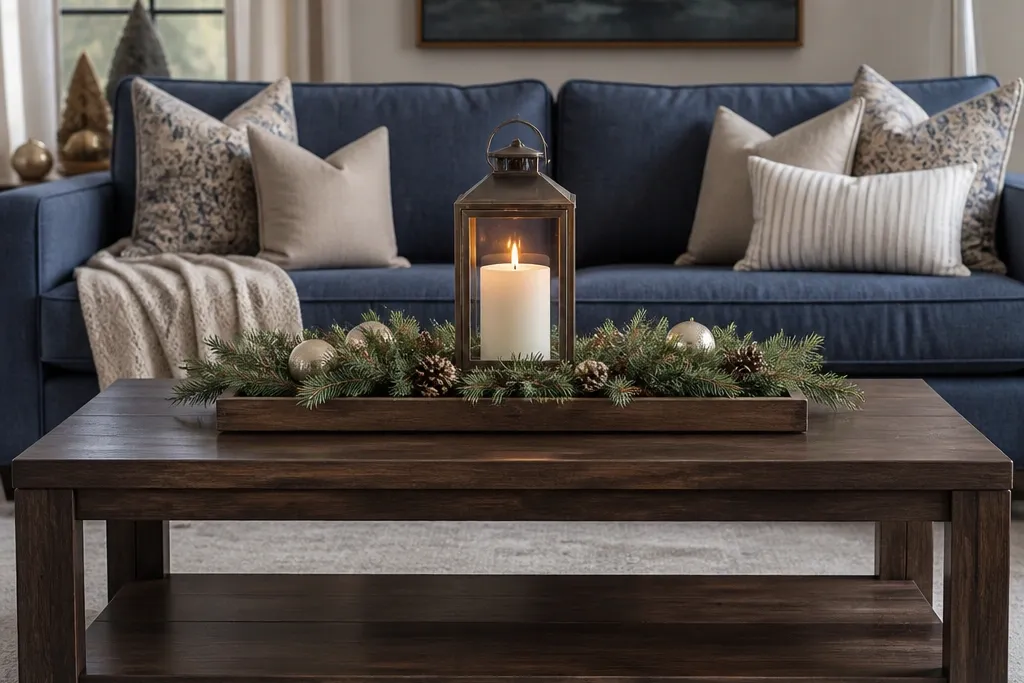
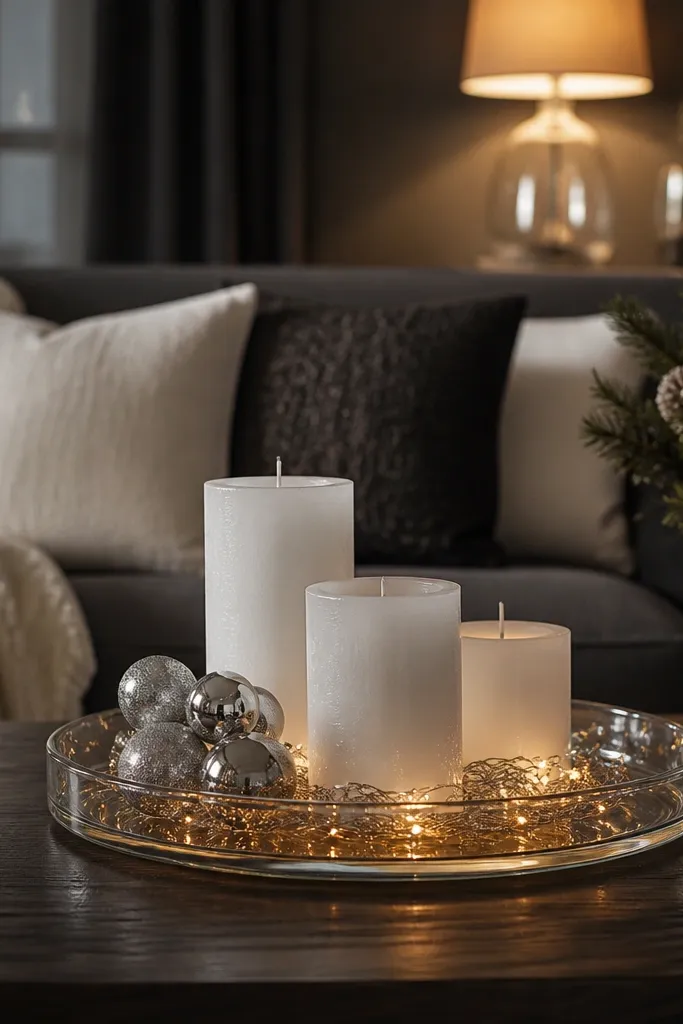
1. Trays + Riser Centerpiece (the "everything has a home" build)
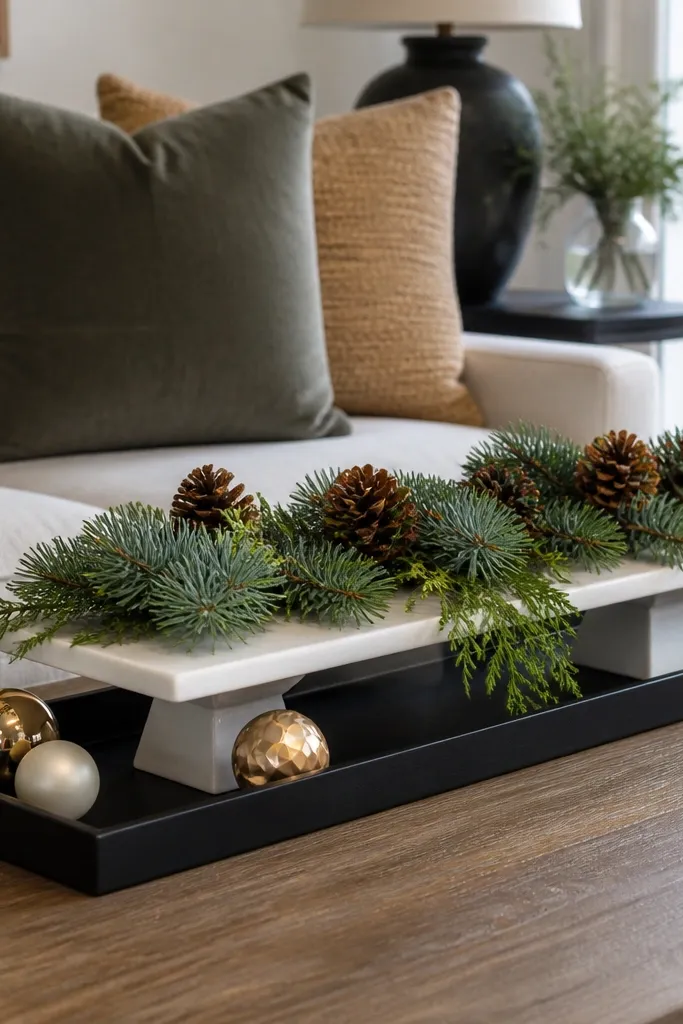
This setup fixes the biggest holiday coffee table complaint: scattered pieces that migrate toward the edges. A tray gives you boundaries, and a riser adds depth so the decor doesn’t look flat against the table. I like rectangular trays for coffee tables because they align with the long edge and make the arrangement feel intentional. Use a neutral base like wood, woven, or matte metal so your greenery and ornaments carry the color. Skill level is beginner-friendly, and you can finish it in 45-90 minutes depending on how many elements you already own.
Start by placing a tray centered on the coffee table and measure how much width it covers. Build height using a riser that’s 2-4 inches tall (a stack of scrap wood wrapped in fabric also works) so the tallest item lands around 10-14 inches. Arrange evergreen sprigs or a garland in a loose crescent on the back edge of the tray, then add 2-3 candles: one in the center and two slightly forward at equal spacing. Fill gaps with ornaments or pinecones tucked low, then finish with a small ribbon bow on the tray handle side or center.
Editor's noteAnchor the underside of the riser with a strip of removable museum putty so it doesn’t creep when people set down mugs.
Skip thisAvoid placing candles directly on bare smooth glass or marble without a non-slip liner.
2. Mirrored Tray Winter White (clean look, fewer pieces)
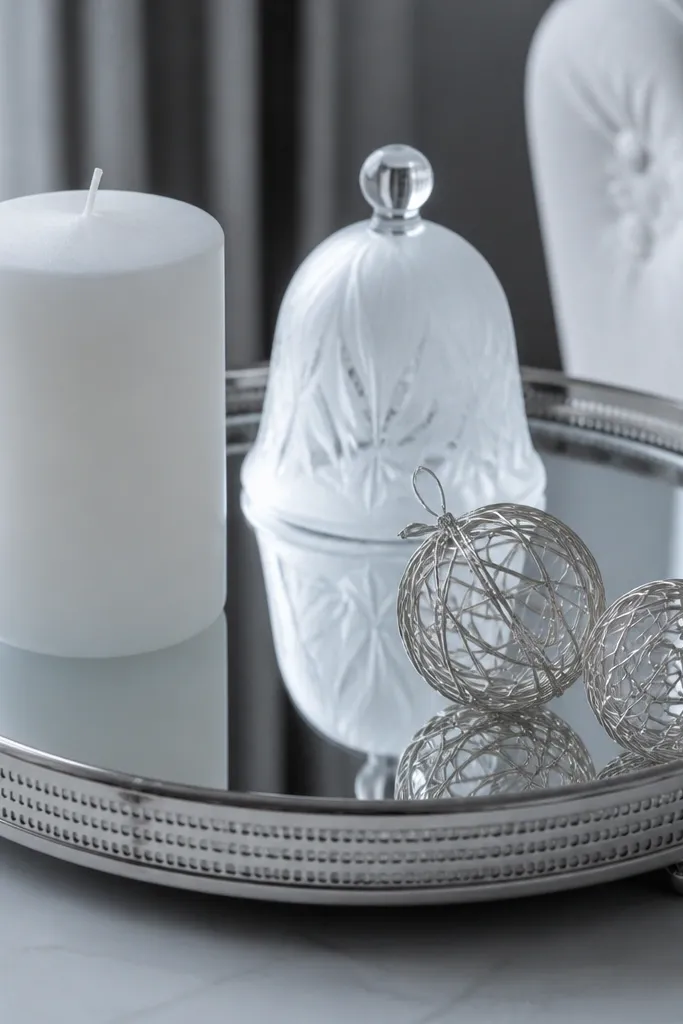
If your current Christmas decor feels busy, this is the comparison-win: fewer objects, brighter reflection, and a calmer palette. A mirrored or glass tray makes the scene look larger without adding clutter, and it helps small items read more clearly from across the room. Winter white plus silver looks crisp in daylight and still works under warm lamp light. You’re basically building a controlled “snow globe” effect on a stable base. This one suits small tables and open-plan living rooms where you need the decor to stay light.
Pick a mirrored tray that fits within 70% of your table width, then line the tray with a thin layer of white faux fur or crinkled paper for texture. Add one cluster at the back: silver pine picks or eucalyptus stems, trimmed so they sit 5-7 inches above the tray. Place 3 flameless LED candles in a triangle pattern, then tuck a few frosted picks or mini ornaments low around the front edge. Finish with a single strand of pearl-like beads or white berry picks across the back third of the tray.
Editor's noteUse battery candles with a timer so the lights don’t require constant switching during guests.
Skip thisAvoid mixing too many whites; keep it to two shades max (bright white and off-white).
3. Greenery Runner with Floating Ornaments (the "no clutter" strip)
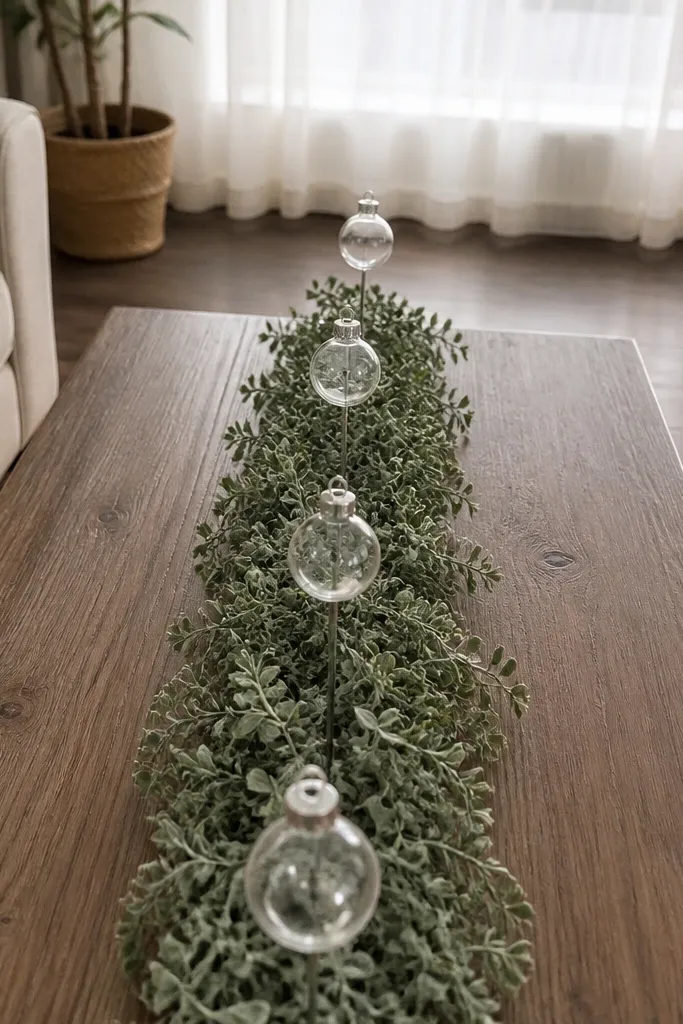
This is the solution when you want Christmas without turning your coffee table into a storage shelf. A greenery runner creates a single line for the eye, and ornaments spaced along it read tidy instead of accidental. I like this especially on larger tables where a central pile looks too dominant. It also plays well with books — the runner sits in the center while you keep functional space on the sides. Expect a 30-60 minute build if you already have a garland and a few ornament picks.
Lay down a thin ribbon or fabric runner as your base strip, then glue or wire evergreen sprigs along it so the greens stay in a straight line. Space ornaments every 6-8 inches, alternating matte and shine so you get visual rhythm. Add two small candle holders at opposite ends of the runner, but keep the candle height under 6 inches. Place the runner so it sits slightly toward the back third of the table, leaving a clear front edge for drinks.
Editor's noteTrim garland ends into short “tufts” instead of thick clumps so the runner looks even from the side.
Skip thisAvoid placing ornaments too close to candle heat sources or LED wires.
4. Wood Slice + Candle Trio (warm cabin look with real texture)
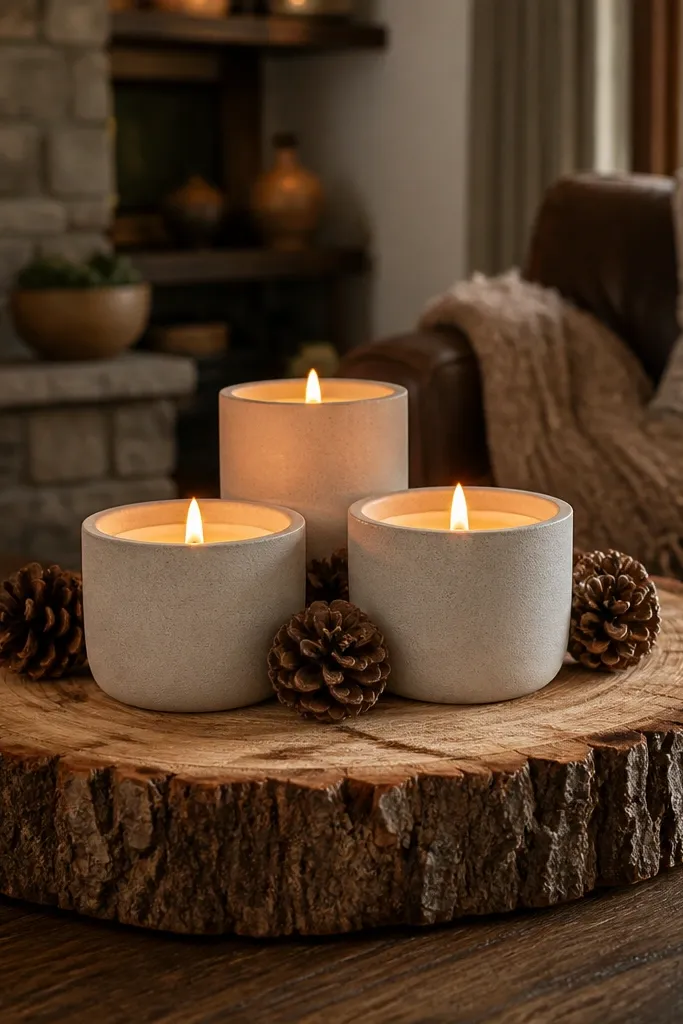
If your room has wood tones or you want Christmas that doesn’t feel overly holiday, this one lands in the sweet spot. A wood slice base gives you texture and height control without needing tall decorations. The candle trio makes it feel festive while staying practical for everyday use. It also hides small table imperfections because the base is irregular and forgiving. This works best in living rooms with warm lighting and neutral textiles.
Center a large round wood slice (about 12-16 inches diameter) on a non-slip pad. Arrange three flameless candles: one in the center and two spaced evenly to the left and right, keeping the outer candles about 3-4 inches from the wood edge. Tuck pinecones or dried orange slices around the candle bases, not on top of them. Finish with a thin ring of evergreen stems around the perimeter so the centerpiece looks framed.
Seal dried citrus slices with a clear matte craft spray so they don’t shed and stain.
Avoid using a wood slice directly on glossy lacquer without a pad — it can slide and scratch.
5. Book Stack + Ornament Tray (Christmas decor that still reads as furniture)
This is for people who hate when the coffee table looks like a craft store. Stacking books gives you a natural riser and keeps the decor integrated with real living-room objects. The ornament tray sits on top, so the table stays functional and your decor doesn’t take over the surface. I like this in rooms where you already have books out, because it looks intentional instead of added. Build time is 20-40 minutes.
Choose two to four books with similar spine colors and stack them on the back half of the table. Place a small tray on top of the stack so it doesn’t hang off; aim for 2-3 inches of book support under the tray. Add a thin strip of greenery under the tray lip or along the back edge of the stack. Fill the tray with 6-10 mini ornaments, then add one candle or lantern piece at the back center.
Editor's noteUse a sheet of felt between the tray and books to prevent sliding.
Skip thisAvoid stacking books too high; if the tray ends up taller than 18 inches, it blocks sightlines.
6. Tall Lantern + Low Greens (the "one vertical focal" strategy)
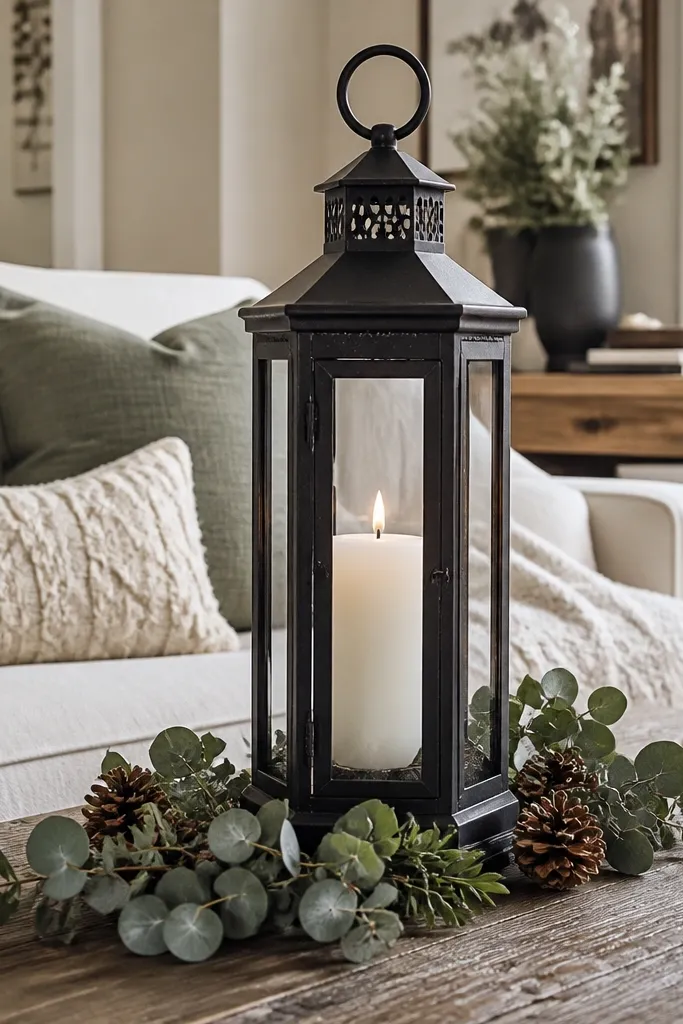
When your coffee table decor looks lopsided, it’s usually because everything is the same height or everything is tall. This idea fixes it by using one vertical focal piece and keeping the rest low. A lantern also looks good from different angles because you see the sides, not just the front. It’s especially good when you have a couch with patterned pillows — the lantern gives a solid shape to anchor the scene. It’s beginner-friendly and takes 30-70 minutes.
Place a lantern at the back center of the table on a small base tray or doormat-style liner. Add low evergreen sprigs across the front edge, trimming them so they sit 4-6 inches tall. Put two small ornament clusters on either side of the lantern, keeping symmetry within 1-2 inches. Add one subtle element in the middle between the clusters — a ribbon bow, a pinecone bundle, or a small candle holder.
Editor's noteIf your lantern is glass, keep the inside light warm white so it matches most home bulbs.
Skip thisAvoid using a tall focal plus multiple tall candles; pick one height hero.
7. Sculptural Pinecone Bowl (simple, durable, and low mess)
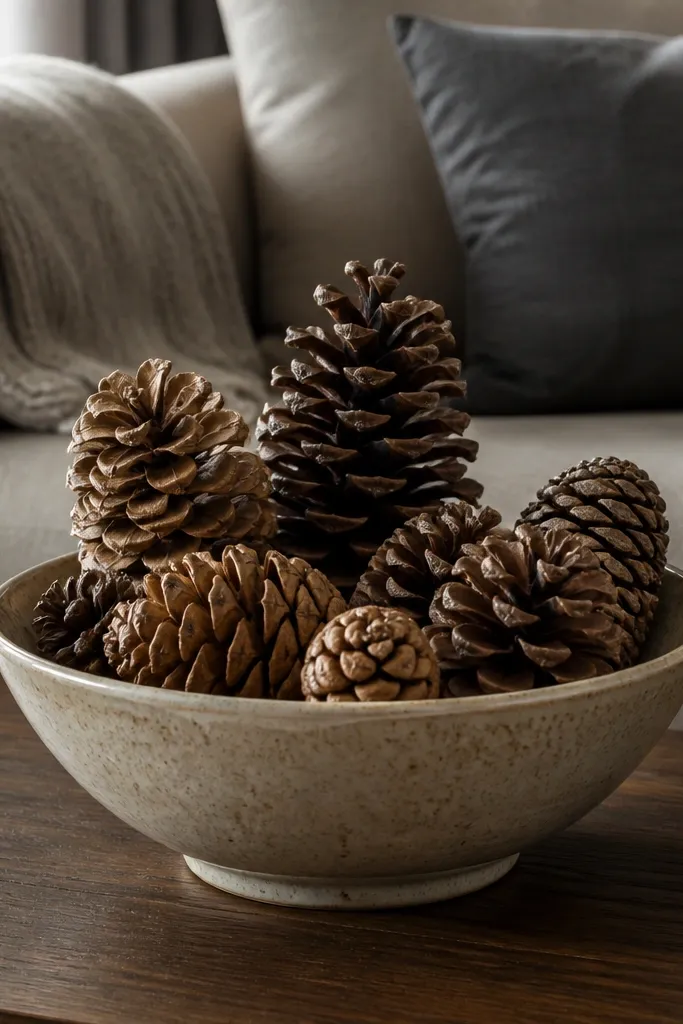
Pinecone decor is one of the few Christmas choices that doesn’t require constant fluffing. A bowl with pinecones looks finished even when people bump the table, and it doesn’t rely on fragile ornaments. This is a great comparison pick if your current decor gets knocked over or breaks easily. It also works in small spaces because you can keep the bowl low while still looking seasonal. Expect 15-30 minutes if you already have pinecones and a bowl.
Pick a ceramic or wood bowl with a wide opening (10-14 inches across). Line the bottom with a thin layer of moss or raffia for grip and to hide gaps. Add pinecones in a tight ring first, then fill the center, aiming for a dome that’s 2-4 inches above the rim. Tuck 3-5 evergreen sprigs around the outer edge, then add one accent like a cinnamon stick bundle or a single red ornament cluster.
Editor's noteIf pinecones are shedding, bake them at 200°F for 10-15 minutes, then let them cool completely before styling.
Skip thisAvoid using glittery pinecones indoors if you hate cleanup — they shed.
8. Red Velvet Ribbon Bow + Minimal Ornaments (soft holiday, clean lines)
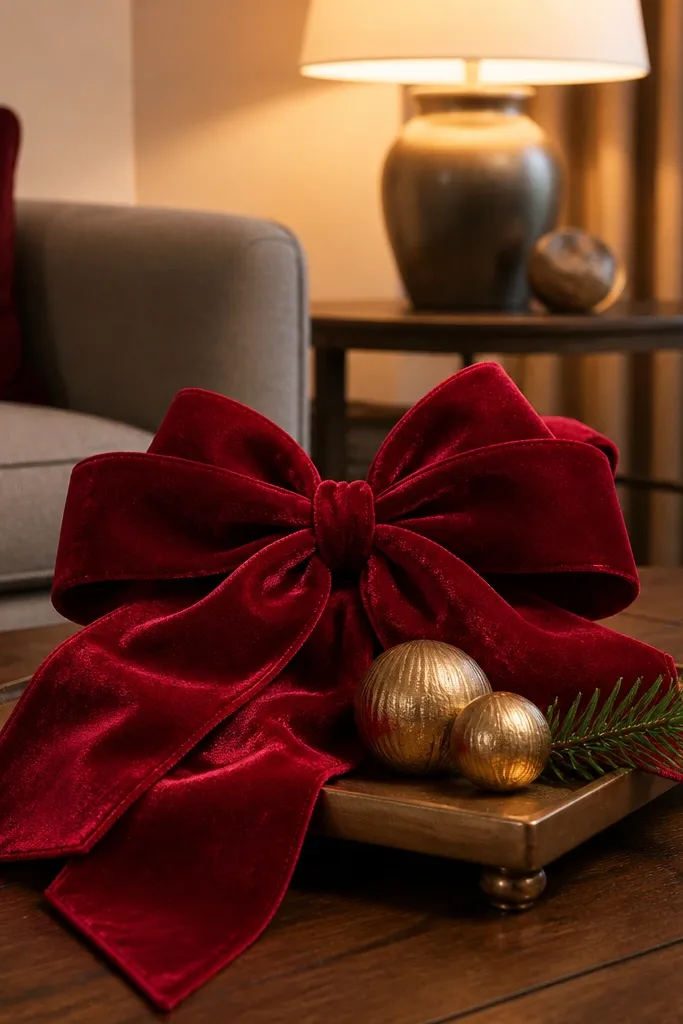
This is for the “Christmas but make it classy” crowd without going overboard. A large ribbon bow gives you instant holiday energy, and minimal ornaments prevent the scene from turning into a pile. Velvet reads warm under lamplight and hides small imperfections on greenery. I like keeping the ornaments to one cluster so the bow is the star. This setup fits dining-adjacent living rooms where you want the Christmas vibe to feel intentional, not craftsy.
Start with a neutral tray or a flat wood board centered on the table. Add two flameless candles at the front corners so the bow doesn’t sit too low. Drape a 2-3 inch wide velvet ribbon across the back of the tray in an arch, then tie a large bow in the center with tails about 10-14 inches long. Add 6-8 mini ornaments tucked low under the ribbon ends so they don’t compete with the bow.
Editor's noteUse ribbon wire or cut ends with a slight angle so the tails hold their shape.
Skip thisAvoid adding multiple bows; one big ribbon element reads stronger than three small ones.
9. Terrarium-Style Mason Jar Center (budget, contained, stable)
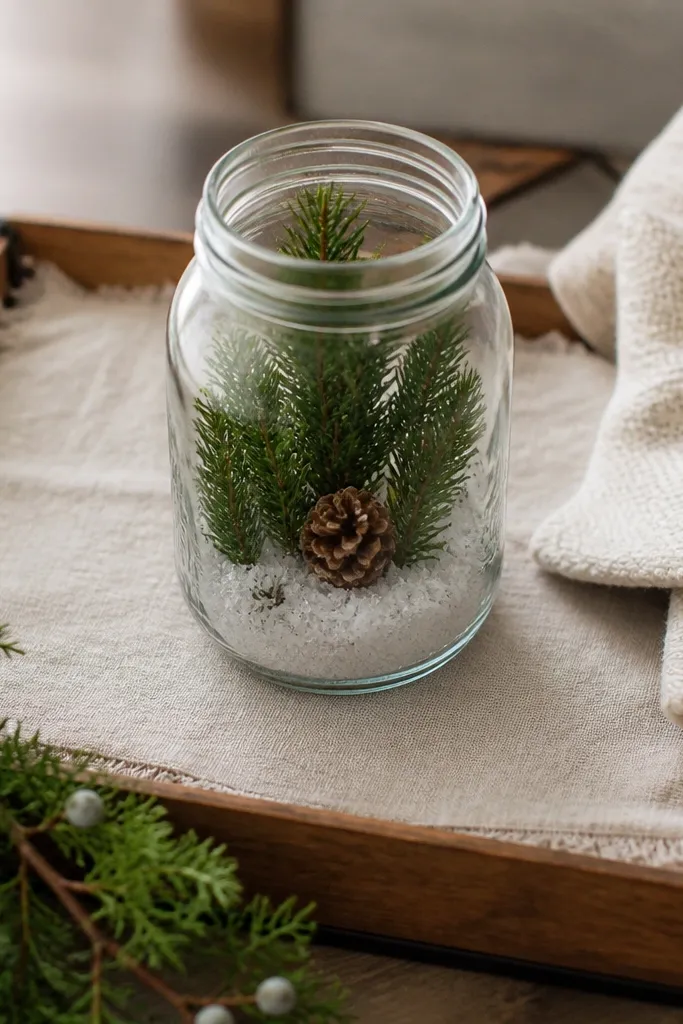
If you’re trying to keep decor contained and tidy, a mason jar terrarium is a smart comparison choice. The jar acts like a frame, so your scene doesn’t spill across the table. It also makes styling forgiving because anything you drop in stays organized. This works best when you want a smaller centerpiece that won’t block conversation. Build time is about 20-35 minutes.
Choose a wide mason jar (quart size or larger) and add a base layer of small stones or sand for weight. Tuck faux or real greenery around the inner walls, trimming stems to 2-4 inches above the jar base. Place a flameless LED candle in the center, then add 5-10 mini ornaments or pinecones around it. Finish with a light dusting of faux snow on the lower half only so it doesn’t look messy.
Editor's noteHot glue faux greenery to the jar lid or a small foam circle to keep it from shifting.
Skip thisAvoid using a tall, narrow jar — it makes the arrangement look top-heavy.
10. Snowy Eucalyptus + Glass Cloche (winter display with real drama)
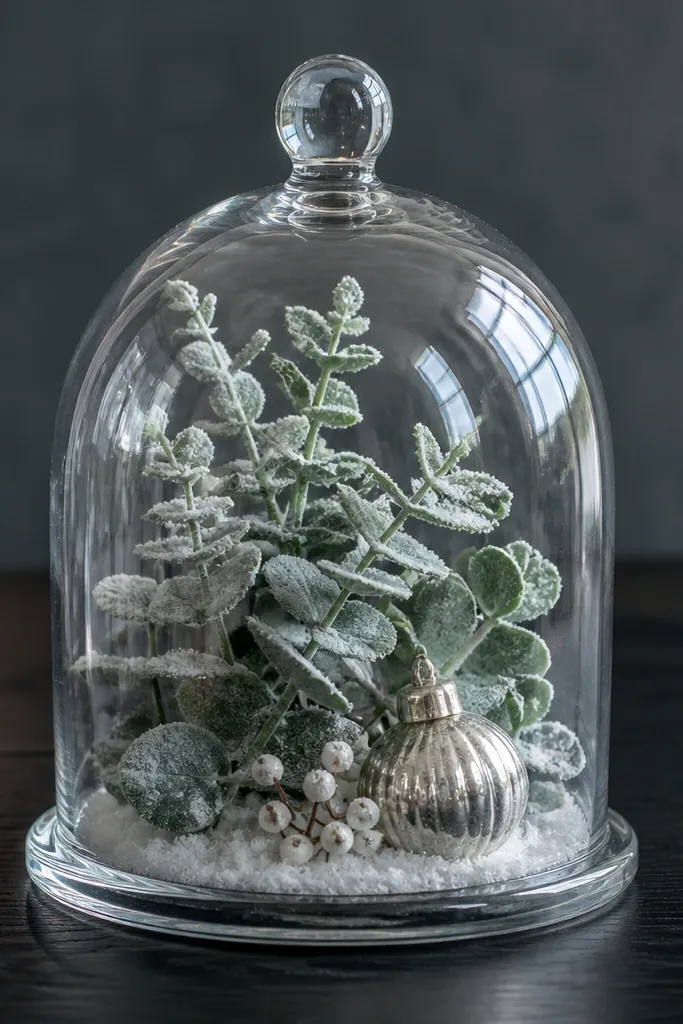
A cloche gives you a built-in boundary and makes the decor feel like a display, not a scatter of objects. Snowy eucalyptus looks clean and modern, and the glass adds a crisp winter feel without needing lots of ornaments. This setup is great for modern homes with gray, white, or black furniture because the shapes stay sharp. It takes 30-60 minutes and requires a little careful placement to keep it centered.
Place a flat tray or wood board under the cloche so you have a base to style. Add a ring of faux snow or white filler around the cloche base, then tuck eucalyptus stems so they peek out evenly. Put a small flameless LED inside or behind the arrangement so it glows through the glass. Add two small accent ornaments on the tray edges only, keeping the cloche as the focal point.
Editor's noteWipe the cloche with a microfiber cloth before styling so fingerprints don’t show through the glass.
Skip thisAvoid overfilling the cloche — it should look airy, not packed.
11. Three-Point Candle Candelabra Look (balanced without being symmetrical)
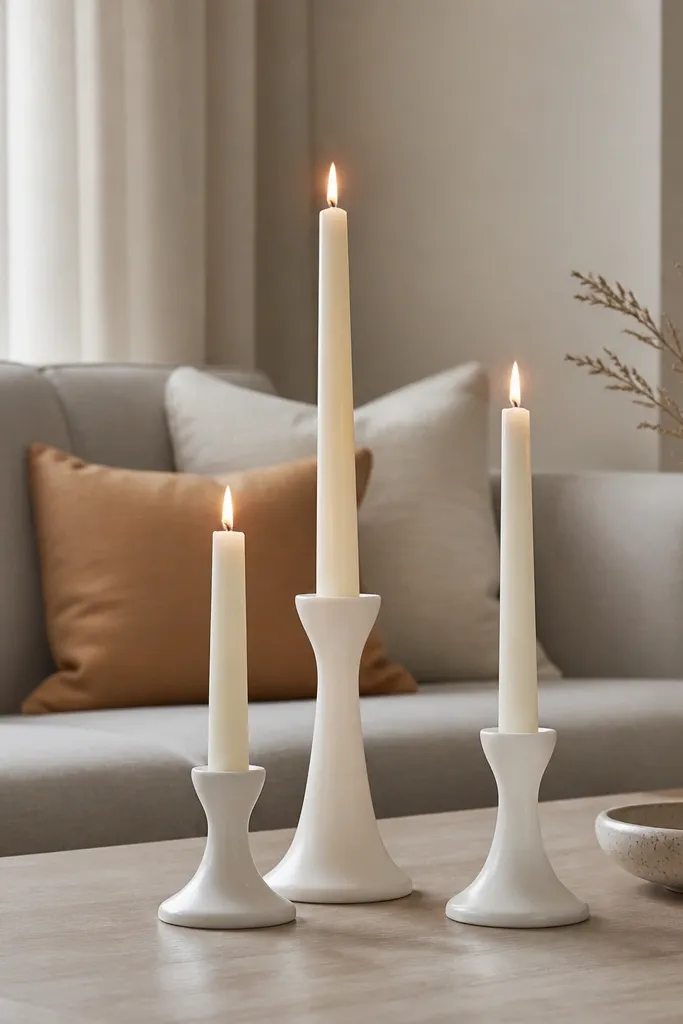
This setup fixes the common problem where candles look random or too evenly spaced in a way that feels stiff. A three-point arrangement creates stability and a natural visual triangle across the table surface. Keep the candles at slightly different heights for a more relaxed holiday feel. It’s also easy to adjust if you have a table that’s wider than it is deep. This is a 20-45 minute build.
Lay a thin runner or strip of burlap centered on the table. Place three flameless candles in a triangle: one at the center back point and two at the front left and front right points. Add evergreen sprigs between the candles, filling the runner line so the greens connect the triangle. Finish by tucking a few small ornaments at the outer edges of the triangle, not in the center.
Use candle bases of similar diameter so the triangle looks intentional even if you mix heights.
Avoid placing candles all at the exact same height — it reads flat.
12. Ornament and Holly Tray with No Candles (holiday without fire or wax)
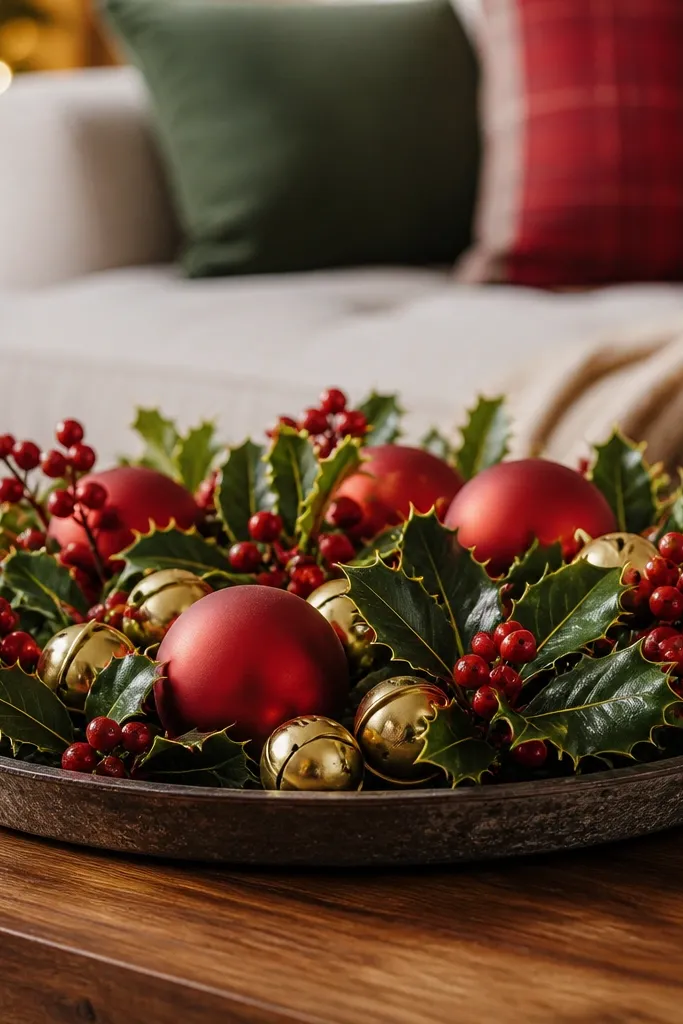
Some living rooms don’t want candles on the coffee table, and that’s fine. A tray built around holly leaves and ornaments still reads Christmas even without flame. This is also a clean solution if you have pets or kids who get curious about anything that looks like a candle. You get color, texture, and height control without the maintenance. Plan for 25-50 minutes.
Choose a shallow tray and line it with a neutral fabric or paper so the base looks finished. Create a back row using holly picks and leaf garland, trimming so it forms a gentle arch. Add 8-12 ornaments clustered along the leaf line, mixing sizes but keeping them within a 10-12 inch width band. Place one small natural element like a pinecone or cinnamon stick at the front center to ground the tray.
Editor's noteUse wire cutters to reposition holly stems so leaves sit flatter and don’t poke upward.
Skip thisAvoid adding tinsel — it catches on fabric and looks messy fast.
13. Gold and Glass Confetti Tray (party look that still stays tidy)
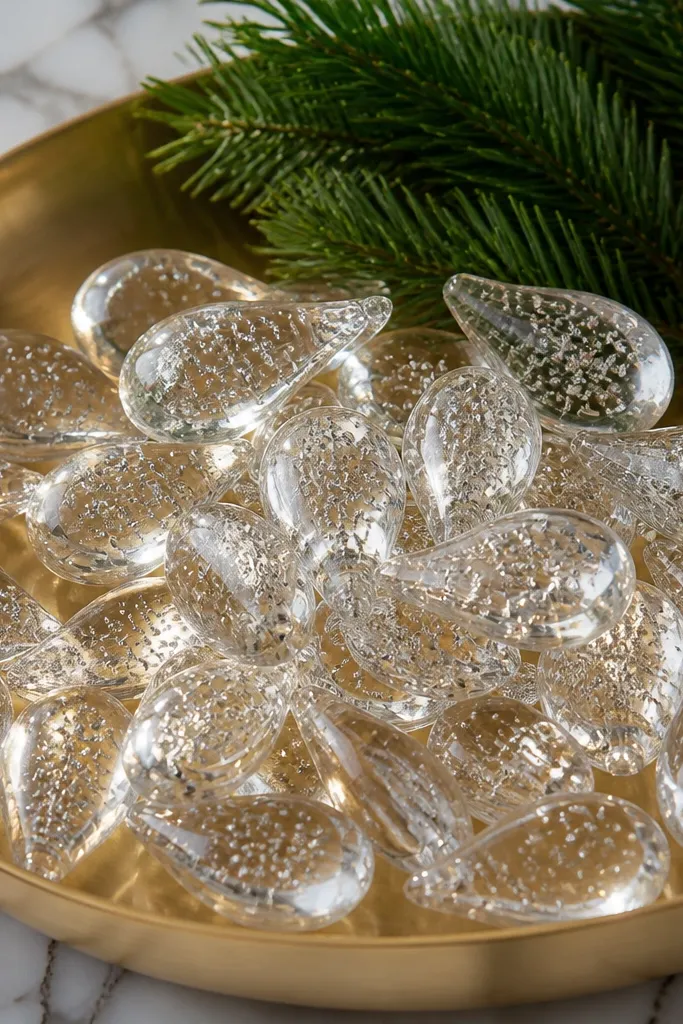
This is a comparison-friendly pick for people who want Christmas that feels more like a celebration than a forest scene. A gold tray plus glass ornaments gives you sparkle without needing a ton of greenery. The key is containment: the tray keeps the “confetti” effect inside a clear boundary. It also photographs well under warm lighting, but it still works in real life because the elements are controlled. Build time is 20-35 minutes.
Pick a gold tray with raised edges so small pieces don’t slide out. Add a thin layer of faux snow or clear acrylic filler on the bottom, then arrange 6-10 glass ornament pieces in a loose circle. Add 2-3 small flameless LED lights tucked behind ornaments so they glow through the glass. Finish with one ribbon strip or a single gold pick running along the back edge.
Editor's noteAvoid mixing too many ornament colors; keep it gold with one accent color like deep red.
Skip thisAvoid glossy black trays with bright white filler — the contrast can look harsh.
14. Bookend Snow Scene (side-focused decor that doesn't block the center)
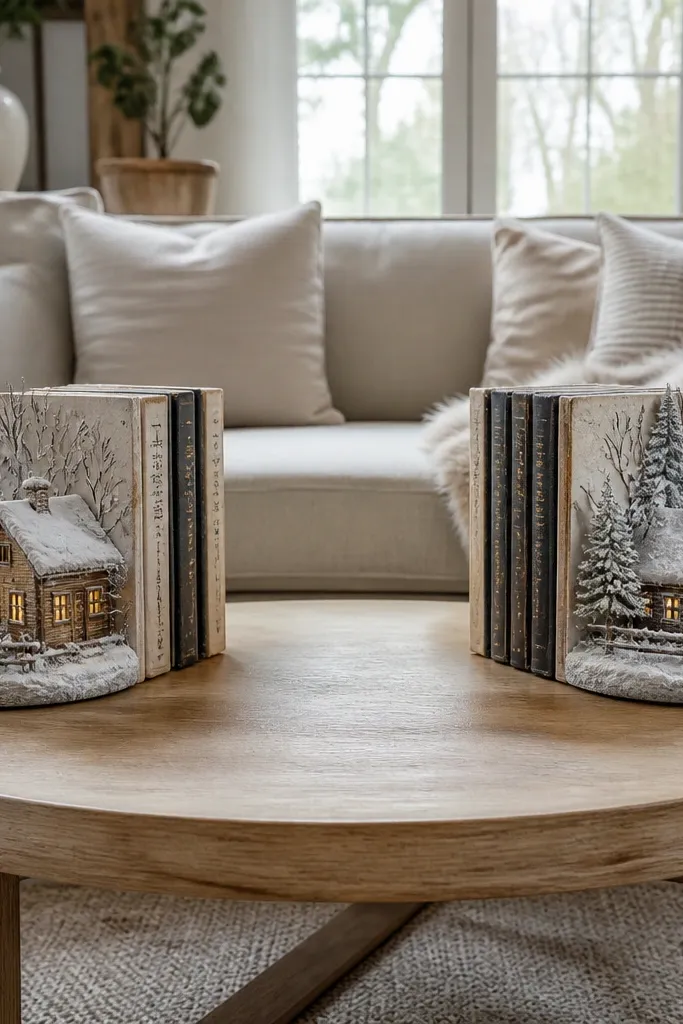
If your coffee table is used daily and people set drinks down there, side-focused decor is the fix. Instead of building one big center centerpiece, you create two smaller zones near the edges, leaving the middle open. This makes the table feel more livable and reduces knockovers. It’s also great when your table is round or when you hate long runners. Expect 30-60 minutes.
Choose a small decorative bowl or tray for each side of the table, ideally 6-10 inches wide. Place one bowl near the left edge with a mini winter scene: faux snow base, 2-3 mini trees, and one LED light. On the right side, create a low evergreen cluster with 3-5 picks and a few ornaments. Keep both sides within the same height range so the table looks balanced, not random.
Editor's noteUse the same filler material (faux snow or raffia) on both sides for a unified look.
Skip thisAvoid making one side tall and one side flat — it reads uneven.
15. Greenery + Dried Orange Garland (smells good, looks better than potpourri)
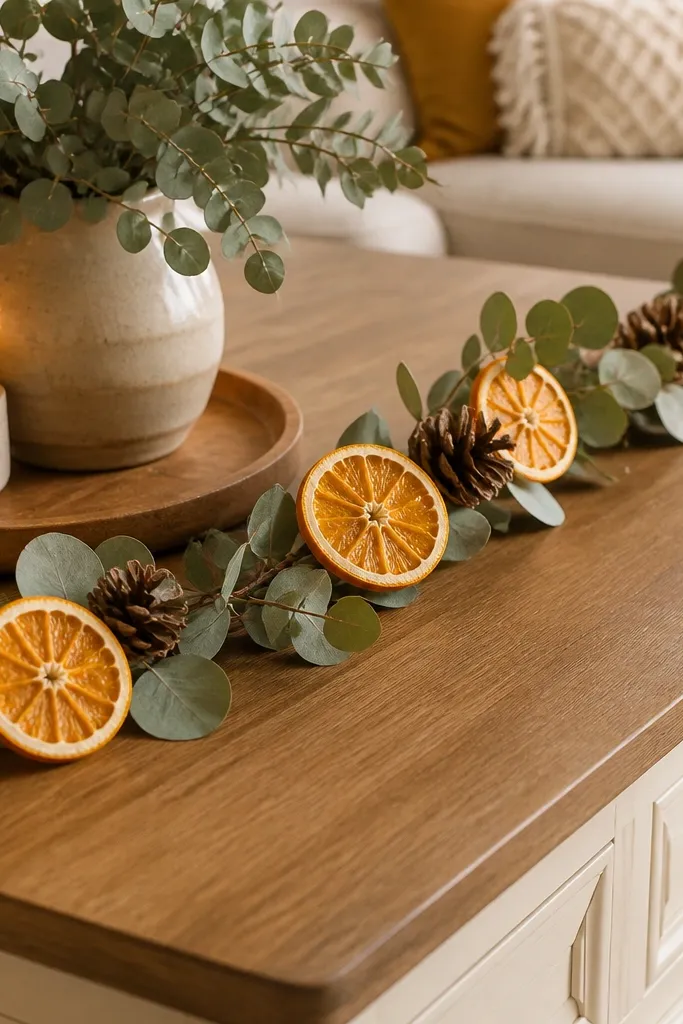
This setup solves the “Christmas looks right but feels flat” problem by adding scent and color that reads naturally. Dried orange slices bring warm tones that work with cream, wood, and even gray furniture. The garland format keeps it from becoming clutter, and the citrus adds a focal detail without needing lots of ornaments. It’s best for tables where you want a soft, inviting look instead of a shiny party vibe. Build time is 25-55 minutes.
Make a short garland by threading dried orange slices onto thin twine, then knot spacing every 1.5-2 inches. Attach the garland to evergreen sprigs using floral wire so it stays in a gentle curve. Place the garland on a tray or directly along the back edge of the table, then add 2 flameless candles spaced at least 6 inches apart. Fill the remaining gaps with a few pinecones and one small ribbon bow in the center.
Editor's noteKeep the oranges on the outside edge of the arrangement so the scent doesn’t get trapped under candles or glass.
Skip thisAvoid using wet orange slices; they mold quickly and stain surfaces.
16. Farmhouse Lantern with Burlap Base (cottage feel without messy clutter)
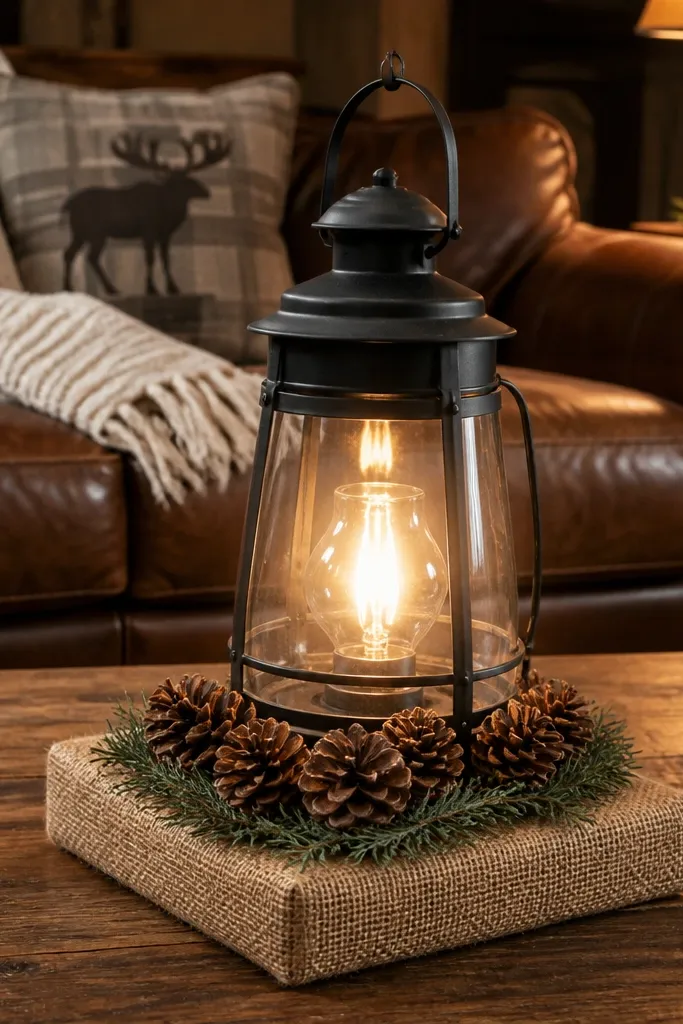
Lanterns plus burlap create a farmhouse holiday look that still feels controlled when you build it on a base. Burlap adds texture so the scene doesn’t rely on lots of ornaments. Pinecones tie it together, and the lantern keeps the focus high enough for the room. This works well in living rooms with brown leather, dark wood, or beige rugs. Build time is 35-75 minutes depending on whether you’re making the burlap base.
Cut a piece of burlap or burlap-look fabric to fit under your lantern and center it on the table or on a tray. Place the lantern on top, then surround it with pinecones in a tight ring so the lantern looks framed. Add evergreen sprigs in three directions so the greens don’t look like a single blob. Put two small ornaments tucked low at the front, then add one flameless candle inside the lantern if it’s open.
Editor's noteSpray burlap lightly with fabric starch so it holds shape and doesn’t look crumpled.
Skip thisAvoid loose burlap that hangs over the table edge; it catches on sleeves.
17. Minimal Greenery Only (no ornaments) for a clean, modern look
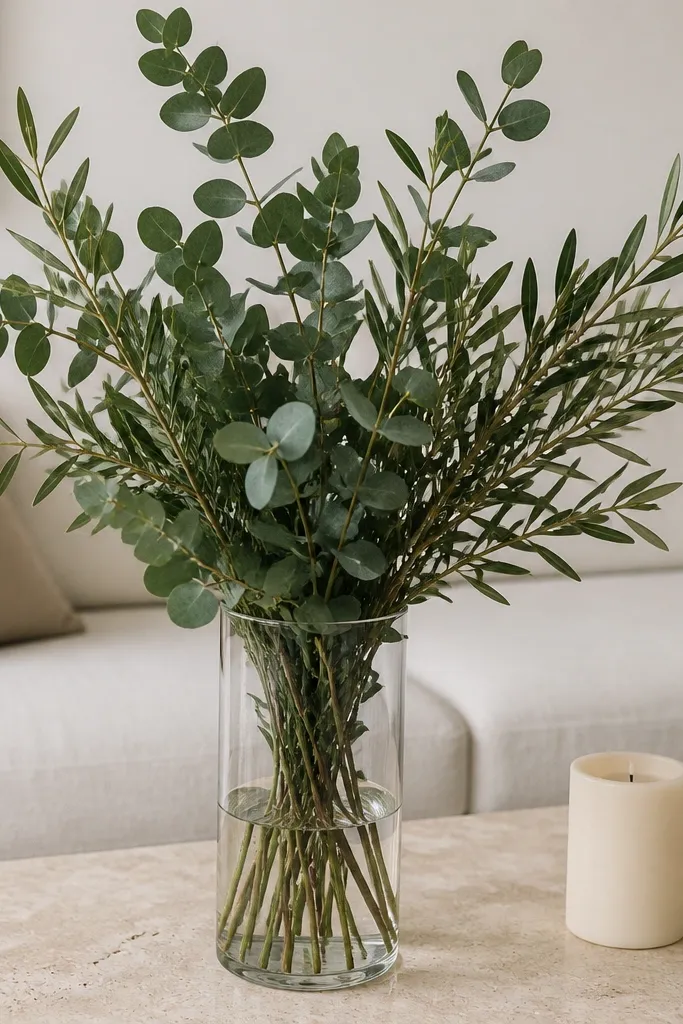
This is the idea people skip because they think Christmas needs ornaments. It doesn’t. A strong greenery cluster in a vase or jar reads holiday because of shape and texture, and it stays tasteful even past the first week. It’s also a lifesaver if your decor already has a lot going on and you don’t want the coffee table to compete. I recommend it for modern homes where the furniture lines are clean and you want the season to feel calm. Build time is 15-35 minutes.
Pick one container: a matte ceramic vase, a clear glass jar, or a simple cylinder candle holder. Add a small base of sand or floral foam so stems don’t slump. Create a tight bundle of evergreen picks, then place it so it rises 10-14 inches above the base. Keep it ornament-free and add only 1 accent like a single ribbon wrap or one pinecone tucked near the bottom.
Trim the bottom ends of stems at an angle so they sit tighter in the container.
Avoid using too many different greenery types; choose one main look so it stays cohesive.
18. Candy Cane Stripe Runner + Center Lantern (classic with a twist)
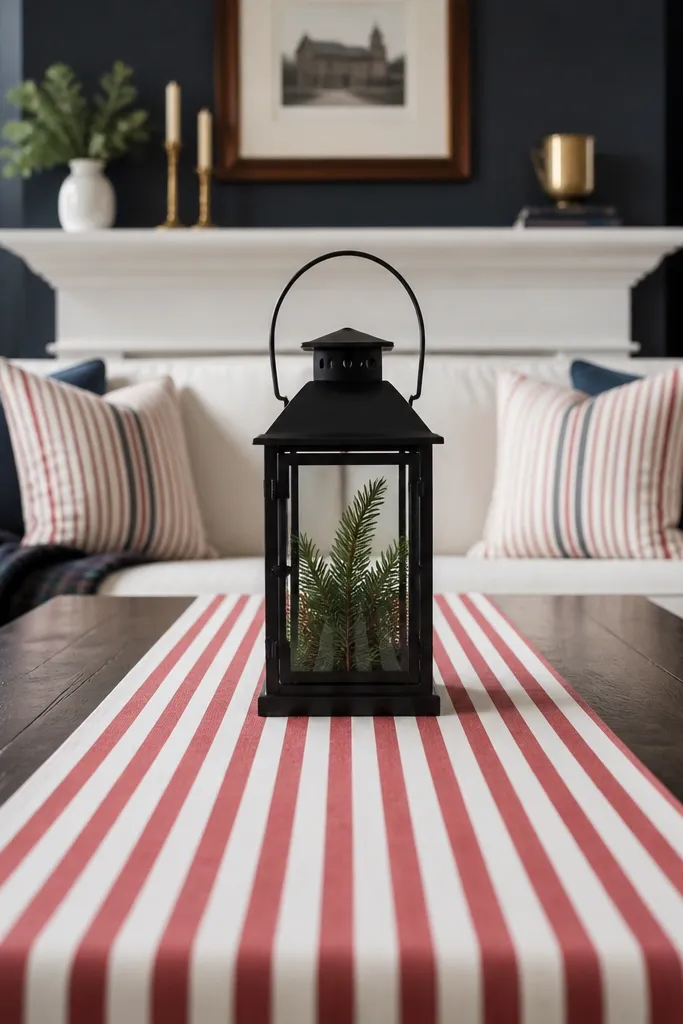
If your style leans traditional, this gives you a clean candy-cane vibe without turning the table into a holiday costume. The runner creates a strong line, and the lantern anchors the scene so it doesn’t feel flat. I like red-and-white stripes because they’re bold, but you keep the rest simple so it stays classy. It works best when your room has neutral walls and you want the decor to be the color pop. Build time is 20-45 minutes.
Lay a red-and-white striped fabric runner down the center, leaving equal space on both sides. Place a lantern or tall candle holder in the back center of the runner, then add two small evergreen clusters at the front corners. Add 3-5 mini ornaments tucked into the greenery, keeping them within a 12-inch width band. Finish with a short ribbon loop tied around the lantern handle or base if it has one.
Press the runner flat before styling so stripes look crisp and straight.
Avoid adding striped items elsewhere in the room; double stripes make it look chaotic.
19. Glass Vessel with Floating Candles (party-ready centerpiece)
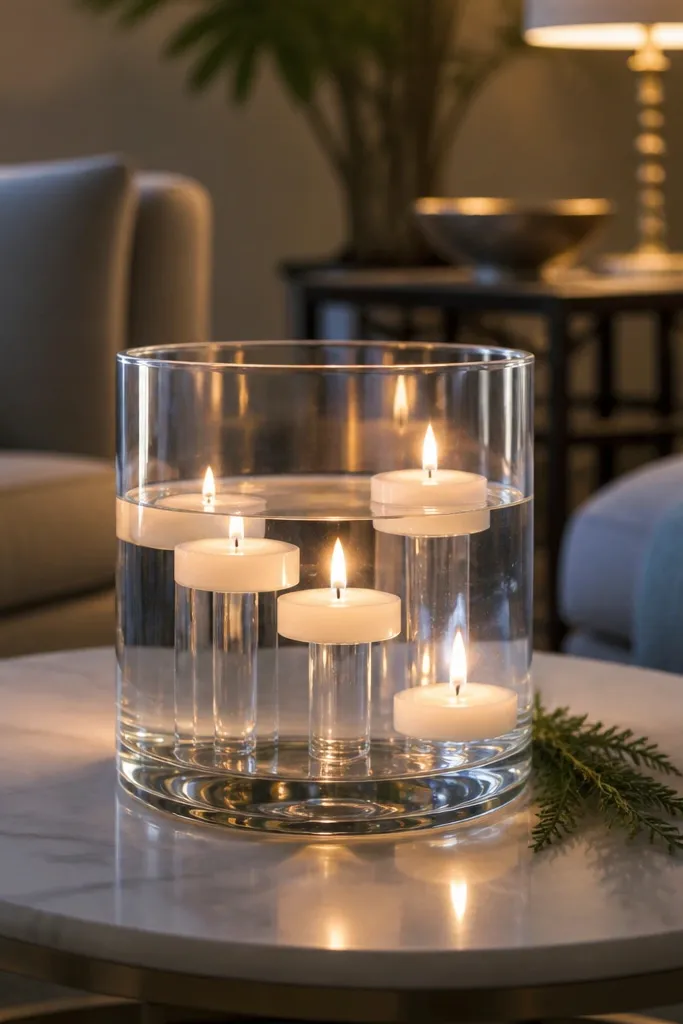
This one reads instantly festive because the light feels like it’s in motion, even with flameless LEDs. A clear glass vessel also makes the centerpiece look more expensive without more clutter. Use it when you want a “wow” moment for guests but still want the table to stay usable. It’s especially good for round coffee tables where a central bowl creates symmetry. Build time is 20-40 minutes.
Choose a clear glass bowl or vase with a wide opening and set it centered on a non-slip pad. Add decorative water beads or clear acrylic filler if you want a clean look; otherwise use plain water with flameless float candles. Place 3-6 flameless floating candles spaced evenly, then tuck evergreen sprigs around the inner edge so they sit just above the vessel bottom. Add a few small cranberries or mini ornaments at the waterline for color.
Use warm white LEDs so the glow matches typical home lighting instead of looking blue.
Avoid real candles in water vessels — it’s a safety issue and messy.
20. Ornament Wreath Ring on a Tray (modern circular balance)
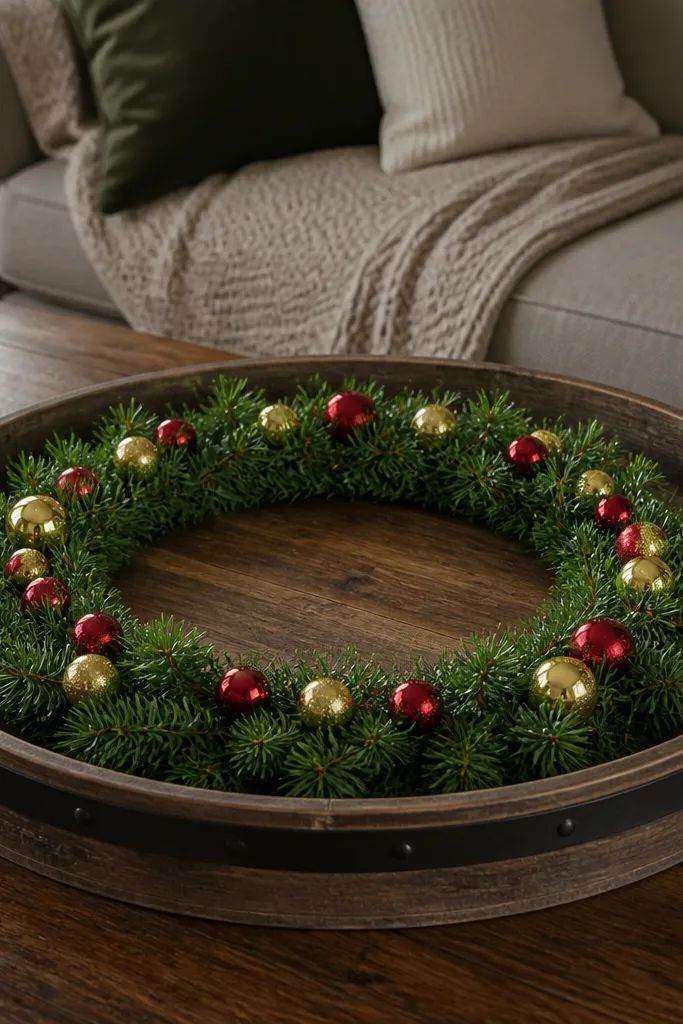
A circular wreath ring keeps the eye moving and makes the decor feel designed, not scattered. It also gives you a built-in border, so you don’t have to worry about where ornaments go. This works well when you want to avoid long lines like runners and you want something that sits neatly on a round or square table. I like using a neutral tray and one color theme so the ring looks crisp. Build time is about 30-60 minutes.
Start with a tray that’s 2-4 inches wider than your ring. Make a ring base from a foam wreath form or a bent wire circle, then wrap it with evergreen garland or faux stems. Hot glue or wire small ornaments evenly around the ring, keeping spacing consistent. Place 2 flameless candles inside the ring at the front and back points, then add a small ribbon bow at the top of the ring.
Editor's noteIf your ring is on the larger side, secure it to the tray with two strips of removable putty.
Skip thisAvoid uneven ornament spacing — it makes the ring look sloppy fast.
21. Mixed Metals Tray with One Red Accent (controls shine)
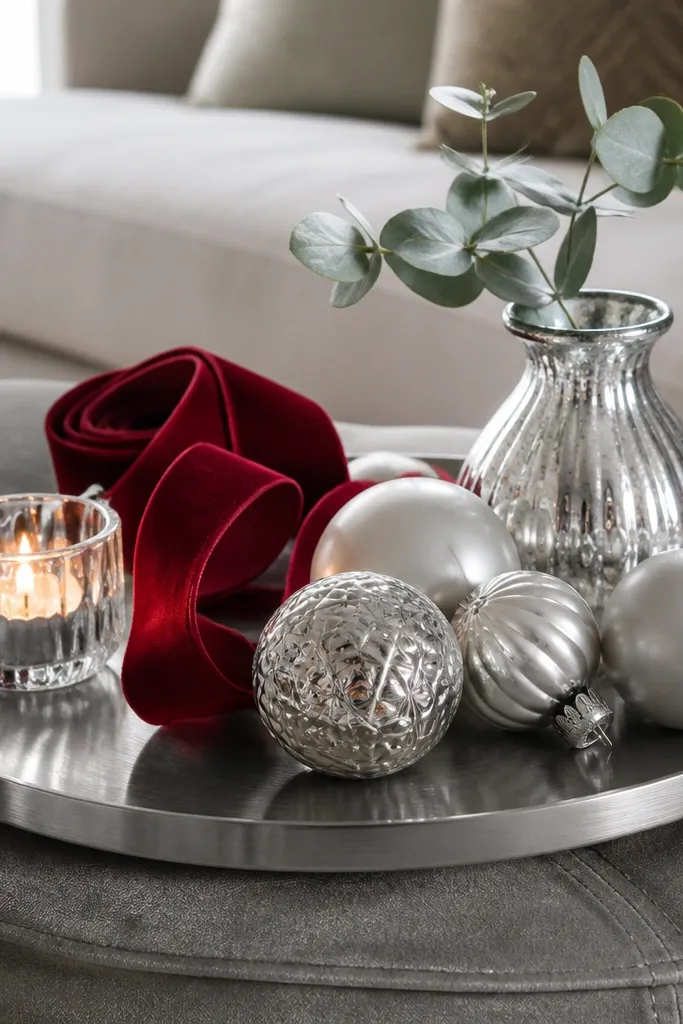
Mixed metals can look expensive or messy depending on how you control it. This idea works because you set one metal family as the base (silver or brass) and then add a second metal only in small touches. The red accent gives you holiday color without turning the tray into a rainbow. I recommend this for living rooms where you already have both gold and silver decor floating around. Build time is 25-50 minutes.
Pick a tray that matches one metal family, like brushed gold or matte silver. Add two to three candle holders or LED lantern pieces in that same metal, then include one small brass element like a mini dish or ornament hook. Add evergreen sprigs in a way that doesn’t hide the metal shapes. Finish with 6-10 red ornaments or berries placed in a tight cluster so red repeats in the same area.
Editor's noteUse matte candle holders, not shiny ones, if your room already has a lot of reflective surfaces.
Skip thisAvoid adding more than one accent color — mixed metals plus multiple colors gets loud.
22. Cedar Box with Faux Snow and Mini Houses (winter diorama, contained)
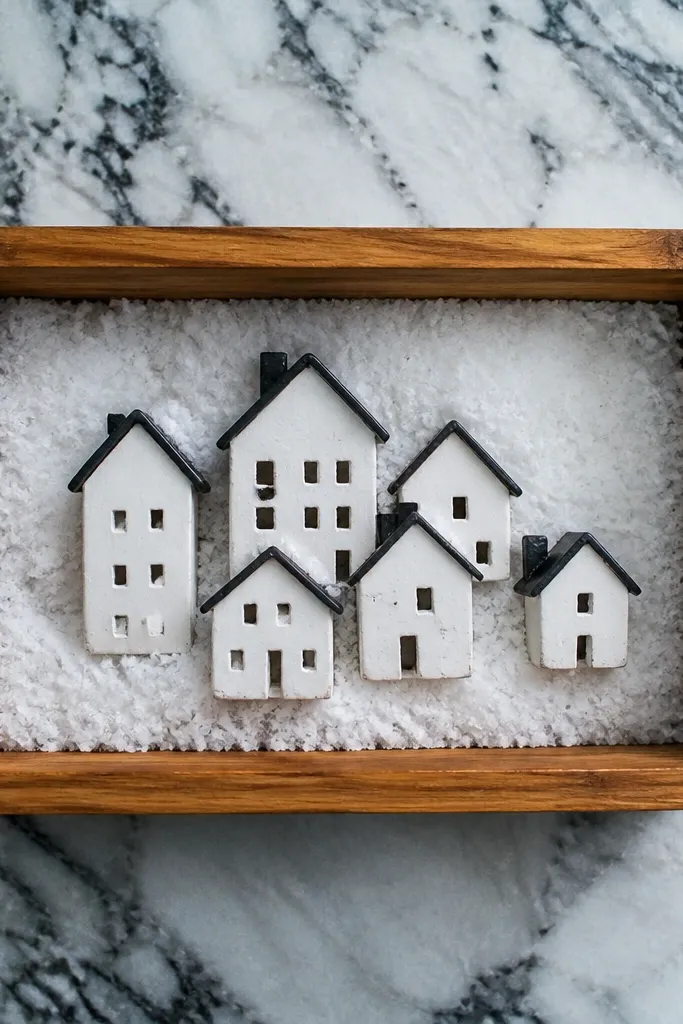
A contained diorama looks like a holiday scene without spreading clutter across the whole table. Cedar boxes also smell good if you use real cedar, and they look grounded compared to plastic trays. Mini houses give you a clear focal point, and faux snow adds instant winter texture. This is a great option if you want something cute but controlled, and you don’t want candles. Build time is 45-90 minutes if you’re sourcing mini houses.
Use a shallow cedar box or wooden crate with a flat base. Add a layer of faux snow or white craft foam, then place 3-5 mini houses and a tiny evergreen tree so the tallest house sits at the back center. Add a small LED light inside the scene for a warm glow. Build a subtle pathway with white stones or glitter-free sand, then tuck pinecones or faux greenery at the edges to hide the box bottom.
Use glitter-free faux snow products if the table is near seating; glitter travels.
Avoid placing the tallest house too far forward; it blocks sightlines and looks cramped.
23. No-Slump Greenery in a Dough Bowl (the "stable and full" approach)
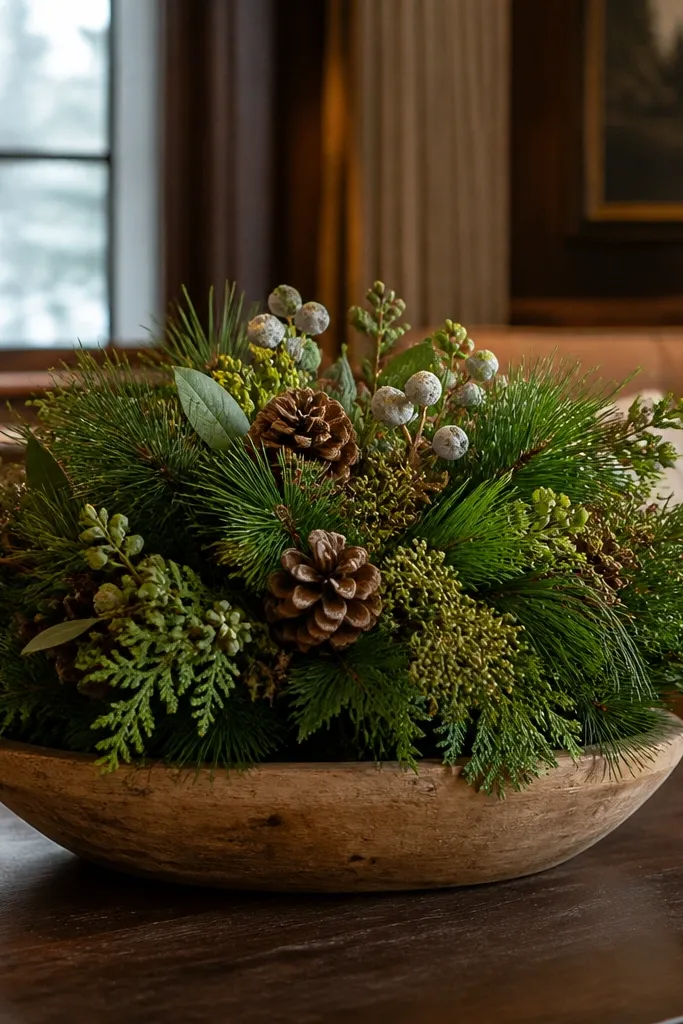
Dough bowls look naturally holiday, but the real make-or-break is how the greenery stays upright. When you use a simple stabilizer, the whole bowl looks full and polished instead of droopy. This is ideal if you want a big footprint centerpiece without the fragility of ornaments. It also works with almost any color scheme because dough bowls are neutral and rustic. Build time is 30-70 minutes depending on how many stems you need.
Choose a dough bowl that’s wide enough to hold a thick cluster (14-18 inches across is a good target). Add floral foam or a mound of sand inside and anchor the greenery stems into it. Build height first with a few longer stems at the back, then fill around the perimeter with shorter sprigs. Add pinecones and 1-2 ribbon twists near the front so the bowl doesn’t look one-note.
Editor's noteSoak floral foam if you’re using real greenery so it stays full longer.
Skip thisAvoid using thin, straight stems only; you need layered lengths for fullness.



