
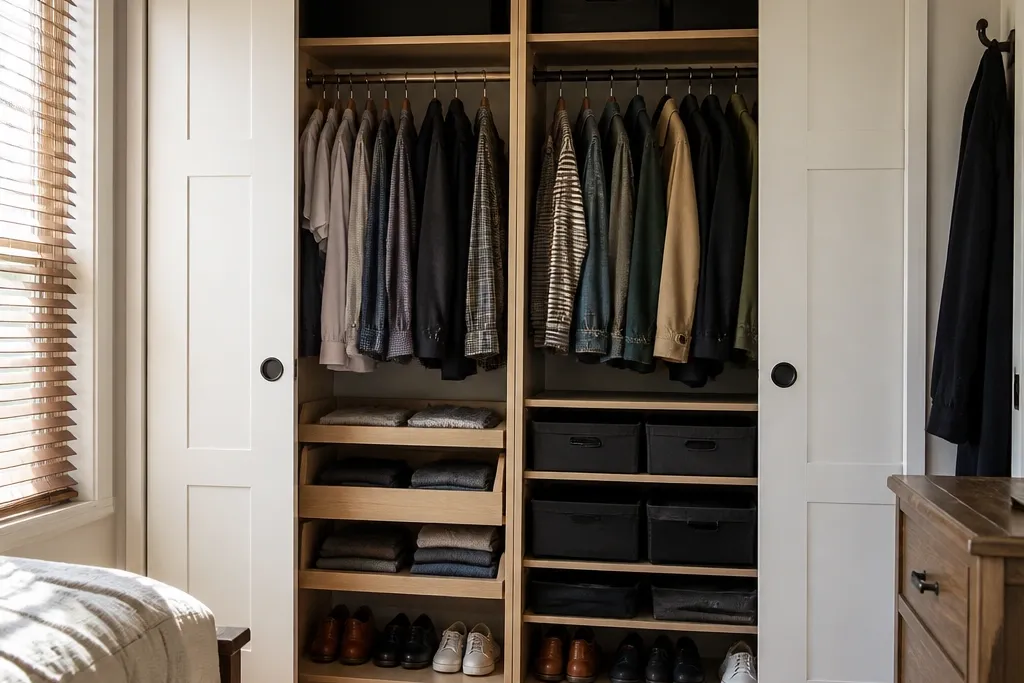
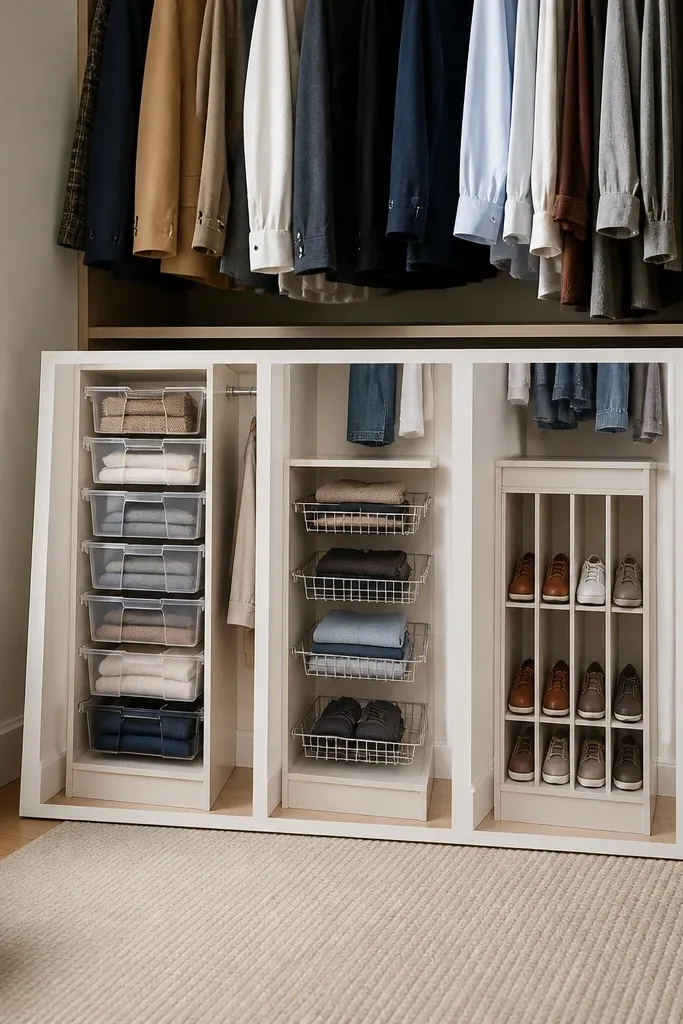
1. Track-Avoid Hanging Rod With 2-Inch Reach Clearance
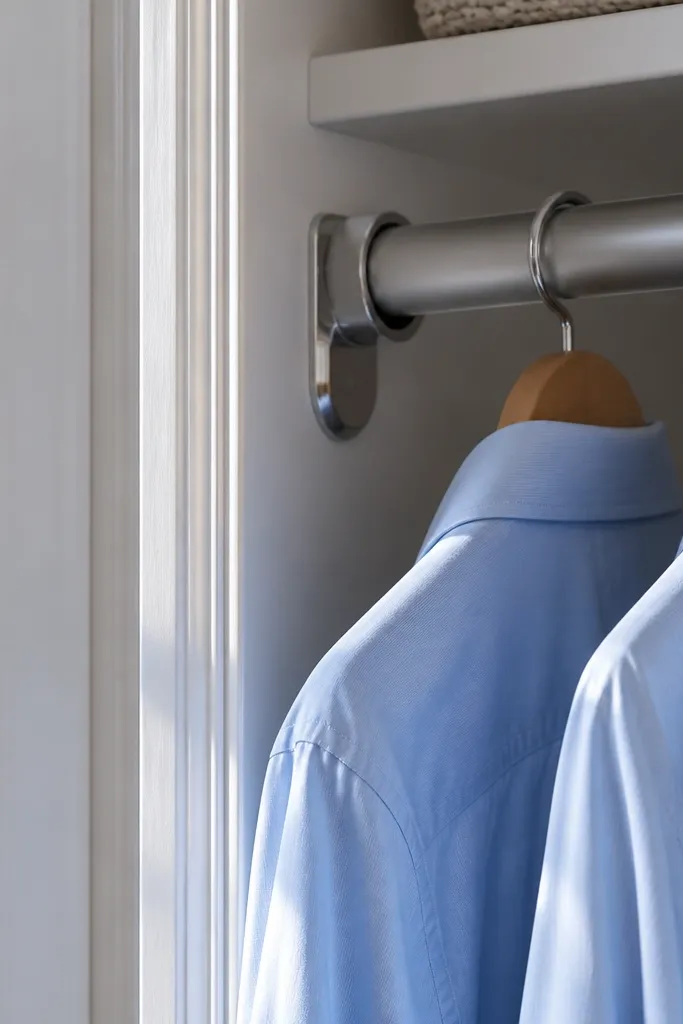
People install a rod where it “fits,” then wonder why shirts snag and the door trim scuffs fabric. A track-aware rod placement fixes that by setting hanger depth so your clothes clear the door overlap and you can slide hangers through without bumping the door frame. This works best in closets around 18-22 inches deep where one side feels tight. Use it when you want a simple upgrade that improves daily access without adding complicated hardware. The result is a closet that opens smoothly and your clothes stop getting tugged every time you slide the door.
Start by measuring from the closet back wall to the nearest trim/track area where your door overlap lands. Mark a hanger depth that keeps at least 2 inches of clearance between your hanging items and the door trim when the door is closed. Install a rod with adjustable brackets or mount a fixed rod using a level and a stud finder, keeping the rod centered on your usable opening width. Then test with two hangers — slide the door closed and open and confirm nothing scrapes before you hang your full load. Finish by adding a small fabric stop strip or felt tape on any contact point you find during the test.
Use a scrap hanger and a strip of painter’s tape on the trim to spot exact scrape points before drilling.
Don’t mount the rod flush to the wall if your doors overlap — clothes will rub and you’ll stop using that side.
2. Pull-Out Shelf Ladder Instead of One Deep Shelf
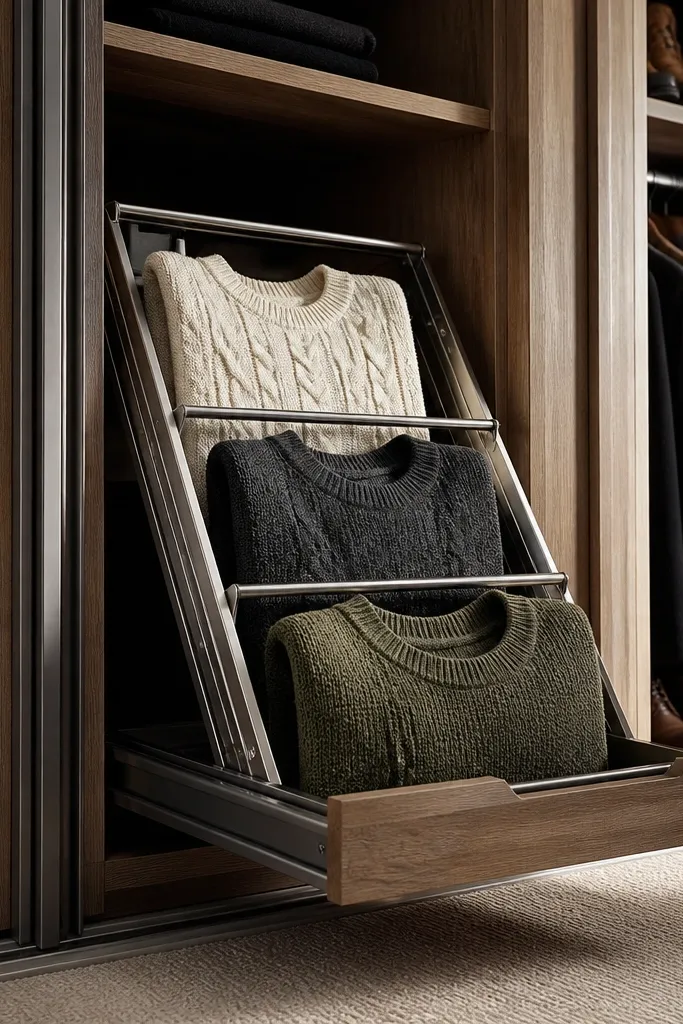
A single deep shelf sounds efficient until you remember sliding doors create blind zones. When you can’t see or reach the back, folded stacks become a buried mess and you end up pulling everything forward. A pull-out shelf ladder fixes that by bringing the front edge of your storage to the opening, so you grab one stack at a time. This is a strong move for folded tees, sweaters, and jeans because they stack neatly and slide without collapsing. It’s also the cleanest way to keep your closet looking organized even if you’re not perfectly tidy every day.
Start by choosing shelf sizes that match your closet width minus door overlap. Mount a pair of side rails at the height you want the shelf to sit, using a level so the pull-out runs straight. Install a shelf board cut to fit the rails with a small gap for smooth movement, then attach it to the drawer slides or shelf track system you’re using. Add a stop so the shelf doesn’t pull too far and scrape the back wall. Finally, test with weight — load one shelf with folded stacks and slide it in and out before you commit to the full organization plan.
Editor's noteIf your closet is shallow, pick a pull-out width that fits your door opening so you don’t have to reach past the track.
Skip thisDon’t use bins that stick out past the shelf edge — they catch on door trim during pull-out.
3. Shoe Wall With Vertical Slots and a 6-Inch Height Rule
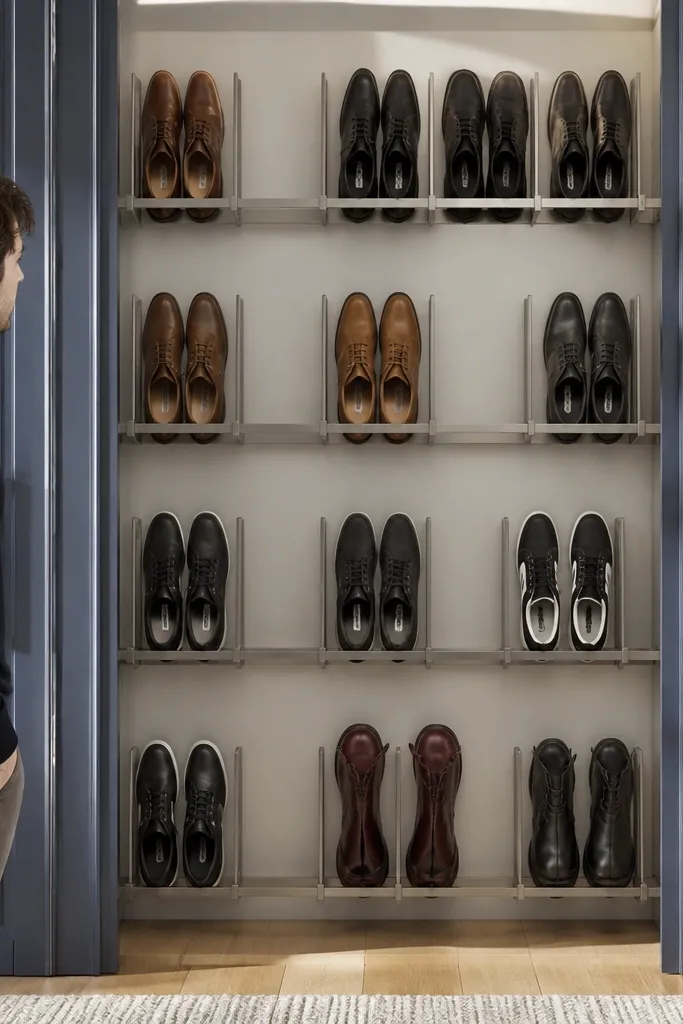
Shoes are where sliding-door closets fail visually. You shove pairs into random cubbies, and the next time you open the door you’re forced to reorganize because toe boxes slide and heels press into neighboring space. Vertical slots solve this by keeping each pair upright and separated. Use a 6-inch height rule per slot for sneakers and flats, and go taller for boots with a different section. This setup makes the closet look orderly fast because you can see what you have without digging. It also protects shoe shape better than stacking.
Start by measuring your available width and deciding how many shoe pairs you want per row. Build or buy vertical dividers and cut slot openings using a simple template — for a 6-inch rule, set divider spacing so each slot is 6 inches from divider to divider. Mount the shoe wall or install a row of fixed dividers on a shelf base, then anchor it to studs or use proper wall anchors if you can’t hit studs. Add a lip at the bottom so shoes don’t slide forward when you open the door. Finally, label slots by shoe type or frequency so you don’t store winter boots in the daily row.
Editor's noteUse a thin rubber shelf liner under each slot base to stop sliding and reduce scuffs.
Skip thisDon’t mix shoe types in one slot size — boots and flats steal space from each other.
4. Corner Dead-Zone Pull-Out Bin on a Track Mount
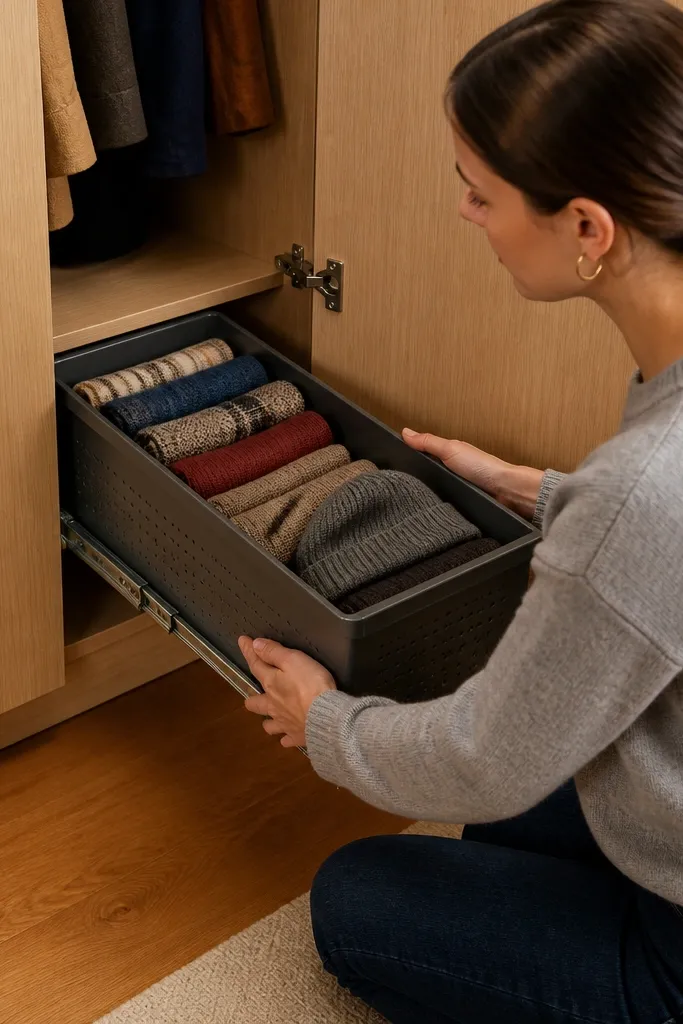
The corner behind the door overlap is the closet’s black hole. You either leave it empty, or you stuff it and forget it, then the closet stays messy no matter what you do elsewhere. A corner pull-out bin fixes the reach problem by turning that dead zone into a front-access storage lane. It’s best for items you use occasionally — extra hangers, cleaning supplies, holiday decor, or off-season accessories. The bin also prevents the “pile collapse” that happens when you stack loose items in corners.
Start by measuring the corner footprint where the door overlap blocks direct reach. Pick a bin size that fits the corner opening when pulled out, not the empty space you see when the doors are fully open. Mount a compact pull-out slide system or drawer slides to a small base frame, then attach the frame to the closet wall at the correct height. Install the bin to the frame and add a stop so it doesn’t slam back into the corner. Test clearance by sliding the closet doors while the bin is half-pulled — you want no contact with trim or the track.
Editor's noteUse a shallow bin depth if your closet is under 22 inches deep. Shallow bins pull out easier and don’t tip.
Skip thisDon’t put a tall bin in the corner if the door overlap hits the upper edge when closed.
5. Double Rod System With the Right 30-Inch Vertical Ladder
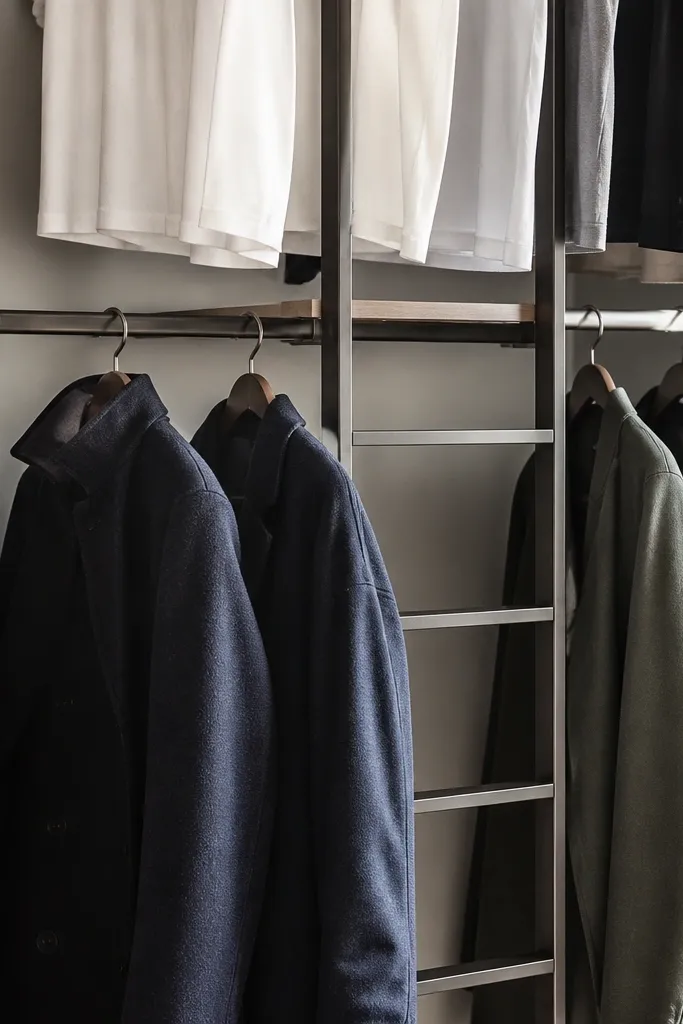
Double rods feel like instant capacity, but sliding doors make them fail when the vertical spacing is wrong. If the lower rod is too high, you can’t reach it comfortably; if it’s too low, long items drag and snag. A proper double rod plan uses vertical spacing that matches the clothes you actually own. This works best for closets that are at least 7 feet tall and have a clean wall for mounting. The payoff is better use of height without turning your closet into a ladder you avoid using.
Start by measuring closet height from the floor to the lowest point of the track or header area. Mark your lower rod height so you can reach hangers without pulling your arm toward the door overlap, then mark your upper rod based on your longest short items. A solid target is about 30 inches between rods for most closets, adjusted for your tallest short clothing. Install sturdy brackets into studs and level the rods so hangers don’t slide. Add a small hanging rail or hook for belts and scarves at eye level on the open side.
Use a tape measure to simulate reach: stand in front of the open door and measure where your hand naturally falls.
Don’t install a double rod with no stud check. A sagging rod makes everything messy fast.
6. Clear Drawer Towers for Small Items With 2-Label Order
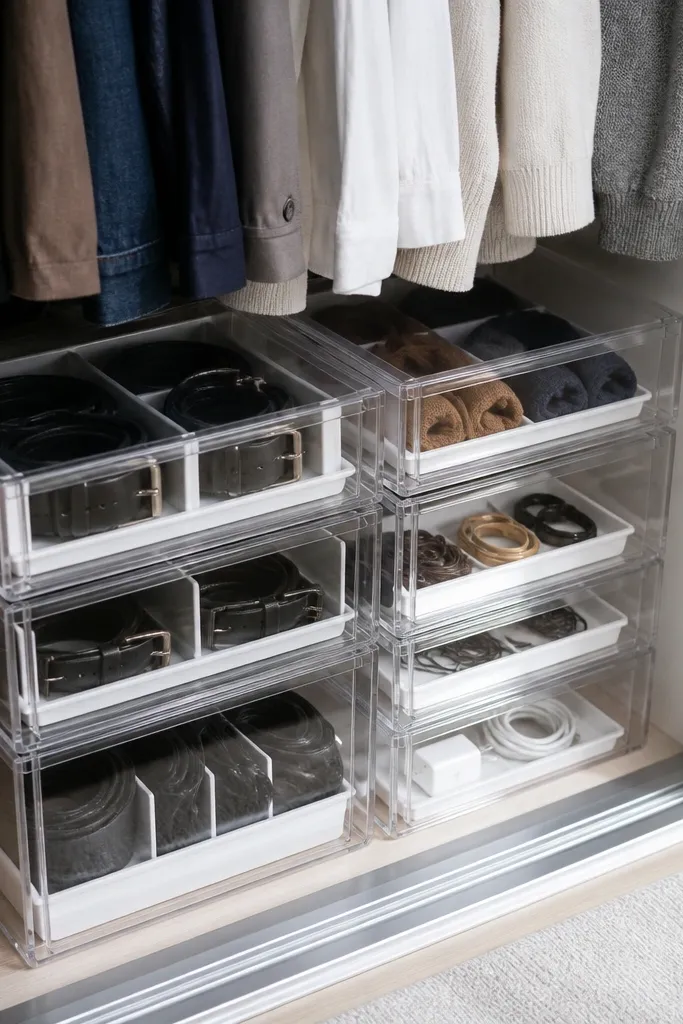
Small items are the mess multiplier. Socks, hair tools, chargers, and belts end up as loose piles because people can’t see what’s inside and they don’t want to dig. Clear drawer towers fix that by letting you scan contents instantly through the front. But the real win for sliding doors is drawer access: drawers open toward the room, not into the door overlap. Keep drawers shallow enough to stay usable and label them by access order so you don’t have to think every time. This makes the closet feel controlled even if your clothes aren’t perfectly folded.
Start by measuring the width and depth of the open doorway so your drawer face clears the sliding door track area. Build a simple drawer frame or buy a drawer unit, then mount it to studs at a height where the top drawer is reachable without a step stool. Use drawer organizers inside for consistent categories like socks, hair ties, and belts. Label each drawer with two levels: what it is and how often you use it, like “Daily socks” or “Weekly belts.” Then test drawer pull-out with the sliding door closed to confirm no rubbing.
Editor's noteUse permanent marker on a label strip and cover it with clear packing tape so it doesn’t peel.
Skip thisDon’t use deep drawers for small items — everything sinks and you lose the point of clear visibility.
7. Shelf Grid With 12-Inch Bin Heights and Matching Widths
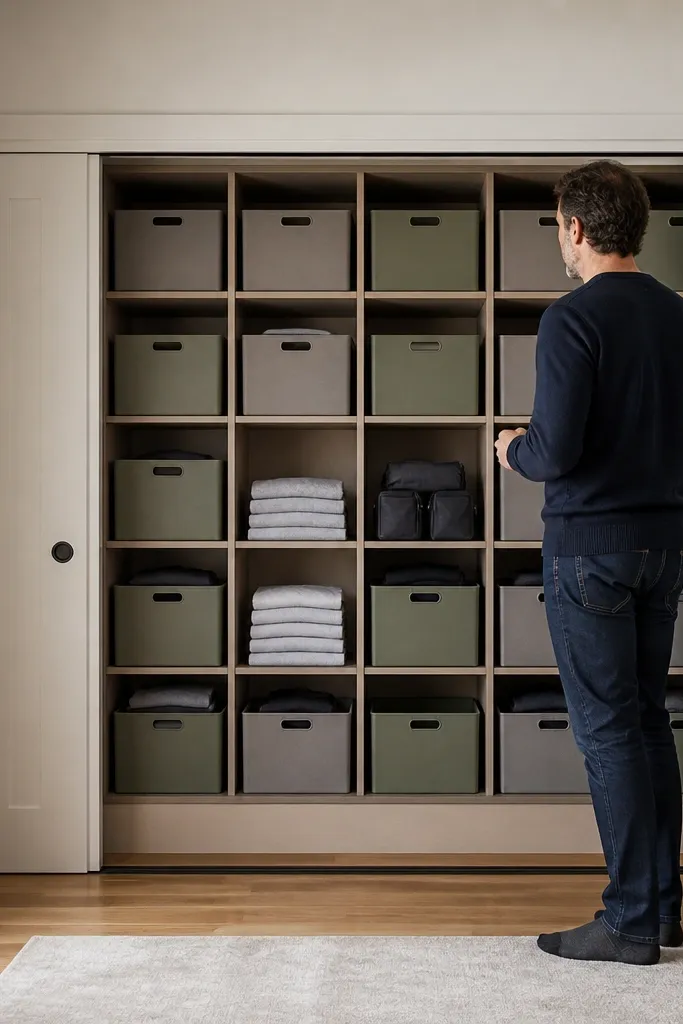
A closet looks chaotic when every shelf holds different-sized bins that don’t line up. Sliding doors make that worse because you see the closet opening at an angle, so misaligned storage reads like clutter. A shelf grid with consistent bin heights gives you a clean, repeatable pattern that stays organized as you add items. Go with a 12-inch bin height as your main unit so you can fit folded hoodies, sweaters, and stacked accessories without wasting space. This is a practical DIY because you can build it with basic plywood and a measuring template. The result is storage that looks intentional every time you open the door.
Start by choosing one shelf depth and one bin width that fits your opening. Build a grid using vertical dividers and shelf supports spaced to match your bin height — set supports so bins sit flush without gaps that catch dust. Cut plywood dividers to consistent thickness and pre-drill to prevent splitting. Install the grid anchored into studs, then dry-fit a bin in each section to confirm it slides in and out without snagging door trim. Finish by adding shelf liners and a small front lip so bins don’t slide forward when you open the closet doors.
Editor's noteUse a single spacer block when you install dividers so every section lines up within 1/16 inch.
Skip thisDon’t mix bin brands and sizes in the same shelf — mismatched heights create an uneven visual mess.
8. Fabric Hanging Organizer Only for the Side You Can Fully Reach
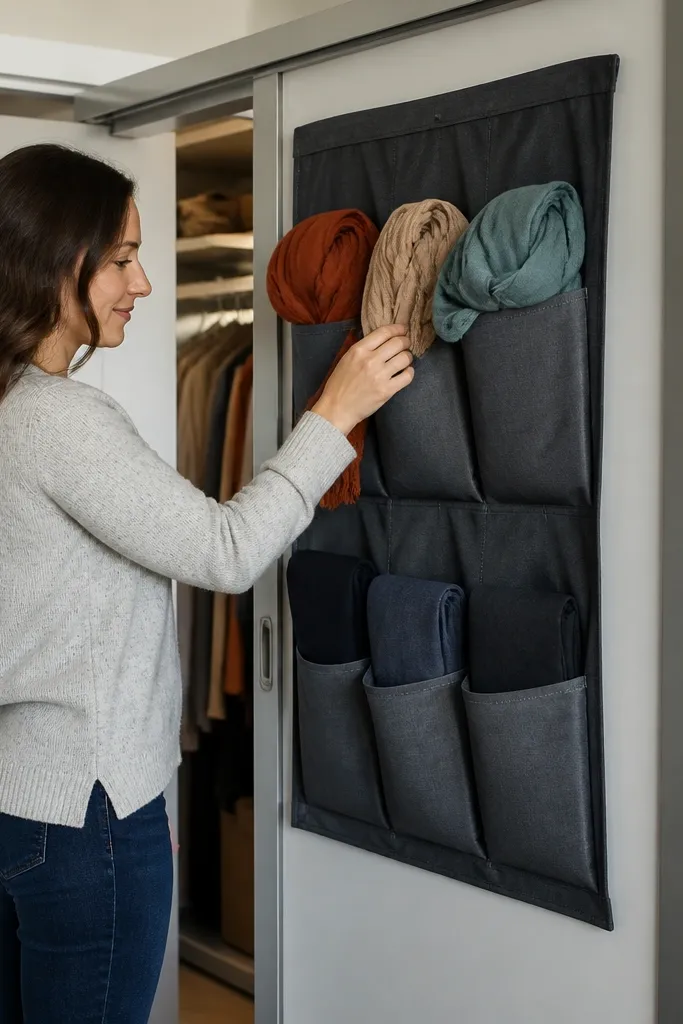
Fabric hanging organizers can work in sliding-door closets, but only when you place them where you can reach the pockets without pushing into the door overlap. The mistake is installing one on the wrong side so you end up pulling at it every time you grab something. Use this for lightweight items — scarves, leggings, bras in a pinch, and small seasonal accessories. It’s not the best system for heavy sweaters or anything that stretches the pockets. When it’s placed correctly, it keeps small items visible and stops the drawer pile from growing.
Start by identifying the wall section that stays fully accessible when the door is open. Mount the hanging organizer with a top rail or sturdy hooks so the pockets hang straight and don’t twist. Fill pockets with weight-balanced items, keeping the heaviest items toward the bottom pockets. Add a label strip to each pocket set so you don’t end up mixing categories. Check door clearance by closing the sliding door while the organizer is loaded — if it touches the track area, move it or switch to a hard shelf system.
Editor's noteUse clothespins to temporarily hold the organizer in position so you can verify pocket alignment before final mounting.
Skip thisDon’t overload pockets. A stretched organizer looks sloppy and stops protecting items.
9. Pull-Out Hampers That Don't Block the Door Track
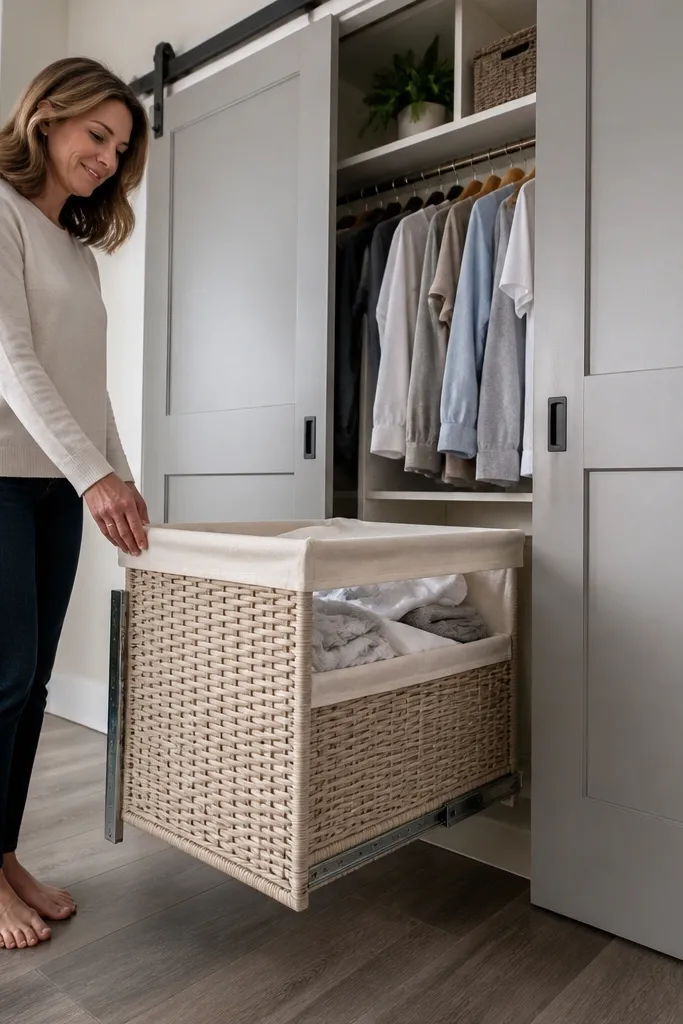
A hamper in a sliding-door closet is a trap if it sits where the door overlap passes. You end up with a hamper you can only access by moving the door or squeezing around it, and that turns laundry into floor piles. A pull-out hamper solves this by storing laundry where you can grab it without moving the door. This is ideal for closets that already have a dedicated laundry zone or for entryway closets where you want quick drop-off. It keeps clutter contained because the hamper is part of the system, not an afterthought.
Start by choosing a hamper style with a front pull handle or a pull-out drawer style. Measure the path the sliding door takes and keep the hamper front edge clear by at least 1 inch when closed. Build a base frame or mount slides to a stable panel, then install the hamper on the slides with a stop so it doesn’t slam. Position the hamper opening so you can access it from the open doorway without reaching over the track. Finish by adding a washable liner and a small odor-control pouch in the bottom.
Use soft-close slides if your closet is near bedrooms. Less slam means fewer habits breaking the system.
Don’t mount a fixed hamper that protrudes into the door overlap. You’ll stop using it.
10. Hanger Sorting Rail With Pegboard-Style Tooling
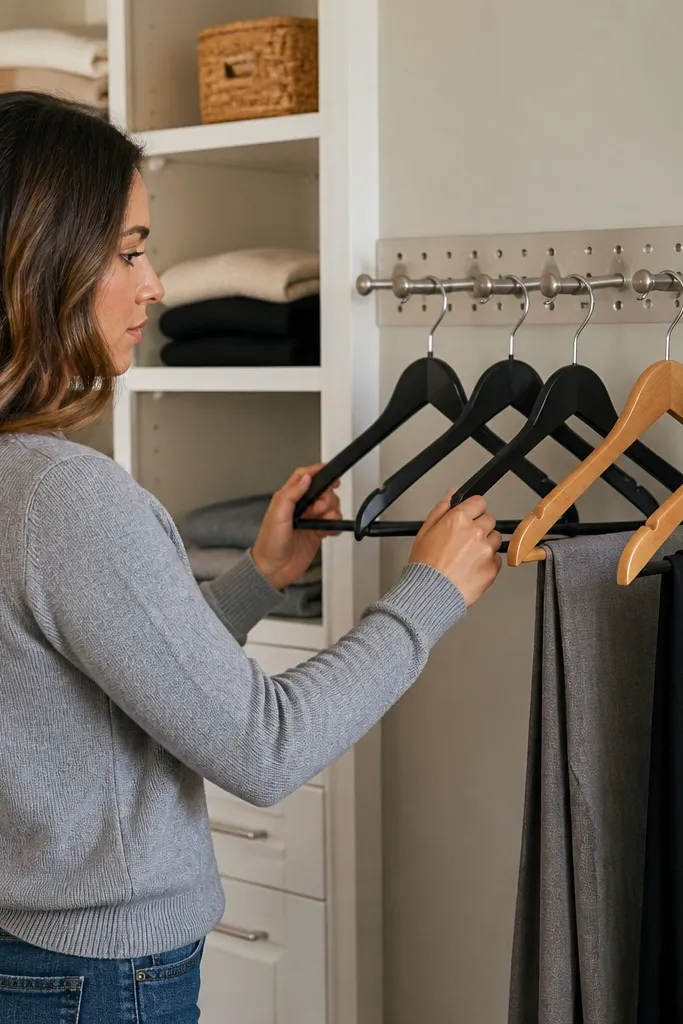
Sorting hangers sounds small, but it fixes the mess loop in sliding closets. When you don’t have a place to put hangers after laundry or seasonal swaps, they land on shelves and create visual clutter. A hanger sorting rail with hooks keeps hangers and “in transition” clothes in one spot. This works best in closets that have a mix of daily clothes and seasonal storage. You get a clearer workflow without needing a full closet renovation. It also makes it easy to keep the closet looking consistent even when you’re moving items around.
Start by mounting a narrow rail on the accessible side of the closet wall at about chest height. Add evenly spaced hooks or pegs sized for standard hangers so they hang without twisting. If your closet wall is uneven, use a thin backer board behind the hooks so everything stays level. Mark categories with simple label tags like “Clean hangers” and “To wear next.” Then set rules: hangers go on the rail immediately, and any “in transition” items go on a dedicated hook row until you file them.
Editor's noteUse hooks that are rounded at the tip so hangers don’t snag and twist.
Skip thisDon’t place the rail on the side where the door overlaps — you’ll hit it every time you slide.
11. Shoe Drawer Insert Under the Shelf Line
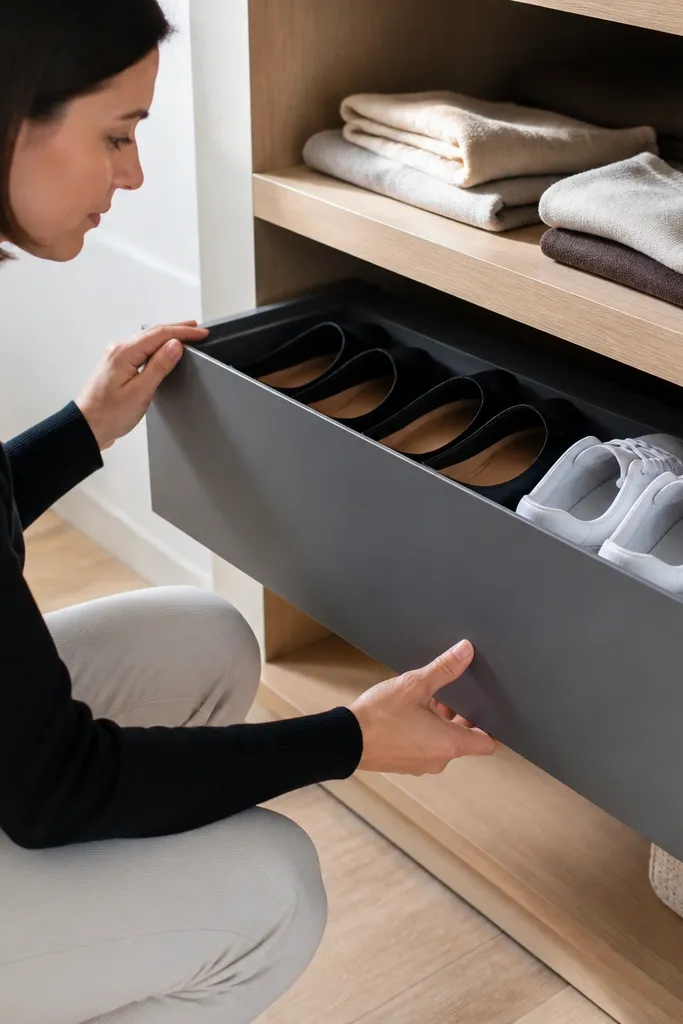
Open cubbies for shoes look messy fast because pairs lean and you see scuffed toes every time you open the door. A shoe drawer insert hides the mess and keeps pairs aligned. It’s a smart move when your closet has enough vertical space to dedicate a low drawer under an existing shelf line. Use it for sneakers, flats, and casual shoes you don’t want to display. Sliding doors make drawers extra satisfying because you get a smooth, clean opening view without loose pairs falling forward.
Start by measuring the shelf-to-floor clearance where the drawer can fit without blocking your door track. Build a drawer box sized to fit under the shelf and attach it to slides mounted to a side frame. Install a drawer face lip or front rail so you can pull it out easily. Add a simple divider insert so each pair has a spot, then line the bottom with a non-slip rubber mat. Test drawer travel with the sliding door closed before you mount decorative fronts.
Editor's noteUse a divider insert with removable sections so you can reconfigure for different shoe sizes.
Skip thisDon’t install the drawer too high. If you have to reach, you’ll stop using it.
12. Seasonal Bins on a Pull-Out Rail at Eye Level
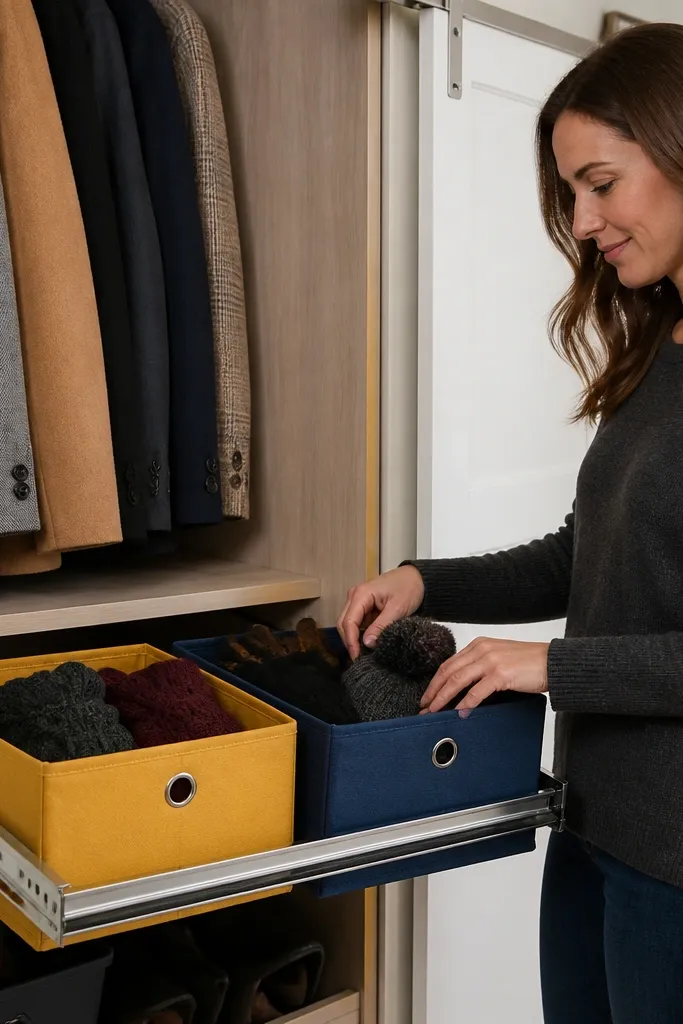
Seasonal storage usually gets shoved into the back, then you spend 10 minutes digging when the weather flips. In sliding-door closets, that digging turns into a mess because you pull items out and they fall into the opening. Put seasonal bins on a pull-out rail at eye level so you access them without reaching behind door overlap. This setup works for coats-in-waiting, holiday scarves, and boots that only show up a few times a year. You keep the closet calm because seasonal items live in a controlled lane, not loose piles.
Start by picking bin widths that match your closet opening so the bin slides without scraping. Mount a rail or drawer slides at eye level on a stable frame, then attach a bin support board to the slides. Choose bins with rigid sides so the bottom edge stays straight when pulled out. Label each bin by season and year if you rotate often, like “Fall 2026.” Then test: pull the bin out fully and close the sliding door to confirm clearance around trim and track.
Editor's noteUse bins with a front handle so you can pull with one hand while the other steadies the door side.
Skip thisDon’t store seasonal bins on the top shelf with no access. You’ll avoid it until it becomes clutter.
13. Wardrobe Doors With Built-In Soft-Close and Closed-Loop Stops
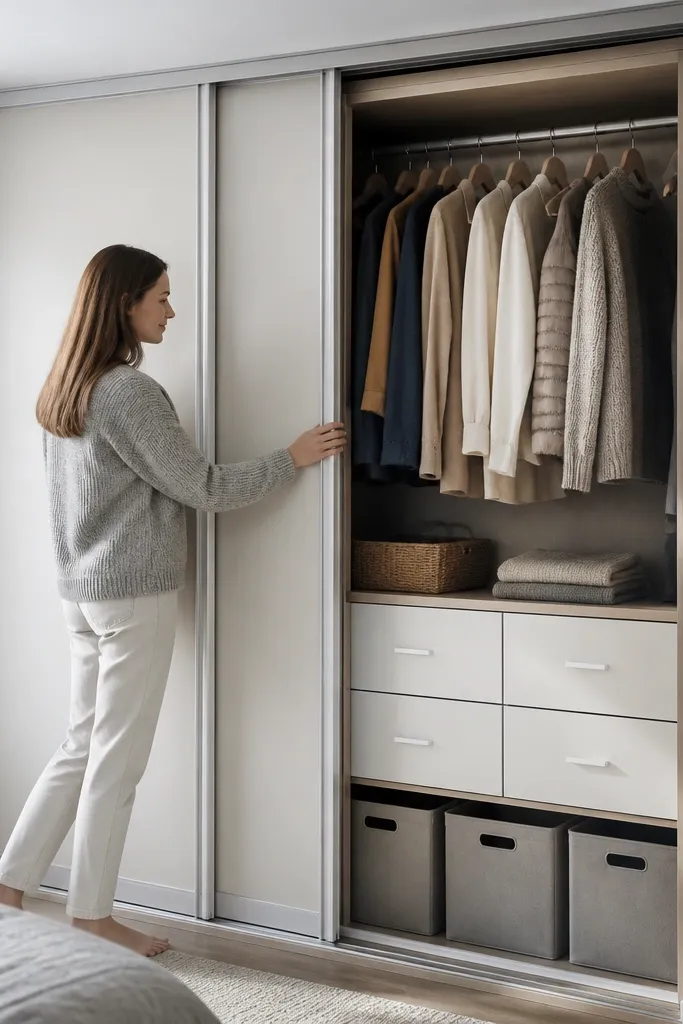
A lot of closet organization fails because the doors don’t behave. If your sliding doors drift, slam, or don’t close fully, your storage ends up getting hit and knocked, especially bins and drawer faces. Adding soft-close hardware and a reliable stop keeps the doors consistent, which protects your organization investment. This is a DIY that pairs well with any of the storage systems above because it removes one source of chaos. It’s especially helpful in older closets with worn track hardware. The result is a closet that stays aligned — bins don’t get pushed out and drawers don’t get bumped.
Start by inspecting the track for debris and checking that the door wheels roll smoothly. Clean the track, then adjust the door height and wheel alignment so the door sits level. Install soft-close dampers compatible with your track type, and add a stop so the door lands in the same position every time. Test by opening and closing with empty bins first, then load the closet and repeat. Confirm that the door closes without pushing against labels, drawer faces, or bin corners.
Editor's notePut a strip of masking tape on the track edge to mark the exact door landing point before adjusting stops.
Skip thisDon’t ignore track wear. If the wheels are slipping, no amount of storage planning will stay neat.
14. Lightweight Wall Shelves for Folded Layers With 3/4-Inch Lip
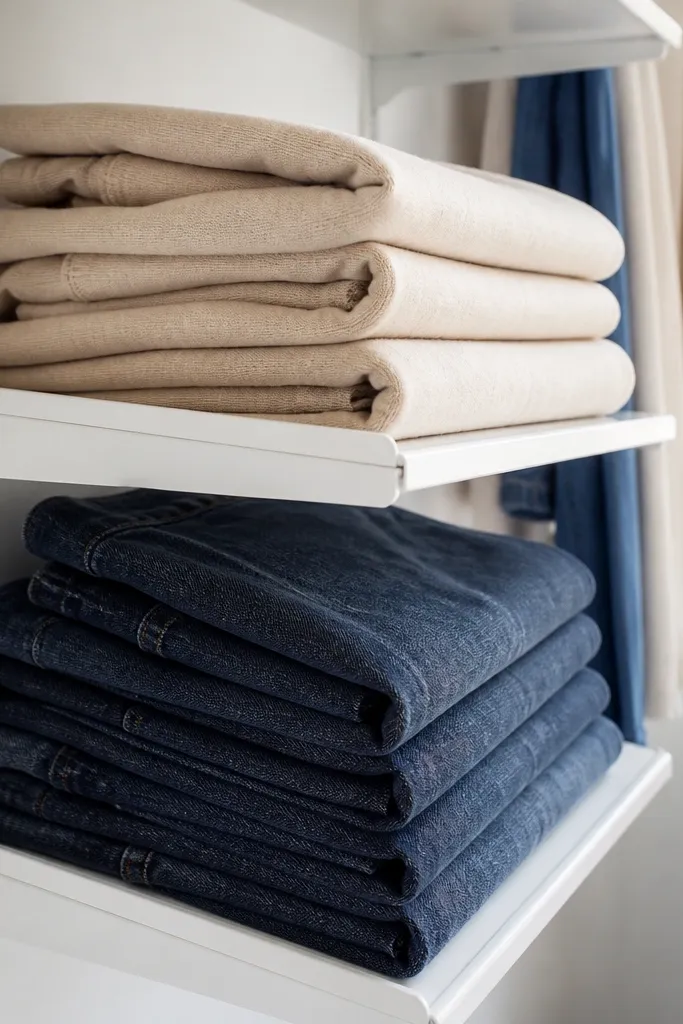
Floating shelves can look great, then you load folded clothes and they slide forward — especially on the side you reach from the door opening. A small 3/4-inch lip fixes that by giving folded stacks a physical stop. This is a good solution for folded layers like sweaters, sweatshirts, and jeans where you want quick visual access. It also helps keep bins from drifting, which matters in sliding-door closets where you’re always nudging items in and out. You get simple storage without building a complicated drawer system.
Start by finding sturdy mounting points on studs and marking your shelf line with a level. Cut shelf boards to your measured width, then attach a lip strip along the front edge that’s about 3/4 inch tall. Pre-drill pilot holes so the wood doesn’t split, then install shelf brackets or a French cleat system for stability. Add a thin shelf liner so folded items grip without snagging fabric. Test with one stack and gently pull it forward to confirm it stops at the lip.
Editor's noteSlightly sand the lip edge so fabric doesn’t catch when you slide stacks in and out.
Skip thisDon’t use smooth, bare wood if you fold knits. They slide and you’ll end up restacking every week.
15. Label System by Access Order: Daily, Weekly, Seasonal
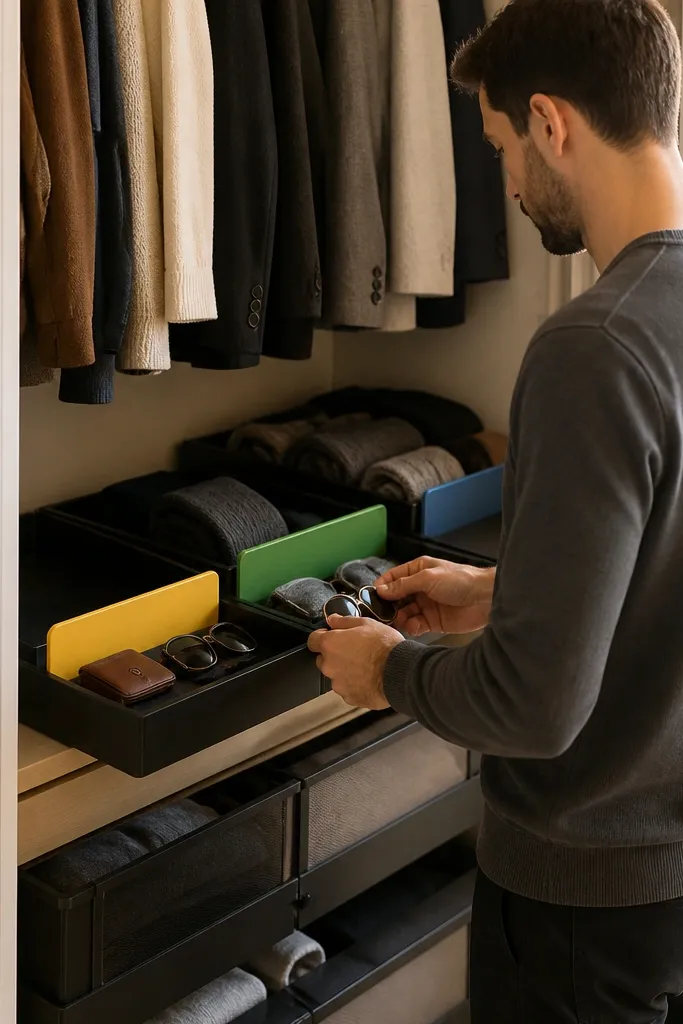
The organization itself can be perfect, but if you label by category, sliding-door closets still go messy. You pull out “winter hats” and you forget where “daily hats” go because the closet has too many similar-looking labels. The access-order labeling system fixes the behavior problem by making the first decision simple. Daily items live closest to the opening and at the easiest height; weekly items live one step back; seasonal items live in pull-out zones or higher shelves. This makes the closet work on autopilot, which is what you want when mornings are rushed.
Start by picking three access buckets and deciding what lives in each based on how often you grab it. Put Daily in the most reachable spots — near eye level and on the side with the cleanest door overlap. Put Weekly in the next reachable zone, and move Seasonal to pull-out bins, top shelves, or the far corner dead zone. Label every bin, drawer, and shelf front with the bucket word first, then the item. Use a label size that’s readable from the doorway without leaning in, and keep the font consistent across the closet.
Editor's noteWrite labels on the front edge of bins too, not just on top — you’ll see them during quick grabs.
Skip thisDon’t label only by category. If you have two “hats” categories, you’ll mix them when you’re tired.



