
1. The Top Gap That Never Stays Even (Track Twist)
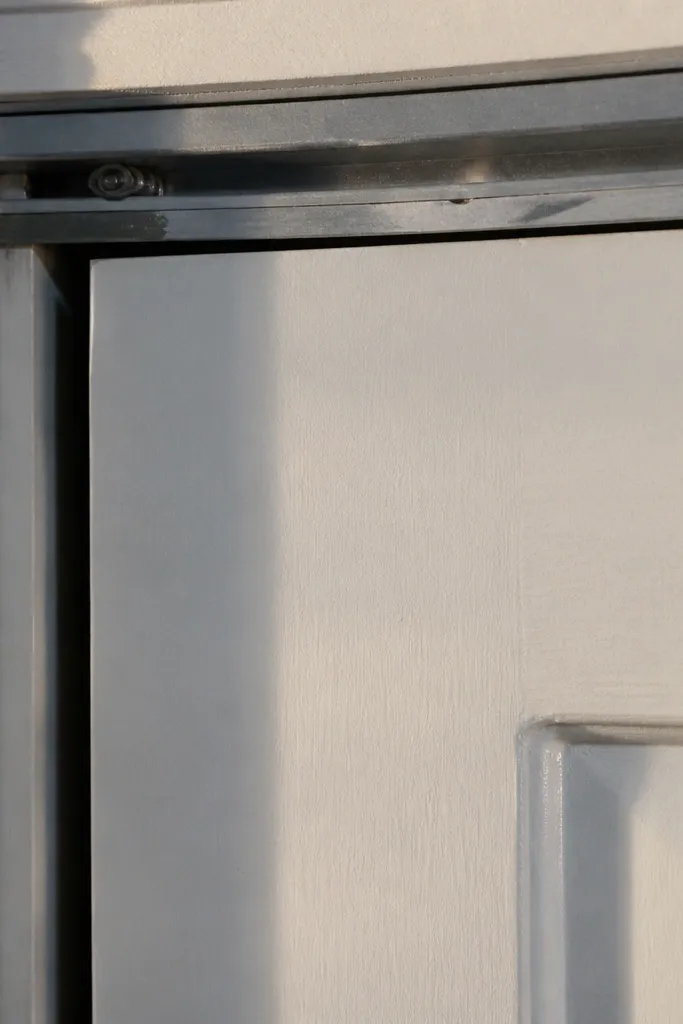
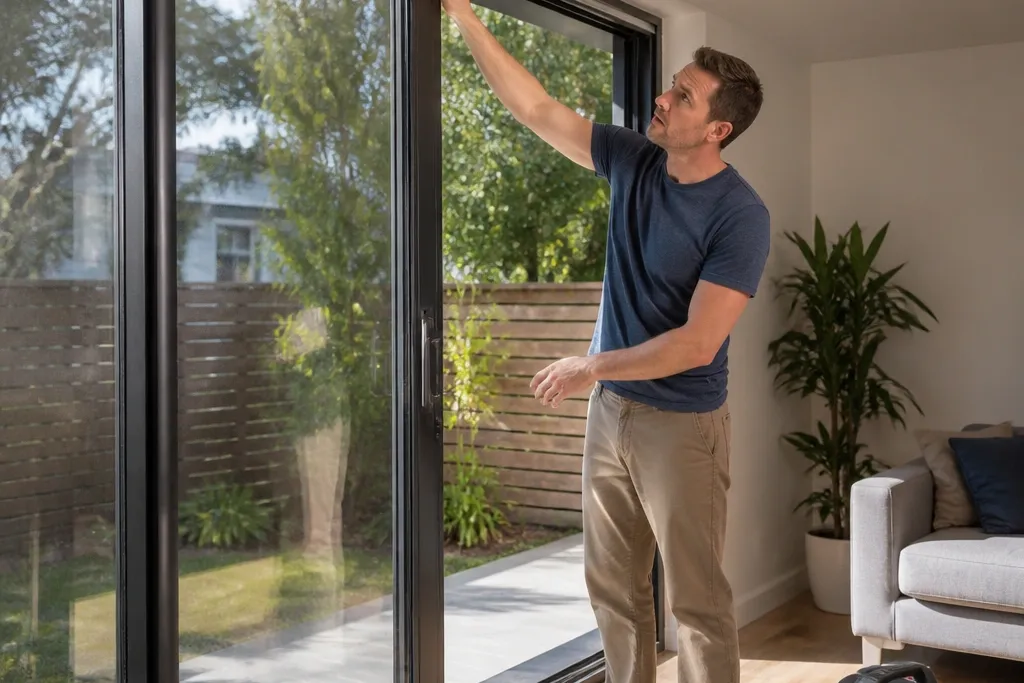
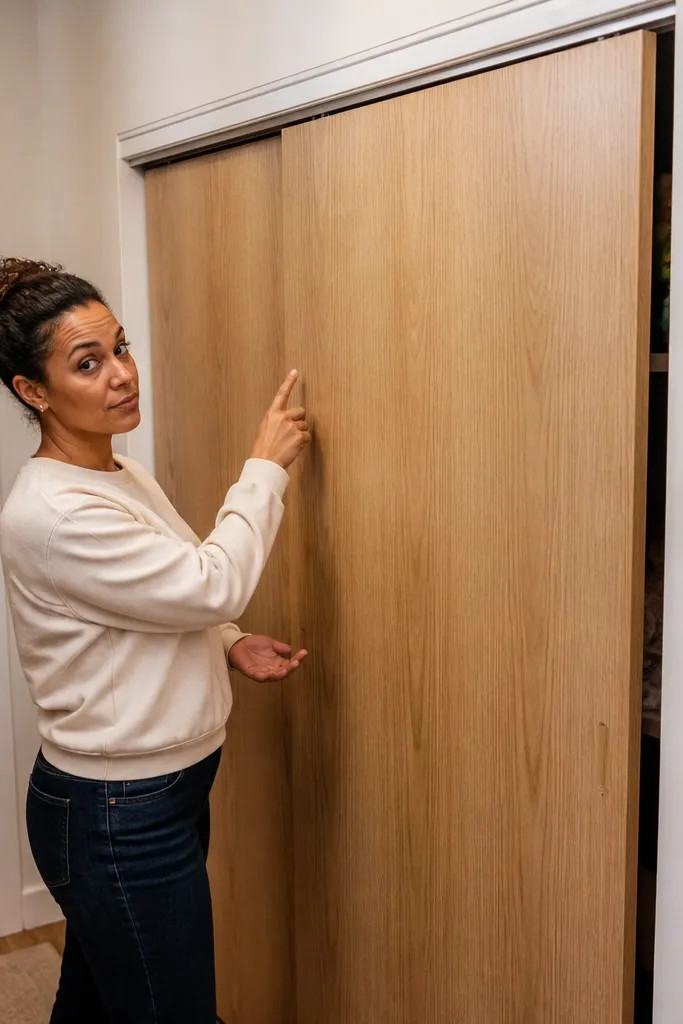
When your sliding door looks fine in the middle but the top gap changes from left to right, the track is usually twisted or not level where the roller wheels actually run. That twist makes one side carry more load, so the door rides high there and drags on the other side. The fix is worth doing because it stops the rubbing and makes the door feel “smooth on command” instead of smooth only in one spot. This is a DIY-friendly repair if you can access the track mounting screws and you’re comfortable loosening hardware without losing alignment.
Start by removing the door from the track (lift and pull the roller housing free, or follow your door’s roller release method). Then put a 4-ft level on the track rail in multiple spots and mark where it’s off. Loosen the track mounting screws just enough to let the rail settle, then shim under the low side using thin plastic or metal shims until the rail is level. Tighten screws in small turns, then rehang the door and test travel from fully closed to fully open before you adjust the door stop.
Use painter’s tape to mark the track position before loosening anything, so you don’t lose your baseline.
Don’t shim blindly under the door frame while the track is still out of level.
2. Rollers That Squeal or Feel Sandy (Debris in the Track)
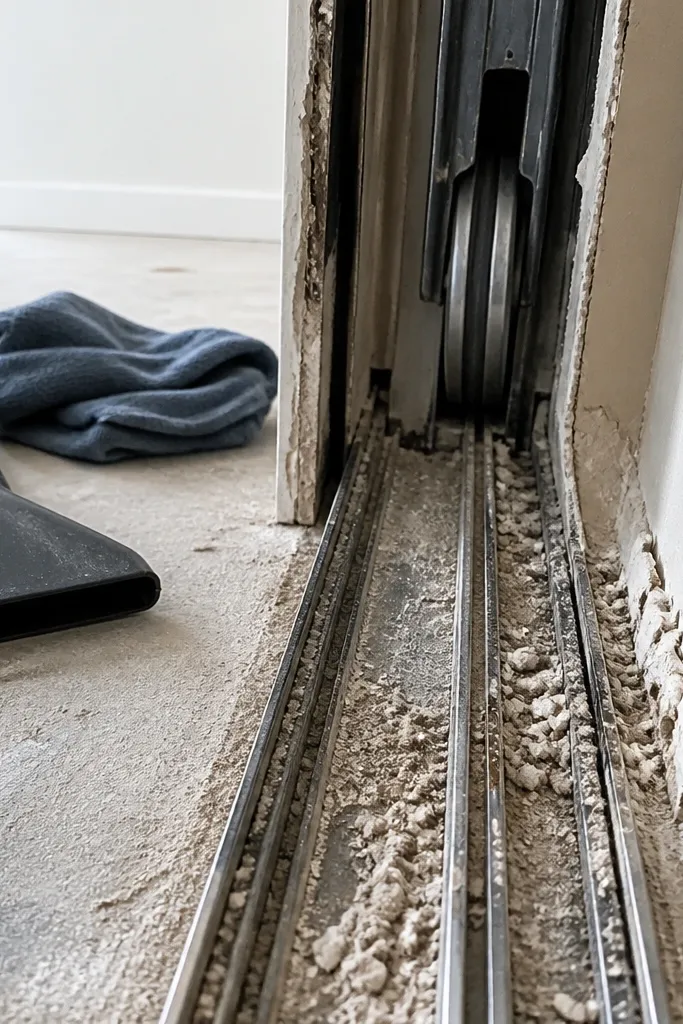
Squealing and gritty movement usually come from packed dust, drywall crumbs, or old lubricant mixed with grit inside the track. You can feel it when you roll the door — it’s smooth for half a second, then rough. Cleaning is not glamorous, but it’s one of the fastest fixes on this list because it restores the original geometry. This works best for interior doors and wall-mounted tracks where you can access the rail and remove the door safely.
Start by vacuuming loose debris out of the track using a crevice nozzle. Then wipe the rail with a rag dampened with isopropyl alcohol or a track-safe degreaser, and use a small nylon brush to loosen stuck grime. After the track is clean and dry, apply a tiny amount of dry PTFE-based lubricant to the roller contact points (not a thick oil). Finally, roll the door back and forth 20-30 times to distribute the lubricant and check for noise.
If you see a shiny oily film mixed with dust, clean twice — once to remove grime, once to remove residue.
Avoid spraying WD-40-style water-displacing oil straight into the track and calling it done.
3. Door Drags at the Bottom (Bent Rail or Roller Height)
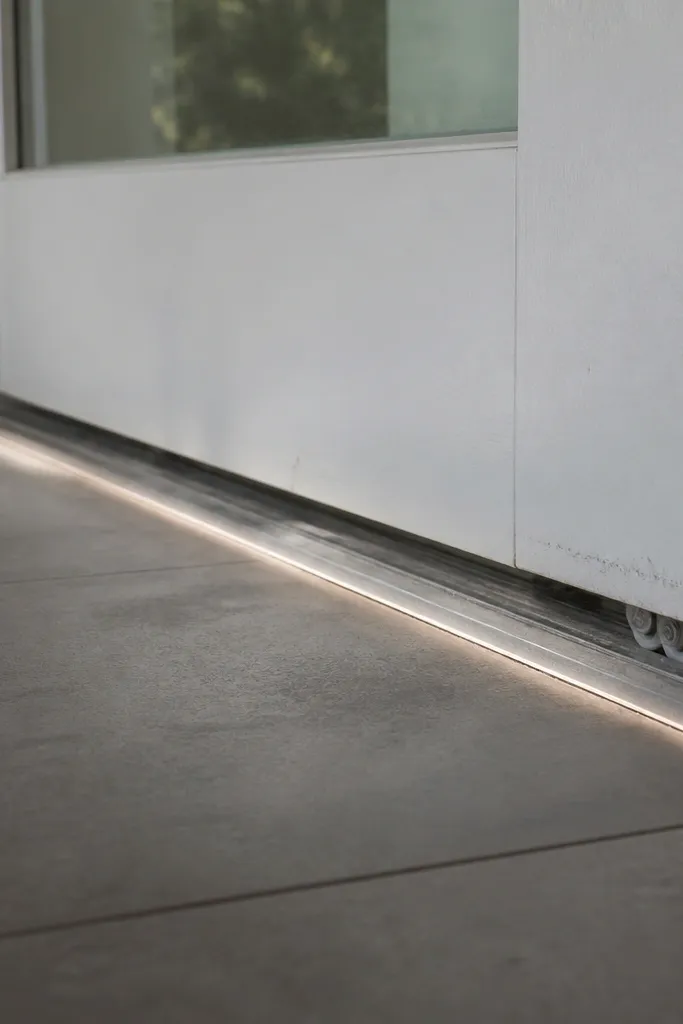
Start by removing the door and inspecting each roller wheel for flats, cracks, or uneven wear. Measure roller height from the roller mounting plate to the wheel surface so you can compare left and right. If the rollers are correct, check the rail with the 4-ft level and also by running a straightedge along the rail length. Replace bent or damaged rails or install correct-height rollers, then rehang the door and adjust roller mounting screws if your hardware allows height tuning.
A door that drags at the bottom edge usually has one of two causes: the roller height is wrong for the door, or the track rail is slightly bent. If only one side drags, suspect roller height or a damaged wheel. If both sides drag, suspect track sag or rail damage. Fixing this matters because dragging wears the rollers and can chip flooring or damage the door bottom edge over time.
Skip thisDon’t force the door higher by adjusting stops before you fix roller height or rail damage.
Editor's noteTake a quick phone photo of roller orientation before removing anything, so you reinstall the same way.
4. The Door Won't Latch Flush (Stop Position Off)
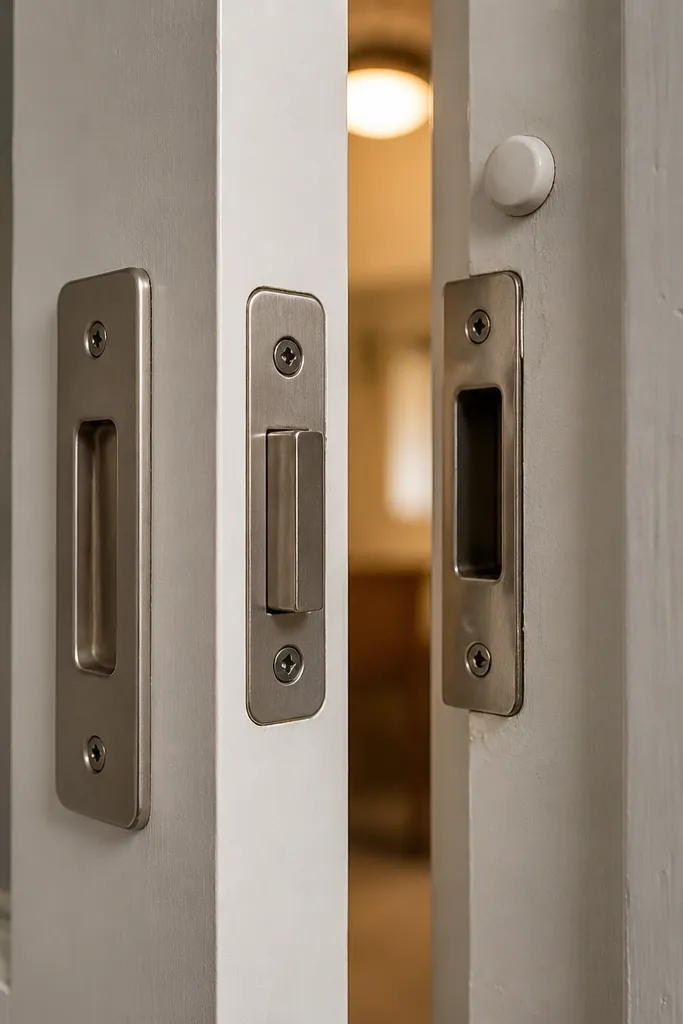
Start by closing the door gently until it touches the stop, then mark the roller position on the track with tape. Loosen the stop screws and adjust the stop a small amount (start with 1/16 in to 1/8 in). Close the door again and check where the latch lines up to the strike plate. Repeat until the door closes with even pressure across the latch area, then tighten the stop screws and test 10 open/close cycles.
If the door closes but the latch hits too high or too low, your door stop is almost always off. People blame the latch or the frame, then start sanding the strike plate and it gets worse. A correct stop makes the roller sit in the right place so the door lands squarely every time. This fix is clean, fast, and doesn’t require replacing the door hardware.
Skip thisAvoid filing the strike plate until the stop is correct.
Editor's noteMake adjustments in tiny increments — a 1/8 in change can move the latch noticeably on heavier doors.
5. Uneven Door Height From Worn Rollers (Replace One, Not Just Clean)
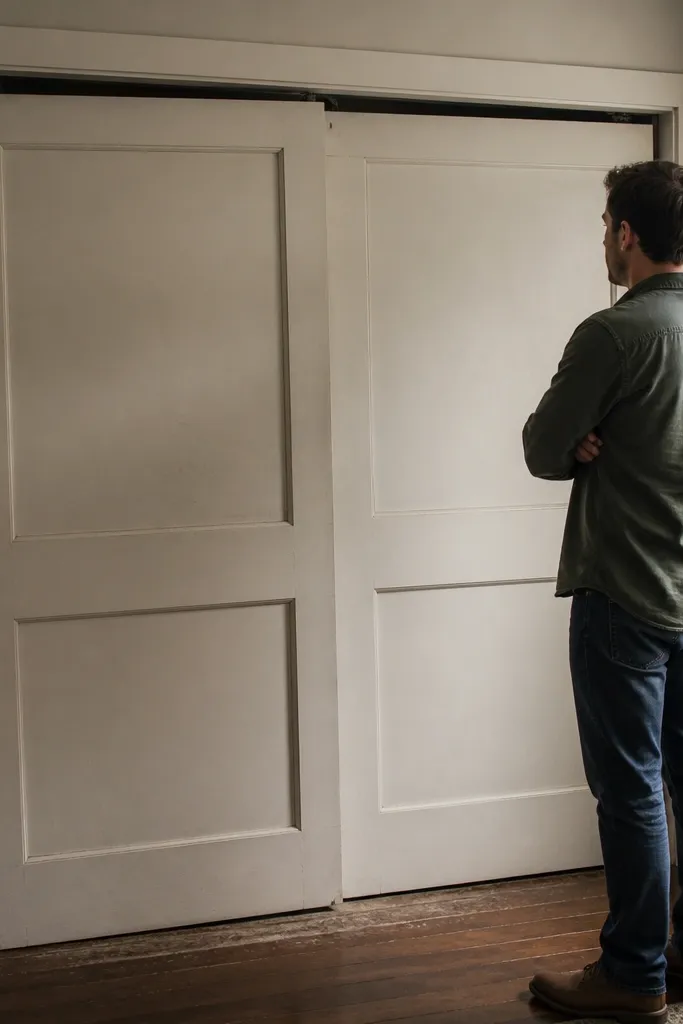
When one side rides lower, the gap and latch alignment shift even if the track is straight. The common sliding door mistake here is cleaning and lubricating a door with one roller that has a flat spot or a seized bearing. You’ll get brief smoothness, then the door settles again because the worn roller geometry stays wrong. Replacing rollers is the real fix because it restores consistent wheel height and bearing rotation.
Start by removing the door and checking both roller assemblies side by side. Look for wheel flats, wobble, rusted axles, or bearings that don’t spin freely. Match the new rollers to the old ones by wheel diameter and mounting hole pattern, not just by “looks similar.” Install the new rollers, rehang the door, then adjust the stop and test closing speed and latch alignment.
If you’re mixing old and new rollers, replace in pairs when possible for consistent height.
Don’t rely on lubricant to fix a roller that has lost its shape.
6. Track Screws That Are Loose (Micro-Movement = Big Gap)
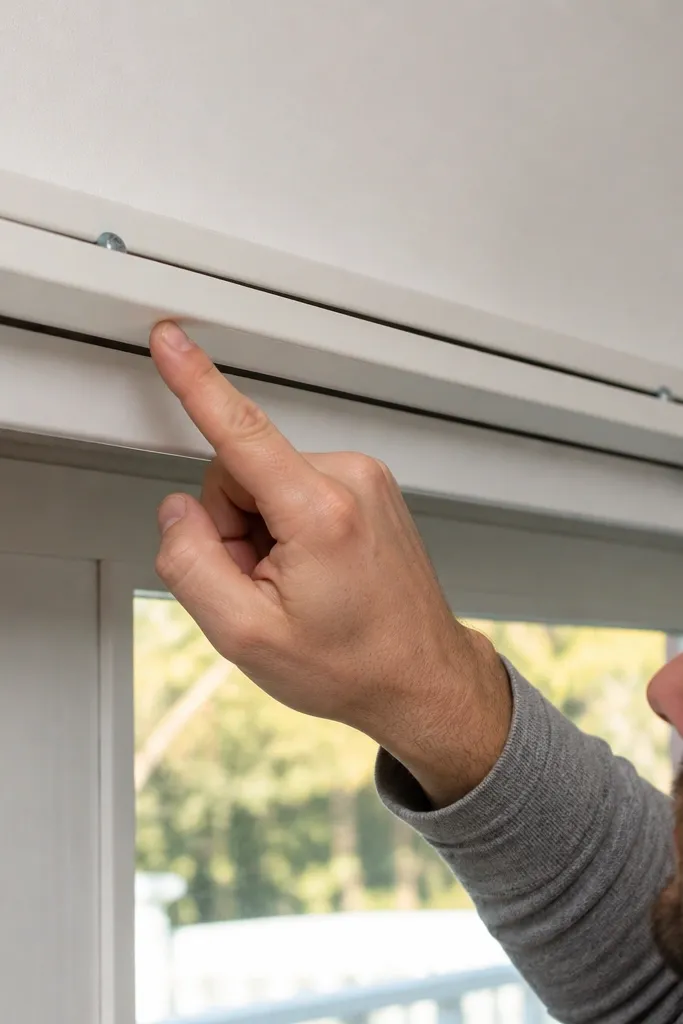
Loose track screws create micro-movement every time you open and close the door. You might not notice it visually at first, but it shows up as shifting gaps, a door that starts rubbing after a few weeks, and a latch that gradually stops lining up. The fix is straightforward because you’re just re-securing the track, but the order matters — tighten correctly after cleaning and checking level. This is ideal for wall-mounted tracks where you can reach the bracket screws.
Start by cleaning the track area so you can see screw heads and bracket positions. Loosen the door stop slightly so the door isn’t putting constant load on the rail while you work. Check track level again with a 4-ft level, then tighten all mounting screws in a cross pattern, not one side at a time. If screws spin without biting, remove them and use longer screws or add a wall anchor rated for the load, then recheck level and retighten.
Use a dab of thread-lock on metal-to-metal track screws if your hardware allows it.
Avoid tightening screws while the track is still dirty and misaligned.
7. Door Rubs the Frame on One Side (Wrong Roller Angle or Guide)
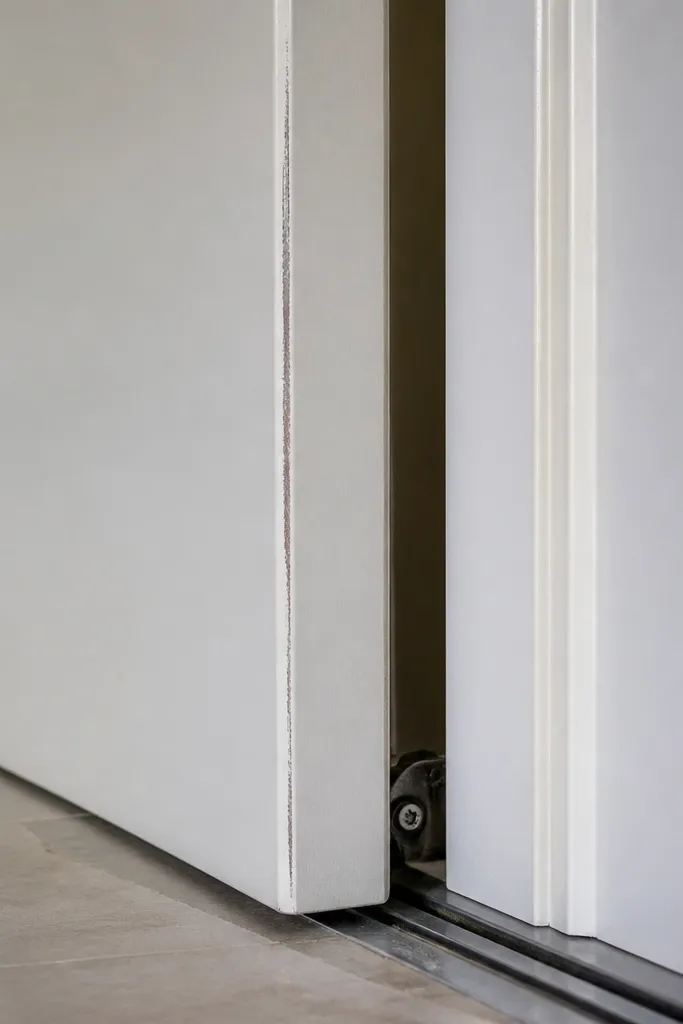
Start by watching the door as you push it slowly — mark where the rub starts on the jamb. Then inspect the guide hardware: bottom guide wheels, side guide blocks, or adjustable guide brackets. If the guide is adjustable, loosen its mounting screws and shift it in the direction that reduces rub, then retighten. If the guide is worn (cracked plastic wheel or mushroomed contact), replace it with the same type and size and set it so the door clears the jamb by about 1/16 in.
Rubbing against the frame on one side usually comes from a mis-set guide or roller angle, especially on bypass doors with bottom guides or on wall tracks with side guides. The door wants to travel straight, but the hardware is sending it slightly inward or outward. This causes paint wear, squeaks, and uneven gaps at the top. The fix is to adjust or replace the guide so the door runs in the correct plane.
Skip thisDon’t sand the jamb until the guide is correct; you’ll chase the wrong problem.
Editor's noteUse a strip of painter’s tape on the jamb as a witness mark — it shows exactly where the door touches.
8. Bottom Guide Missing or Misaligned (Door Wobbles)
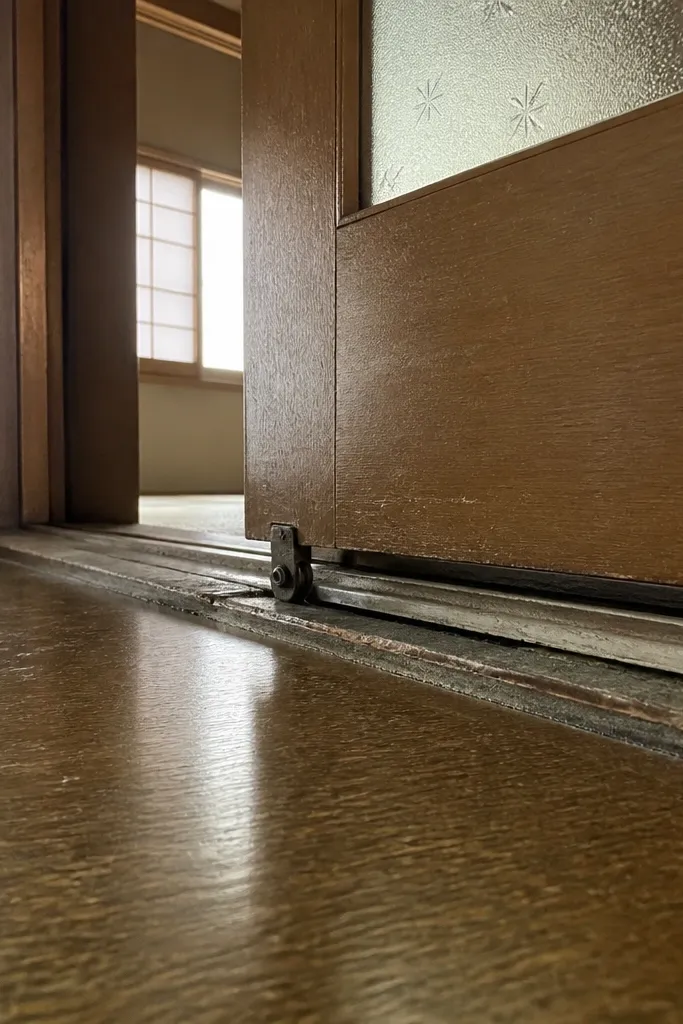
Start by checking the floor for guide tracks or mounting points, then locate the bottom guide bracket location. If the guide is missing, install a guide bracket that matches your door’s bottom profile and wheel type. If the guide exists but is off, loosen the guide screws and adjust position so the guide wheel lightly contacts the door bottom without binding. Re-test by pushing the door side-to-side by hand; you want minimal wobble with smooth travel.
A wobbling sliding door screams for a bottom guide problem. Without a properly positioned bottom guide, the door can drift sideways under load, which leads to rubbing, uneven top gaps, and a latch that feels inconsistent. This is a common sliding door mistake in older installations where the guide hardware was removed or never installed. Adding or realigning the guide makes the whole door feel stable with minimal change to appearance.
Skip thisAvoid skipping the bottom guide on heavier doors just because the top track seems fine.
Editor's noteSet the guide so it touches during motion, not when the door is static — that reduces binding from floor bumps.
9. Weather Stripping That Fails (Door Doesn't Seal)
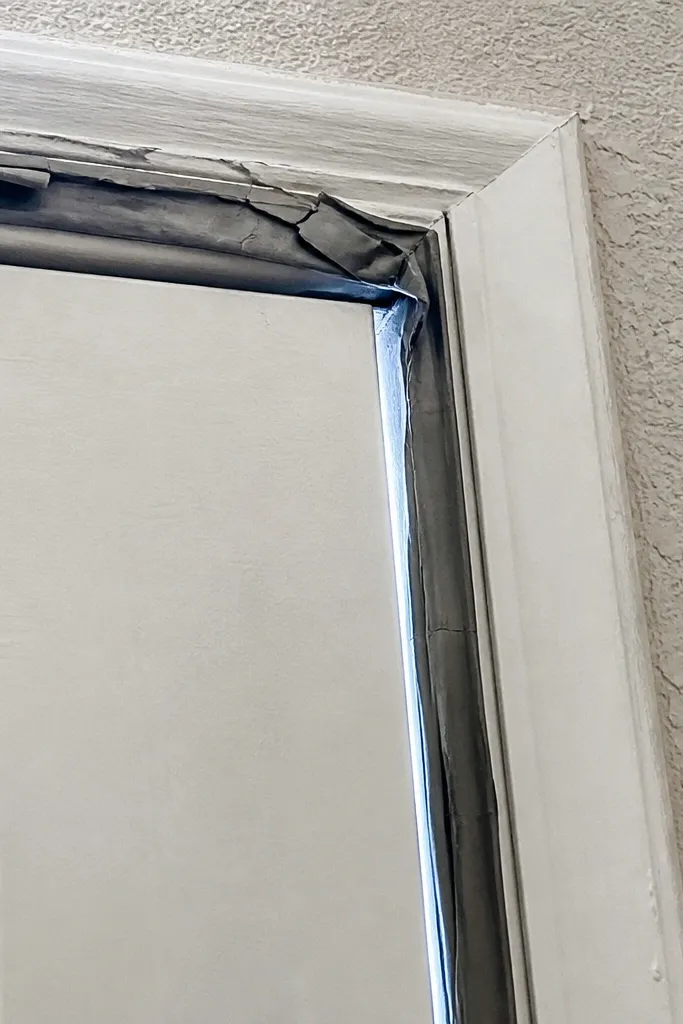
If you’re trying to reduce drafts or noise and the seal gaps keep showing up, the issue isn’t always the weather stripping itself. Many people install new adhesive seals on a door that doesn’t land squarely, then the strip tears loose or compresses unevenly. You get a patchy seal and a door that still feels “off.” The fix is to correct alignment first, then install the right seal type with the right compression.
Start by closing the door and checking gaps around the perimeter with a flashlight. Mark the widest gap spots and adjust the stop/guide first if the door doesn’t land evenly. Then remove the old seal and clean the contact surface with isopropyl alcohol so adhesive bonds. Install a new seal strip that matches the gap and door movement, then test compression by closing the door and checking for even contact along the length.
Use a seal that’s designed for sliding doors, not generic door sweep — sliding compression needs a specific material profile.
Don’t glue new seals over a misaligned door and expect it to fix the draft.
10. Track Paint or Caulk Overspray Blocking Roller Paths
Paint drips, caulk beads, and construction residue inside the track are a sneaky cause of sticking. The door may roll fine until it hits a specific spot, then it slows or stops. This is especially common in DIY renovations where the track gets painted after installation. Cleaning helps, but if the buildup hardened into the rail, you need to remove it to restore the roller path. This fix improves smoothness immediately and prevents roller wear.
Start by rolling the door slowly and identifying the exact sticking point. Then remove the door and inspect the rail with a flashlight — look for hardened paint ridges or caulk lumps. Use a plastic scraper and a nylon brush to remove residue, then wipe clean with isopropyl alcohol. If there’s still raised damage, lightly dress the spot with fine sandpaper wrapped around a small flat block, then clean again and lubricate lightly.
Cover the roller wheel with painter’s tape while you scrape to avoid scratching the wheel surface.
Don’t paint over the track after it’s installed — rollers will find the ridges.
11. Wrong Lubricant (Oil Traps Dust Into a Paste)
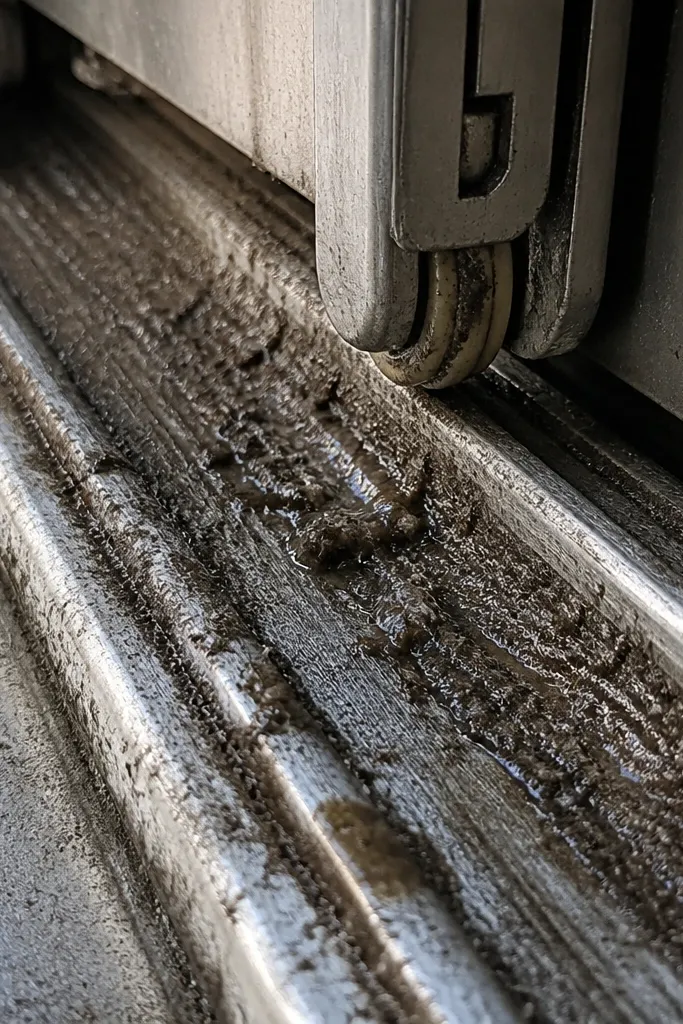
Start by removing the door so you can clean the track without missing spots. Wipe out the existing residue using rags and isopropyl alcohol until the rag comes away clean. Let the track dry fully, then apply a dry PTFE-based lubricant sparingly to the roller contact points. Roll the door back and forth to distribute, then wipe any excess that squeezes out so it doesn’t collect dust.
Thick oils and general-purpose sprays turn into a sticky dust paste inside the track. The door starts smooth, then gets worse as the paste builds. The common sliding door mistakes here are using the wrong product and over-applying it. You need a dry, low-residue lubricant that doesn’t attract grit. Fixing this makes your door feel clean and reduces future maintenance.
Skip thisAvoid greasing the track like a garage door; it turns into dust glue.
Editor's noteApply lubricant to the roller contact area, not along the whole track length.
12. Door Doesn't Close Fully (Stop Too Far or Roller Too High)
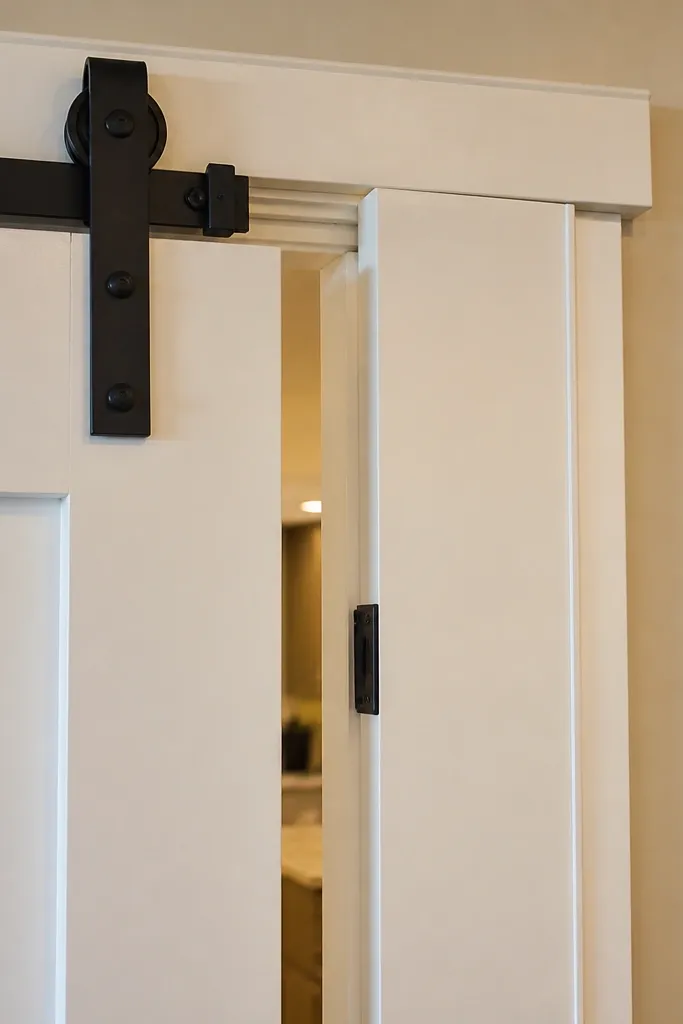
Start by checking the roller wheels for height and damage; if one wheel is worn or seized, replace it. Then loosen the door stop and move it toward the frame in small increments, testing after each change. Close the door slowly and confirm the latch reaches the strike without forcing. Tighten the stop once the door closes fully and sits with even gaps, then adjust latch strike only if it still lands off.
A door that stops short usually means the stop is set too far or the roller height is too high for the track and frame combination. If the latch doesn’t reach the strike plate, you’ll see an obvious gap at the closing edge. People try to “pull” the door closed by adjusting the latch, but that just stresses the rollers and makes the door scrape. The real fix is to set the stop correctly after roller inspection.
Skip thisDon’t adjust the strike plate to “fix” a stop that’s set wrong.
Editor's noteTest the door with the latch engaged and disengaged — you want smooth motion without binding either way.
13. Uneven Sliding Because One Roller Bearing Is Seized
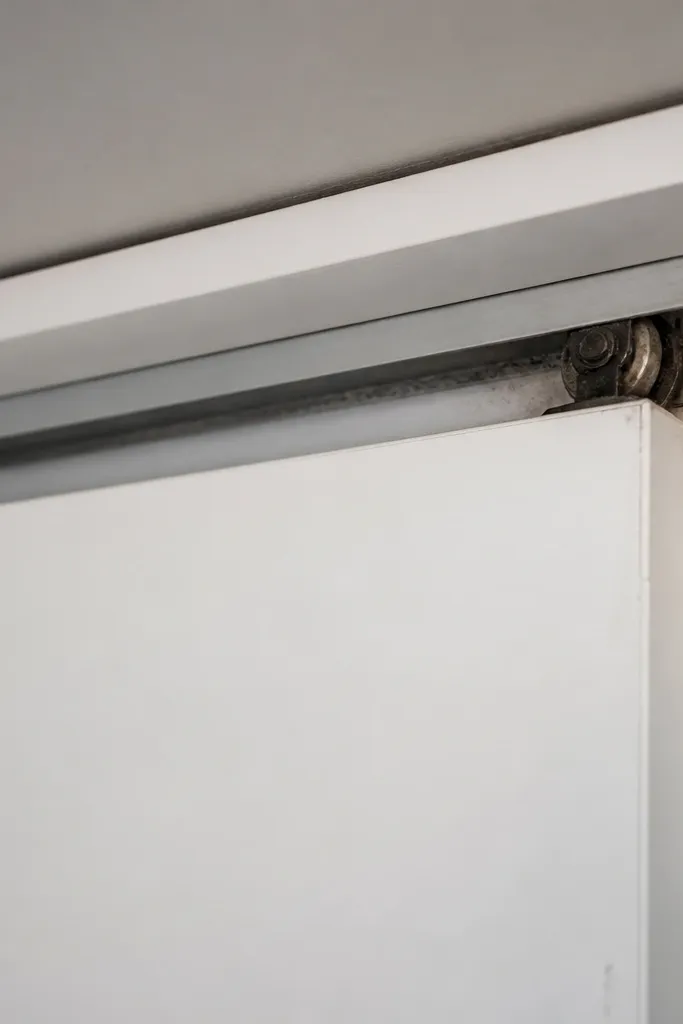
If the door moves smoothly for a moment then slows hard in one direction, you likely have a roller bearing that’s seized or failing. Cleaning and lubricant won’t restore a bearing that’s already worn. This is a common sliding door mistake because the door still moves enough to hide the problem until you notice uneven motion or jerky travel. Replacing the roller restores consistent rolling and stops the door from racking the frame.
Start by removing the door and spinning each roller by hand; a healthy wheel spins freely and smoothly. Inspect the axle for rust and check for wobble in the wheel. Replace the bad roller with the same wheel diameter and bearing type, then reinstall the door. After reinstalling, roll it through the full travel range and check that the top gaps stay consistent from open to closed.
If your roller uses an accessible set screw or clip, keep the fasteners in a small container so nothing drops into the track.
Avoid lubricating a seized roller and expecting it to stay fixed.
14. Bottom Track Gap and Drafts From Worn Floor Track
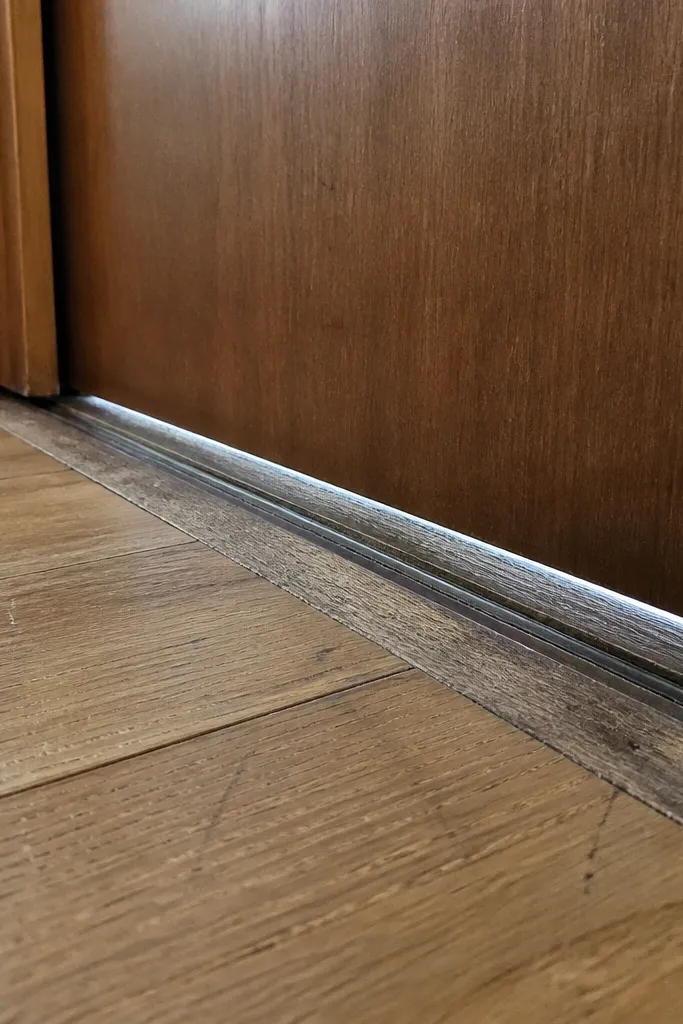
Some sliding doors have a bottom track or guide rail embedded in the floor. When that floor track wears or shifts, you get drafts, noise, and a door that feels slightly off-line. The top track might look fine, but the bottom guide is where alignment errors show up as rubbing and uneven closures. Fixing the floor track is worth it because it also improves the seal at the bottom edge.
Start by checking the bottom guide’s contact point and looking for gaps between guide components and the floor track. If the floor track is loose, remove the door and lift the track carefully from its mounting points. Clean the subfloor and check for debris or broken anchors. Reinstall the floor track with new screws/anchors, set the guide height so it clears by about 1/16 in, then test door travel and seal compression before finishing.
Use a vacuum and a shop rag before you set the track — grit under the track makes it sit crooked.
Don’t replace only the weather stripping when the bottom guide rail is worn or loose.
15. Door Rails Installed With Wrong Clearance (Too Tight, Then Binds)
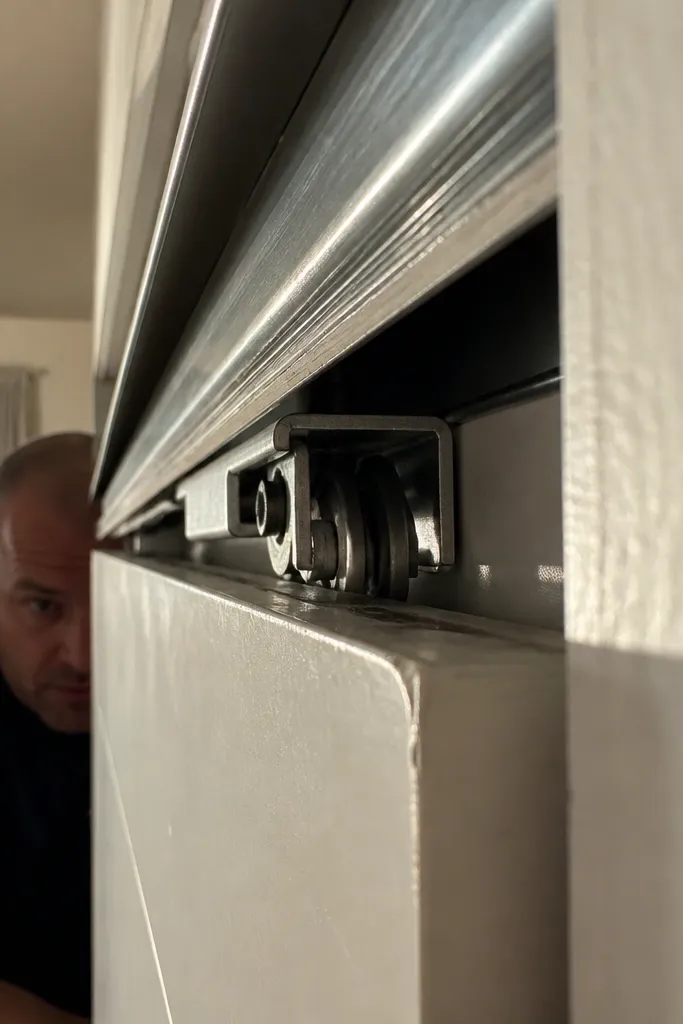
A sliding door that binds after a few inches of travel often has clearance issues: the track is mounted too close, the door hits a wall return, or the rollers sit too low in the bracket channel. This happens when someone follows a rough measurement and skips checking the door’s roller geometry against the frame. The fix is to correct the mounting clearance so the door runs in free space through the whole path. Done right, the door feels light even under load.
Start by removing the door and dry-fitting the roller assembly location relative to the track and frame. Measure clearance from the door’s moving edge to any wall returns or trim, and compare to the roller’s required operating space. If the track is mounted too tight, loosen the track brackets and add spacers/shims to increase clearance by the amount needed to prevent contact. Tighten everything, rehang the door, and test full travel while watching for contact points.
Dry-fit with the door in place but not latched so you can see contact before paint or finish gets damaged.
Avoid guessing clearance off the door face; check where the rollers actually travel.



