


1. Miter corners that actually meet (no daylight seam)
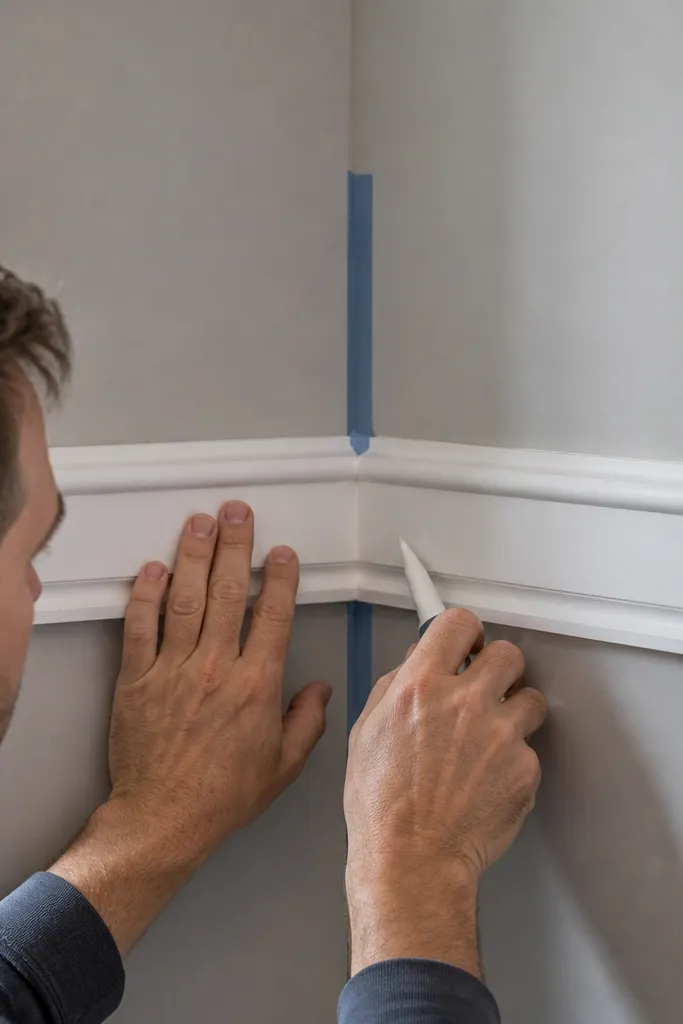
This fixes the most common failure: miters that look correct on the saw but open slightly once they’re on the wall. A tight corner isn’t about fancy cuts; it’s about measuring the wall-to-wall run at the installed height and then cutting each piece to match that run. Use a sharp blade and keep the cut square — dull blades burn MDF and fuzz wood fibers, which makes seams widen when you sand. When done right, the corner reads as one clean line instead of a seam you can track with your eyes.
Start by measuring the run length at the exact height where the moulding will sit, and measure both the left and right ends because walls bow. Cut your first miter, then dry-fit the two pieces on the wall without fasteners; adjust the angle by a hair if you see a gap at the face. Once the corner closes with no daylight, cut the matching piece for the return and fasten with brads near the ends and through the long edges. Caulk the seam after installation, not before, then wipe excess caulk so it stays mostly in the joint.
Do a dry-fit with the moulding held tight to the layout line; gravity can hide a gap until you let go.
Skipping a dry-fit is how you end up with a seam that shows even after caulk and paint.
2. The "shadow-line" paint order for crisp profiles
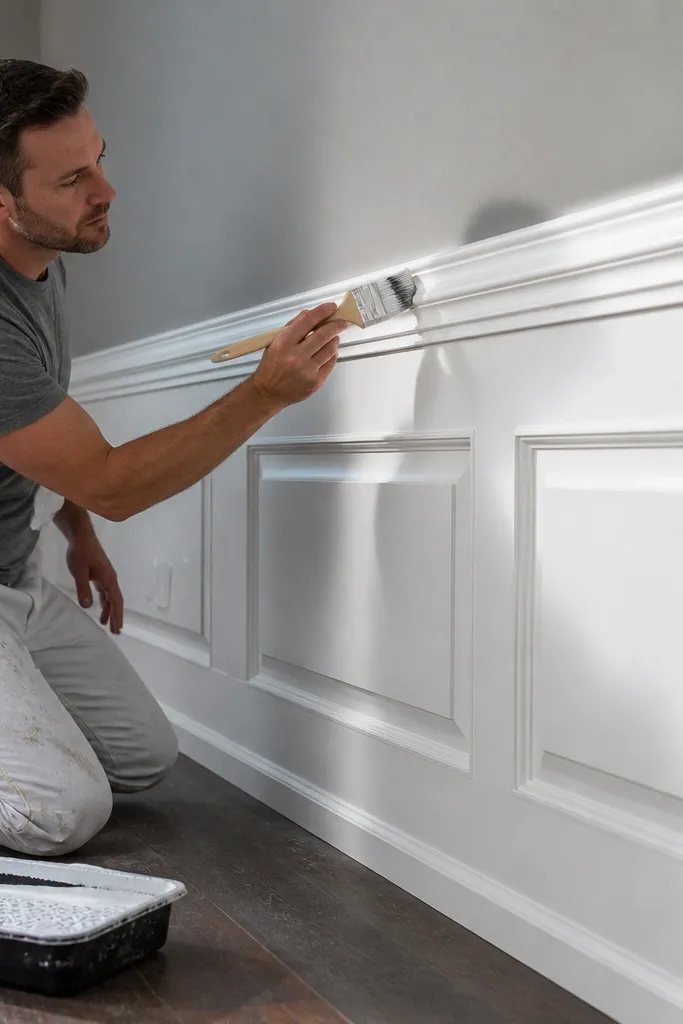
If your moulding looks dull or the details blur, the problem is usually paint order and how you handle caulk. Caulk is soft when wet, and if you brush across it too early you’ll smear it into the profile grooves. Crisp moulding needs paint that goes up and over edges cleanly, leaving shadow lines intact. This approach makes the profile look intentional even if you filled a few seams — the paint locks the caulk in without flooding the recesses.
First, caulk and let it cure until it’s firm to the touch and doesn’t smear when you lightly press it. Prime bare spots and any MDF edges, then apply topcoat using a small angled brush for the profile face and a foam roller for flat wall areas. Paint the moulding from the inside edge outward so you catch drips before they land in the recess. Finally, do a quick second pass on the moulding face only, avoiding back-brushing into the grooves.
Use a brush that’s small enough to reach the profile recess without dragging caulk across it.
Painting immediately after caulking usually smears the filler and turns fine grooves into flat gray lines.
3. Straight chalk-line layout so the moulding doesn't "float"

A lot of “wavy moulding” is just layout error. If the top edge line is off by even 1/8 in. Over 8 ft, the moulding will look like it’s sagging when you step back. The fix is to lock your reference line to something real: a level line, not a guess from the floor or ceiling. Once your layout is straight, the rest gets easier — miters look better, seams close, and caulk stays thin.
Editor's noteMark stud locations with a pencil dot so you don’t guess when you nail later.
Start by finding the reference height and marking a point using a tape measure from a consistent spot, like a window sill or a known height on a door trim. Snap a chalk line or use a laser level to draw the top edge across the room. Dry-fit a short piece and confirm it lands where you expect at both ends. After you fasten the first section, re-check with a level before you keep going, because walls can shift over long runs.
Skip thisStarting from the floor without checking level is how you get a moulding line that “tilts” even when the cuts are perfect.
4. Stud-hitting fasteners that stop moulding from pulling away
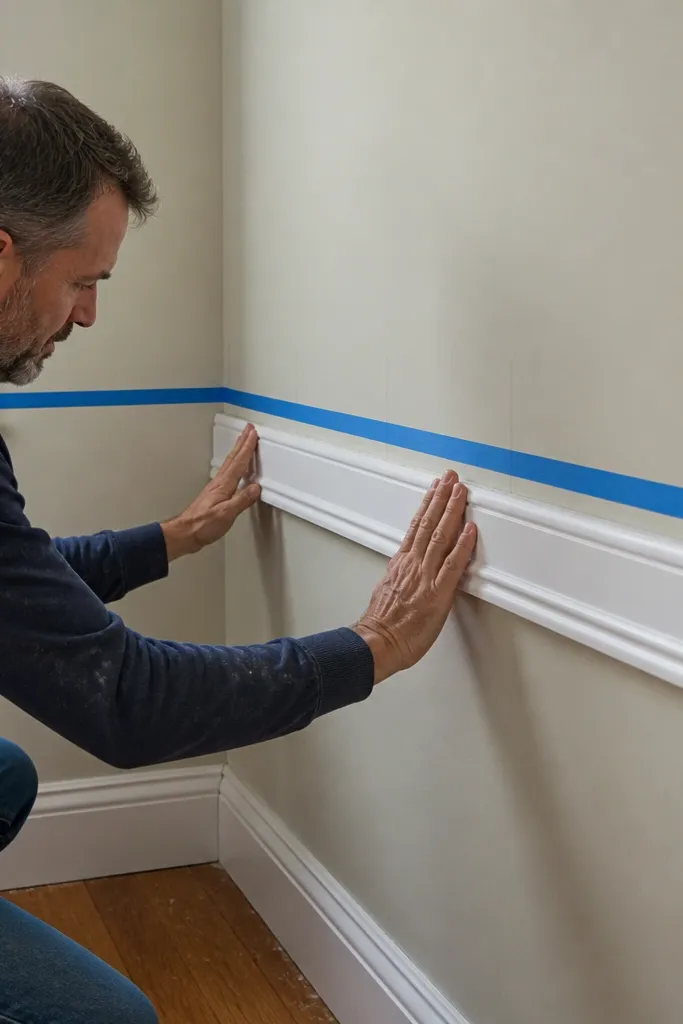
Moulding gaps often appear after the fact because the piece wasn’t secured to structure. If you nail only near the ends, the middle can bow out slightly when the house humidity changes or when you lean on it while working. Tight installation needs consistent fastening along the length so the moulding stays pressed to the wall. This also makes caulk thinner, which means it cures cleaner and looks sharper.
Locate studs using a stud finder and confirm with a small nail test hole if needed. Fasten with 18-gauge brads or finish nails: place fasteners every 12-16 in. Along the length and closer together near corners. Keep the nail heads slightly set below the surface so you can fill them, but don’t crush MDF. After fastening, press the moulding along the line with your palm and check for any lift; if you see it, add a brad at that spot before caulk.
Set nails with a nail set so you can fill with a thin skim instead of a big mound.
Fastening only at corners or far-apart spots is how you get gaps that show after paint dries.
5. MDF vs wood: prep that prevents fuzz and edge swelling
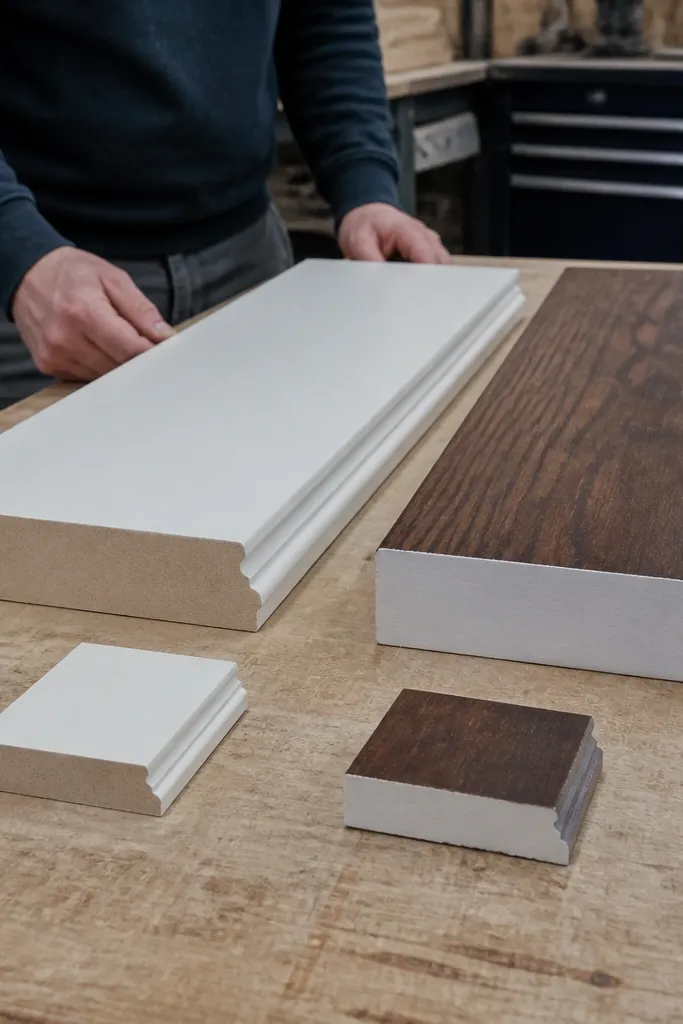
The material changes the failure mode. MDF handles paint well, but it fuzzes if you cut with a dull blade or sand too aggressively before priming. Wood has its own issue: knots and tannins can bleed through if you skip stain-blocking primer. Both materials also swell if you flood them with water-based caulk and wipe too wet. Proper prep keeps the profile crisp and stops the “rough edge” look that makes moulding feel cheap.
For MDF, cut with a fine-tooth blade and sand lightly with 180-grit to knock down fuzz, then vacuum the dust. Prime all faces and edges with a bonding primer; don’t leave raw edges unprimed. For wood, spot-prime knots and any areas that look darker with a stain-blocking primer before the full primer coat. After primer dries, sand just the high spots with 220-grit, then install and caulk seams once pieces are secured.
If the moulding feels slightly dusty after sanding, wipe it with a dry cloth before priming so the primer grips.
Skipping primer on raw edges is a common reason caulk lines look rough and paint chips along the profile.
6. Caulk bead placement that stays in the seam
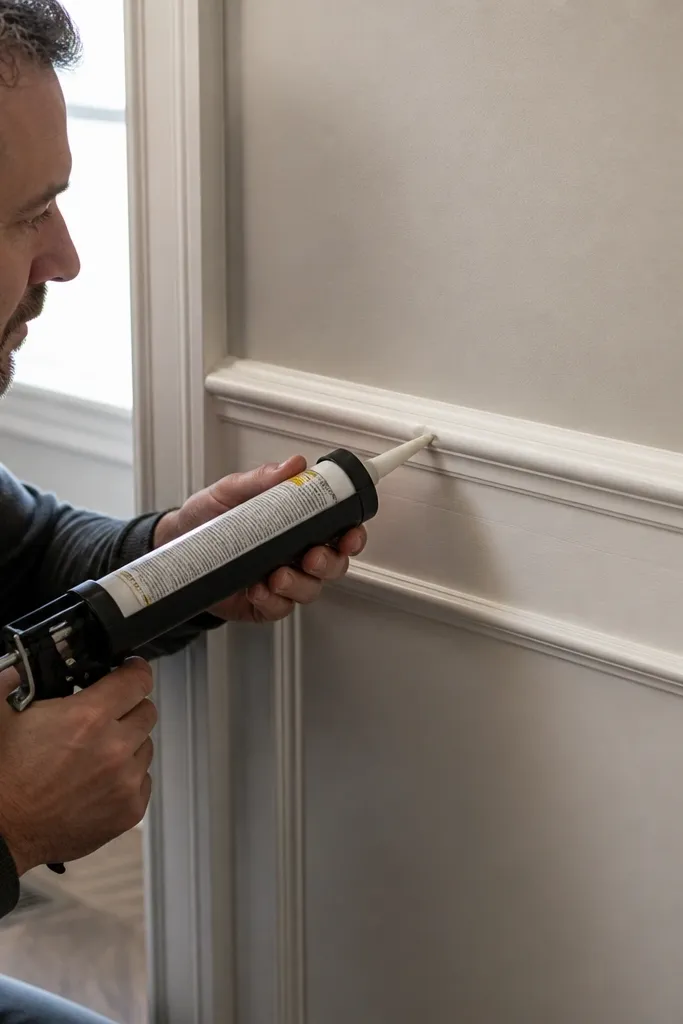
Caulk can either make moulding look custom or make it look sloppy. The trick is bead size and where it sits. If you smear caulk across the moulding face, it dries with a different sheen and texture than paint, so you’ll see it every time light hits. If you leave the seam unfilled, you’ll see a hairline gap that grows after paint. This method aims for a thin, controlled bead that fills the joint but stays out of the grooves.
Cut the caulk tip small and apply a continuous bead directly into the seam after moulding is installed and fastened. Tool it with a damp finger or a caulk tool so it fills the gap but doesn’t spread onto the face. Wipe the excess with a rag that you change often so you don’t smear cured dust into the joint. Let it cure fully, then sand only if there’s a ridge you can feel with your fingertip.
Use paintable acrylic latex caulk for most wall moulding seams; it sands smoother than silicone-based products.
Overfilling the seam and smearing caulk into the profile is why moulding looks messy after paint.
7. Coping corners for inside turns (ditch forced miters)

Inside corners are where miters go to die. If the corner isn’t perfectly square (and almost none are), a 45-degree miter forces a gap at one edge. Coping lets the moulding follow the wall corner by cutting the profile so it overlaps and covers minor irregularities. This makes the seam look tight even when the wall has a slight wobble. It also reduces how much caulk you need, which improves the final crispness.
Install the long piece first, then measure the inside corner piece length. Cut the end with a rough 90-degree or slight angle to leave material to cope. Use a coping saw or a jigsaw with a fine blade to trim along the moulding profile, following the contour so the profile face overlaps the adjoining piece. Dry-fit the cope — the edge should sit snug without forcing — then fasten and caulk only the tiny remaining gap.
Take your time shaping the profile edge; sanding after installation is only for tiny corrections.
Forcing a perfect miter on an inside corner when the wall isn’t square is one of the quickest ways to get visible gaps.
8. Bridging outlet boxes without cracking moulding
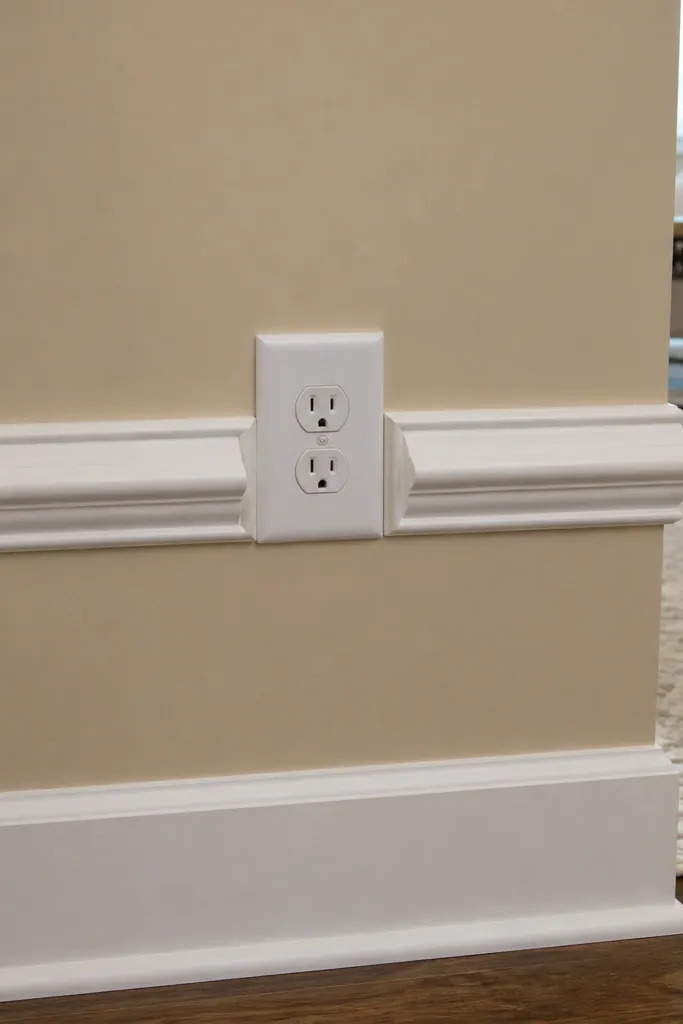
Outlet and switch boxes are where moulding projects get ugly fast. If you just butt moulding up to the cover plate opening, you leave weird gaps or you force the moulding to flex, which can crack MDF at the cut edges. The fix is to plan the moulding interruption and use proper box extension and clearance. When done right, the moulding looks continuous and the cover plate sits flat without forcing the moulding away from the wall.
Turn off power and remove the device and cover. Measure the box location relative to your moulding line and mark the opening on the back of the moulding so you know where the box will hit. Cut a clean notch with a fine-tooth saw, test-fit over the box, and check that the moulding sits flat against the wall. If the box is too deep, install a box extender so the cover plate aligns flush, then fasten around the notch and caulk the seam edges lightly.
Test-fit with the cover plate in place; it reveals whether your notch and clearance are correct.
Ignoring box depth and clearance is how you crack MDF edges or end up with a cover plate that doesn’t sit flat.
9. Keeping moulding level over uneven floors
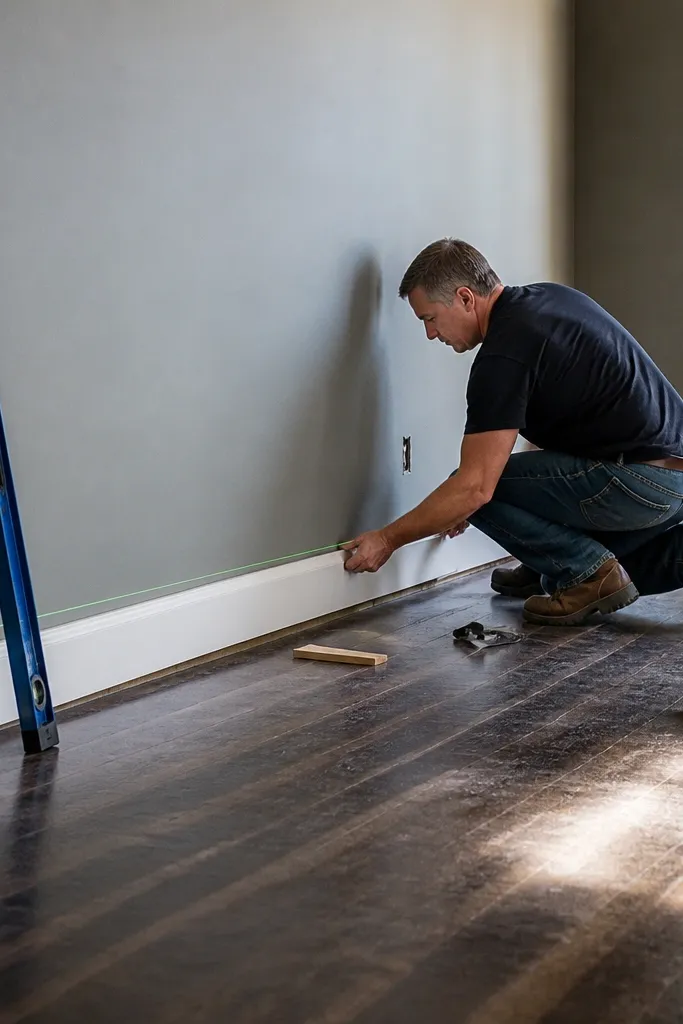
A moulding line that follows a sloped floor looks wrong even when it’s “even” to your eye at one spot. The goal is level — not equal distance from the floor. If your floor is off by 1/4 in. Across a room, your moulding will look like it’s sagging if you measure from the floor. Using a level reference line removes that problem, and it makes the moulding read as intentional architecture.
Pick a reference point like the top of an existing trim or a mark on a door casing. Use a 4 ft level or a laser to mark the moulding height at two points and snap a line between them. Install the moulding to that line even if the bottom edge changes height relative to the floor. Check again after the first 4-6 ft and adjust before you lock in the rest.
If you’re doing a chair rail, keep the top edge consistent and let the bottom follow the floor.
Measuring from the floor all the way around is how you get moulding that tilts with the room.
10. Nail holes and seams filled like a pro (thin skim only)
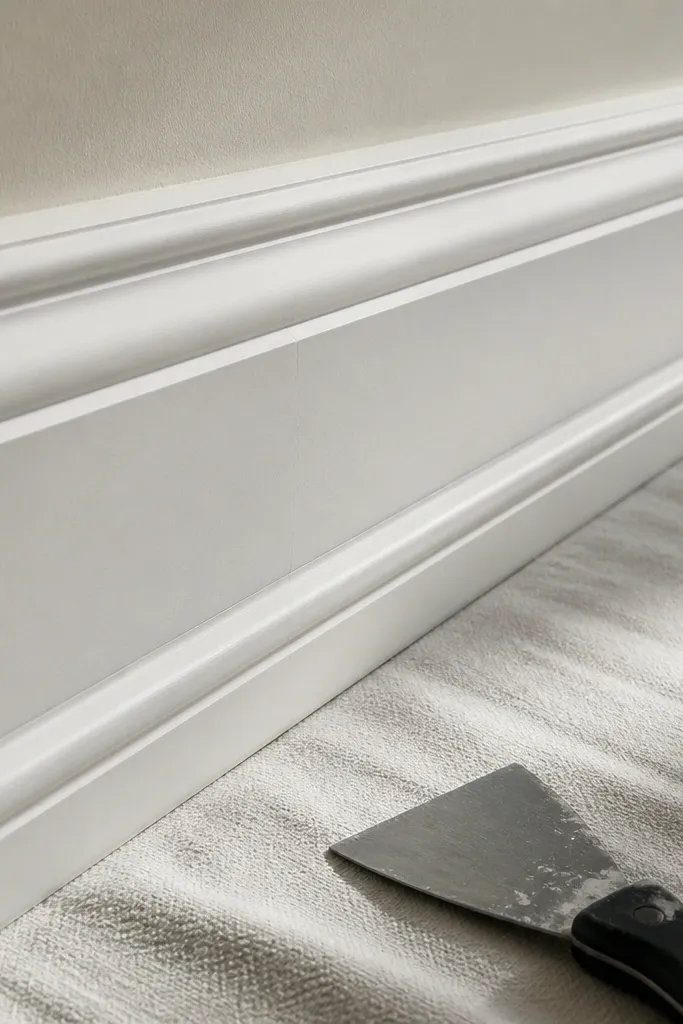
A common reason moulding looks bumpy is overfilling fastener holes and seams. Thick filler shrinks, cracks slightly, and shows as a raised line once paint dries. You want a skim: fill just enough to remove the dimple and create a smooth transition. For nail holes, a fast-drying wood filler works, but seams between pieces need caulk for flexibility. Mixing the wrong filler in the wrong place makes the final look worse.
Editor's noteWipe dust off with a dry rag before priming; dust on filler makes paint look rough.
Set nail heads slightly below the surface first, then fill each dimple with a small amount of wood filler or spackle-type filler. Let it dry fully, then sand with 220-grit until you can’t feel a ridge. For seams between moulding pieces, use paintable caulk instead of filler, because caulk bridges micro-movement. After caulk cures, lightly sand the caulk ridge only if it’s proud of the surface.
Skip thisUsing spackle or hard filler in long seams is how you get hairline cracks along the moulding after paint.
11. Primer-first for MDF edges and cut ends
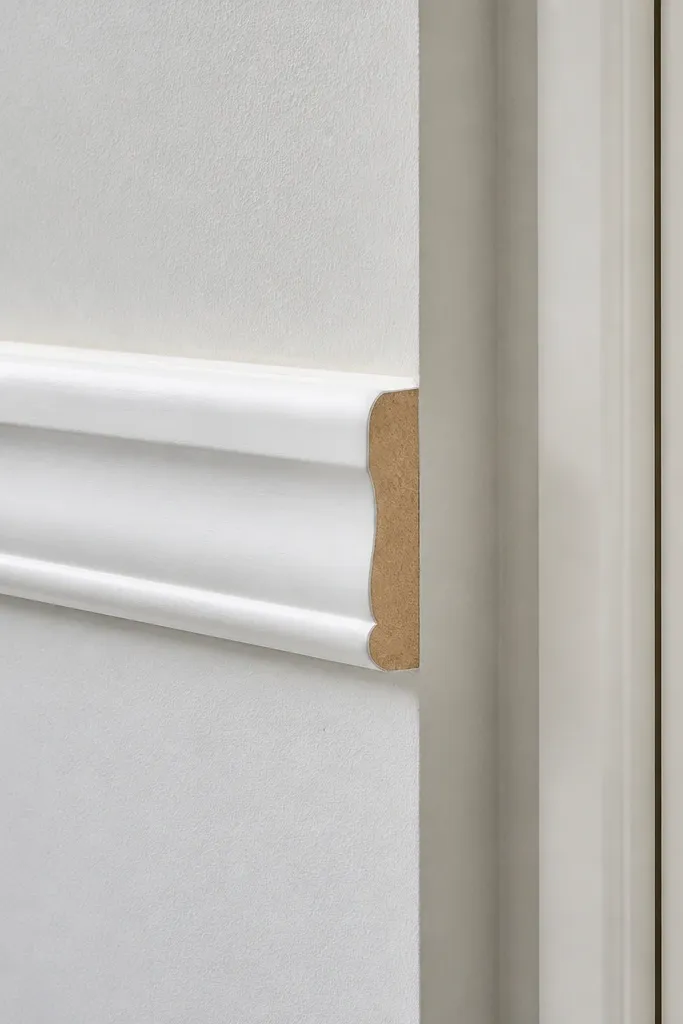
Paint hides a lot, but MDF cut ends show everything. If you install unprimed MDF, the cut edge drinks paint differently and can look blotchy or slightly raised after it absorbs moisture from caulk. Primer evens out absorption and helps the topcoat glide. It also improves adhesion so the caulk edge doesn’t peel later. This is one of the “boring steps” that makes the finished wall look clean instead of patchy.
Editor's noteIf your primer looks rough after drying, a quick sand makes the topcoat much smoother.
Before installation, prime all cut ends and any areas you sanded. Use a brush to get primer into edges, then roll or brush the main surfaces. After primer dries, lightly sand any rough spots with 220-grit. Install the moulding, then caulk seams and spot-prime any areas where you sanded through or where caulk has dried onto bare surface.
Skip thisPriming only the installed face and skipping cut ends is why MDF looks blotchy around corners.
12. Blade choice and cut speed to stop MDF chipping

Chipped edges ruin moulding because the profile highlights every defect. MDF chips when the blade is dull, the cut is too fast, or the workpiece isn’t supported. Wood chips too, but MDF shows it more because the edges are uniform and any tear-out looks obvious after paint. Clean cuts also reduce how much filler you need, which keeps seams thin and crisp.
Use a fine-tooth blade meant for trim or plywood (more teeth is better for MDF than a coarse framing blade). Support both sides of the moulding so the cut doesn’t pinch at the end. Make the cut with steady pressure — don’t force it and don’t rush. After cutting, lightly sand only the edge you’re joining, then dry-fit pieces to confirm the profile faces sit cleanly.
Cut a small test scrap and paint it; you’ll see tear-out before you waste a full section.
Using a dull blade or letting the cut pinch is a fast way to create chips that filler can’t fully hide.
13. Caulk vs wood filler: use the right product for movement
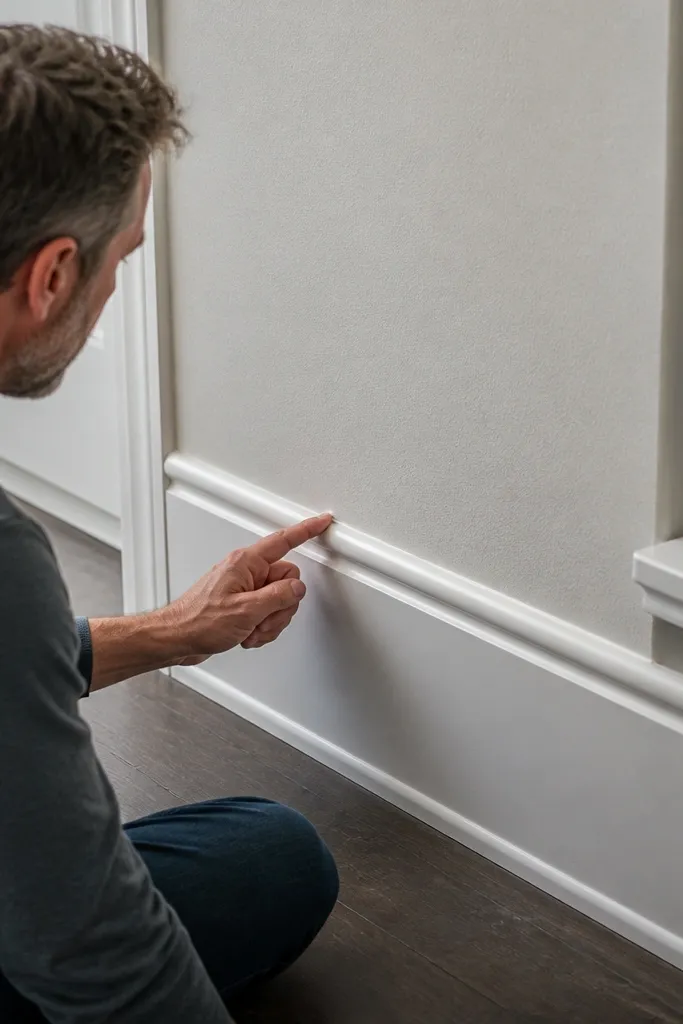
People reach for the wrong filler because they want the seam to look perfect immediately. Hard filler is great for nail holes, but seams between moulding sections need a product that stays flexible. Walls move — even slightly — and hard filler cracks along seams after paint cures. Caulk stays elastic and keeps the line clean. Using both correctly prevents the classic “hairline crack after a few weeks” problem.
Use wood filler or spackle for nail holes and any dents you can sand flat. Use paintable acrylic latex caulk for joints where two pieces meet, especially along miters and inside corners. Install moulding, fasten it, then caulk seams after you’ve checked the fit. After caulk cures, sand only high ridges and then prime spot areas if you sanded bare.
Run a thin bead and tool it; if you can see a thick caulk ridge, you used too much.
Filling long seams with wood filler is how you get cracks right along the moulding line.
14. Fastening into drywall anchors without relying on them

Anchors are for backup, not the main hold. If you mount moulding to drywall anchors, it can loosen slightly and pull away from the wall, making gaps appear at seams. Even if it holds today, paint and humidity changes can widen the gap. The right approach is to hit studs whenever possible and use anchors only where no stud is present. That keeps the moulding stable and the caulk line thin.
Editor's noteIf you’re using anchors, tighten carefully; overtightening can bow the moulding away from the wall.
Locate studs and plan your moulding layout so fasteners land on studs most of the time. Where you truly miss a stud, use appropriate anchors rated for the load and choose a fastener length that grabs solidly. Predrill so you don’t blow out drywall, and keep fasteners spaced so the moulding stays pressed. After fastening, check for any lift along the length and add an anchor or brad where needed before caulking.
Skip thisTreating drywall anchors like they replace studs is how moulding loosens and seams open.
15. Moulding height mistakes on doors and windows

Door and window areas punish sloppy planning. If you set moulding height based on one wall only, you’ll end up with misaligned sections when you wrap around openings. The eye catches it quickly because there’s a clear reference — the trim and the opening reveal. Fixing this requires mapping your layout across the room and checking alignment at every opening before you cut long pieces.
Editor's noteMark the moulding location on painter’s tape at each opening; it saves you from re-measuring mid-cut.
Start by choosing a single height reference for the top edge and mark it around the room using a level or laser. Measure the distance from that line to the top of each door/window trim so you can translate the moulding run. When cutting around openings, dry-fit each return and confirm the profile lines up before fastening. Caulk the small gaps at returns and spot-prime any areas where you sanded.
Skip thisCutting each wall section independently without checking wrap-around alignment causes visible step-ups near openings.
16. Paint sheen mismatch across moulding and wall

Even if the moulding is installed perfectly, sheen mismatch makes it look wrong. Walls often use flat or eggshell paint, while trim is usually satin or semi-gloss. If you paint moulding with the same flat as the wall, edges look softer and caulk lines disappear less cleanly. If you paint the wall with glossy trim paint, you’ll see roller marks and dents. Matching the sheen the right way makes the profile read crisp without looking plastic.
Choose trim paint sheen based on your wall finish: if the wall is eggshell, use satin on moulding; if the wall is flat, use semi-gloss or satin on trim. Mask carefully with painter’s tape and remove it before the paint fully hardens so edges stay crisp. Apply two thin coats to moulding, not one heavy coat, so you don’t get drips in the profile recesses. Feather the wall paint edges lightly where you masked to avoid a hard tape line.
Test a scrap of the same moulding with your paint and caulk so you can see how the sheen catches light.
Using the same paint and sheen on both wall and moulding makes seams look dull and uneven.



