
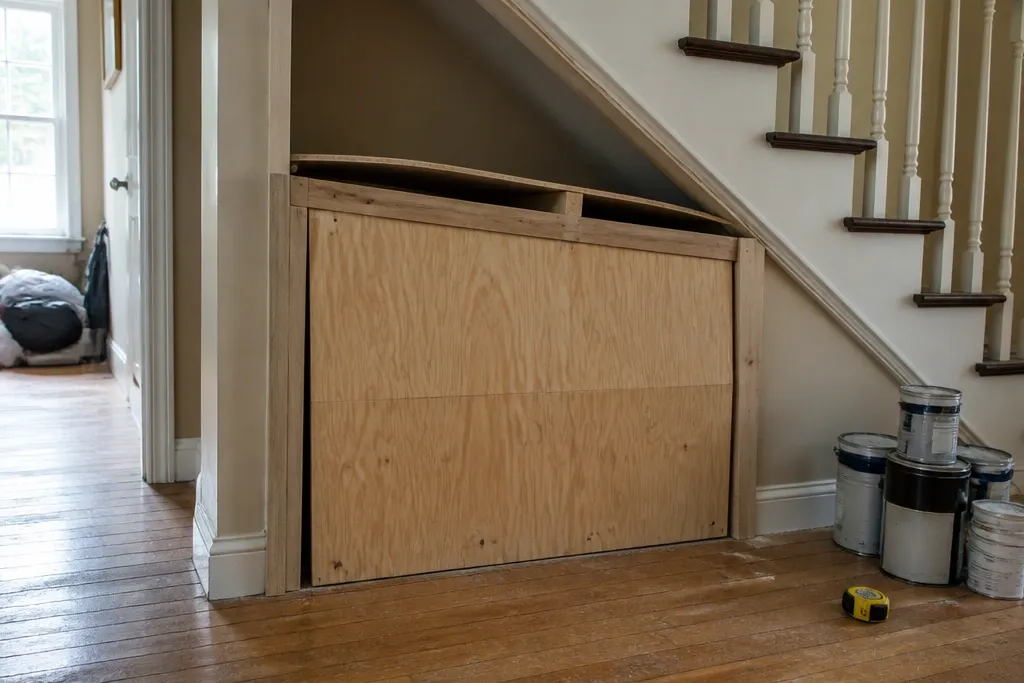
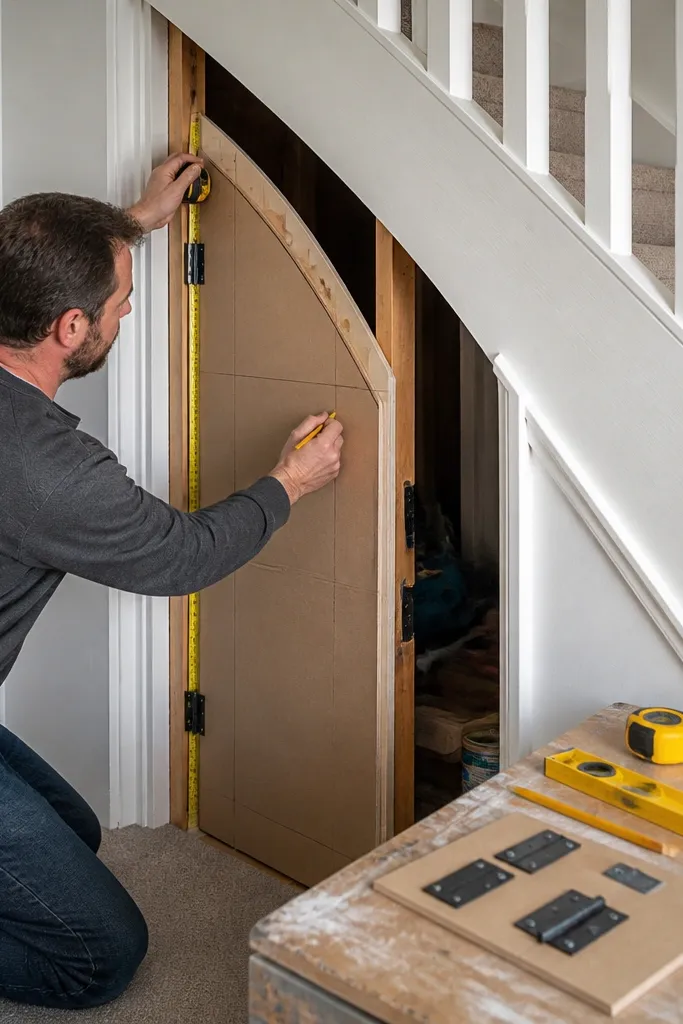
1. Painted plywood cubbies with a clean rail front
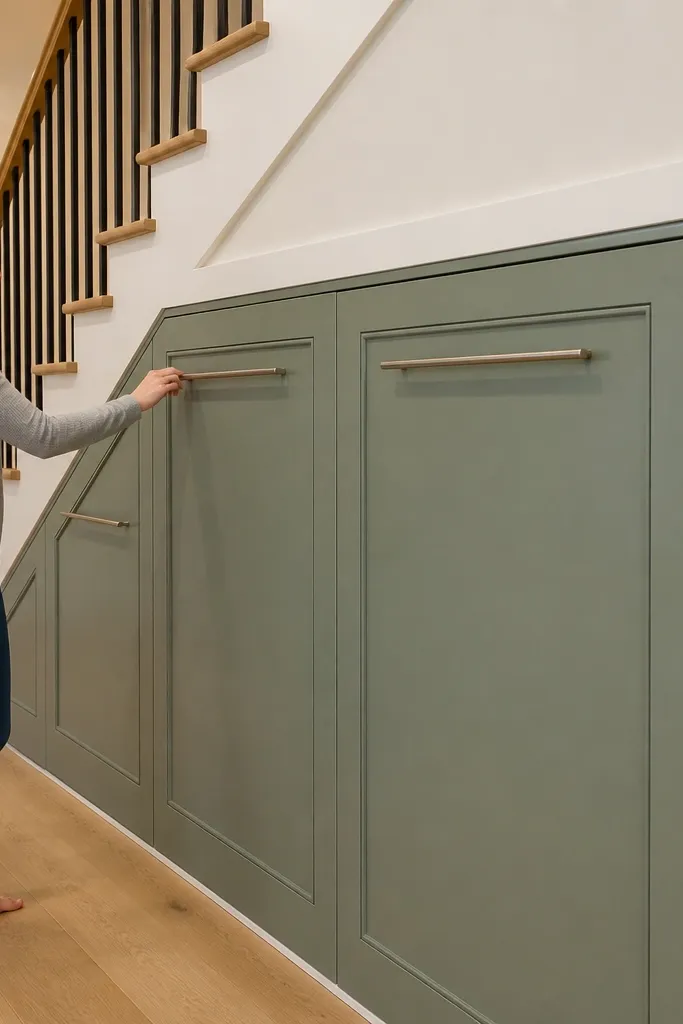
This is the easiest under-stairs look to make budget-friendly and still sharp. Cubbies hide the “odd shape” because each compartment has a consistent face, and you can match the rail to the stair trim so it looks built-in. Use plywood for the carcass and face it with a simple rail so everything reads as one set of lines instead of random boxes. The result is photogenic because the fronts stay flat and the compartments line up, even when the ceiling drops behind them.
Start by mapping your usable width at the narrowest point, then draw a grid with equal cubby widths (even 12-16 inches wide looks clean and repeatable). Cut plywood shelves and side panels to fit the depth you can actually use, then assemble with wood glue and 2-inch screws. Add a face frame rail across the fronts — one top rail and one middle rail — so the boxes look intentional. Sand the whole front face, fill screw holes, then paint with a durable trim paint in a satin finish so it wipes clean.
Editor's noteUse a 1/4-inch plywood backer on each cubby to keep the structure square and prevent wobble when you load bins.
Skip thisAvoid building deep cubbies that hit stair clearance; shallow compartments look cleaner than cramped ones you can’t reach.
2. Shallow shoe shelves with a 3/4-inch lip
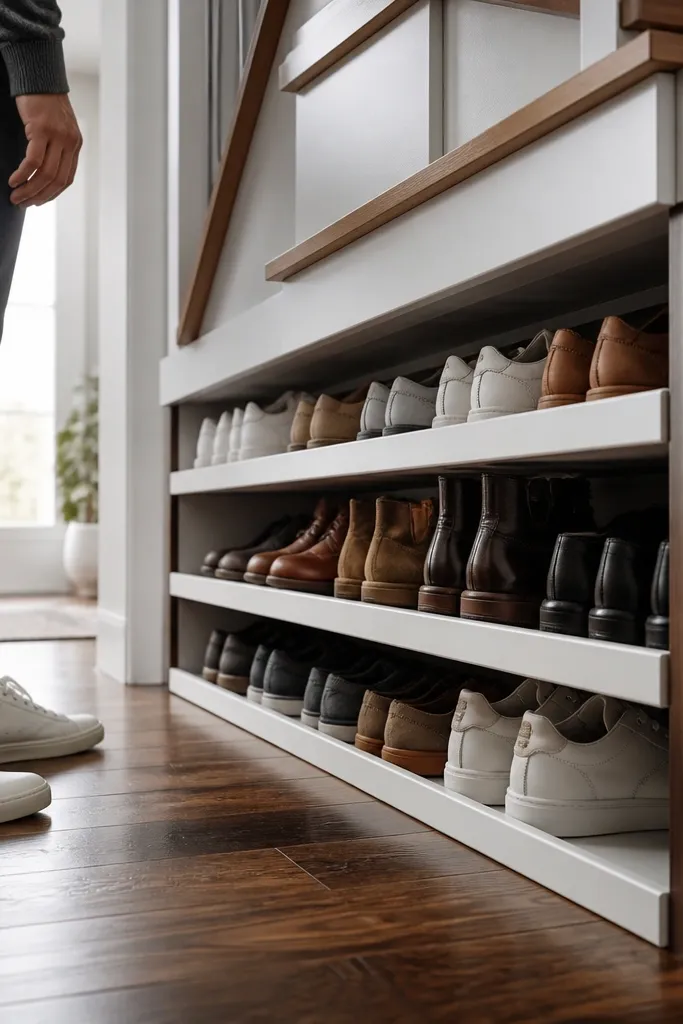
Shoes are where under-stairs storage goes wrong visually — they spill out, tilt, and make the whole corner look chaotic. Shallow shelves solve that, and the lip is what keeps pairs from creeping forward. This build is budget-friendly because it uses short shelf runs instead of tall cabinetry, and it looks tidy because every row has the same end-stop. If you paint the shelves the same color as the wall or trim, the corner looks calmer and less “storage-y.”
Measure your largest shoe length and choose a shelf depth that gives you about 1-1.5 inches of breathing room past the toe. Cut shelf boards and add a 3/4-inch wide strip as a lip on the front edge — glue it and screw it from underneath. Install with a simple ledger rail along the side supports, then add cleats so each shelf sits level. Finish with a coat of clear matte poly or a scuff-resistant paint so you can wipe off dust and salt stains.
Label shoe compartments by row (Row 1, Row 2) instead of by person; it reduces rummaging and keeps the look consistent.
Avoid flat shelves with no lip — shoes slide forward and the space stops looking neat.
3. Pull-out bins in a fixed frame for cleaning supplies
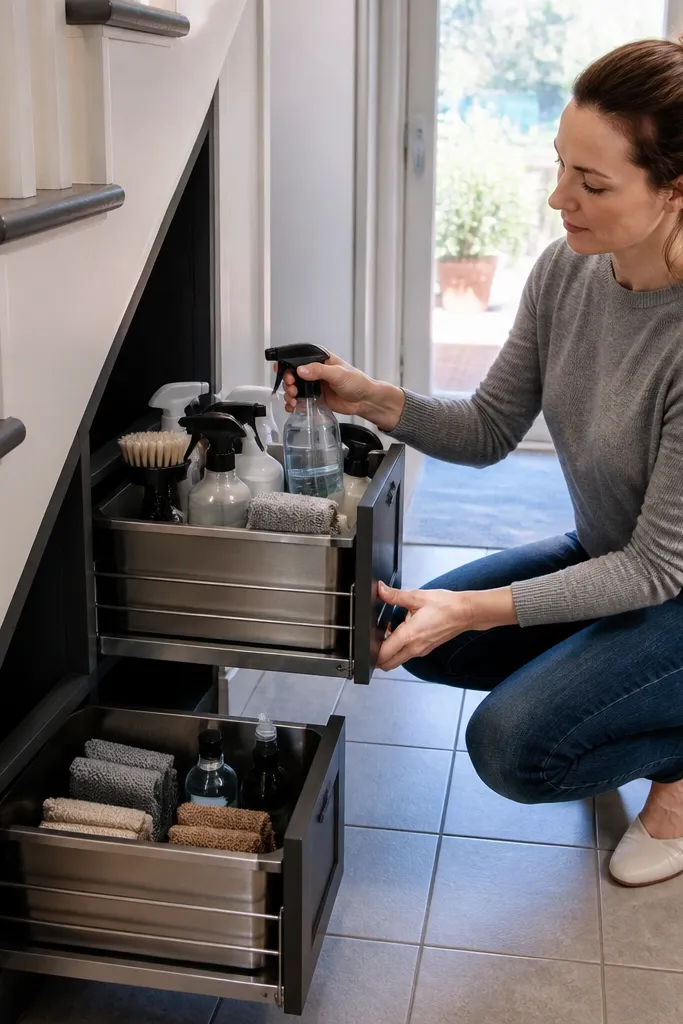
Pull-out bins are the under-stairs upgrade that instantly makes a messy utility area look styled. The fixed frame gives structure, and the bins keep bottles from forming a clutter “tower” behind doors. This is a smart budget move because you can use standard bin sizes and build the frame around them instead of custom cabinetry. It’s also photogenic because the drawer fronts line up and labels stay visible without looking like a craft project.
Pick bins that match your narrowest width, then build a rectangular frame with two side rails and one middle support so drawers have solid mounting points. Install drawer slides at the correct height so the bin fronts sit flush with the frame face. Add a face board front with a consistent reveal around each bin. Finally, attach handles or use finger pulls, then label in a simple grid on the inside top edge or front corner.
Use full-extension slides if you can; partial slides force you to reach deep and that’s when bins start looking chaotic.
Avoid mounting slides to thin plywood without blocking — they rack and bins bind when the load shifts.
4. Hanging coat rail with a boxed-in back and open front
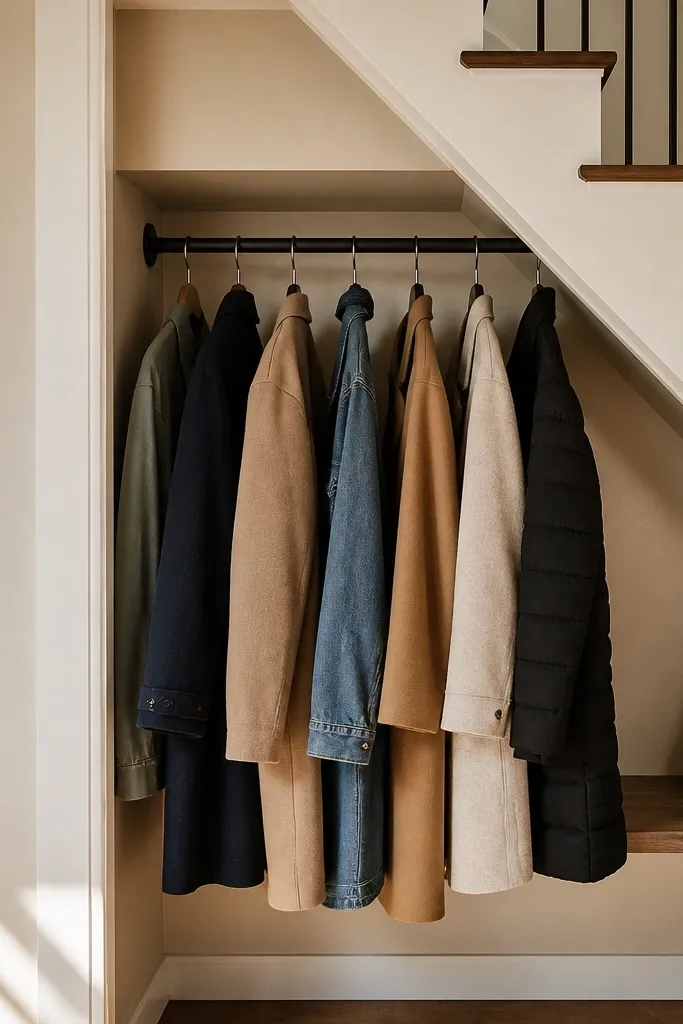
If you want under-stairs storage that looks clean even when coats are present, a hanging rail with a boxed back panel is the move. The boxed back hides the mess behind hangers and keeps the space looking intentional. You get vertical storage without building a full cabinet, so it’s cheaper and faster. The look is sleek because the rail creates one strong horizontal line, and the boxed back gives you a smooth “background” for everything hanging in front.
Start by finding the tallest clearance point under the stairs and set your rail height so hangers don’t scrape the stair underside. Build a back panel from plywood cut to the angled back wall shape, then secure it to studs or strong wall anchors. Add side supports for the rail — two vertical uprights — and mount a simple metal or painted wooden rail between them. Finish by painting the interior back and supports with the same color as the front to keep the whole area visually quiet.
Editor's noteUse a ceiling-mounted rail only if you have solid joists; otherwise, side uprights are sturdier and look cleaner.
Skip thisAvoid hanging coats on a rail attached to drywall alone — it pulls free and the whole look sags fast.
5. Ladder-style narrow drawers for gloves and small stuff
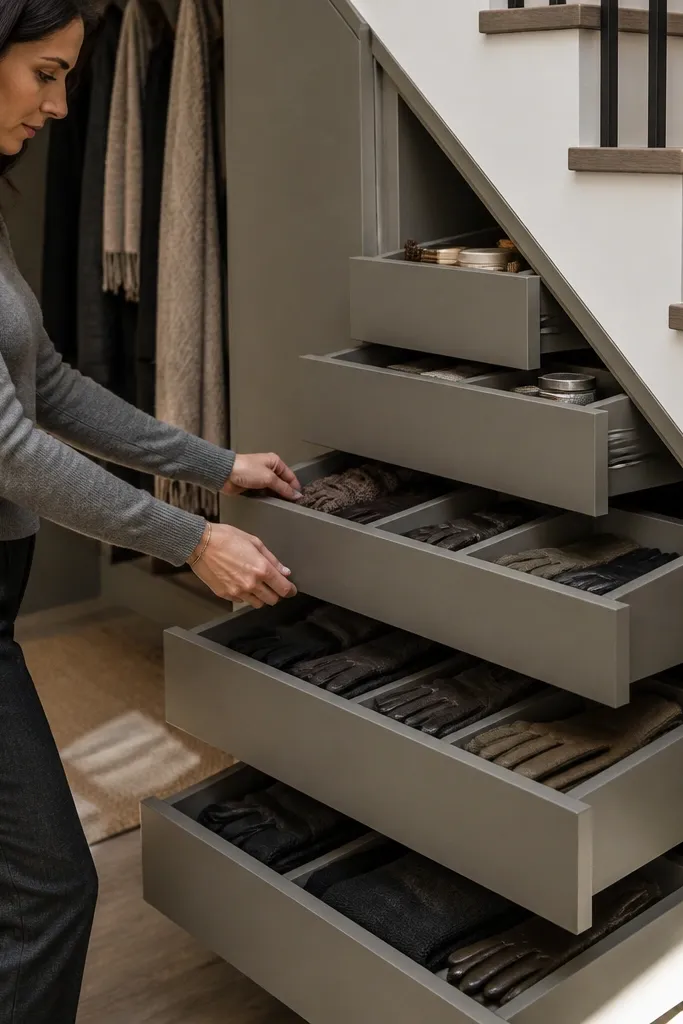
Small items are where under-stairs storage turns into a junk drawer. Narrow drawers fix that, and a ladder-style stack looks sharp because the fronts are repetitive and aligned. This is budget-friendly because you’re building short, shallow drawer boxes that use less material than full-depth cabinets. It also looks more high-end than bins because drawers create a clean face even when the contents are mixed.
Decide how many drawer slots you want — 4-6 is the sweet spot for a compact under-stairs area. Build a slim carcass from plywood, then cut drawer boxes to fit the opening with a consistent gap for smooth travel. Install drawer slides, starting with the bottom drawer — level it carefully, then use it as a reference for the rest. Add simple drawer fronts cut from MDF or plywood, then sand edges and paint so the fronts match the surrounding trim.
Make drawer fronts all the same height and align pulls in a single vertical line; it’s the fastest way to make the whole project look intentional.
Avoid random drawer heights — uneven fronts make the space look like an unfinished closet.
6. Full-height doors with shaker fronts and hidden hinges
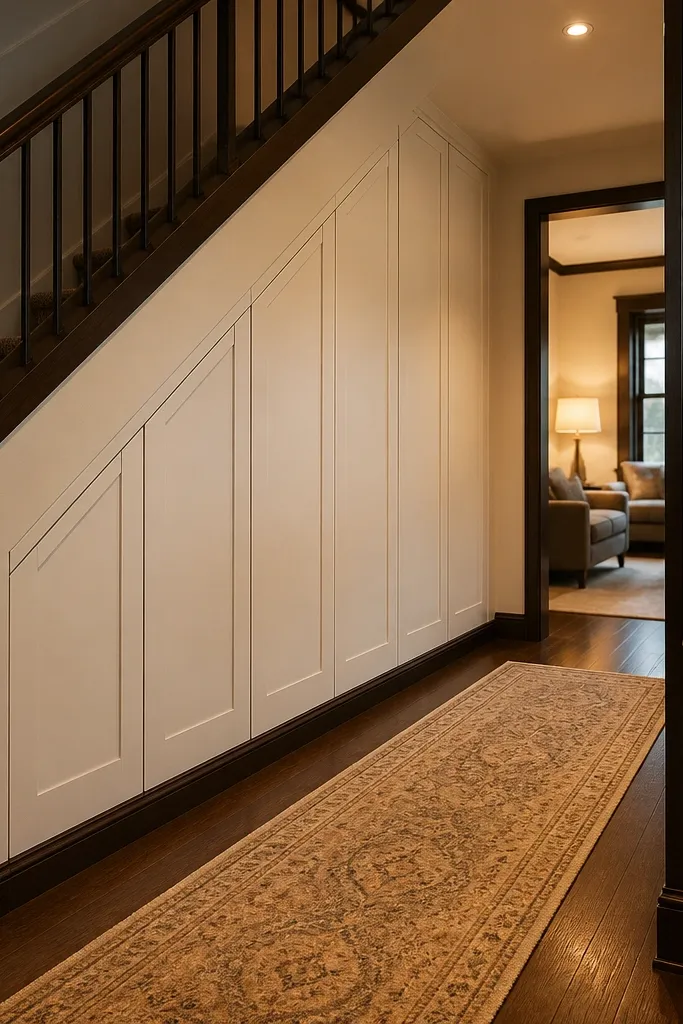
Closed storage is the easiest way to keep under-stairs storage looking good when you’re not actively organizing. Shaker-style doors give you a classic shape that hides the mess and makes the space feel like part of the home, not a DIY add-on. This works best when you have a deeper cavity you can fully enclose. Budget stays under control by using flat panels and repeating the same door size rather than building complicated trims.
Measure the door opening at the widest point and cut door panels with consistent overhang or reveal so the gap stays even. Build shaker frames from 1x2 or similar wood strips, then attach flat center panels. Use hinge placement tools or a hinge jig so your gaps stay uniform — install hinges first, then hang the doors and shim until both doors sit in the same plane. Finish with a durable primer and topcoat in satin so fingerprints wipe off.
Use the same paint system on doors and carcass; mismatched sheen makes the DIY build show up instantly.
Avoid mismatched door gaps — uneven reveals make the whole area look sloppy even if the build is strong.
7. Open display shelf with closed base for a "designed" look
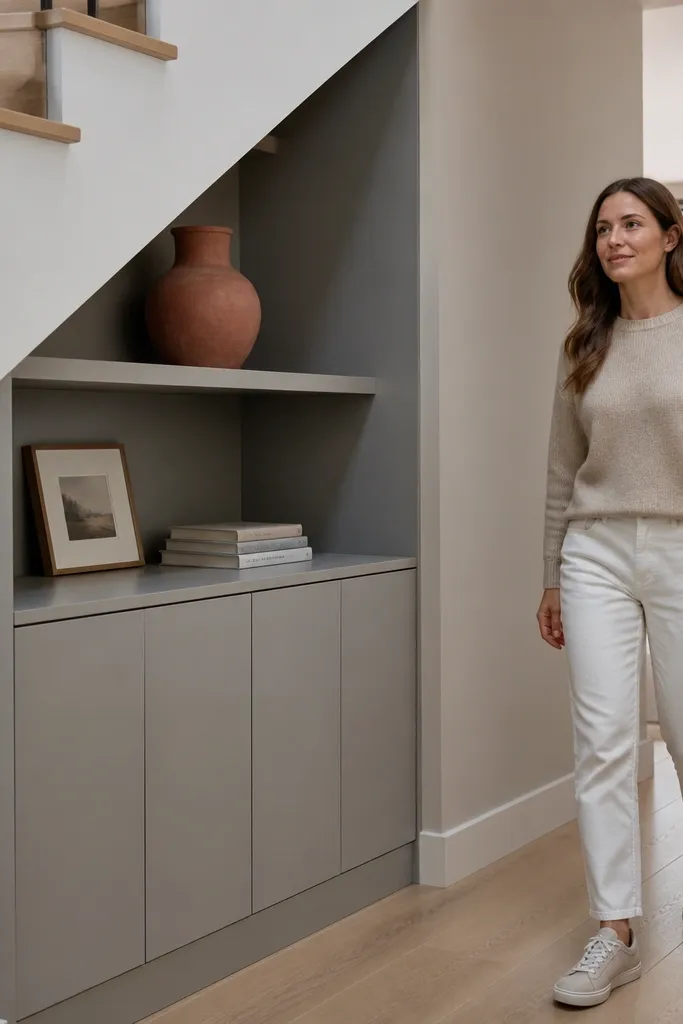
If your under-stairs space sits where people walk by, open shelves alone can look messy fast. The trick is to mix open and closed — display a few items up top, and keep the messy stuff behind closed storage below. This gives you that clean, styled look without needing constant organizing. It’s also budget-friendly because you build fewer doors and you can limit open shelving to where the eye lands first.
Plan a two-zone layout: one open shelf section near the top and one closed section below. Build a sturdy base carcass that can hold bins or supplies, then install a hinged door or sliding panel for the closed part. Cut open shelves and space them evenly based on the items you’ll show — picture frames and baskets look good at 10-12 inch spacing. Prime and paint everything, then add shelf edging so the open shelves look crisp rather than raw plywood.
Editor's noteLimit open items to what fits in a single footprint — if decor spreads beyond one shelf span, it looks cluttered.
Skip thisAvoid leaving the messy zone open — clutter shows through and the whole space loses the “built” look.
8. Angled side panels to hide the stair stringer gap
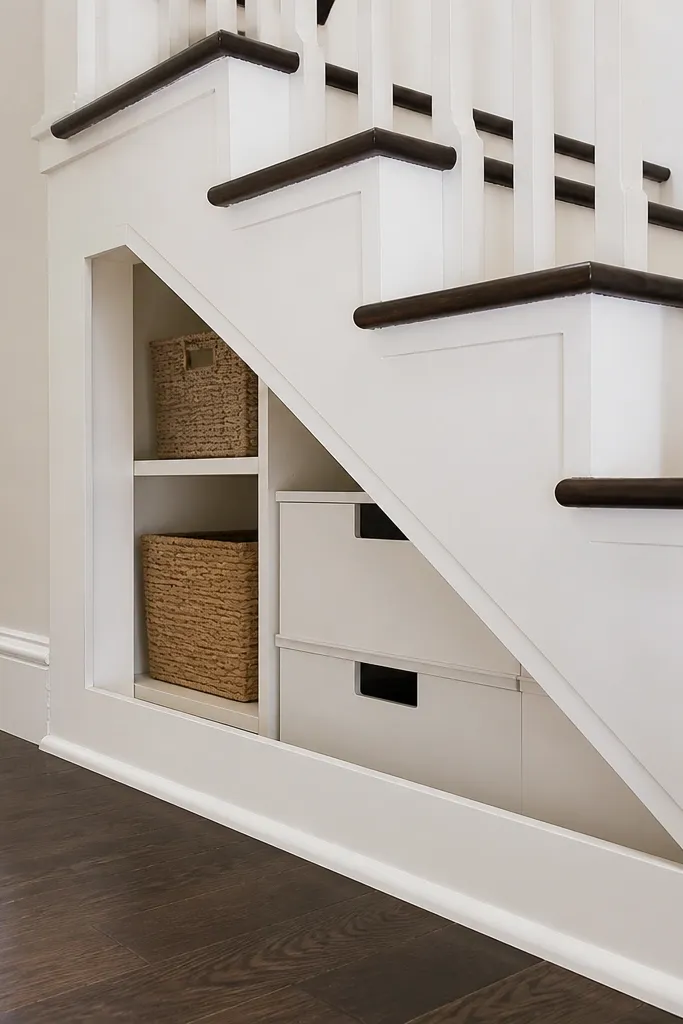
That annoying angled gap by the stair stringer makes cheap under-stairs builds look unfinished. Angled side panels fix the visual break by wrapping the storage opening with clean lines that match the stairs. It’s one of the best ways to make a small budget build look custom. You don’t need complicated trim — just accurate panel cutting and a smooth finish so the edges look deliberate.
Measure the gap profile at the top and bottom of the storage opening, then transfer the shape onto plywood. Cut the angled side panels and test-fit them before you commit — adjust until you can slide them in without forcing. Attach with screws into studs or into your storage frame, then sand the edges flush with the adjacent panels. Fill seams, prime, and paint so the side panels disappear into the overall look.
Label the panel orientation before you remove it; angled cuts are easy to flip and then you lose an hour.
Avoid caulk-thick seams — a big bead looks messy and cracks as the wood shifts.



