
1. Random Panel Layout That Makes Windows Look Off
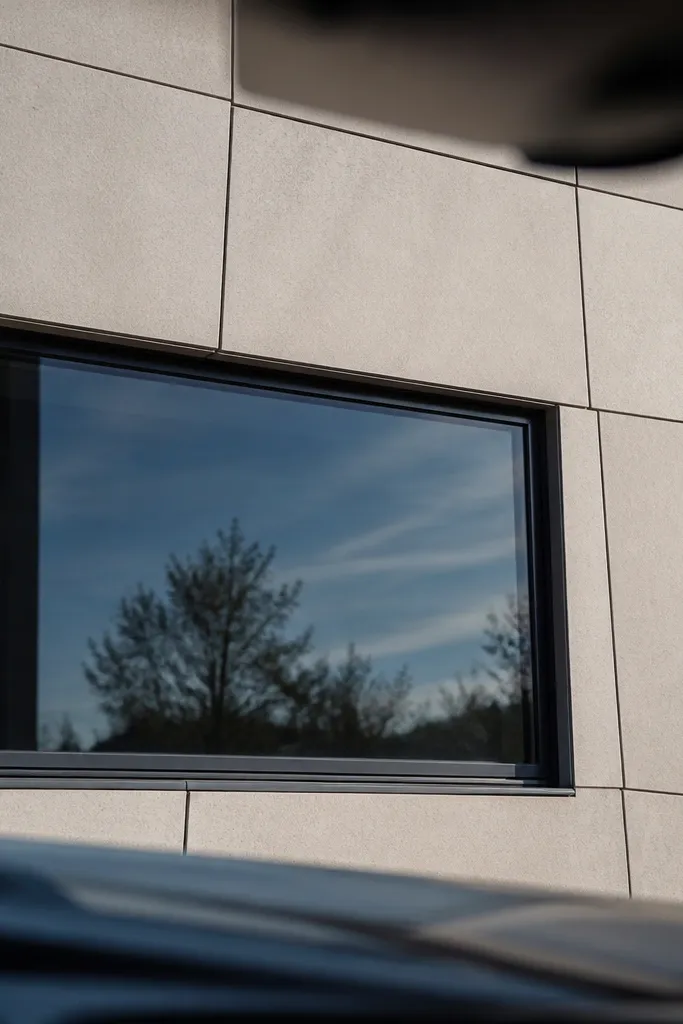
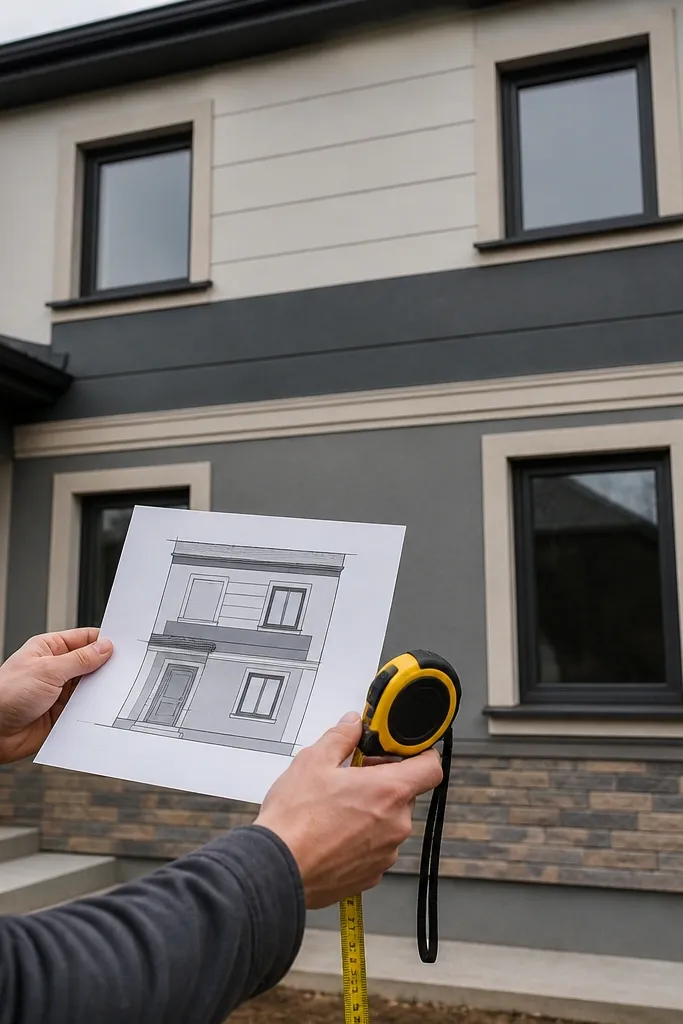
Start by measuring the wall width from corner to corner and write down your target reveal gap (for example, 3/8 in. Or 1/2 in., based on your cladding system). Next, subtract the window widths and decide where the panel seams land relative to each window centerline so the same seam pattern repeats on both sides. Dry-fit a few rows with cardboard or leftover material to check the seam alignment at eye level, then snap chalk lines to lock your grid. Cut your first reference panels from a template so every subsequent piece keeps the same seam offset.
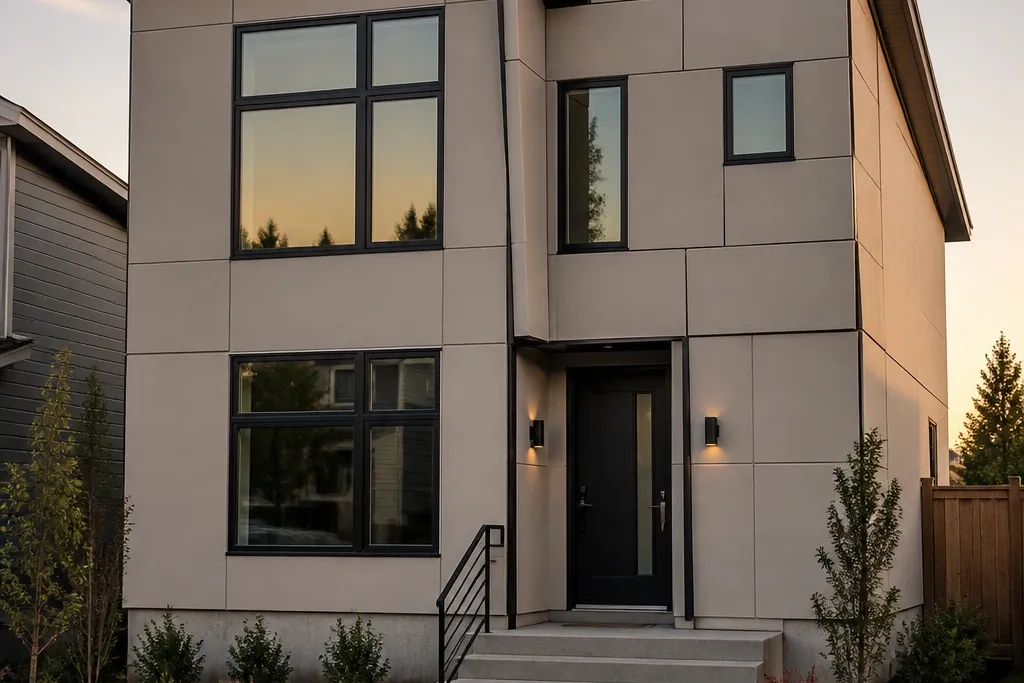
A modern facade reads “designed” when the panel grid respects the window openings. If the first full panel hits the corner and everything after that gets cut to fit, the reveals will drift and the window trim edges won’t line up with panel seams. That’s why the facade looks slightly crooked even when it’s technically plumb. The fix is to center your layout around the most visible openings and keep the same reveal width across the entire run. You get a cleaner rhythm, fewer awkward sliver cuts, and a facade that photographs well from the street.
Skip thisDon’t start with the corner and “figure it out later” — it guarantees drift around openings.
Editor's noteMake a one-page layout diagram and tape it to the wall while you work. It prevents “I’ll remember” math errors.
2. No Drainage Plane Behind Cladding
Start by confirming your wall assembly: sheathing, weather-resistive barrier, and a drainage plane or back-vented space as required by your siding system. Then install flashing tape and WRB shingle-style so water flows downward and laps correctly at seams. Add furring or spacers if your system needs an air gap, and keep the drainage path continuous around openings. Finally, seal the perimeter transitions only where the cladding system calls for it — don’t glue everything shut.
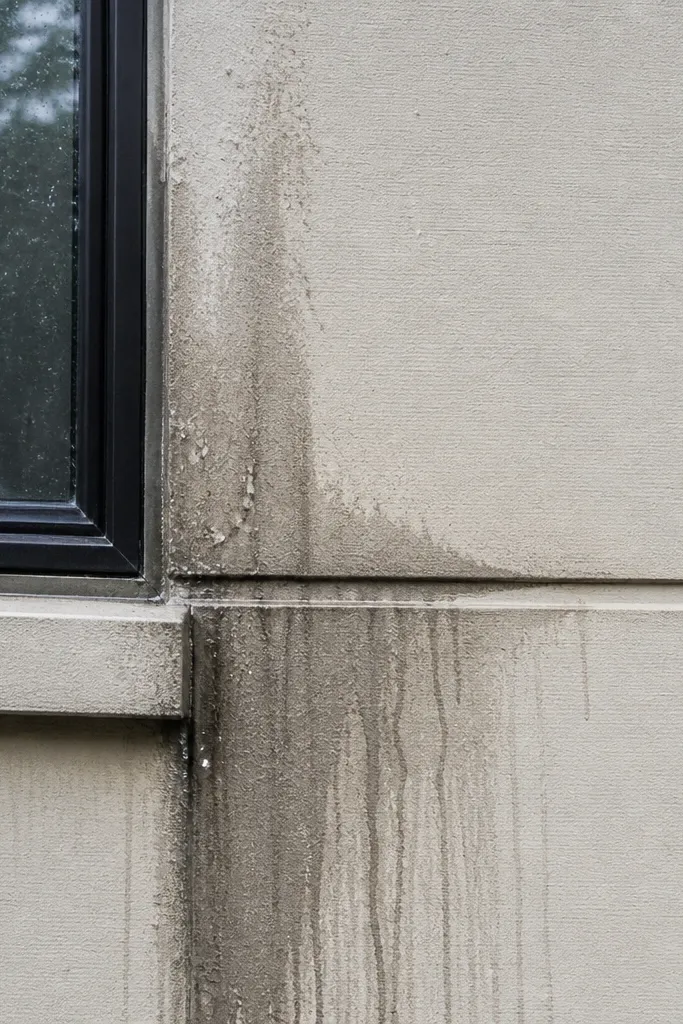
Modern facades rely on water shedding and controlled drying. If you skip the drainage plane or install the weather barrier incorrectly, water that gets behind the cladding has nowhere to go and it stains the face. You’ll see dark streaks around windows and corners after rain, and in freeze climates you can get ice damage behind the surface. The fix is to build the correct layered wall system with a drainage space where the manufacturer requires it. That keeps the facade looking new and prevents hidden rot.
Skip thisDon’t rely on caulk to “waterproof” behind siding. Water still gets in and needs a path out.
Editor's noteUse a laser level to keep the drainage plane straight — uneven furring creates wavy panel lines.
3. Flashing Installed in the Wrong Order
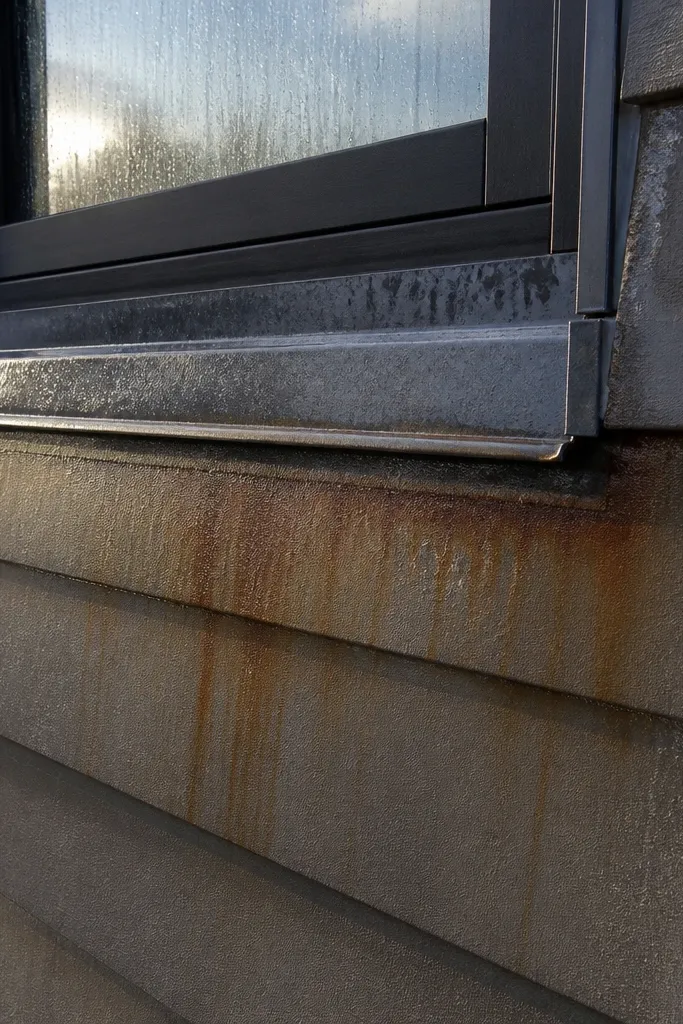
Flashing order is where facades fail. People often focus on the window trim look and put tape or metal in the wrong sequence, so water wicks sideways into the wall assembly. After the first heavy storm, you get staining, bubbling paint, or a musty smell behind the trim. Modern facades have large windows and big cladding transitions, so the flashing details have to be correct. Fixing it means rebuilding the lap sequence so every layer sheds water like shingles.
Start by dry-fitting and marking the window opening so you can cut WRB cleanly without stretching. Then install sill flashing first, followed by side flashing, and finish with head flashing that laps over the sides. Use corner pieces or pre-cut angles so the flashing doesn’t crease and leave gaps. After the flashing is in place, tape WRB seams and install trim with correct clearance from the window frame.
Test water flow with a hose before covering everything if you can — a quick controlled pour shows where laps fail.
Don’t run head flashing under side flashing. That reverses the water path.
4. Overtight Joints That Split Panels in Winter
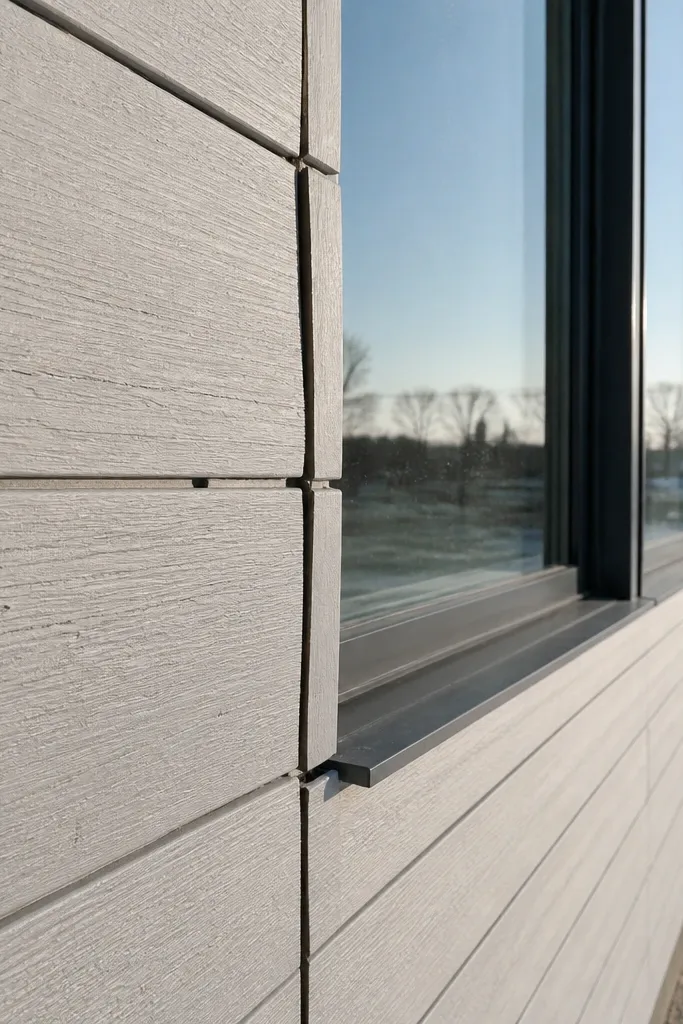
A modern facade uses long, flat surfaces, so joint movement shows up fast. If you close joints tight at corners or around windows, panels need somewhere to expand and they split, warp, or buckle. This is especially common with fiber cement, engineered wood, and some trim boards. You’ll often see hairline cracking at the most visible lines, right where you tried to make it look “perfect.” The fix is leaving the required expansion gaps and using the right trim/edge details.
Start by checking the product instructions for joint spacing at temperature ranges and follow their exact gap width. Then install trim pieces designed for expansion and keep caulk in the correct width — too much caulk can trap movement. At corners, use a system corner (or a backer rod plus sealant) that allows the panel edges to move. Finally, fasten panels at the correct pattern and avoid driving fasteners too tight against the surface.
When in doubt, leave a slightly larger gap and cover it with a proper trim profile instead of stuffing the joint.
Don’t caulk joints that require movement unless the system explicitly allows it.
5. Wrong Fasteners and Spacing
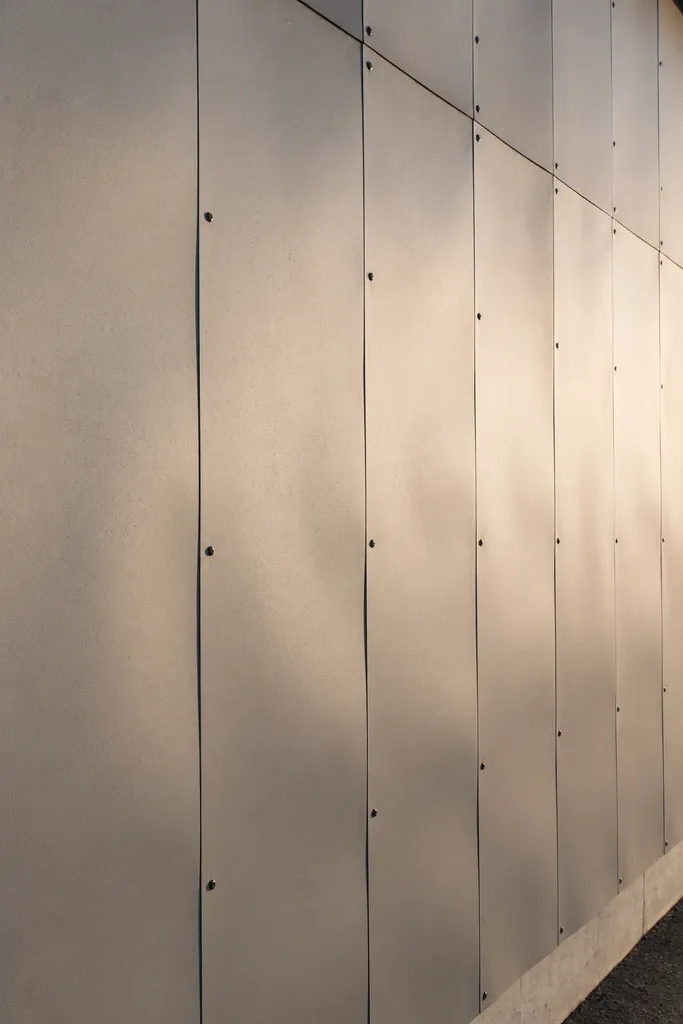
Fasteners control how long a facade stays straight. If you use the wrong type (or wrong length), you get dimples, loose panels, or corrosion stains that look like rust freckles across the face. Uneven spacing also makes panels “oil can” or bow, especially on larger wall spans. Modern facades often use clean-lined cladding, so fastener mistakes show up immediately. The fix is matching fasteners to your cladding material and using the spacing pattern the manufacturer requires.
Start by reading the cladding instructions for fastener type, corrosion rating, and penetration depth. Then lay out your fastener line with a chalk string so you hit the same height row each time. Install panels with the correct spacing — for example, many systems require fasteners every 12 in. Vertically and specific spacing at edges and corners, so don’t improvise. Drive fasteners straight and stop when they seat properly without crushing the panel surface.
Keep a small magnetic bit guide near the saw so you don’t accidentally switch to the wrong bit or fastener.
Don’t drive fasteners tight enough to deform the panel. That creates dimples and future cracks.
6. Skipping Primers on Cut Edges
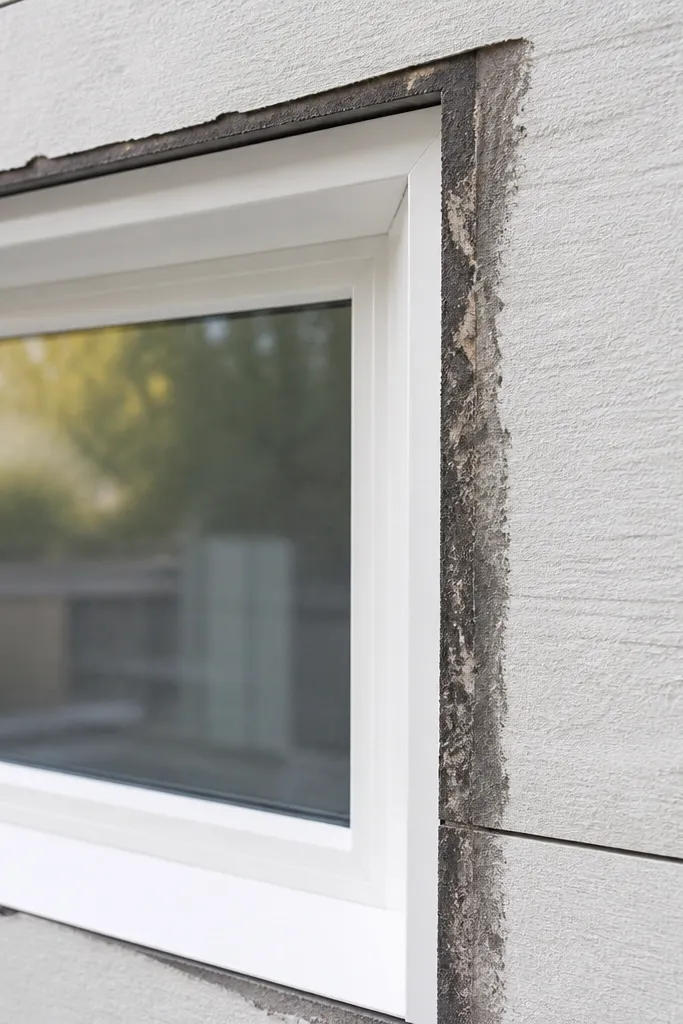
Cut edges drink paint and sealants. With fiber cement and many engineered wood products, unprimed edges can absorb moisture and show up as dark halos or peeling in months. Modern facades have a lot of visible cuts around windows, so edge prep is where the facade either stays crisp or goes blotchy. The fix is priming every cut face and repairing any damaged coating before installation finishes. You get consistent color, better adhesion, and less long-term staining.
Start by cutting all panels first and stacking them so you can prime in batches without rushing. Then prime all cut edges and any abraded spots with the correct primer specified for the siding type. Let primer cure according to the label before you install and caulk. After installation, touch up any field damage and seal transitions only after the primer is fully dry.
Use a brush for cut edges so you don’t miss the micro-porous spots a roller leaves behind.
Don’t assume field paint will seal raw edges. It won’t stop moisture the same way primer does.
7. Caulk Applied Like a Glue Line
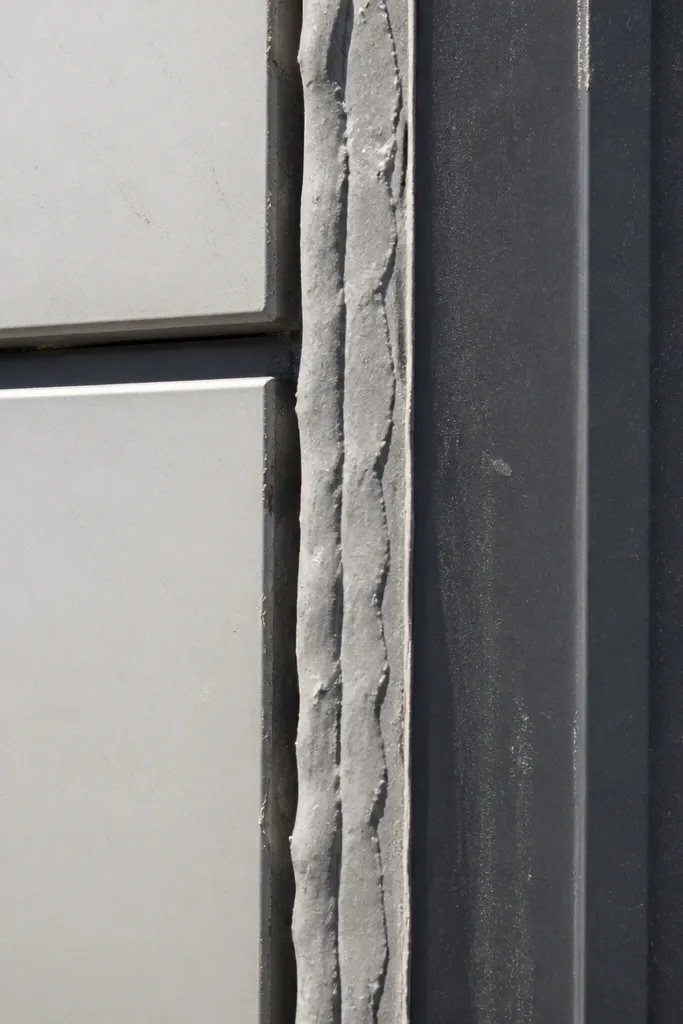
Caulk can fix small gaps, but it can also create a messy, modern-looking failure. If you lay down thick caulk beads, they shrink unevenly and show a wavy line, especially under direct sun. It also traps moisture at the joint and makes future repairs harder. Modern facades need crisp, thin sealant lines that match the system. The fix is using backer rod where appropriate and applying sealant at the correct thickness and width.
Start by checking the gap width. If it’s wider than the sealant is meant to fill, install backer rod at the correct depth so sealant forms a skin on both sides without overfilling. Then cut the sealant tip to the right bead size and apply steady pressure so the bead is consistent. Tool it once — don’t keep smoothing and re-smoothing — and clean excess immediately with the correct solvent for your sealant type.
Use painter’s tape only for straight lines you can keep clean. Freehand caulk looks better than tape if your hands are steady.
Don’t fill deep joints with caulk alone. That’s how you get cracking and gaps later.
8. Corner Details That Don't Create a Shadow Gap
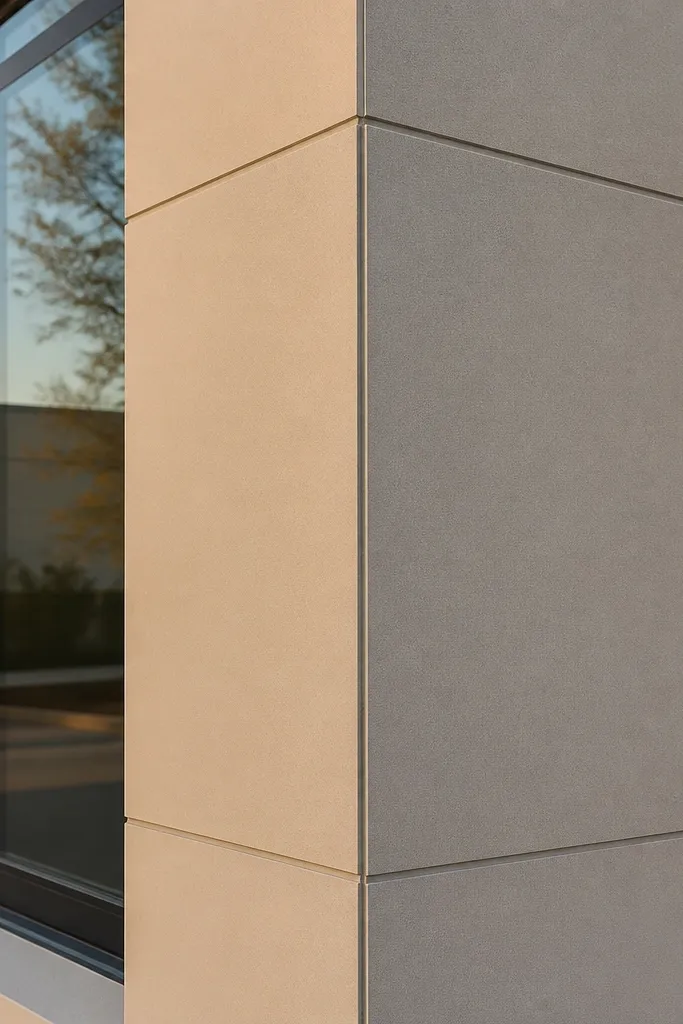
Start by choosing a corner method compatible with your cladding type — for example, a dedicated corner post or a J-channel style trim. Then plan the corner reveal width and keep it consistent with your panel layout so the shadow line matches the rest of the facade. Install the corner trim plumb and fasten into the substrate at the required spacing. Finally, seal only the joints the system calls for and leave panel edges that need movement untouched.
Modern facades look sharp because corners create a controlled shadow line. If you butt panels together without the right corner trim or without leaving space for sealant, corners look flat and “stuck on.” It also makes it harder to maintain consistent joint widths as the wall moves. The fix is using a corner system or trim strategy that creates a consistent reveal and covers the substrate cleanly. You’ll get that crisp, architectural depth without gaps that collect water.
Skip thisDon’t improvise corners by trimming random widths to “make it fit.” That creates uneven shadow lines.
Editor's noteMeasure corner plumb with a long level, not a short one. Small lean angles look huge at corners.
9. Mixing Siding Thicknesses Without a Transition Plan
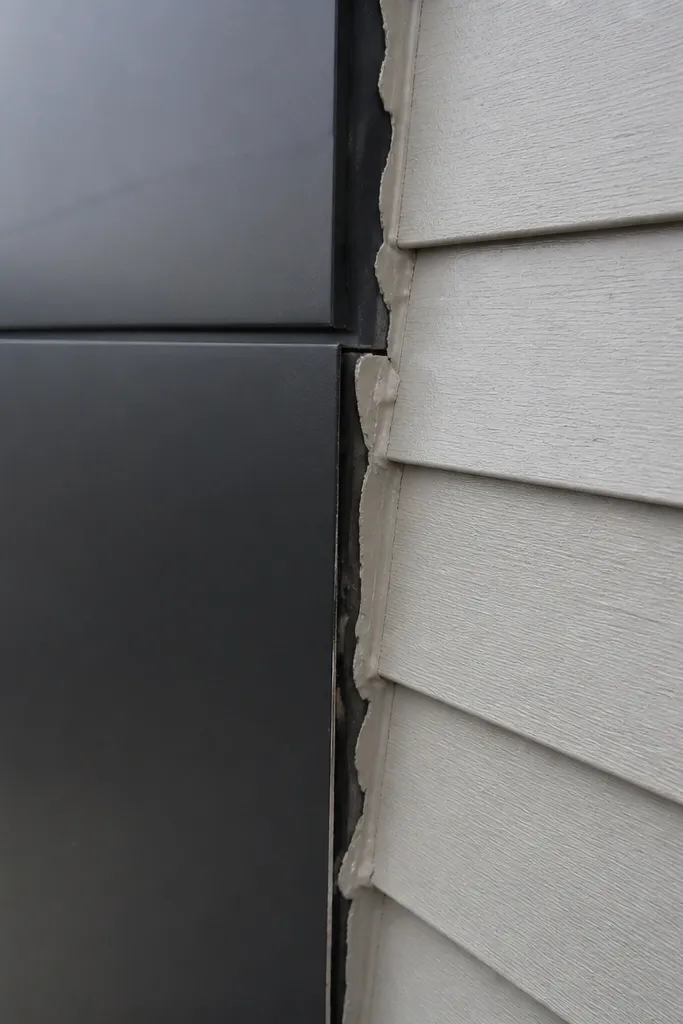
When modern facades mix materials — like metal panel with fiber cement, or stone veneer next to siding — the thickness difference becomes visible instantly. People often install the materials and then try to hide the step with caulk. That looks messy and it cracks as materials move at different rates. The fix is to plan transitions with proper trim profiles or furring so the face lines up. You’ll get a clean junction that doesn’t collect water or show a permanent seam.
Start by measuring the actual finished thickness of each material, including any backer board or lath. Then decide where the face line should land — usually aligned to the main siding plane — and build the transition with furring strips or a mounting substrate. Install the transition trim first so both materials reference the same plane. Finally, flash the transition according to the more water-sensitive system and keep sealant lines thin and consistent.
Dry-fit every transition piece and hold a straightedge across it. If it’s off by 1/8 in., you’ll see it from the sidewalk.
Don’t rely on thick caulk to cover thickness steps. It cracks and stains.
10. Stone Veneer Without Proper Lath and Weep Strategy
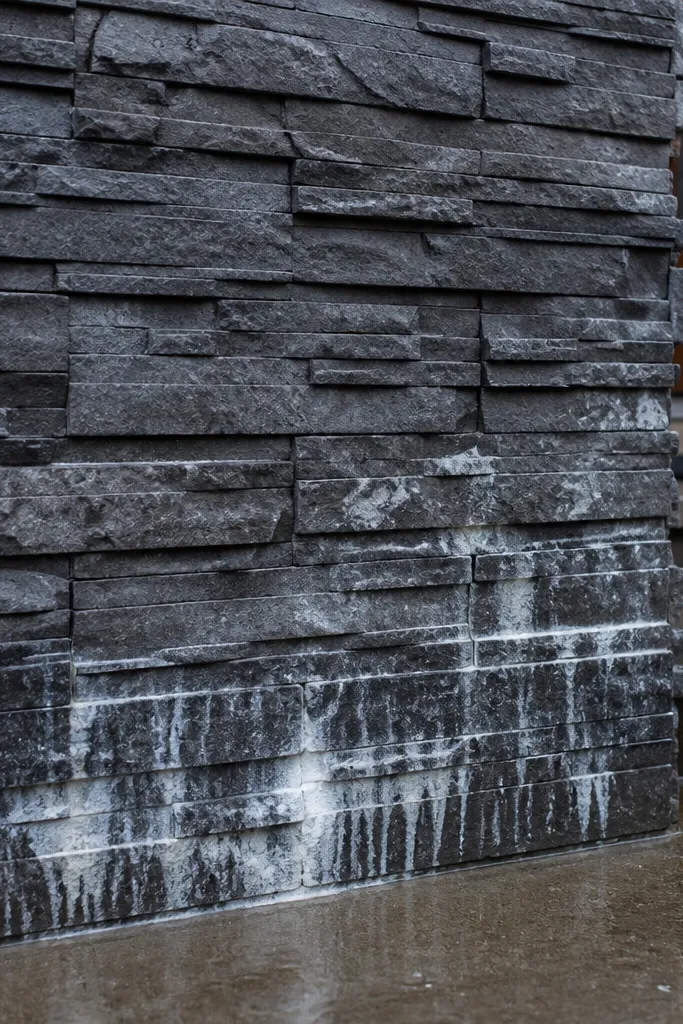
Stone veneer is heavy visually and heavy in the details. If the substrate prep, lath, and drainage strategy aren’t correct, you get water trapped behind the veneer and efflorescence or staining. Modern facades often pair stone around entries with sleek paneling, so a failure here ruins the whole front. The fix is to install the correct substrate and flashing system, then keep weep paths clear so water can drain. This keeps the veneer looking clean and prevents hidden moisture damage.
Start by confirming your substrate — sheathing type, fasteners, and whether you need a base coat system. Install lath (or the approved drainage mat system) and keep it flat with proper overlap. Add flashing at penetrations and openings, and ensure there is a method for water to exit at the bottom edge. Then install veneer in lifts and maintain the correct mortar consistency so stones sit without huge voids.
Use a level to check each course — veneer errors lock in quickly and are hard to correct later.
Don’t skip the drainage plan at the bottom edge of the veneer run.
11. Painting Too Soon After Siding Installation
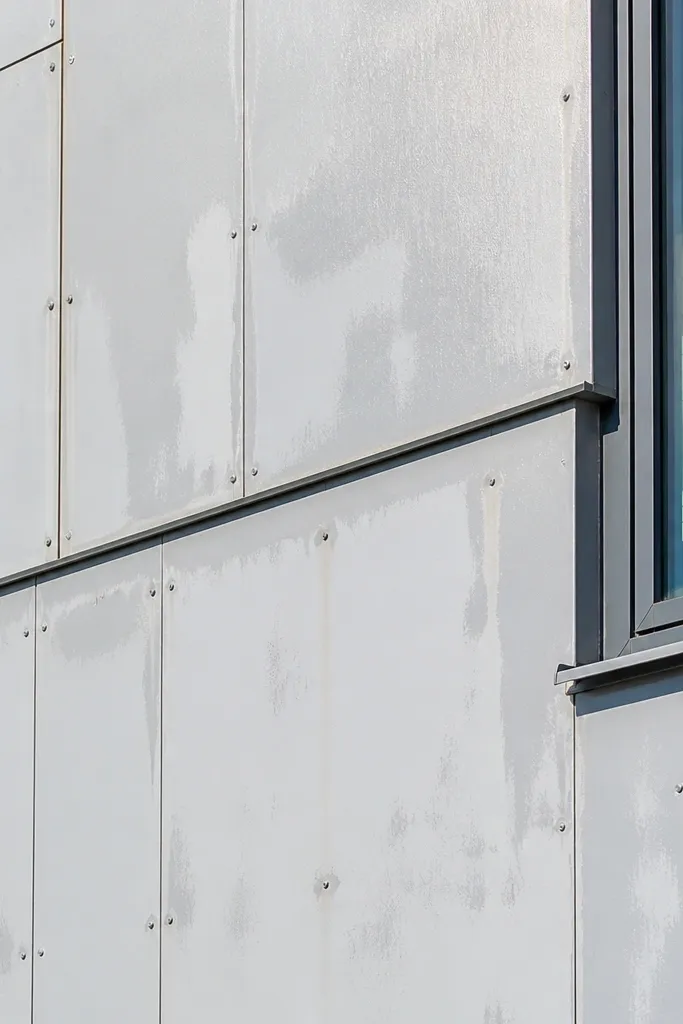
Start by following the product label for primer cure and sealant cure — don’t guess by weather alone. Then check the surface moisture and leave enough dry time so the WRB and wall cavity don’t stay damp. Apply paint in the recommended temperature range and avoid painting in direct sun on hot panels. Finally, inspect after cure for any missed primer spots or sealant smears and touch them up before the finish fully sets.
Modern facades show every streak. If you paint before materials and primers are fully cured or before moisture has dried out, you get uneven sheen and adhesion issues. You also risk trapping moisture inside the wall assembly and causing staining at seams. The fix is timing — let primers, sealants, and any patch materials cure to the label specs before painting. This is one of those mistakes that looks fine for a week and then turns into peeling or blotchy sheen.
Skip thisDon’t paint over wet caulk or fresh primer that hasn’t cured.
Editor's noteIf you used a lot of sealant, let it cure longer than you think. Sealant skin can fool you.
12. Uneven Reveal Lines Because of Warped Starter Tracks
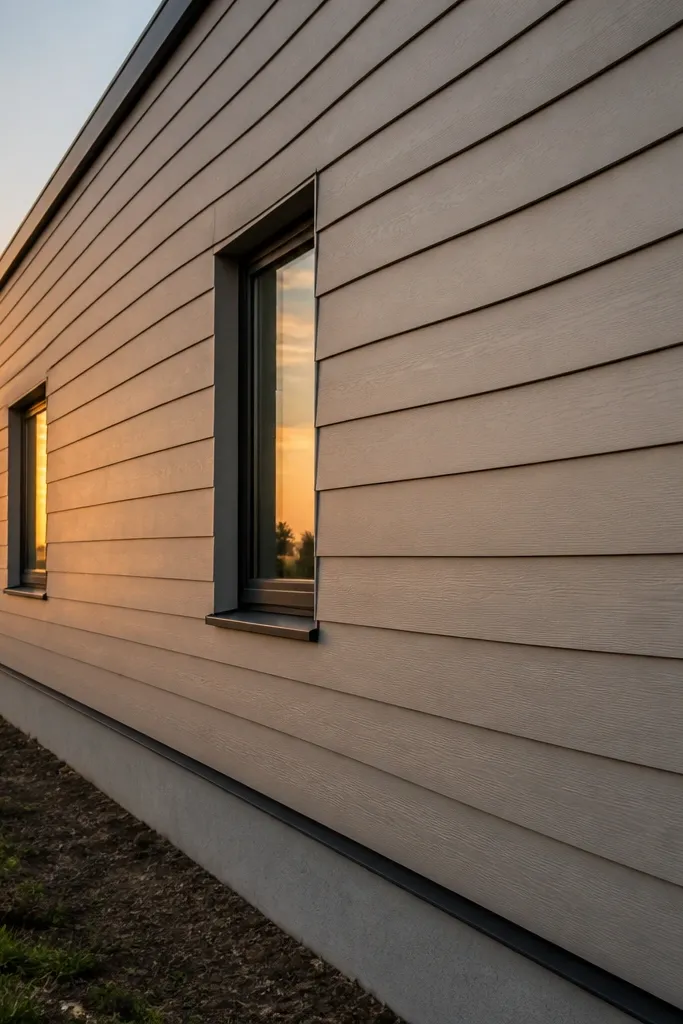
Start by finding the highest point on the wall and use that as the reference for your starter line. Snap chalk lines using a long level or laser so the first row is consistent across corners. Install the starter strip plumb and level, checking as you fasten every foot or per manufacturer guidance. Dry-fit the first panel row and adjust before you commit to the full installation.
Reveal lines only look modern when they’re straight. If your starter track or first row reference line is off, every panel above it inherits the mistake. People assume it’s small because the bottom row is less visible. Then the facade shows a gentle wave at eye level and it’s impossible to ignore. The fix is to set the first row with real measurement and verify it across the entire run. You also avoid re-cutting dozens of panels later.
Skip thisDon’t set the starter track by eye or by the first stud you see.
Editor's noteCheck the first row from two angles, not just straight on. Small out-of-plane errors show up as “wavy” reveals.
13. Ignoring Ventilation at Soffits and Upper Wall Edges
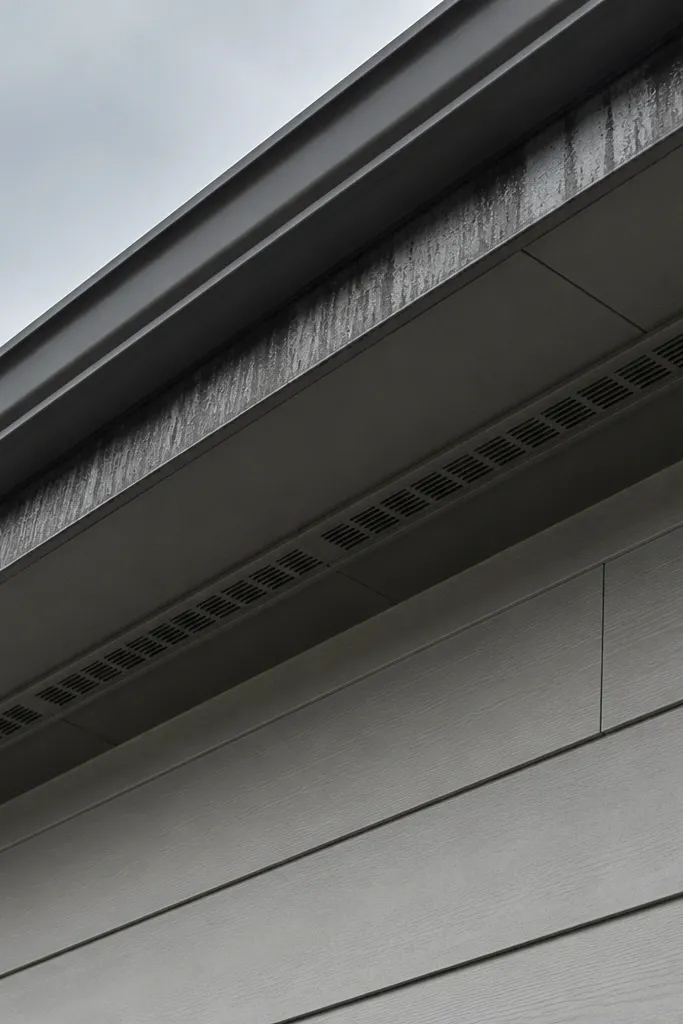
Start by checking the cladding system instructions for required ventilation — some require a continuous air space behind the siding. Then plan intake at the soffit and exhaust at the upper wall line or vented trim as specified. Install vented soffit panels and keep the drainage plane continuous up to the vent openings. Finally, verify that insect screens and baffles don’t block the airflow path.
Modern facades often look great until heat and moisture build up behind the cladding. If you block ventilation paths at soffits or upper edges, the wall cavity stays warmer and wetter. That leads to condensation issues, paint failure, and premature material aging. The fix is to keep airflow where the system requires it and install vented soffit materials or intake/exhaust paths. You’re protecting the structure and the finish at the same time.
Skip thisDon’t cover required ventilation gaps with foam or sheathing tape.
Editor's noteUse a flashlight to confirm airflow openings are actually open after insulation goes in.
14. Using the Wrong Trim Profiles at Window Jambs
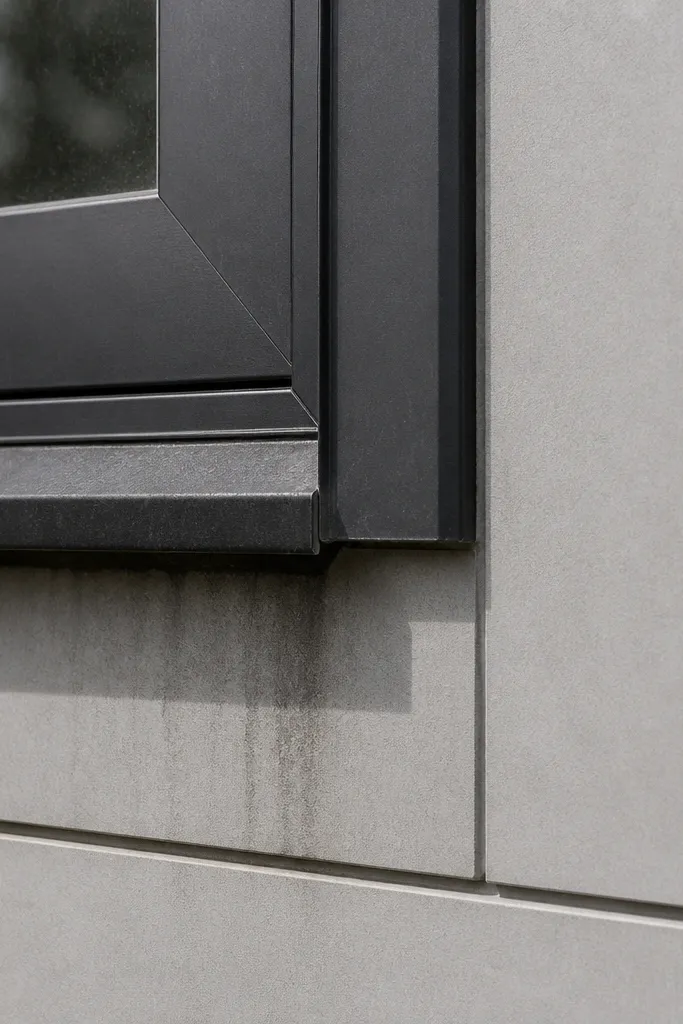
Start by dry-fitting trim around the window and confirm the face alignment with the main facade plane. Then install WRB cut edges and flashing before the trim goes on, with sill flashing first and proper lapping. Use the trim type that matches your siding — for example, a casing or J-channel style designed for that cladding system. Finally, seal the correct joints with the right sealant and leave movement areas un-caulked where required.
Window trim is where modern facades get judged. If the trim profile doesn’t match the siding reveal, the window looks like it’s floating or sitting crooked. People also choose trim that doesn’t handle water properly at the bottom edge, so you get staining under the sill. The fix is to select a trim system compatible with your cladding and to install it with correct clearances and flashing. Then the window looks crisp and the water path stays clean.
Skip thisDon’t use trim meant for a different siding system and hope caulk fixes the rest.
Editor's noteCut small relief notches on trim where needed for drainage, instead of forcing tight fits.
15. Skipping Color Matching for Metal Panels and Trim
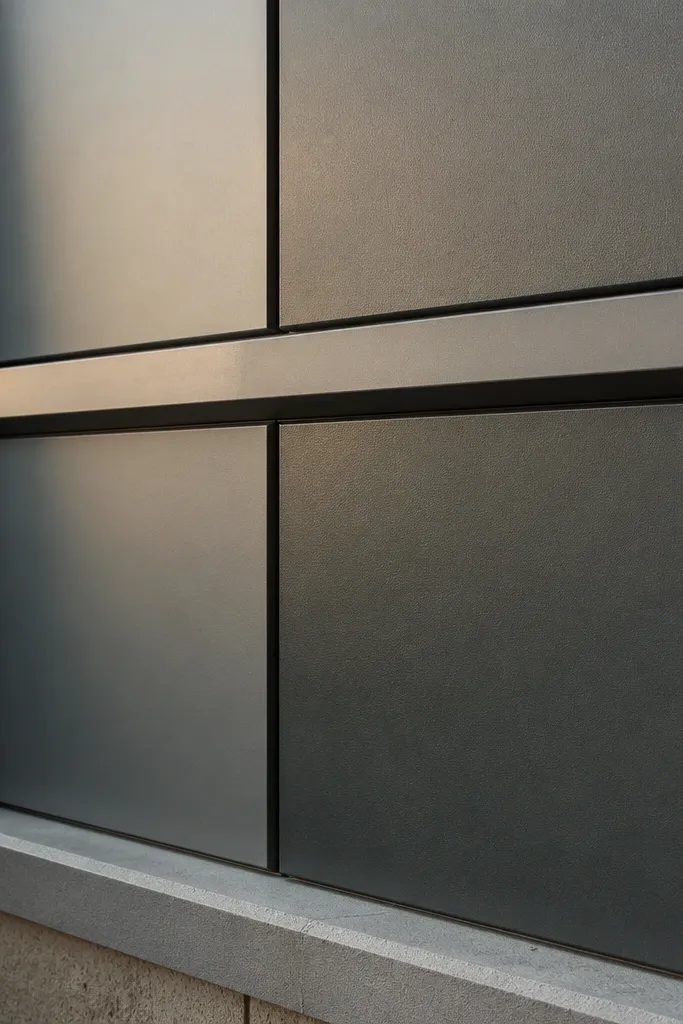
Metal panels can be unforgiving about color and finish differences. If you mix batches or use “close enough” paint for trim, the facade can look patchy under changing light. That’s a facade design mistake, not a paint mistake. Modern houses use large uninterrupted surfaces, so you’ll see the mismatch quickly. The fix is to buy enough material in the same run or finish and keep trim paint spec consistent with the metal coating system.
Start by ordering panels and trim in one order whenever possible and confirm the finish code from the supplier. Then inspect the batch labels and store materials out of direct sun so you don’t confuse light changes with real color differences. If you must paint trim, use the approved primer and finish for that coating type and follow recoat windows. Finally, do a small test board for color and sheen before you paint the whole facade.
Look at samples in both shade and direct sun. Color shifts are real on modern facades.
Don’t mix “good enough” trim paint with factory-coated metal unless the system calls for it.
16. Bad Caulk Lines That Cure With Bumps and Gaps
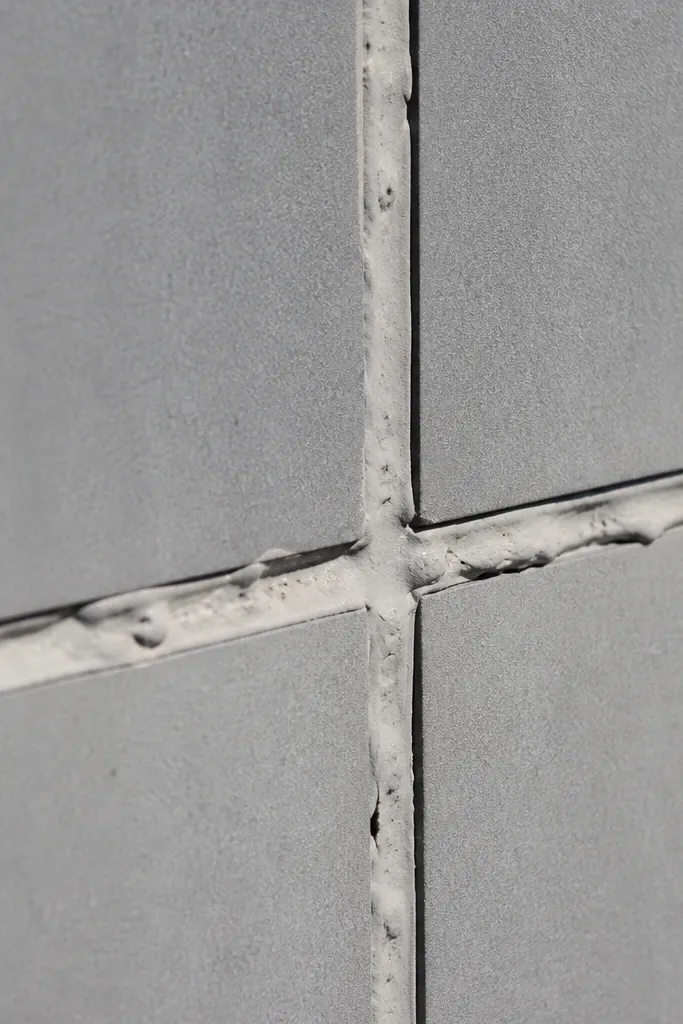
Start by cleaning joint edges so they’re free of dust, loose paint, and oily fingerprints. Then apply backer rod if the gap depth needs it and cut the nozzle to match the joint width. Tool the bead with steady pressure in one pass and remove painter’s tape carefully while the caulk is still workable. Let it cure fully before painting touch-ups or exposing to heavy rain.
A facade looks modern when sealant lines are thin and consistent. If caulk cures with bumps, voids, or uneven texture, it reads sloppy even if the rest of the install is solid. This happens when the surface is dusty, the bead is too small, or you tool it too aggressively. The fix is surface prep and bead sizing — you want a clean joint edge and the right sealant depth. You also want to avoid touching it again after it skins over.
Skip thisDon’t apply sealant over chalky surfaces or over old failed caulk.
Editor's noteDo one test seam on scrap cladding first so you can dial in bead size and your tooling speed.
17. Tight Corners Around Doors Because You "Can't See It"
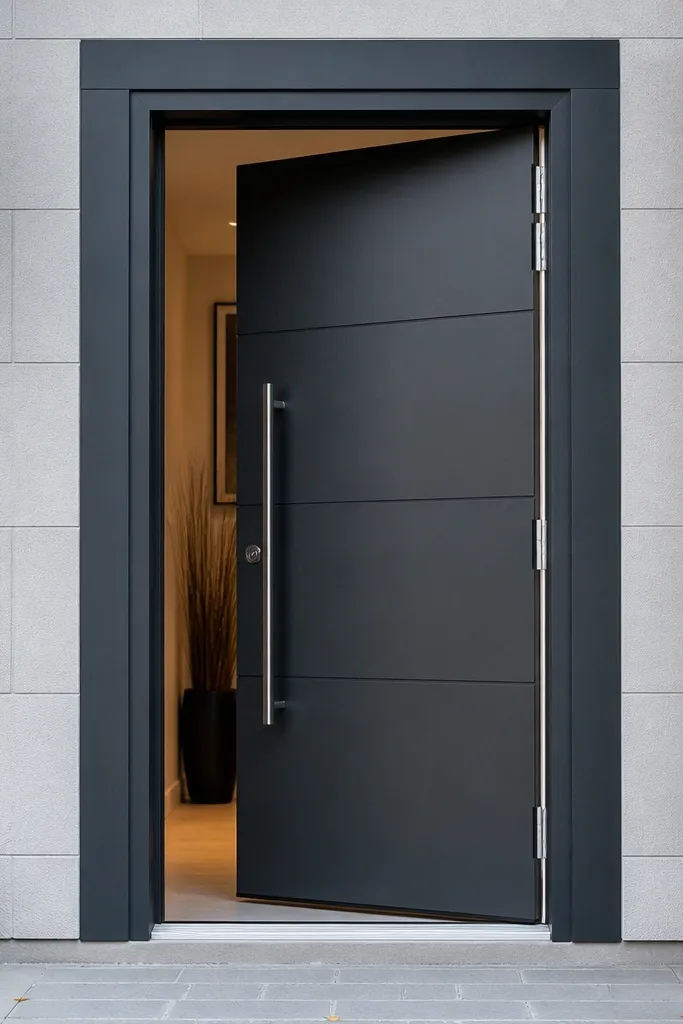
Doors are movement magnets. If you make the corners too tight around door openings, the trim can bind and the sealant line cracks, especially at the hinge side where the door shifts more. Modern facades often have tall front doors, so the cracking is easy to spot. The fix is leaving proper clearance, using correct trim profiles, and sealing only where movement is allowed. This keeps the facade neat even after seasons of door use.
Start by checking the door manufacturer’s required clearances and make sure trim isn’t pinching the opening. Then install flashing and WRB around the door so water sheds away from the wall assembly. Use trim that creates a consistent reveal and allows for expansion, and avoid forcing panels to meet tight at the corners. Finally, seal the correct joints with the sealant specified for exterior use and movement.
Measure reveal width at the top and bottom corners of the door — doors aren’t perfectly square, and trim errors show up there.
Don’t cram cladding and trim together at door corners and hope sealant will absorb the movement.
18. Using a Flat, Dark Finish That Shows Dust and Water Stains
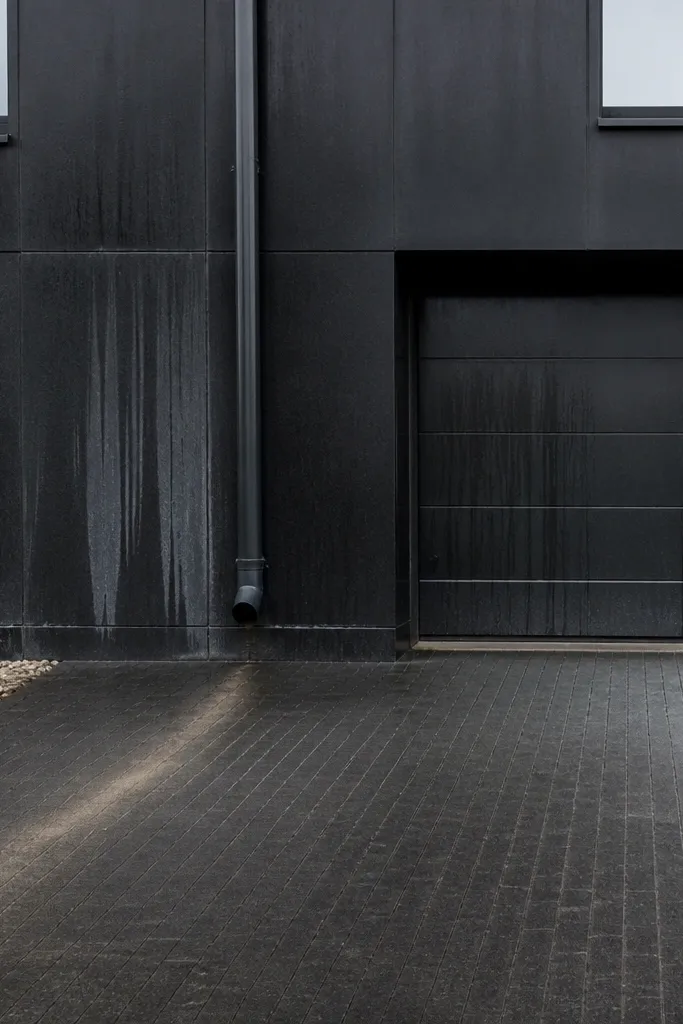
Start by checking the cladding material compatibility with the paint system you plan to use. Then choose an exterior finish sheen that matches your desired look but resists streaking — satin often hides grime better than super-flat. Prime any bare edges and follow recoat timing so the film builds evenly. Finally, apply paint in consistent passes and avoid painting in heavy wind or direct sun hot spots.
Dark modern facades look sharp, but they also show every water path and dust film. Flat or very matte finishes can highlight streaking because micro-roughness holds grime. If your facade is oriented toward sprinklers, wind-driven rain, or a driveway dust line, the stains become a regular maintenance issue. The fix is choosing the right sheen and paint system for exterior siding and trim — often an exterior satin or a specific facade coating designed for stain resistance. You get the look you want without constant scrubbing.
Skip thisDon’t pick the darkest flat paint you can find without a stain-resistant exterior system.
Editor's noteIf you’re going dark, plan for one annual wash with a soft brush and mild cleaner instead of letting stains bake in for years.
19. No Access for Repairs Behind "Pretty" Panel Edges
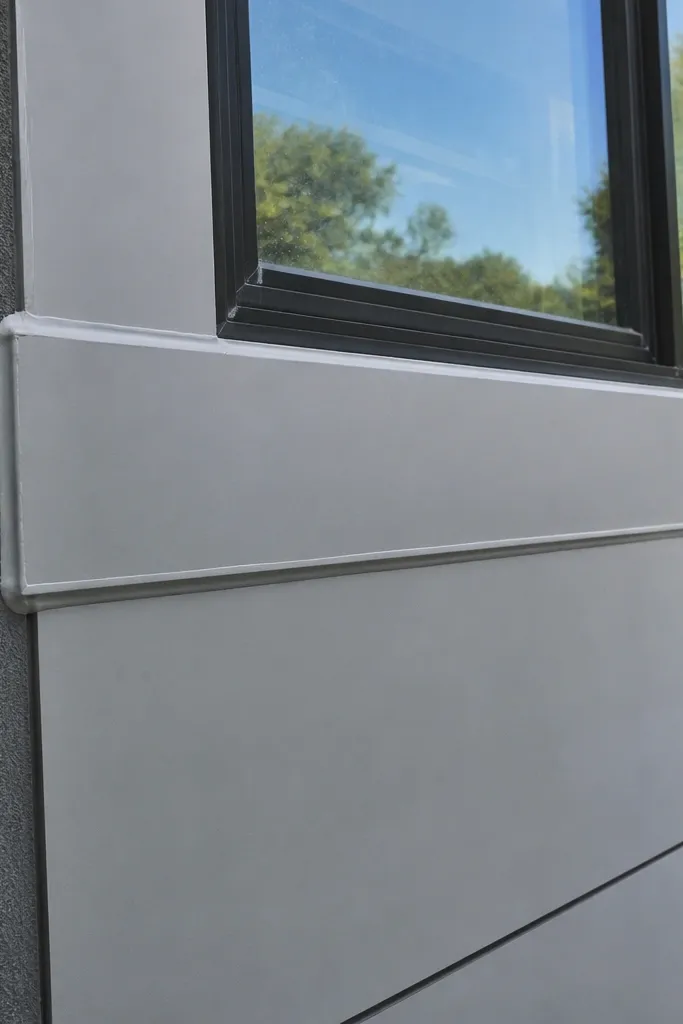
Modern facades look clean because trim lines are neat, but that cleanliness turns into a problem when you can’t access flashings or replace damaged panels. People glue or over-seal trim and then lock themselves into tearing out large sections later. The fix is designing service access where it’s needed: around windows, at bottom edges, and behind removable trim pieces. You keep the facade looking modern now and you don’t pay a demolition price later.
Start by mapping where you might need to replace a panel or reseal a joint — windows, corners, and any area that gets impact. Then choose trim methods that allow removal without destroying the adjacent materials, like using screws into trim backing rather than permanent adhesive. Keep sealant limited to joints that need it and avoid sealing seams you might need to open. Finally, label the order of operations in your notes so future repairs don’t turn into guesswork.
If you can’t remove one section without demolishing two others, you built a repair trap.
Don’t permanently caulk or glue trim seams that should be serviceable.



