
1. Mirror swap with a 1.5-inch frame for instant depth
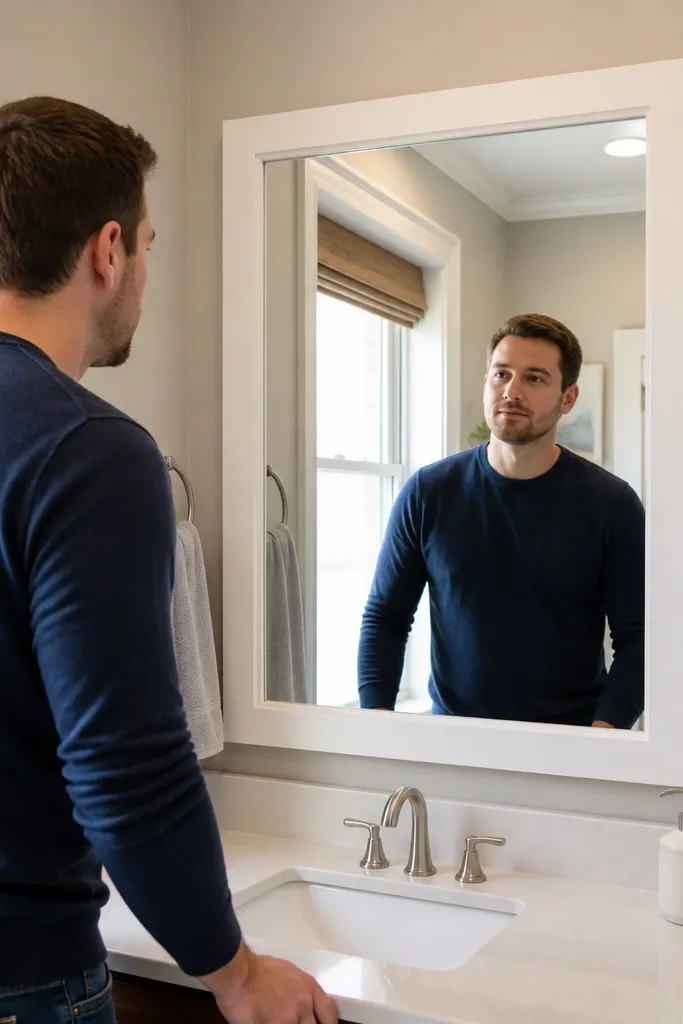
In a small bathroom, the mirror is the biggest “style lens” you own. A larger mirror with a thin, framed edge makes the room feel deeper and gives you a finished border instead of a flat, builder-grade rectangle. Go for a frame width around 1.5 inches so it reads as intentional without stealing wall space. This fix is cheap because you can mount a new framed mirror over existing hardware holes or use mounting clips designed for bathroom weight.
Start by measuring the sink centerline and the wall space between the edges of the vanity and any tile trim. Choose a mirror size that leaves at least 2 inches of clearance from the edges of the vanity and keeps the bottom edge around 75-80 inches from the floor for most users. Turn off the bathroom power at the breaker if your mirror area has wiring, then remove the old mirror carefully and patch any holes with spackle. Mount the new mirror using the included wall anchors or clips, then seal the perimeter with a thin bead of clear bathroom caulk for splash protection.
Editor's noteUse a mirror mounting level and tack a strip of painter’s tape at your target height so the mirror doesn’t drift while you tighten clips.
Skip thisDon’t mount a mirror too high; if the bottom edge sits above 80 inches, it looks awkward and makes the sink feel smaller.
2. One-bathroom color paint job with a bonding primer
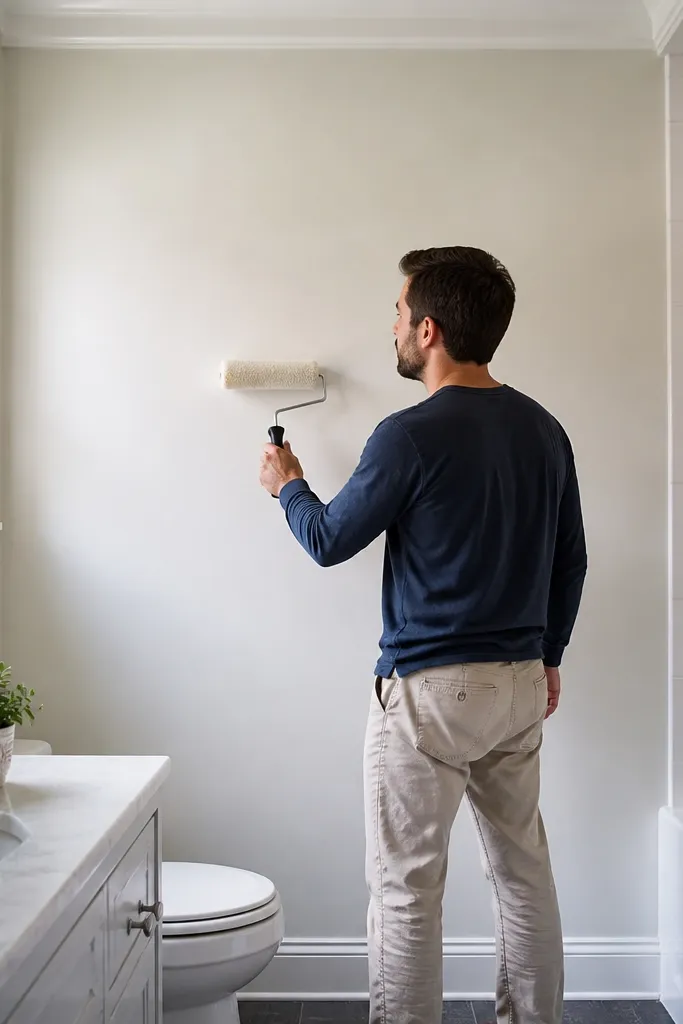
Paint is the fastest way to make a small bathroom look cared for, but bathroom paint failures usually come from skipping the bonding primer. A bonding primer helps the topcoat grip on glossy surfaces and reduces peeling around steam zones. Pick warm white for the walls and keep the trim slightly brighter so the room has separation. This project looks great because clean edges and uniform sheen make grout lines, fixtures, and mirrors look sharper.
Start by cleaning the walls with a degreasing cleaner and rinse well, then scuff-gloss with 180-grit sandpaper where paint has sheen. Apply a bonding primer in thin, even coats, letting it dry fully before topcoat. Use a paint roller for walls and a brush for corners and trim, keeping a consistent direction so you don’t get streaks. Finish with a bathroom-rated enamel topcoat on trim and a washable bath paint on walls, then cure time fully before heavy steam exposure.
Editor's noteCut in corners with painter’s tape only after you’ve wiped the surface dry; tape pulls paint when the wall is still slightly damp.
Skip thisDon’t paint over mildew or chalky residue; it will bleed through within weeks.
3. Matte black or brushed nickel hardware swap with matching set
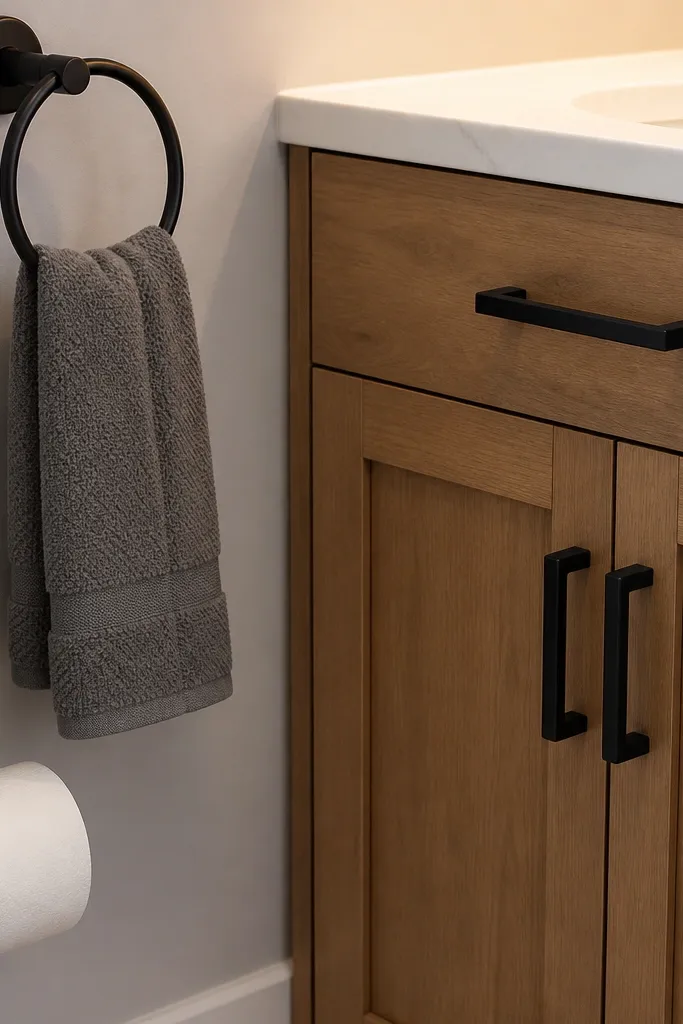
Small bathrooms look messy when hardware finishes fight each other. Swapping towel ring, toilet paper holder, and cabinet pulls into one metal family makes the whole room look intentional. Matte black hides water spots better than shiny chrome, while brushed nickel looks softer and still resists fingerprints. This fix is cheap because you’re spending on a few pieces, not remodeling, and it reads visually every time you open the door.
Start by taking off one piece and check the screw spacing and mounting style, since many holders use different hole patterns. Buy a matching set or make sure each piece lists the same finish and mounting type. If the existing holes don’t line up, keep it clean: fill old holes with wood filler or wall patch, sand smooth, then prime before installing new hardware. Tighten screws snug, then wipe away any caulk squeeze-out around bases so it looks crisp.
Editor's noteUse a small level to align towel holders; even a 1/4-inch tilt shows up in a small mirror.
Skip thisDon’t mix polished chrome with matte black in the same bathroom; it makes light bounce unevenly.
4. Above-toilet storage with a narrow 8-inch shelf and doors
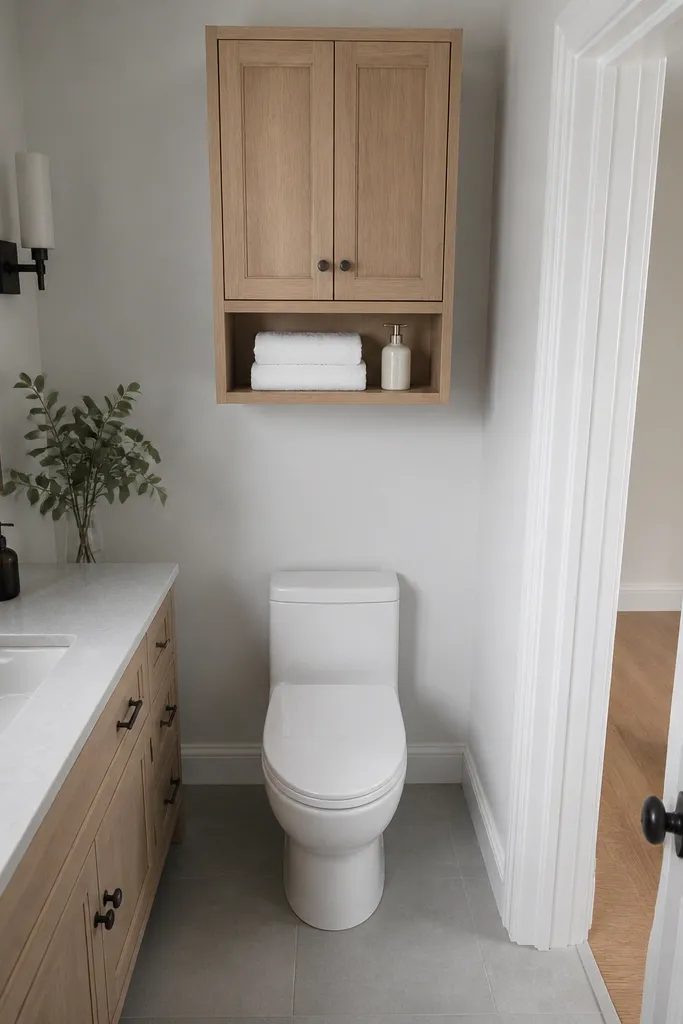
Open shelves above a toilet look cluttered fast because towels and bottles stack visually. A narrow cabinet shelf with doors gives you storage while keeping sightlines clean. The trick is width: around 8 inches lets it fit without blocking the mirror or crowding the doorway. Choose a light color or matching wall paint so it doesn’t look like a big box hovering over the toilet.
Start by measuring the width of the toilet tank and the wall space up to the ceiling, then leave at least 1 inch clearance from any vent or light fixture. Pick a prebuilt narrow cabinet or build a simple frame with 1/2-inch plywood and face trim, keeping the overall depth under 9 inches. Install wall anchors into studs if you can; if you can’t, use heavy-duty drywall anchors rated for cabinet load. Finish by adding magnetic or soft-close doors, then caulk the base edges lightly where it meets tile.
Editor's notePaint the inside back panel before install; it hides unfinished edges and looks cleaner in photos.
Skip thisDon’t mount a shelf without stud anchoring; cabinets above toilets get knocked and pull out.
5. Floating vanity shelf to replace a bulky medicine cabinet
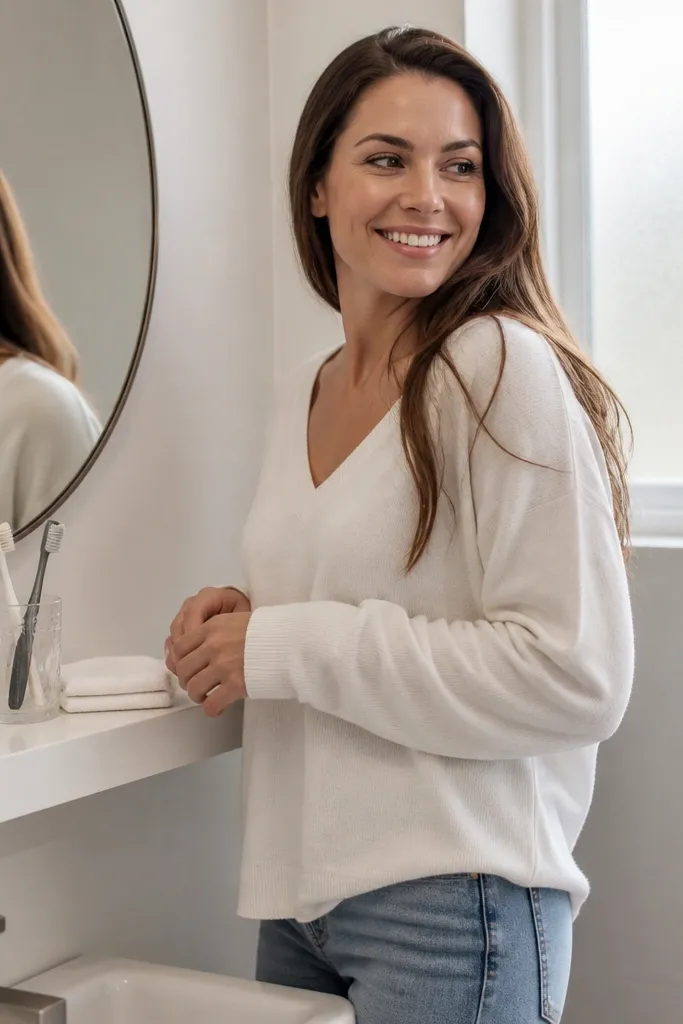
A medicine cabinet can swallow a small bathroom visually, especially if it’s dark, mirrored, or deep. A floating shelf beside the mirror keeps daily essentials close while leaving the wall open and bright. The look is modern and photo-friendly because items sit at one height, not stacked randomly inside a box. This fix is cheap because you’re using simple materials and only moving one or two mounting points.
Start by deciding what you need inside reach: toothbrush holder, face cleanser, and one small bottle. Measure the space beside your mirror and choose a shelf length that leaves at least 2 inches of blank wall on each side. Use a stud finder and install concealed brackets rated for the shelf load, then screw a 3/4-inch thick shelf board onto them. Seal the shelf with a bathroom-safe topcoat, then style with matching containers so the shelf reads clean.
Keep the shelf front edge aligned with the mirror’s bottom third; it creates a balanced look in small spaces.
Don’t use a deep shelf; depth makes the bathroom feel tighter and makes the shelf look cluttered.
6. Re-caulk the tub and sink seams with a smooth silicone bead
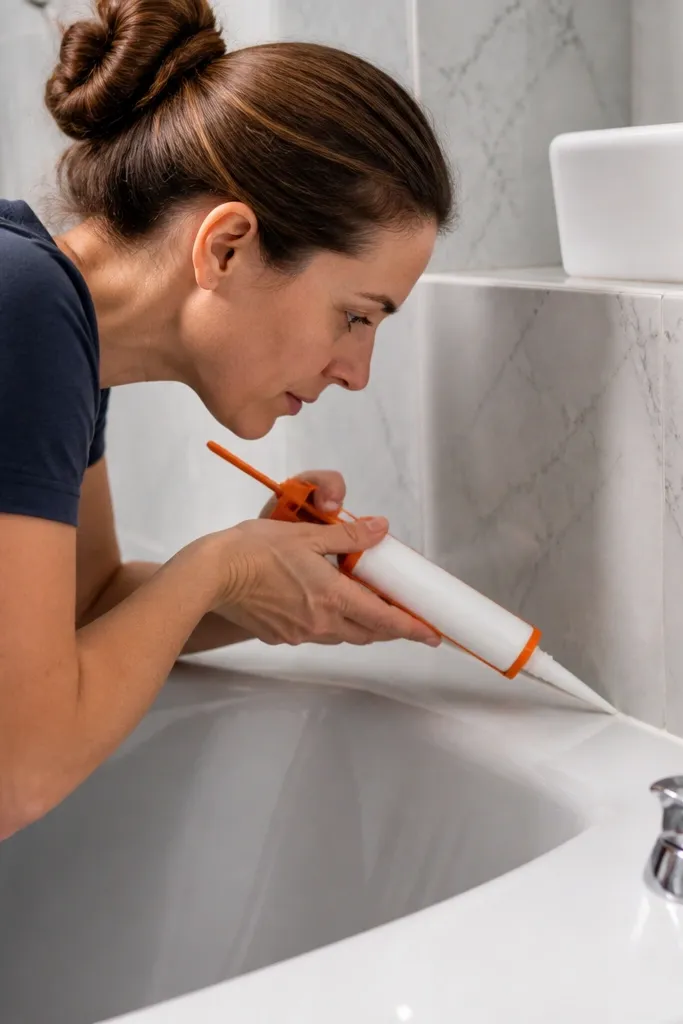
Old caulk is the hidden culprit behind a bathroom that looks dirty even after you scrub. Re-caulking removes gaps where grime collects and gives you a crisp, bright line along the tub and sink. Use clear bathroom silicone for a clean look that won’t yellow as fast as some cheap sealants. This fix looks dramatic because it restores straight edges and stops water from creeping behind fixtures.
Start by removing old caulk with a utility knife and caulk remover, then scrape until the surface is clean and dry. Wipe the joint with rubbing alcohol and let it dry completely. Load a bathroom silicone caulk tube, cut the tip small, and apply a steady bead along the joint. Smooth it immediately with a caulk tool or a gloved finger lightly dipped in soapy water, then let it cure before using the shower.
Editor's noteMask both sides of the seam with painter’s tape if you want a perfectly straight line.
Skip thisDon’t caulk over loose residue; the new bead will peel and turn ugly fast.
7. Tile grout refresh using a color-matched pen and sealer
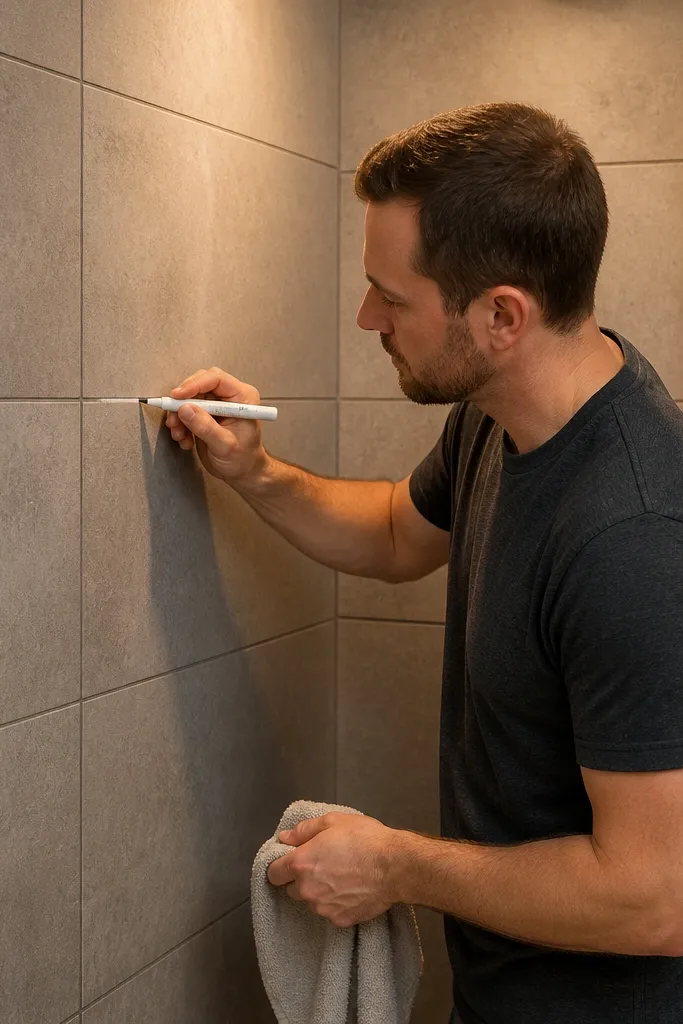
Grout makes or breaks the look of a small bathroom because it frames every surface. When grout lines are dull or gray, the whole room looks older, even if the fixtures are new. A color-matched grout pen plus sealer gives you a clean, consistent line without re-grouting the entire bathroom. This is cheap and photogenic because the lines sharpen and the floor and shower walls read brighter.
Start by deep-cleaning grout lines so the pen isn’t trying to color over dirt. Let everything dry fully, then test the grout pen on a hidden spot to confirm the color match. Apply the pen carefully along the grout joints, using short strokes and wiping excess from tile faces. After the pen cures, apply grout sealer with a small foam brush, then wipe off the tile so you don’t get a haze.
Use a bright flashlight angled across the grout; it reveals missed spots instantly.
Don’t skip cleaning and drying; grout pens trap grime and look patchy.
8. Waterproof peel-and-stick floor that matches your grout lines
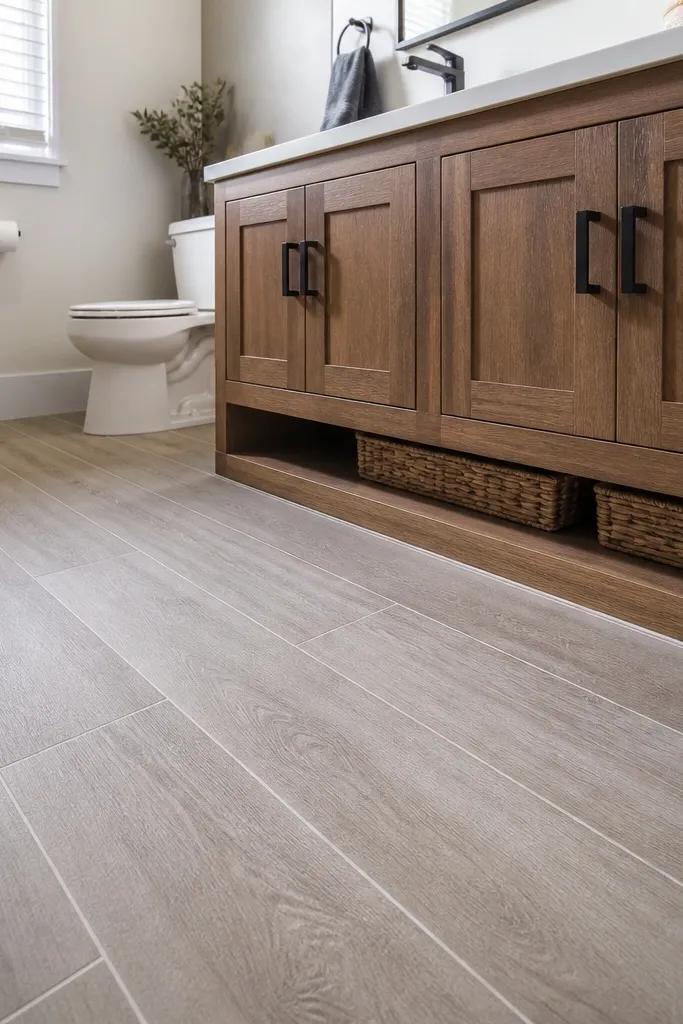
Flooring is where cheap DIY can look cheap if you ignore layout. Peel-and-stick vinyl can look high-end when the pattern lines up and the finish is matte, not glossy. Choose a plank color that echoes your tile or grout so transitions look intentional. This fix is photogenic because small bathrooms show floor patterns clearly, and a clean layout makes the room feel longer.
Start by measuring the room and sketching a layout that keeps cut pieces at the edges, not in the center. Clean the subfloor thoroughly and remove any wax or adhesive residue, then let it dry flat. Apply planks starting from a straight chalk line, press firmly along edges, and stagger seams like real plank flooring. Roll the floor with a weighted roller after install and seal around toilet base edges with a bathroom-safe silicone where needed.
Editor's noteAcclimate the vinyl rolls or boxes in the room for 24-48 hours so edges don’t curl.
Skip thisDon’t install over uneven spots; peel-and-stick shows dips and looks wavy.
9. DIY shower niche makeover with contact paper and a clear liner
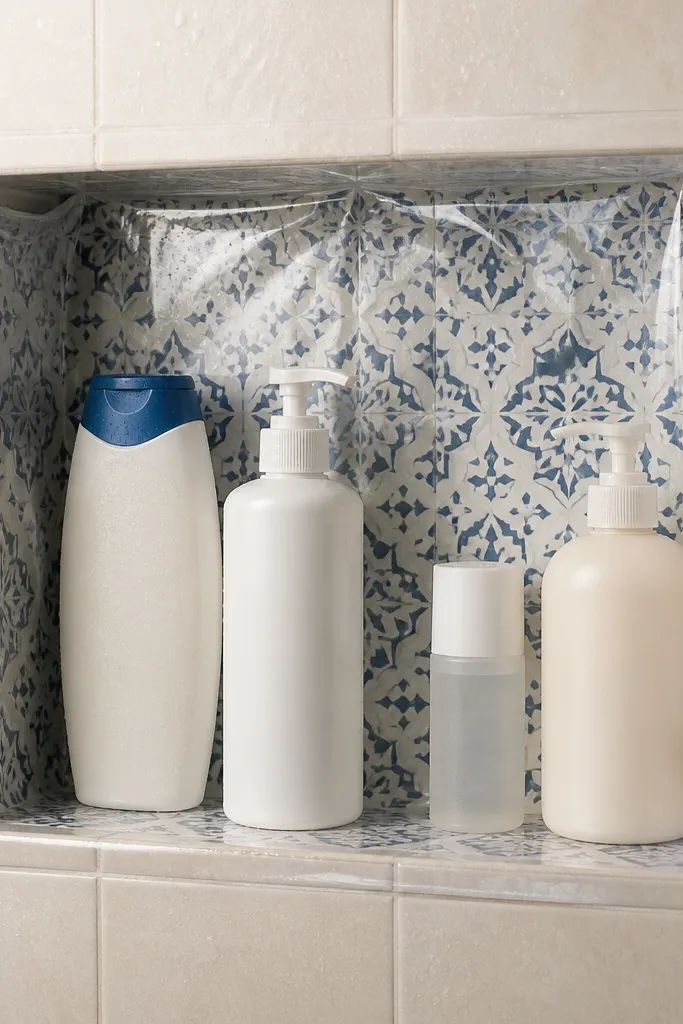
A shower niche looks rough when it’s stained or has mismatched surfaces. Lining it gives you a fresh, bright spot for shampoo and soap so the shower looks organized. Contact paper alone can fail in heavy steam, so the smarter cheap move is contact paper under a clear waterproof liner or removable shelf cover. The result is a photogenic niche that stays tidy and makes the whole shower look upgraded.
Start by cleaning the niche shelves with a bathroom cleaner and removing soap scum, then dry completely. Cut contact paper to size with a sharp craft knife, and smooth from the center outward to avoid bubbles. Install a clear, waterproof adhesive liner over the paper if your niche gets direct spray, trimming edges tight with a utility blade. Let adhesives set according to the label before loading products.
Use a hair dryer on low to help contact paper corners lay flat without wrinkles.
Don’t put contact paper directly on wet surfaces; bubbles and peeling happen fast.
10. Replace the toilet seat with a slow-close, color-coordinated one
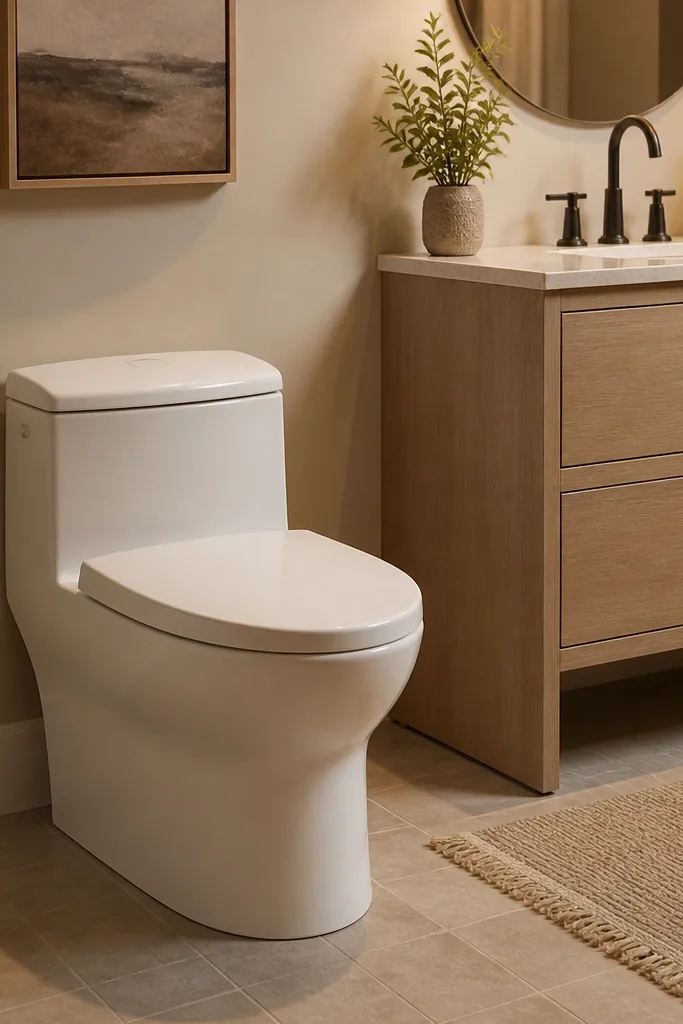
A toilet seat is small, but it’s constantly in view and it’s the first thing people notice up close. Upgrading to a slow-close seat makes the bathroom feel calmer and cleaner, and it’s an easy visual win. Pick a seat that matches your toilet color and lid shape so it doesn’t look mismatched. This fix is cheap and low-labor, and it instantly makes the bathroom look more “new” in photos.
Start by checking your toilet seat mounting style and measure the distance between bolt holes. Buy a replacement seat that matches the brand/model if you can identify it, or match the bolt spread measurements. Remove the old seat by loosening the bolts and cleaning the mounting area. Install the new seat with the included hardware, tighten evenly, and test the hinge alignment before using.
Spray the bolt area with a rust remover if screws are stuck; stripped bolts are a pain in small spaces.
Don’t buy a seat based on color alone; wrong bolt spacing causes wobble.
11. New towel bar placement using a 36-inch visual rule
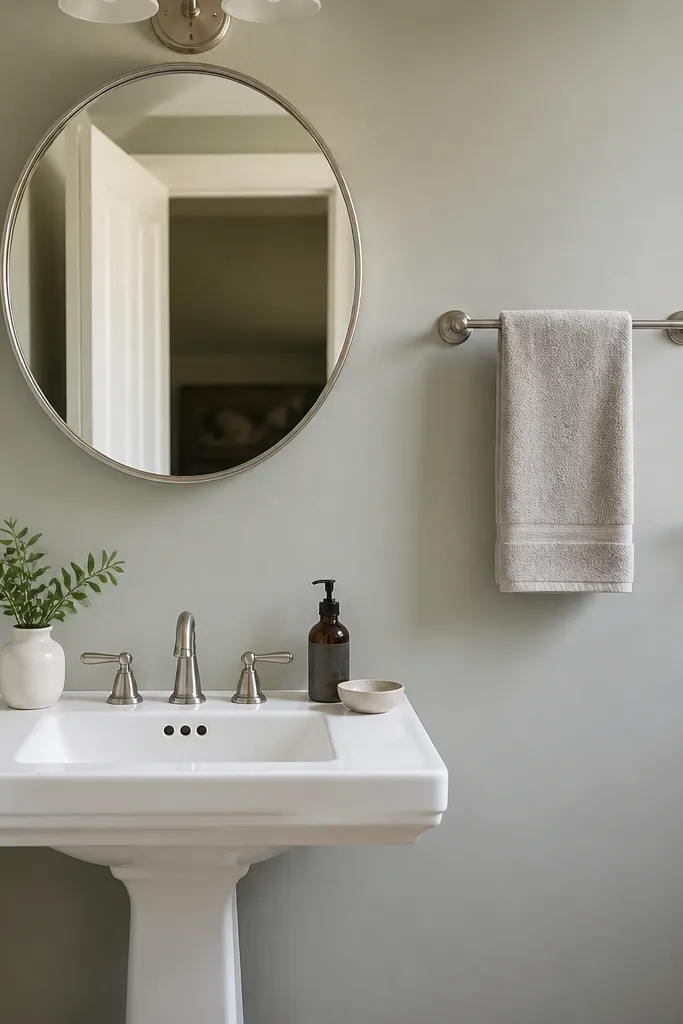
Bad towel placement makes a small bathroom feel cluttered even if everything else is pretty. Mount the main towel bar so the towel hangs neatly without scraping the sink or blowing into the mirror line. A practical target is about 36 inches from the floor to the bar center for a standard setup. This fix is cheap: you’re moving or replacing one bar, and the visual payoff is immediate when you stand at the sink.
Start by marking where your towel would hang naturally when the bar is installed, then measure from the floor to the center of the bar. Choose a bar length that fits your space without crowding the door swing or mirror edge. If you’re moving it, fill old holes with wall patch and sand smooth, then prime before painting if needed. Install into studs when possible, or use heavy-duty anchors rated for towel loads and test for wobble.
Editor's noteHang a towel you actually use during planning and confirm it clears the sink rim and cabinet doors.
Skip thisDon’t mount the bar too low; it drags on the floor and makes the whole room look sloppy.
12. Lighting refresh with a brighter 2700K bulb and tighter shade
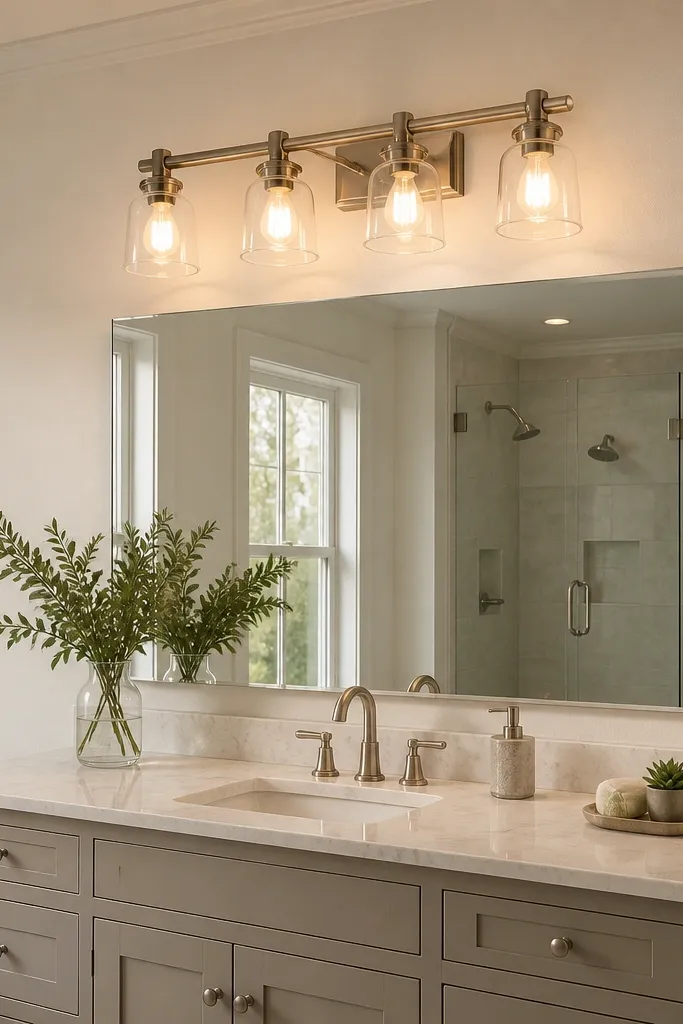
Lighting is the cheapest way to make paint, tile, and hardware look better. Small bathrooms often have bulbs that are too dim or too cool, which makes walls look gray and skin look tired. Swap to 2700K bulbs for warm, flattering light and choose fixtures with glass shades that control glare. This fix is photogenic because it improves mirror reflections and reduces harsh shadows under cabinets.
Start by checking your fixture socket type and wattage limits, then buy the correct bulb size and base. Replace bulbs with 2700K LED bulbs in the same brightness (watts equivalent) so the room stays consistent. If your fixture has removable shades, clean them and check alignment so light spreads evenly. Turn off power at the breaker before touching wiring, and if you’re changing the fixture, confirm the mounting bracket matches your electrical box.
Editor's noteUse two bulbs of the same model on multi-light fixtures to avoid one side looking dim in photos.
Skip thisDon’t keep a 4000K bulb in a small bathroom painted warm white; it makes the walls look dingy.
13. DIY vanity top refresh with a peel-and-stick backsplash strip
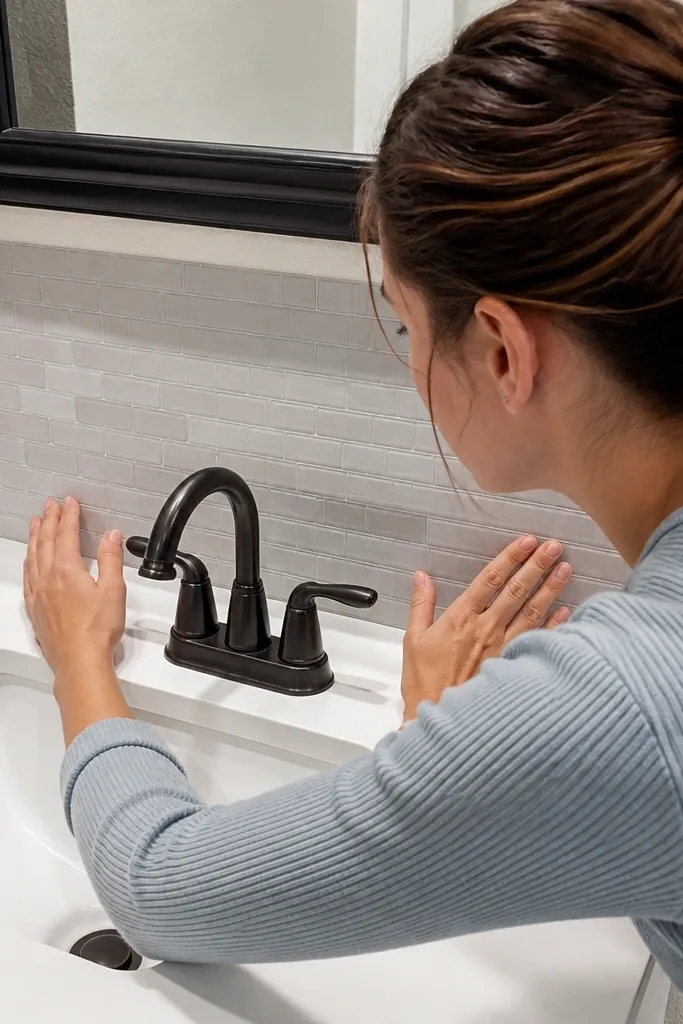
If your vanity top is fine but the area behind the faucet looks worn, a small backsplash fix changes the whole look. Peel-and-stick backsplash works when you prep correctly, and it gives you a crisp boundary that makes the vanity look finished. Choose a simple pattern like small subway tile look or matte solid color to keep it clean and photo-friendly. This is cheap because you’re covering a narrow strip, not replacing the whole counter.
Start by cleaning the surface with degreaser and drying completely, then wipe with rubbing alcohol. Measure the backsplash area and cut the peel-and-stick strip carefully with a straight edge and sharp blade. Apply from one end, pressing firmly as you go, and use a plastic smoothing tool to prevent bubbles. Seal edges at the corners with a thin bead of clear caulk designed for wet areas.
Do a dry-fit first and mark the starting line with painter’s tape so the strip doesn’t creep.
Don’t apply on dusty or slightly glossy surfaces; it lifts and curls at the edges.
14. Drawer organizer upgrade with foam trays and matching labels
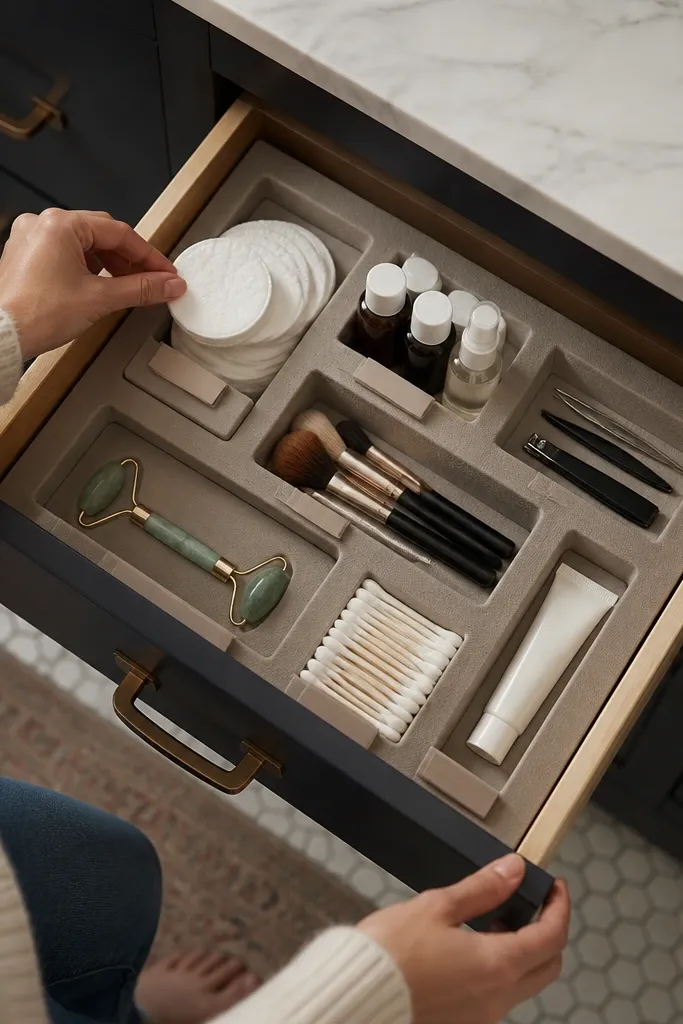
A small bathroom looks expensive when it stays visually calm. When toiletries spill into random corners, the room looks chaotic even if everything is clean. Foam drawer organizers create clear zones, and matching labels make it look styled instead of shoved. This fix is cheap and doesn’t require plumbing — it’s all about how the drawer looks when the door is open.
Start by emptying the drawer and measuring the interior length, width, and depth. Choose foam trays that match the biggest items first, then fill gaps with smaller compartments. Cut foam to fit where needed using a utility knife, then test with your actual bottles so lids don’t snag. Add small labels on the front edge so you can put things back quickly after every shower.
Editor's noteKeep one “overflow bin” for extras; when it fills, you restock or remove items instead of letting the drawer get messy.
Skip thisDon’t label the inside of compartments; labels should be readable at a glance from the doorway.
15. Replace the shower curtain with a ceiling-to-floor tension rod setup
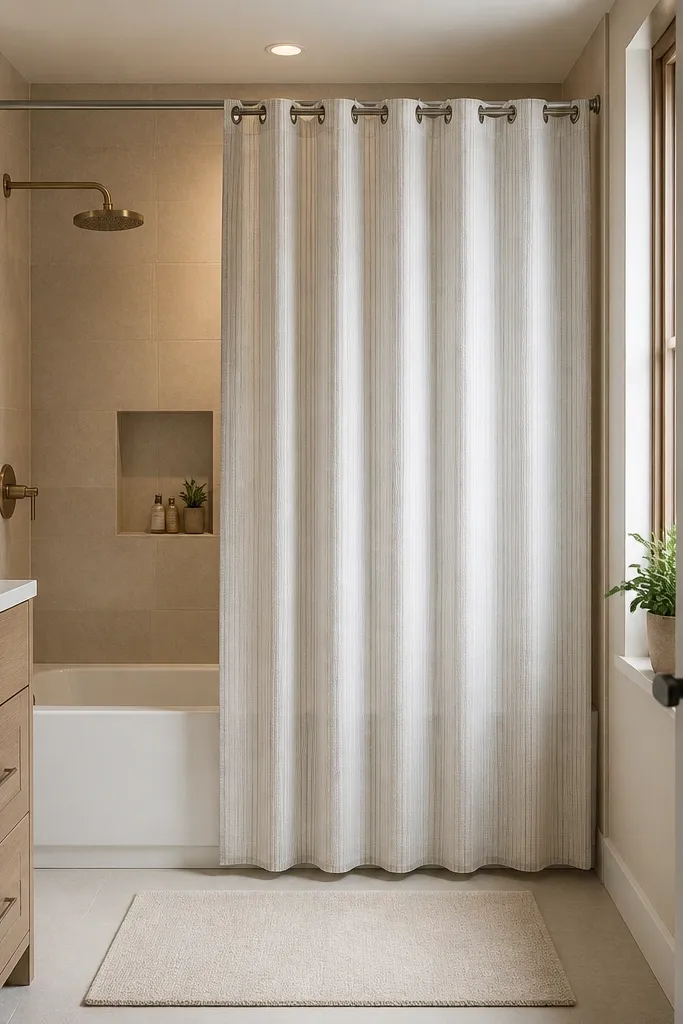
A shower curtain that pools or bows makes the whole bathroom look unfinished. A tension rod setup with the right curtain length hangs straight and creates a clean frame around the shower. Choose a fabric curtain or a weighted liner that sits flat, and pair it with grommet rings that slide smoothly. This fix is cheap and instantly photogenic because it changes the shape of the shower opening in every angle.
Start by measuring the shower opening and ceiling height so you can pick a tension rod length that reaches firmly without bowing. Install the rod at the correct height, then hang your curtain with weighted bottom hem or add a weighted liner. Use the right number of rings — too few causes sag, too many can bunch the fabric. Check the curtain hangs straight, then adjust the rod tension until the curtain sits flat when water splashes.
Iron or steam the curtain before install so it hangs crisp and doesn’t show creases in photos.
Don’t use a short curtain; it leaves gaps that look dirty and let water escape.
16. Matte ceramic or laminate wall paneling behind the toilet for a clean backdrop
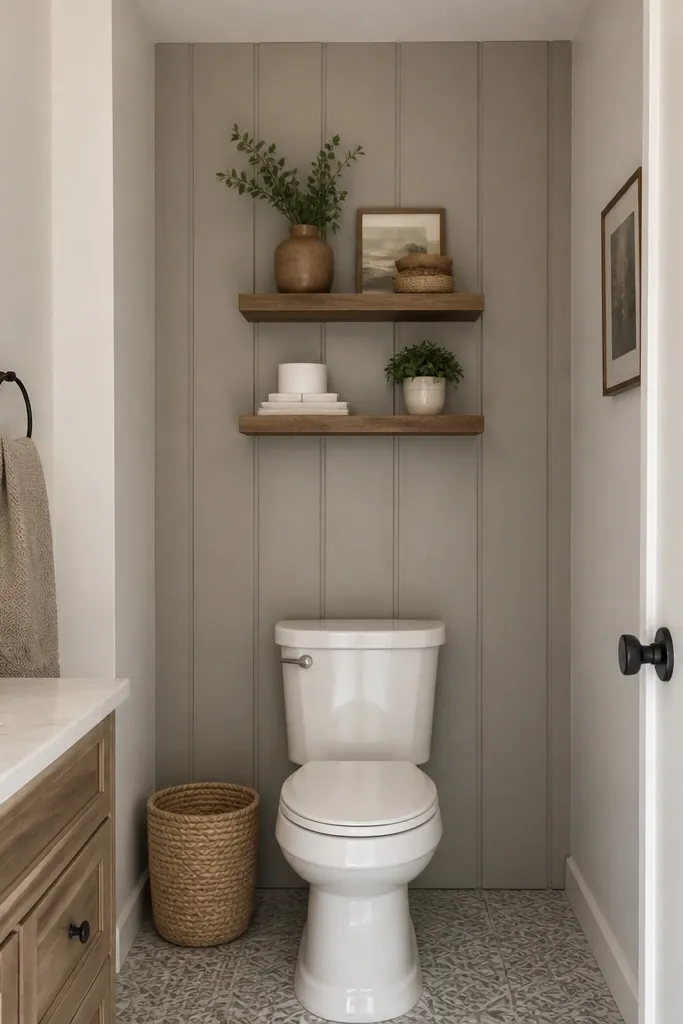
The wall behind the toilet is a blank wall people notice because it’s framed by the mirror and the door. If it’s painted but scuffed, a small paneling upgrade makes it look intentional. Matte finishes hide fingerprints and water streaks better than glossy paint. Pick a simple panel pattern like 1x4 plank look or smooth sheets so it reads clean, not busy.
Start by cleaning the wall and checking for flatness; remove loose paint and patch holes. Measure the wall behind the toilet and plan seams so they don’t land awkwardly at eye level. Install panels with construction adhesive or a wall-safe mounting system, following product instructions for weight and cure time. Caulk seams lightly, then paint or seal the panel edges if your product needs it for moisture resistance.
Editor's noteUse painter’s tape along seams while adhesive cures to prevent panel drift.
Skip thisDon’t cover over peeling paint; the panels will lift and look warped.
17. Cabinet door knob swap plus soft-close hinges for a calmer look
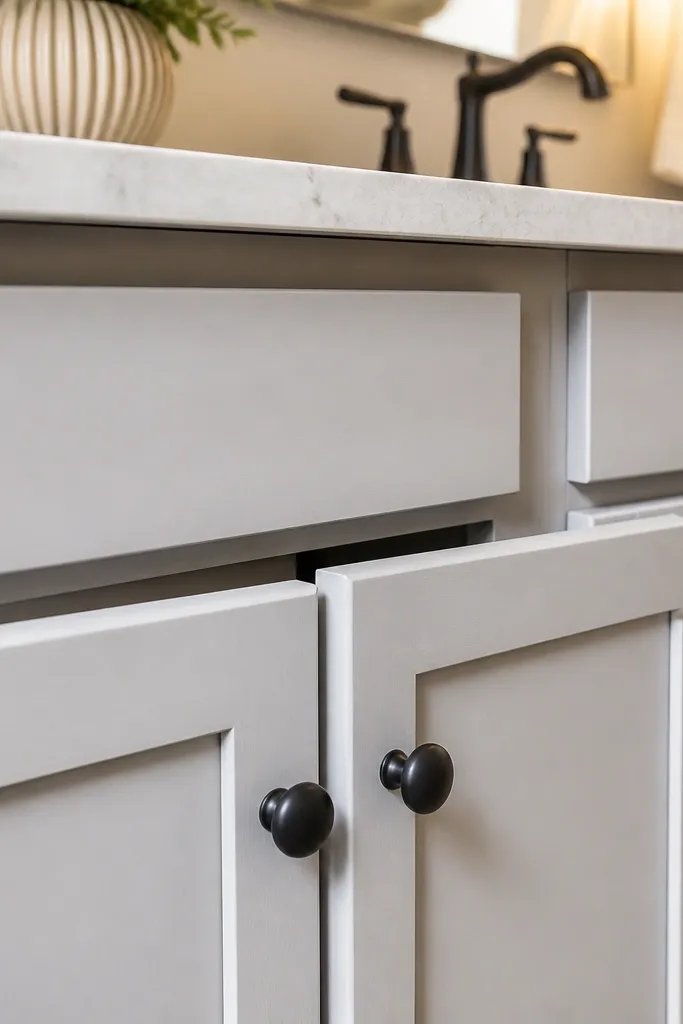
Even if your vanity is cheap, the cabinet hardware makes it look finished. Swapping knobs or pulls into a consistent metal finish tightens the look, and adding soft-close hinges makes the space feel higher-end. Soft-close hinges also prevent slammed doors that knock loose caulk and damage painted frames over time. This fix is cheap because it’s mostly hardware, and it looks great in close-up photos of the vanity area.
Start by removing one hinge and measuring the cup size or hinge type, then buy matching soft-close hinges for your door style. Swap knobs or pulls first, since hinge work can change door alignment. If old holes don’t match, fill with wood filler, let cure, sand smooth, then drill new holes using a jig or guide block. Install hinges, adjust for even gaps around the door, and test the soft-close action.
Editor's noteAdjust door alignment with the screws slowly; tiny tweaks matter more than you think in small bathrooms.
Skip thisDon’t install new knobs on a misaligned door; the gaps will look crooked forever.
18. Repaint the vanity cabinet with a scrub-friendly enamel system
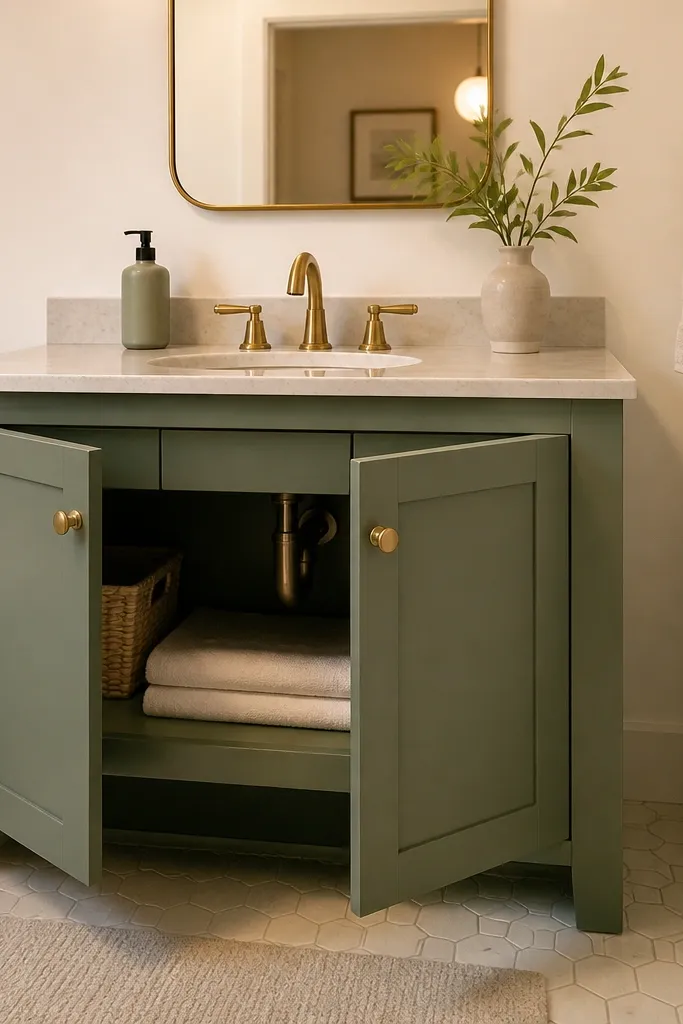
A dingy vanity drags down the whole bathroom, even when the walls and floors are new. Painting the vanity is cheaper than replacing it, and it looks expensive when you use an enamel system built for hard wear. The look improves because you get rid of scuffs, chips, and uneven sheen that catch light in small spaces. This is a weekend project if you prep carefully and let cure time happen before you put everything back.
Start by removing doors and drawers and cleaning with a degreaser, then scuff-sanding glossy surfaces until they feel matte. Apply a bonding primer made for cabinets, then sand lightly after primer dries for a smooth finish. Spray or brush an enamel topcoat in thin coats, letting each coat flash and dry fully. Reinstall doors with new hardware if you’re swapping knobs, then cure for several days before heavy cleaning or wet mopping.
Editor's noteUse a foam sanding block when scuffing primer; it keeps edges crisp.
Skip thisDon’t rush cure time; water and cleaning products can mar enamel before it fully hardens.
19. Toilet tank cover or decorative wrap that hides ugly hardware
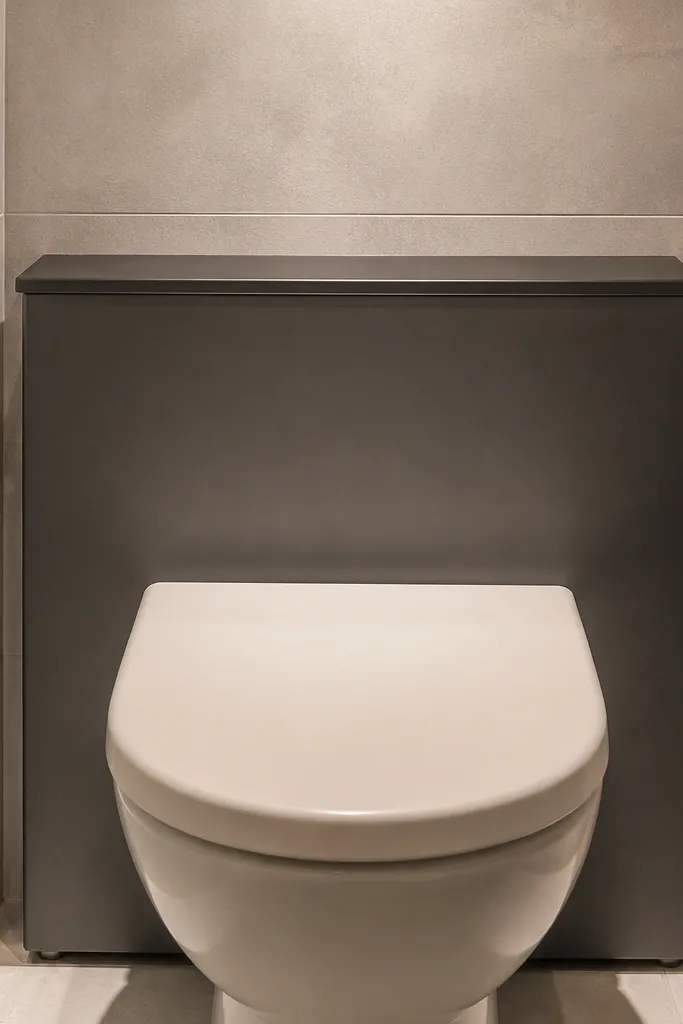
If your toilet tank looks dated or the hardware is mismatched, it’s a visual anchor you can’t ignore. A tank cover or wrap hides the ugly bits and gives you a clean, styled line that matches your palette. Choose a matte finish and a slim profile so the tank doesn’t look like it’s wearing a costume. This fix is cheap, quick, and it makes the toilet area look intentional in tight bathroom photos.
Start by measuring the tank length, width, and height, then buy a cover designed for your toilet type. Clean the tank surface and make sure the cover sits flush without wobbling. Install using the included brackets or adhesive pads, following the product instructions for surface type. Seal the edges with a thin clear caulk if the fit leaves any gaps where water can splash.
Editor's notePick a cover color that matches your vanity or trim, not your grout; grout colors change with cleaning and light.
Skip thisDon’t choose a cover that rocks; any wobble looks cheap and can scratch porcelain.
20. Upgrade the bathroom vent cover with a paintable grille
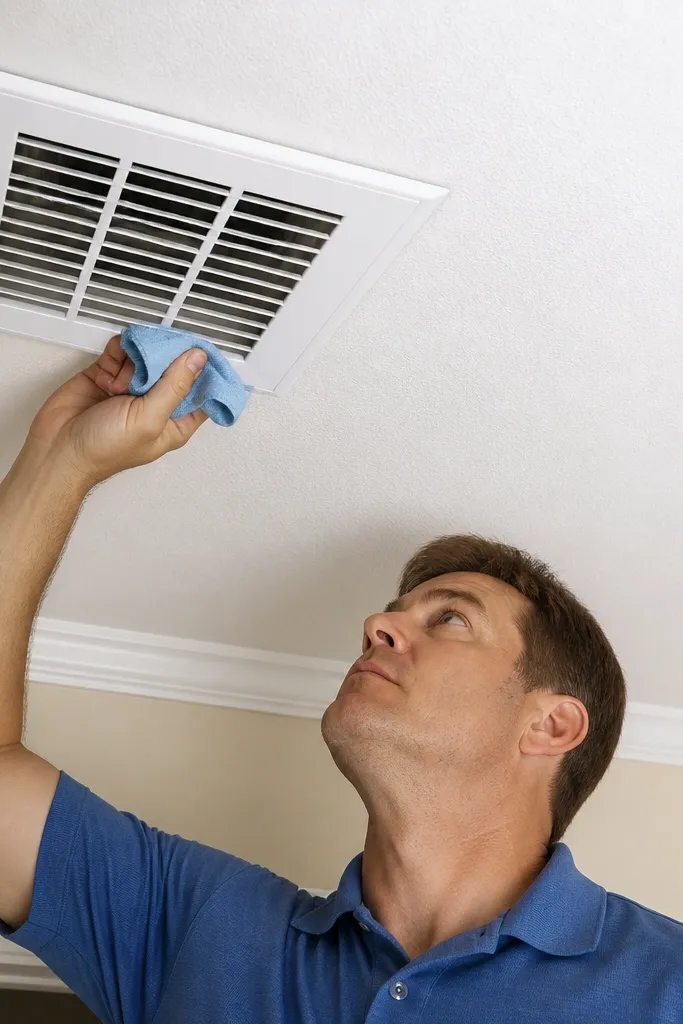
A dirty or rusty vent cover is one of those small details that makes a bathroom look neglected. Swapping to a paintable grille cleans up the ceiling line and helps the space feel brighter. If your vent cover is scratched, replacing it is faster than trying to rehab it and it looks cleaner in overhead photos. It’s cheap and quick, and it improves air appearance while keeping your ventilation working as it should.
Start by turning off power to the bathroom fan at the breaker if you plan to remove the grille. Remove the old cover by unscrewing it or prying gently if it’s spring-loaded, then clean dust from the fan opening. Fit the new paintable grille and check it sits flat without gaps. Paint it with ceiling paint or primer + topcoat, then reinstall after paint cures to avoid sticking.
Paint the grille off the wall on a drop cloth so you get an even finish without drips.
Don’t leave a gap around the grille; it lets dust collect and looks sloppy.



