
1. The 90-Degree Myth That Leaves a Corner Gap
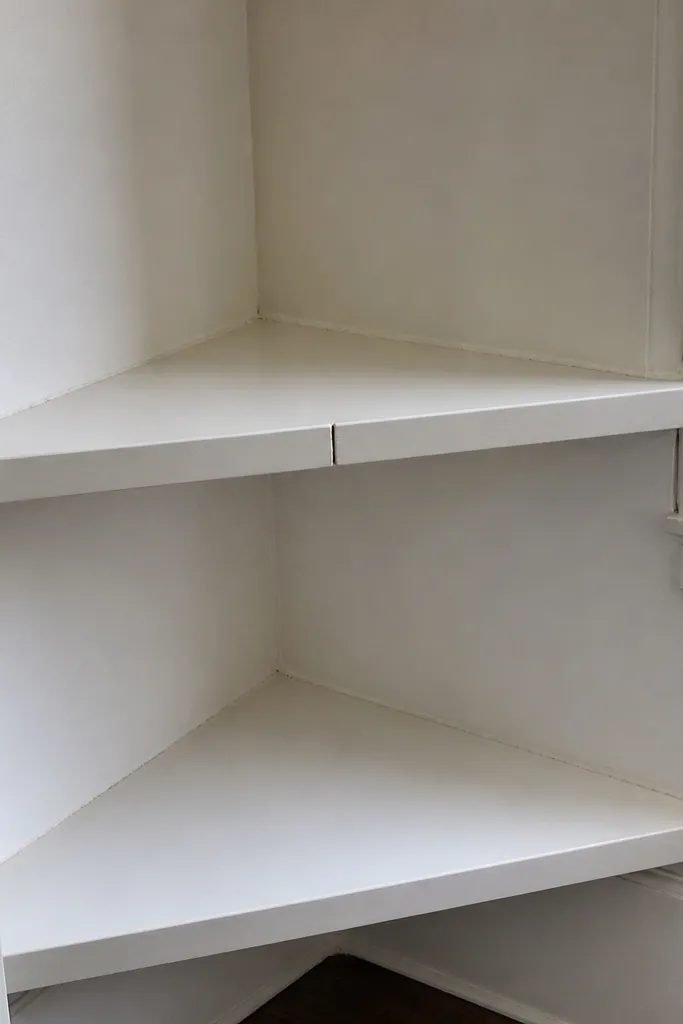
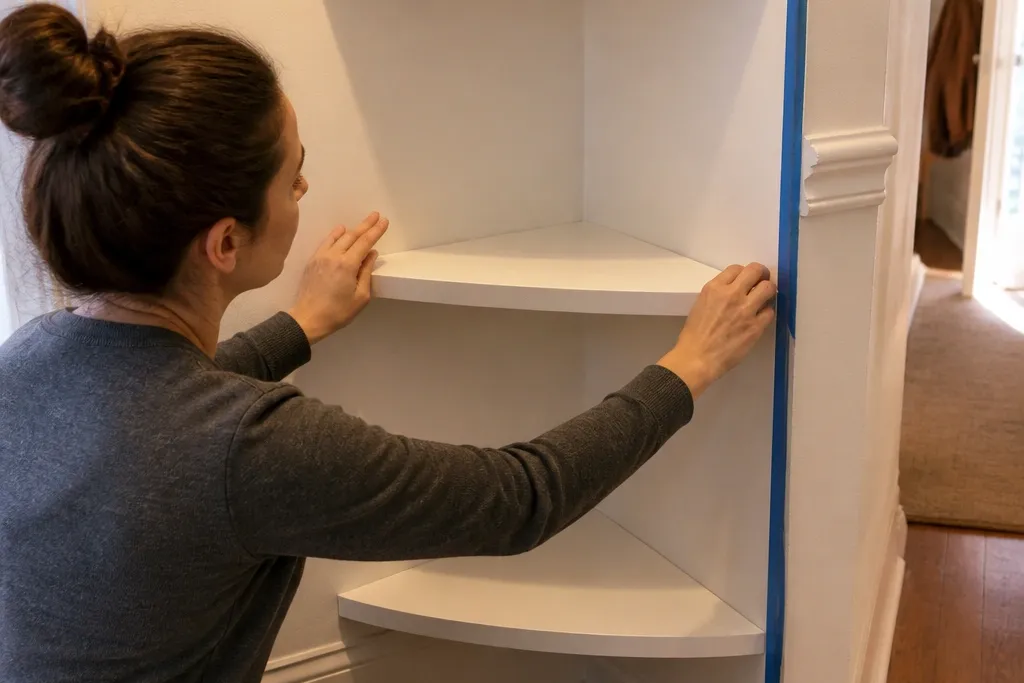
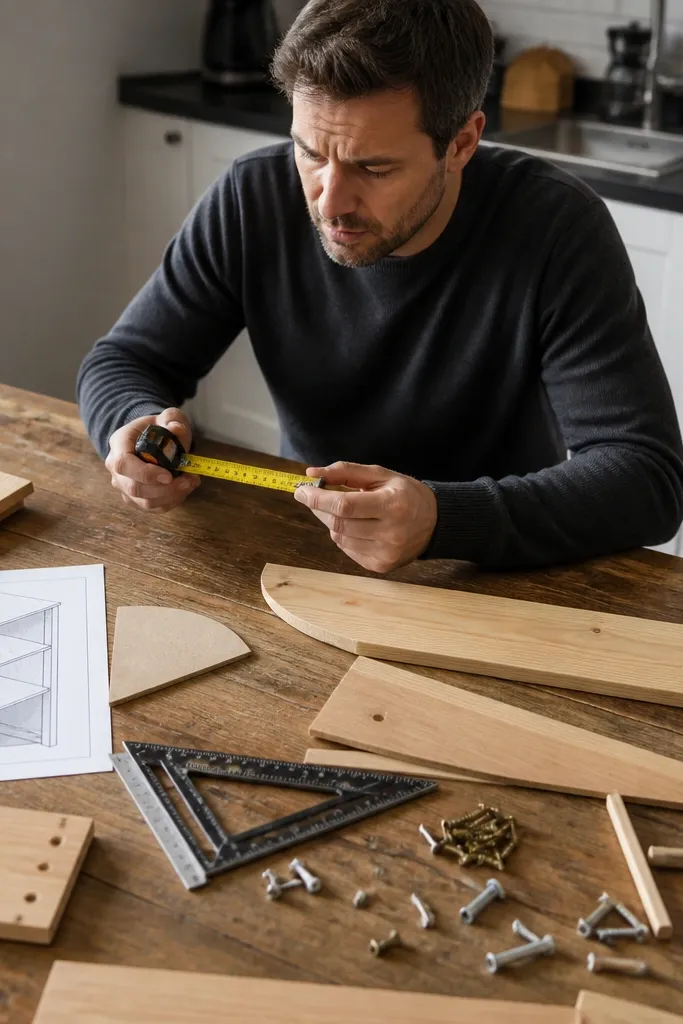
Start by measuring the corner angle or, more practically, test-fit your side panels with painter’s tape so you can see the gap before cutting. Cut your side pieces oversized by at least 1/8 inch, then dry-fit them in the corner and mark where they hit. Use a bevel gauge or digital angle finder to read the angle from the fitted contact point, not from the corner line on the floor. Trim slowly with a sharp saw blade until the seam closes tight. Only after the fit is clean should you sand, glue, and clamp.
This mistake makes the shelf look “almost right” from across the room and wrong up close. Most DIY corner shelves assume the corner is exactly 90 degrees, then cut matching angles and hope the wall cooperates. When the wall is off-square, the seam opens at the front edge first, and paint or caulk can’t hide it for long. The fix is to stop guessing and build to your measured corner, then cut the shelf sides to match that actual angle.
Skip thisAvoid cutting miters to a perfect 90 degrees without a dry-fit into the actual corner.
Editor's noteIf you’re off by a hair, trim to fit and then use a thin bead of caulk after painting for a cleaner seam line than filler alone.
2. Painting Before You Test-Fit the Shelf Face
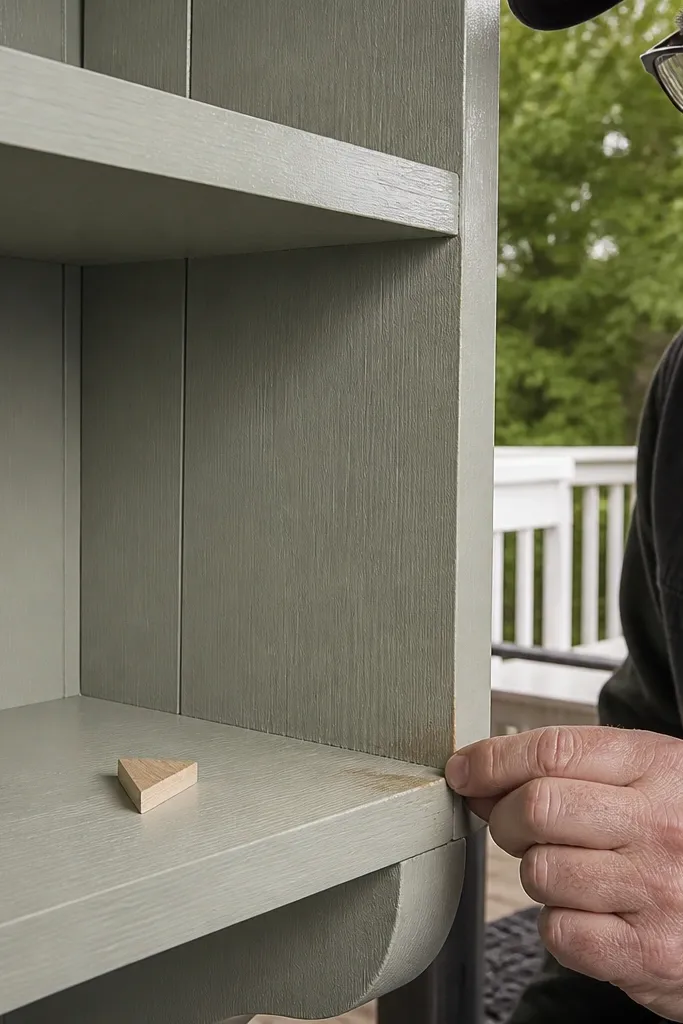
Dry-fit the shelf pieces and hardware with the boards unpainted, then mark the final screw locations on the side frames or cleat. Assemble the shelf without glue first if you can, so you can remove it for sanding and paint. Sand all contact edges and corners, then prime the wood and let it cure fully. After the shelf is mounted, run caulk at the seam and touch up with the same paint system. Check sheen by holding a light at a shallow angle across the joint.
Paint makes tiny fit errors look bigger because it hardens the surface and emphasizes edge shadows. If you paint the shelf boards before you confirm the corner seam and mounting alignment, you end up sanding through fresh paint and touching up anyway. That’s where uneven sheen and color mismatch happen — the seam looks like a line drawn with a marker. The better approach is to finish in stages: fit first, then prime and paint after the shelf locks in place.
Skip thisAvoid painting early and assuming your cut angles will be perfect after mounting.
Editor's notePrime the shelf sides and edges, not just the top — corner seams fail faster when end grain isn’t sealed.
3. Using Drywall Anchors That Aren't Rated for Real Loads
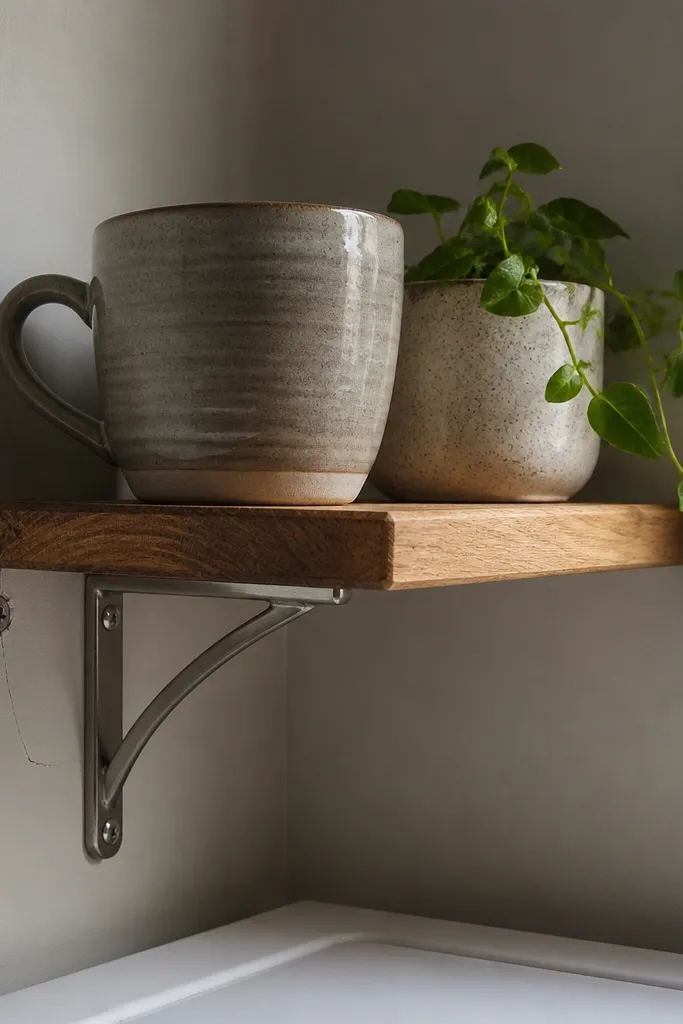
Locate studs with a stud finder and confirm with a small pilot hole at each planned bracket position. If you hit studs, mount brackets or cleats directly to them using 2.5 to 3 inch wood screws. If you miss studs, choose anchors that are rated for your shelf load and drywall thickness, then drill the correct pilot size. Don’t mount on anchors through only the drywall skin; aim for anchors that grip behind drywall or into masonry if that’s what you have. After installation, press down firmly at the front edge and check for any movement before loading the shelf.
Corner shelves get used like everyone’s favorite surface: mugs, plants, books, and random stuff that adds weight fast. The mistake is trusting small plastic anchors for a shelf that’s long enough to lever. When the shelf wobbles, it’s not the wood — it’s the fasteners losing grip or pulling out behind drywall. If you don’t have studs where you want to mount, you need anchors rated for the exact load and enough engagement depth.
Skip thisAvoid using small plastic expansion anchors for a shelf you plan to load.
Editor's noteUse a cleat ledger across the corner before final screws if you’re worried about alignment; it carries weight while anchors set.
4. No Ledger or Temporary Bracing While Screws Bite
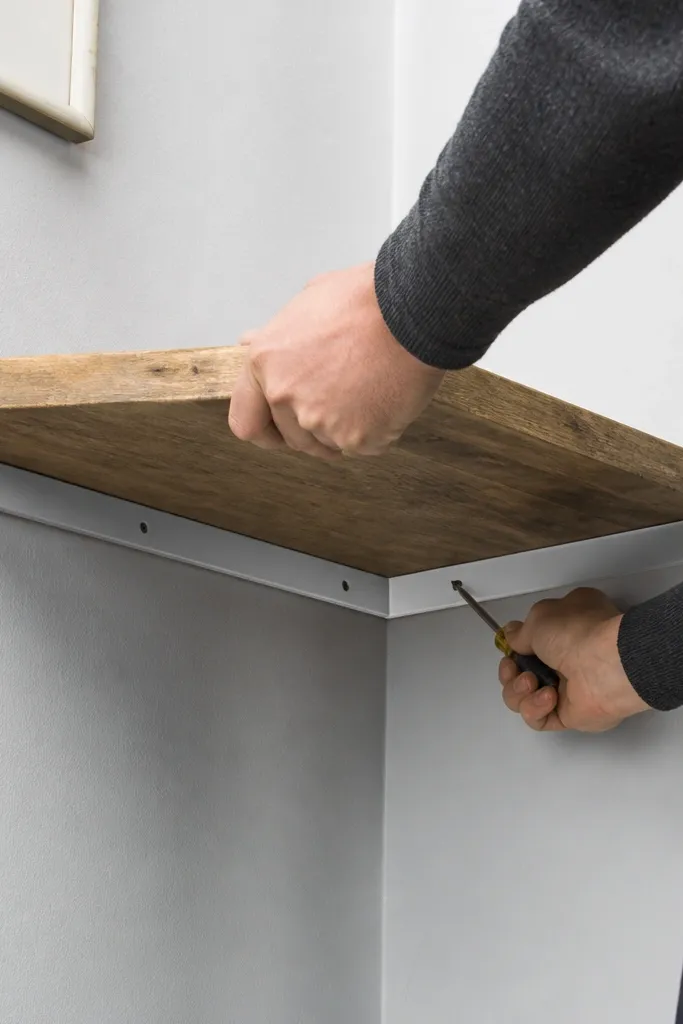
This one looks like a “leveling” problem, but it’s usually a mounting sequence problem. When you install brackets or a cleat one fastener at a time, the board shifts as the screw pulls it into position. Corner shelves are especially prone because two planes fight your alignment. The result is a shelf that’s straight from one angle and off from another, and the seam line looks crooked. Fix it by controlling the position before you commit with all screws.
Mark your shelf height with a level and draw a straight pencil line at the back edge of where the shelf will sit. Install a temporary support block or ledger at that line using a few screws or clamps so the shelf can’t sag while you work. Mount one side bracket or cleat first, then check level at the front edge before adding the remaining screws. Only after everything sits square and level remove the temporary support. If the shelf is framed, clamp the frame square to the corner while you drill and screw.
Use a 2-foot level and check both the top surface and the side seam line; they can be off even if the shelf looks level.
Avoid tightening all screws without a temporary support or a controlled reference line.
5. Overbuilding the Looks and Forgetting Real Support
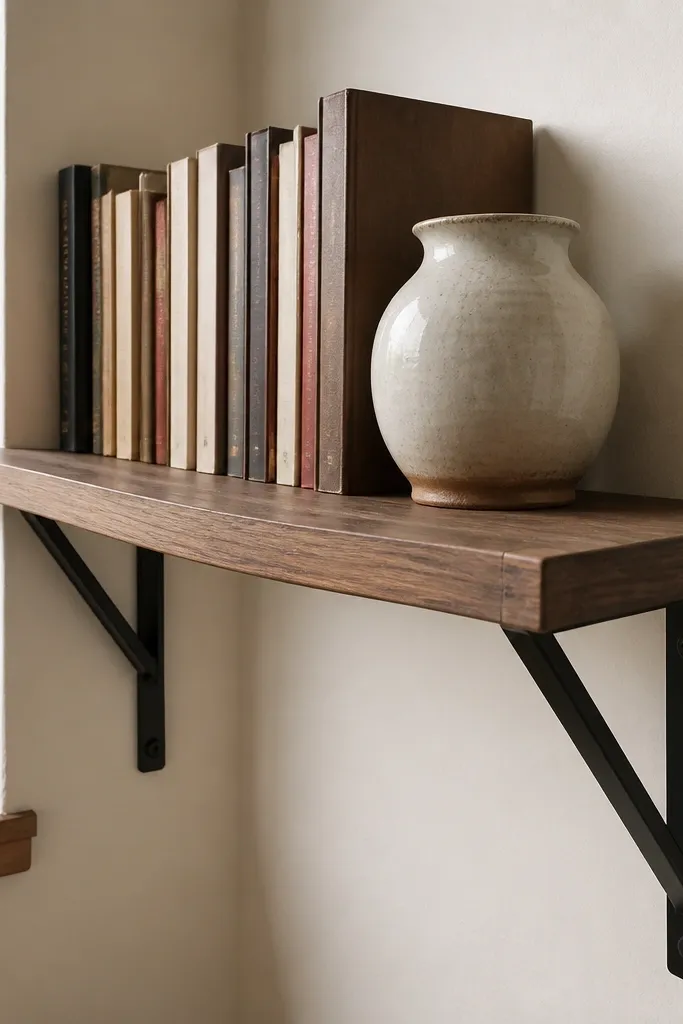
Choose a shelf board thickness based on span. For a typical corner shelf depth of 10-12 inches with light décor, 3/4 inch thick lumber is a safer starting point than 1/2 inch. If you want to hold heavier items, add a backer and side frames that create a box-like structure or add a center support rail. Build the frame so the shelf board is supported along the edges, not just screwed into the face. After assembly, push down at the front edge before finishing; if it flexes noticeably, add support before you paint.
A corner shelf can look perfect and still fail because the actual shelf board is too thin or spans too far without support. The mistake is treating the shelf like a décor plank instead of a structural surface. When the board flexes, joints loosen and the front edge can crack or pull away from the frame. The fix is to pick a shelf thickness and add internal support so the shelf doesn’t act like a spring.
Skip thisAvoid using a thin top board and relying on glue alone for strength.
Editor's noteIf you’re using MDF or particle board, don’t go thin; moisture and screw pull-out happen faster than with solid wood.
6. Wrong Screw Type and Splitting the Shelf Frame
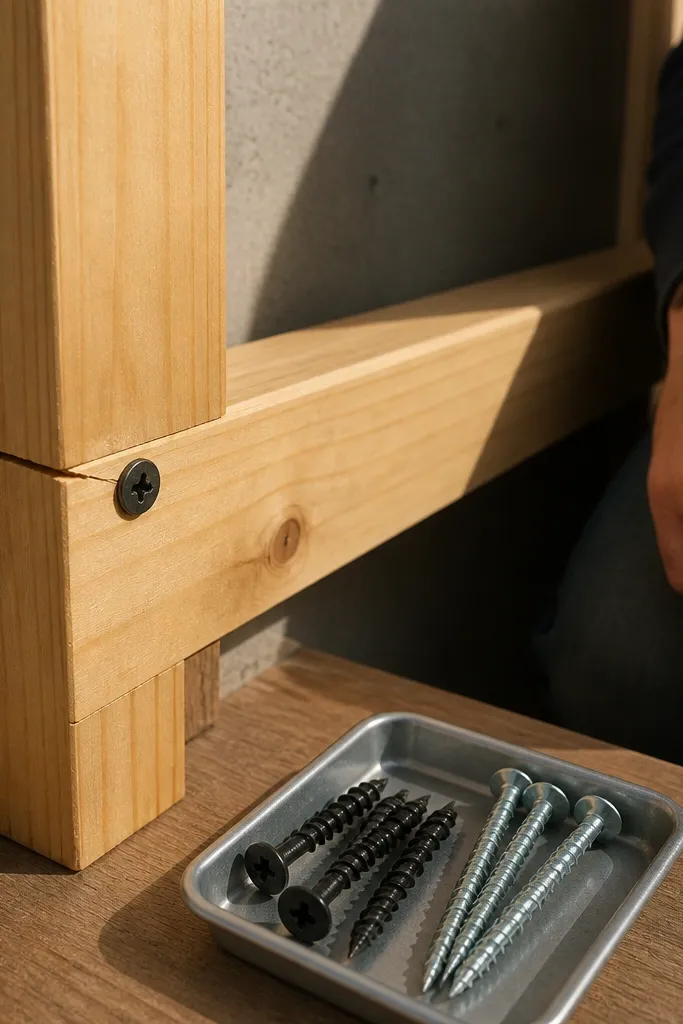
Pick wood screws with a fine thread for hardwood or medium-density lumber; for most pine and plywood frames, standard wood screws work well. Drill pilot holes through the bracket holes first using a bit slightly smaller than the screw’s core diameter. Countersink lightly if your screw heads need to sit flush, but don’t over-countersink into the grain. Drive screws straight, then stop when the head seats — don’t crank until the wood compresses. If you see splitting start, back out and re-drill the pilot.
Corner shelf frames are small and close to edges, so splitting shows up fast. The mistake is using drywall screws or coarse screws that grab and split the wood when you drive them in at an angle. Once the wood splits, the shelf can loosen over time, and the seam line opens even if it looked fine at first. Use the right screws for wood and drill pilot holes so the frame stays tight.
Skip thisAvoid driving screws into unpiloted edges or using drywall screws in wood frames.
Editor's noteDo a quick test on scrap: if the screw head sinks and the grain cracks, your pilot bit is too large or the screw is too aggressive.
7. Gluing the Wrong Surfaces and Losing the Seam Tightness
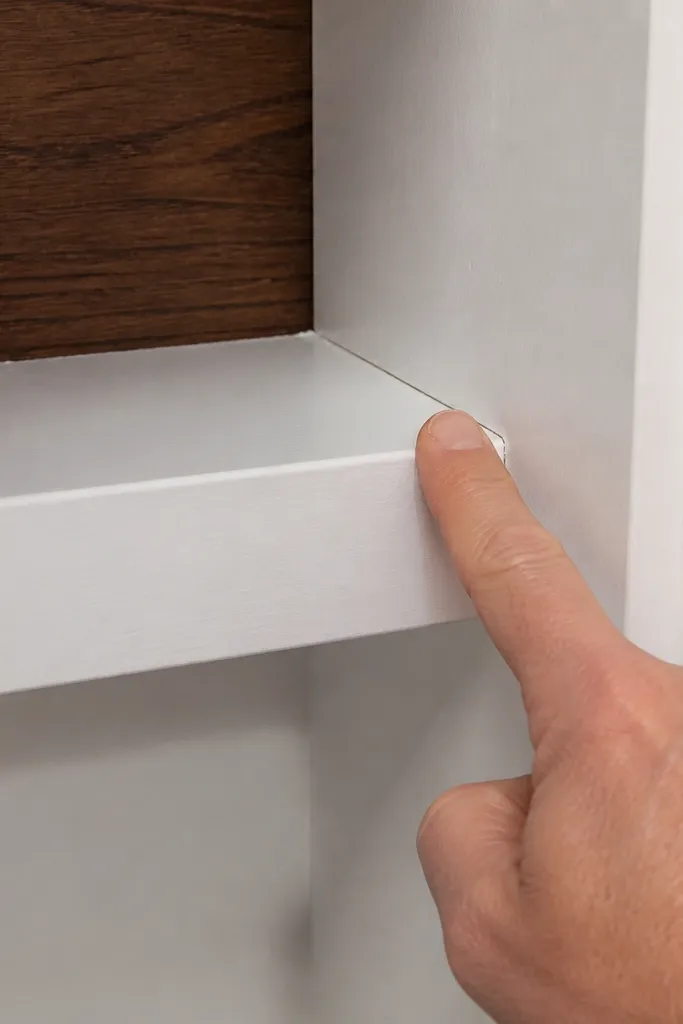
Glue helps alignment, but only when you glue the right faces in a controlled way. The common mistake is gluing only one side or gluing over dust and finish residue, then relying on screws to correct the fit. That can leave a tiny gap that glue can’t fill, and the seam line stays visible after paint. The fix is to glue mating surfaces that can actually clamp tight, wipe dust, and clamp long enough for the glue to set.
Dry-fit the corner joint first and mark where clamps will go so you don’t fight the pieces during glue-up. Clean mating surfaces with a dry rag; if you sanded, brush off dust thoroughly. Apply a thin, even bead of wood glue to the full mating area, then clamp so the seam closes with no forced twist. Use screws after clamping so they pull everything into position, not because glue is failing. Let it cure fully before sanding or painting the joint.
Wipe squeeze-out immediately with a damp rag — dried glue under paint shows as bumps.
Avoid gluing without clamping the joint tight and cleaning mating surfaces first.
8. Miter Saw Panic Cuts Without a Stop Block
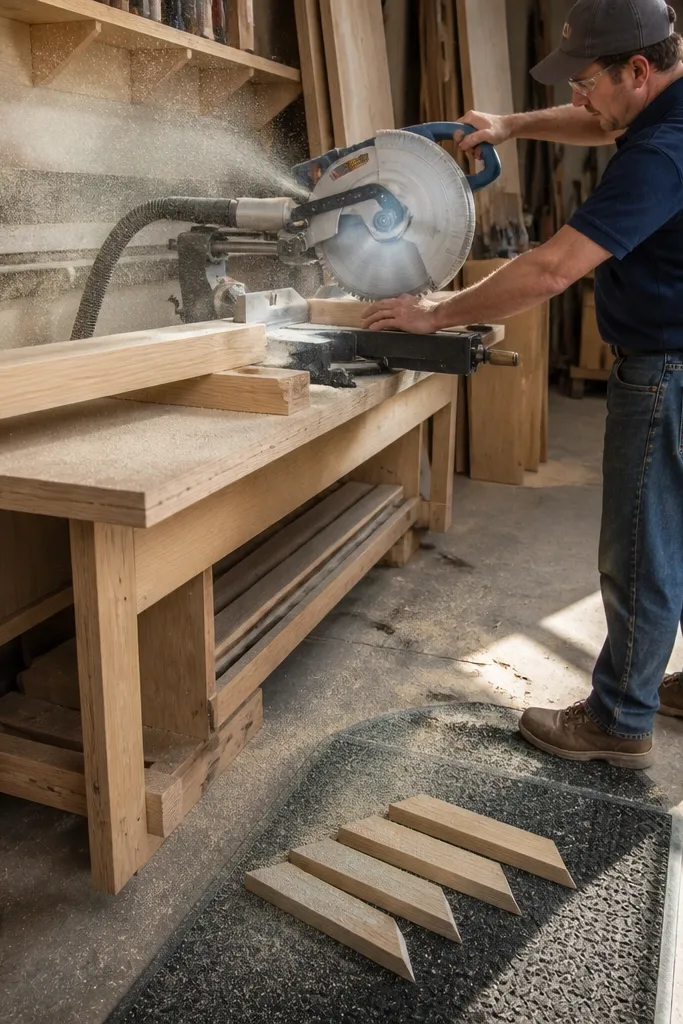
Corner shelves often use angled ends, and angled ends demand repeatable cuts. The mistake is freehanding each cut and then hoping sanding fixes the gap. Sanding can make the joint look smooth but it also changes the angle, which widens the seam at the front edge. The fix is to set a stop block and cut all matching pieces from the same orientation so the angles stay consistent.
Mark the grain direction and keep each board oriented the same way for every cut, especially if you’re using plywood or boards with a face veneer. Set your saw angle, then make one test cut on scrap and dry-fit it. Install a stop block on the saw fence or use a clamping jig so each board hits the same length stop. Cut your two side pieces and any backer braces with the same stop position. Sand only enough to remove saw marks — don’t chase alignment by sanding the miter face aggressively.
Label the offcut end with a pencil arrow so you never flip a piece and reverse the miter.
Avoid cutting angled pieces without a repeatable stop and without a test-fit cut.
9. Not Accounting for Baseboards and Corner Trim
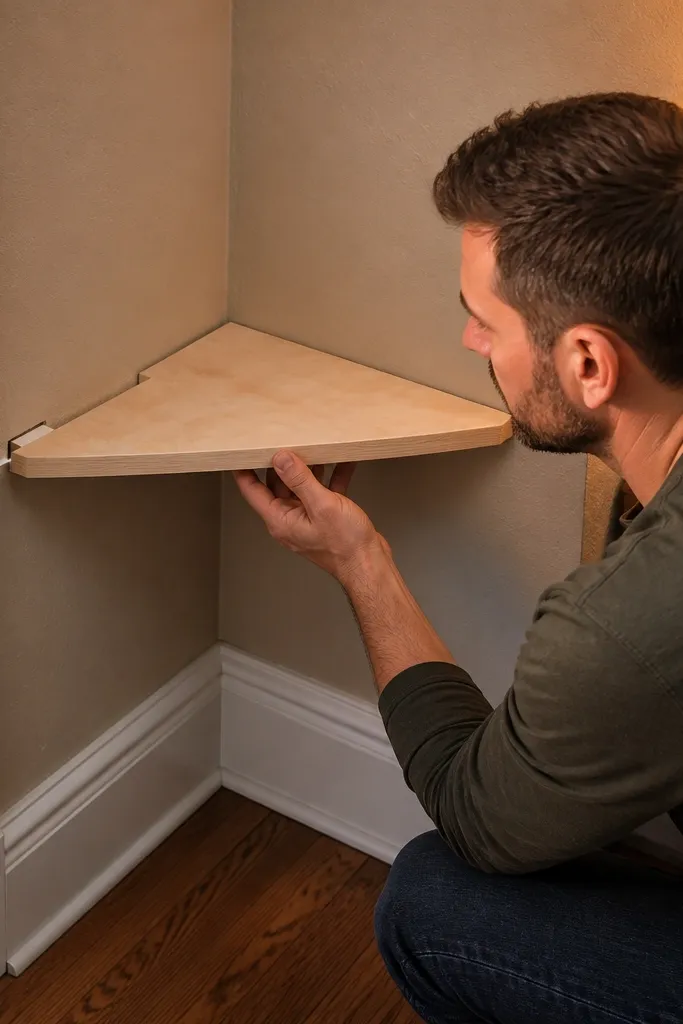
Measure the distance from the corner to the farthest point of baseboard or trim at the shelf height. Dry-fit your shelf frame in place with the backer mocked up so you can see whether it hits trim. If it hits, notch the backer or add a standoff spacer behind the backer so the frame sits flat. Keep the shelf level and make the spacers symmetrical so the face doesn’t twist. After the clearance works, anchor the frame through the spacer into studs or solid backing.
A corner shelf that looks great in the shop photo can refuse to sit flush in your house because trim and baseboards steal space. The mistake is planning the shelf depth and backer placement without measuring how much the corner trim sticks out. Then you end up with a shelf that rocks, a backer that doesn’t touch the wall, or a gap you have to caulk thick enough to crack. Fix it by planning for clearance and adjusting the backer or standoff depth.
Skip thisAvoid building the backer to a perfect flush depth without checking baseboard and corner trim clearance.
Editor's noteUse thin cardboard templates to test clearance before you cut notches into your backer.
10. Backer Too Thin or Missing Caulk Support
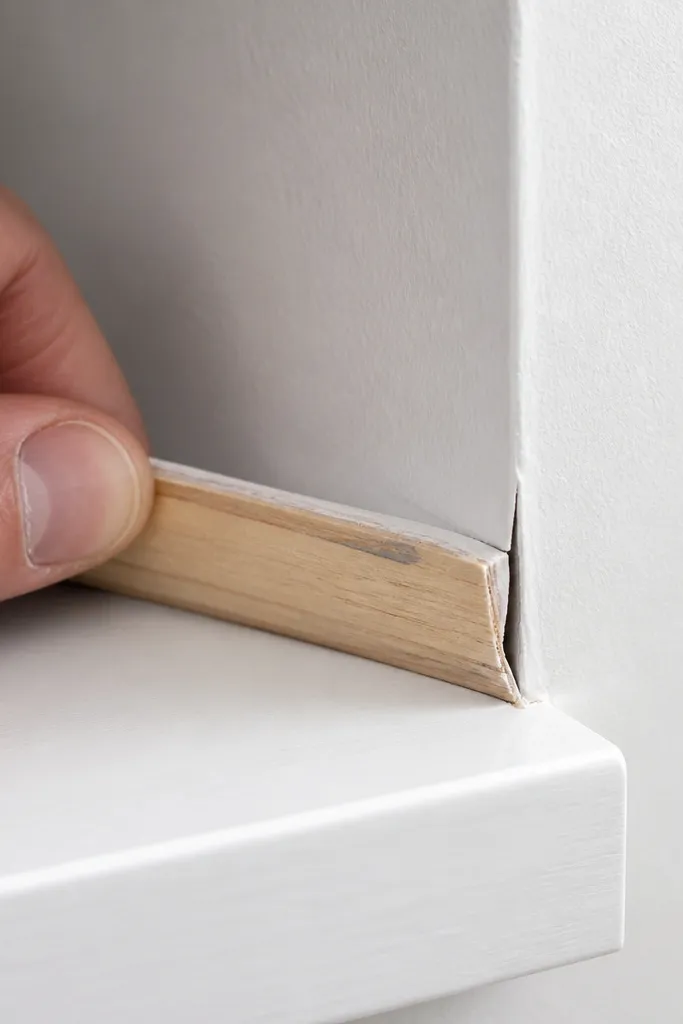
Corner shelves often look like they float even when they’re supported, because the back seam is what your eye catches. The mistake is using a thin backer that flexes, or caulking over a seam that has no backing. Caulk isn’t structural. If the backer flexes, the caulk line cracks, and the seam shows a gap that grows with humidity changes. Fix it by using a stiff backer and applying caulk with a clean joint edge and proper gap size.
Use a backer thick enough to stay flat — 1/2 inch plywood or a solid wood strip that matches the frame stiffness is a good baseline. Install the backer so it has full contact with the frame edges and is screwed into the frame, not just the wall. Leave a consistent seam gap for caulk, usually around 1/16 inch, so the caulk has something to bond to. Apply caulk after paint touch-ups on the seam line, then tool it with a damp finger or caulk tool for a smooth edge. Let it cure fully before loading the shelf.
If the gap is bigger than 1/8 inch, use wood filler or a shim, then caulk — don’t try to bridge it with caulk alone.
Avoid caulking over a seam that’s too wide or a backer that flexes.
11. Rushing the Sanding and Leaving Tool Marks Under Paint
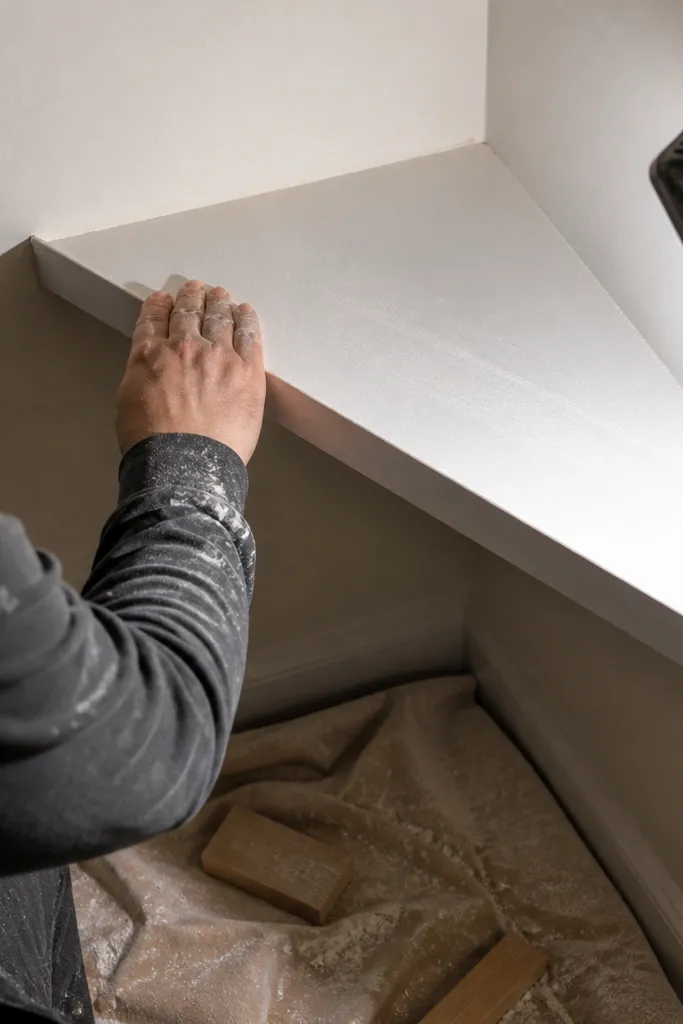
Sand the shelf boards and frame in order: start around 120 grit to remove saw marks, then 180 grit for a smooth surface. Break sharp edges slightly with 220 grit so paint doesn’t pool in corners. Vacuum thoroughly and wipe with a tack cloth before priming. After primer dries, sand lightly with 220 grit to knock down raised grain, then paint. Inspect under a bright light at a low angle to spot remaining tool marks before the final coat.
Tool marks show up on corner shelves because light hits angled surfaces and the top face. The mistake is sanding only the top, skipping edges, or stopping at a grit that leaves scratches under primer. When you paint, those scratches turn into a dull haze line that you can’t wipe away. The fix is to sand in steps and run your hand along edges and corners like you’re checking for burrs, not just flatness.
Skip thisAvoid painting over saw marks and sanding scratches, especially on the angled ends.
Editor's noteIf you see “fuzz” after primer, dry-sand again — that’s raised grain, and it will keep showing through paint.



