


1. The 8-inch deep shelf that makes books look cramped

Start by measuring the widest item you’ll store regularly, then add clearance for your hand and display objects. For books, measure your thickest book — if it’s a 9-inch-wide hardcover, you need at least 10 inches finished depth after the face trim. Then build your frame so the shelf top lands at your chosen depth, accounting for the thickness of the shelf board and the face trim. Finally, do a dry fit with one book and one decor item before you install any shelves permanently.
A lot of living-room built-ins look “off” because the shelves are too shallow for how books and decor sit. When depth is around 8 inches, book spines crowd the front edge and your eyes read the shelf as a ledge, not a storage surface. You also lose room behind for small decor and for any hidden cord management. The result is a built-in that looks tidy from far away but feels claustrophobic when you actually pull things out. I recommend planning finished shelf depth at 10 to 12 inches so books sit with breathing room and decor doesn’t look jammed.
Skip thisAvoid choosing depth based on what looks right in a sketch.
Editor's noteCut one scrap panel to your shelf depth and test it on the wall with a book stack before committing.
2. Shelf spacing that ignores binders and tall decor

The most common “pretty but unusable” mistake is shelf spacing that fits nothing you own. People set spacing by eye, then binders don’t fit, tall vases force you to remove decor, and you end up leaving the shelves empty because they’re annoying to use. If you store anything taller than a typical paperback, you need a plan for those heights. Your built-ins should handle both horizontal storage and occasional vertical objects without constant rearranging. I’d rather see one adjustable shelf than two shelves that are permanently wrong.
Start with a quick inventory: measure the tallest item you want on a shelf and the tallest item you want to place without tilting or forcing it. Convert those measurements into shelf heights by subtracting the shelf thickness and any trim you’ll add to the top or bottom. Then decide which shelf should be adjustable — usually the middle zone — and plan for a few extra inches of clearance so you can reconfigure later. Finally, mark your shelf locations on a level line from the wall before you cut anything; shifting later is the fastest way to end up with crooked spacing.
If you hate adjustable hardware, use a fixed shelf layout and still build one “wild card” space for tall decor with a slightly larger gap.
Avoid standard spacing meant for generic bookcases.
3. Not checking the wall for out-of-plumb before building the frame
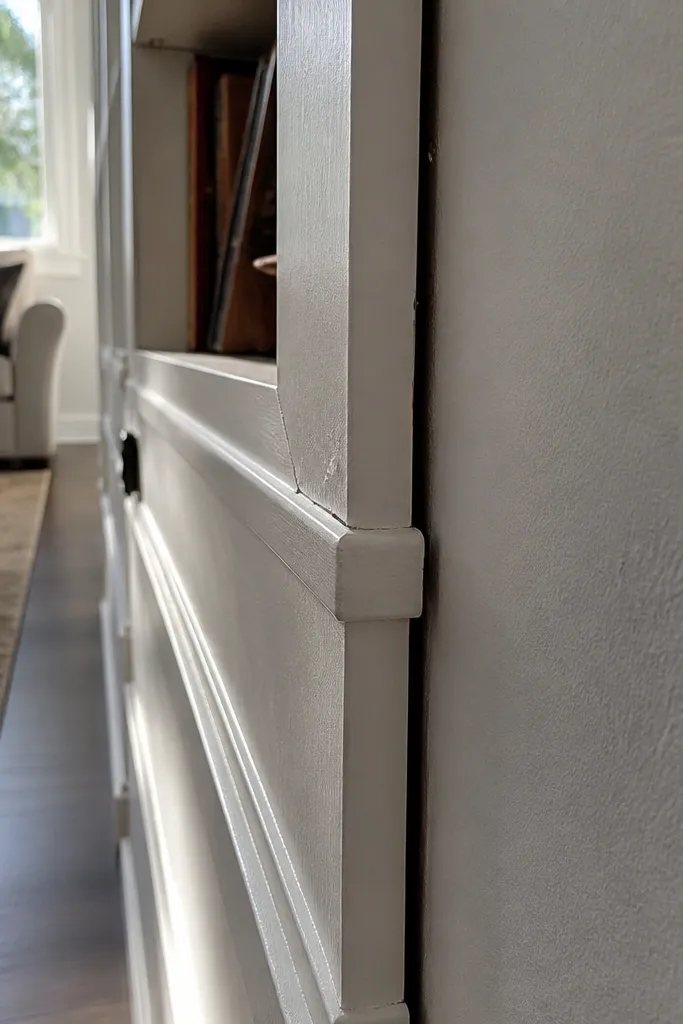
Start by using a 6-foot level or a laser to check plumb at the top, middle, and bottom of the wall where the built-ins will sit. Measure the gap between the wall and a straight reference line at each point; write the numbers down so you don’t get lost. Then transfer those measurements to your frame plan by shimming behind the mounting cleats or adjusting the mounting points so the face ends up straight. Finally, dry fit the frame in place and confirm the face line stays consistent across the whole run before installing shelves.
Walls are rarely perfectly plumb, and built-ins exaggerate every tiny error. If you build a flat, square frame on a wall that’s leaning, your shelf ends won’t meet the trim cleanly and you’ll see gaps that look like sloppy craftsmanship. The fix isn’t “shimming blindly”; it’s measuring and designing around the wall’s reality. This is why some built-ins look great in photos but fail in person where you see the daylight at the edges. I recommend checking plumb and level at multiple heights before you cut the first side panel.
Skip thisAvoid assuming the wall is straight because it looks straight.
Editor's noteShims belong behind mounting points, not under shelf ends, because shelf ends telegraph every wobble.
4. Face trim built before the box is actually aligned
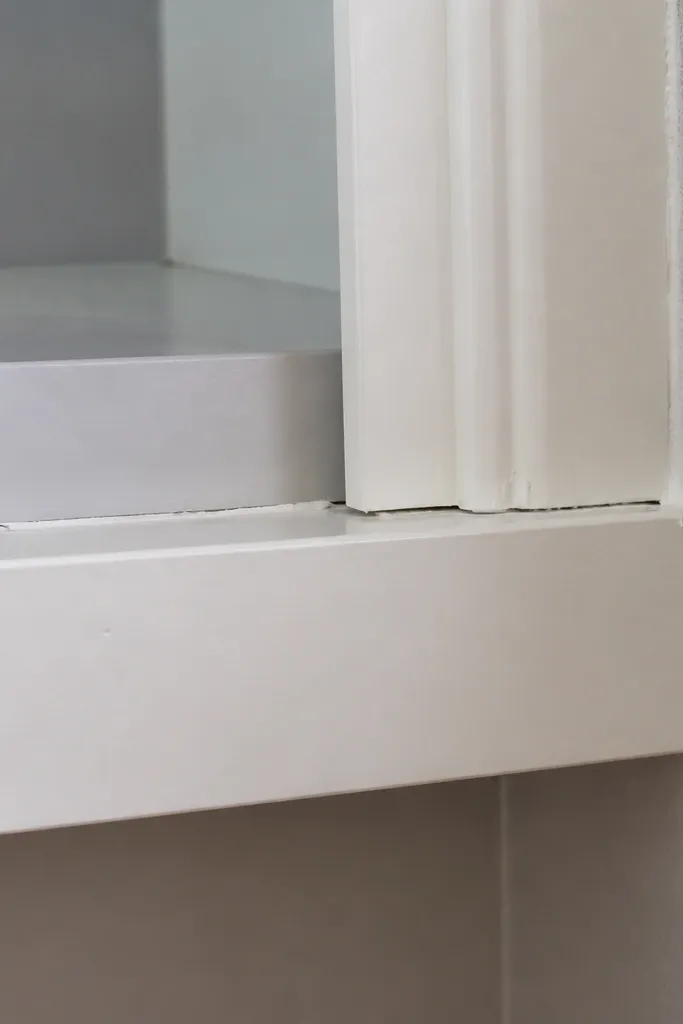
Start by assembling the main box frame and fastening it to the wall at mounting points, leaving the final trim plan uninstalled. Then install shelves and confirm each shelf is level front-to-back and side-to-side using a level and a straightedge. After the structure is aligned, mark the trim reveal line and cut face pieces with consistent lengths. Finally, attach trim last, clamp it while the glue sets or while screws hold, and check reveal gaps at each end before you caulk.
Installing face trim early is how you lock in mistakes you can’t easily fix. Once the trim is on, every small frame misalignment becomes a visible seam or an uneven reveal. You end up caulking your way through problems that should have been solved with shims and clamps. This also affects how shelf edges line up with doors and openings. I’d rather spend an extra hour aligning the box, then trim it cleanly in one controlled pass.
Skip thisAvoid putting trim on first and fixing alignment with filler.
Editor's noteUse painter’s tape as a temporary reveal guide; it shows misalignment instantly before you commit to trim.
5. A shelf back that's too thin so it sags under weight

Start by deciding shelf span lengths and then choose shelf thickness and support accordingly. If you have shelves longer than about 30 inches, add cleats or a backer panel that ties the sides together rather than relying on the shelf alone. Then fasten cleats to the side frames at the same height as shelf undersides and test fit a shelf board before final installation. Finally, seal and paint after assembly so the wood isn’t absorbing moisture unevenly, which also contributes to movement over time.
Sagging shelves are a slow failure. They start with “it holds books fine,” then a year later the front edge dips and the whole built-in looks tired. The reason is usually weak structure: flimsy backer, missing cleats, or shelves with long spans and no support. Built-ins need stiffness because living rooms see repeated loading — books, games, and decor that get bumped. If you want your built-ins to stay crisp, you have to build for weight distribution, not just appearance.
Skip thisAvoid thin shelves with no support between the sides.
Editor's noteFor long shelves, add a backer sheet or use a cleat system so the shelf acts like a stiff panel, not a wide board on two edges.
6. Skipping backer and relying on drywall screws
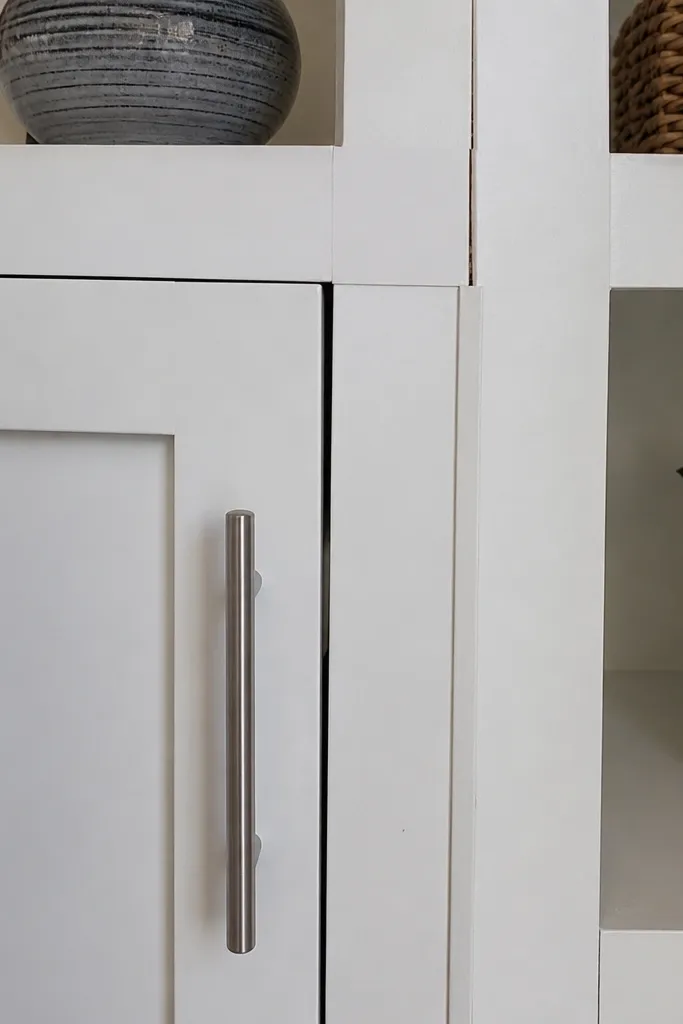
Start by locating studs with a stud finder and mark them on painter’s tape along the full height of the built-in. Then fasten mounting rails or side frames directly to studs using screws long enough to bite firmly — typically at least 2.5 inches when mounting into wood studs. Add a backer panel or cleats across stud locations to distribute weight across the span. Finally, after the frame is installed, test it by pushing gently at different shelf heights; any movement means you need more stud fastening before you close it up.
A built-in can look solid and still be weak if it’s only fastened into drywall. Drywall anchors fail when you load shelves repeatedly, and the whole unit can shift just enough to create seams and misalignment. Also, drywall doesn’t give you consistent holding power across studs and edges. The fix is simple: tie the built-in into studs with a real frame and add a backer that spreads load. If you want shelves that don’t wobble, you have to build a structure, not a decoration.
Skip thisAvoid mounting into drywall without a stud connection plan.
Editor's noteIf you can, use construction screws instead of drywall screws so the bite stays strong over time.
7. Door and drawer openings that don't account for trim thickness
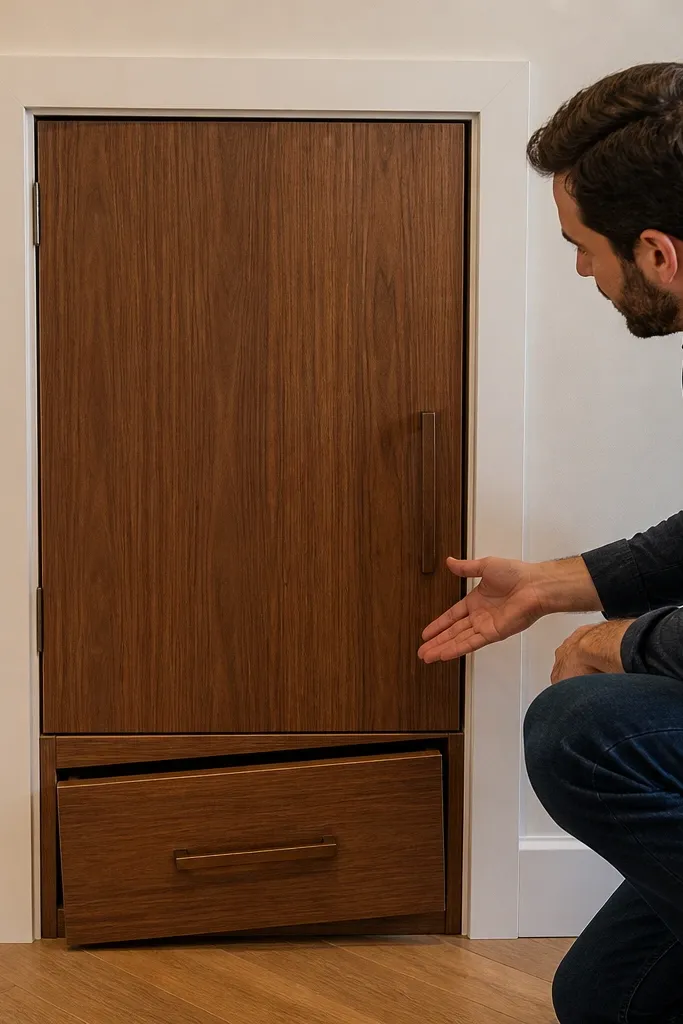
When built-ins include doors or drawers, the most annoying DIY mistake is forgetting how trim thickness changes the opening. Your door can end up rubbing, drawers can bind, and the gap spacing looks uneven even if the frame is square. This happens because people measure the opening in raw framing dimensions instead of finished dimensions with face trim. The result is hardware that looks “almost right” until you use it. Plan the finished opening sizes and confirm clearances before you buy hinges and slides.
Start by deciding your face trim thickness and how it will sit relative to the door edge or drawer front. Then calculate finished opening size by subtracting trim thickness and any reveal you want from the rough frame opening. Dry fit the door or drawer front (even without hinges) to confirm clearance around the opening. Finally, set your hinge cup depth or slide mounting position based on the finished opening, then fasten and check swing and drawer travel before you paint.
Tape the trim mock-up in place and test-fit the door with shims; it’s faster than recalculating after paint.
Avoid measuring openings before the trim is installed.
8. Not planning lighting wire paths and leaving no access

People add LED strip lighting under shelves and then regret how they hid the wiring. If you don’t plan wire paths and an access point, you end up ripping off a shelf or trim panel later to replace a failed driver or fix a loose connection. Living rooms are where you’ll notice lighting issues, so it’s worth doing wiring cleanly from day one. The best builds make it easy to reach the power supply and control without dismantling the whole unit. I recommend planning an access panel or leaving a removable backer section where wiring routes.
Start by choosing your lighting system and checking what needs to be reachable, especially the driver and any dimmer control. Then plan a route from a power source to the driver location, keeping wires behind the frame and away from shelf edges where you’ll drill. Build in access by leaving one panel removable or by placing the driver behind a section that can be unscrewed. Finally, test the lighting before you seal and paint the area, and use strain relief on any wire connections so they don’t pull loose.
Use a removable backer section for the driver — it beats pulling trim when something fails.
Avoid burying the driver behind permanently glued panels.
9. Paint sheen mismatch that makes trim look dirty
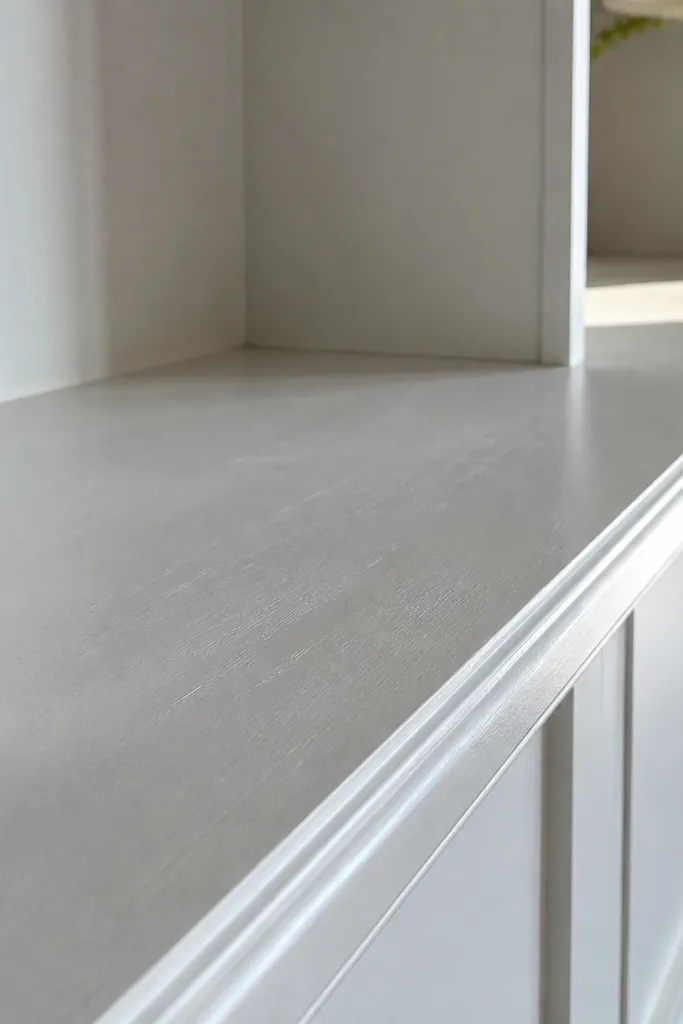
Start by sanding and priming bare wood properly so paint doesn’t soak unevenly, which creates sheen differences. Then pick one paint sheen for the bulk of shelf and interior surfaces and stick with it through the whole project. Apply two coats with a small foam roller for large flat areas and a brush only for edges, keeping a consistent direction. Finally, let it cure fully before judging sheen; wet paint lies about how it will look in daylight and evening lamps.
Sheen mismatch is a visual problem, not a “taste” problem. If the shelves are painted flat and the trim is painted satin, the shelves absorb light and look dull while trim reflects light and looks cleaner — the built-in starts to look patchy. Even worse, brush marks show more on flat paint under living-room lighting. The fix is choosing one sheen for the built-ins or using a consistent approach: satin for surfaces you touch and clean, semi-gloss for trim if you want easy wipe-down. The point is consistent reflectivity across the same visual plane.
Skip thisAvoid mixing leftover paint sheens mid-project.
Editor's noteUse a foam roller for shelf faces and keep a “wet edge” to reduce streaks.
10. Caulk lines that crack because the wood moves
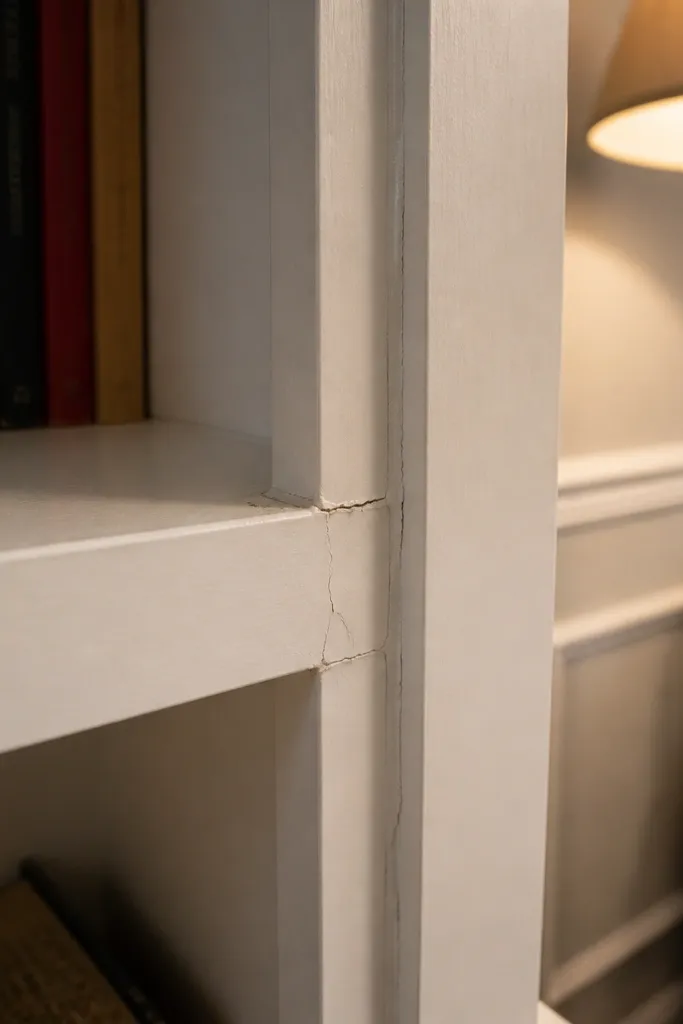
Start by letting the wood acclimate in the room before you paint, especially if you’re bringing in MDF or solid boards from colder storage. Then sand and clean the seam areas so caulk sticks, and remove any loose dust from edges. Use a paintable, flexible caulk designed for interior trim and apply it after priming or after paint depending on the product instructions. Finally, tool the caulk with a damp finger or caulk tool so it forms a smooth concave line that resists cracking.
Cracked caulk seams make built-ins look cheap, even when the carpentry is solid. The cause is usually caulking at the wrong time or using the wrong type for wood movement. Wood expands and contracts with humidity, so rigid caulk or caulking over dusty surfaces fails quickly. You also get cracks when you caulk before paint and sanding are complete. The goal is clean, flexible seams that stay closed through seasonal changes. Plan the sequence so the wood is stable and the surface is ready for caulk.
Skip thisAvoid caulking over dusty joints or before the surfaces are fully sanded.
Editor's noteCaulk after final sanding, not before; it sticks better and looks cleaner after paint.
11. Using MDF without sealing the edges and then wondering why it drinks paint
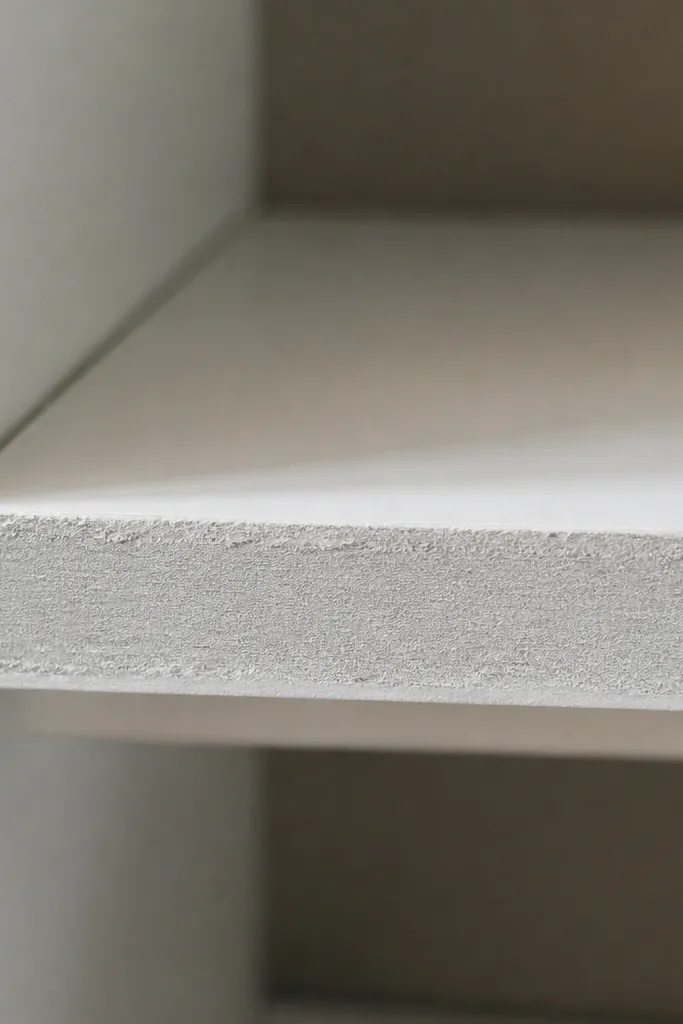
Start by sanding MDF edges lightly to remove fuzz, then wipe dust off with a tack cloth. Apply a dedicated MDF edge sealer or thinned primer to the cut edges, then let it dry. After that, prime the entire surface consistently so you don’t get patchy coverage between edges and faces. Finally, sand lightly between coats and apply your finish paint with two coats for stable color.
MDF is smooth, but it’s unforgiving on edges. If you don’t seal MDF edges, they absorb paint differently and you get fuzzy edges, grainy texture, and uneven sheen. The built-in ends up looking “unfinished” even after two coats because the edge areas keep sucking product. This mistake is common because people prime the flat faces and forget that the end grain and cut edges need extra care. Seal the edges properly and you’ll get a crisp, professional look.
Skip thisAvoid skipping edge sealer on MDF cut lines.
Editor's noteIf you’re using MDF shelves, seal the underside too; it prevents edge differences from showing under light.
12. Shelf supports that are visible and ruin the clean look
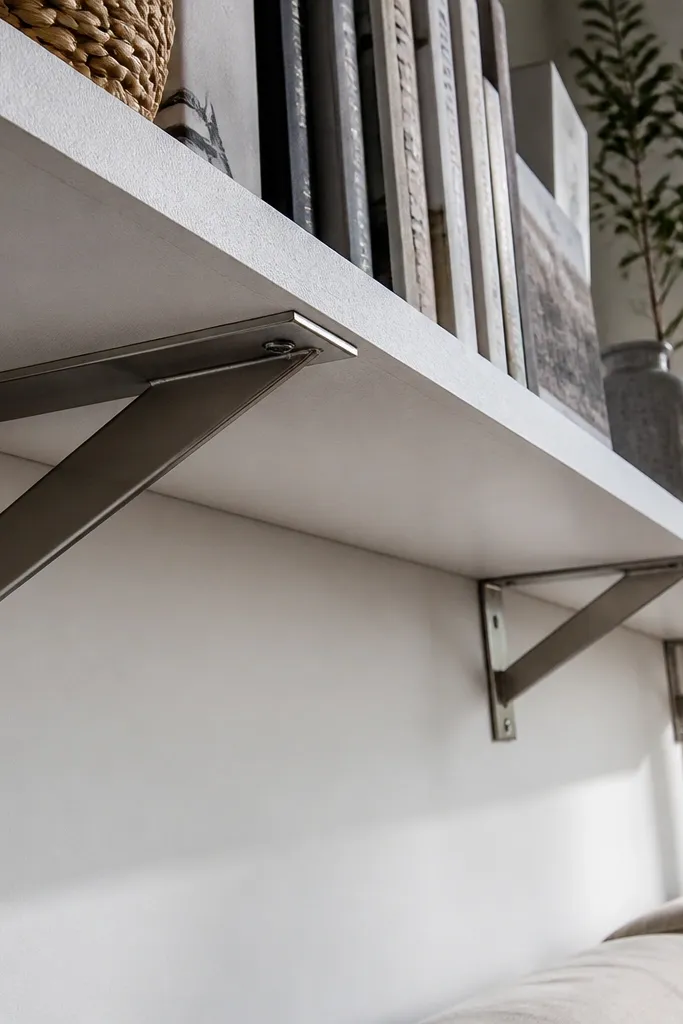
Start by choosing a support strategy based on how often you’ll move shelves. If you want fixed shelves, use side cleats and a backer so the shelf sits on something solid and hidden. If you want adjustability, use a concealed rail system or drill shelf pin holes in a way that stays hidden behind trim or a backer panel. Then install supports first and test one shelf for level before you repeat across all shelves. Finally, cover or hide any necessary hardware locations with trim pieces that match the face.
Visible shelf brackets can work in a workshop aesthetic, but most living-room built-ins aim for clean lines. If you install exposed supports or use hardware that shows under the lip, the whole unit looks DIY instead of built-in. The fix is choosing a support method that stays hidden: cleats, shelf pins in a concealed rail, or a solid backer approach. You also want supports to be strong enough that shelves stay level under load. A clean built-in reads like furniture, not like a store-bought shelf with add-ons.
Skip thisAvoid leaving exposed brackets when the design calls for clean edges.
Editor's noteIf you use adjustable pins, set holes with a jig or a stop block so every pin line matches across the unit.
13. Not accounting for baseboard and floor transitions in the rough cut
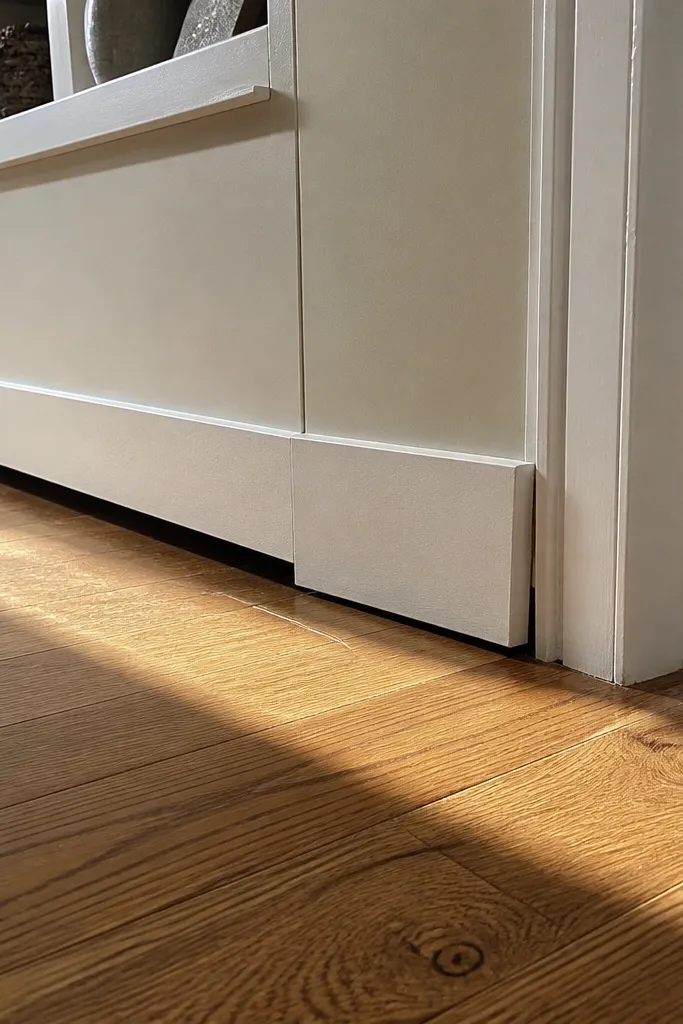
Built-ins look “wrong” when they don’t sit flush with the floor and baseboard line. People measure the wall and forget that baseboards stick out, floors slope slightly, or there’s a transition near a doorway. Then the built-in has an annoying gap at the bottom or the face trim hits baseboard corners. You can fix some of it with scribing, but only if you plan for it early. The best approach is to account for baseboard thickness and any uneven floor height before you cut side panels.
Start by measuring baseboard thickness and how far it projects from the wall at multiple points along the built-in run. Then dry fit the side frames with the baseboard in place and mark where the frame needs relief or where you’ll scribe edges. If the floor is uneven, use a level to find the highest point and set your reference line from there so the built-in stays straight. Finally, cut any bottom faces or trim relief after the frame is positioned, so you’re adapting to the room instead of forcing the room to behave.
Scribe the wall and baseboard after the frame is mounted; it’s the fastest path to a tight bottom reveal.
Avoid cutting frame bottoms to one measurement without checking floor level.
14. Forgetting expansion gaps and ending up with tight joints that split
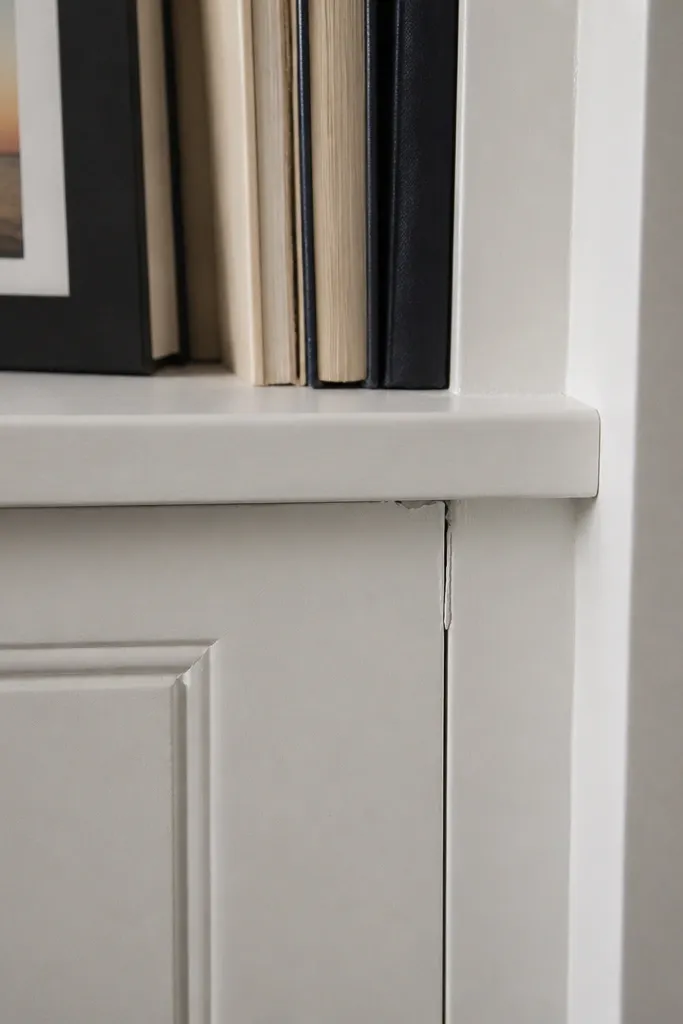
Start by identifying where panels meet walls and where multiple boards meet each other. Then plan small gaps for movement at those interfaces, using trim to cover the gap instead of trying to make boards touch perfectly. Use fasteners that allow slight movement where needed, like screwing through slotted holes or using methods that don’t clamp wood solidly. Finally, caulk over the controlled gaps with flexible interior caulk after everything is fitted and painted.
Tight joints sound good until wood moves. Shelves and face panels can expand and contract, especially with HVAC cycling in living rooms. If you build shelves and trim with zero gap where they meet walls or adjacent panels, you can get splitting, buckling, or hairline cracks after paint dries. The fix is planning for movement: leave small controlled gaps where appropriate and make connections that don’t lock panels in place rigidly. Your built-ins should look solid, not stressed.
Skip thisAvoid dead-tight joints between wood panels and fixed wall surfaces.
Editor's noteIf a shelf runs to the wall, cover the gap with trim rather than forcing the shelf to dead-fit to drywall.



