
1. The "Sill Seat" That's Too Shallow to Sit Comfortably

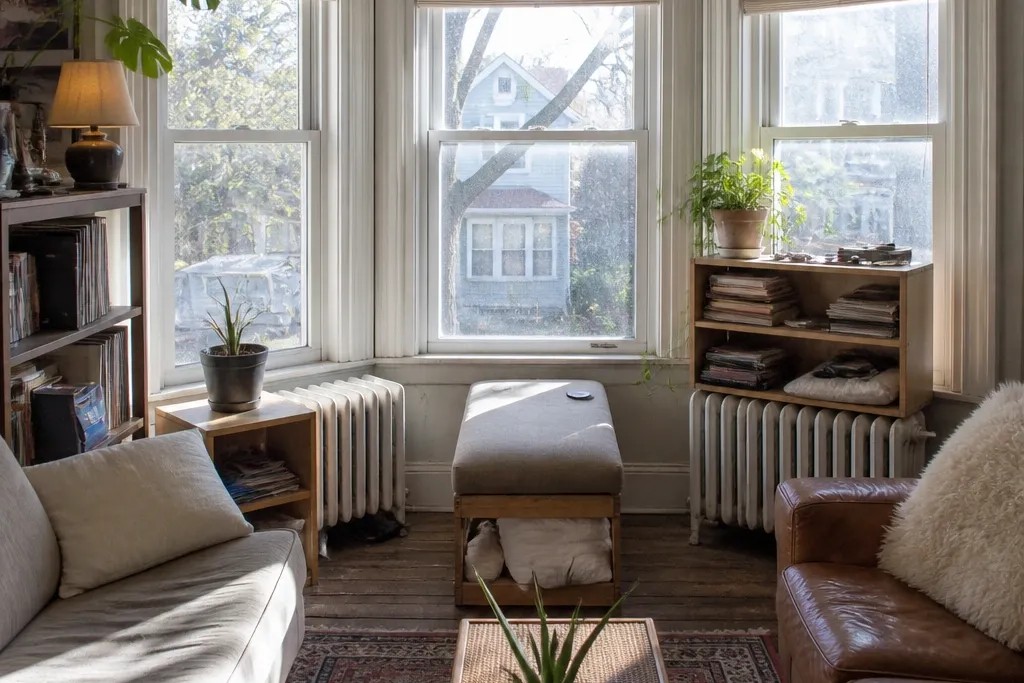
A lot of people start with an easy idea: turn the window sill into a bench. It looks tidy, but the sill is usually built for a decorative ledge, not a place to sit with your knees comfortable. The result is a bench that forces you to perch, then you stop using the nook. The before-to-after fix is to add a real seat platform that extends past the sill line while keeping the glass area visually light.
Start by measuring the sill depth at each bay section and choose a target seat depth of 18-20 in from the front edge to the back surface. Build a platform frame from 2x2s or 2x3s that sits under the seat cushion and bridges the angled sections. Use plywood decking cut to each bay angle so the top is flat across the nook. Finish with a foam cushion (about 3-4 in thick) and a removable slipcover or upholstered cover you can pull off for cleaning.
Editor's noteUse a scrap cardboard template for each angled section so your plywood top lands without forcing the cushion to “float.”
Skip thisAvoid building the seat only from the sill height and expecting it to feel like a real bench.
2. Curtains That Don't Reach the Sill or Shut Out Drafts

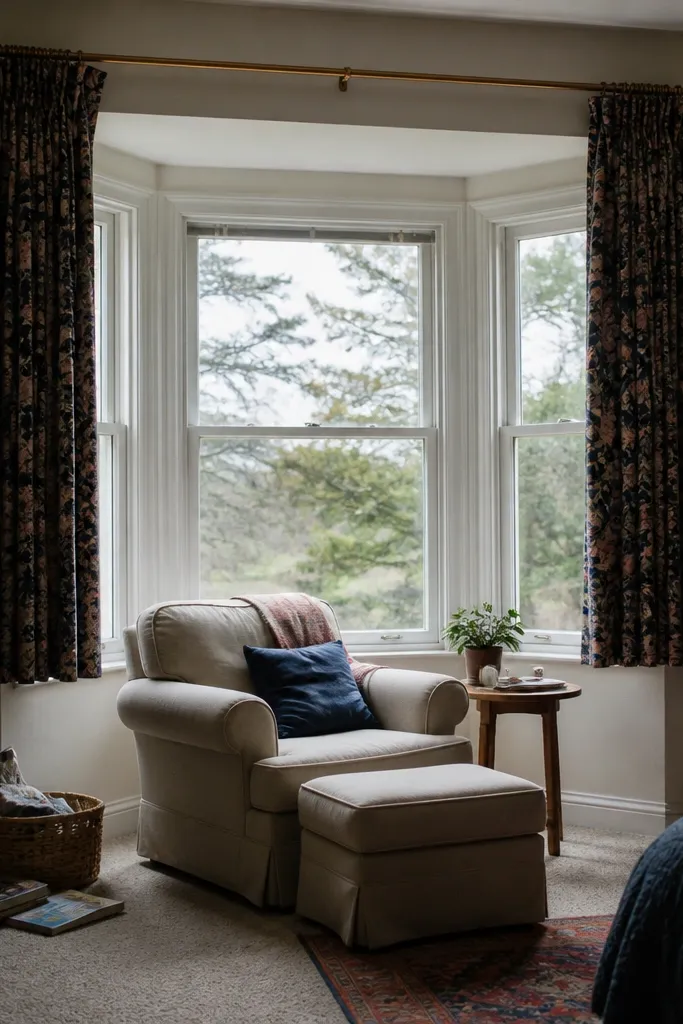
Short curtains and a rod mounted too high are a double hit in bays. They don’t block cold air near the glass, and they also let glare wash out the reading area. You end up adding lamps and still feeling like the nook is dim at noon and chilly at night. Fix this by hanging curtains from a rod that sits close to the ceiling line you want, then letting the fabric land at the correct height for the sill and seating.
Choose a curtain rod length that covers the entire bay width plus 3-6 in on each side so light doesn’t leak around the edges. Mount the rod 4-6 in above the highest point of the bay trim so panels hang straight. Use blackout or thermal lining and target a hem that lands 1-2 in above the floor when you’re not using a seat skirt. If your seat blocks the sill, add a small side panel or a second panel at the bay angle so the fabric actually covers the glass area.
Editor's noteThermal curtains look better when you use wide pockets or ring clips that let the fabric hang without bunching.
Skip thisAvoid mounting curtains so they stop above the sill — they leave the coldest area exposed.
3. Built-In Storage That Can't Be Opened or Cleaned
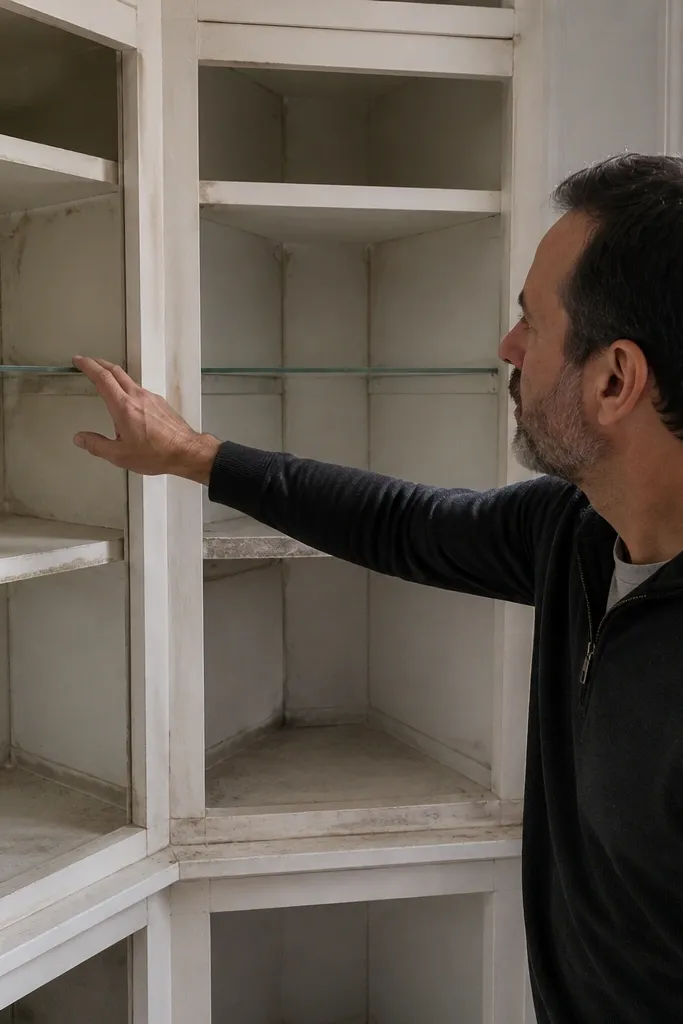
Angle-based cabinets look great until you need to reach inside them. If you build fixed shelves with no removable panels, you trap dust, you can’t adjust for seasonal items, and the whole bay becomes a “don’t touch it” zone. The nook stops working because storage should be easy, not precious. The fix is to design storage with access points that match how you’ll actually use it — lids, hinged doors, or removable angled panels.
Plan your storage openings first: decide where you want a lift-top lid or a hinged door, then build the frame around that access. Use 3/4 in plywood for box strength and install cleats so shelves sit securely at the angles. For angled corners, cut panels by tracing the bay geometry onto cardboard, then transfer to wood. Finish with soft-close hinges or a gas strut for lift tops, and include at least one removable shelf so you can vacuum inside corners.
Editor's noteAdd a 1/4 in reveal gap around doors so wood movement doesn’t bind the hinges after humidity changes.
Skip thisAvoid fully enclosed storage with no removable panel or clean-out space.
4. Shallow Floating Shelves That Sag and Look Crooked

Bay windows amplify shelf problems because the angles make any unevenness obvious. Thin shelves without enough support can bow under books and the line looks off even when it’s “close enough.” People also mount to trim that isn’t solid, so the shelf feels loose and flexes. The fix is to use proper brackets, match the shelf thickness to the span, and anchor into framing wherever possible.
Pick shelf depth based on what you’ll store: 8-10 in is good for small decor, while 10-12 in works for books without overhang. Use 3/4 in thick plywood for shelves and cut each bay section to fit the angle so the top edges line up cleanly. Install support brackets at the stud locations or use a stud finder to hit solid framing, then mark screw points. Pre-drill and use wood screws at least 2-1/2 in long for trim-mount situations so the bracket doesn’t pull out.
Editor's noteClamp a straightedge to the bay trim before you screw anything so every shelf line stays level across the angled sections.
Skip thisAvoid mounting floating shelves only into trim or using thin shelves over long spans.
5. The L-Shaped Nook That Blocks the Walkway
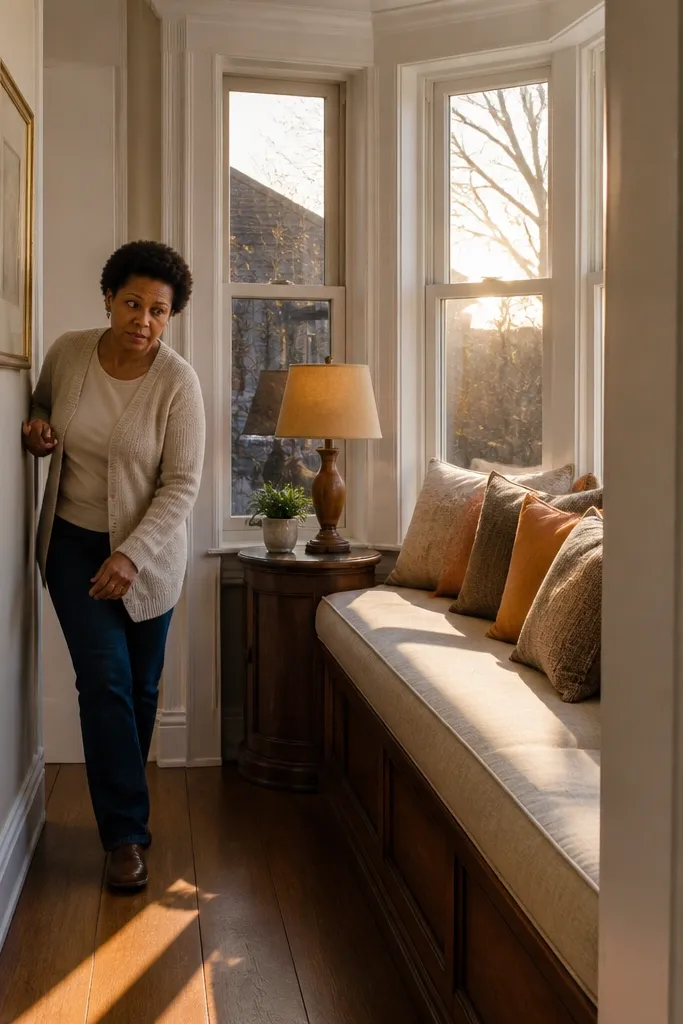
A bay nook should pull people in, not force them sideways. When the seating or side table sits too close to the bay projection, you lose the main benefit — a clear, inviting angle of space. The result is a nook you avoid because it feels cramped when you pass by. Fix it by designing for a consistent path width and keeping the widest piece tucked toward the back of the bay.
Measure the path from the main walkway to the doorway or hallway and aim for at least 30-36 in clear width. Place the seating so the front edge of the bench is set back from the bay projection enough that a person can pass without shoulder contact. If you add a side table, use a narrow profile (about 12-14 in deep) and keep it aligned with the seat back, not the glass edge. Mark the layout with painter’s tape for 24 hours so you see how it feels in real movement before you buy fabric or wood.
Editor's noteUse masking tape to outline the bay projection on the floor so you can judge clearance without guessing.
Skip thisAvoid arranging furniture right against the bay point — it looks cozy but it makes daily movement annoying.
6. Overstuffed Pillows That Kill the Seat Shape

Bay bench seats look like they want thick cushions and a pile of pillows. The problem is that angled seating needs structure, not just soft volume. When you stack too many pillows, the seat height changes and your back support shifts, so the nook feels awkward after 10 minutes. The fix is to build a consistent seat base and use fewer pillows with real back support angles.
Choose a bench cushion that’s 3-4 in thick for comfort, then use a firm back cushion or lumbar pillow with a height around 10-12 in. Cover the seat cushion with a zipper slipcover so you can remove it without fighting the foam. Place two back supports at the ends of the seat rather than a whole wall of pillows. If you want a decorative throw, drape it on one side so it doesn’t steal back support space.
Editor's noteUse a 14-16 in lumbar pillow instead of multiple standard square pillows — it supports your back without taking over the seat.
Skip thisAvoid making the nook comfortable by adding pillows volume instead of improving seat depth and back support.
7. Lighting That Glare-Glazes the Glass
Lighting placement matters more in bays because the glass angles reflect directly into the room. A floor lamp or wall sconce positioned wrong can create glare that ruins reading and makes the nook feel harsh. You also end up turning the light off and using overhead lighting instead, which defeats the cozy goal. The fix is to aim light downward and avoid placing a bright source where it bounces off the window pane toward your seating.
Start by testing bulb brightness: use a warm bulb around 2700K and keep wattage moderate so you don’t overpower the space. Place a task lamp on a side table or shelf with the shade angled so light points down at the seat area, not at the glass. If you’re adding a wall sconce, mount it slightly higher and tilt the shade so the beam hits the seating plane. Add a dimmer switch if you can — it lets you tune the glow without changing fixtures.
Editor's noteUse a lamp shade with an inward-facing diffuser; open shades create direct reflections in angled glass.
Skip thisAvoid placing a bright lamp directly opposite where you sit — it reflects in the window and turns your nook into glare.
8. Rug Borders That Don't Match the Bay Angles
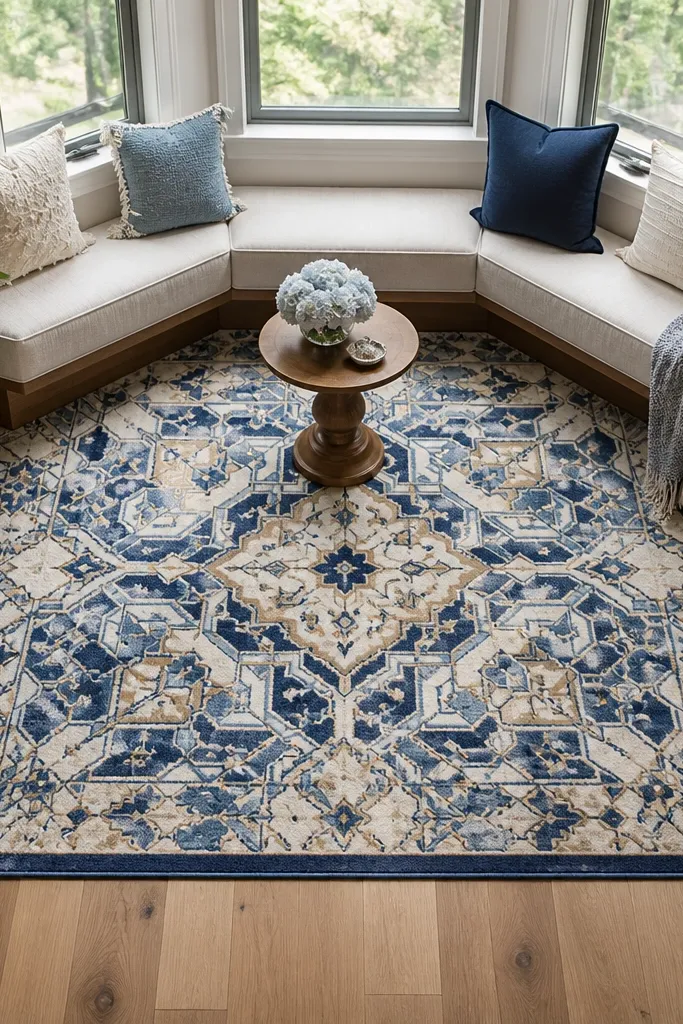
A rug is supposed to anchor the nook, but in bays it’s easy to pick something that fights the angles. Straight borders against angled seating look off, and busy patterns draw your eye to the mismatch instead of the cozy area. The before-and-after fix is to choose a rug with a simple pattern or one that works with diagonal lines, then size it so it sits under the seat area consistently.
Measure the bay footprint where people will sit and target a rug size that extends at least 8-12 in beyond the front bench edge. If the rug has a border or strong stripes, align one stripe with the longest straight line in the room, not with the bay projection. For angled bays, choose either a solid rug or a subtle geometric that can handle diagonal viewing. Use a rug pad with enough grip so the rug doesn’t slide when you move cushions.
Test alignment by laying the rug on the floor and stepping around it for a minute. If it feels “off,” rotate it before you buy tape or trim.
Avoid using a rug with strong borders that doesn’t line up with how you actually see the bay from the doorway.
9. MDF Trim That Swells and Chips Around the Window
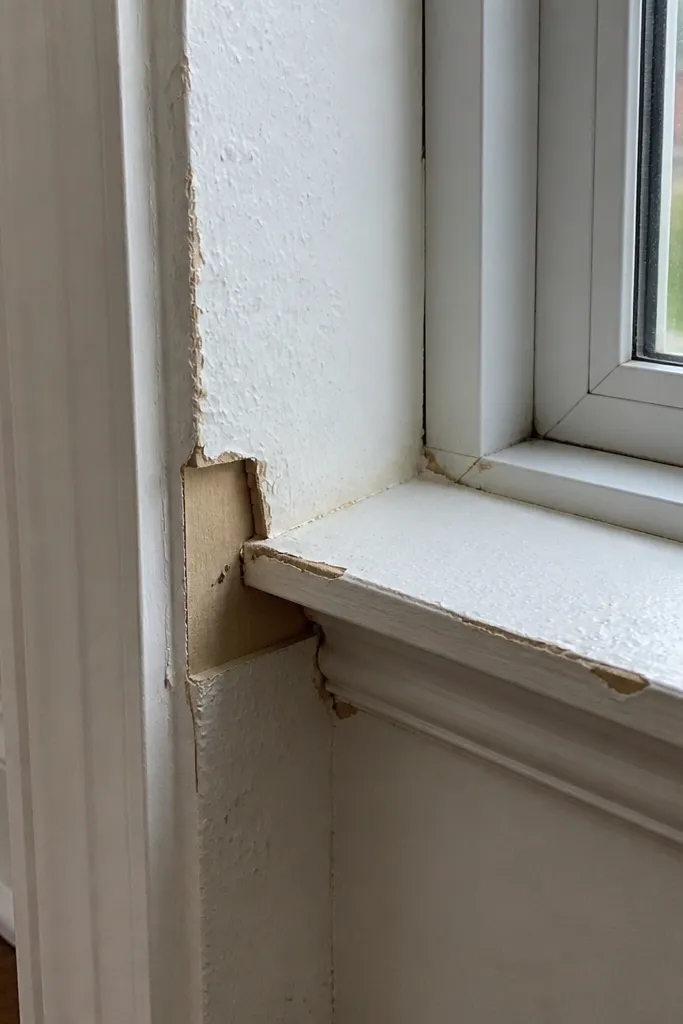
MDF looks smooth and cheap, but bays are prone to moisture swings from temperature differences between glass and room air. MDF trim can swell at edges and chip when you touch it. The nook then looks “unfinished” even if your design is good. The fix is to use exterior-grade or at least paint-grade wood suited for trim, and seal edges so moisture can’t get in.
Use 1x2 or 1x3 solid wood or quality primed trim boards instead of raw MDF for anything near the bay sill line. Cut pieces with a clean blade and sand edges lightly so paint seals better. Prime with a bonding primer and seal all cut edges before painting — don’t skip that step. Apply two top coats of a trim paint with a satin or semi-gloss finish so it wipes clean and holds up to casual contact.
Seal cut MDF edges with primer, but if you’re seeing moisture around your windows, switch to solid trim for the whole build.
Avoid MDF trim anywhere it can get regular temperature-driven condensation.
10. Backless Bench With No Support Under the Arms

A backless bench under a bay window looks modern, but it fails the “sit and stay a while” test. Without support, you end up leaning forward, and your posture gets uncomfortable quickly. Even with a cushion, the nook feels like a bench you pass, not a nook you use. Fix it by adding a backrest panel or a upholstered back that follows the bay geometry.
Decide your backrest height — 14-16 in from the seat surface is a comfortable starting point. Build a back frame using angled side supports so it matches the bay silhouette, then attach a plywood backing panel for upholstery. Use high-density foam (about 1.5-2 in) plus a thin batting layer so the fabric doesn’t look lumpy. Upholster with a durable fabric and add a removable cover if you can manage the zippers cleanly.
Editor's noteAttach the backrest to the bench base with hidden screws so you can tighten later if wood shifts.
Skip thisAvoid a backless seat if your goal is a true reading nook.
11. Seat Storage Boxes Without Ventilation
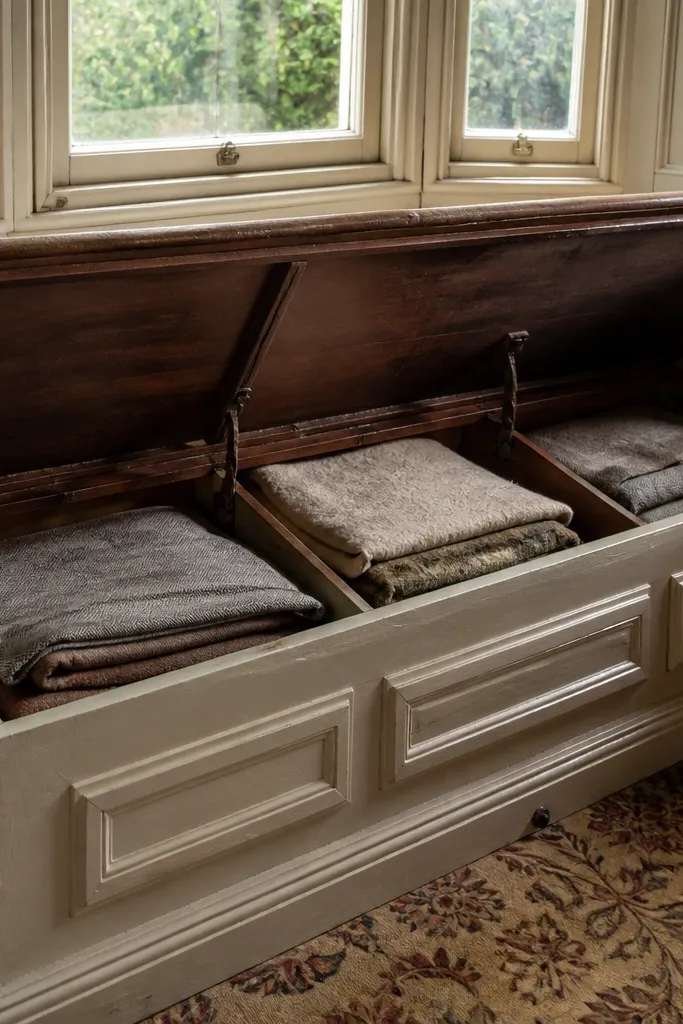
Storage under bay seating is tempting because it hides clutter. The mistake is sealing everything airtight. If you store blankets, board games, or seasonal items in a closed box under a window, the space can trap humidity and create a musty smell. The fix is to build storage that closes tightly enough for looks, but includes ventilation and keeps fabric off cold metal or damp surfaces.
Add ventilation by installing small louver vents on the underside or using breathable fabric liners that don’t seal the air completely. Use a lift-top lid with a gasket only around the perimeter for light control, not a full airtight seal. Line the interior with a breathable cotton or canvas liner rather than plastic sheeting. Keep storage off any raw wood surfaces that touch condensation by adding a thin spacer board or using sealed paint on interior surfaces.
Editor's noteIf you smell mildew after a rainy week, add ventilation before you keep storing — the box will keep absorbing moisture.
Skip thisAvoid airtight storage directly under window glass without any airflow plan.
12. Paint Color Choices That Make Light Look Flat
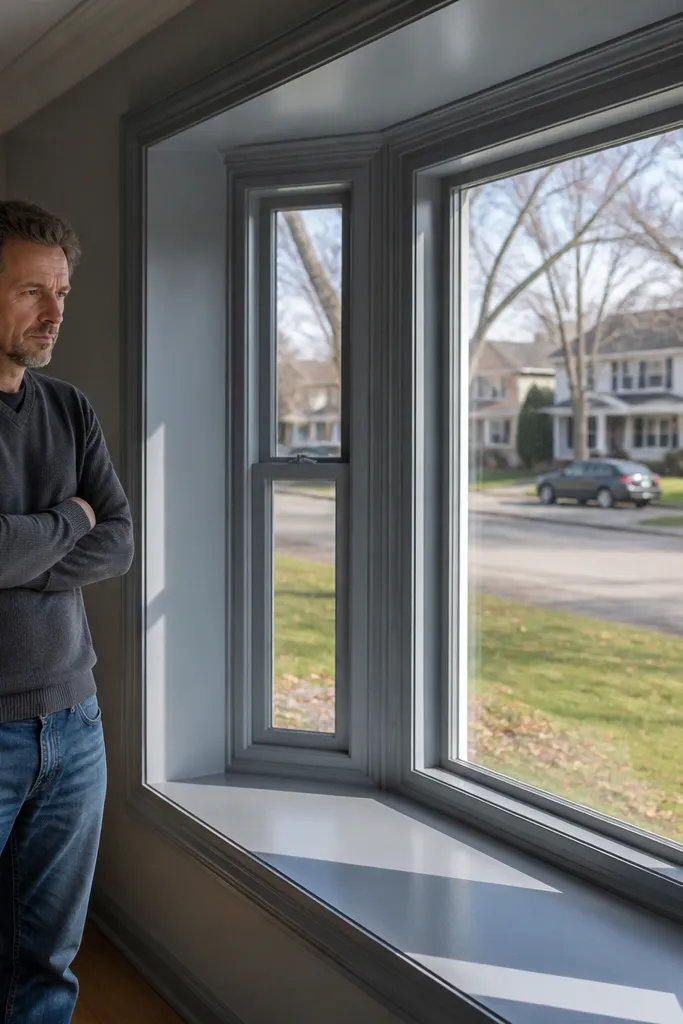
Bay windows already have tricky lighting because the angled panes throw shadows and reflections. If you paint too cool a gray or go too dark on the inside trim, the nook can look flat and gloomy even on sunny days. The fix is to choose paint that reflects warm light and keeps the bay feeling open. You don’t need a dramatic color — you need the right undertone for the room’s natural light.
Pick a paint with warm or neutral undertones for the bay interior walls and trim. Test two samples on the actual bay wall area: one on the wall near the window and one on the corner where angles meet. Wait for full daylight and then check again at night under your main bulbs. Use semi-gloss or satin for trim and eggshell for walls, then keep the same sheen across the bay to avoid patchy reflections.
If your room has warm wood floors, avoid blue-leaning grays in the bay — they make the glass look harsher.
Avoid painting the bay interior a cool-toned gray without checking it in afternoon light.
13. Using One Flat Backdrop for an Angled Space
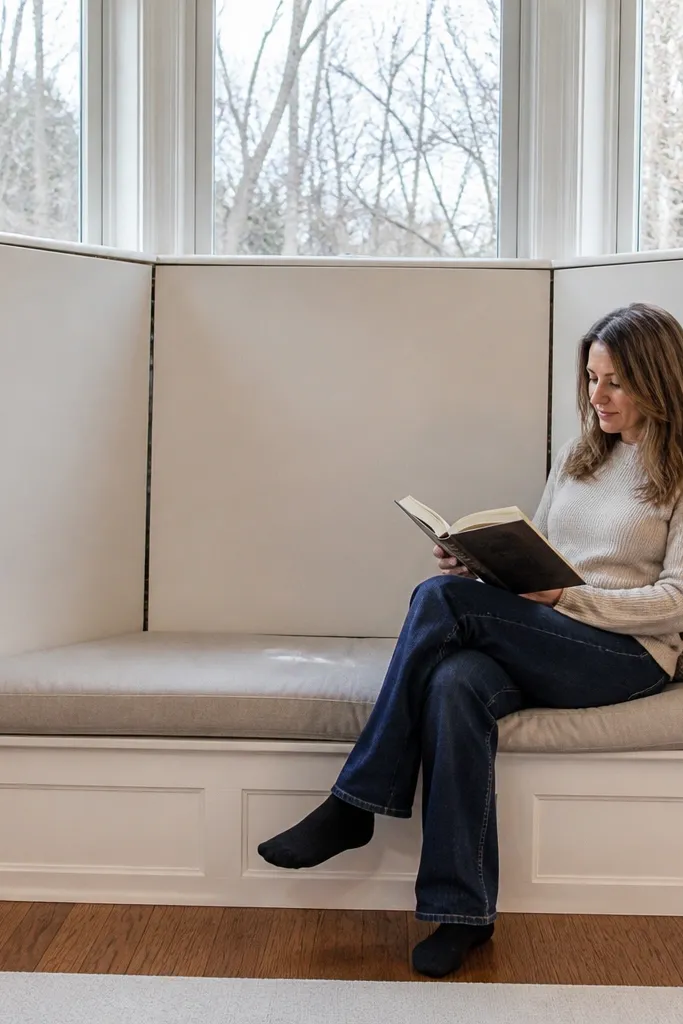
One flat panel behind a bay window nook is the easiest way to end up with visible gaps. Angles change the way the eye reads edges, so even a small misfit shows. You also get a shadow line that makes the whole nook look DIY in a bad way. The fix is to treat each bay section as its own plane and build panels to match the angle, even if the overall look is one continuous backdrop.
Measure each bay segment separately and cut back panels for each plane rather than one big rectangle. Use thin 1/4-3/8 in plywood or fiberboard so the panel can sit tight without bulging. Dry-fit every panel before you paint or caulk so you can adjust where the trim meets the glass. Finish with a consistent caulk bead and paint the caulk so it disappears under the same sheen.
Editor's noteLabel your panel pieces as you cut — bay projects get messy fast when you’re working with multiple angled cuts.
Skip thisAvoid one-piece backdrops that assume the bay is flat.
14. Overbuilding Trim That Makes the Bay Look Smaller
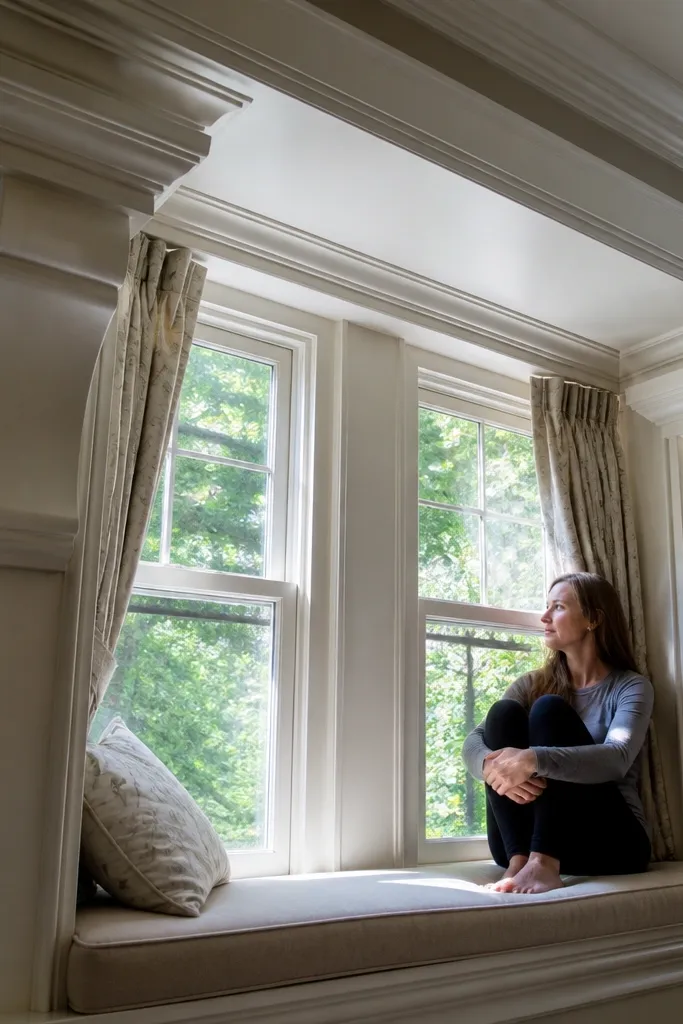
There’s a line between “finished” and “bulky,” and bays cross that line fast. If you add thick trim, wide molding, and heavy corbels, the bay looks smaller and the glass looks pushed back. The nook then feels closed in instead of inviting. The fix is to keep trim profiles slim, use consistent spacing, and let the upholstery and fabric do the heavy lifting visually.
Choose trim widths that match the scale of your room. For most DIY bay renos, 1x2 or 1x3 profiles look right, while 3-4 in wide moldings can feel too heavy. Keep the trim set back from the glass line so it doesn’t create a deep shadow pocket. Prime and paint everything the same color as the surrounding trim so edges don’t fight. If you want visual interest, use paneling or a simple wainscot-style layout with clean spacing rather than thick ornament.
Use a single trim profile across all three bay sides so your eye reads one coherent shape.
Avoid stacking multiple thick moldings in a bay — it makes the angles feel cramped.
15. The "Too Many Materials" Nook That Looks Busy Instead of Calm
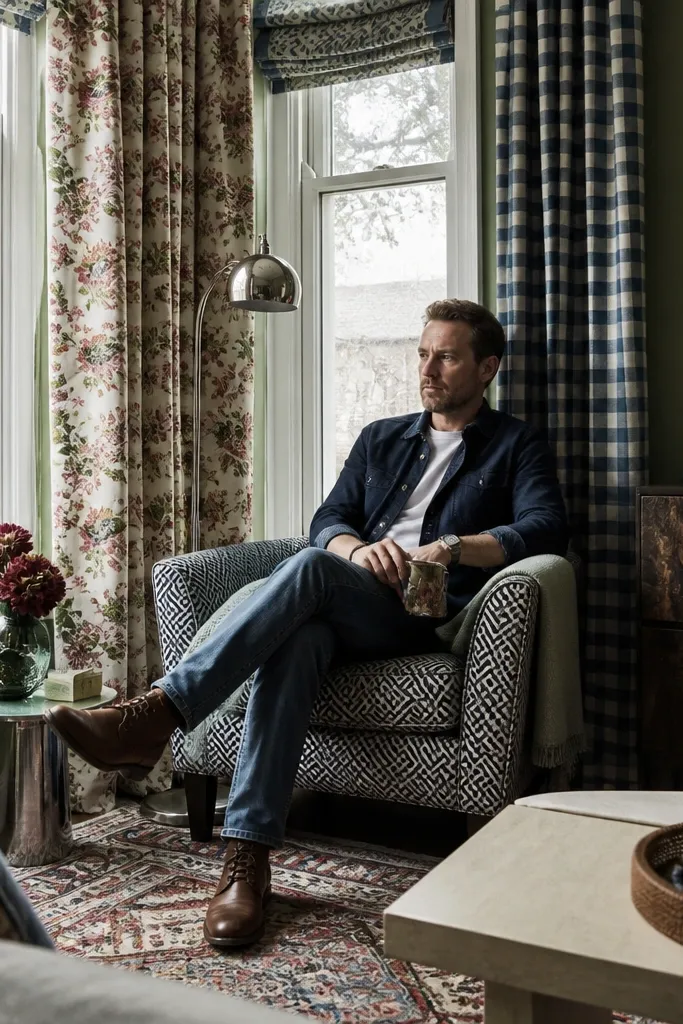
Bay nooks already have visual complexity from the glass angles. Add too many patterns, too many finishes, and too many textures, and the space looks chaotic instead of cozy. People then wonder why it doesn’t feel relaxing even after they spend money. The fix is to limit the palette and control texture: one main fabric, one secondary accent, and finishes that repeat across the build.
Pick a single upholstery fabric as your anchor and keep it mostly solid or with a small-scale pattern. Choose one accent fabric for throw pillows or a cushion cover — use it in a repeated color. Match metal finishes: if your lamp base is black, keep brackets, hardware, and any shelf supports in black or matte charcoal. For wood, pick one tone and repeat it in trim, bench frame, and any side table.
If you’re unsure, choose two neutrals and one color. Bays punish more than that because the angles multiply visual noise.
Avoid mixing three or more strong patterns across the seat, curtains, and rug.



