
1. Wobbly post, hidden problem: lag screws into trim
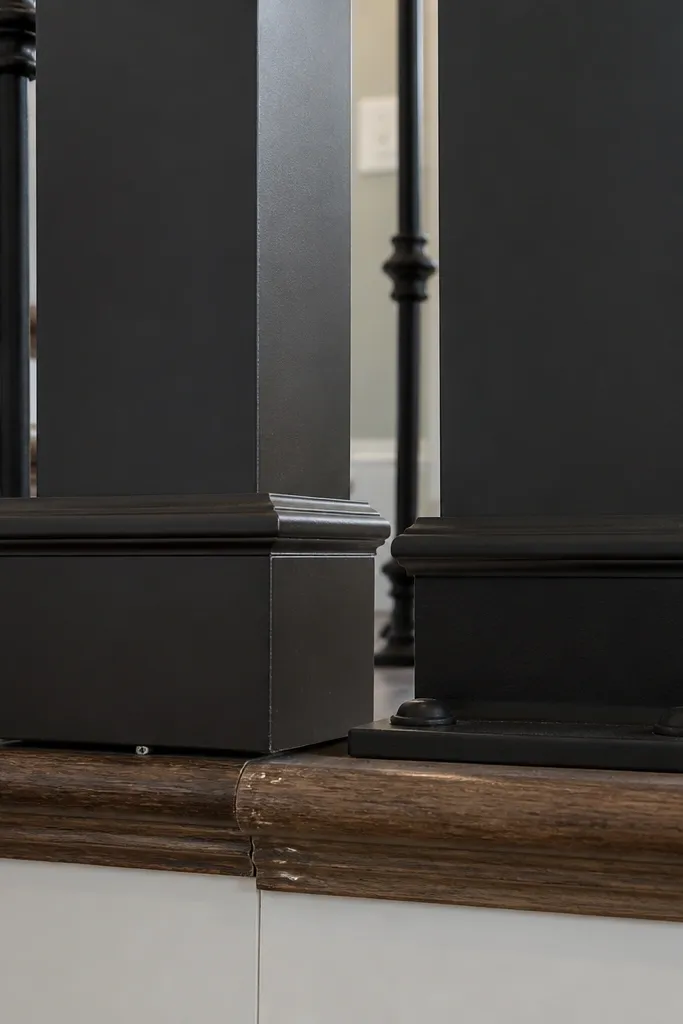
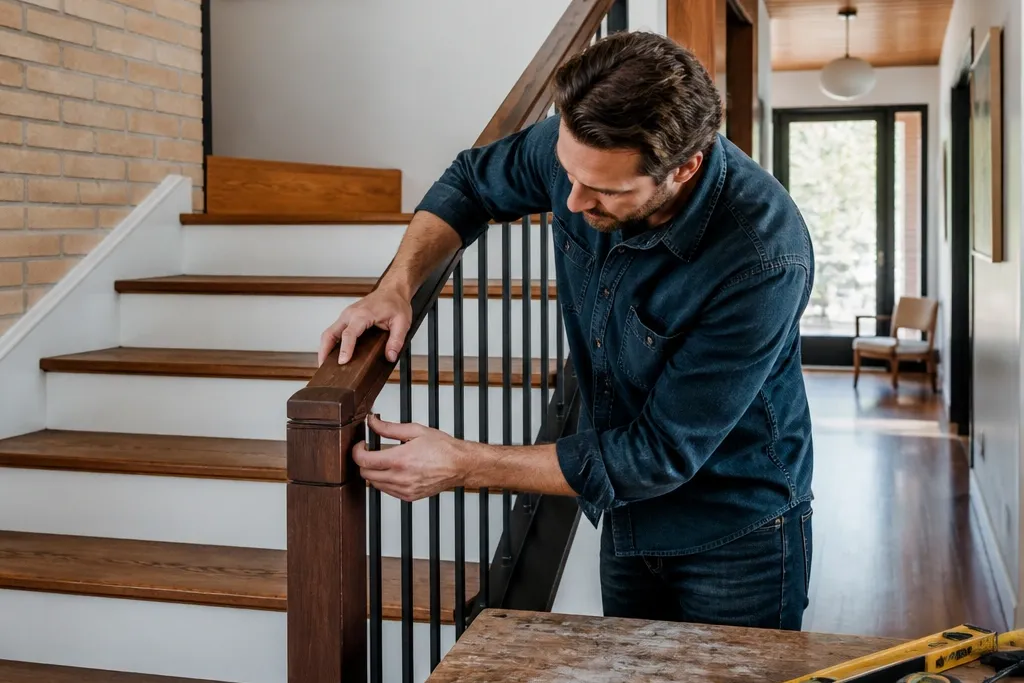
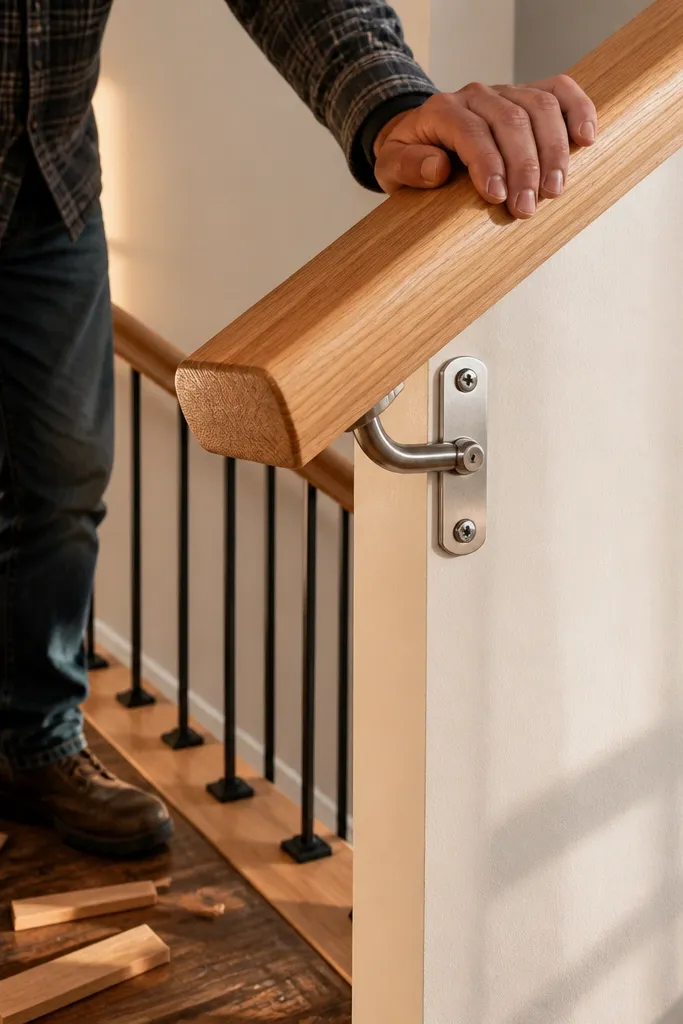
This fix targets the most common “before” look: the railing looks fine until you press it, then the post shifts at the base. When screws bite into trim or thin blocking, the rail can feel sturdy for a minute and then loosen after a few seasons of use. The after version anchors the post to real structure with through-bolts or structural screws, so the movement disappears where your hand actually applies force. You’ll also notice the bracket sits flush instead of rocking, which changes the whole feel of the railing.
Editor's noteUse a long level or a straight 2x4 as a reference bar across the top rail while you tighten the post hardware.
First, pull the handrail bracket hardware and test the post movement at the base — if it shifts, remove the bracket and expose the fastening points. Then locate the framing member behind the post (stud or stringer blocking) by probing and checking for solid wood; drill a pilot hole and install structural screws or through-bolts with washers on both sides. Finally, reattach the handrail bracket with level alignment, then tighten in stages so the post doesn’t twist while the hardware seats.
Skip thisDon’t reuse the same shallow screw holes in trim — the next fastener will still grab the wrong material.
2. Handrail bracket misalignment that creates a springy rail
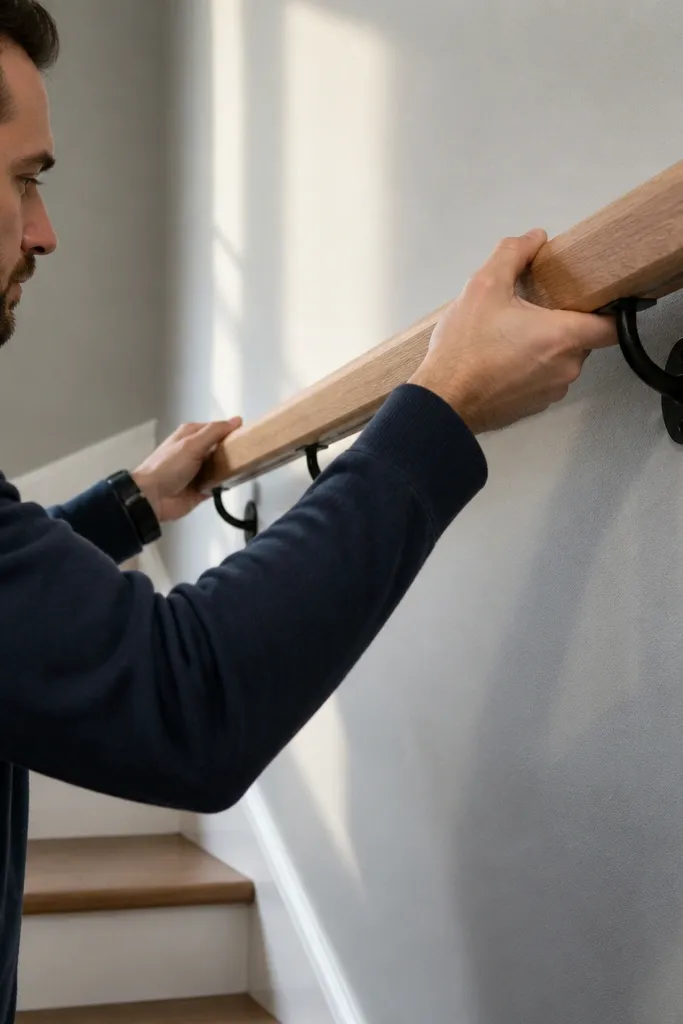
A railing can feel “springy” even when the post is solid. That usually happens when brackets are mounted with a slight angle, so the handrail loads the bracket unevenly. In the before state, the handrail looks straight from a distance, but the bracket faces don’t sit flush, so the hardware flexes under hand pressure. The after fix repositions the brackets so the rail contacts evenly along its run, which makes the whole system feel locked-in.
Start by removing the handrail and loosen the bracket screws enough to slide the bracket without stripping the holes. Then mark the bracket locations using a string line or laser line along the intended handrail height, and pre-drill new pilot holes at the corrected angle. Finally, set the bracket, drive screws snug, reinstall the handrail, and tighten the handrail fasteners from the center out so the rail seats without twisting.
Dry-fit the handrail with the brackets installed but not fully tightened, then check contact gaps with a thin feeler strip.
Don’t mount brackets by eyeballing the handrail — a 3-5 mm mismatch adds up fast on stairs.
3. Wrong handrail height: fix with a proper top-of-handrail reset
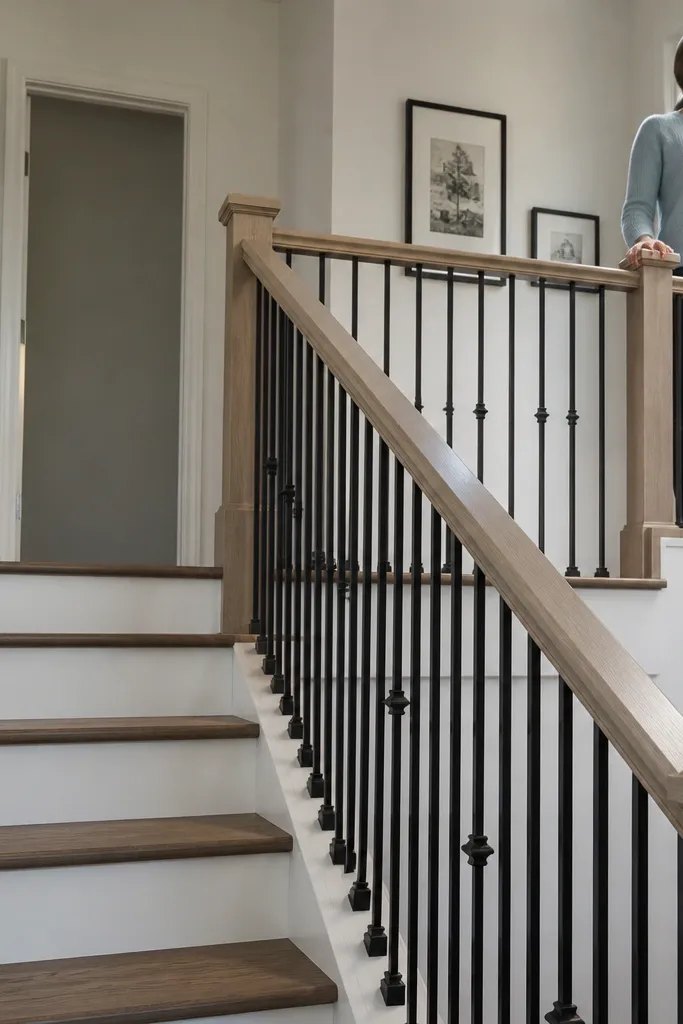
A railing that’s too low is the “before” problem people live with for years, then regret the first time someone needs it. If the height is wrong, the fix isn’t swapping balusters taller or shorter — it’s resetting the handrail line so the top rail lands correctly. The after result has a consistent grip height across the run, which also makes the spacing of balusters look intentional rather than accidental. It’s a safety issue and a visual one.
Editor's noteMark bracket points with painter’s tape and verify with a straight board laid along the intended top rail line.
First, measure the correct handrail height at the first and last tread nosings, then transfer those heights to your stringers or posts with a level and tape measure. Next, install new or repositioned bracket mounts so the handrail profile follows the stair slope without dips. Finally, cut the handrail to length after the brackets are set, then reinstall and check the height at every few steps to confirm consistency.
Skip thisDon’t try to solve height with filler blocks at random points — it creates a crooked handrail line.
4. Balusters spaced too wide: fill the gaps with the right layout
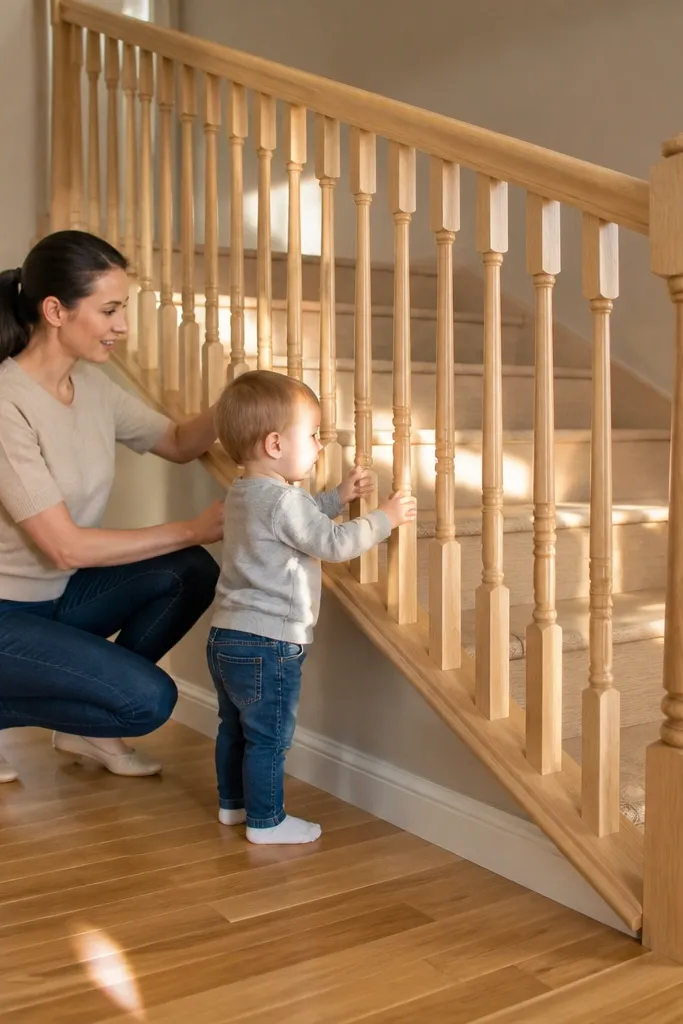
If you can fit a small object through the gaps, the railing is failing its safety job. The “before” often looks like a neat wood spindle set, but the layout was done on a straight run instead of the stair angle. The after fix uses stair-specific spacing so every opening stays within the allowed range along the entire run. You get a railing that looks crisp and feels secure, because the gaps are consistent where hands and kids actually interact with it.
Editor's noteUse a scrap baluster as a gauge for spacing while you install each one — it prevents drift.
Start by counting your balusters and measuring the clear opening widths at several treads, then choose a target spacing that works for the tightest area. Next, create a stair-angle layout by measuring from a fixed reference point on the top and bottom rails and marking baluster centers along the slope. Finally, cut balusters to length (or use adjustable spindles), install starting from the ends, and fill the middle last so you can fine-tune the final spacing.
5. Balusters that are all the same length but the stair isn't
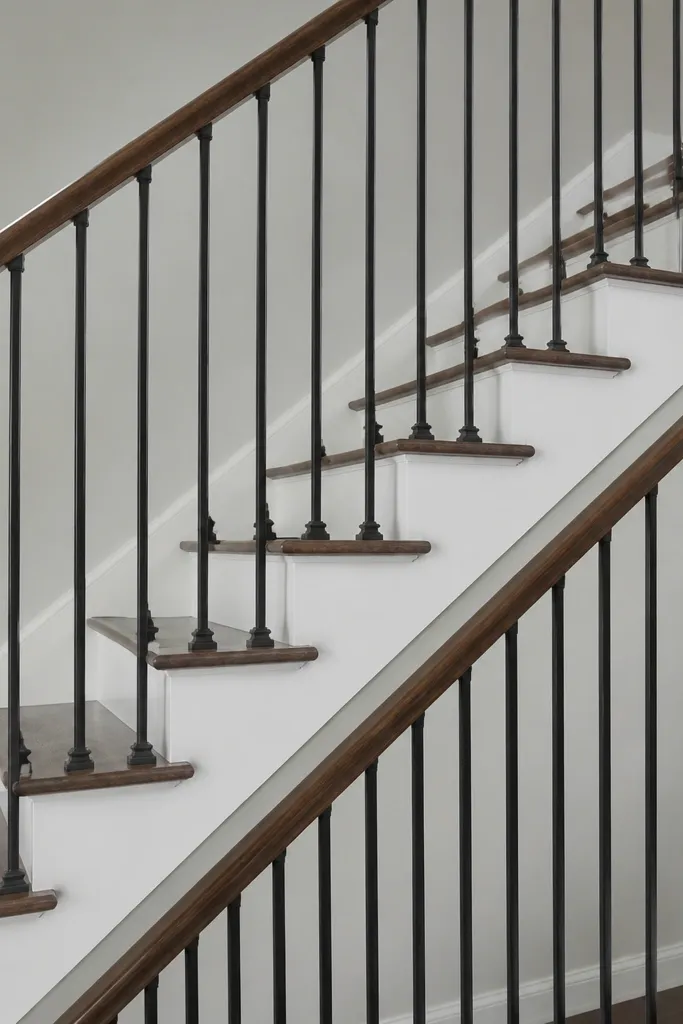
This is a classic “before”: the balusters match each other, but the bottoms and tops don’t sit cleanly. Usually the railing was planned for a straight line, so the baluster lengths don’t account for stair rise and the handrail’s slope. The after fix is about cutting to the actual angle and using consistent center-to-center measurements so every baluster seats properly. The result looks intentional and removes the tiny rocking that happens when a spindle is under tension.
Editor's noteIf you’re using wood spindles, label them by position as you cut so you don’t mix lengths later.
First, remove a few balusters and measure the actual distance from the underside of the top rail to the top surface of the bottom rail at a couple of different treads. Then mark baluster length using those measurements and cut each baluster (or groups of balusters) to match the stair’s variation. Finally, reinstall and check that each spindle sits with full contact at both rails before you tighten all hardware.
6. End post gaps: the railing looks crooked because the return is wrong
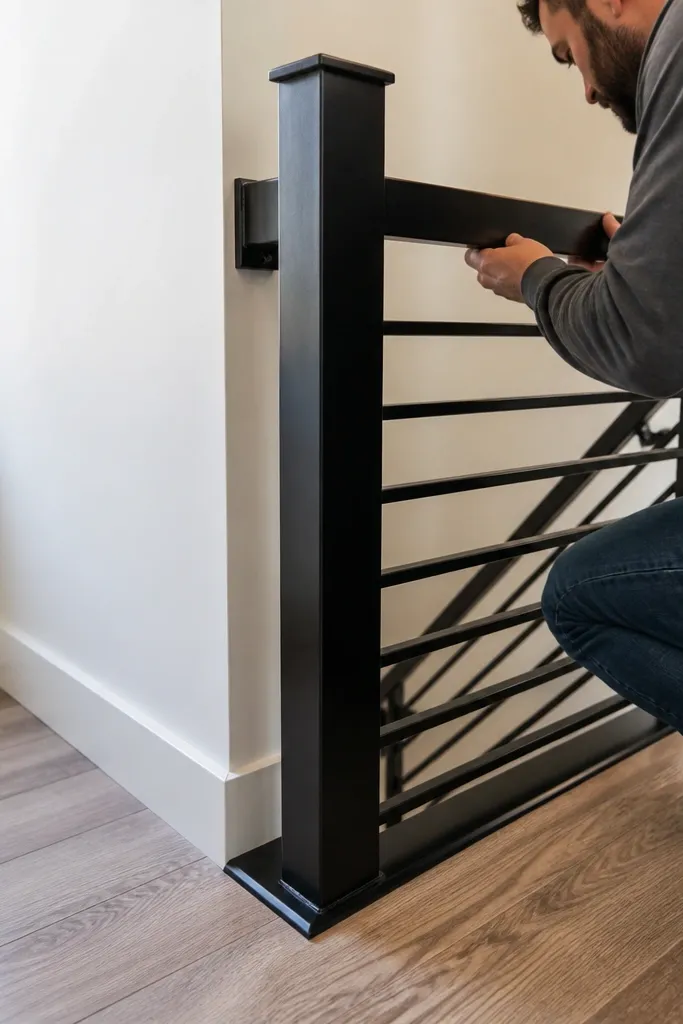
A railing can look “off” even when the balusters are perfect, and it usually starts at the ends. The before look is a visible gap at the end post or a return piece that doesn’t follow the wall line. The after fix tightens the geometry by squaring the end post and using a proper return or new rail end cap so the handrail transitions cleanly. This also strengthens the system because end posts take extra load at turns and terminations.
Editor's noteUse a thin shim stack on one side, not a thick wedge — thick wedges make the post lean later.
Start by removing the end rail section and inspecting the post base for looseness or missing blocking. Then square the end post plumb using shims at the base until it matches the handrail line; fasten through into structure so the post can’t drift back. Finally, install a return piece or new end cap and fill any trim gaps with paintable wood filler after sanding, then finish touch-ups so the transition looks crisp.
7. Mismatched rail profiles: two pieces that never line up
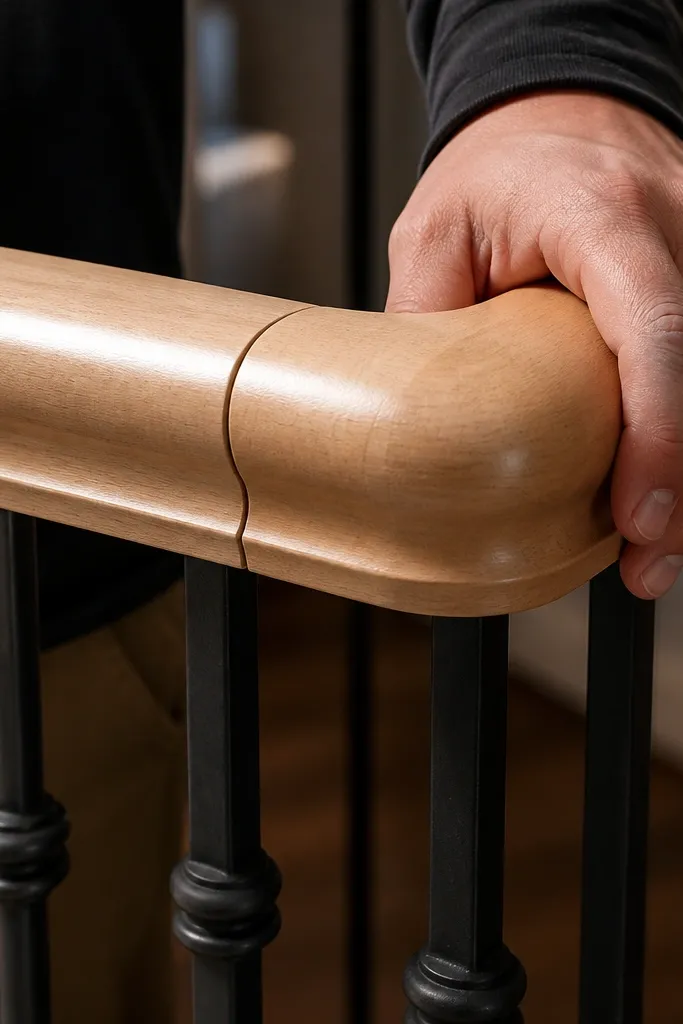
When a handrail is made of multiple pieces, the seam becomes obvious if the profiles don’t match. The before look is a step at the joint or a seam that shows shadow lines because the top rail profile varies. The after fix is to align the rail profile and hide the seam with proper jointing — either by recutting ends or using a proper splice bracket. This makes the railing feel continuous and also reduces places where hands catch.
Editor's noteSand the joint with a sanding block, not loose paper, so the profile doesn’t round off.
First, remove the joint section and check the cut ends — if they’re not perfectly square or the profile doesn’t match, recut them using a miter saw with a stop block. Then dry-fit the seam, align the top and side profiles, and install a splice bracket underneath the handrail (or use a joiner) so the joint is mechanically supported. Finally, tighten hardware, sand the seam flush, then apply finish so the joint blends.
8. Peeling finish on rail: wrong prep, wrong primer
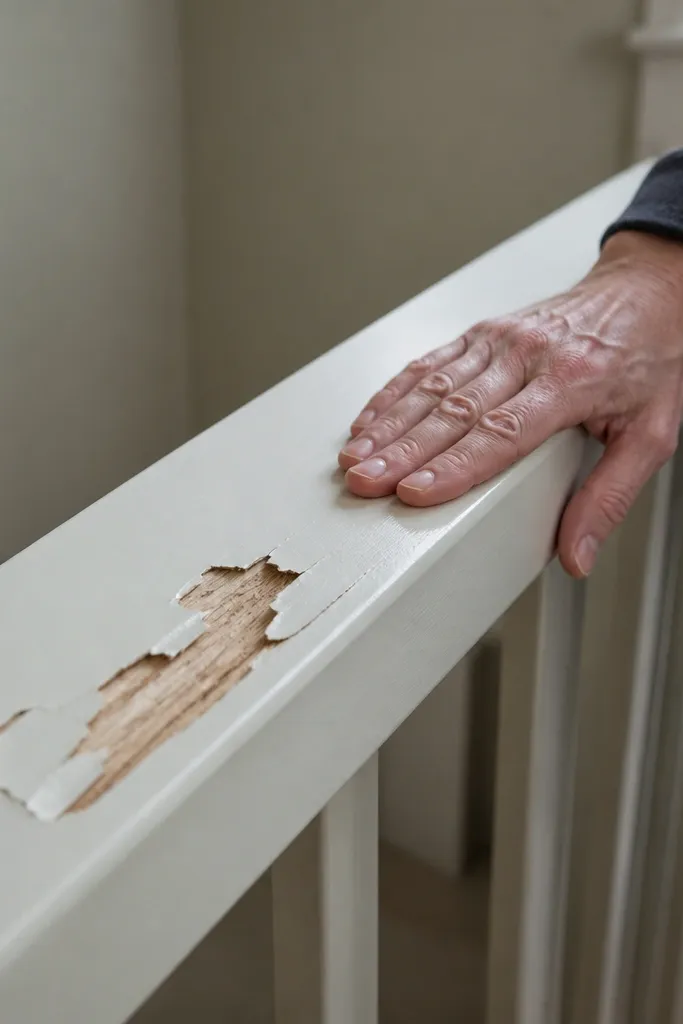
Peeling on stair rails is rarely about bad paint alone. It’s usually old finish that wasn’t sanded to sound material, plus a primer that doesn’t bond to the existing surface. The before look is flaking near where hands constantly rub, and you can feel the rough edges. The after fix is a full bond-focused prep: remove loose finish, sand to a consistent surface, prime with the correct adhesion primer, then topcoat with a durable enamel or conversion varnish. The railing becomes smooth again, not sticky or rough.
Editor's noteWipe with mineral spirits only if your primer needs it; otherwise use the wipe recommended by the primer label.
Start by scraping off every loose flake until your scraper stops catching. Then sand the entire handrail with 120 grit to remove gloss and create tooth, wipe with a tack cloth, and prime with an adhesion primer suited for the existing surface type. Finally, sand the primer lightly with 220 grit, apply two topcoat coats, and cure before heavy use — stair rails see real abrasion.
9. Stain blotches on wood spindles: uneven sanding and wetting
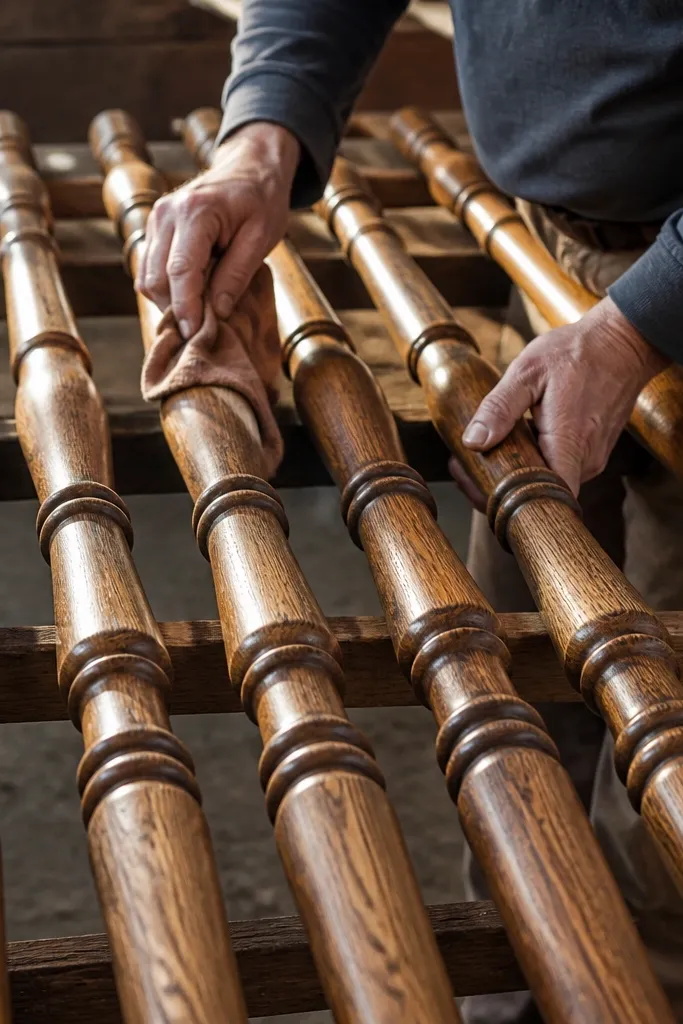
Blotchy spindles ruin the whole railing look because the color differences show in every baluster line. The before usually comes from sanding through one area faster than another or applying stain to partially sealed wood. The after fix uses consistent sanding grit, optional conditioner for high-absorbency woods, and a controlled wipe-off so each spindle takes stain the same way. You get a uniform tone that makes the railing look intentional instead of “patchy.”
Editor's noteTest stain on one spare spindle or a hidden offcut and compare it under daylight, not just a hallway lamp.
First, sand every spindle to the same final grit — don’t stop early on the easy ones. Then wipe the spindles with a light damp cloth to raise grain, let dry, and sand back lightly to smooth — this also helps even absorption. Apply stain with a rag using consistent pressure, wipe off the same amount each time, and let cure fully before sealing with a clear protective topcoat.
10. Rusty metal brackets: replace with proper hardware, not "touch-up"
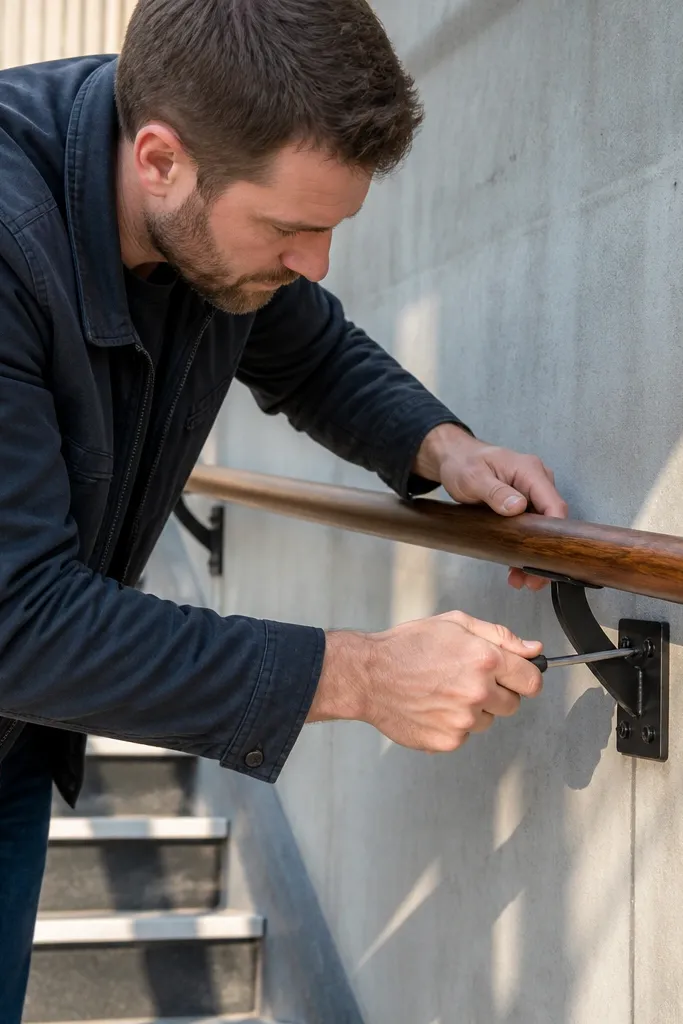
Rust at the bracket line is a slow failure. The before look is brown staining around fasteners and a rail that gradually loosens. The after fix replaces corroded brackets and uses hardware matched to the material and conditions, so you stop the cycle of looseness and ugly staining. It also keeps the railing from squeaking, because pitted metal hardware doesn’t seat cleanly. You end up with a railing that holds and looks clean.
Editor's noteIf you’re painting brackets, prime them first or the rust will bleed through again.
Start by removing the rail and inspecting the brackets and fasteners — if you see pitting, replace them. Then measure bracket mounting holes and choose replacement brackets with the same footprint or plan for drilling new pilot holes into structure. Finally, install with appropriate screws or bolts, tighten evenly, and wipe away any remaining rust staining before priming and repainting nearby wood.
11. Squeaky handrail: gaps at the wall bracket and loose fasteners
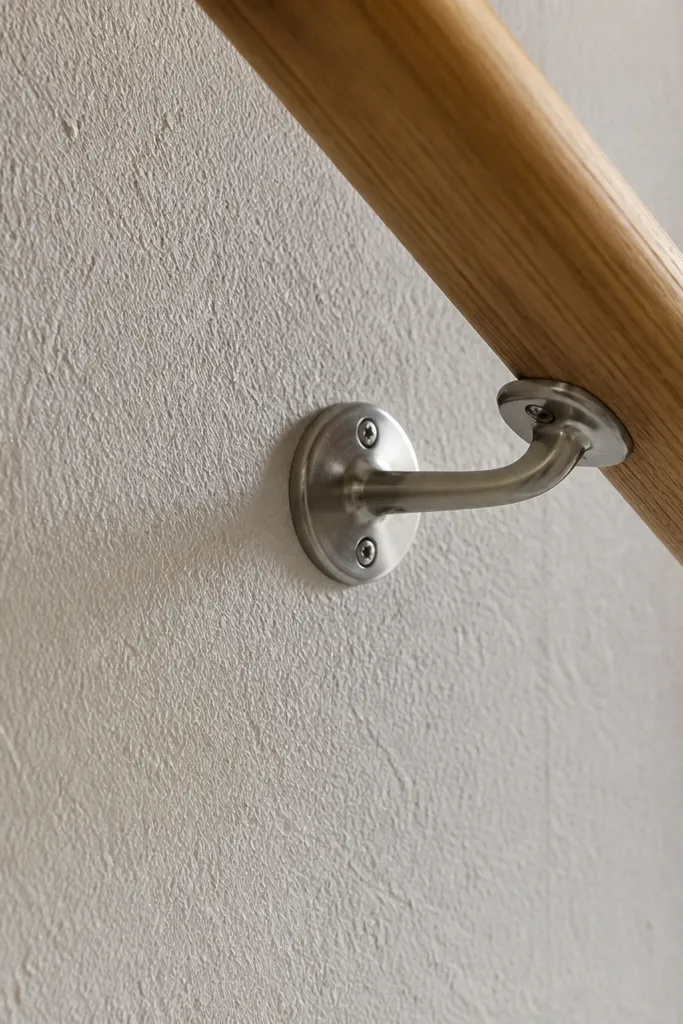
Squeaks usually come from micro-movement at the bracket contact points, not from the wood “creaking” alone. The before look is a railing that makes noise every time someone climbs the stairs, and you can often feel a tiny shift near the wall. The after fix eliminates the movement by re-seating brackets, tightening loose screws, and using the right shims or spacers so the handrail sits solid. It’s a quality fix that also improves safety because a loose rail invites grip adjustments.
Editor's noteUse a flashlight at a low angle to spot tiny gaps between the handrail and bracket.
First, have someone gently apply pressure to the handrail while you locate the squeak — tap and check bracket screws with your fingertips. Then remove the handrail, inspect for worn screw holes, and tighten or replace fasteners with fresh pilots into solid material. Finally, reinstall and add thin shims only where needed to remove the gap, then tighten the handrail so it contacts evenly along the bracket line.
12. Bottom rail attachment failure: posts wobble because base flexes
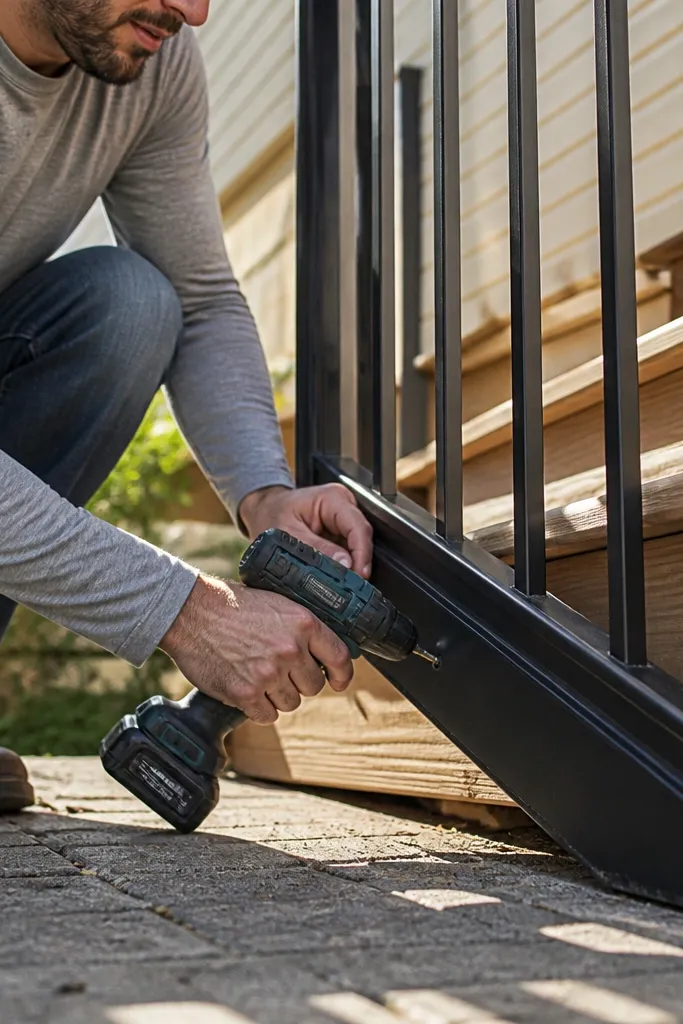
People chase the post, but the real issue is sometimes the bottom rail. The before look is a railing that wobbles at the lower section even when the top seems solid. That happens when the bottom rail is attached to weak trim or when the fasteners don’t bite into the stringer. The after fix secures the bottom rail into solid framing so the balusters have a stable foundation. Your railing stops shifting, and the balusters stop “walking” out of alignment.
Start by removing the balusters near the bottom rail so you can see how the bottom rail is fastened. Then locate the stringer or blocking behind the bottom rail and drill pilot holes into that structure. Install structural screws or bolts with washers, reattach the balusters, and confirm the baluster spacing before you reinstall the top rail.
Check bottom rail level after fastening — if the bottom rail is off, the whole run looks wrong even with perfect spacing.
13. Painted rail over dark wood: the "ghost lines" problem
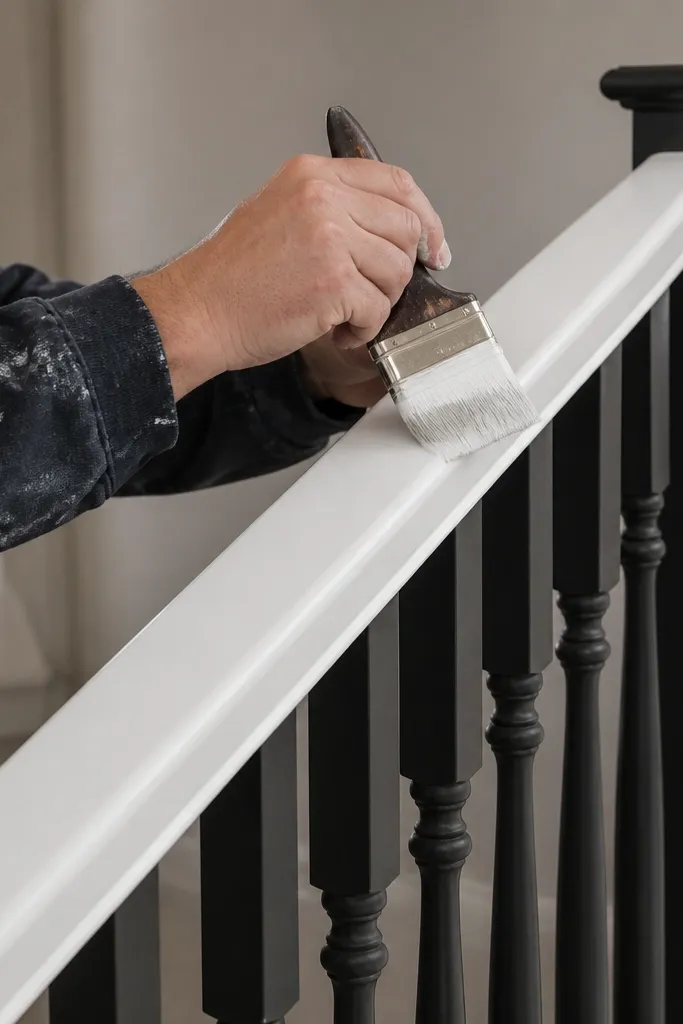
Ghost lines show up when the old wood tone bleeds through thin coats or when the surface wasn’t sealed. The before look is subtle at first, then obvious when the rail catches light. The after fix is to seal the substrate with a proper stain-blocking primer and build coverage with two full topcoat coats. It also makes the railing easier to clean because a proper film finish resists hand oils.
Editor's noteUse a high-quality brush for corners and a small foam roller for flat sections to keep the surface even.
First, sand the rail to remove gloss and feather any previous drips or rough spots. Then apply a stain-blocking primer in one full coat, let it dry, and check for any remaining bleed-through under strong light. Finally, apply two topcoat coats, sanding lightly between coats with 220 grit so you don’t trap bumps under the paint.
14. New balusters installed, but the top rail still looks uneven
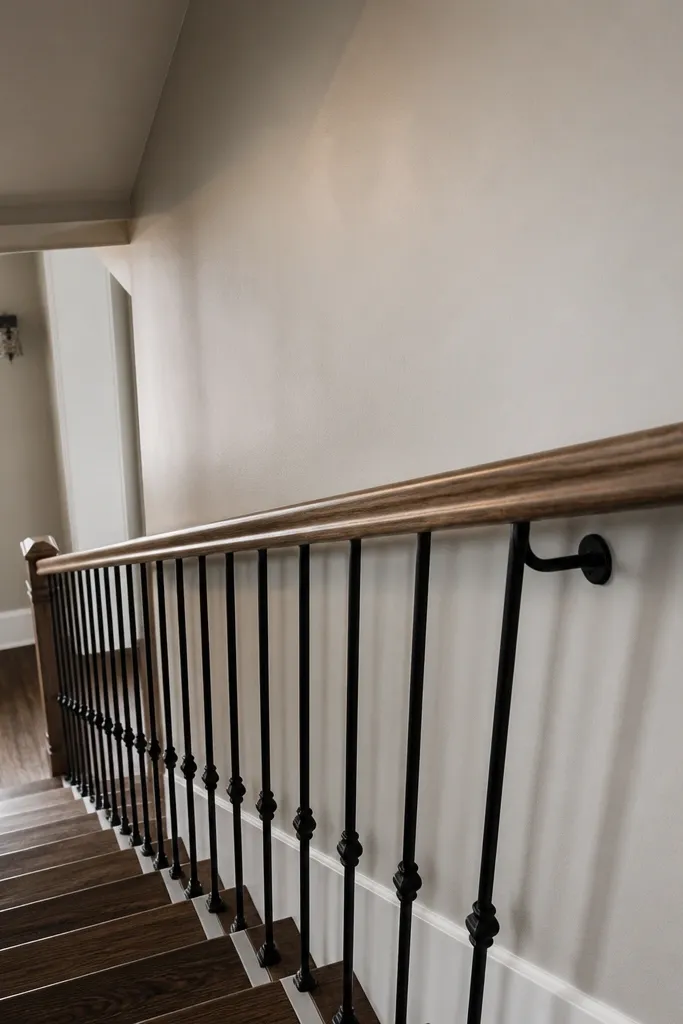
This is the “after” that still looks wrong: you fixed baluster spacing, but the top rail line has dips or waves. The before cause is usually wrong bracket spacing or a top rail that was cut before the final alignment was set on the stair. The after fix sets the top rail line first by aligning posts and brackets, then cutting and installing the top rail last. When you do it in the right order, the railing looks straight and feels consistent when you run your hand along it.
Editor's noteCut the top rail last even if you have a “perfect” measurement — stair geometry changes after you secure posts.
Start by checking post plumb and bracket alignment along the run — loosen brackets only if needed to correct the line. Then install the top rail after all balusters are positioned and the spacing is confirmed, not before. Finally, cut the top rail to fit the corrected geometry, secure it with the right fasteners, and sand any transition points so the handrail feels smooth.
15. Return newel wobble: the post base needs blocking, not just screws
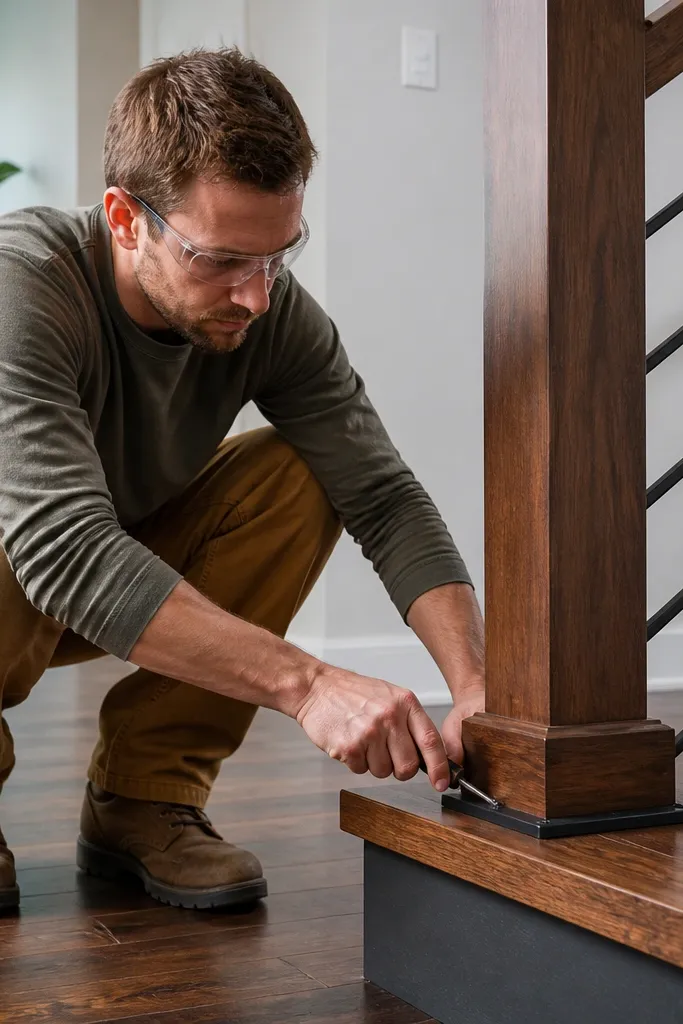
Newel posts at landings take more sideways load than straight-run posts. The before look is a post that rocks at the base even if the rest of the railing is solid. The after fix adds proper blocking or uses through-fastening into the subfloor framing so the post can’t move. This also improves the look because the top rail meets the post with no visible gap or twist. It’s one of those fixes that makes the whole staircase feel more “finished.”
Editor's noteIf you can’t access the underside, use a structural screw pattern into framing and add a tight shim pack at the base.
Start by checking whether the post is anchored into a structural member by removing trim around the base if needed. Then add blocking between the framing members or install through-bolts where you can access the underside or adjacent framing. Finally, reinstall trim, verify the post is plumb with a level, then reinstall the handrail and check for any bracket gaps before finishing.



