
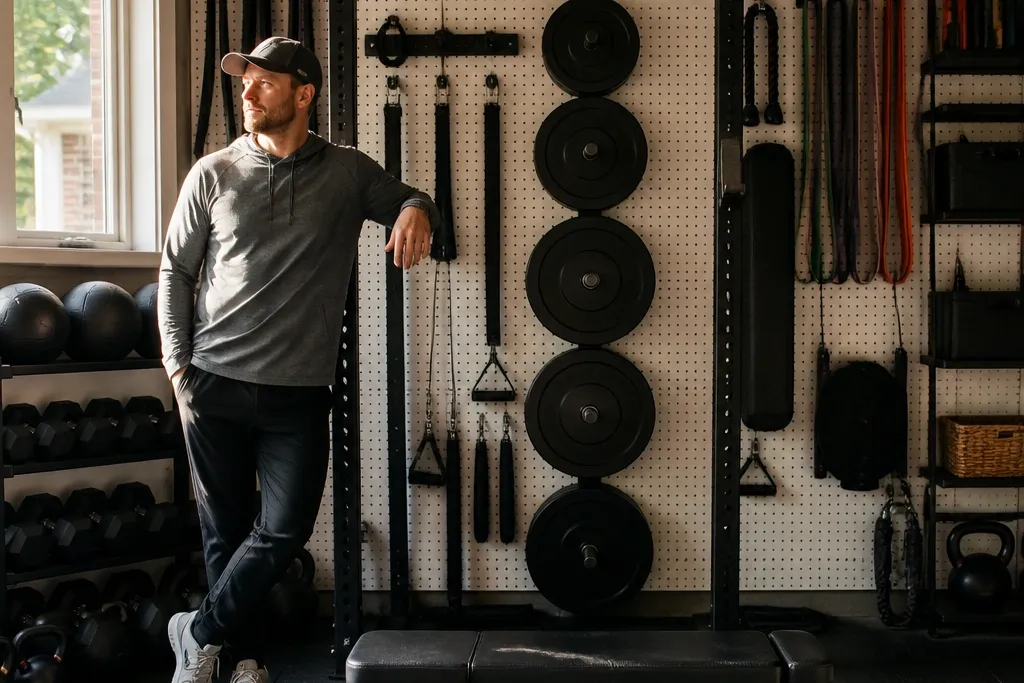
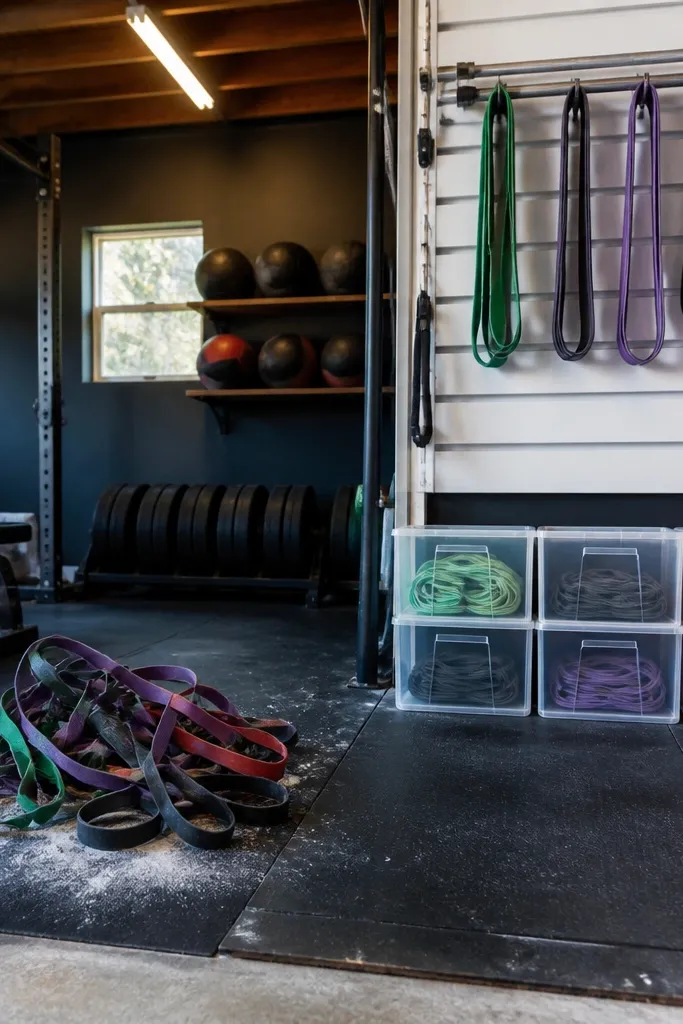
1. Pegboard strip wall for straps, belts, and gloves
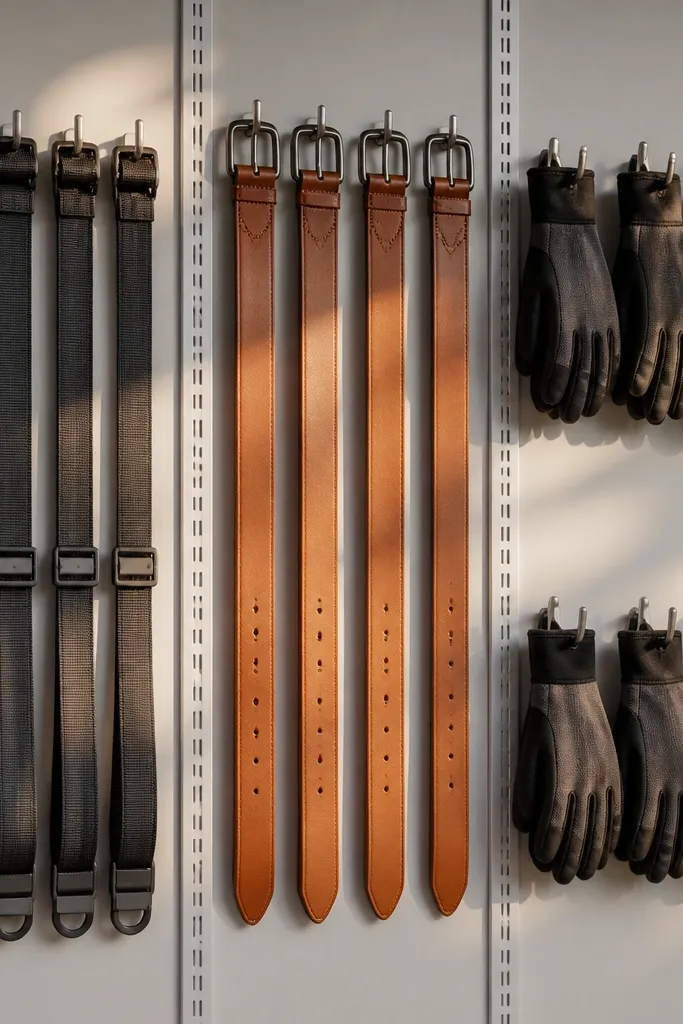
A pegboard strip wall makes garage gym organization look intentional because it turns flexible gear into a tidy vertical display. You can group straps by length and hang them flat so they don’t curl into messy loops. Use a light backing board (like white or pale gray) so dark straps and gloves pop. This works best when your training area is near a wall you already face while warming up.
Start by cutting a sheet or strips of pegboard to fit your wall section, leaving a 2-3 inch border so it doesn’t look cramped. Mark a simple vertical grid with painter’s tape, then install hooks and a few small pegboard shelves for gloves and chalk. Mount the board with wood studs or use proper wall anchors rated for the load, then test by hanging your heaviest belt and doing a gentle pull. Finish by adding a label strip under each group so the wall stays clean even after busy days.
Editor's noteUse two hook styles: one for flat straps and one for looped items, so nothing twists when you put it back.
Skip thisAvoid mixing hook heights and spacing — it looks messy even if everything is “there.”
2. Mat wall rack for lifting mats and foam rollers
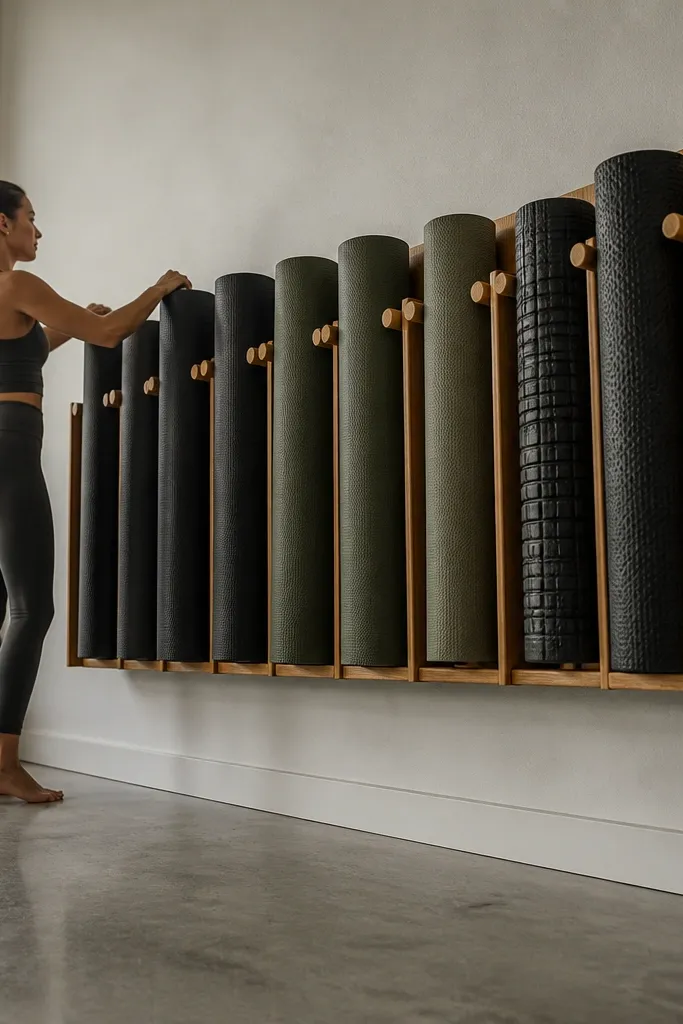
A wall-mounted mat rack gives you that crisp gym look because mats stop living in corners and start lining up like equipment. Foam rollers and rolled mats also stay clean because they hang instead of collecting dust on the floor. The visual payoff is the same width and consistent spacing of the holders. This is ideal for garages where your floor space is tight and you need a clear path for moving around the bench or rack.
Build two vertical side rails from 1x3 boards and add evenly spaced cross slats or dowels sized for your roller diameter. Mount the rails into studs at a height where the rolled mat clears the floor by 2-4 inches. For rolled mats, add a top stop strip so they don’t slide down. For foam rollers, use dowel holders or short shelf lips that keep them centered.
Editor's notePaint the wood with a matte black or warm gray topcoat so the rack looks like part of the gym instead of a DIY afterthought.
Skip thisAvoid storing mats on open hooks without a stop — they slide and end up crooked.
3. Clear bin + color label system for accessories
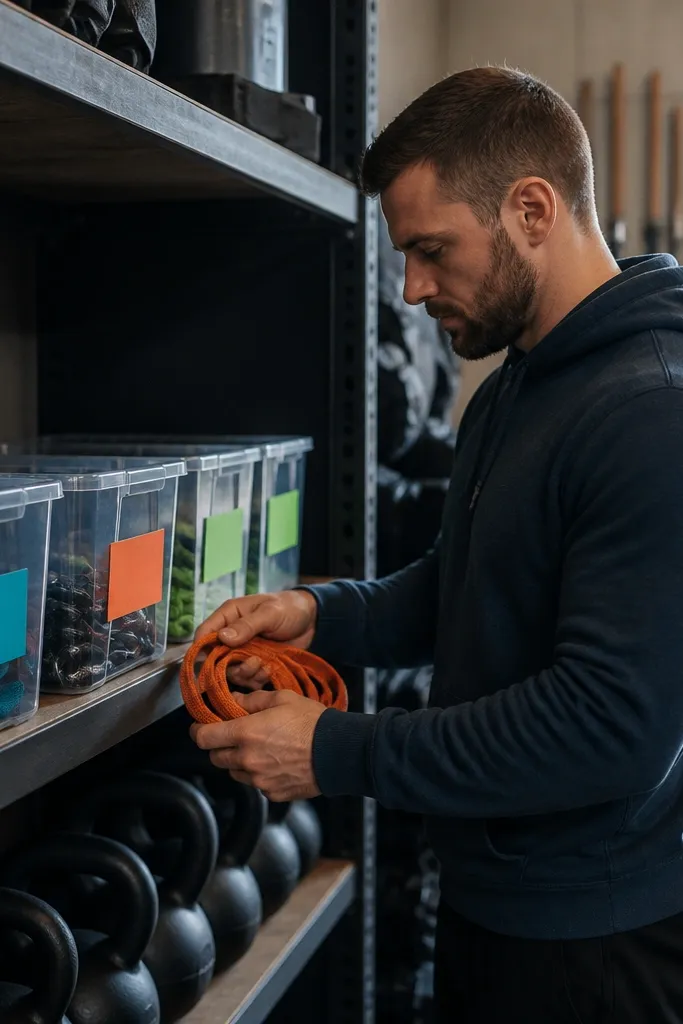
Clear bins make garage gym organization look tidy because you can see the contents at a glance, and color labels keep the system from turning into chaos. This fixes the common problem where small items spill into bags or drawers that never look good. Put the bins on a shelf near where you train, not in some random cabinet. The result is a clean, photogenic “equipment shelf” that stays consistent even when you’re rushing.
Choose bins with similar heights so the shelf looks uniform, then pick 3-4 label colors for categories like wraps, grips, tape/chalk, and cleaning. Use a label maker or printed label tape and place labels on the bin front facing outward. Mount the shelf at about chest height for easy access, then leave a small gap at the edges so you can pull bins without bumping weights. Add a simple checklist card under the shelf lip so you know what belongs in each bin.
Keep bin contents in small pouches so you never have loose straps falling around inside the bin.
Avoid mixing loose items inside a clear bin — it looks like a junk drawer even though it’s visible.
4. Wall-mounted band storage with a "flat strip" layout
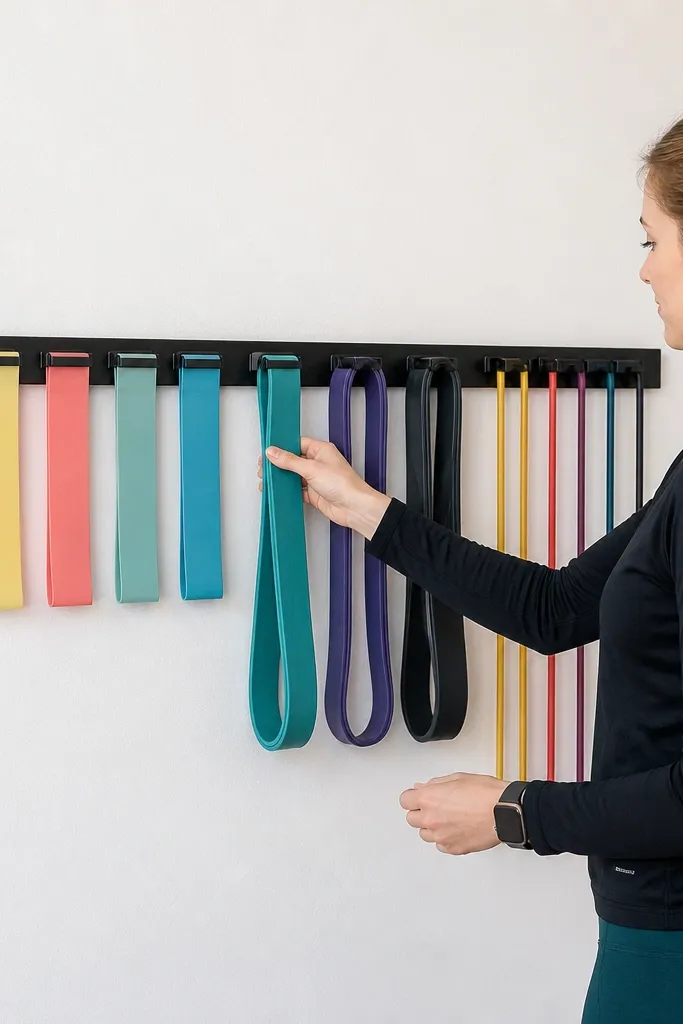
Band storage looks best when the bands lie flat and align in rows. A flat strip layout prevents the twisted, tangled look that makes a garage gym feel chaotic. Numbered slots also speed up workouts because you grab the right tension without hunting. This is a great pick if you use mini bands, loop bands, or long resistance bands and you want the wall to look clean in photos.
Mount a 1x6 board to the wall and add a series of evenly spaced eye hooks or small cleats along the top edge. Create slots by using two hooks per band so it hangs flat, not curled. Label each slot with a piece of tape or a small engraved tag. Arrange by tension order (light to heavy) and keep the heaviest band in the lowest row for easier handling.
Editor's noteUse small binder clips to temporarily hold bands flat while you decide the slot spacing.
Skip thisAvoid one-hook storage for loops — they twist and end up looking tangled.
5. Vertical dumbbell rack with color-matched end caps
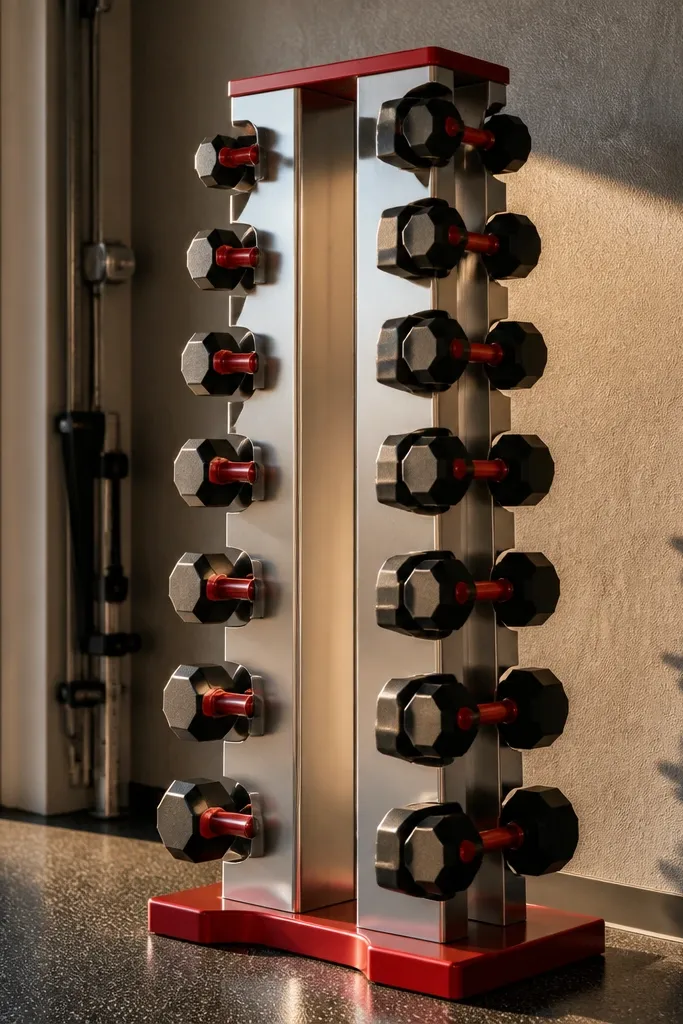
A vertical dumbbell rack looks sharp because it turns round shapes into an orderly grid. When each pair has its own slot and the rack has matching end caps, the whole wall reads like a real fitness setup. It also solves the “dumbbells everywhere” problem that makes garages feel cluttered. This works for tight spaces because vertical storage uses height instead of floor footprint.
Build a rack from plywood or steel angle strips with slots sized to your dumbbell handles and heads. Measure your dumbbell handle width and add 1/8 inch clearance so they slide in without scraping. Add end caps or rubber stops on each slot edge so metal doesn’t rattle. Mount the rack into studs and keep the bottom row high enough that you can grab the lightest weights without bending deeply.
Editor's noteAdd a thin strip of felt or rubber at the contact points to quiet the rack and prevent chips.
Skip thisAvoid mixed-height slots — it looks messy even when the weights are “sorted.”
6. Bench-side tool tray for tape, chalk, and grips
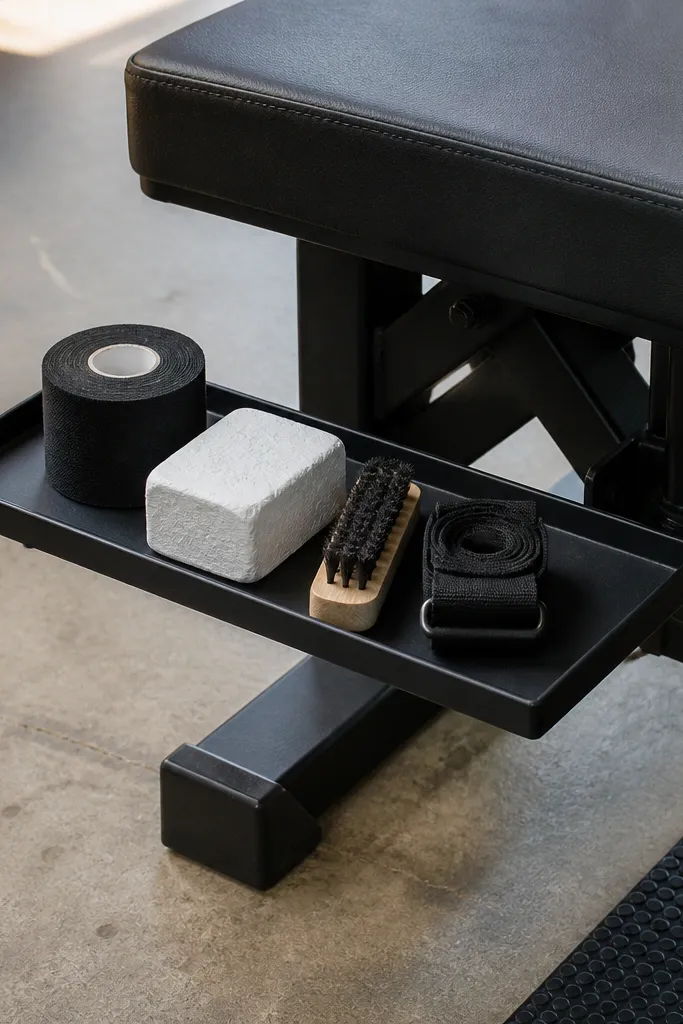
A bench-side tool tray makes your garage gym look like a place you train, not a storage corner. The photogenic part is the tight grouping: chalk, tape, brush, and a spare strap all sit in one low-profile tray. It also fixes the real annoyance of searching for supplies mid-workout. Choose a tray that matches your bench color and hardware so it doesn’t look like random clutter.
Mount a shallow tray under or beside the bench uprights using brackets screwed into studs or through-bolted to a sturdy frame. Use a tray depth of about 2-3 inches so items don’t spill when you reach. Add a small divider insert from thin wood or acrylic so chalk blocks don’t roll. Finish by adding a hook on the side for a brush or small towel.
Editor's noteUse velcro dots on the tray bottom so tape rolls and small items don’t slide.
Skip thisAvoid a deep tray — deep trays hide mess and turn into a pile fast.
7. Pegboard cabinet doors for cables and jump ropes
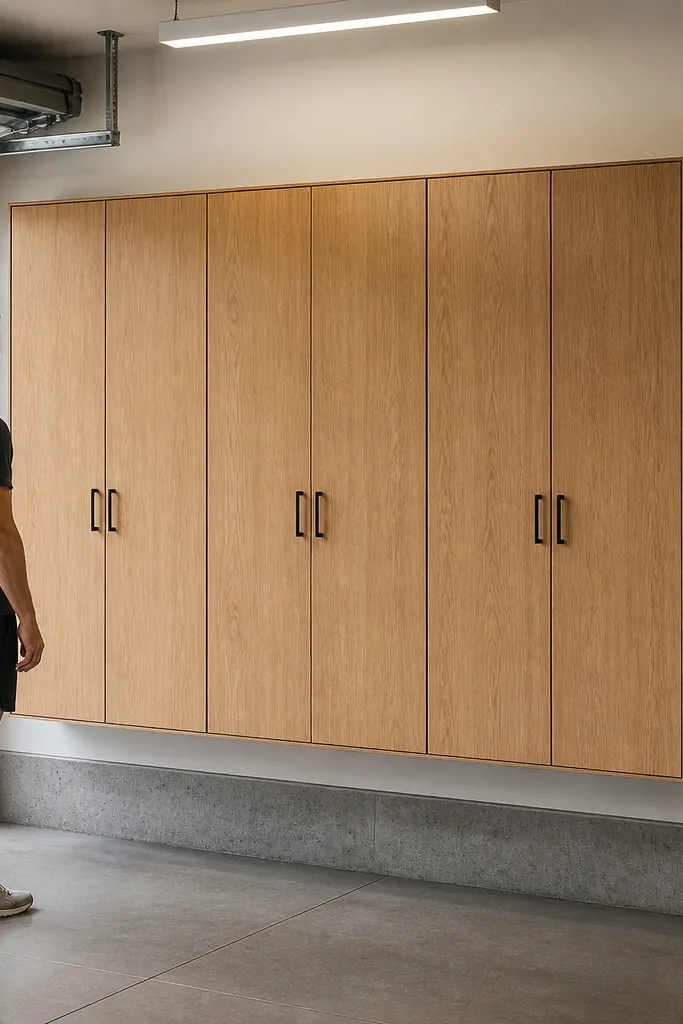
If your cables, jump ropes, and cords create visual clutter, doors are the cleanest fix. A pegboard cabinet with doors keeps the gear out of sight while still letting you hang items quickly. The look stays tidy even when you’re mid-project because the cabinet face looks consistent. This is a strong option when your garage gym shares a wall with the garage door or you want it to look clean from the driveway.
Build a shallow cabinet frame (about 6-10 inches deep) and mount pegboard inside the back wall. Add two doors sized to cover the front, with simple magnetic latches or a soft-close hinge if you want it extra clean. Hang jump ropes on hooks and keep cables on cable clips so they don’t coil into knots. Install a small vent gap or keep the cabinet slightly open at the bottom so moisture doesn’t build if items are damp.
Editor's noteLabel the inside with a tiny color dot system so you can match rope and cable lengths without reading every tag.
Skip thisAvoid storing cables loose in a box — you’ll regret it the first time you need one fast.
8. Corner rack for kettlebells with a staggered silhouette
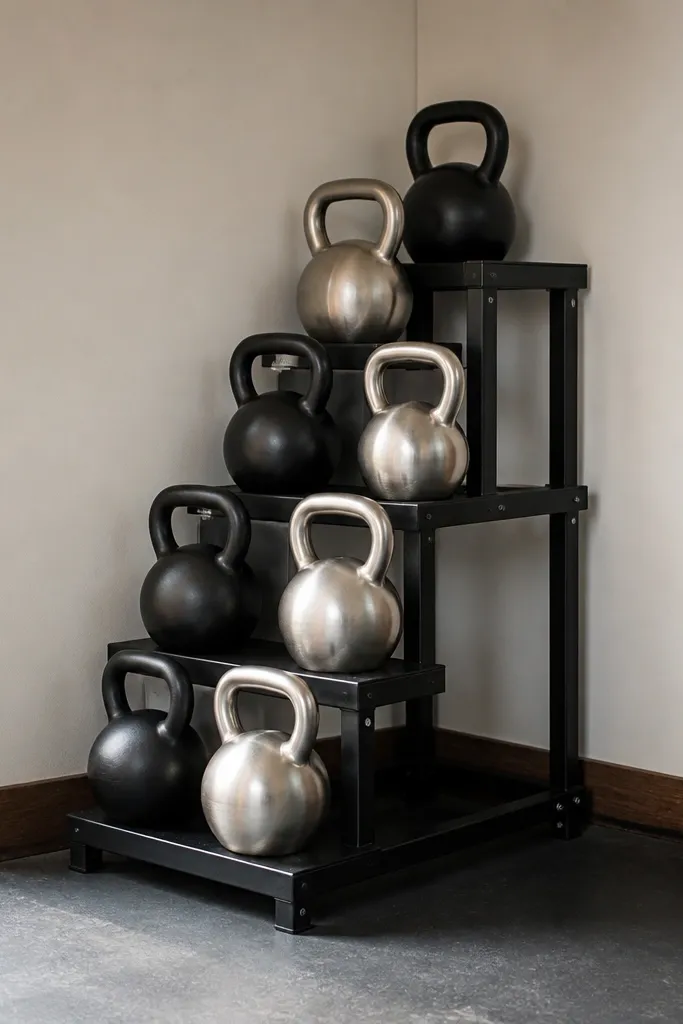
Kettlebells look best when they’re displayed in a staggered row instead of stacked in a flat pile. A corner rack uses the “dead space” while still giving you a clean, intentional silhouette. You also reduce floor clutter because kettlebells stop rolling around or getting shoved behind other gear. This is perfect for small garages where you lift on the floor and need the floor cleared quickly.
Create a rack using triangular corner braces or two side panels with angled slots so kettlebells sit with their handles aligned. Measure the diameter of your kettlebell bodies and add clearance so they drop in smoothly. Add a base lip or rubber stops to prevent metal-on-wood contact. Mount the rack into two adjacent stud lines if possible, then test stability by pushing the rack lightly with your hand.
Editor's notePaint the rack and add rubber feet so it doesn’t slide when you put a heavy bell in.
Skip thisAvoid placing the rack too low — you’ll bang your knuckles every time you re-rack.
9. Weight plate wall tree with a clean centerline
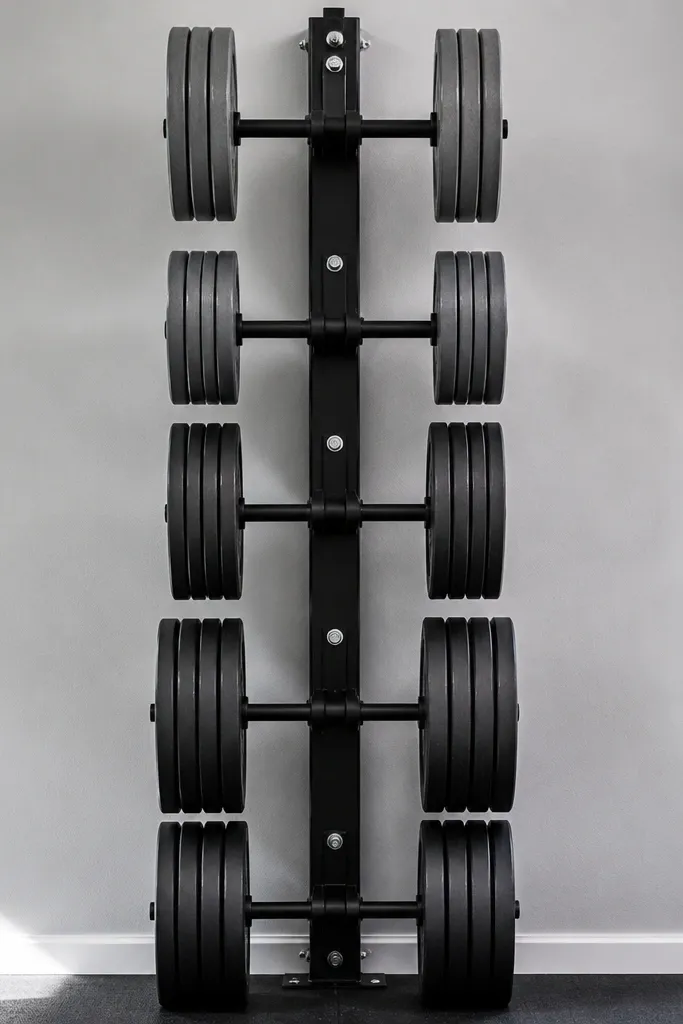
A weight plate wall tree makes the garage gym look organized because plates stop becoming a stacked tower near the rack. A clean centerline matters — your eye reads symmetry, and the setup looks “built,” not improvised. This also keeps plates off the floor, which makes the whole area feel larger. Choose this when you have a rack or barbell spot and you can mount into studs.
Build a vertical center post from steel pipe or a sturdy wood beam and add two horizontal arms for each plate thickness. Space arms so plates don’t scrape — start with 1/2 inch clearance between plate edges, then adjust based on your plate diameter. Mount the center post to studs and add end caps so plates can’t slide off. Finish the post with matte paint and add a small shelf or ledge at the bottom for collars and spare grips.
Editor's noteKeep plate sizes in order on each side so you never stare at the wall deciding what’s next.
Skip thisAvoid uneven spacing arms — plates end up at different heights and the wall looks crooked.
10. Sports-bag wall hanger with a "one-bag rule" shelf
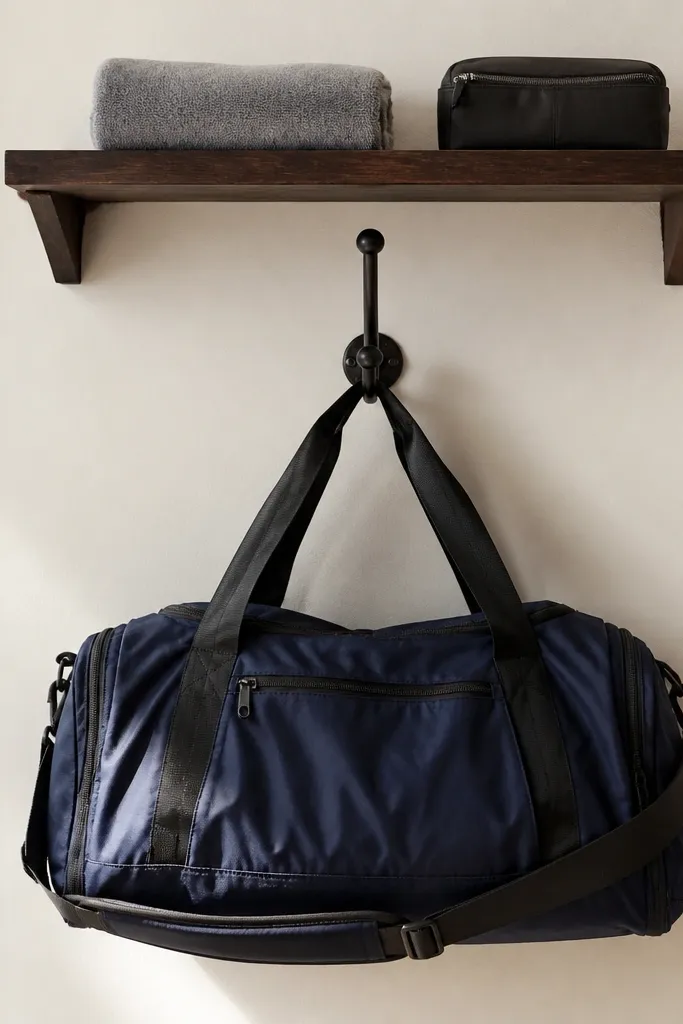
If your gym bag keeps migrating to the bench, this fix cleans the whole scene. A wall hanger keeps the bag in one spot, and a small shelf under it holds the accessories you actually use. The look is simple and tidy, with soft shapes contained in one area. This works well for garage gyms where you share space with tools and you want the gym zone to look controlled.
Mount a sturdy wall hook or two-bolt strap hanger into studs, then add a small ledge shelf below it that’s wide enough for a chalk bucket and a brush. Use a shelf depth of 6-8 inches so items don’t fall off when you reach. Keep cords and loose items in a small tray on the shelf so the shelf doesn’t turn into a catch-all. Add a tiny label on the shelf for “bag essentials” so it stays consistent.
Editor's noteUse a hook height that lets the bag hang without touching the floor — floor-touch bags look dirty fast.
Skip thisAvoid placing the hanger near the door swing — bags get bumped and end up on the floor.
11. Mat and towel hamper station with a closed front
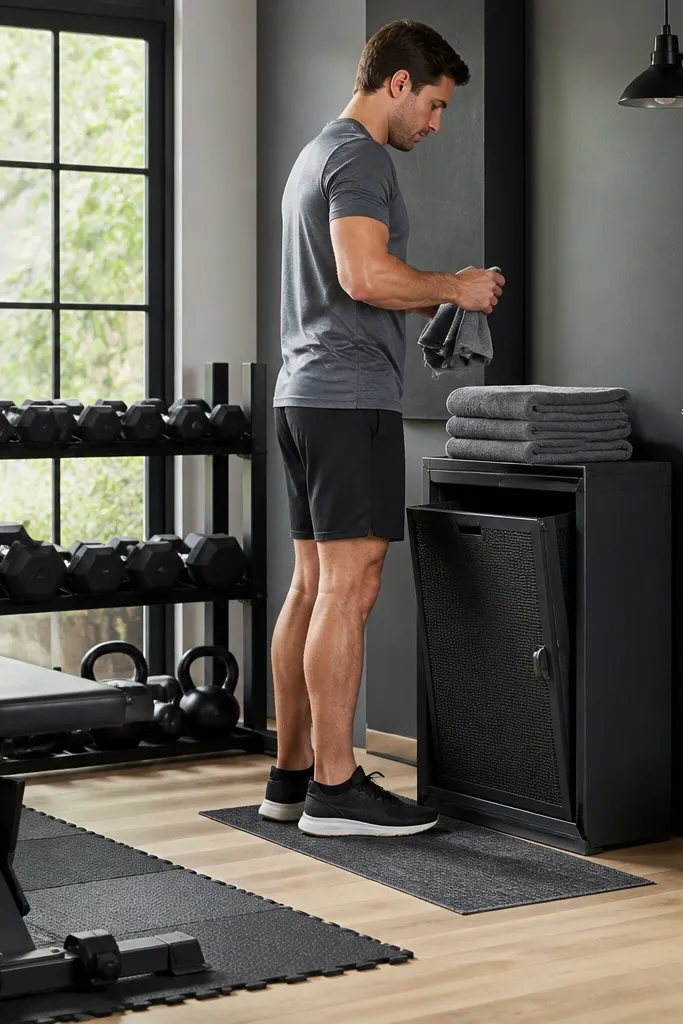
A hamper station makes your garage gym look clean because dirty towels and used cleaning cloths disappear instantly. The closed front matters: open hampers look like a laundry pile and kill the “gym” vibe. Keep it near the bench or where you wipe equipment so the station gets used. This is ideal if you sweat in the garage and you want your setup to look sharp between workouts.
Build a small cabinet frame with a hinged or sliding door, then mount a removable hamper bin inside. Use a bin with a rigid lip so it pulls out cleanly. Add a small “wipe tools” tray on top for spray bottle and paper towels. Install the cabinet at a height where you can drop a towel in without bending. Finish with a matte paint to match your other hardware.
Editor's noteAdd a small hook inside the door for a spray bottle trigger so it always hangs the same way.
Skip thisAvoid leaving it open — laundry-looking clutter shows up in every photo.
12. Floor-to-wall rack for jump rope and cables
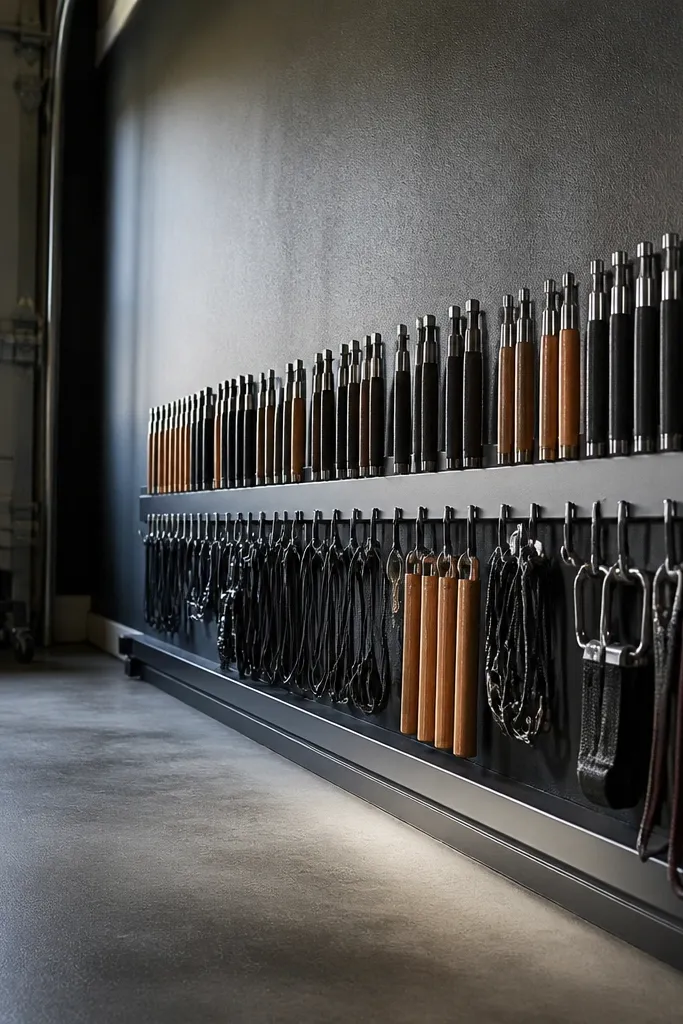
A floor-to-wall rack is the best answer when you can’t mount everything to the wall. It keeps ropes vertical and cables from turning into a tangled mat. Visually, the slim footprint makes the garage gym look less crowded, and the wall anchor prevents wobble. This is a strong choice for spaces where your bench or rack blocks direct wall mounting.
Build a slim base frame from 1x3 boards and add a vertical backing panel with hooks. Anchor the top of the panel to studs with two screws, then add rubber feet on the base so it doesn’t scuff the floor. Use two rows of hooks: one for jump ropes and one for cables, with different hook types so items don’t tangle. Finish with matte black paint and add a small label strip at eye level.
Use U-shaped rope hooks for ropes — they keep loops open and prevent twist.
13. Hydration and phone station on the rack post
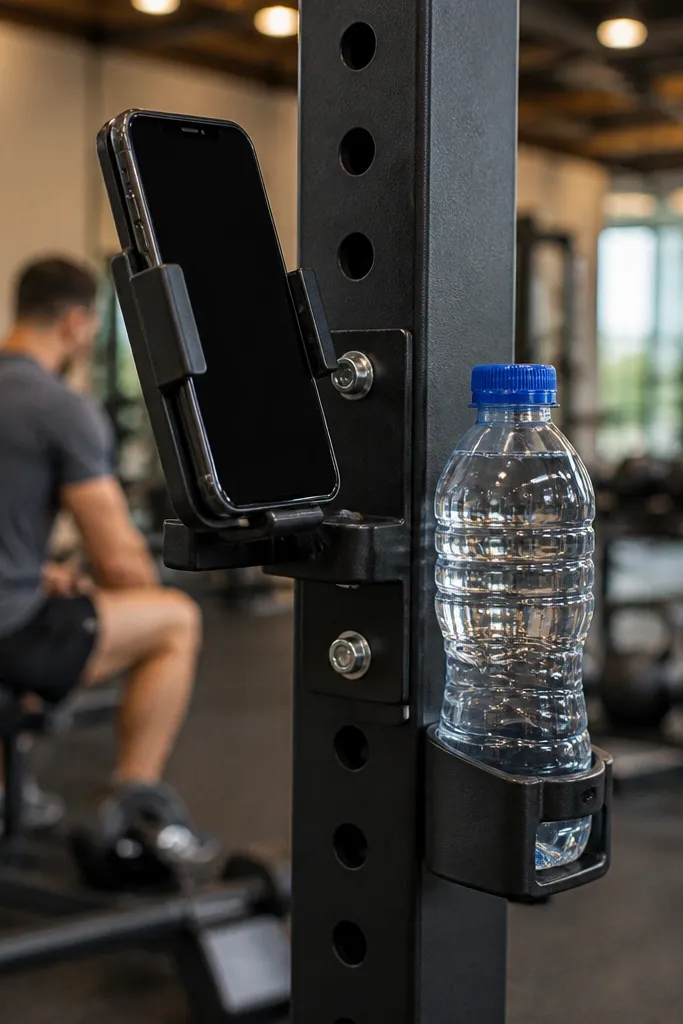
A hydration and phone station gives your garage gym a finished look because it adds one intentional surface in the workout zone. Instead of bottles rolling under the bench, they sit neatly. The phone holder keeps you from tossing your phone on a weight or bench pad. This project is photogenic because it uses clean lines and a small shelf that matches the rack color.
Attach a small shelf (about 10-12 inches wide) to the rack post using metal shelf brackets rated for load. Add a low lip so bottles can’t slide and mount a phone stand with two screws into the shelf. Wipe-proof the shelf with a clear matte seal or paint, then add a small hook for earbuds. Keep this station on the side of the rack where you can reach without stepping into the bar path.
Editor's noteUse a tray insert under the shelf for labels and a microfiber cloth so the station stays tidy.
Skip thisAvoid mounting it where you’ll hit it during rack pulls — you’ll stop using it.
14. Cable management wall track for extension cords
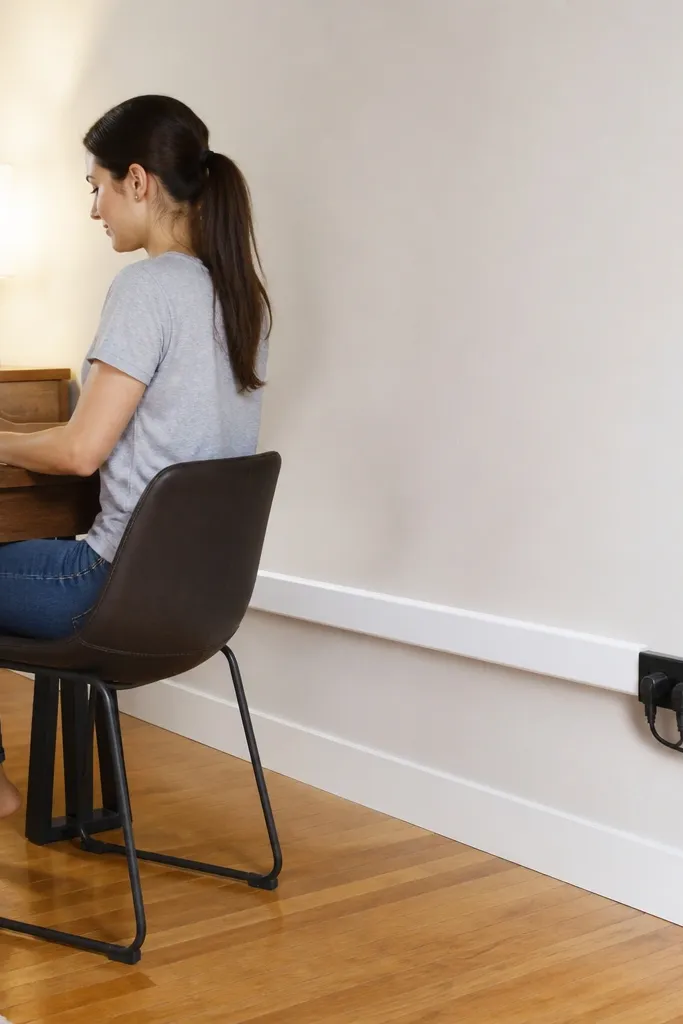
Extension cords kill the look of a garage gym because they snake across the floor and make everything feel temporary. A cable management wall track routes cords up and along a straight line, so the floor stays clear and the setup looks intentional. This also improves safety around lifts and reduces tripping. Choose this when your power strip sits on the floor or your treadmill/LEDs need constant plugging.
Mount a cable track or raceway along a wall from a power source to your equipment location. Use measured lengths so the cord doesn’t hang in loops. Add a power strip holder inside a small wall box or under the shelf so plugs face inward. Secure the cord with Velcro straps every 12-18 inches and add a final strain relief hook near the equipment.
Editor's noteLabel both ends of the cord with tape so you can re-route quickly when you rearrange the garage.
Skip thisAvoid running cords across the lift path — it always ends up messy and unsafe.
15. Stackable dumbbell "drop zone" with a lip and color tags
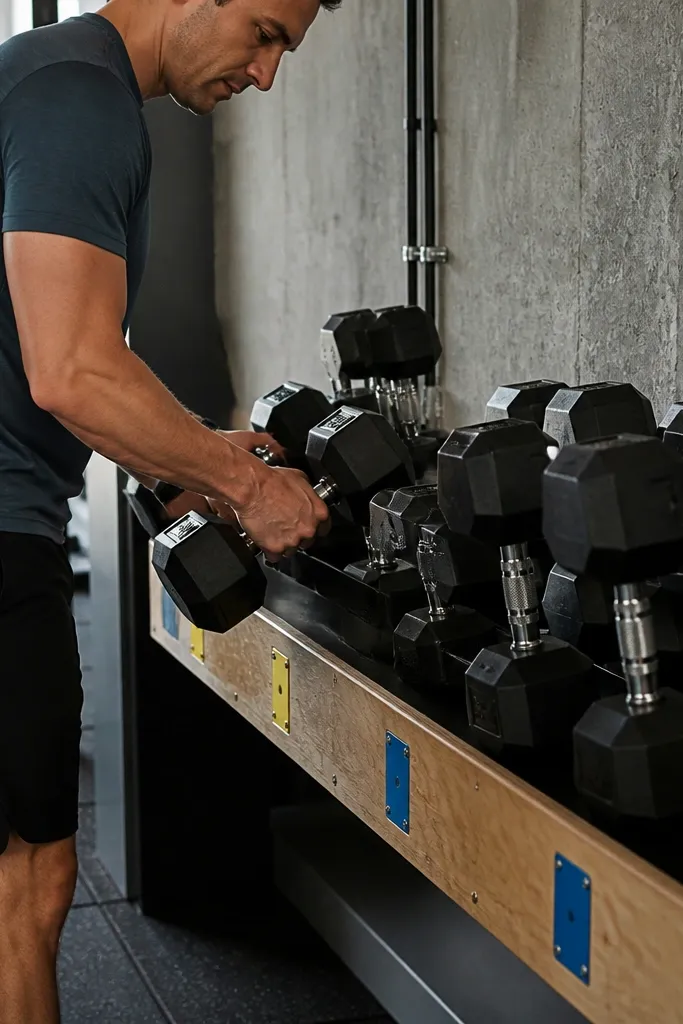
A drop zone fixes the most common aesthetic problem: dumbbells get leaned anywhere, then they look like they’re “stored” but not actually cared for. A low lip rack and color tags create a clear place to put weights back quickly. It also reduces chipping because metal hits the lip instead of bare wood or the floor. This works in tight spaces next to a bench or rack where you can’t fit a full wall rack.
Build a shallow base frame and add a vertical back panel with slots or a set of spaced blocks sized to your dumbbell handles. Add a front lip 1-2 inches high so dumbbells can’t slide forward. Paint the base and back panel matte and attach color tags to each slot. Place rubber pads at contact points and test by racking and removing each weight without scraping.
Editor's noteUse the same color tag for each pair and keep the tag at eye level for fast re-racking.
Skip thisAvoid open “pile trays” — they look messy within a week.
16. Wall-mounted towel bar set beside the cleaning station
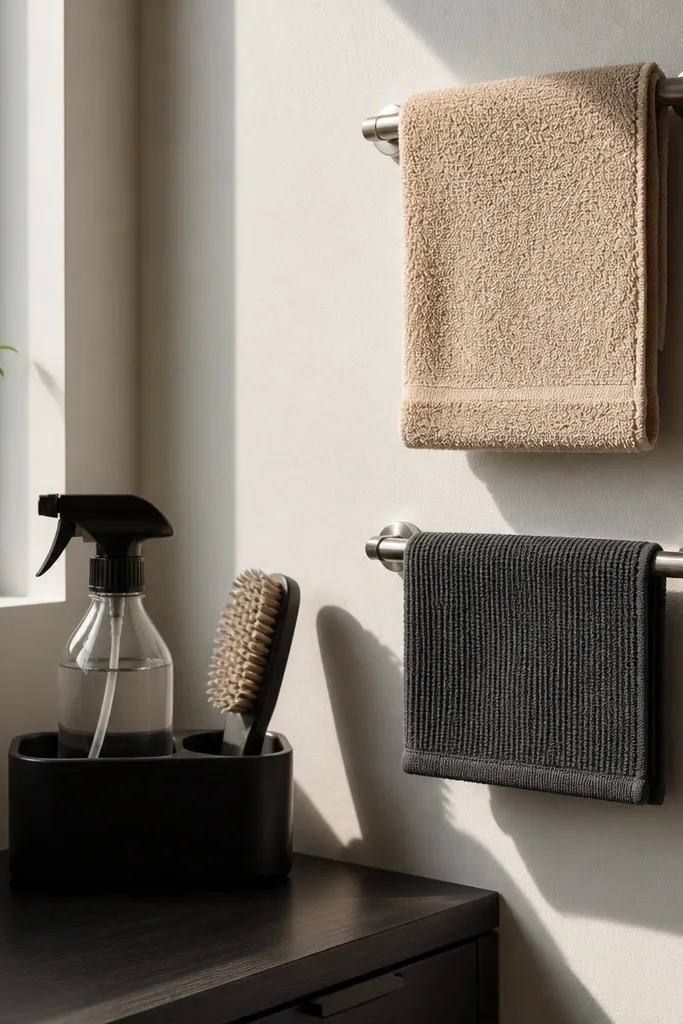
Towels and cleaning cloths make a garage gym look lived-in in the worst way when they’re tossed on a bench or stacked on the floor. Two wall-mounted towel bars create a clean, repeatable spot for wipes and spare towels. It’s photogenic because the towels hang flat and aligned, and it’s practical because you can grab one without opening anything. Put it next to your cleaning station so it gets used every time.
Mount two towel bars into studs at different heights, one for “in use” and one for “spare.” Add a small tray or shelf below for spray bottle and paper towels. Use matte-finish hardware so it doesn’t glare in daylight. Fold towels once and keep them consistent so the wall looks uniform. Wipe the bar finish with a dry cloth after first use to prevent dust buildup.
Editor's noteUse matching towel colors (black/gray) so the wall stays clean even if towels aren’t perfectly folded.
Skip thisAvoid placing towel bars too high — you’ll stop hanging towels and they’ll end up on the floor.
17. LED cable-free lighting strip under the shelf
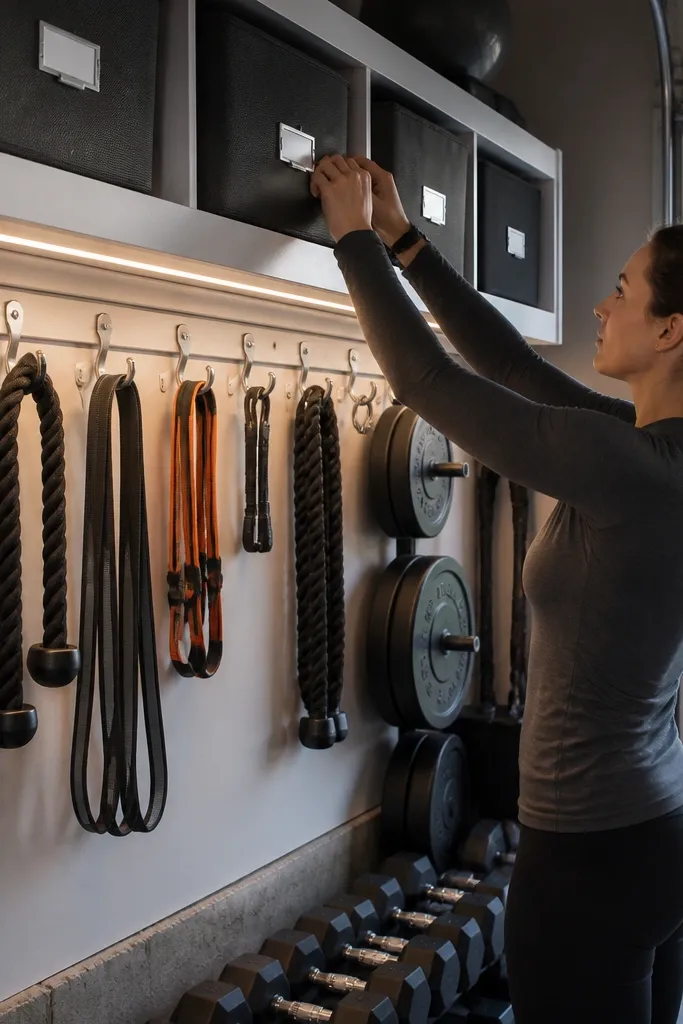
Good lighting makes organization look better because you can see labels, hooks, and bin faces clearly. A clean under-shelf light also reduces the shadow that makes a garage gym feel cramped. If your lighting wiring is messy, it ruins the whole aesthetic. Use battery-powered or hardwired with concealed channels so you keep the wall line straight.
Mount a small shelf near the main workout station, then attach an under-shelf light using a channel or hidden clips. If you go battery-powered, place the light so it hits the wall labels without blasting your eyes. If hardwired, run the wire through a raceway and keep it behind the shelf edge. Add a simple on/off switch location where you can reach it without stepping in front of the bar.
Editor's noteAim the light slightly downward so labels and bins look crisp but the floor doesn’t glare.
Skip thisAvoid visible loose wiring — it turns the whole wall into a mess.
18. Floor rack for lifting shoes and grips with a matching tray
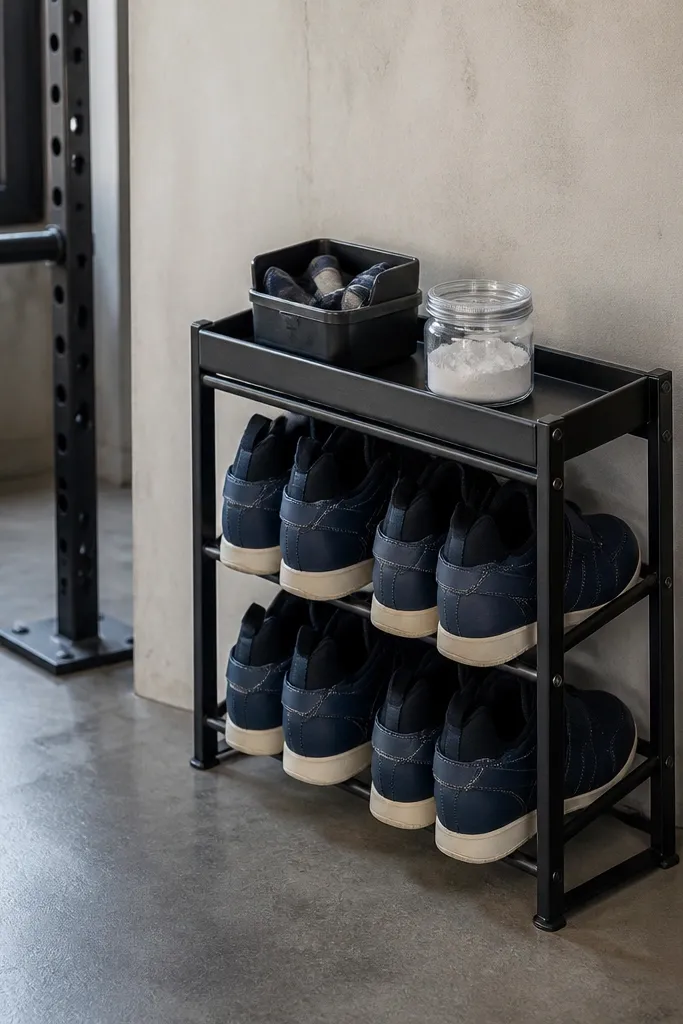
A dedicated shoe and grip station keeps the floor clean and makes your gym area look intentional. Shoes create the “garage” mess fast, especially if they’re damp or dusty. A slim shoe rack plus a tray for grips and chalk gives you one tidy corner that doesn’t spread clutter. This is great for tight garages where you don’t have space for a full closet but you do have a small floor footprint near the lifting spot.
Use a slim shoe rack or build one with 2-3 inch spacing between shelves so shoes don’t crowd. Place it along the wall so it doesn’t block your walking path. Add a small tray at the side for grips, chalk, and a brush, and keep the tray lip low enough to reach quickly. Seal the wood or use a wipeable finish so dust doesn’t stain. Keep the station close to where you tie shoes and pick up straps.
Add a small rubber mat under the rack so it doesn’t slide when you grab shoes.
Avoid storing grips in a random bag on the floor — it turns into a pile.
19. Tool-free barbell accessory rack for collars and straps
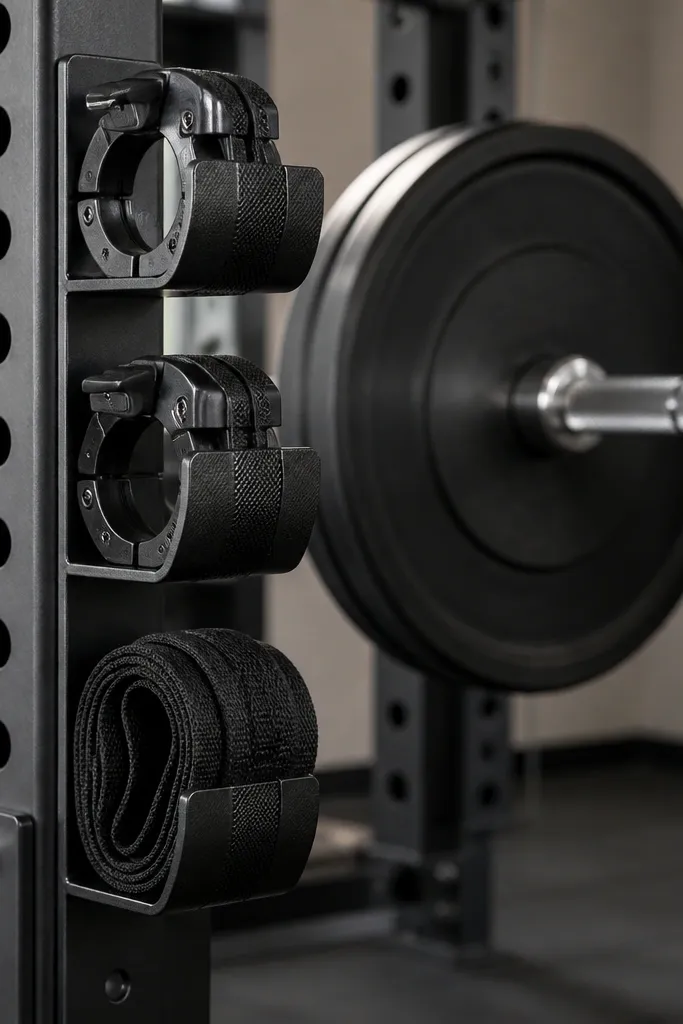
Barbell accessory storage looks best when it’s right next to the bar zone and has a consistent layout. Collars and straps are small, so when they’re scattered, the whole gym looks disorganized. A slim accessory rack creates a clean “grab and go” strip that keeps your barbell area sharp. It also prevents metal-on-metal noise because everything has a holder.
Build a slim rack panel from plywood and add two sections: a row of collar holders using dowels and a row of strap hooks using rubber-coated hooks. Mount the panel to the rack upright with brackets so it stays aligned. Size the dowel spacing to match your collar thickness and add rubber caps for grip. Finish the panel with matte paint and add a small label strip for collars and straps.
Editor's noteUse rubber-coated hooks so straps don’t slip and bang during re-racking.
Skip thisAvoid storing collars in a small bag — they look messy and you’ll lose time hunting.
20. Slatwall pull-out dumbbell shelf with a "grab lane"
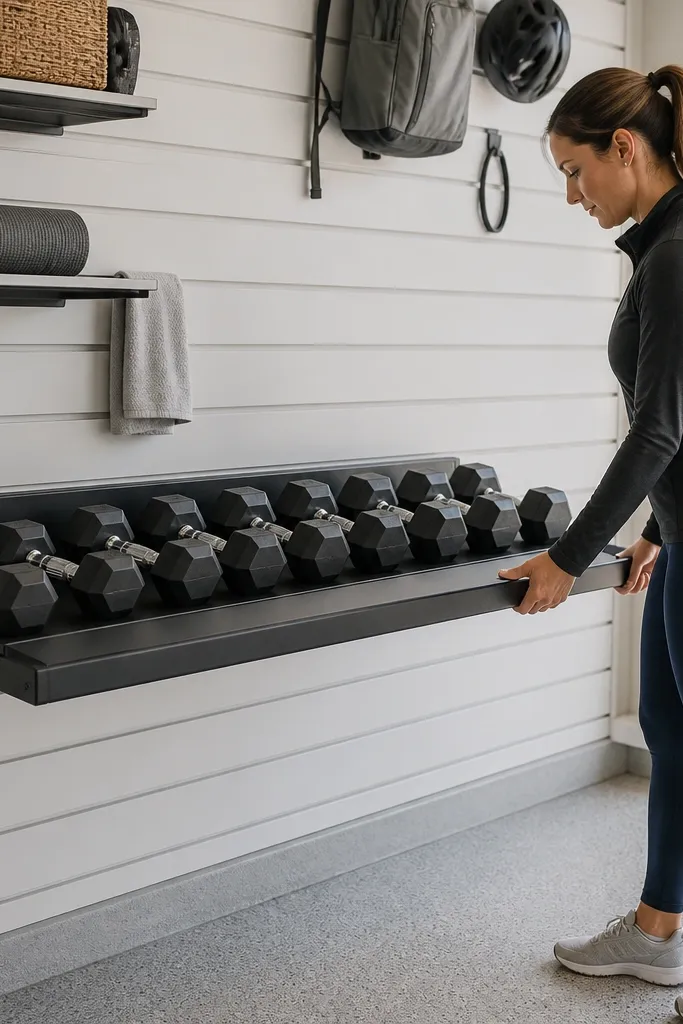
This is the cleanest way to store dumbbells in a tight garage when you hate reaching across a rack. The slatwall gives you adjustable strength points, and the pull-out shelf keeps the weights in your face at the right height. You get a photogenic row of dumbbells that all sit the same distance from the opening, so the whole wall looks intentional instead of cluttered. Build it once and you stop stacking plates and handles on the floor because the shelf has a real landing spot. It fits small spaces, narrow hallways, and garages where you need clear walking lanes.
Install a 2x4 backing frame first so the pull-out shelf has something solid to screw into. Use 3/4-inch plywood for the shelf base, size it to your dumbbell footprint, and add a 1x2 front lip so heads and handles don’t creep forward. Mount slatwall panels to the backing with the manufacturer’s recommended screws, then attach two pull-out slides rated for at least 100 lb each to the plywood shelf and the backing. Set the shelf so the dumbbells sit about 30-34 inches from the garage floor at the front edge. Finish the plywood with a matte black or warm gray paint, then add a thin strip of rubber drawer liner on the shelf deck where the handles rest. Add a simple “grab lane” marker line on the floor or shelf front so you always pull straight out and put the weights back in the same place.
Editor's noteUse a straightedge to line up the shelf lip with your floor marker before you tighten the last slide screw. It keeps the dumbbells from drifting and makes the wall look perfectly aligned in photos.
Skip thisAvoid mounting the slatwall directly into drywall or thin studs without a backing frame — the shelf will wobble and the screws will loosen.



