
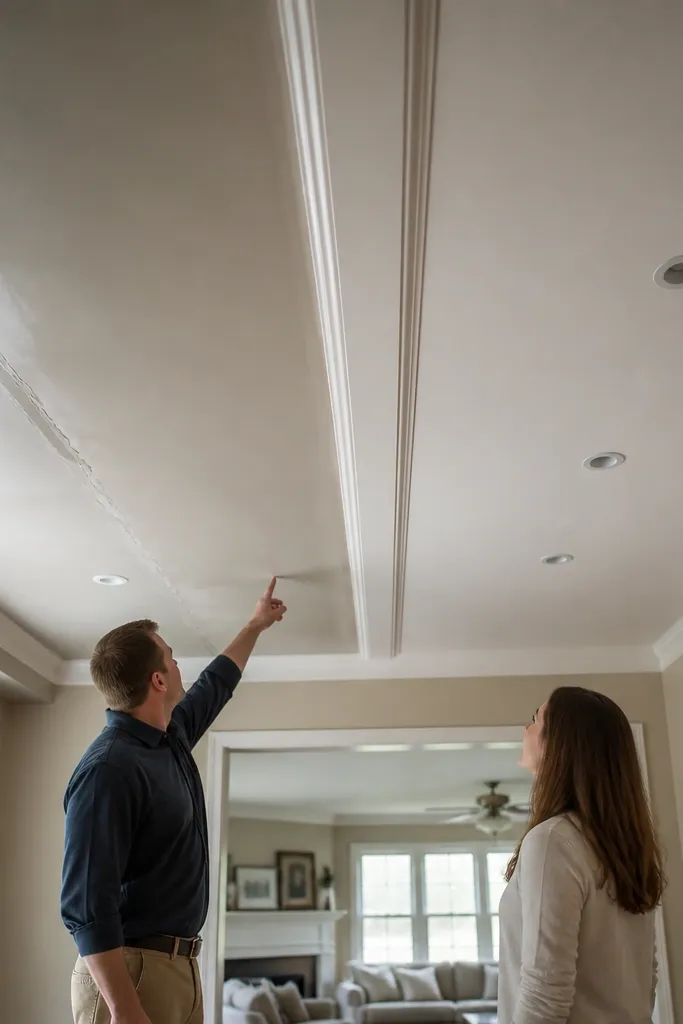
1. Shallow Drop That Looks Crooked From the Couch
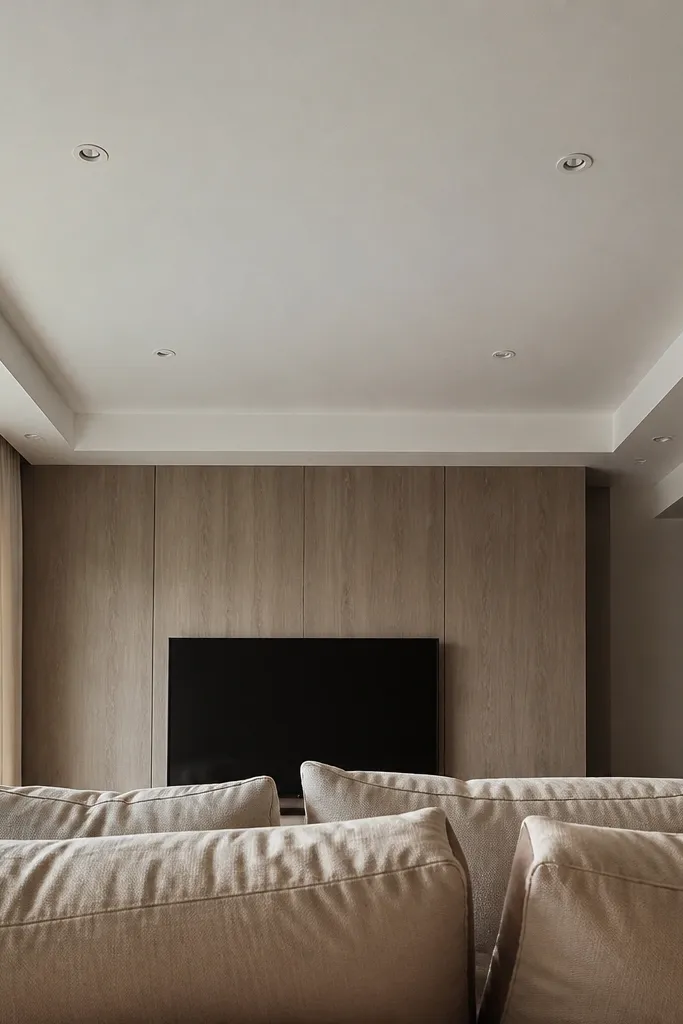
This is the “it’s level in one direction” problem. People measure once, then build the perimeter drop off that one line, so the ceiling reads tilted when you sit down. The fix is a grid-based perimeter drop with consistent reveal thickness all the way around. A clean perimeter reveal makes the room feel taller, even though the ceiling is lower.
Editor's noteUse a laser level and mark four corners, not just two — it catches hidden dips in older ceilings.
Start by snapping two chalk lines at the same height — one along the room length and one along the room width — using a laser level if you have one. Measure the perimeter drop depth from the lowest point on the existing ceiling, not from the highest. Build the perimeter frame at that marked height, then confirm level again after the frame is assembled before you hang any board.
Skip thisAvoid building off a single reference point or you’ll get that couch-level tilt.
2. Sagging Center Panel From Too-Wide Spans
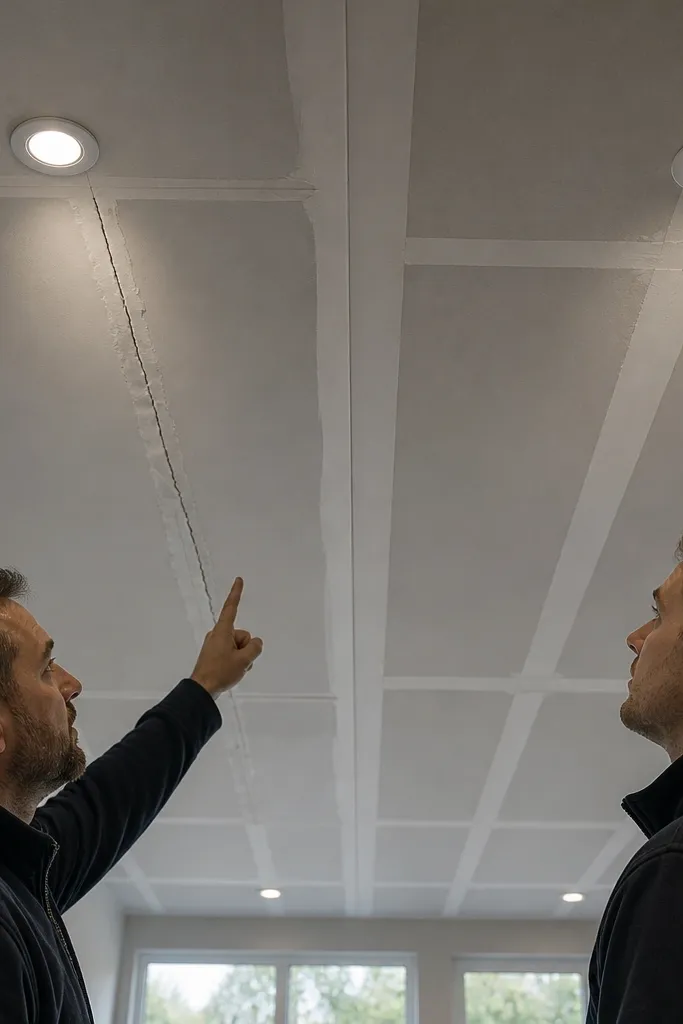
A sagging panel is almost always frame spacing, not “bad boards.” When the joists are too far apart, the board flexes and the seam finish cracks or looks wavy under light. The before-and-after difference comes from tightening the support grid so the board stays flat. This works best in living rooms where the ceiling is visible from multiple angles and you want a smooth, paint-ready surface.
Start by identifying your board thickness and the span you’re trying to cover. Then tighten the frame spacing by adding intermediate cross tees so the board is supported at shorter intervals. Before you screw the board fully, lift and brace the panel area so it sits flat, then fasten the edges first and fill in the center screws afterward.
If you’re spanning more than the comfortable distance for your board thickness, add cross members instead of relying on thicker screws.
Avoid leaving long gaps between joists — sagging is the fastest way to ruin the finish.
3. Visible Screw Heads and Hairline Cracks
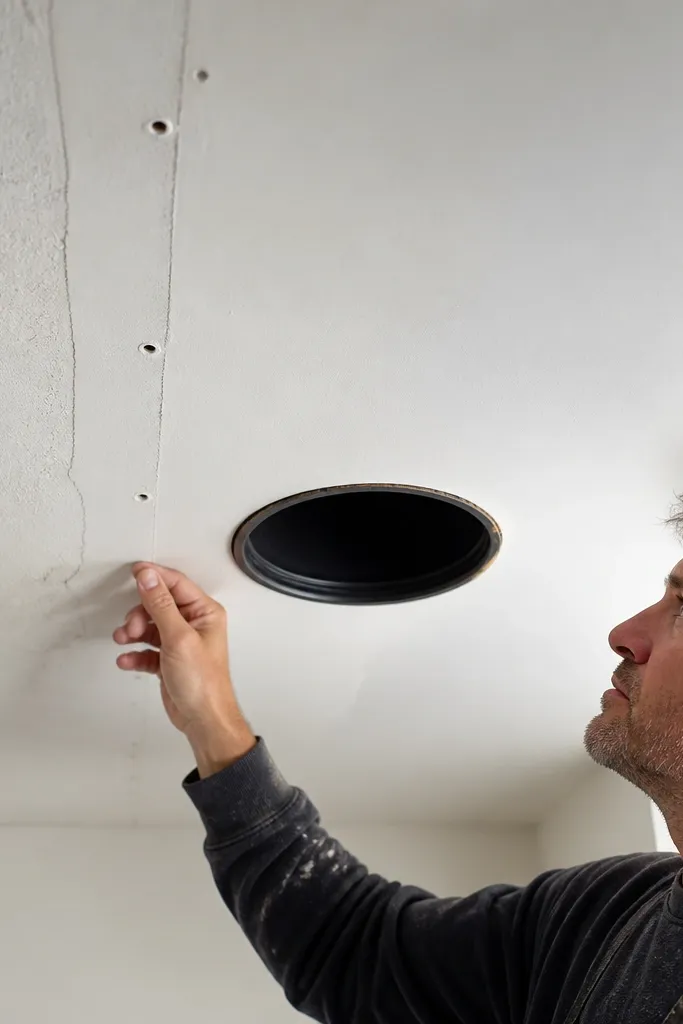
Screw heads showing and fine cracks happen when fastening and finishing don’t match the board. If screws aren’t slightly countersunk or if the seam finish is rushed, the paint will highlight every bump. The before-and-after fix is a proper screw pattern, correct countersink depth, and a multi-pass finishing approach. This is the project that makes the ceiling look “store-finished” instead of DIY.
Start by driving screws so the head is flush with the board surface — not sticking out, not tearing the paper. Then tape seams with joint tape and apply joint compound in thin coats, letting each coat dry fully. Sand between coats until the seam disappears, then do a final skim coat over the whole panel if you want a uniform paint texture.
Use a 2-inch finishing knife for seam work — it spreads compound thin and helps you avoid ridges.
Avoid painting over a seam that still feels gritty under your fingertips.
4. Uneven Perimeter Reveal Around the Room

This is the mistake that makes the whole ceiling look off even if the center panel is flat. When the gap between the ceiling edge and the wall varies, shadows follow the inconsistency and your eye keeps tracking it. The fix is simple: consistent perimeter framing and a controlled edge finish. In a living room, the perimeter reveal is what you notice first from the doorway, so it deserves the most attention.
Start by deciding your target reveal width and mark it on the walls using a chalk line around the whole room. Build the perimeter track at that height, then check it at multiple points — corners and mid-wall points. After the boards are installed, fill the perimeter gap evenly and sand the edge so the shadow line stays consistent.
Measure reveal width at four points per wall, then adjust before boards go up — after that, you’re stuck fighting the finish.
Avoid freehand trimming the perimeter without marking the reveal width.
5. Lamp Shadows That Reveal Every Board Joint
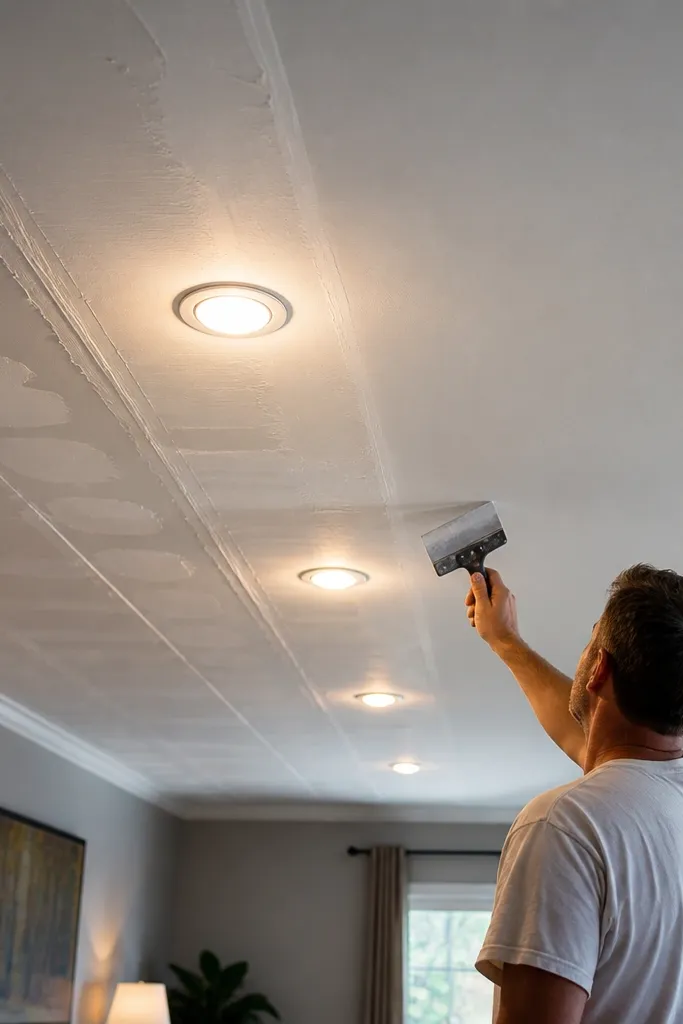
If your downlights make seams look like a roadmap, the problem is finish level, not lighting. Bright point light creates harsh side shadows, so any ridge at tape lines or screw pops becomes obvious. The before-and-after fix is consistent seam height and a smooth final skim. This works even with simple designs because the paint surface quality is what the light reads.
Editor's noteUse a cheap flashlight test — hold it at a 10-20 degree angle and look for ridges before paint.
Start by running your hand over the ceiling after sanding — if you feel a ridge, it will show under downlights. Then do a skim coat over seams first, sand again, and repeat until the surface stays smooth even after you shine a flashlight across it at a low angle. Only then paint, ideally with two even coats and proper drying time between coats.
Skip thisAvoid stopping at one seam coat when you know your lighting is bright and close to the ceiling.
6. Wrong Cutout Size for Recessed Lights
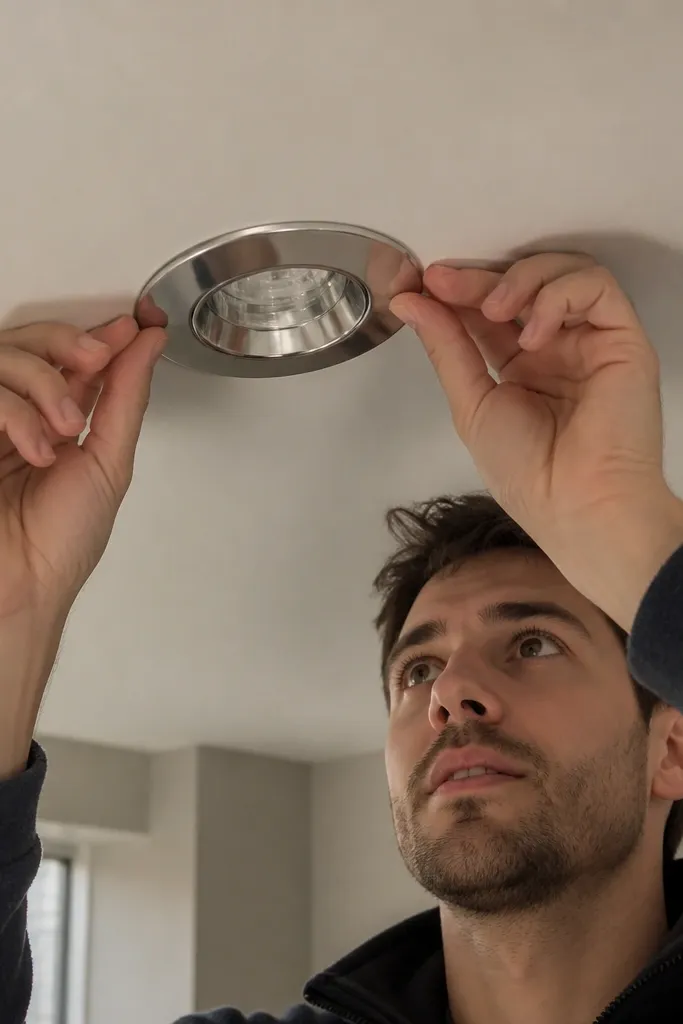
Recessed light cutouts that are too big or too small ruin the look fast. Too big leaves gaps that you can’t hide cleanly, and too small makes the fixture sit crooked or you end up forcing it. The after result should show a tight, even ring with the trim sitting flat. This is one of the most common mistakes False Ceiling Living Room DIY jobs make because people cut boards before confirming the exact fixture dimensions.
Start by laying out the light position on the frame — measure from walls, then mark the center point. Measure the fixture’s required cut diameter from its spec sheet, not from guessing. Cut the hole after the board is installed on the frame, test-fit the light ring, then adjust with careful sanding if you need a tiny change.
Cut a pilot hole first. Then step up to the final diameter so you don’t overshoot.
Avoid cutting “by eye” or using a random drill bit size — the trim ring will show every mistake.
7. Fan and Light Wiring Chaos Behind the Board
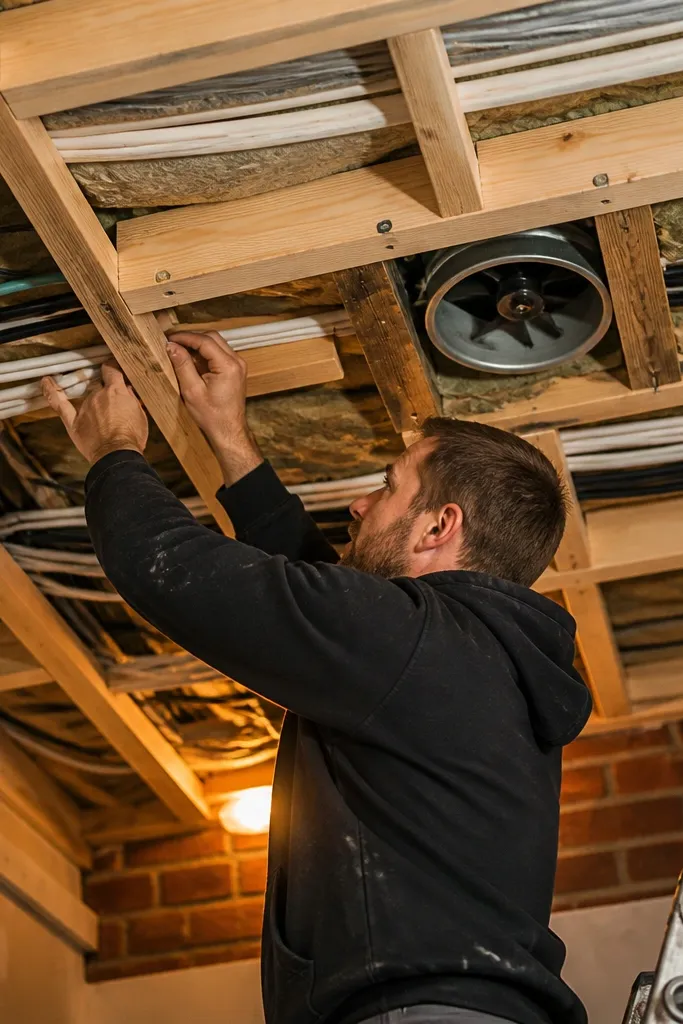
When wiring is messy or routed after the grid is built, you end up with sagging cables, extra wall chases, and unsafe connections. The finished ceiling then looks fine at first and fails later when you try to install the fan or lights. A clean wiring route makes installation straightforward and reduces risk. This project is worth doing carefully because the living room ceiling is hard to open again.
Start by planning your wiring path on the frame before boards go up, then tie cables to the frame with insulated clips. Keep cable slack near each light and fan point so you can connect without stretching. Install junction boxes where you need splices, and keep them accessible — don’t bury splices inside a closed void unless the design allows access.
Label wires with painter’s tape right at the fixture point so you don’t guess later.
Avoid burying splices where you can’t reach them if a connection fails.
8. Board Seams That Land in the Wrong Place
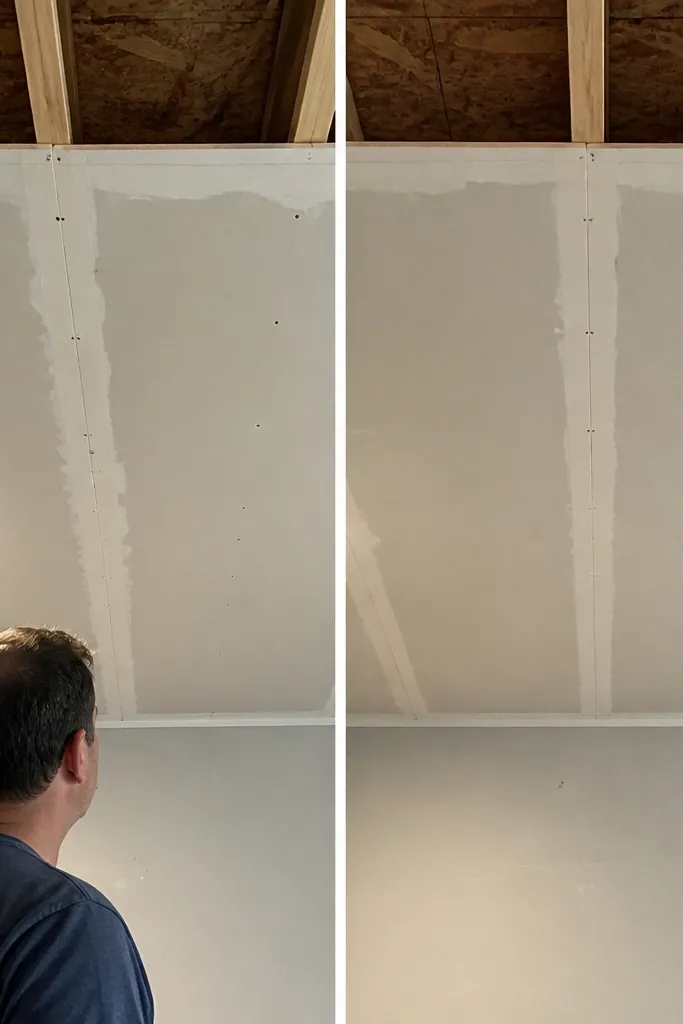
Seams look messy when they don’t align with the frame layout. If a seam falls between supports, the board edges move and the tape line cracks or shows a ridge. The after fix is board placement that matches the joist spacing so seams sit on supports. This also helps you keep the ceiling square, which matters in living rooms with visible corners.
Editor's notePlan sheet layout on the floor first. It’s faster than cutting in place with the ceiling already half-built.
Start by mapping your board sheet size against your frame spacing and mark where each sheet edge will land. Arrange full boards to avoid small offcuts at the perimeter and keep seams over joists. After the boards are installed, keep seams tight and tape them properly, then skim until the joint is level with the surrounding surface.
Skip thisAvoid letting seams float over unsupported gaps.
9. Paint Texture Mismatch Between Skim and Original Board
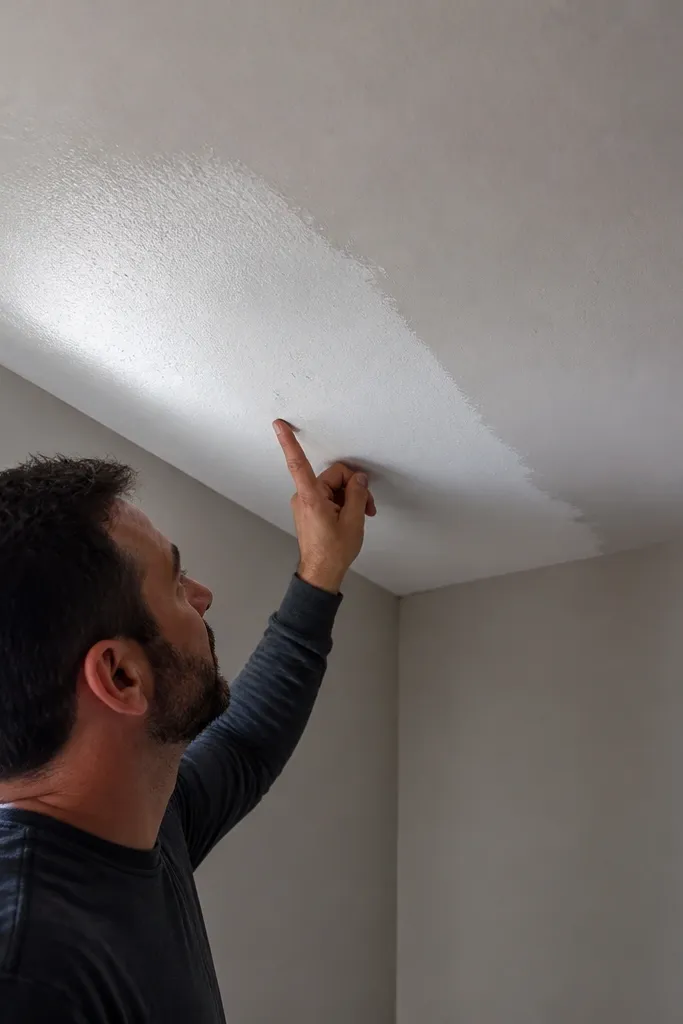
When skim-coated areas are sanded differently than the factory board face, you get a sheen mismatch. Under daylight, one patch looks slightly dull and the other looks glossy. The before-and-after fix is consistent sanding grit and a primer step so paint absorbs evenly. This makes the ceiling read as one smooth surface, not patchwork.
Editor's noteUse the same roller nap for the whole ceiling. Switching nap length changes texture.
Start by sanding skim areas to match the surrounding board texture — don’t stop at a different grit level just because the seam feels smoother. Then apply a primer coat across the entire ceiling, not only where you skimmed. After primer dries, paint two uniform coats and keep a wet edge so you avoid lap marks.
Skip thisAvoid painting only the repaired spots — sheen differences will show immediately.
10. No Expansion Gap at Perimeter - Ceiling Paint Pops
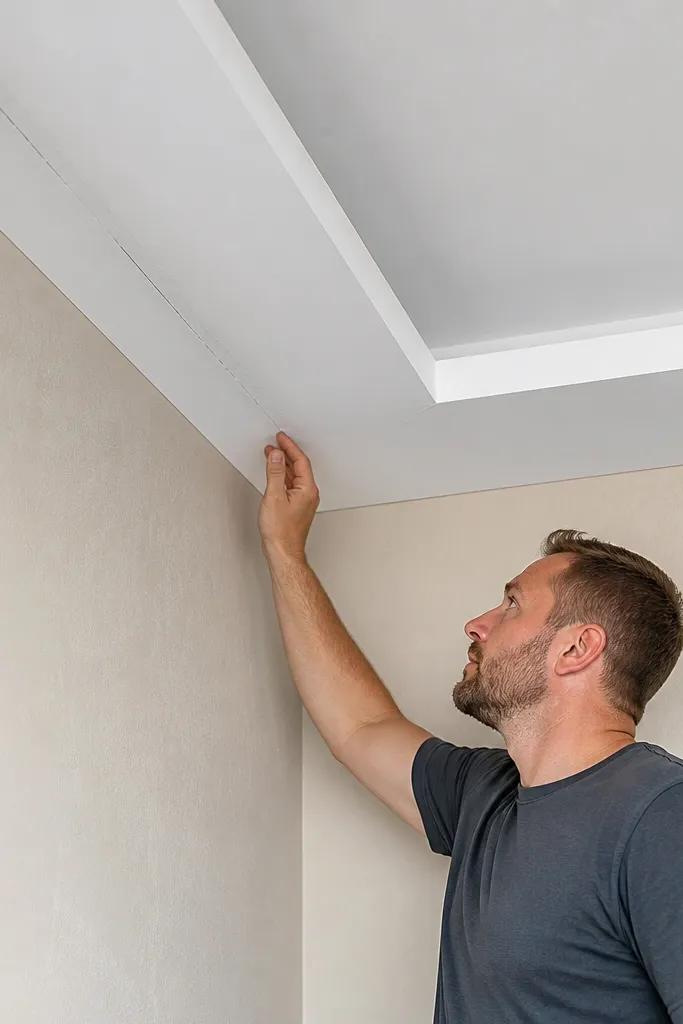
False ceilings expand and contract slightly with temperature and humidity. If the perimeter is sealed too tightly or the board touches the wall rigidly, you get micro-movement — and paint cracks show up along edges. The after result should have a controlled edge that can move without tearing the finish. This is especially common in living rooms with big windows or strong AC cycling.
Editor's noteUse a flexible filler at the perimeter edge, not hard joint compound.
Start by checking your board installation method and ensure the perimeter track allows the board to sit without forcing contact with the wall. Leave the manufacturer-recommended gap at edges, then finish with a flexible edge filler or controlled caulk where appropriate for your system. After filling, tape only the joints that are meant to be taped — don’t tape over an area that should flex.
Skip thisAvoid packing the perimeter solid with rigid compound and expecting it not to crack.
11. Oversized Decorative Corners That Block Light
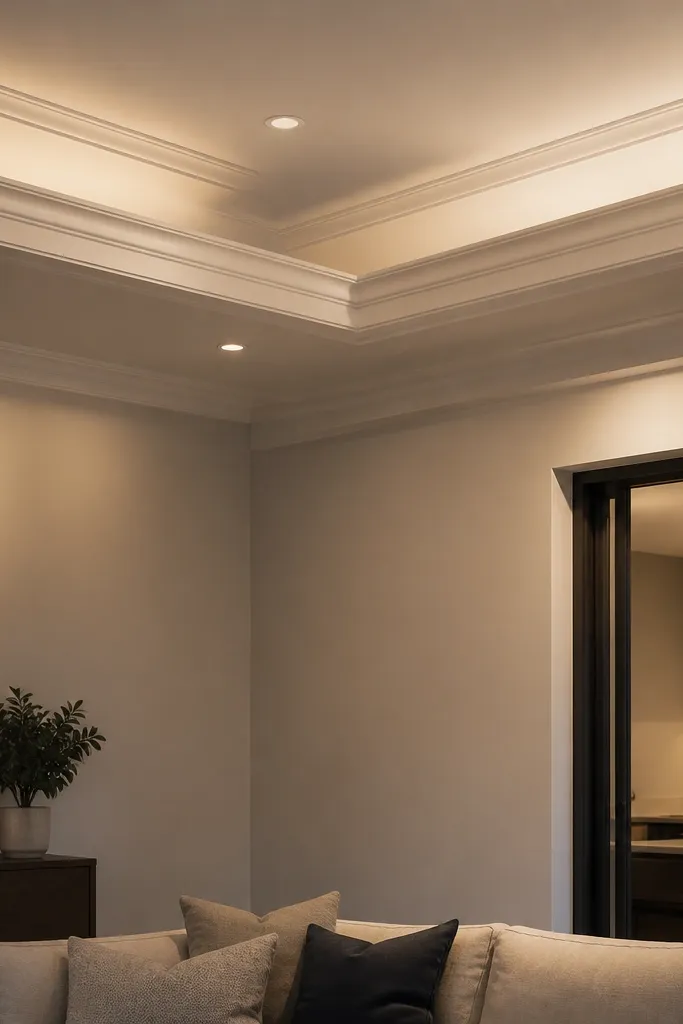
Decorative ceiling elements can look great in a brochure and still fail in your living room. If corner profiles are too thick or the angle is wrong, downlights spill into the ceiling edges and create ugly bright spots or dark corners. The after fix is to match the profile size to the room scale and keep light paths clean. This is a common mistake because people design for looks, not how light moves.
Editor's noteDo a flashlight beam test on the unpainted surface. You’ll see where the profile causes glare.
Start by drawing the light positions and the decorative profile depth on paper so you can see where the beam hits the ceiling edge. Then keep corner returns consistent and avoid sharp protrusions near downlights. If you already built the profile, adjust by trimming the corner pieces and re-filling so the light line stays even after paint.
Skip thisAvoid placing downlights too close to thick molding without checking the shadow line.
12. Frame Built Without Cross-Bracing
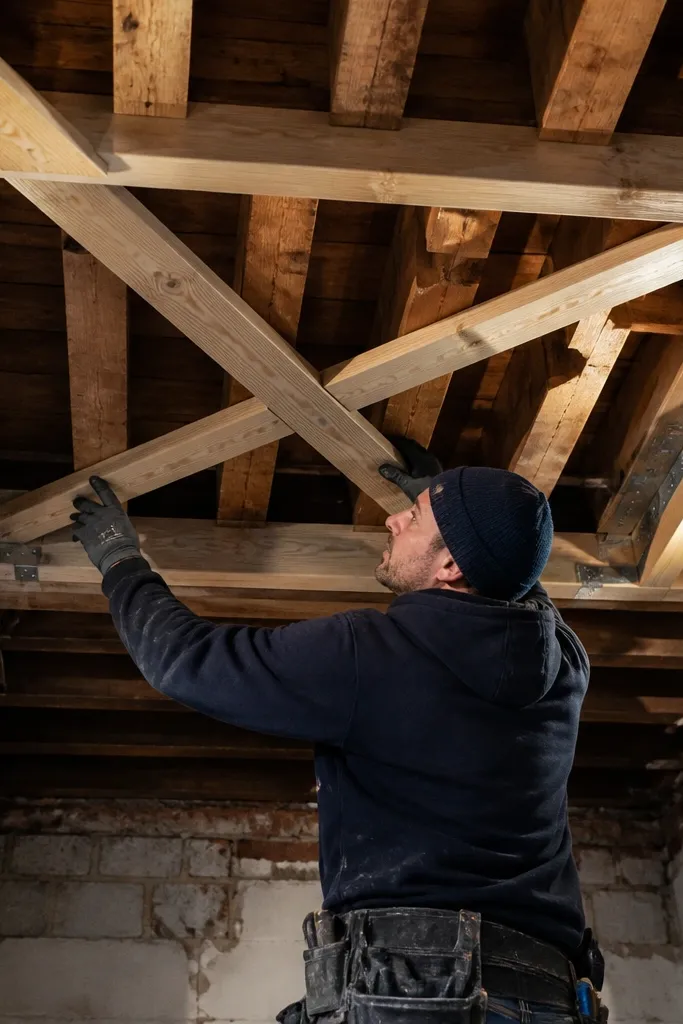
A frame that can sway will always show up as an uneven ceiling after boards and paint. Cross-bracing matters because living rooms have airflow changes and minor structural movement. The after fix is a frame that locks in place before any boards go up. This is the kind of issue you can’t “finish out” with compound — the movement comes back later as cracks.
Start by checking the frame for wobble while it’s still exposed. Add diagonal bracing or additional cross members to lock the grid — especially around the center panel and near openings. Only then hang boards, and fasten edges and center in a pattern so the board doesn’t pull the frame out of alignment.
If the frame moves when you push it, fix the frame before touching seam tape.
Avoid skipping cross-bracing because it saves time during build and costs time later.
13. Wrong Board Thickness for Your Span
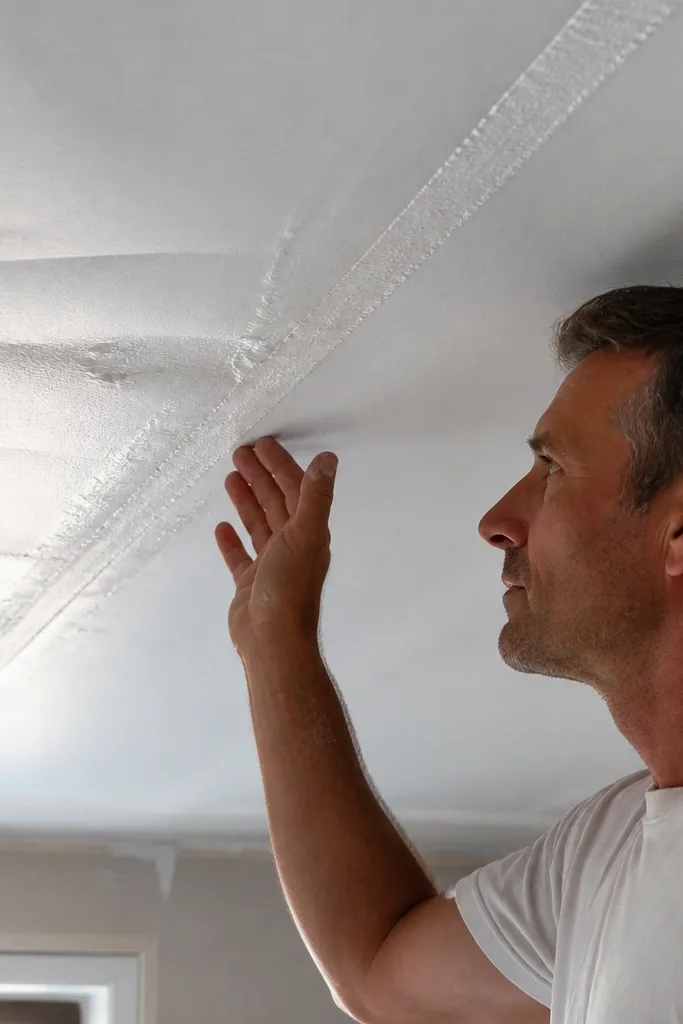
Thin boards over long spans flex under their own weight and during finishing. That flex shows up as uneven sanding, seam ridges, and sometimes cracked tape lines. The after fix is using the right thickness for your spacing and keeping the board supported at the correct intervals. This is a high-impact fix because it changes the ceiling’s behavior, not just its appearance.
Start by matching board thickness to the frame spacing you’ve planned. If you already framed wide spacing, don’t try to “solve it” by using a thinner board — tighten the frame or upgrade board thickness. Install boards with a consistent screw spacing, then check flatness with a straightedge before you start seam work.
Use a long straightedge across the span while the boards are still unpainted. Catch dips before the finishing stage.
Avoid pairing wide joist spacing with thin boards and hoping compound will hide movement.
14. Tape Lines That Bubble After First Coat
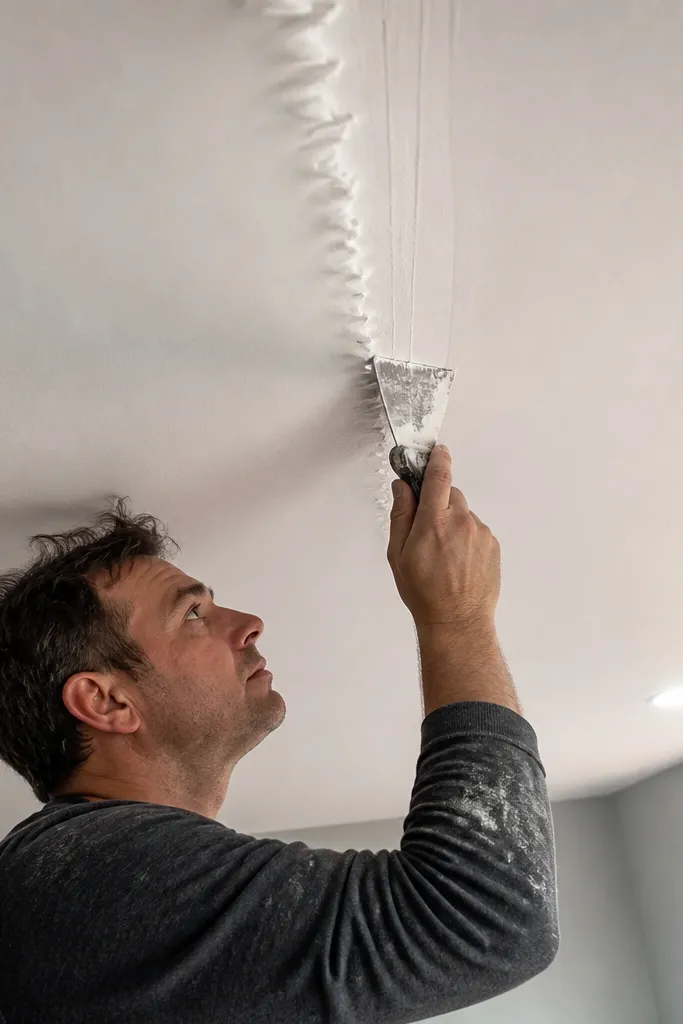
Bubbling happens when the seam tape isn’t embedded properly or the first compound coat is too thick. Paint turns those weak spots into visible blisters, especially under bright overhead lights. The after fix is embedding tape with thin coats and drying time that’s real, not “feels dry.” This is one of the most common mistakes False Ceiling Living Room DIY jobs make because impatience shows up later.
Start by scraping any loose compound and cleaning the seam so tape sits flat. Apply a thin first coat, press tape into it, then add another thin coat to cover the tape — don’t mound it. Let it dry fully, sand lightly, then skim again if needed before priming and paint.
Press tape firmly with a 6-inch knife so it fully contacts the compound bed.
Avoid thick first coats over tape — they trap moisture and create bubbles.
15. Edges Left Too Rough for a Clean Paint Finish
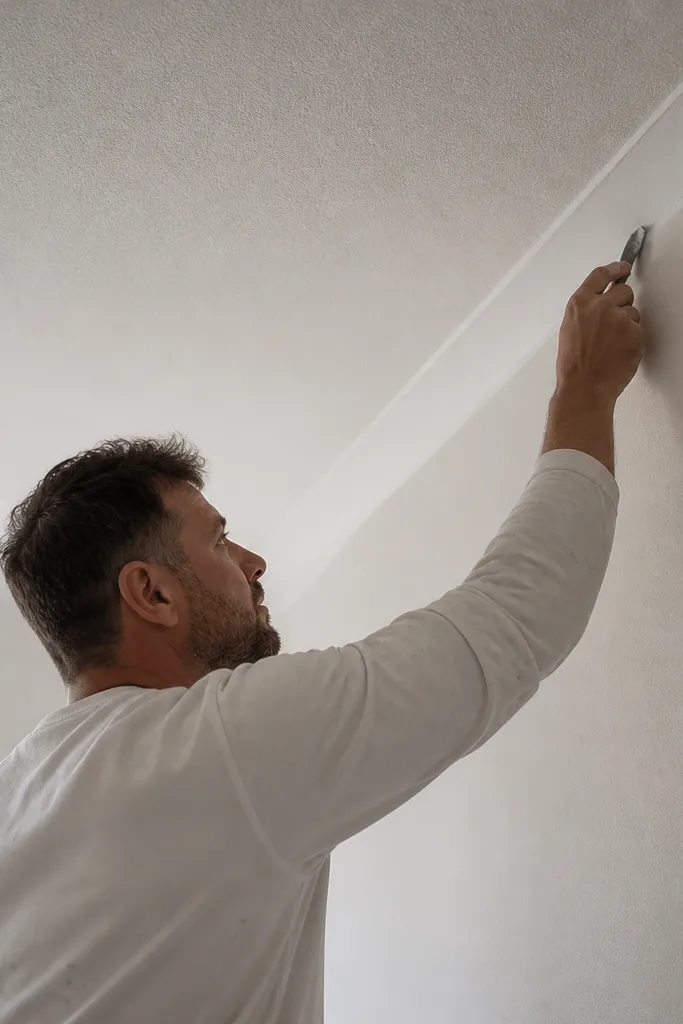
Rough edges make the ceiling look cheap even if the center is smooth. If board edges aren’t chamfered or if you don’t sand the perimeter transition, paint will catch the texture and create a visible line. The after fix is edge preparation and controlled finishing around borders. This matters most on living room ceilings because you see edges in every daylight angle.
Editor's noteUse a sanding block, not loose paper. It keeps the edge straight.
Start by checking board edge quality after installation — if edges are jagged, sand or trim them before finishing. Then apply filler in thin layers at the perimeter and around any decorative borders, letting each layer set before sanding. Finish with a light skim over the edge line so the transition becomes one smooth plane.
Skip thisAvoid skipping edge sanding before primer. Primer doesn’t fix roughness.



