
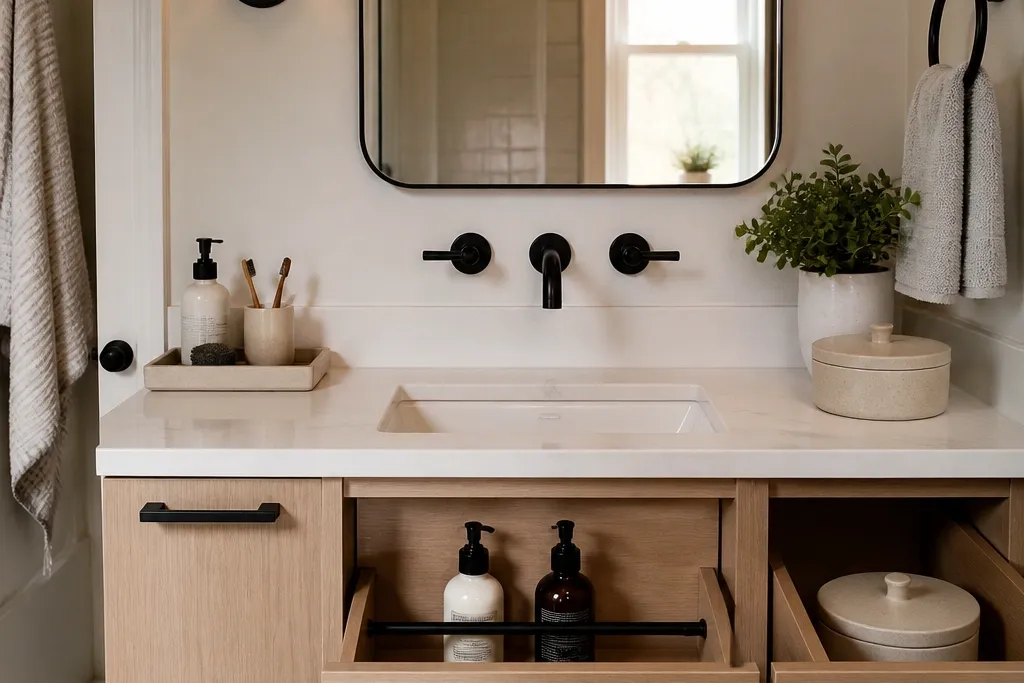

1. Tension-Rail Counter Caddy for Daily Bottles
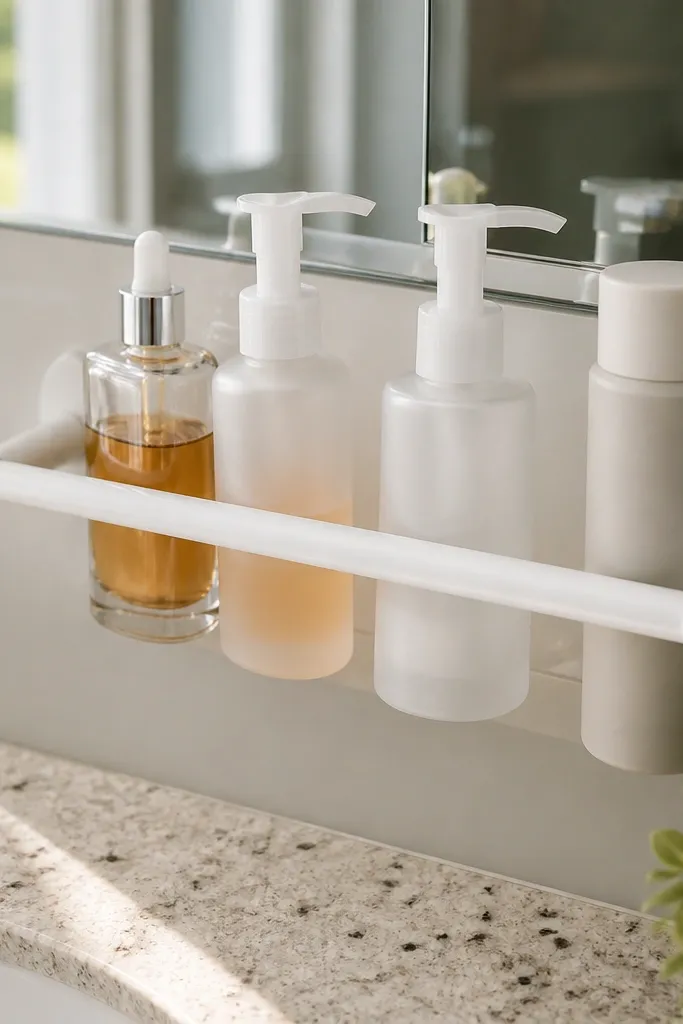
This is the fastest way to make a crowded vanity look styled instead of chaotic. A tension rail (or a small wall rail) pulls bottles off the counter and gives them straight lines, so you don’t get that “random stacking” look. It also keeps your daily-use items in one visible zone, which means you stop leaving extras out. Use a two-tier setup so tall bottles don’t hide everything, and choose matching holders or baskets so the whole thing looks designed.
Measure the space between the backsplash and the cabinet edge so the rail won’t bow. Install a tension rail or mount a small metal rail with two screws, then clip or screw on two wire baskets or acrylic shelves at different heights. Place your tallest bottle on the top tier and keep the rest grouped by type, like cleanser together and serums together. Finish by wiping the rail and baskets so fingerprints don’t show and the organizer looks crisp in photos.
Put your most-used items on the front edge of each tier so you don’t reach past everything.
Skip mixing random cup sizes; mismatched holders make the counter look messy even when it’s organized.
2. Drawer Template Dividers with Clear Acrylic Fronts
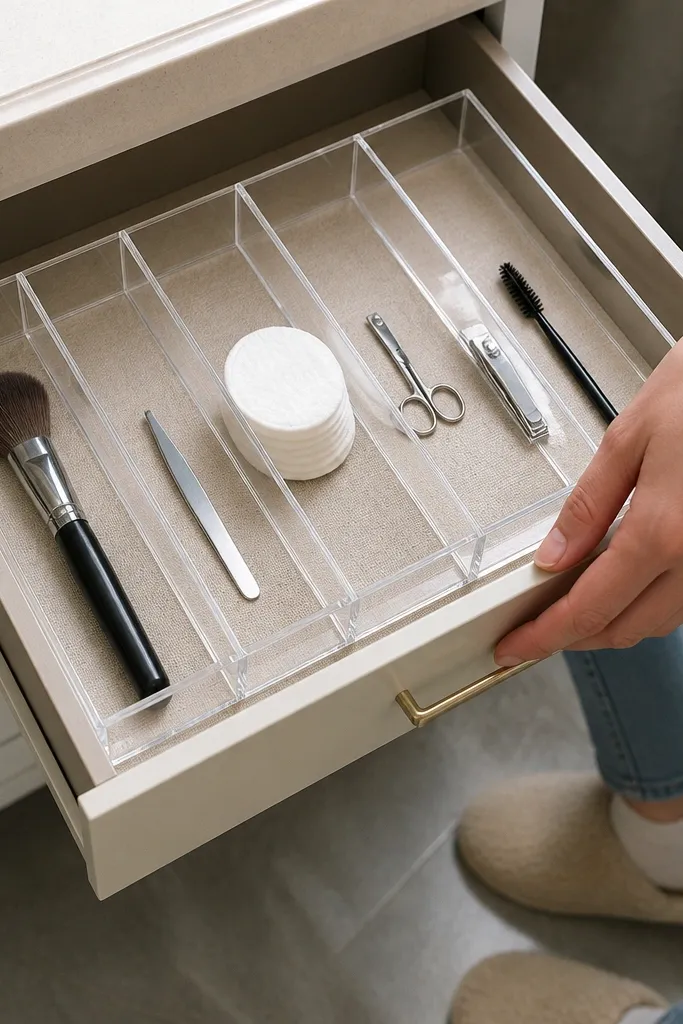
If your drawers look like a jumble, clear acrylic dividers fix the visible mess and make it easy to return items to the same spot. The clear fronts are what make it look clean, because you can see the layout without opening the drawer. Use this when you have small tools like brushes, tweezers, cotton rounds, and mini bottles that migrate everywhere. The look is also very “vanity magazine,” because drawers become neat grids instead of a pile.
Measure your drawer interior width and depth, then cut or assemble acrylic divider panels to fit with a 1/8-inch gap for easy sliding. Build a simple grid: two larger sections for tools and a narrow row for everyday makeup, like mascara and eyeliner. Add a shallow insert tray at the bottom for loose items so they don’t slide under the dividers. Label each section with small removable labels so the layout stays consistent.
Use 1/4-inch thick acrylic for dividers so they don’t bow and the drawer stays square.
Don’t over-divide — if you create too many tiny compartments, you’ll stop using the system.
3. Lidded Vanity Tray for "Counter Extras"

A lidded tray is the single best fix for the “stuff creep” problem. You can keep backups like extra cotton pads, travel-size products, and hair accessories nearby without letting the counter become a storage shelf. The lid hides the mess, and the tray shape makes everything look intentional. This works especially well if you love the look of a clean counter but your routine uses more than just one bottle per category.
Choose a tray that matches your vanity vibe, like matte white ceramic or light wood with a fitted lid. Set it centered on the counter where you usually drop items, then group backups by height so lids close without forcing. Add small liners inside the tray, like felt pads or folded cloth, to stop bottles from sliding. Keep the tray for backups only, and move daily-use items to a separate open spot.
Editor's noteUse a tray with a lid that’s slightly weighted so it stays closed when you bump it.
Skip thisAvoid a tray that’s too large; if it covers your main display area, the whole vanity looks crowded.
4. Pegboard Vanity Wall with Painted Hooks and Bins
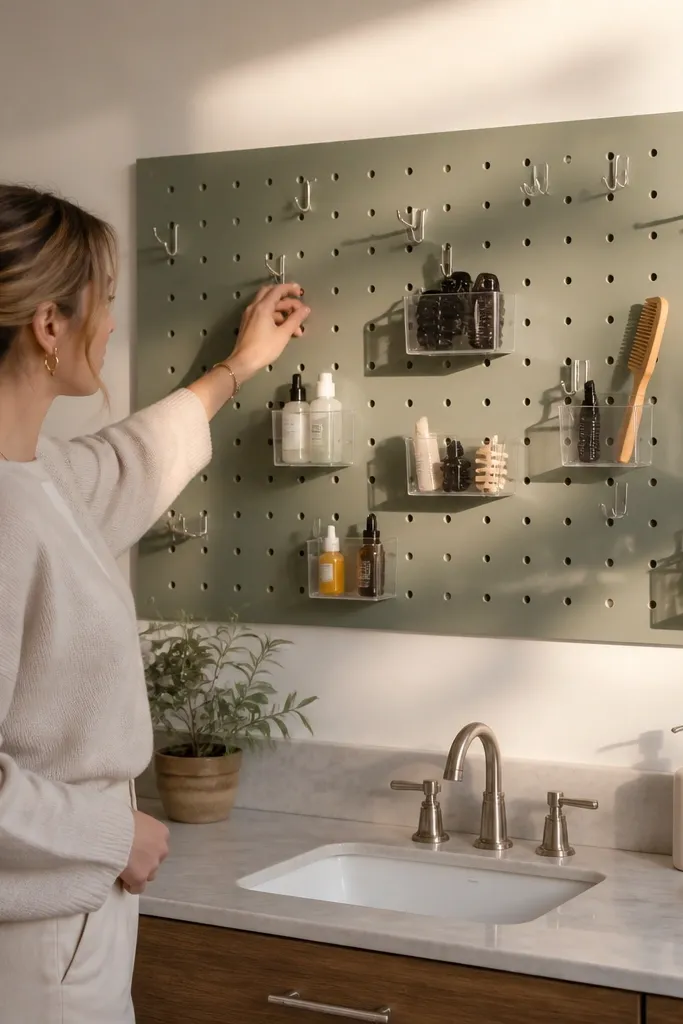
Pegboard turns a plain wall into a clean, organized display without taking up counter space. The grid look is naturally photogenic, and you can customize the spacing so each tool has its own spot. Paint the pegboard and hardware in a single color family so it looks cohesive. This is a strong choice if you have lots of tools like brushes, combs, scissors, and hair ties that need quick access.
Cut or buy a pegboard sheet sized for your vanity wall and paint it with a durable finish like cabinet enamel. Mark a layout before drilling: keep hooks at 2-3 heights so tall tools hang without covering smaller ones. Add small bins for items that fall off hooks, like hair accessories and cotton pads. Use plastic or metal hooks with consistent thickness so the layout looks uniform.
Hang heavier items in the center rows first so the pegboard stays balanced visually.
Skip clear plastic bins without color — they catch light and can look streaky in photos.
5. Spice-Rack Vertical Organizer for Skincare Minis
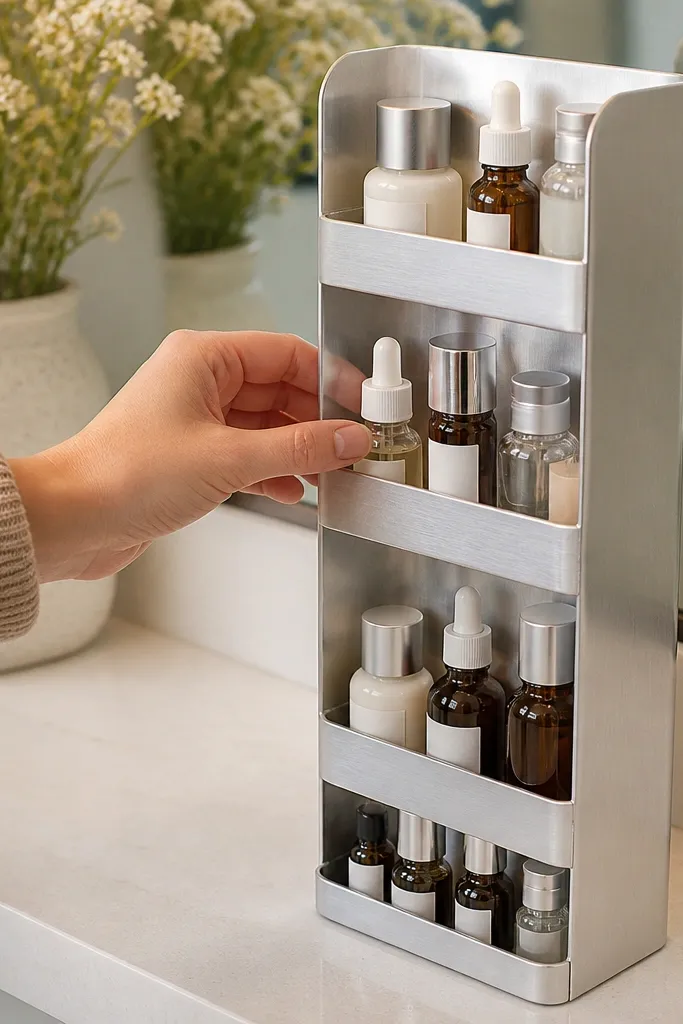
A spice rack is one of the best “budget but looks expensive” moves for vanity organization. The compartments create clean lines, and the vertical orientation stops bottles from wobbling. This works when you have minis, serums, and travel-size products that are too small to store comfortably in regular drawers. The rack makes your routine look curated because everything has a labeled home.
Pick a rack with narrow compartments so minis don’t rattle; aim for 2-3 inch spacing per slot. Mount it on the side of a cabinet or a wall panel using a level so the rack doesn’t look crooked. Label each compartment with small paper labels or vinyl stickers, then slide bottles in by category. Finish by grouping the same finish bottles together so the rack looks consistent.
Use label tape in a single font size so the whole thing reads clean, not chaotic.
Don’t pack the compartments too tightly; if you have to force bottles, the rack will look messy fast.
6. Modular Tray Stack with Fabric-Folded Inserts
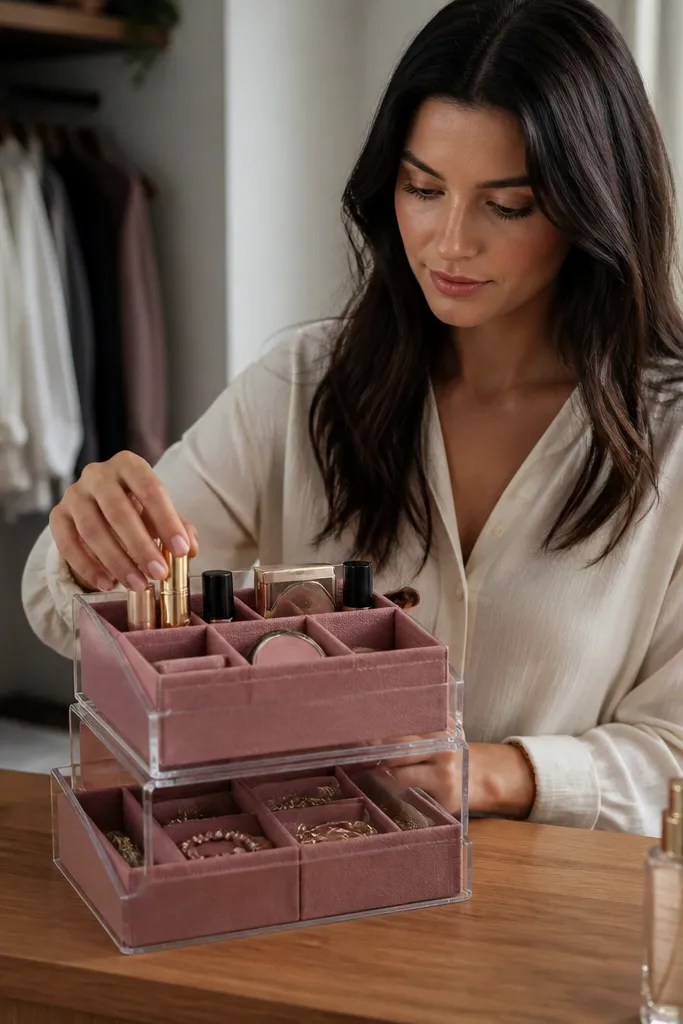
This is for people who want a soft, pretty look instead of all-clear plastic. Modular trays stacked in two heights give you a clear layout, and fabric-folded inserts make the compartments look styled. It’s great for vanity items that don’t stand up well, like makeup palettes, lip products, and small accessories. The fabric also hides scuffs and fingerprints, so it stays photo-ready.
Choose two shallow trays with matching width so they stack cleanly on the counter. Cut fabric to line each compartment, then fold the edges under so they don’t fray or curl. Create two categories: open daily items in the top tray and backup or overflow in the bottom tray. Place the stack in the same spot every day so it stays a “set piece” rather than moving around.
Use cotton or linen for inserts and wash it first so it doesn’t shrink after you install it.
Skip slippery satin fabric; items slide and the tray looks messy quickly.
7. Pegboard Drawer Backer for Hair Tools
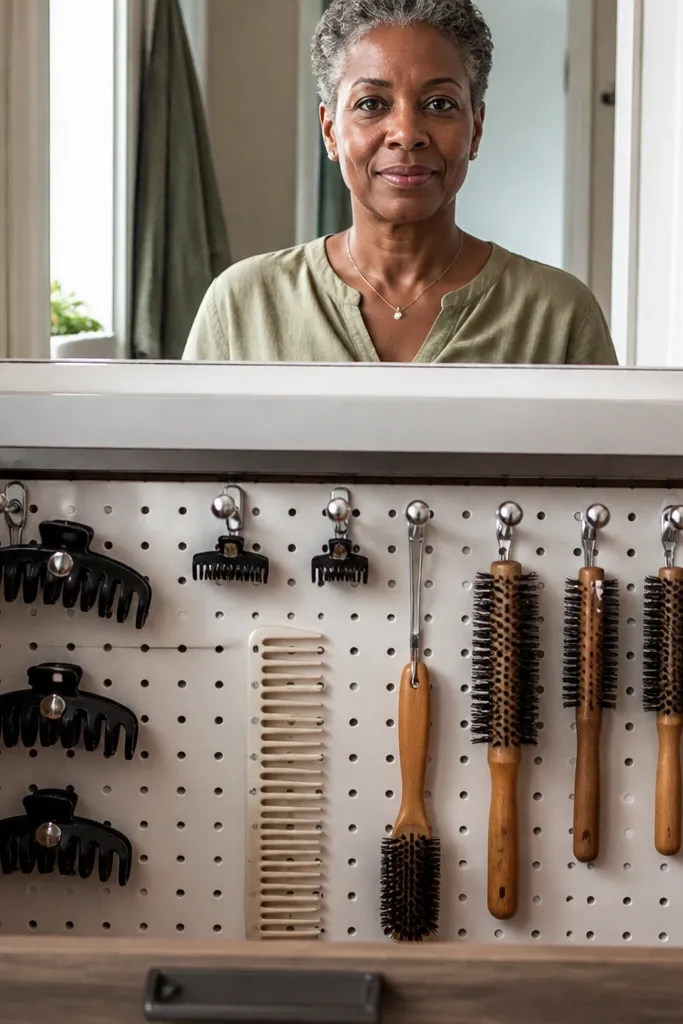
This one is oddly satisfying: pegboard inside a drawer lets tools hang in place and stay separated. It’s a clean look because every item sits upright in a grid, and you can see what you own at a glance. It’s best for hair tools like clips, combs, and small brushes that usually end up mixed together. The drawer stays tidy even when you toss things in quickly.
Cut pegboard to fit the drawer back or side, leaving 1/4-inch clearance from the drawer edges. Attach tiny hooks or pegboard clips for each tool type, then line the bottom with a thin tray for anything that can’t hang. Sort items by size and place longer tools on one side and shorter tools on the other. Add a small stop strip at the front edge so items don’t slide when you open the drawer.
Use short hooks for hair clips; long hooks make the layout look crowded.
Don’t mount hooks too close to the drawer base; tools will scrape and the drawer will look worn.
8. Clear Cup + Bamboo Spoon Organizer for Counter Utensils
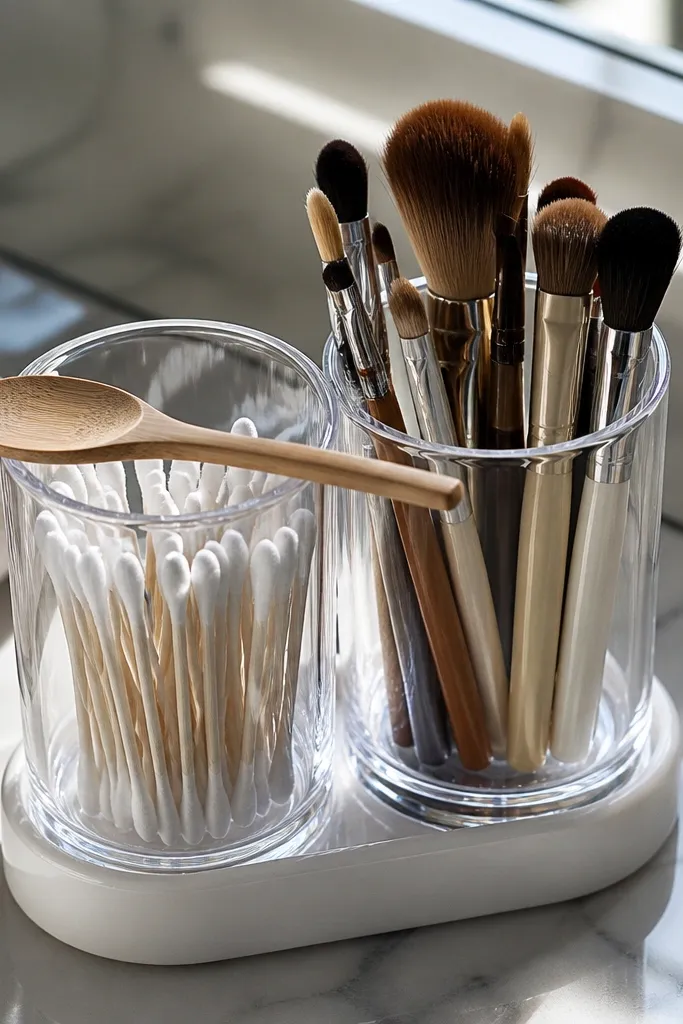
This is a small change that makes a big visual difference because it turns “loose tools” into a set. Clear cups show off what’s inside while bamboo adds warmth, so the vanity looks styled, not sterile. Use it for cotton swabs, cotton rounds, makeup brushes, and any small utensils you keep within reach. It’s also easy to swap items out for different seasons without rebuilding anything.
Pick two clear cups and one shorter cup, then decide what goes in each size. Use the tallest cup for cotton rounds, the medium cup for swabs, and the short cup for a few brushes or spatulas. Add a small bamboo spoon or mini tongs inside the cup for scooping products that you don’t want to touch with hands. Place the cups in a triangle formation so the counter has shape, not a straight line.
Wipe the cups with microfiber cloth before photos; fingerprints show through clear plastic fast.
Avoid one giant cup; it turns into a clutter blob instead of a clean system.
9. Corner Shelf with Acrylic Bins for Small Items
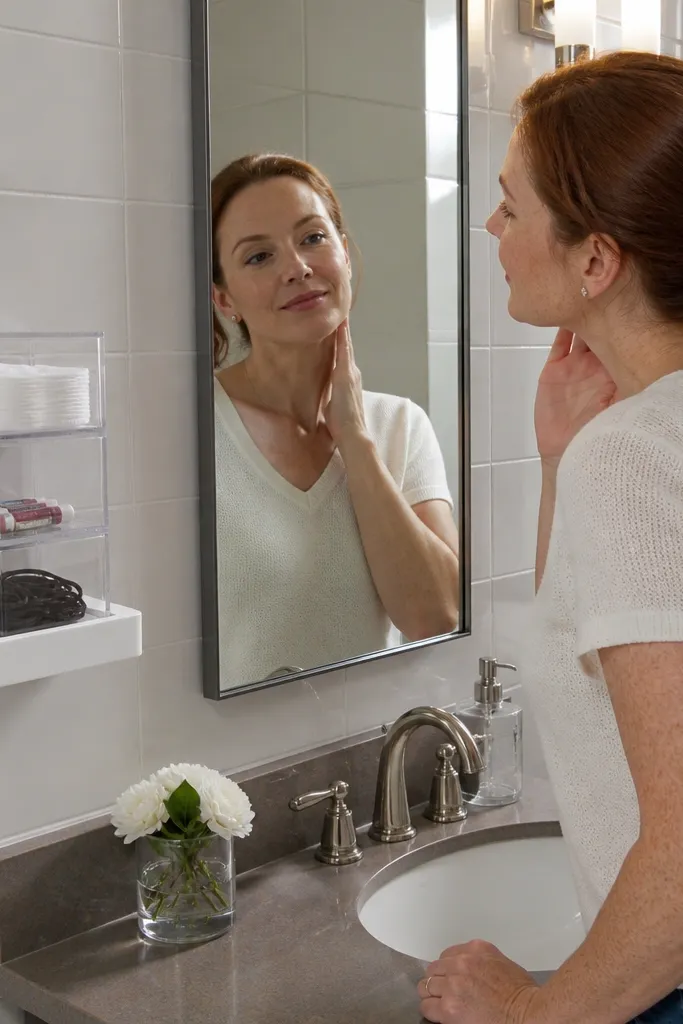
Corner storage looks clean because it uses space your counter already ignores. A small wall shelf paired with acrylic bins gives you a neat, stacked look with minimal clutter. This works when you have a narrow vanity and your drawers are already packed. The bins keep small items from scattering and make the shelf look curated.
Find a corner shelf that fits your spacing, then mount it with a level so it doesn’t skew. Use acrylic bins with a consistent height so the shelf looks uniform; two bins on top and one on bottom looks balanced. Group items by type: skincare in one bin, makeup tools in another, and hair ties in the third. Add small labels to each bin and keep only what you use weekly.
Editor's noteChoose bins with slightly frosted sides if you hate glare in bright bathrooms.
Skip thisSkip open bins for tiny items; they look tidy for a day and messy by day three.
10. Under-Sink Pull-Out Bin with Label Bands
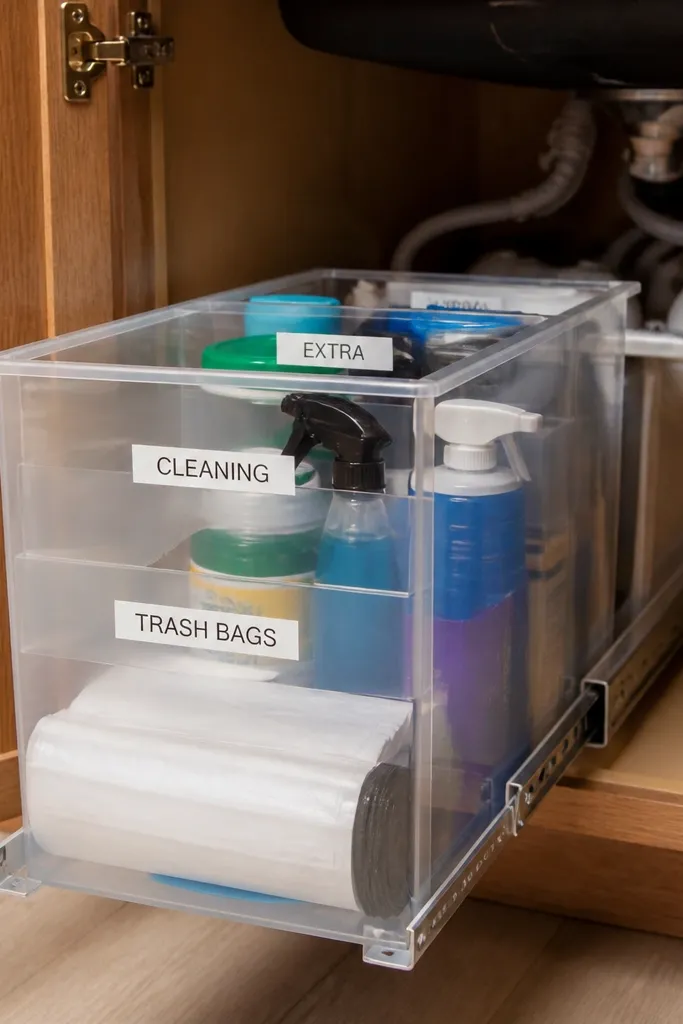
Most people ignore under-sink storage until it’s a disaster. A pull-out bin solves the “everything is shoved back there” problem and keeps backups hidden while still easy to reach. The look improves because you stop seeing random bottles through the cabinet gap. Label bands keep it readable even when the bin slides out fast.
Measure the under-sink cabinet depth and choose a pull-out bin that slides smoothly without scraping pipes. Install two fixed guides or use adhesive-backed drawer stops so the bin doesn’t drift. Put cleaning refills and backup items in separate bins or sections inside the pull-out. Add label bands on the front edges so you can identify the contents without opening anything.
Editor's noteUse waterproof labels because bathroom humidity destroys paper stickers.
Skip thisDon’t mix cleaning products and personal toiletries in the same bin; it smells and it looks wrong.
11. Framed Fabric Organizer for Drawer Front Storage
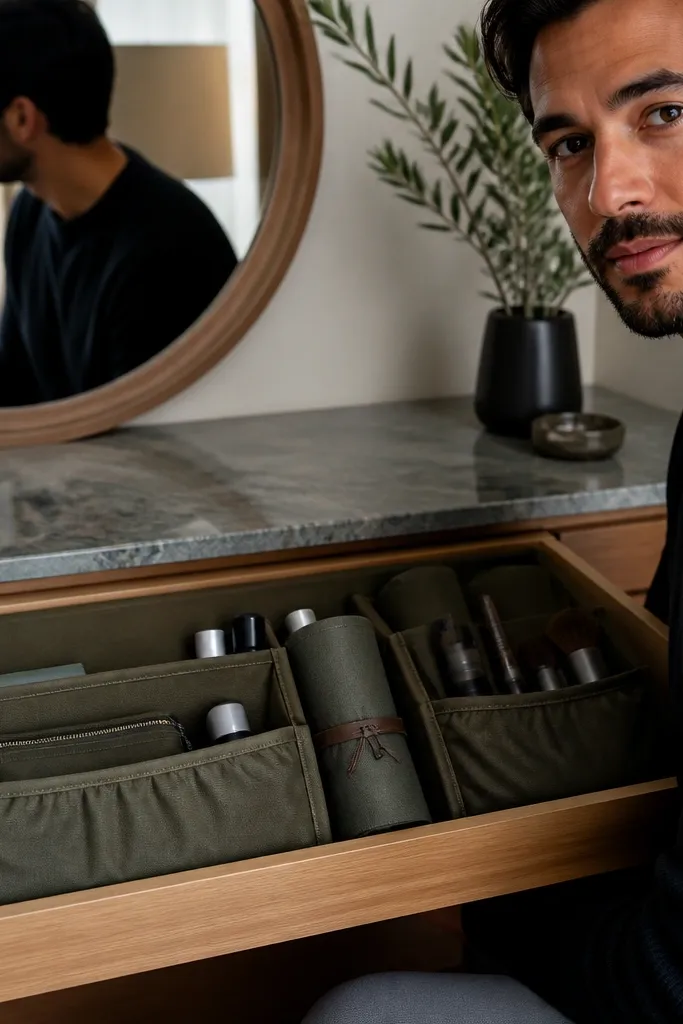
If you hate rigid plastic and you want a soft, tailored look, a framed fabric organizer is the move. It’s visually warm and hides small clutter, but it still keeps items separated. This works for hair accessories, small makeup pouches, and rolled tools like face razors or brushes. The frame makes the arrangement look intentional instead of like random fabric scraps.
Measure the inside of your drawer front or the cabinet door area where you want the organizer. Build a simple frame from thin wood strips or buy a shallow picture frame, then stretch fabric tightly and staple it to the back. Add pockets or elastic loops for each item type, keeping pocket widths consistent so the layout looks neat. Slide or mount the organizer so it doesn’t sag when the drawer closes.
Editor's noteUse cotton canvas or duck cloth so pockets hold shape after repeated use.
Skip thisSkip stretchy knit fabric; it collapses and your pockets look uneven.
12. Black-and-White Label System for Bottles on a Tray
Labels are the difference between “organized” and “photogenic.” A consistent black-and-white label system makes your vanity look designed, even if the bottles came from different brands. It’s perfect for people who transfer products into similar containers or who have mismatched packaging. The alignment and repetition of labels adds structure that the eye reads instantly.
Choose a label style: black text on white tape or a white label with black marker. Write short names like Cleanser, Serum, Moisturizer, and keep them consistent in size. Place bottles on a tray with raised edges so they don’t slide and the labels stay visible. Once everything is labeled, group by step order and keep backups in a separate lidded tray.
Use a label guide or ruler so every label sits in the same position on each bottle.
Avoid decorative fonts; they look messy when you have multiple labels.
13. Magnetic Strip for Tweezers, Clippers, and Metal Tools
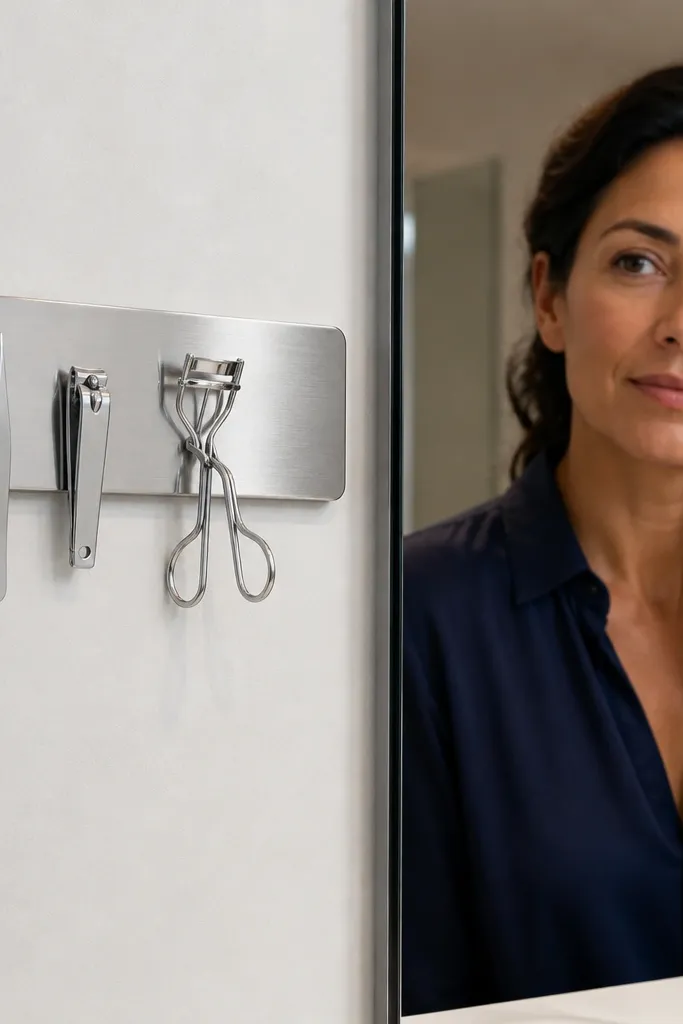
Metal tools are the easiest to organize, and magnetic strips make them look clean and intentional. The flat strip lines up tools so they don’t pile in a cup, and you can see everything instantly. This is best for tweezers, small scissors, nail clippers, and eyelash curlers that have metal parts. The look is modern and sleek, especially if you match the strip color to your hardware.
Mount the magnetic strip on the inside of a cabinet door or on the side wall near the counter. If you use a strong strip, screw it into studs or use heavy-duty anchors rated for the weight. Hang tools by weight: place heavier items lower and lighter tools higher to avoid bunching. Add a small tray on the bottom for items that don’t stick magnetically, like plastic combs or cotton pads.
Add a small felt pad under the tools so they don’t clack when the door opens.
Skip placing sharp tools on a strip where kids or guests can touch them easily.
14. Two-Level Mirror-Edge Shelf for Hair Products
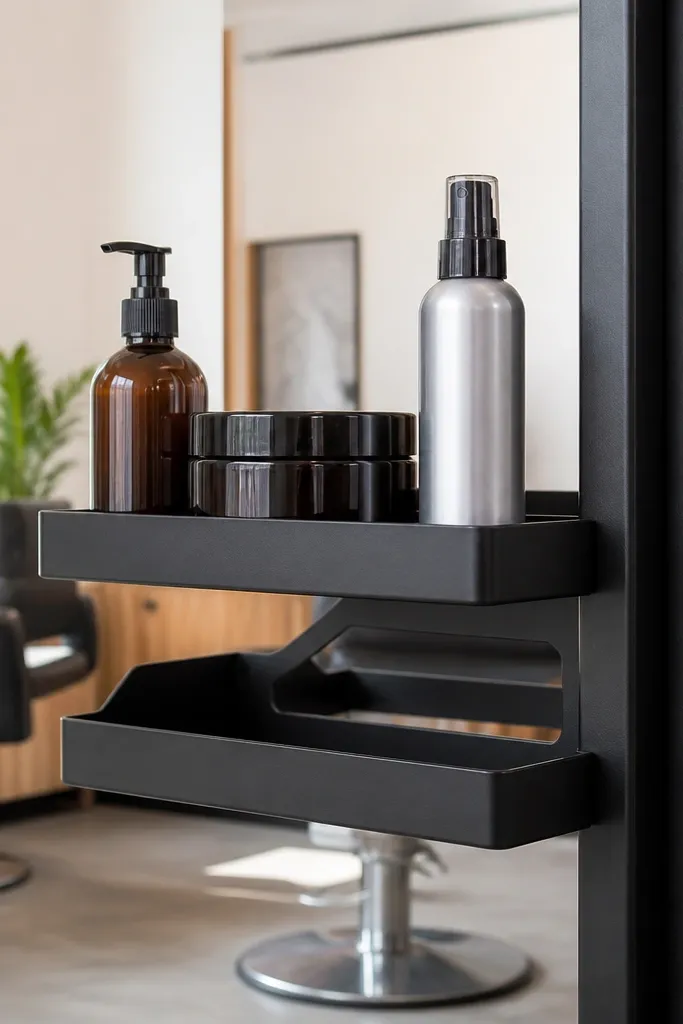
When you style hair at the vanity, everything ends up on the counter — and it looks messy fast. A small two-level shelf near the mirror keeps styling products in your working zone without crowding the main counter. It’s visually striking because it frames your routine like a little display. This works for hair creams, sprays, and heat protectants that you grab during mornings.
Measure the space beside or above the mirror so the shelf doesn’t block reflections or lights. Mount two shelves — one slightly taller than your tallest product and one for smaller items — and keep both at the same height line. Use matching containers or bottles with similar silhouettes so the shelf reads clean. Finish by placing your most-used product front and center, with backups behind it.
Editor's noteUse a matte shelf finish if your bathroom lights cause glare on glossy surfaces.
Skip thisAvoid shelves that are too deep; deep shelves hide products and make the layout feel cluttered.
15. Acrylic Vanity Organizer with Rotating Sections

Rotating organizers make the vanity feel tidy because the items face forward in one direction. Acrylic looks clean and modern, and separate sections prevent “everything mixed together” chaos. This works best for makeup steps you use daily: foundation, concealer, brow tools, and lip products. The visible compartments also help you keep quantities under control, because you can see when a section is overfilled.
Choose an acrylic organizer with rotating trays or a lazy-susan base and multiple small wells. Put the first step products in the front section, then move down your routine clockwise. Keep your backups in a separate lidded tray so the rotating organizer stays lean. Use small paper labels on the tray bottoms so you can replace items without guessing.
Store loose items like cotton pads in a separate bin; they hide inside acrylic wells and look messy quickly.
Don’t fill every section; leave one empty well so the organizer looks intentionally curated.
16. Drawer Sock-Style Divider for Lipsticks and Eye Pencils
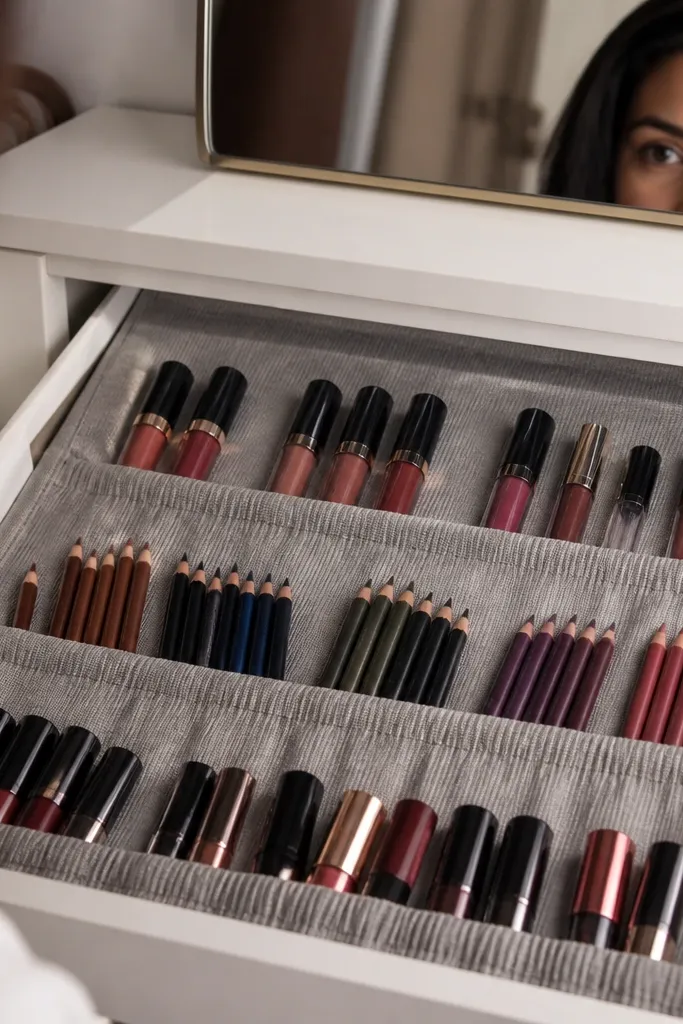
This is a cheap way to keep slim products from rolling around and turning your drawer into a search mission. A sock-style divider uses fabric pockets or elastic loops so lipsticks and eye pencils stand upright. The look is tidy because every item lines up, and it’s easier to grab without digging. It’s ideal when you have lots of slim items that don’t fit neatly in standard foam inserts.
Measure the drawer depth and cut fabric to form a long divider strip with pockets. Stitch or glue elastic loops so each product sits upright with a little clearance. Place the divider along the drawer side so the pockets face up when the drawer opens. Add a small base tray underneath to catch any caps that fall and keep the fabric clean.
Use thicker elastic for heavier lipsticks so the divider doesn’t stretch and sag.
Skip thin fabric; it wrinkles and makes the pockets look uneven.
17. Bathroom-Cabinet Door Pocket Organizer for Daily Minis

Door pockets are a secret weapon because they keep daily-use minis out of your drawer stack. The pockets create a clean grid, and the door storage is hidden from the main counter view. This makes your vanity look calmer while still keeping everything you use in reach. It’s a great choice for small serums, face oils, and travel-sized products that are hard to store in deeper drawers.
Measure the inside width of your cabinet door and choose pocket sizes that match your bottle heights. Mount the organizer using strong adhesive hooks or screws, then test that the door closes without squeezing bottles. Put one product per pocket and keep the labels facing out when possible. Add a small lidded mini bin on the inside bottom shelf for overflow so the pockets don’t get stuffed.
Editor's noteUse clear vinyl pockets if you want the organizer to look crisp and easy to scan.
Skip thisDon’t overfill pockets; stuffed doors bulge and look messy immediately.
18. Upcycled Frame Vanity Tray for Jewelry and Small Tools
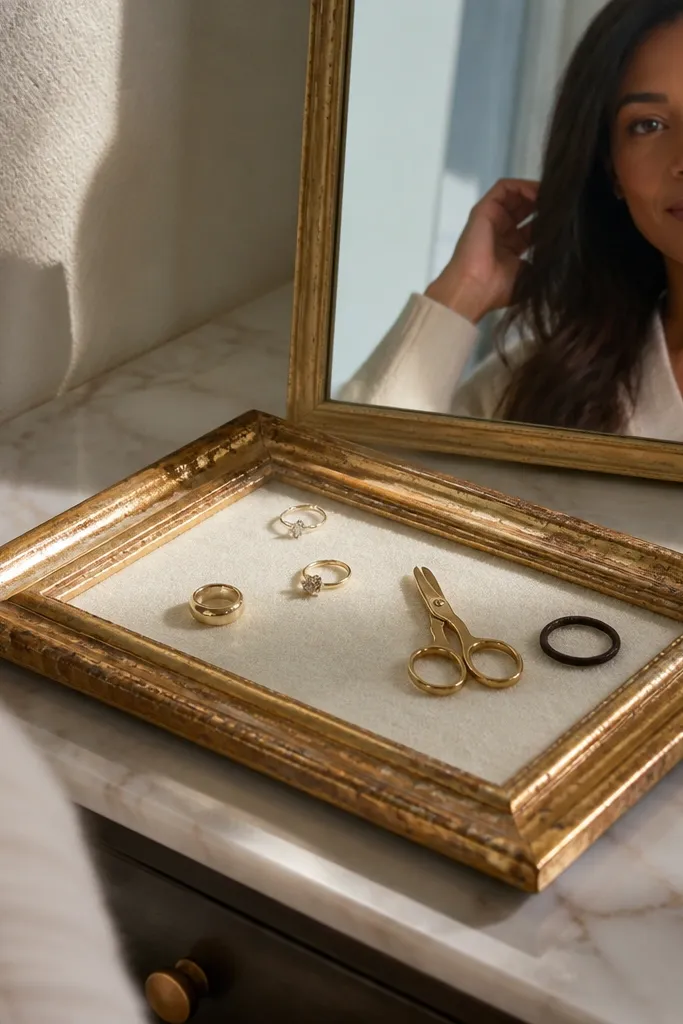
This turns a boring corner into a styled focal point. An upcycled frame tray gives you a defined boundary, which stops jewelry and small tools from spreading across the counter. It looks good because the frame edges create a clean rectangle, and you can match the frame finish to your hardware. Use it for rings, earrings, hair ties, and small daily tools like a keychain-sized comb or mini mirror.
Sand and paint or stain a thrifted frame so it matches your vanity hardware, then remove the glass if it’s in the way. Add a backing board and glue small compartments inside, like felt-lined sections or mini cups for earrings. Seal the inside surfaces so they wipe clean, then mount or set the tray on the vanity where your eyes land first. Keep only daily items inside and move the rest to a drawer or lidded bin.
Line each compartment with felt to prevent scratches and keep pieces from sliding.
Avoid glossy paint inside the tray; it shows scuffs and smears under bathroom lighting.
19. Framed Counter Catch-All with Hidden Foam Liner
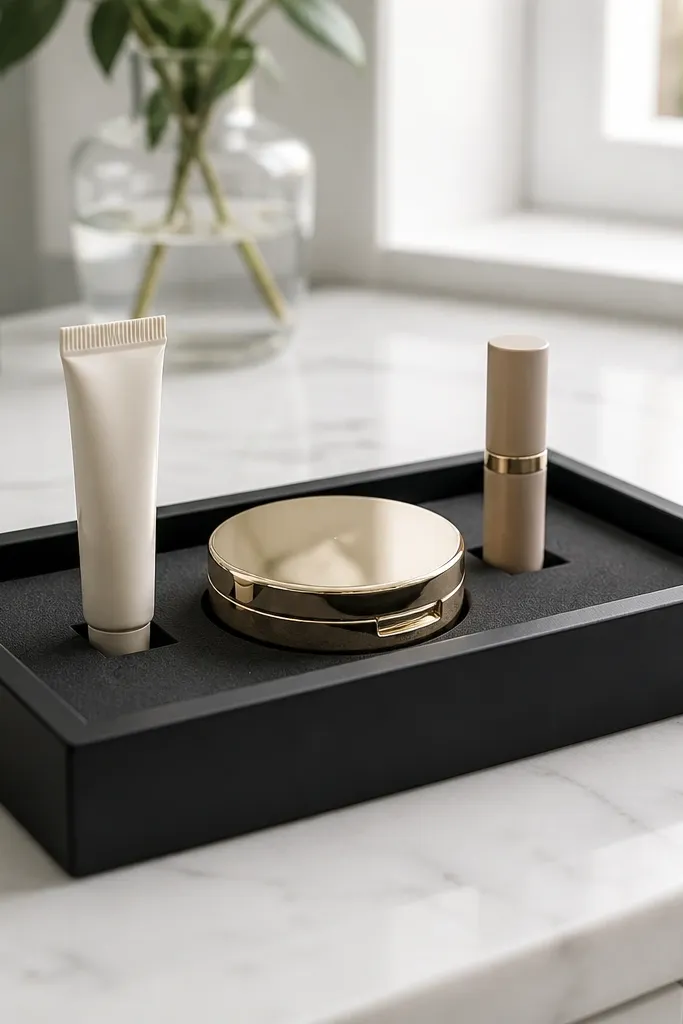
This fixes the mess that happens when your daily stuff never has a landing spot. A framed catch-all gives you a single “place to put it” zone, and the hidden foam liner stops bottles and tubes from sliding or rattling across the counter. The look is clean and photo-friendly because the frame makes the organizer look intentional, not like a random bin. Use it for your morning lineup — cleanser pump, toner bottle, SPF, lip balm, and a few hair ties — so everything sits at the same height and doesn’t creep into sink space. It’s beginner-friendly and takes about 2-3 hours including drying time, and it fits best on bathroom counters, vanities with clutter-prone edges, and rental bathrooms where you want tidy without permanent installs.
Pick a frame sized to your counter zone, then build the tray insert to match. Use a 1x2 or 1x3 pine frame (about 12x8 inches for a typical vanity) and cut an inner opening with a 1-inch border all the way around. Cut a piece of closed-cell craft foam (or EVA foam) to the tray footprint, then wrap it with a thin fabric or faux leather sheet and staple neatly to the underside so it stays smooth. Glue the foam insert into a shallow base tray (or a thin plywood panel sealed with matte Mod Podge) and set it inside the frame with wood glue and small brads. Seal the top with 2 coats of matte clear acrylic spray, then let it cure fully before loading wet bottles.
Use closed-cell foam, not sponge — sponge absorbs water and starts to look gross fast near sinks. If you want extra grip, press a thin sheet of rubber shelf liner under the wrapped foam before gluing.
Don’t skip sealing the underside — countertop drips soak in and ruin foam and wood fast.
20. Wall-Mounted Acrylic Tool Rail with Clip-On Bins
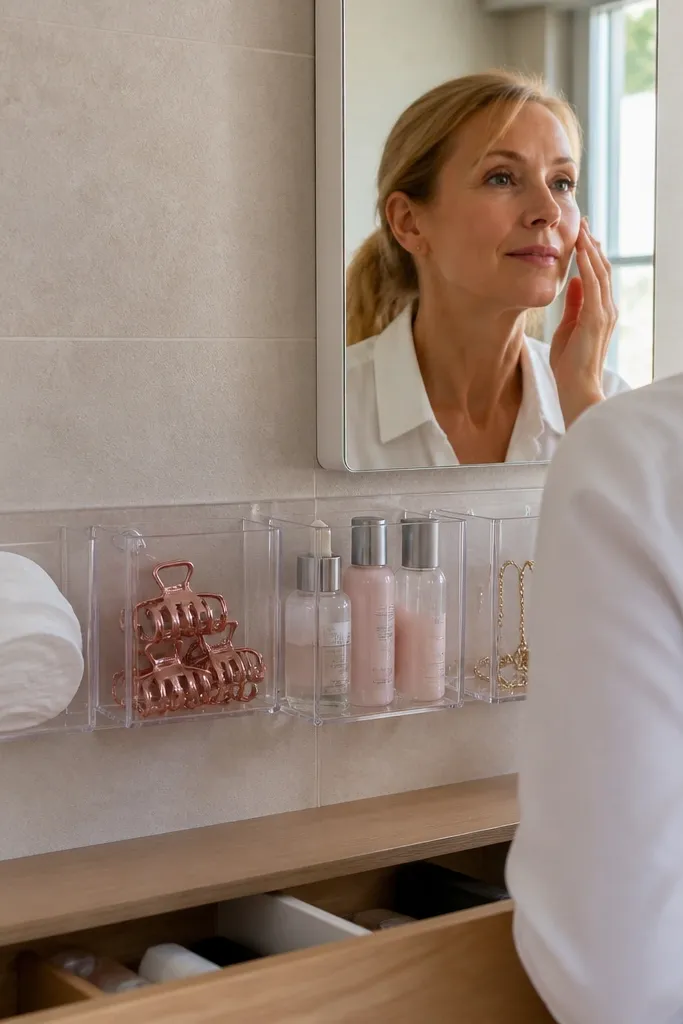
This is for the vanity drawer that turns into a junk drawer for hair tools, cotton rounds, and random minis. A wall-mounted acrylic rail keeps everything visible, reachable, and lined up, so you stop digging and you stop knocking items over. It looks crisp because the clear rail shows the tools inside the bins without hiding them in a dark cabinet. You get a tidy setup that still feels practical — bin sizes let you separate “daily” from “backup” at a glance. This works best in bathrooms with a little wall space near the mirror or in a small powder room where counter space is tight.
Choose a rail length that matches your wall space, like 16-20 inches, and buy a clear acrylic sheet or pre-made acrylic rail with a flat backing. Cut or purchase 3-4 small acrylic clip-on bins (about 3x5 inches each) so they line up evenly along the rail. Mark mounting points with a level — keep the top of the rail about 60 inches from the floor so items are easy to reach without leaning. Drill pilot holes into studs or use heavy-duty anchors, then screw the rail backing into the wall and tighten until it sits flat. Snap the bins onto the rail, then add a strip of felt or rubber under the bin contact points so plastic doesn’t squeak and so it doesn’t scratch the rail.
Editor's noteIf you’re mounting near a mirror, wipe the rail with isopropyl alcohol before attaching any felt pads — it sticks better and won’t peel later.
Skip thisDon’t mount acrylic with only picture-hanging strips — it loosens under the weight of bins and tools.



