
1. Liner-Board Shelf Covers with Clean Front Edge
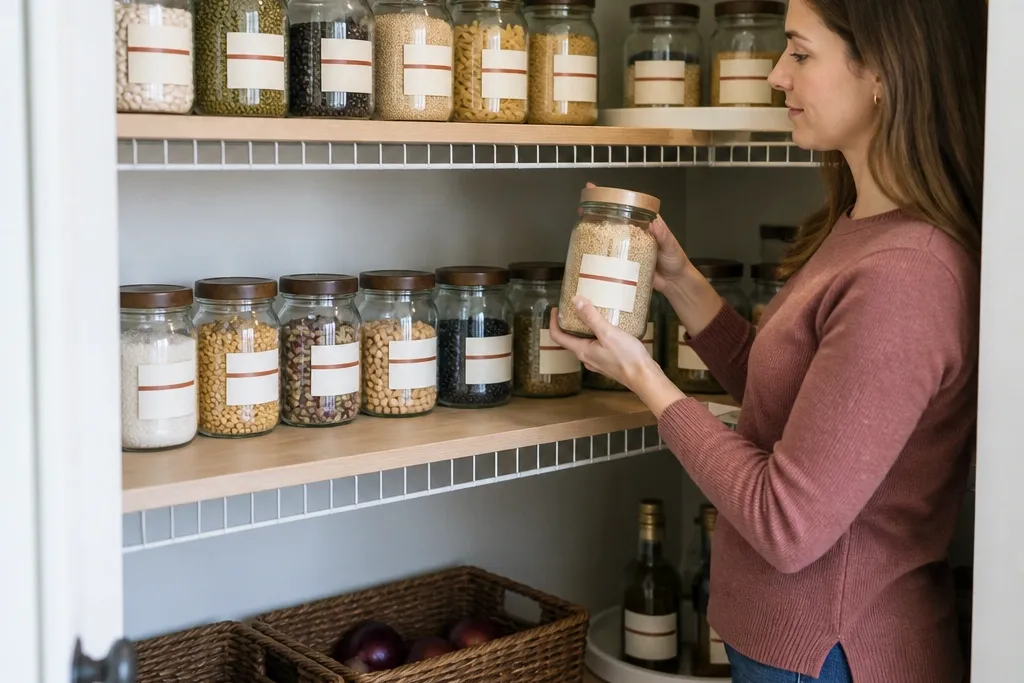
Start by measuring shelf width and depth, then cut two boards per shelf from 1/4-inch plywood or thin MDF. Dry-fit the board so it sits flat and doesn’t overhang the front lip; aim for a 1/8-inch gap behind the front edge so it doesn’t snag when you pull items. Add a front trim strip — 1x2 pine ripped to a narrow width or a ready-made edge band — and glue it along the front with wood glue. Finish with matte paint or a wipe-on poly in satin so you can clean spills without scarring the surface. Finally, use small adhesive shelf pads or felt dots under corners to stop the board from shifting on the wire.
This is the fastest way to make wire shelves look like real cabinetry. A solid liner board removes the wire grid that interrupts sight lines, so your jars look like they’re sitting on a single surface. Pick a light wood-look board or a matte neutral so labels and jar colors stay readable without glare. It also stops tiny items from slipping into the wire gaps, which keeps the pantry looking tidy longer. Skill level is beginner-friendly and the install takes about an hour once you measure.
Skip thisDon’t cut boards that bow over the wire grid; rocking boards make jars tip and labels look crooked.
Editor's noteUse painter’s tape to mark the exact board position on the wire before you glue anything — it saves you from tiny misalignment that shows in photos.
2. Shelf Sag Fix with Wire-Cable Reinforcement
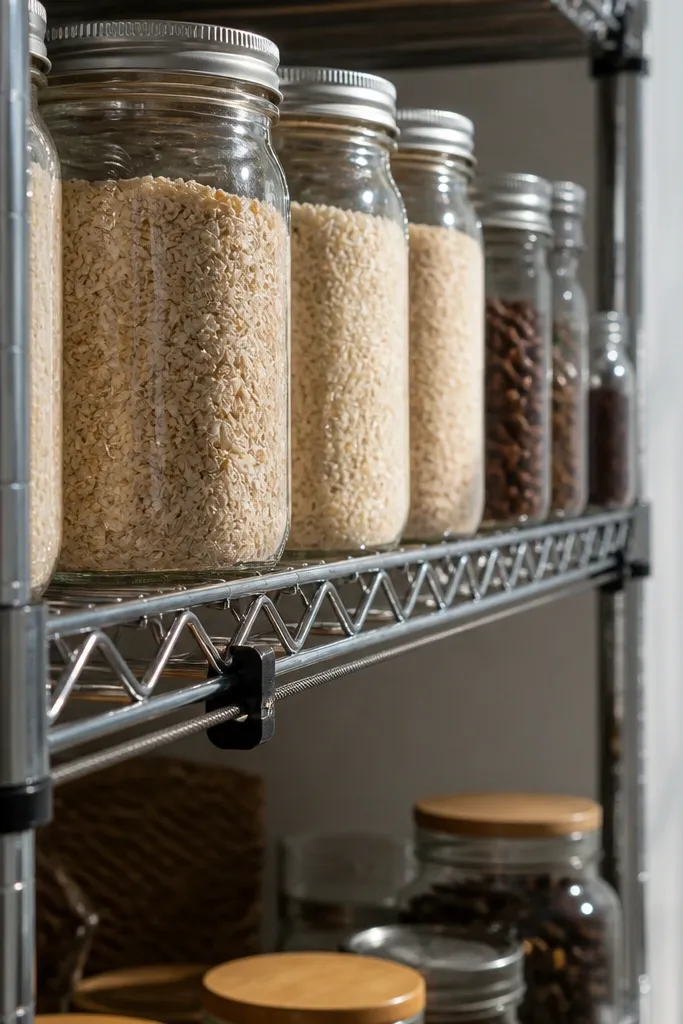
Check for sag by placing a level across the shelf depth and pressing down gently at the center. If it dips, install two small corner brackets under the shelf frame (screw into the frame, not into wire alone). Run a stainless cable or strong cord between the brackets, then tension it using a turnbuckle or cable tensioners so the shelf lifts back level. Tighten gradually while you re-check with the level so you don’t over-tension and warp the shelf. Once level, add a thin non-slip mat on top so your new liner boards or bins don’t slide.
Sag is the quiet enemy of a good-looking pantry. When a wire shelf dips even 1/2 inch, jars roll forward, bins don’t sit square, and your front row always looks messy. A simple reinforcement method tightens the shelf plane so everything sits where you put it. This also protects your organizers because stress is spread instead of concentrated at the wire corners. You’ll see the improvement immediately — pull a jar and it stays put instead of drifting.
Skip thisDon’t skip the level check; adding bins over a sagging shelf makes the pantry look worse because everything leans.
Editor's noteIf you don’t want hardware, use heavy-duty shelf support rods sized to the shelf depth and set them under the middle, then add shelf liners to lock them in place.
3. Front-Row Risers for Matching Jar Heights
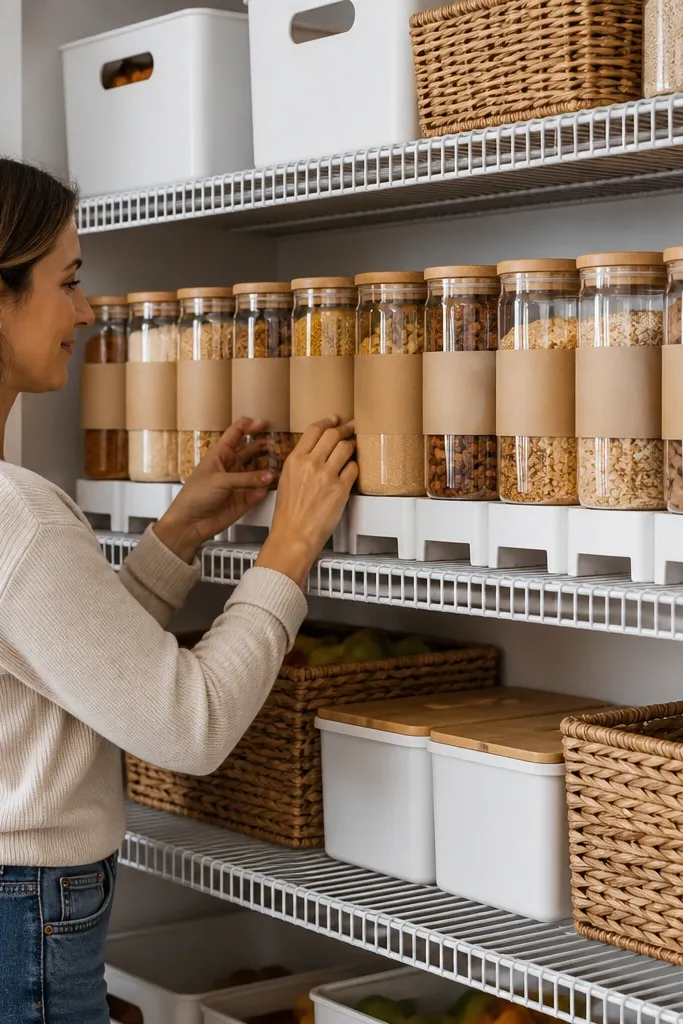
Pick riser height based on your jar lineup: start with 1 inch for small jars and 2 inches for taller containers, then test one corner first. Use acrylic risers, stacked cutting boards, or painted wood blocks cut to shelf depth minus 1/4 inch for clearance. Place risers only at the front third of the shelf so you still have full-depth access behind them. Set jars on top, then adjust until lids align across the row — don’t eyeball it, use a ruler across the front lip. Secure risers with a thin layer of removable shelf liner adhesive or double-sided mounting tape so they don’t creep when you pull items.
This is the aesthetic fix that also improves how fast you grab ingredients. Wire shelves and mixed jar sizes create a staggered look, and that visual mess is what reads as “not organized.” Risers let you set a consistent height for the front row so lids line up and labels sit at the same eye level. Use this for dry goods like cereal, beans, rice, and pasta — anything you store in jars or clear containers. The build is cheap and takes 20-30 minutes per shelf.
Skip thisDon’t stack risers too tall; if you can’t reach the back row comfortably, the pantry turns into a shove-and-forget mess.
Editor's noteIf your jars have different lid heights, match by adding a second thin riser instead of swapping every container size.
4. Corner Bin Tidy with a Tri-Shelf Insert
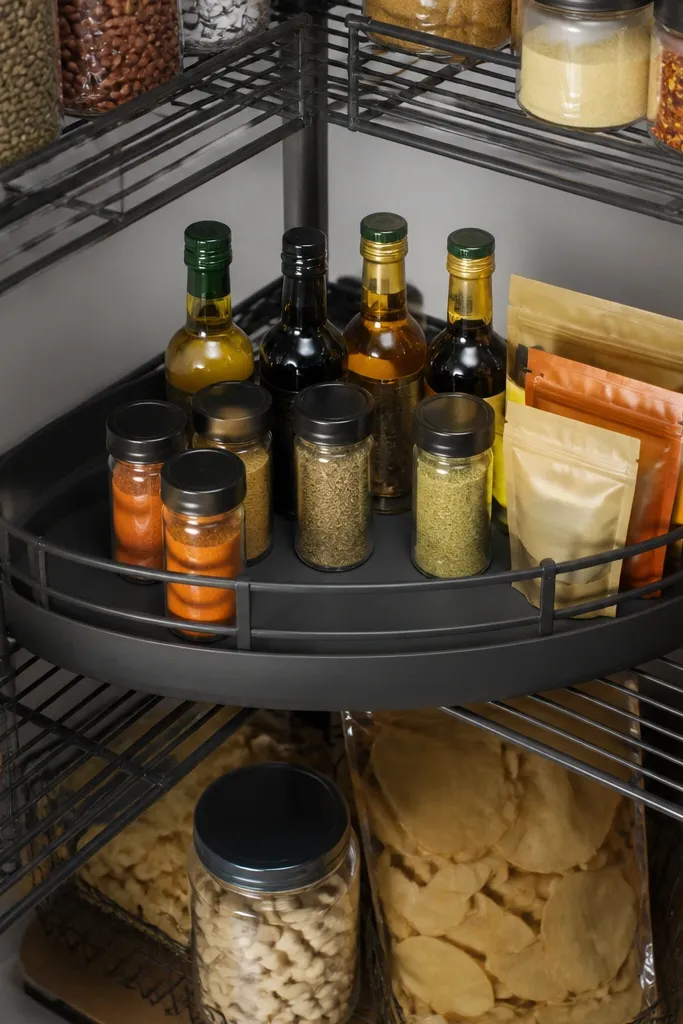
Measure the corner width at the front and back since wire frames aren’t always perfectly square. Cut a triangular panel from 1/2-inch plywood or foam board (foam is lighter and fine for small items), then add a shallow lip strip along the front edge using thin wood or plastic trim. Install two small L-brackets on the sides that screw into the shelf frame so the insert sits solid. Add a second small divider inside the triangle if you want two zones — one for tall bottles and one for flat packets. Finish by adding a peel-and-stick non-slip mat inside the insert so items don’t slide.
Corners are where wire shelves go to die. Bottles roll, boxes lean, and you end up with a clutter pile that looks like it grew overnight. A triangular corner insert creates a dedicated landing zone so small bottles and packets stay visible and reachable. It also makes the pantry look intentional because the corner stops being a “random space.” This works best for oils, vinegars, sauces, and spice jars — anything that slides on a flat surface.
Skip thisDon’t use a single flat tray in the corner; it still leaves items with a diagonal slide path on wire.
Editor's notePaint the insert the same color as your shelf liners so it disappears visually and the contents look organized.
5. Label System that Actually Looks Good on Wire Shelves
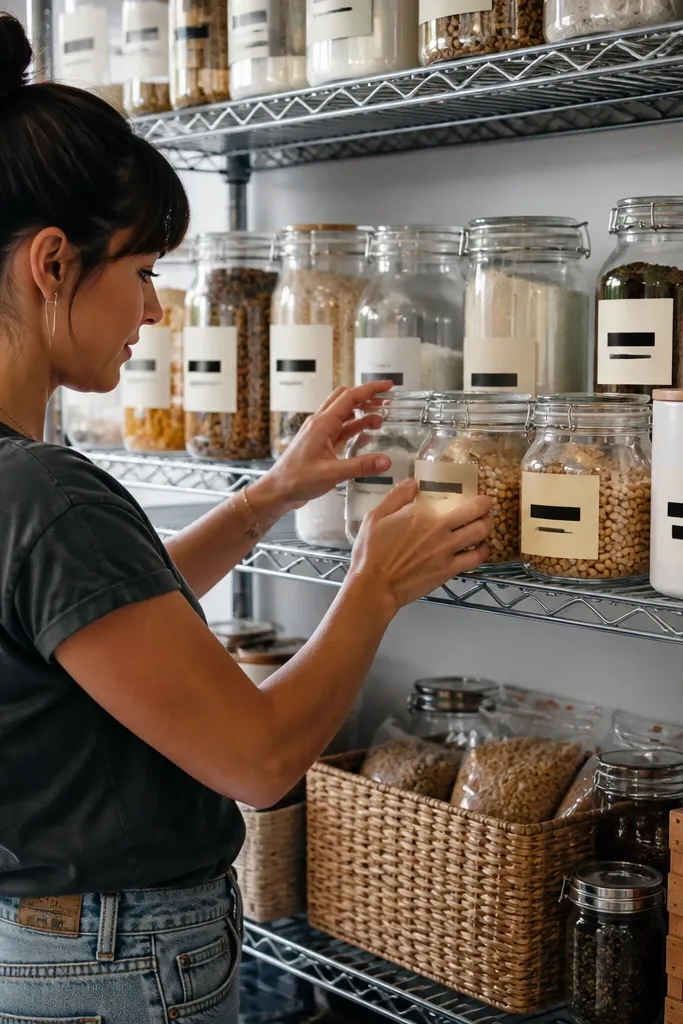
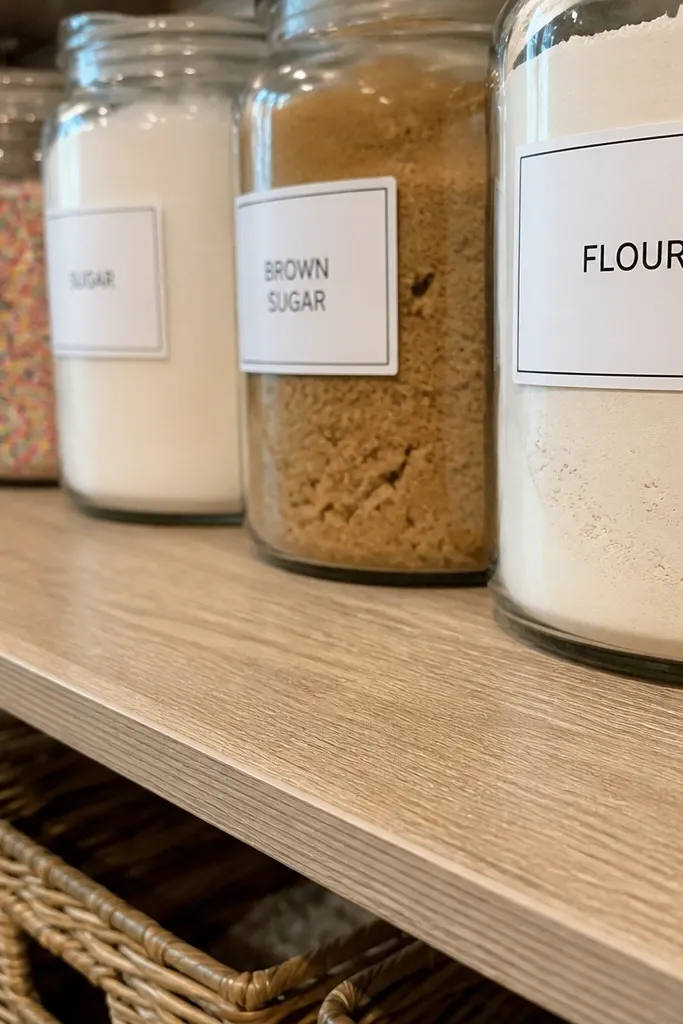
Choose one label format: 1.5-inch wide clear tape labels for the front of jars or printed label stickers on matte label paper. Put labels at the same height on every container — aim for 1/2 inch down from the lid line so it looks aligned. If your containers have curved glass, apply the label after cleaning with alcohol and pressing it firmly with a flat card. Group labels by shelf zone: baking on the top shelf, snacks on the middle shelf, pantry staples below — and keep the order consistent left to right. For quick rotation, add a small “use first” date sticker on the back of containers, not the front.
Labels are where wire pantries either look designed or look like a garage. The win here is consistent label placement and size, not fancy fonts. When labels sit on the same front surface of every container, the whole shelf reads clean even if jar shapes vary. Use this for dry goods and baking staples where you rotate items — it reduces “where is it?” rummaging and keeps you from rebuying duplicates. The materials are cheap, but the layout rules are what make it look intentional.
Skip thisDon’t slap labels on random sides; on wire shelves, angled labels look sloppy fast.
Editor's notePrint labels on matte paper and seal with a thin layer of clear packing tape for extra spill resistance.
6. Wire-Shelf Clip Baskets for Instant Visual Order
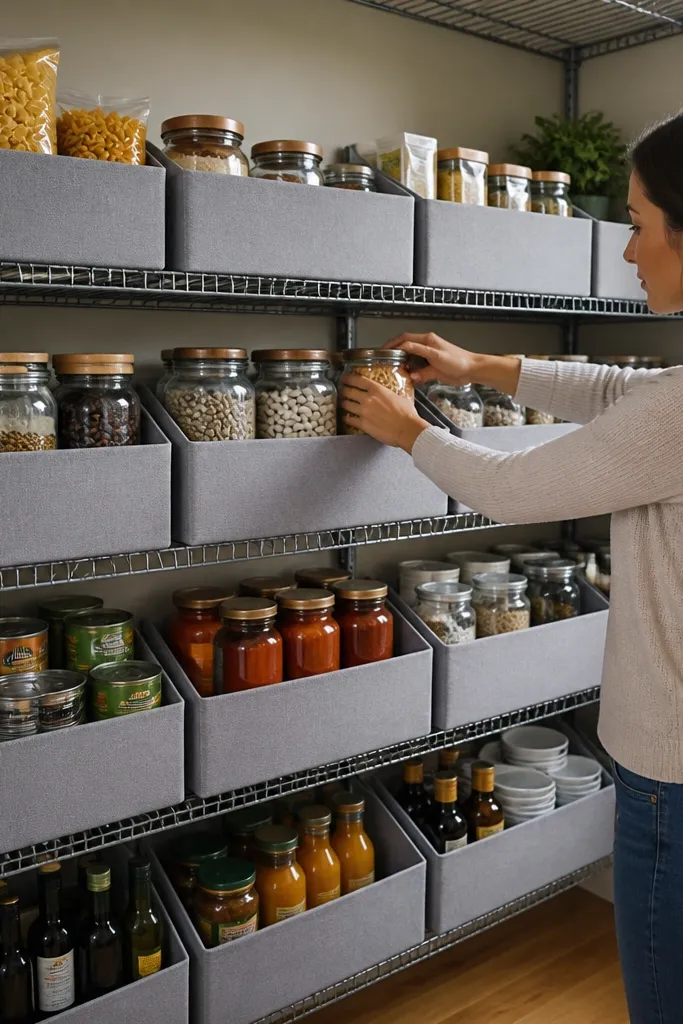
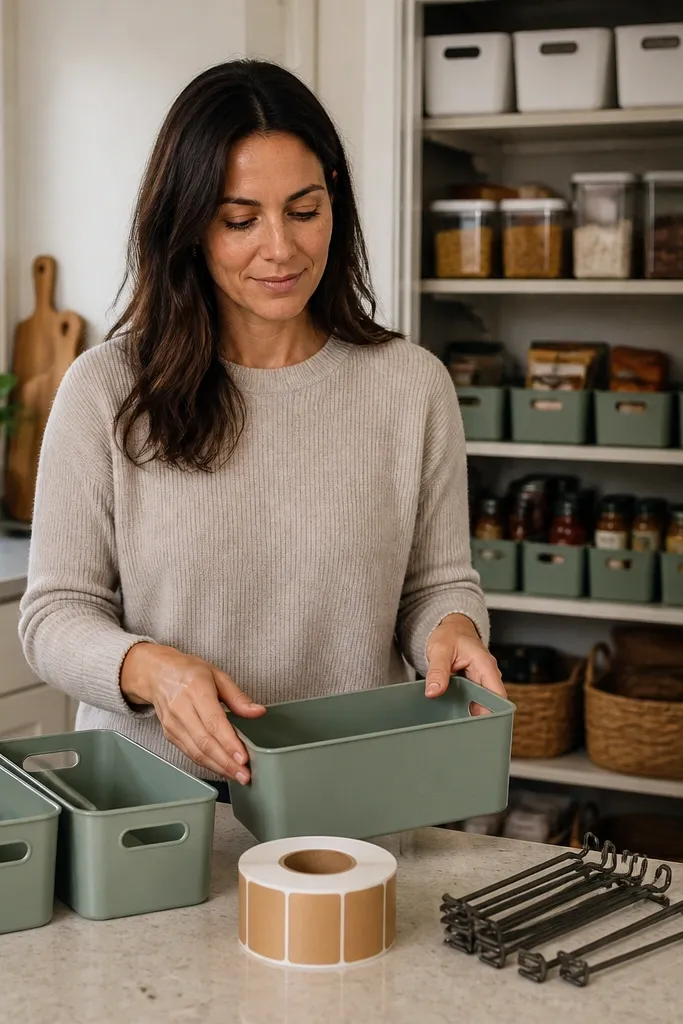
Clip baskets are the budget move that makes clutter look contained. They hide the wire grid and give you a front-facing container shape, which instantly makes the pantry look styled. Choose baskets with straight fronts and a consistent depth so the front edges line up across shelves. Add a fabric liner or a matte plastic liner to soften the look and prevent items from snagging on metal edges. This is great for snack packs, tea bags, foil packets, and extra spice refills.
Buy wire shelf baskets that clip to the shelf frame — check the clip spacing matches your shelf grid before you commit. Install baskets on the shelf lip so they sit flush and don’t tilt; if they wobble, add a thin rubber pad where the clip touches. Line the baskets with a cut-to-fit piece of felt or wipeable fabric, leaving a 1/4-inch border so it doesn’t bunch. Sort by type and keep one category per basket so the basket stays “photo neat.” Finally, place taller items in the back of the basket and keep the front layer flat for easy grab-and-go.
Paint the basket clips with a matching matte color if they show — tiny hardware contrast ruins the clean look.
Don’t pick baskets with curved fronts; they create uneven gaps that show as the shelves fill.
7. Spice Drawer Look Using Shallow Pull-Out Trays
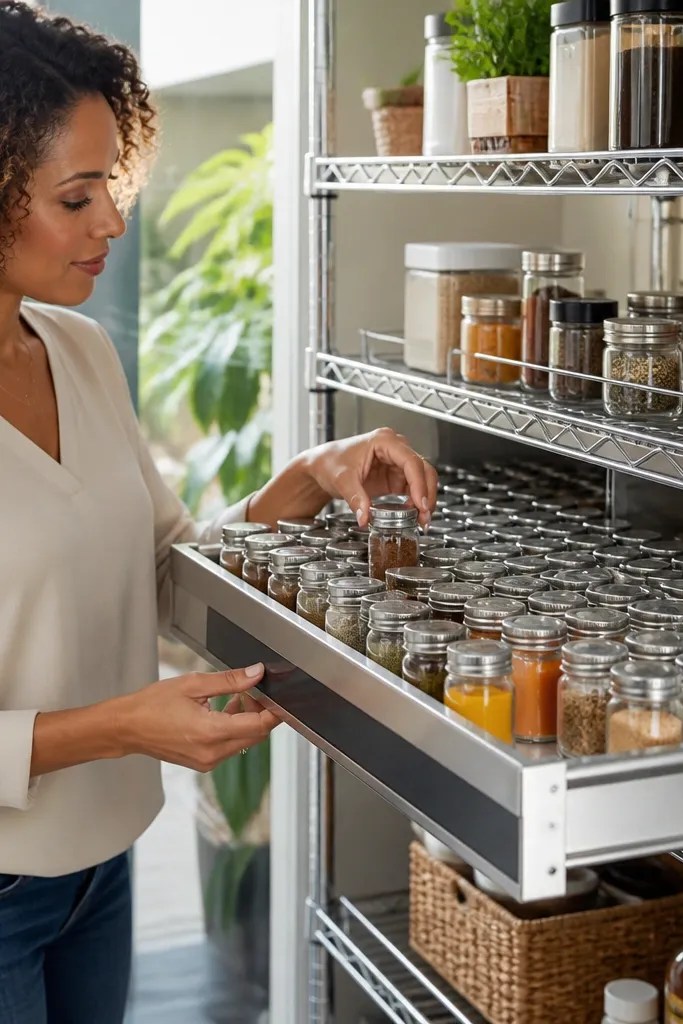
If your spices are scattered across wire shelves, the pantry never looks calm. Shallow pull-out trays create a drawer-like feel without building a cabinet. You get clear front visibility, and you stop the “one jar fell behind” problem. This also makes the shelf look more finished because the tray edge gives you a hard border. Use this for spice jars, seasonings, and small bottles. It’s a beginner-friendly project that looks expensive when done with matching tray colors.
Measure the shelf depth and choose trays that slide out without hitting the shelf frame — leave 1/2 inch clearance for smooth movement. Use shallow plastic trays or low-profile wooden trays; for wire shelves, add non-slip pads under the tray contact points. Mount two small drawer slides or use simple basket slides rated for the tray weight if you want it to glide. If you want the budget route, use a tension rod-style slide system with end brackets attached to the shelf frame. Line the tray with a thin non-slip mat, then arrange jars in a single row with labels facing forward.
Keep tray contents to one height range. When everything is the same jar height, the front row looks instantly organized in photos.
Don’t overload trays; if you can’t fully pull them out, the pantry will revert to back-junk.



