
1. Shallow Clear Bins on the Front Row
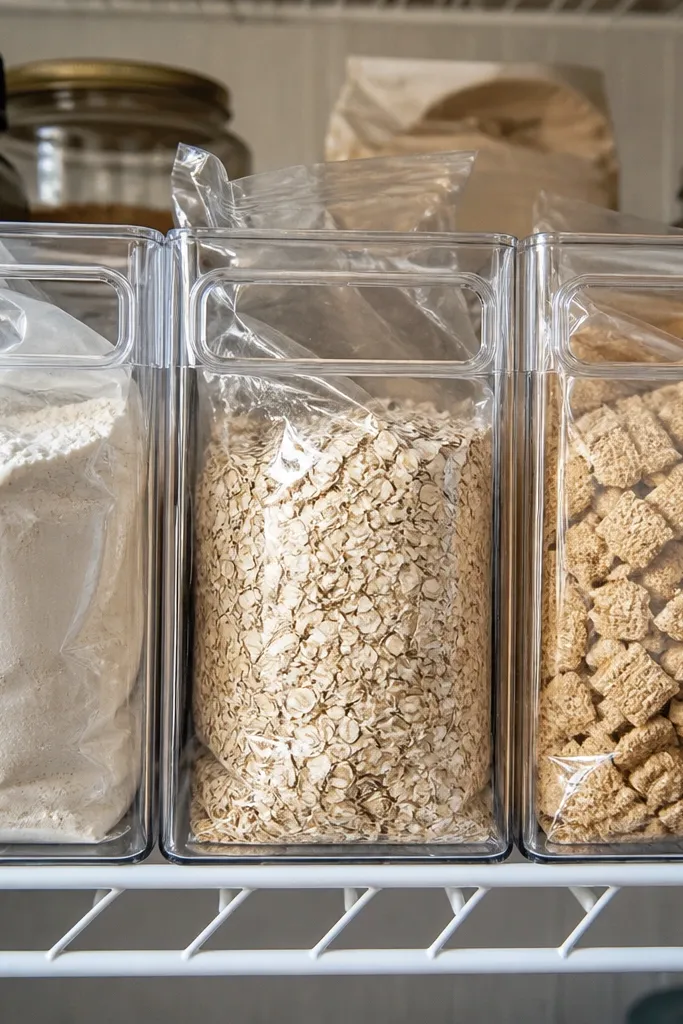
This is the quickest visual upgrade for budget small pantry organization ideas because clear bins show what’s inside without digging. Shallow bins also stop the “back-of-shelf mystery” where flour, oats, or cereal ends up behind taller items. Keep the front row uniform and you get a clean, straight look that reads as bigger space. Use labels that match the bin color so the shelf looks intentional, not improvised. This works best for items you grab daily: snacks, breakfast staples, and baking basics.
Start by choosing bins that are shallow enough to leave a few inches of clearance behind them for air and airflow around lids. Measure your shelf depth, then subtract about 1 inch so the bin fronts don’t bump door hinges or shelf rails. Place the bins in a single row, then group items by category before you fill them. Finish by applying labels at eye level and keeping the tallest packages in the back row only.
Put a strip of painter’s tape on the shelf where each bin front should land before you remove anything.
Don’t stack tall boxes inside shallow bins — it defeats the whole reach-and-see effect.
2. Wire Shelf Basket Lids With Label Tabs
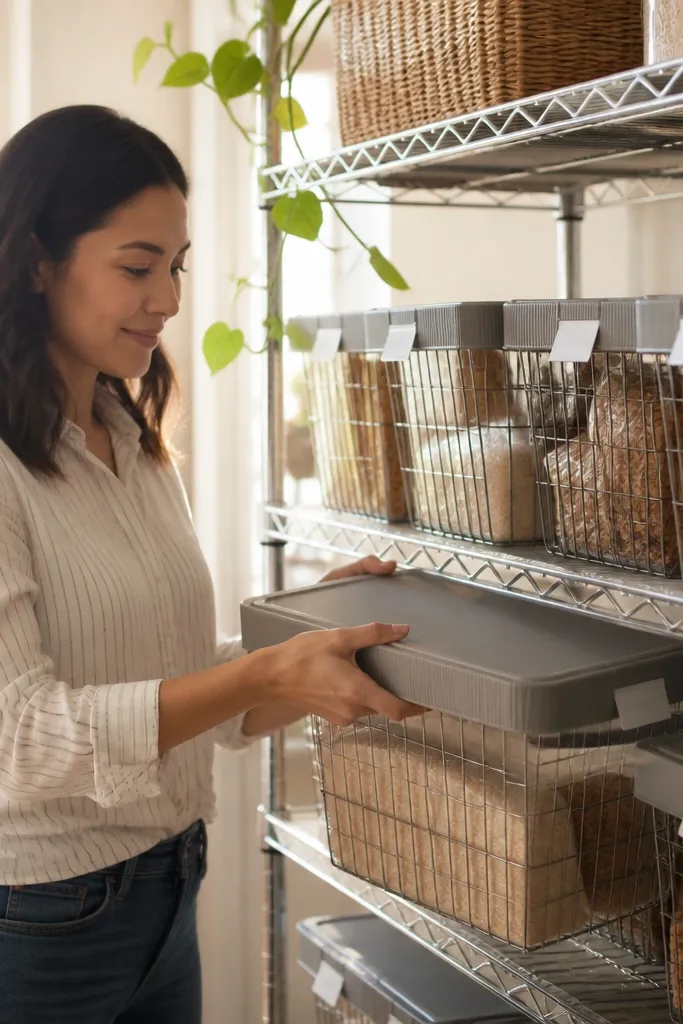
If your pantry has wire shelving, baskets with lids make it look instantly tidier while also reducing dust and spills. Lids create a neat top line, so you don’t see random package tops. The label tabs keep the system readable even when you’re busy. This idea helps you store dry goods and snacks that look messy when they’re loose. It’s also great for keeping kids' snacks contained without turning your pantry into a storage closet.
Choose baskets sized for your shelf span and add flat lids that sit flush on top. Then install small label tabs on the basket front using a label maker or waterproof label stickers. Fill baskets with one category per bin, like “baking,” “snacks,” or “pasta night.” Finally, place baskets on the bottom half of the pantry first so you can keep heavier items low and lighter items up.
Use waterproof label stock if your pantry gets humidity from nearby kitchens.
Avoid baskets that are too wide — they force you to waste shelf space on gaps.
3. Door-Mounted Spice Rack With Clear Fronts
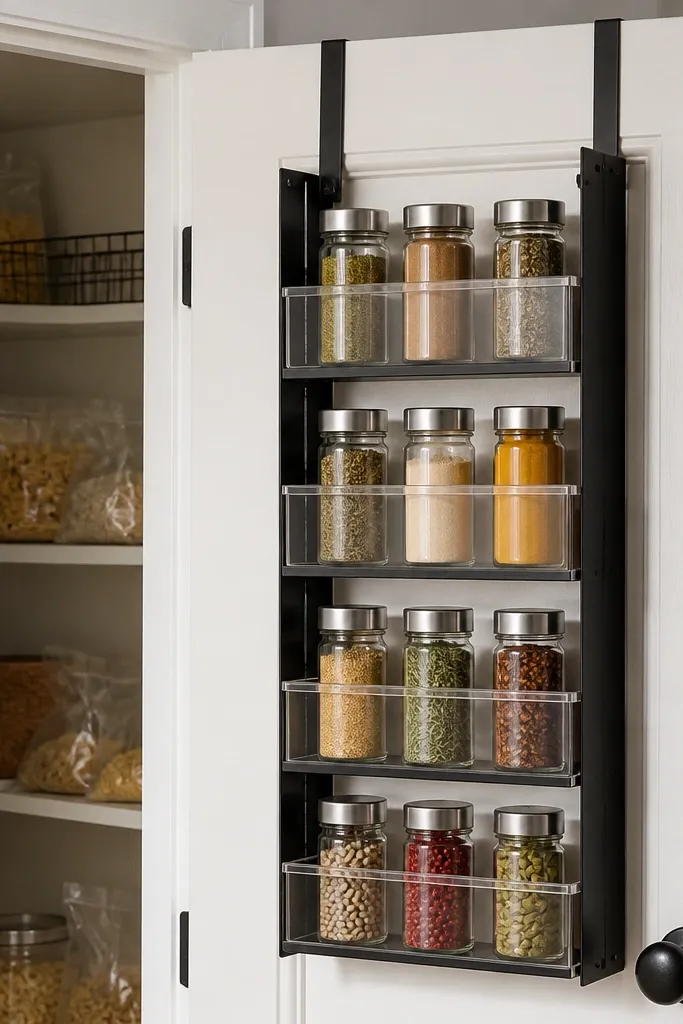
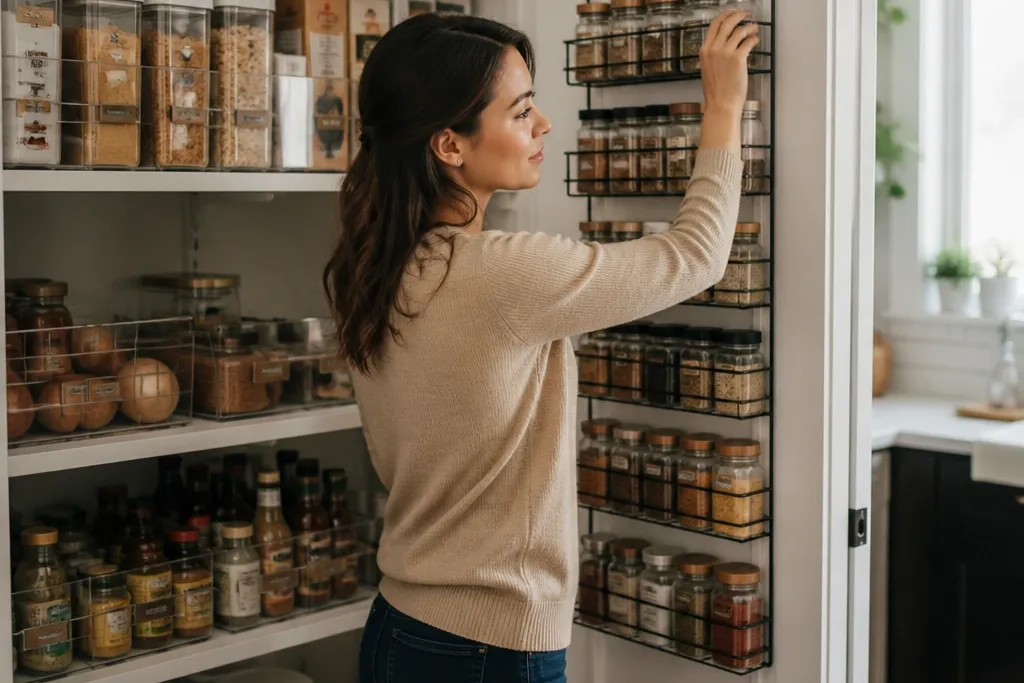
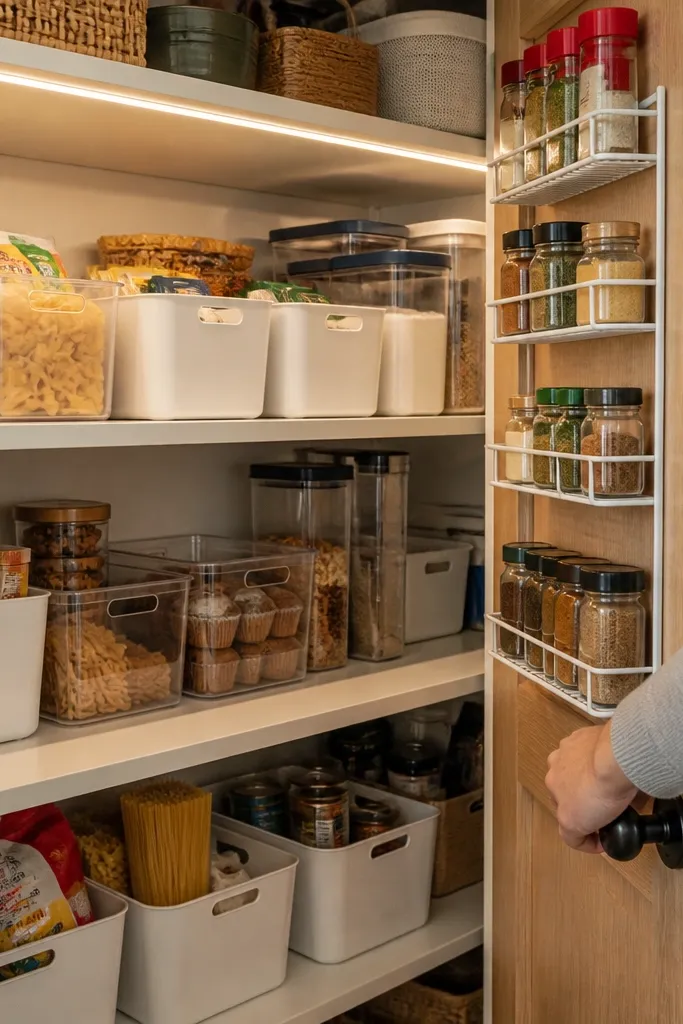
The door is free space, and clear-front door racks turn it into a functional display. This is a space-add because it moves spice storage off shelves so you can dedicate shelf real estate to bulk foods. Clear fronts also remove the need to open cabinets while cooking. For a good-looking pantry, keep jar sizes consistent and use matching lids or label styles. This works best for narrow pantries where shelf inches are tight and you want maximum visibility.
Measure the door’s inner width and height, then choose a rack that leaves enough clearance for the door to open fully. Fill small jars with spices you actually use, then label each jar with a simple category-friendly name like “cumin” or “Italian seasoning.” Mount the rack using the manufacturer’s screws or strong adhesive strips if the surface is flat and clean. Place the most-used spices at eye level on the rack.
Print labels slightly smaller than the jar lid so you don’t get sticky edges peeling over time.
Don’t overload the rack with every spice — leave room so jars don’t jam when you open the door.
4. Lazy Susan for the Back Corner
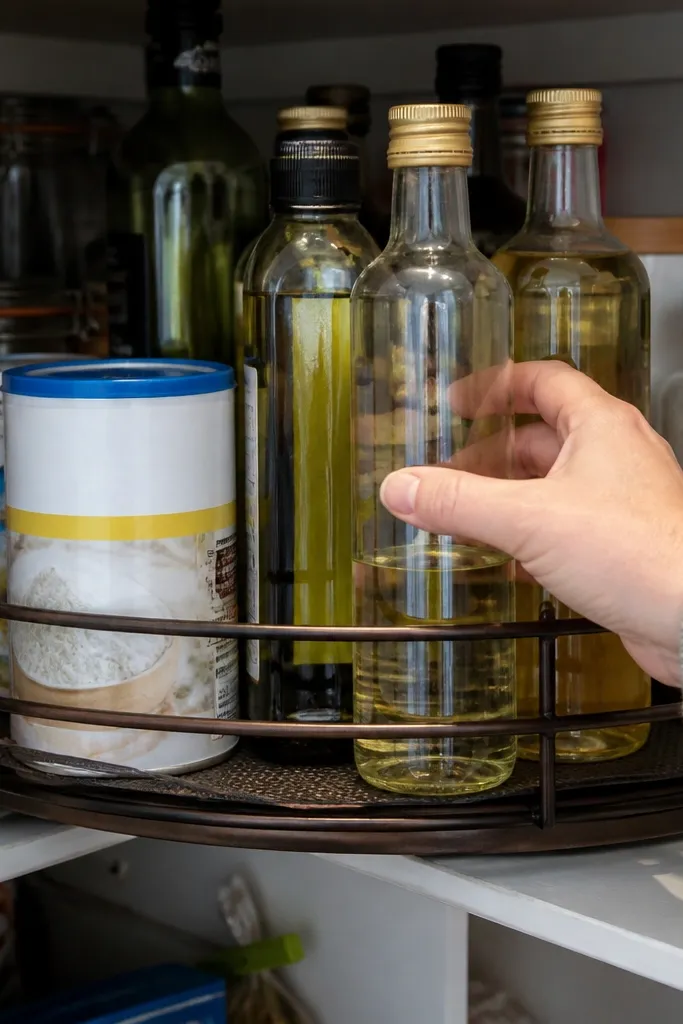
Pick a lazy Susan diameter that fits your corner without blocking adjacent shelf access, then dry-fit it before mounting or placing. Arrange items by category in wedge sections so similar products sit together. Use shallow jars or containers so the height stays consistent and the top doesn’t wobble. Finally, place the turntable on a stable shelf or install it on a floor-safe platform where it won’t tip when spun.
A lazy Susan is a real fix for corner dead zones because it brings the back items to the front with one spin. It makes the pantry feel larger because you stop reaching past tall bags and boxes. Use it for items that you only grab occasionally but want to stay organized: baking powder, extra oils, or backup sauces. The look is clean when all jars face outward and you keep the same label style. This is a strong choice for small pantries where shelves are narrow and corners get ignored.
Skip thisSkip tall bottles if the turntable wobbles — wobble makes people stop using the system.
Editor's noteAdd a non-slip mat under the Susan so it doesn’t creep each time you spin it.
5. Stackable Shelf Risers for Baking Goods
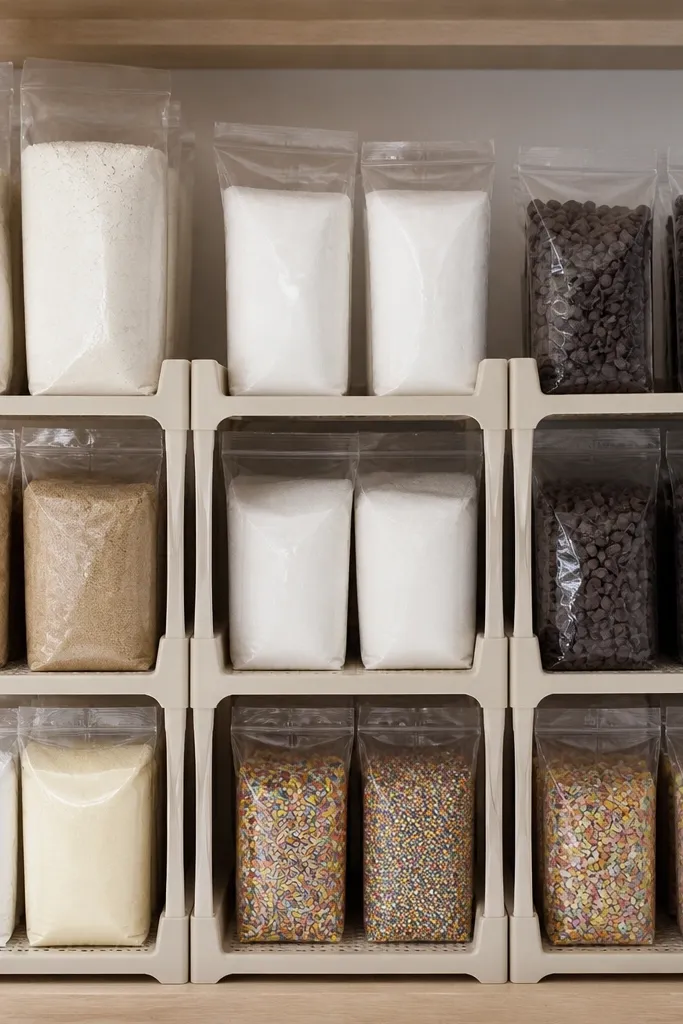
Choose risers that are wide enough to hold the heaviest item you plan to store, and keep the footprint consistent across the shelf. Place the risers so there’s still room to reach the back row without pulling items forward. Fill the bottom tier with heavier items and the top tier with lighter stuff. Label both tiers clearly so you don’t forget what’s where.
Shelf risers create extra “rows” on the same shelf without adding new storage units. The aesthetic is crisp because you can keep bags and boxes aligned in straight lines. This works especially well for baking goods like flour, sugar, chocolate chips, and sprinkles where you want quick access. With risers, you stop shoving everything flat and you avoid the toppling effect from tall bags. It’s one of the most cost-friendly budget small pantry organization ideas because you’re using what you already have.
Skip thisDon’t stack risers too high — if you need a step stool, the system breaks.
Editor's noteUse a single container style for each category so the shelf looks uniform across tiers.
6. Kraft Label System for Matching Bins
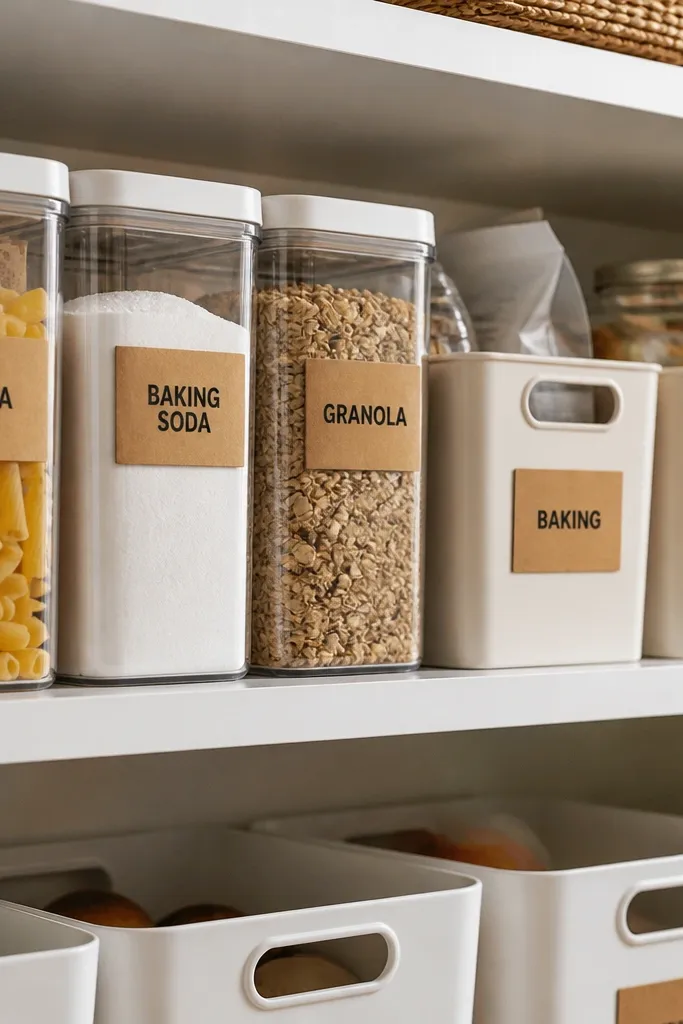
Pick one label style and apply it to every bin and container on the shelf, not just the ones you like. Use a label maker or printable kraft label sheets, then stick the label on the front where it’s visible. Group items by category before you transfer them, and keep each bin to one category. Finally, place bins at eye level and keep backups toward the back to maintain the clean front line.
A matching label system makes the pantry look designed even when the items are budget store brands. Kraft labels in black text look warm and intentional, and they work with clear bins, white bins, and even simple paper bags. The main space win here is speed: you find what you need faster, so you stop buying duplicates that take up space. Keep label names short and consistent by category, like “Pasta,” “Snacks,” “Baking,” and “Cocoa.” This is best for people who have a messy pantry because they forget what’s already inside.
Skip thisAvoid labeling by brand names — it forces you to hunt by memory.
Editor's noteWrite dates on any open items with a dry erase marker on the label so you can rotate stock.
7. Tall Narrow Canister Row for Staples
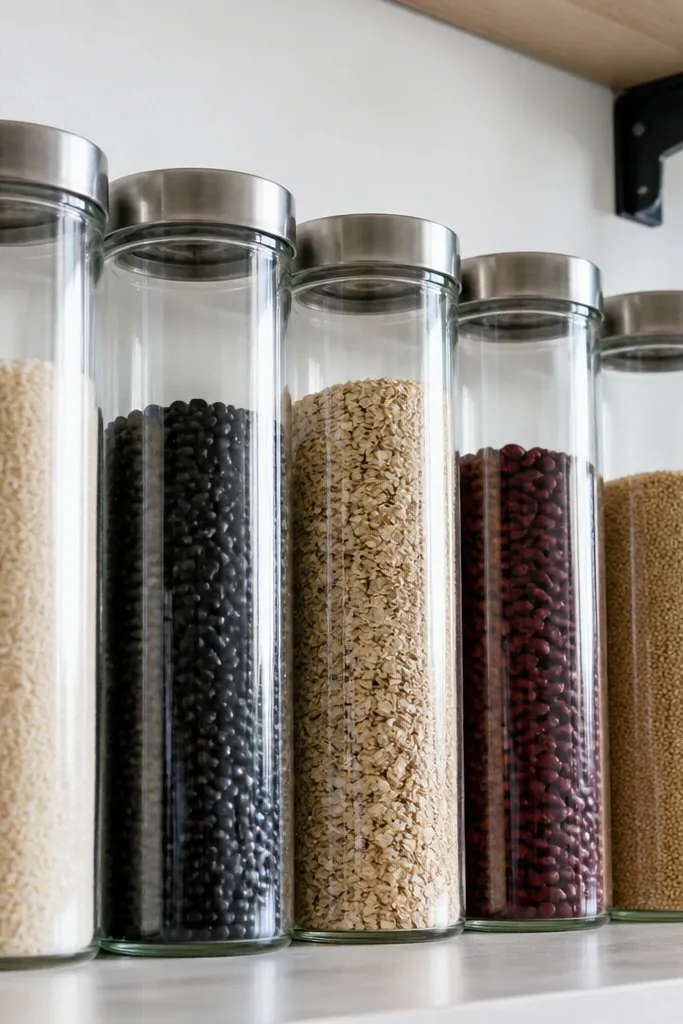
Tall narrow canisters turn “bulk bags” into a vertical shelf display that looks tidy and frees up flat shelf space. When you replace a few wide bags with one slim canister per staple, you gain room for other items and your pantry stops looking lumpy. Choose canisters with matching lids and consistent label placement so the row looks intentional. This works best for staples you use weekly: rice, oats, sugar, flour, and dry pasta. The visual payoff is straight lines and uniform heights, which makes small pantries look bigger.
Measure the shelf height and pick canisters that fit without blocking the shelf above. Pour dry staples into canisters and wipe lids so they sit cleanly. Arrange canisters in one column for the best look, then add a small bin or tray for smaller packets like seasonings or tea. Label each canister with the staple name and, if you want, the storage date.
Use a funnel so you don’t spill into the lid threads — dried flour residue looks messy fast.
Don’t mix canister heights in the same row unless you’re okay with a visually uneven shelf.
8. Under-Shelf Baskets for Packet Storage
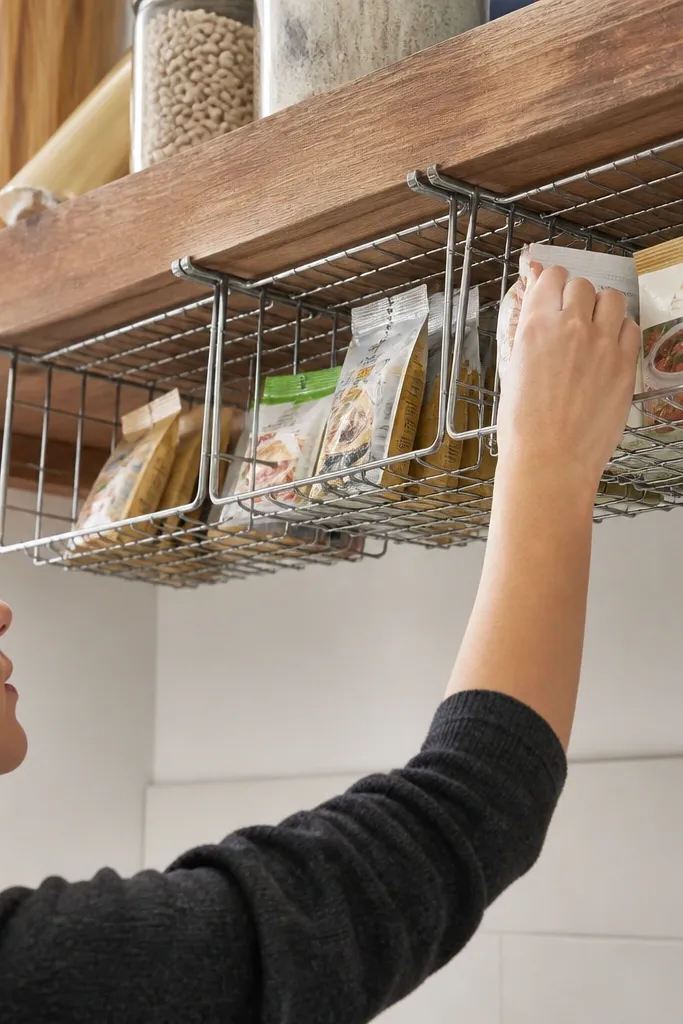
Under-shelf baskets use the underside space that most people ignore, which is exactly what you want in budget small pantry organization ideas. Packet items like broth, seasoning packets, and drink mixes get lost on top shelves because they’re small and light. Hanging baskets keep them visible from the front and reduce the “dump and rummage” moment. This also looks good when the baskets are the same color and the packets are aligned. It’s a strong fix for pantries with wire shelving or shelves with enough clearance to hang baskets.
Choose baskets designed to hook under shelves, then check that your packets fit without crushing when the shelf above is closed. Install the baskets using the manufacturer’s clips or hooks so they sit level. Sort packets by type and place them flat in rows so you can see titles. Label each basket front or add small label stickers on the basket edge.
Use a small binder clip on the basket front to hold a label card if the basket hooks shift over time.
Avoid baskets that are too deep — they hide the packet faces and ruin the whole visibility goal.
9. Clear Over-the-Shelf Door Organizer for Cleaning Supplies
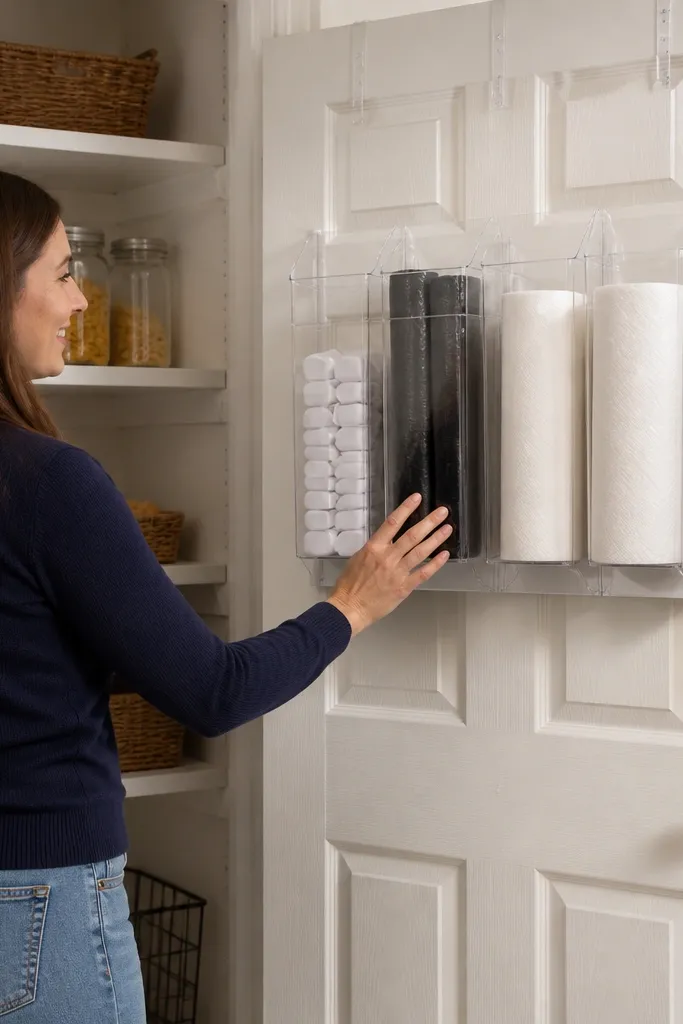
If your pantry stores extras like cleaning tablets, paper towels, or spare trash bags, move them into a clear over-door organizer. This keeps bulky items off shelves while still making them easy to grab. Clear plastic looks clean, and the vertical layout makes the pantry feel less cramped. For a good-looking setup, keep the organizer in one color family and avoid mixing too many bottle shapes. This idea works when you have a door with usable interior space and you want shelves for food.
Measure the door interior and choose an organizer with pockets sized for your largest items. Remove the old clutter first, then group items by type so one pocket holds one category. Attach the organizer using the included hooks or straps, then press firmly so it stays flat. Place the heaviest items toward the bottom pockets so the organizer doesn’t warp.
Wipe the door surface with rubbing alcohol before installing adhesive-backed organizers.
Don’t put liquids in random pockets — they slosh and look messy.
10. Magnetic Pantry Label Board at Eye Level
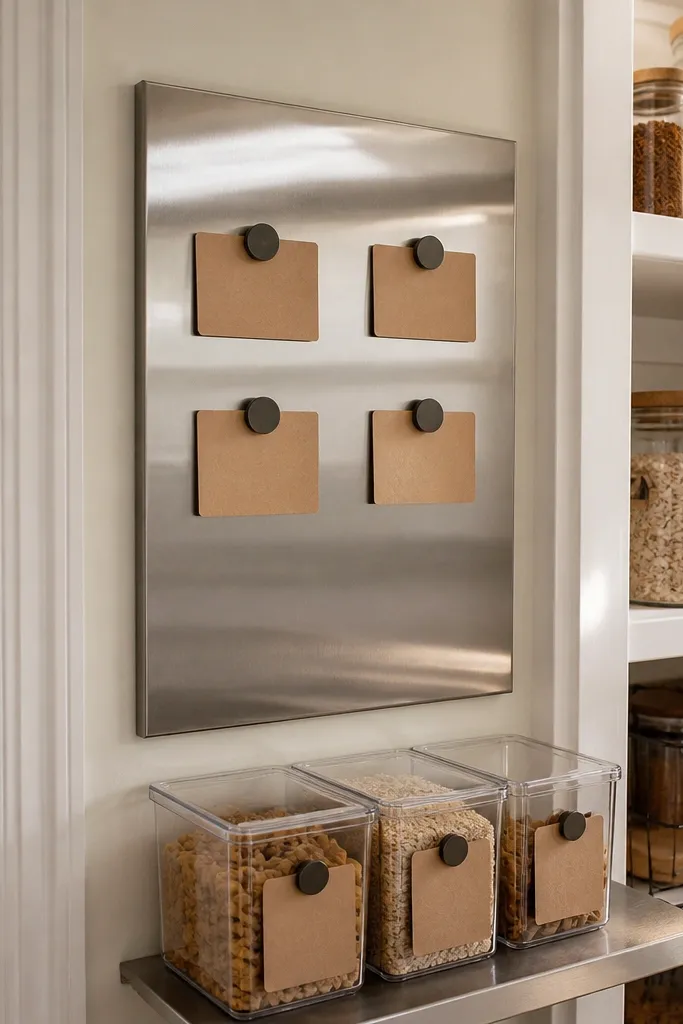
Mount a small board using screws or strong adhesive strips, then choose magnetic category cards in a consistent font and size. Fill your bins first, then write labels that match the category cards. Keep the board at eye level so you can scan it without pulling bins out. Update the cards when you switch seasons or when a category runs low.
A magnetic label board makes your pantry look organized even from the doorway. It also reduces the “where is it?” rummage that leads to duplicates and clutter. Put this on the inside of the door or on a small panel near the shelves, then label categories like “Breakfast,” “Baking,” “Snacks,” and “Pasta.” The board looks tidy because it’s flat, consistent, and readable. This is best for small pantries where you need fast wayfinding.
Skip thisSkip too many categories on one board — crowding makes it unreadable.
Editor's noteUse dry-erase category names if you swap items often.
11. Accordion File for Snack Bags
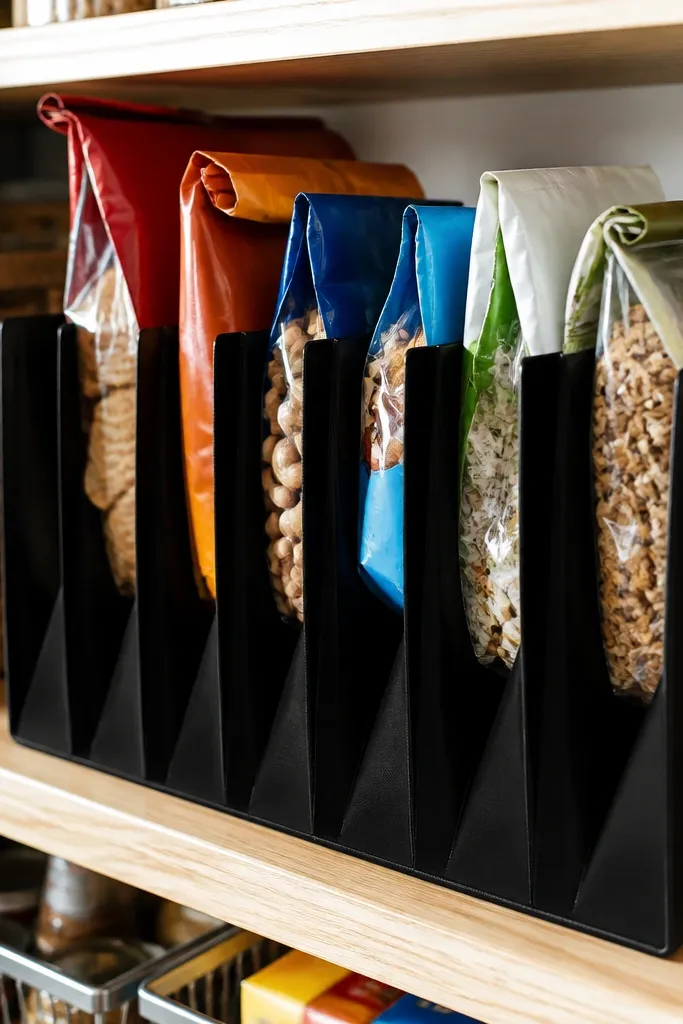
Pick an accordion organizer sized for your shelf so it doesn’t stick out into the aisle. Sort snacks by type and slide bags in so the fronts face the same direction. Add a small label strip on the organizer front for each section if it has dividers. Keep the most-used snacks on the top row of the organizer for quick grabs.
Snack bags look chaotic on shelves because they’re lightweight and they collapse. An accordion file style organizer keeps bags upright and visible, which makes small pantries feel more controlled. It’s also one of the easiest budget small pantry organization ideas because you’re not building anything — you’re changing the storage posture. Choose an organizer that holds narrow bag widths and fits the shelf depth. This works best for chips, crackers, granola bars, and single-serve items.
Skip thisDon’t overstuff — if it’s tight, you’ll shove and tear bags.
Editor's noteFlatten the bottoms of bagged snacks before inserting them so they stand cleaner.
12. Slim Drawer Inserts for Small Jars
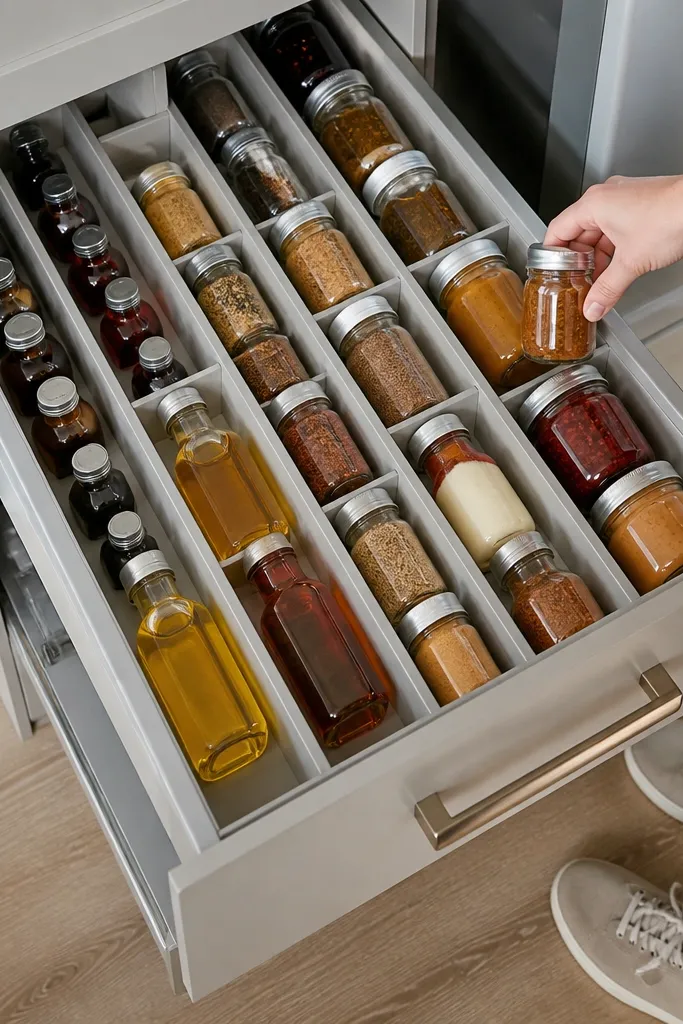
If your pantry has a shallow drawer or you can add a shallow rolling drawer, drawer inserts make it look like a store shelf. This is perfect for small jars: vanilla extract, baking spices, cooking oils in small bottles, and specialty sauces. The compartments create instant visual order and stop jars from rolling around. It’s a space-add because you stop stacking tiny items that waste vertical height. The look is crisp: repeating jar shapes and clean compartment lines.
Measure drawer interior length, width, and height, then buy inserts with adjustable dividers or fixed compartments that match your jar sizes. Place inserts in the drawer, then arrange jars by frequency of use. Keep jar labels facing the front and use one label style for everything in the drawer. Finally, add a small tray at the back for items you restock less often.
Use silicone jar mats or a thin rubber liner under jars to prevent sliding.
Avoid compartments that are too tight — you’ll fight the lids and stop using the system.
13. Two-Level Basket With Front Tray for Oils
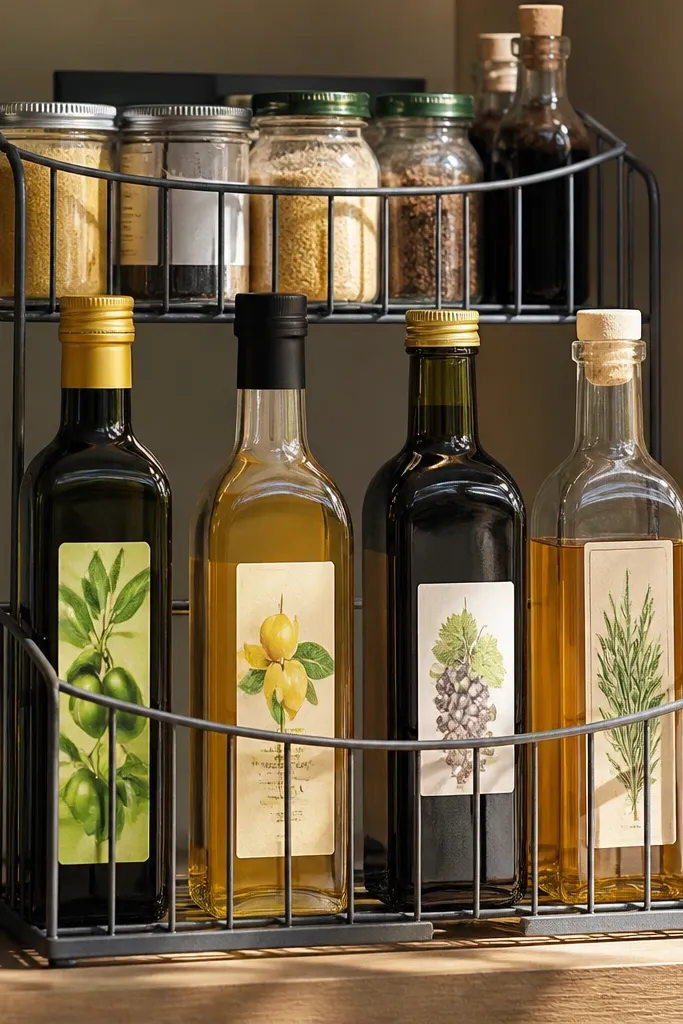
A two-level basket adds height without adding clutter, and the front tray keeps oils and vinegars from getting buried. This is a great budget small pantry organization idea if your top shelf is a mess of bottles and you want a clean line. The basket gives you a “display” look while still being practical for daily cooking. Choose baskets that have a flat front tray or a removable insert so you can wipe spills easily. This works well for small pantries where countertop-style organization is the goal.
Choose a two-level basket system that fits your shelf width and doesn’t block access to items behind it. Place the front tray on the bottom tier for oils, vinegars, and sauces you use weekly. Put backup bottles on the second tier so you can see them but don’t mix them with daily items. Label the front tray by category and keep the rest unlabeled if you don’t need it daily.
Use bottle labels with a matte finish so they don’t glare under cabinet lighting.
Don’t store sticky syrups in open baskets — they make the basket look dirty quickly.
14. Magnetic Spice Jars on a Sheet Metal Strip
Magnetic spice jars turn a blank wall into a functional storage strip, which is one of the most space-efficient moves for small pantries. It’s also photogenic: clean jar rows with label faces stay readable and orderly. This idea works best when you have a flat wall section near the shelves and you want spices visible without door hardware. Use it for spices, herbs, and tiny seasonings that don’t need wide storage. Keep jar sizes consistent so the strip looks uniform.
Mount a sheet metal strip to the inside pantry wall using the right anchors for your wall type. Use spice jars with magnetic lids or add adhesive magnets to the lids. Fill jars, then label the front with the spice name and, if needed, a level indicator like “everyday” vs “special.” Arrange jars in a tight row and keep the most-used ones at the top for easy reach.
Use a ruler and painter’s tape to mark jar spacing before you stick lids on.
Avoid putting heavy jars on a weak mount — a bent strip makes everything look sloppy.
15. Clear Stackable Canisters for Pasta Rows
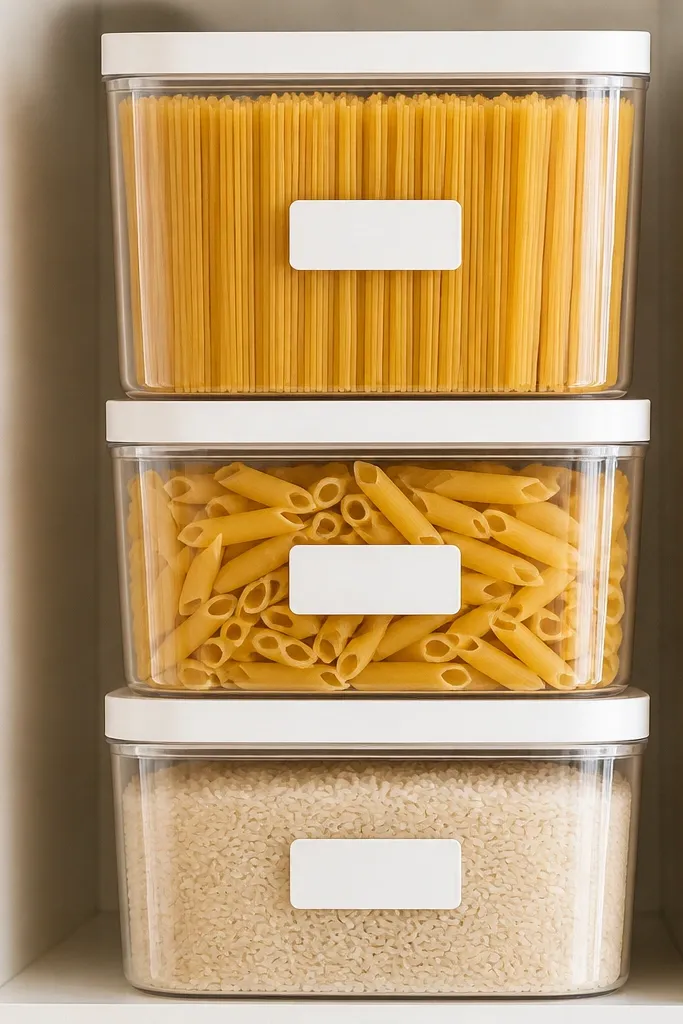
Clear stackable canisters let you build neat vertical rows for pasta shapes, rice, and grains without losing visibility. Stackability matters because small pantries need height usage, not just wide shelf coverage. The look is clean when you keep the same canister size and label placement across the row. This idea also reduces wasted space from crumpled bags and uneven package heights. It’s best for dry goods that you can pour into uniform containers.
Pick canisters that stack securely and measure the shelf height including the lip so the stack doesn’t block the shelf above. Pour dry goods into canisters and wipe rims clean so lids sit tight. Arrange canisters in a single column per category and label each one clearly. Leave one empty canister space if you restock often so you don’t end up forcing lids on crooked.
Use an airtight gasket canister if your pantry runs humid — labels stay cleaner and lids don’t fog.
Don’t mix stackable and non-stackable canisters in the same column.
16. Corner Shelf Turntable for Baking Tools
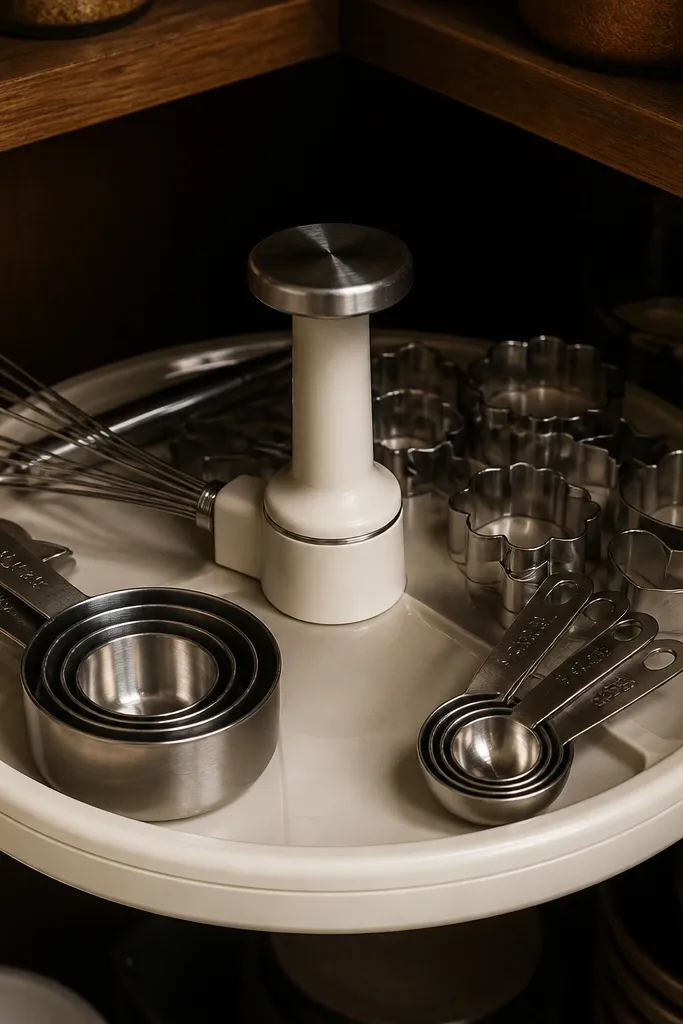
If you have a corner shelf with baking tools or small appliances that get shoved to the back, a small turntable fixes the access problem without changing your whole pantry layout. It makes the corner usable and keeps tools visible so you don’t forget them. The aesthetic is better because everything sits in a controlled ring shape rather than scattered stacks. Use it for things like measuring cups, baking soda, sprinkles, and small baking mixes. This works when your corner shelf has enough depth for a turntable base.
Measure the corner shelf footprint and choose a turntable that sits flat without blocking the shelf edges. Arrange items in a circular layout and keep the heaviest items at the center so the turntable rotates smoothly. Use small bins or boxes on the turntable so the tools don’t slide. Label the outside of each bin with a simple category name.
Use felt or rubber feet under the turntable so it doesn’t scratch shelves.
Avoid placing slippery items directly on the base — use bins so they don’t drift.
17. Tall Hanging Bag Organizer for Paper Goods
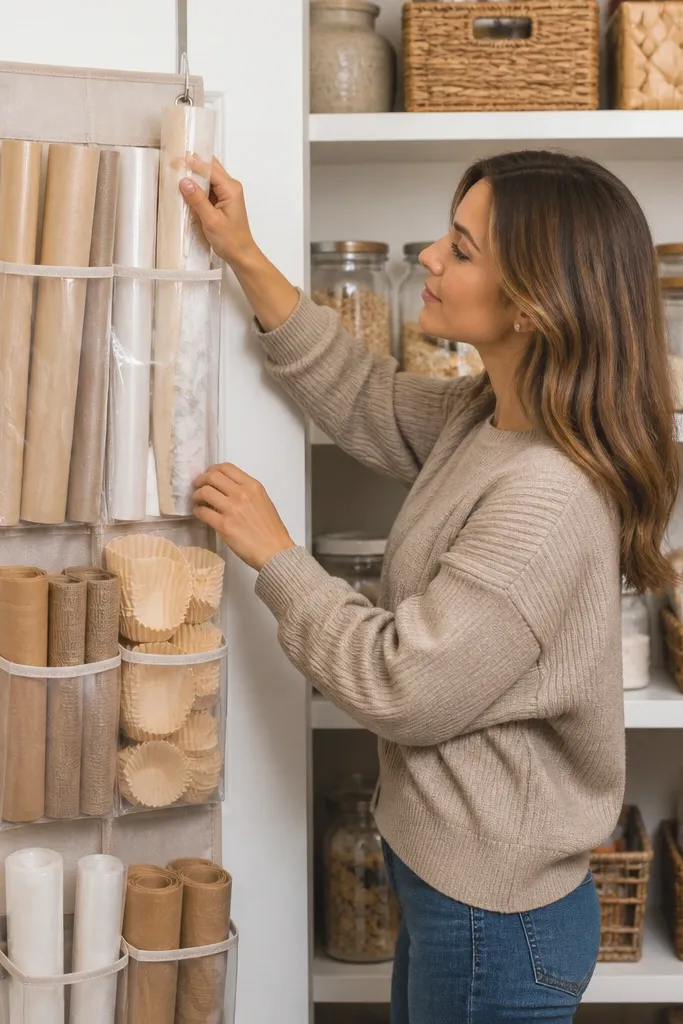
Hang the organizer on the inside pantry wall or door using hooks that hold steady and don’t swing. Store paper goods vertically in pockets, then label the front pocket areas with simple names. Keep one “open” pocket for frequently used items and one “backup” pocket for extras. Fold liners and wrap in consistent sizes so they fit without bulging.
Paper goods like parchment, liners, and plastic wrap take up space because they’re bulky and hard to stack neatly. A tall hanging organizer keeps them vertical and aligned, which makes the pantry look more organized than stacked piles. Clear pockets let you see what’s left without pulling everything out. This is a budget win because you’re using hanging fabric organizers instead of buying new shelving. It’s best for pantries where you already have hooks on the inside wall or behind a door.
Skip thisDon’t cram mismatched folds — bulging pockets make the whole organizer look messy.
Editor's noteUse binder clips to keep wrap rolls from unspooling inside the pocket.
18. Stackable Drawer Bins for Backstock Rotation
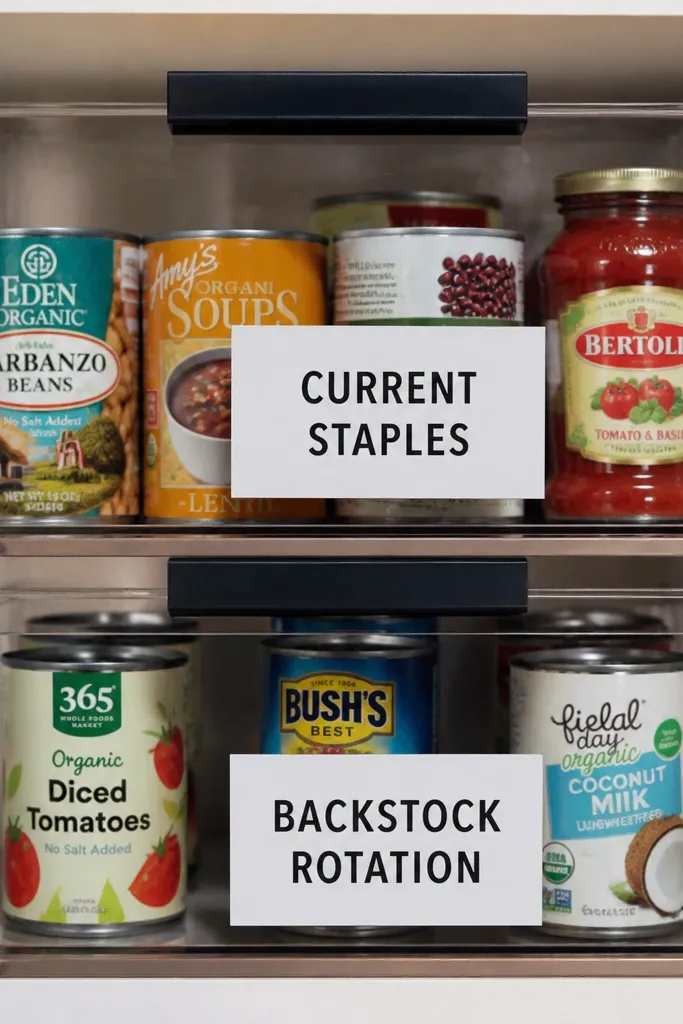
Choose drawer bins with shallow fronts so they fit your shelf depth and pull smoothly. Place the “current” bin at the front and the “backup” bin behind it or on a lower shelf. Label each bin with the category and, if you want, a month marker for rotation. When you restock, move new items to the back bin and pull from the front bin first.
Backstock is where small pantries go to die. Stackable drawer bins let you separate current items from backups and rotate without chaos. The drawer-style pull keeps everything visible and reduces the need to rummage through bags. This setup looks clean because the bins sit at consistent heights and labels face forward. Use it for backups like extra rice, extra pasta, canned tomatoes, and spare baking ingredients. It’s one of the best budget small pantry organization ideas because it prevents clutter from starting in the first place.
Skip thisAvoid storing backups in open bags on top — they turn into a visual mess fast.
Editor's noteUse a simple color code: one label color for current, another for backup.
19. Canned Goods Row With Overlap Labels
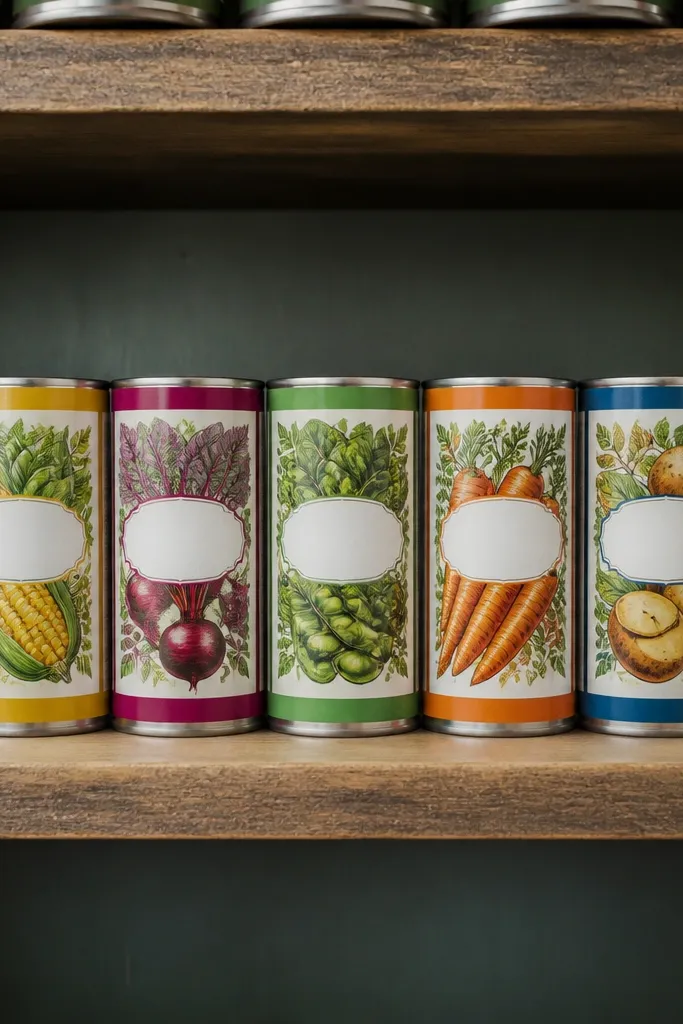
Set up a shelf rule: only one can row or two rows max, with labels facing out. Use a simple can organizer or shelf liner with ridges so cans don’t roll. Arrange cans by category and then by size so you don’t end up with gaps. Place the oldest cans at the front and new cans at the back so rotation is automatic.
Canned goods look awful when they’re stacked randomly because you can’t see what’s there and labels become a mess of glare. A single row with consistent spacing makes your pantry look instantly cleaner and gives you control over what you use first. Overlap labels — meaning the label faces are aligned so you can read them from the front — gives the shelf a uniform rhythm. This idea adds space by reducing how many cans you cram into uneven stacks. It’s best for pantries with a shelf wide enough for one or two can rows.
Skip thisSkip “mixed sizes in one pile” — it creates gaps that waste space.
Editor's noteWipe can labels before arranging — sticky residue makes the shelf look dusty.
20. Clear Flat Storage for Baking Sheets and Trays
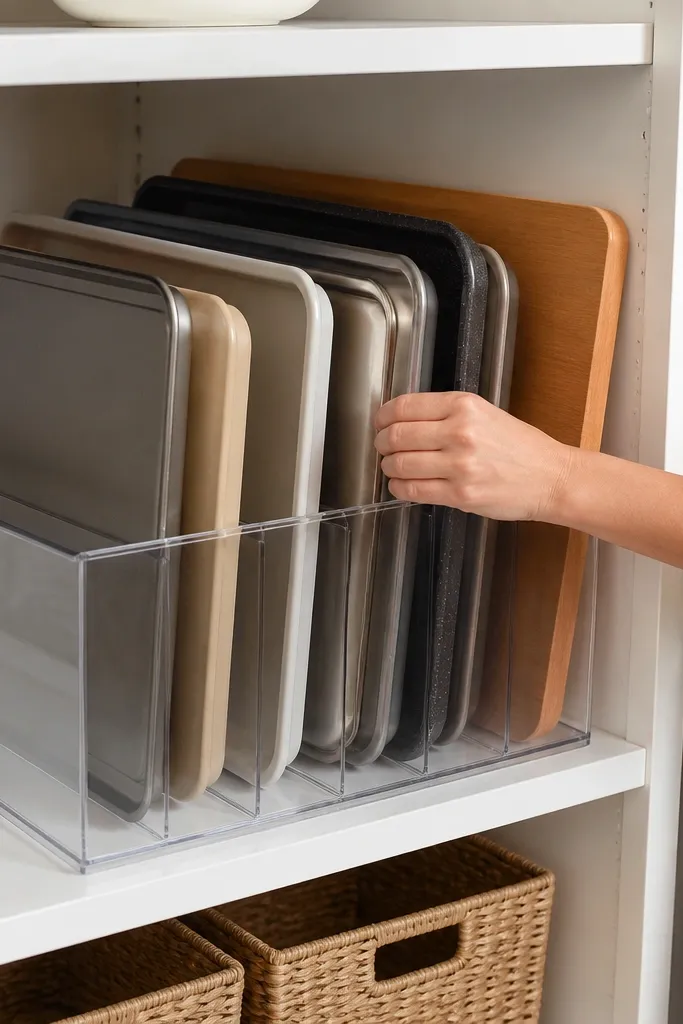
Measure the shelf and choose a flat organizer that fits without forcing you to bend items. Place the largest tray flat first, then add smaller items in a consistent stack. Use dividers or foam strips if items slide or clack. Finally, label the organizer front with “Baking trays” or “Serving,” so you don’t mix it with food bins.
If your pantry stores baking sheets, serving trays, or small appliances, they take vertical space and make the pantry look crowded. A clear flat organizer keeps these items aligned and visible, which makes the pantry feel more like a storage system than a junk shelf. It also protects items from dust and keeps edges from scraping each other. This is a good-looking solution because it creates a clean flat panel look instead of tangled stacks. It works best for pantries with one shelf that’s currently holding mixed flat items.
Skip thisDon’t store trays loose behind bins — they get scratched and the shelf looks messy.
Editor's noteUse felt pads between trays so they don’t scratch and so the stack stays stable.



