
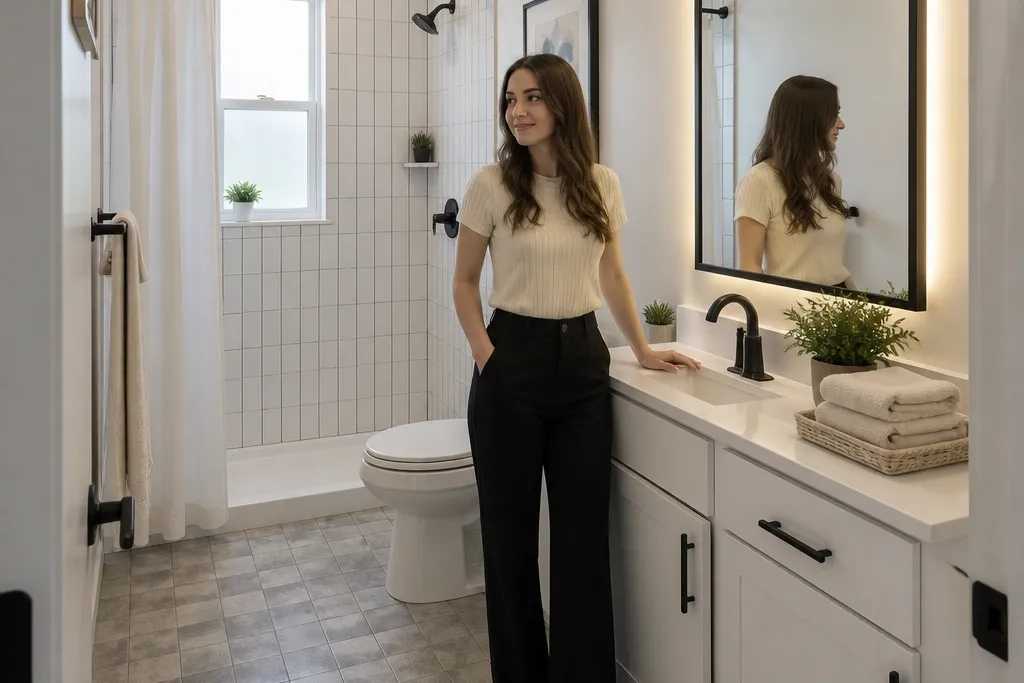
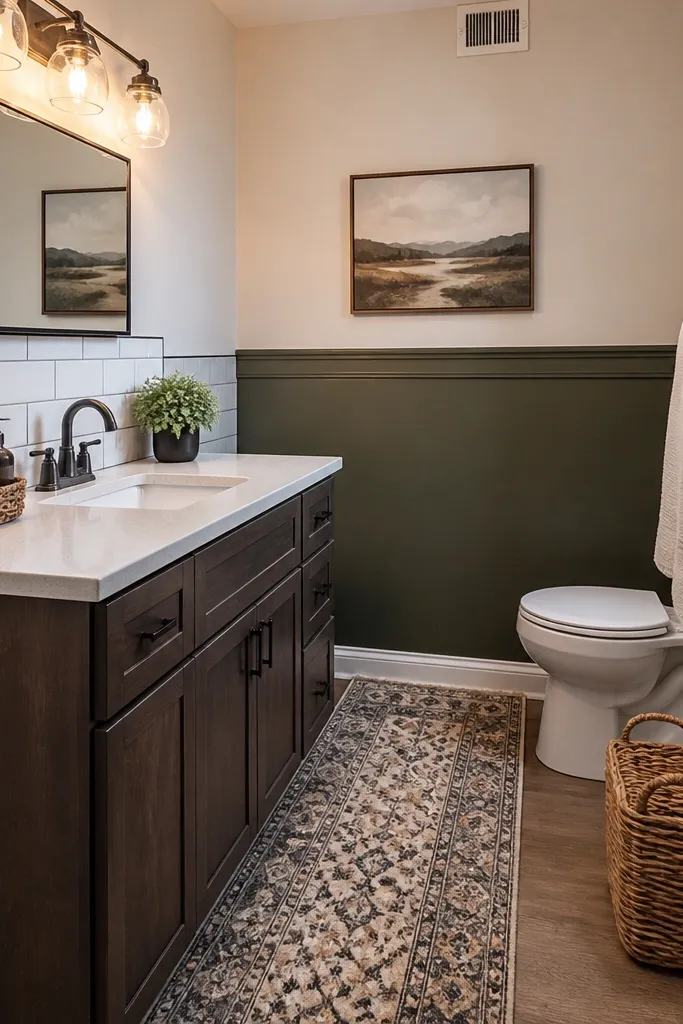
1. Peel-and-stick subway tile backsplash behind the vanity
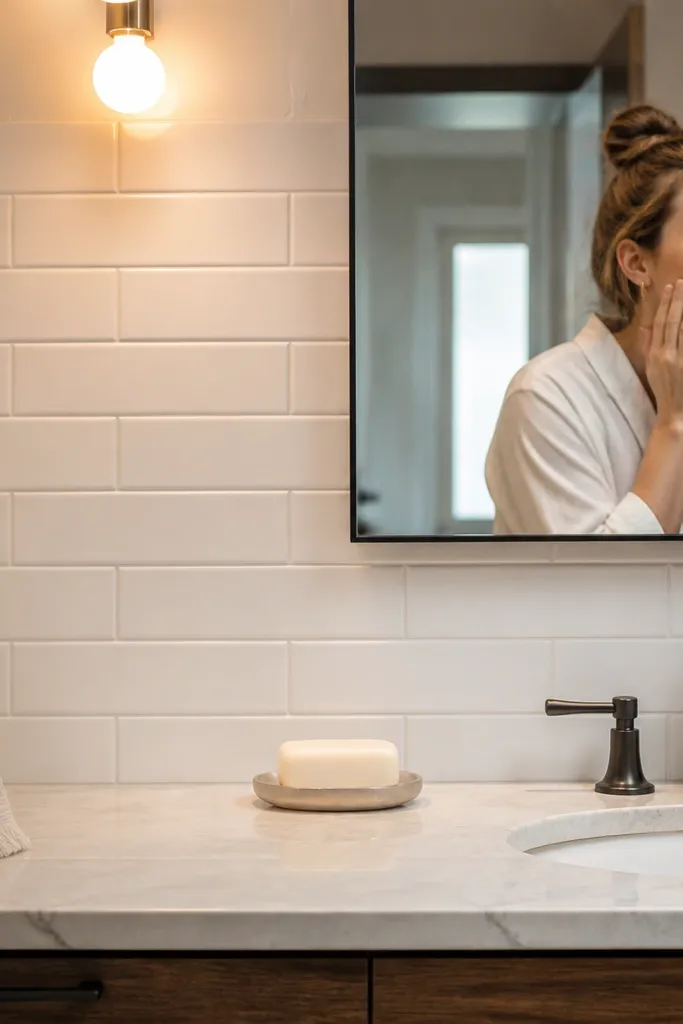
This gives you the “fresh renovation” look without waiting on tile crews. The subway pattern reads classic in tight bathrooms, and the grout lines break up plain wall space so photos look styled. Choose a matte or satin finish so it doesn’t glare under vanity lighting. You’re also protecting the wall from splashes and toothpaste smears, which keeps the makeover looking new longer. Skill level is beginner-friendly if you take prep seriously and measure from a straight reference line.
Start by cleaning the wall with degreaser and letting it dry completely, then patch any dents and sand smooth. Find the center of the vanity and snap a level line for your first row; dry-fit a few tiles to confirm spacing. Peel and stick one row at a time, pressing firmly with a plastic smoothing tool, then trim edges with a sharp utility knife and straightedge. Seal any exposed edges with a thin bathroom-safe caulk if the tile meets painted trim.
Editor's noteUse a metal ruler and score-and-snap for clean cuts at corners.
Skip thisDon’t stick over glossy paint or dusty drywall — it lifts later.
2. Two-tone vanity wall paint with a crisp wainscot line
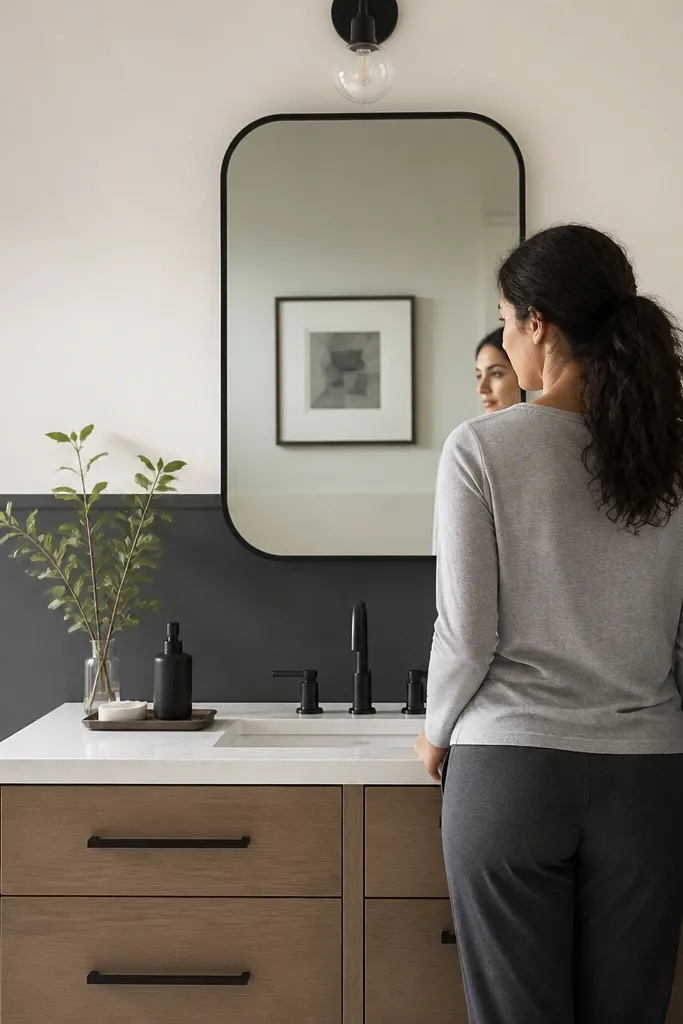
Two-tone paint makes a small bathroom feel designed, not temporary. A simple wainscot-style line adds structure and gives your mirror area a frame, which looks great in photos. Use a darker color on the lower section and a lighter color above to keep the room bright while still feeling styled. The key is the line: if it’s straight and the edges are clean, the whole bathroom looks more expensive. This is a weekend project with real payoff and minimal mess compared to tile.
Measure the wall height and decide your line height (commonly 36 inches from the floor for a typical wainscot look, adjusted for your vanity height). Tape a level line using painter’s tape, then paint the lower color first after priming spots that need it. After it dries, remove tape carefully, let it cure, then tape again for the upper color. Feather any minor drips with a damp brush before they set, and finish with semi-gloss or satin on both sections for wipeability.
Press tape edges down with a plastic putty knife so paint doesn’t creep under.
Don’t use flat paint on the lower half — it stains fast.
3. Faux cement floor paint in a small square pattern
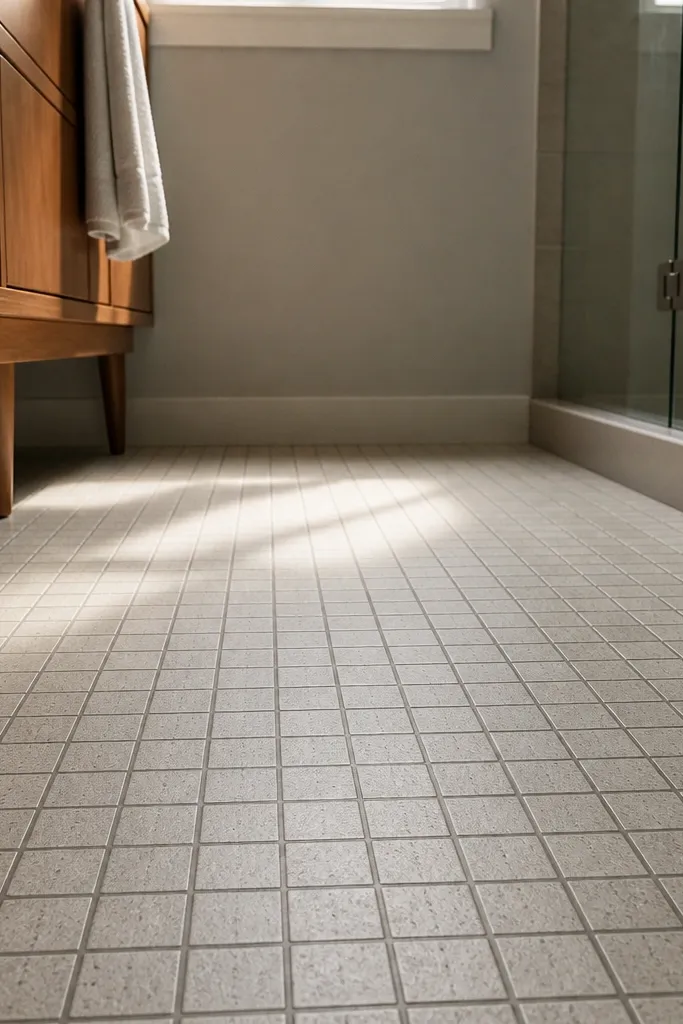
Painted floors can look shockingly good when you use the right products and a simple pattern. A faux cement finish brings texture without raising your budget, and the speckling hides minor unevenness. In a small bathroom, the floor is in every shot, so even a basic geometric repeat reads high-end. This also buys you time if you’re not ready for full flooring replacement. It’s best for bathrooms where you’re okay with a DIY floor coating and careful maintenance.
Clean the floor thoroughly, then scuff-sand with a floor prep abrasive and vacuum dust. Apply a concrete bonding primer if your surface needs it, then roll on a cement-style base color using a 3/8-inch nap roller. Once dry, add speckle with an old toothbrush and diluted accent paint, then tape a simple grid and stencil or sponge the darker squares. Top with a clear, water-resistant floor sealer made for bathrooms and let cure fully before using the space.
Editor's noteDo a small test patch first to confirm speckle density and cure time.
Skip thisDon’t skip scuffing — glossy surfaces peel coating.
4. Matte black vanity hardware swap for instant cohesion
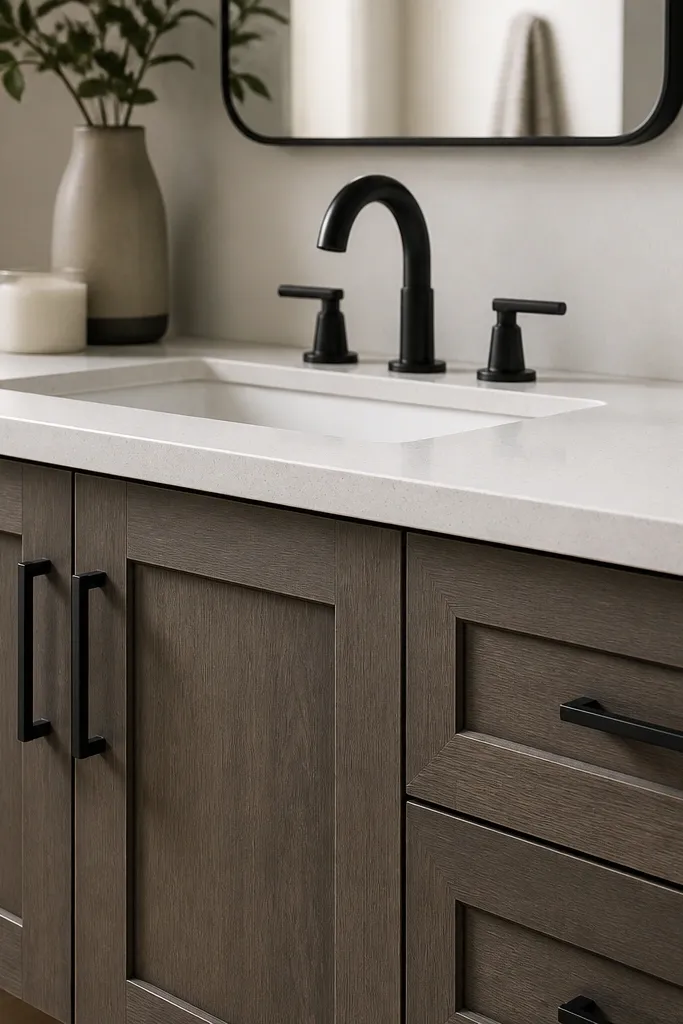
Hardware is one of the cheapest ways to make a bathroom look updated because it’s a high-contrast detail people notice. Matte black also hides fingerprints better than shiny finishes, which matters in a small space. If your faucet is already brushed nickel or chrome, keep the hardware consistent with the faucet finish instead of mixing metals. This project works even if you keep the vanity cabinet, so it’s low risk and fast. You’ll get a clean, cohesive look with almost no dust.
Remove the old pulls and measure the hole spacing (center-to-center). Buy new hardware with the same spacing or plan to fill old holes with wood filler, let it cure, then sand smooth. Install by tightening screws firmly but not over-torquing into particle board. Wipe the area clean and check alignment by sighting across the vanity face before you fully tighten.
Use painter’s tape to mark a straight alignment line so pulls sit level.
Don’t guess hole spacing — wrong spacing makes the vanity look patched.
5. Tall mirror swap with a slim black frame
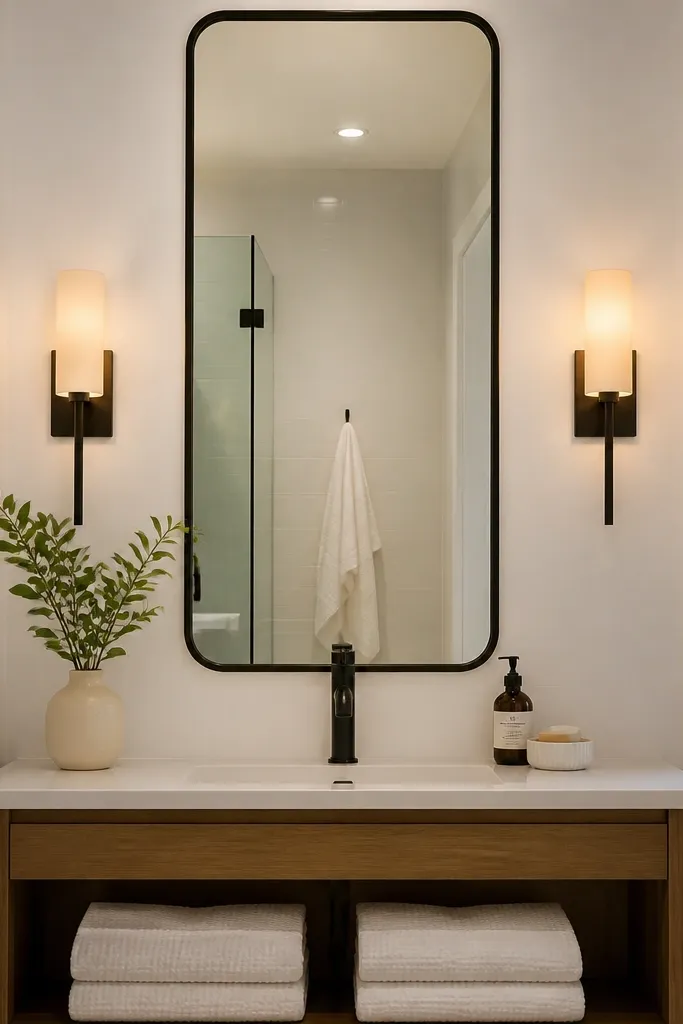
A taller mirror makes the room feel bigger because it visually pulls the eye up. A slim frame adds a clean edge without swallowing wall space, and matte black looks sharp against white walls and light tile. This is one of the most photogenic upgrades you can do because it fills the center of the shot above the vanity. It also helps with everyday function: more face area for shaving and hair styling. Installation is straightforward if you can mount securely into studs or use proper wall anchors.
Measure the wall space above the sink and choose a mirror that leaves at least 2 inches of clearance from the faucet and light fixture. Locate studs using a stud finder, or plan for rated anchors if you’re not hitting studs. Dry-fit the mirror and mark mounting points, then drill pilot holes. Mount with the included brackets or mirror-safe hardware, then level the mirror before tightening fully.
Wipe the mirror edges and frame with glass cleaner before mounting so smudges don’t dry into the finish.
Don’t mount too high — keep the bottom edge around vanity-counter height plus 6-10 inches.
6. Backlit LED mirror strip with a simple dimmer

Lighting is the difference between “clean DIY” and “looks finished.” A backlit LED strip around your mirror makes skin tones more flattering and reduces harsh shadows during morning routines. Warm light also makes small bathrooms feel cozy rather than clinical. You don’t need a fancy mirror; a strip kit gives you the look while you keep your current setup. If your bathroom has a single overhead light, this single change improves every photo too.
Turn off power at the breaker and confirm the circuit is off with a tester. Mount the LED strip kit using the adhesive backing on dry, degreased surfaces, or fasten with the provided clips if the kit includes them. Route the wire neatly along the mirror frame area and connect to the driver according to the kit diagram. Install a dimmer if your kit supports it, then test before closing up the wiring compartment.
Choose 2700K-3000K LEDs and stick to one brightness level for consistent results.
Don’t trust adhesive on dusty walls — degrease with isopropyl alcohol.
7. Shower curtain upgrade to a textured linen-look panel
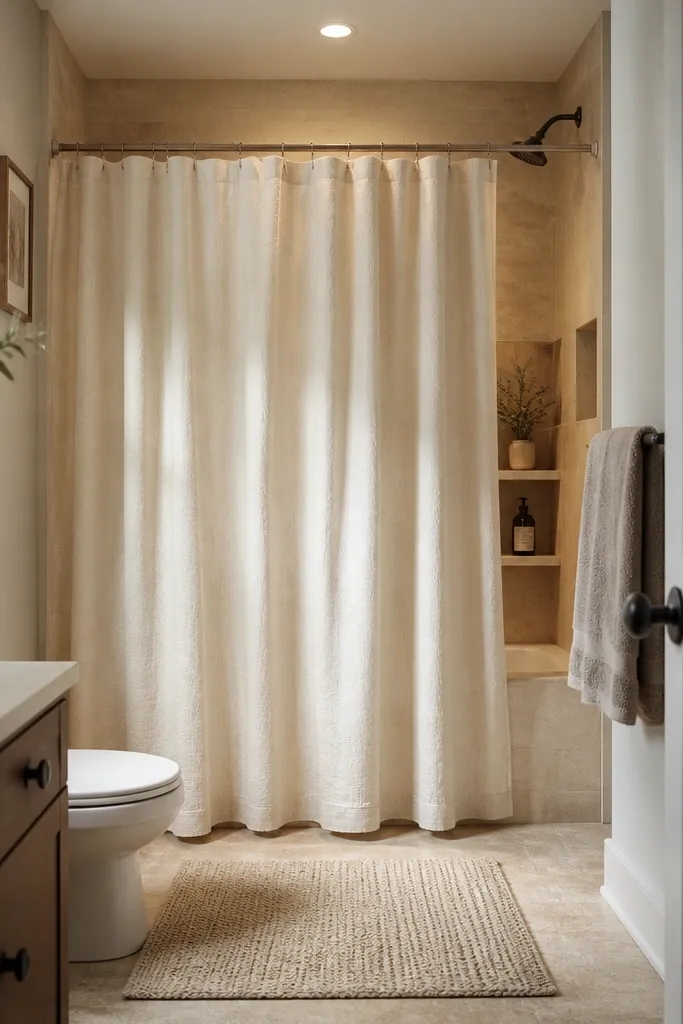
A shower curtain is huge visual real estate in a small bathroom. Switching to a linen-look panel instantly changes the vibe without buying tile or replacing a door. Texture matters because it catches light softly and makes the bathroom feel warmer and more curated in photos. Choose a neutral base with subtle texture, and keep the rod consistent with your hardware finish. This is one of the fastest projects on the list, and it makes the bathroom look “done” right away.
Measure your shower length and rod height; aim for a curtain that pools slightly at the bottom (about 1-2 inches) for a tailored look. Use a sturdy tension rod or a wall-mounted rod so the curtain doesn’t sag. Add a liner that’s clear or white and overlaps the curtain for splash control. Hang the curtain with wide rings or clips so it drapes evenly.
Steam the curtain before hanging so the pleats fall correctly.
Don’t use a curtain that’s too short — it makes the bathroom look cramped.
8. Renter-friendly peel-and-stick floor tile with grout-look lines
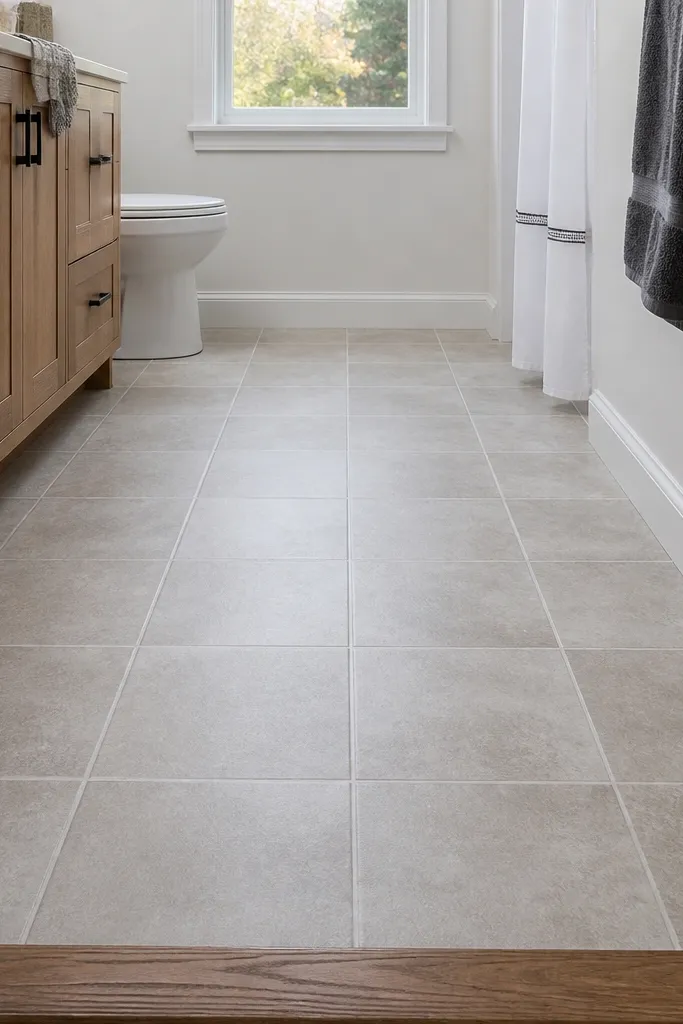
You get a full-floor makeover without demolition, and the grout-look lines make it read like real tile in photos. Pick a smaller tile pattern like 8x8 or 12x12 for better realism and fewer cut pieces. This is also a smart fix if your current floor is ugly but solid. It’s beginner-friendly if you’re patient with leveling and edges. The look is clean, bright, and instantly more “renovated.”
Clean the floor, let it dry, and remove any wax or residue with a floor cleaner. Tape a straight guideline using a chalk line or level, then dry-lay a row to plan where cuts land. Peel one tile at a time and press using a roller or firm hand pressure, working row by row. After installing, seal the perimeter edges with bathroom-safe caulk where tile meets wall or base trim.
Start from the most visible entrance line so any edge cuts show less.
Don’t skip floor leveling — uneven spots create lifting corners.
9. Open shelving with a matching wood stain and black brackets
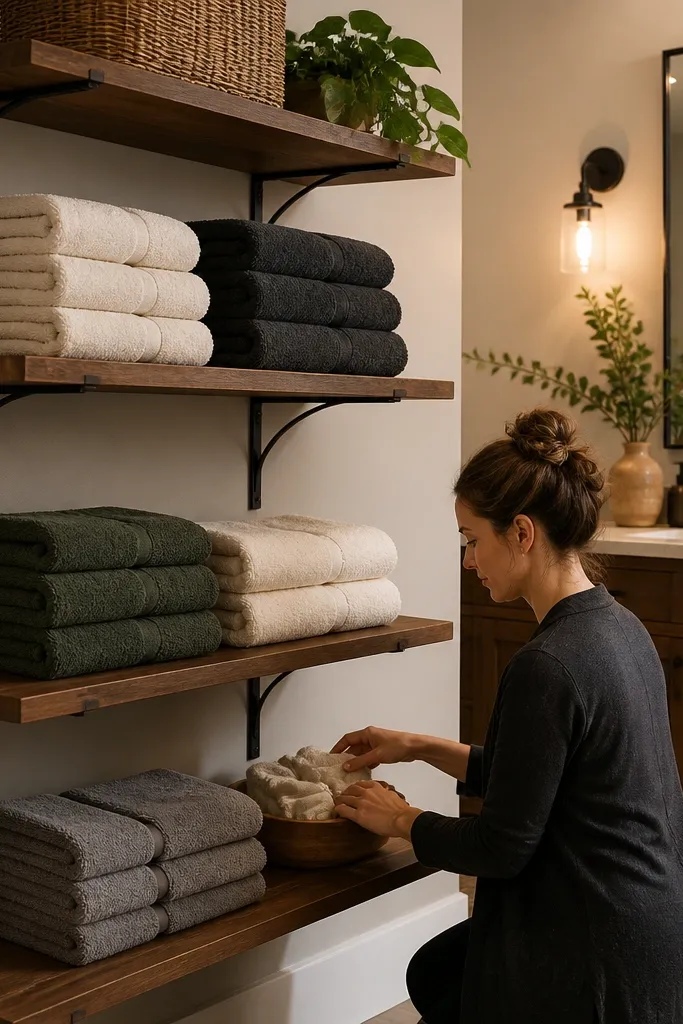
Open shelving looks styled fast, and it solves the storage problem that makes small bathrooms cluttered. Wood shelves add warmth, and black brackets echo common faucet or hardware finishes for a consistent look. Use this when your vanity is too small and you need vertical storage. Keep it photogenic: stack towels by size and use matching canisters or baskets so it looks intentional. This setup is great for small bathrooms because it keeps things off the counter without blocking the mirror.
Choose shelf boards sized to your wall space, usually 24-30 inches long for a small bathroom. Sand and stain or use a pre-finished stain-and-seal product, then apply a clear topcoat made for bathrooms. Mark bracket positions using a level, drill pilot holes, and screw brackets into studs when possible. Mount shelves, then install a small lip or use shelf brackets that prevent items from sliding forward.
Editor's noteUse a damp cloth to wipe the shelf top before styling so fingerprints don’t show on dark finishes.
Skip thisDon’t place shelves too low — it blocks sightlines and makes the room feel smaller.
10. Vanity mirror frame wrap with wood slats
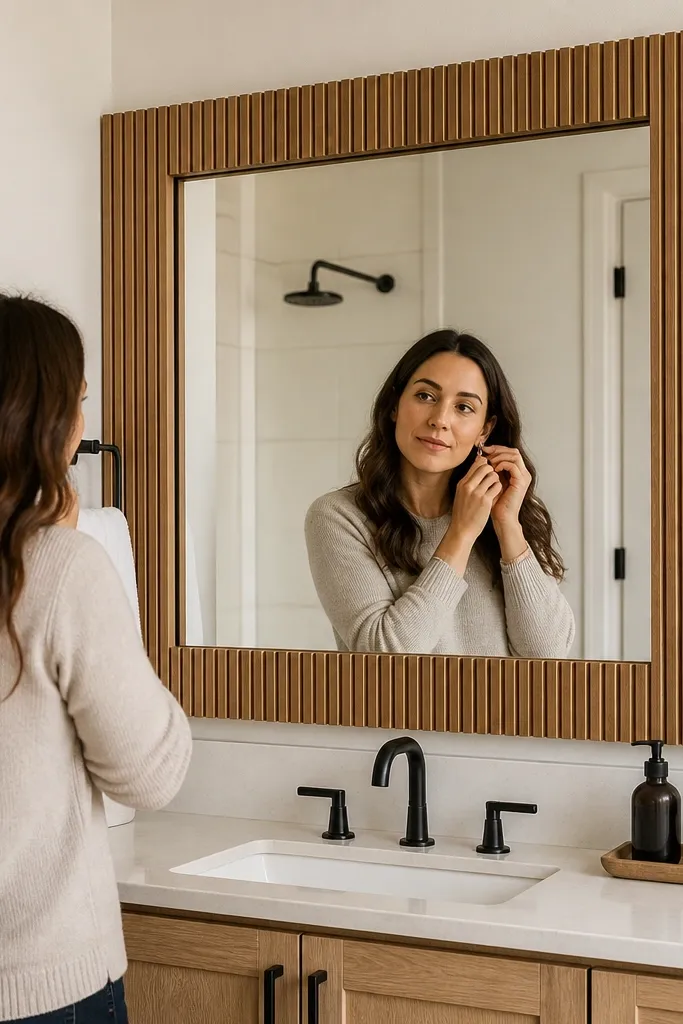
If your mirror is builder-grade, wrapping the frame with wood slats makes it look custom. The slats create a shadow line that reads high-end even on a budget. This is a great option when you like your current mirror size but hate the flat frame look. It’s also a clean project because you’re working on surfaces, not replacing fixtures. The result is a warmer, more architectural focal point in a small bathroom.
Remove the mirror if possible or protect it with painter’s tape and plastic sheeting. Lightly sand the existing frame, then apply a thin primer if the surface is slick. Cut wood slats to fit the frame perimeter, miter corners for a crisp look, and attach with a strong adhesive rated for trim. Fill tiny gaps with paintable wood filler, sand smooth, then seal with polycrylic before reinstalling.
Editor's notePre-arrange slat spacing on a scrap board so your gaps stay even around corners.
Skip thisDon’t skip sealing — untreated wood near humidity changes color.
11. Shower niche makeover with paint + contact paper shelf insert
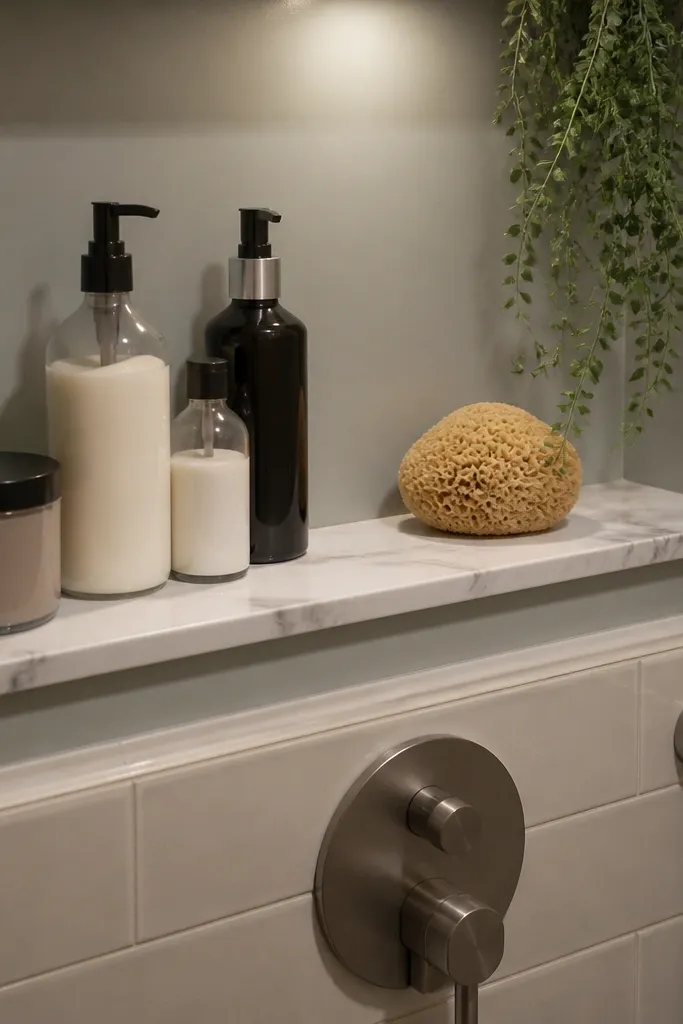
A shower niche can look messy fast because bottles collect and the back wall gets stained. Painting the niche and adding a removable shelf liner instantly upgrades the look and makes cleaning easier. Go for a moisture-resistant tile paint or a high-bond bathroom paint so it doesn’t peel. This works well in small bathrooms where the shower is the biggest visual element. It’s also one of the most “before-and-after” projects because the niche is right where people look when showering.
Clean the niche with a mildew-safe cleaner and let it dry fully, then sand lightly to help paint adhesion. Tape off edges and apply a moisture primer, then roll on a tile-rated paint in two thin coats. For the shelf, cut contact paper or a waterproof shelf liner to size and press it down smoothly. Re-check corners and edges for bubbles, then let everything cure before heavy use.
Editor's noteUse a foam roller for a smoother finish inside corners.
Skip thisDon’t paint over soap scum — it will cause peeling.
12. Magnetic strip for hair tools on the inside of the cabinet door
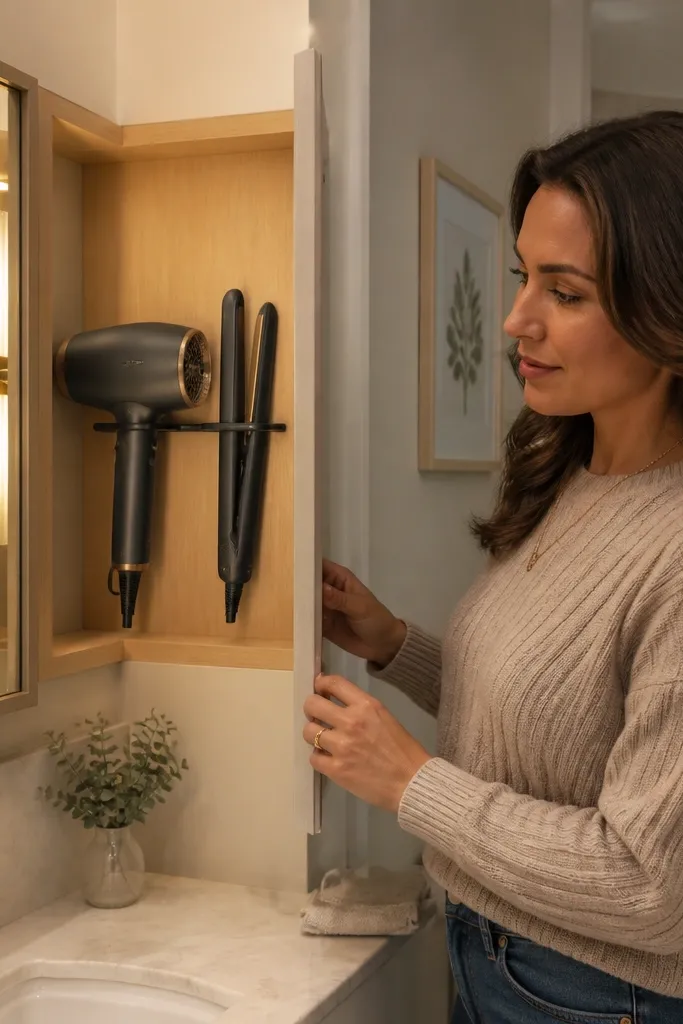
Small bathrooms suffer from counter clutter, and heat tools make it worse. A magnetic strip on the inside of a cabinet door keeps tools out of sight while still being easy to grab. The look is clean because it hides cords and messy storage. It also protects the cabinet interior from drips because tools sit in one organized place. This project is quick and it’s purely storage, so it won’t create a big mess.
Open the cabinet door and clean the inside surface with degreaser. Choose a magnetic strip long enough to hold your tools without overlap, then test placement so doors close without pinching wires. Mount the strip using screws or a heavy-duty adhesive method listed by the strip manufacturer. Add a small hook for a comb or brush and check clearance for the door latch.
Keep the strip low enough so tools don’t scrape against the sink backsplash when you open the door.
Don’t mount it to a flimsy panel with weak adhesive — it can pop loose.
13. Matte white board-and-batten wall paneling in a narrow bathroom
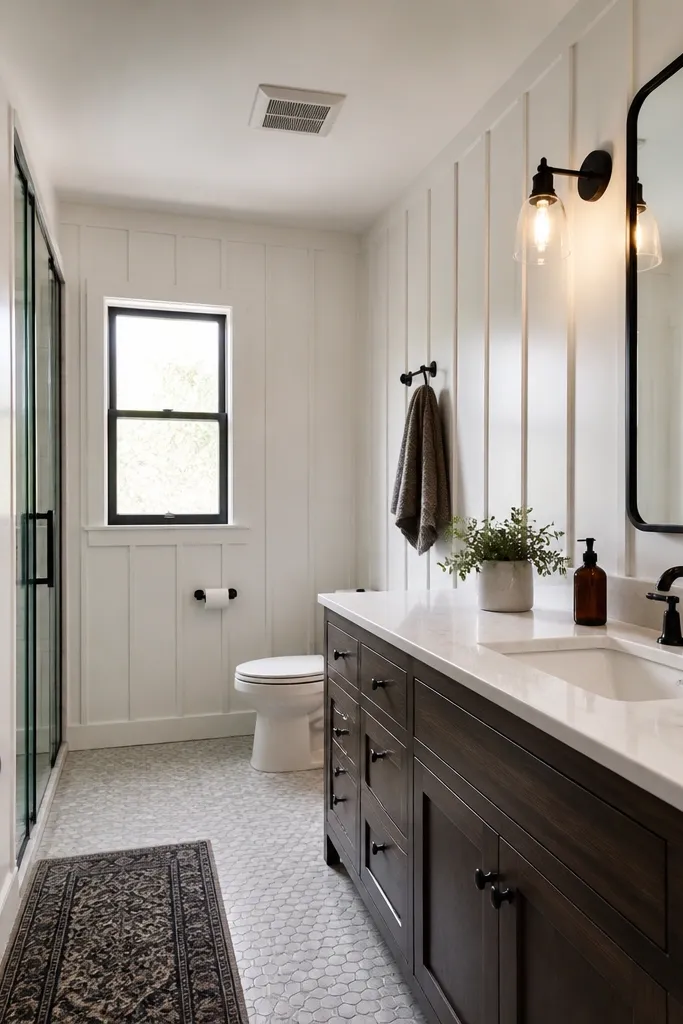
Board-and-batten gives you vertical lines that make the room feel taller, which is exactly what small bathrooms need. Matte white keeps it bright and easy to match with any hardware finish. You’re adding dimension without buying expensive tile, and it photographs really well because shadows fall into the grooves. This is a mid-level DIY because you’re cutting and spacing boards, but it’s still doable with basic tools. If you’re tired of flat walls, this makes the whole bathroom look designed.
Measure your wall width and plan battens with even spacing, commonly 12-16 inches apart. Prime and paint the wall first, then install vertical strips using construction adhesive plus finish nails. Use a level for every strip and check spacing with a tape measure, not eyeballing. Caulk seams, fill nail holes, then paint with a bathroom-safe trim paint in satin or semi-gloss.
Use a speed square to keep spacing consistent at corners.
Don’t skip caulk — gaps show up instantly in bright bathroom lighting.
14. DIY peel-and-stick marble contact shelf for the vanity top
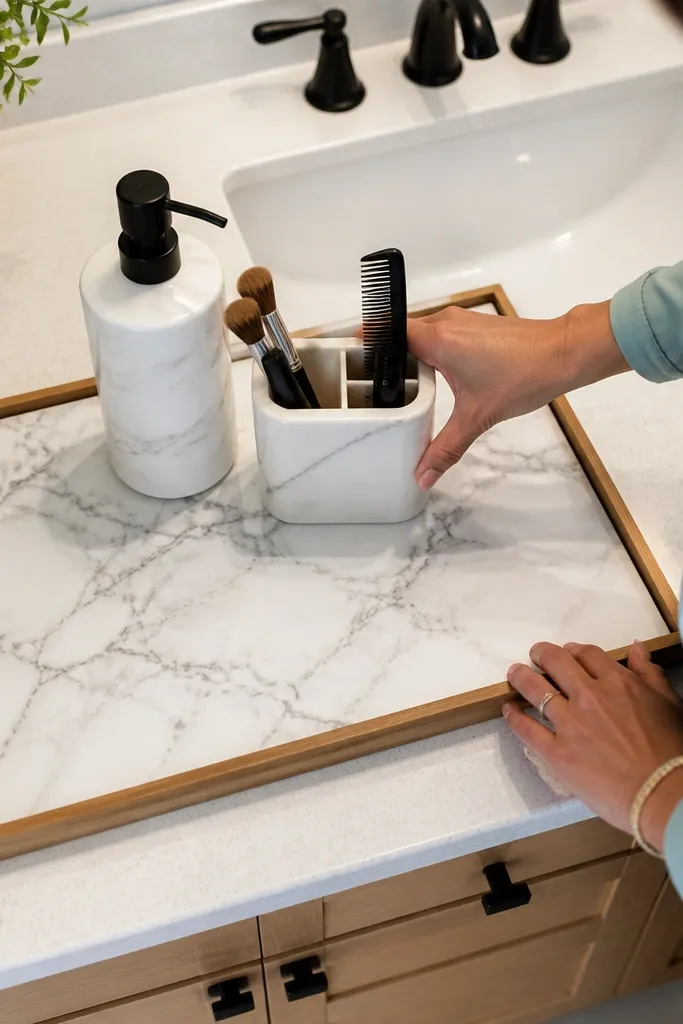
If your vanity top is stained or scratched, a marble-look contact wrap can make it look new for cheap. The trick is to apply it to a flat section where splashes land, like a drawer insert or a removable tray surface. Marble-look patterns hide small imperfections and read expensive in daylight. This is perfect for renters or anyone waiting on a bigger renovation. You can also switch it later if you grow tired of the pattern.
Measure the flat surface and cut contact paper with a sharp blade and straightedge, leaving a small overhang for trimming. Clean the area with degreaser and dry completely, then peel back a few inches and apply slowly, smoothing as you go. Use a plastic squeegee to push out bubbles toward the edge. Trim with a fresh blade and seal the edges of exposed sides with a thin layer of clear caulk if water hits there.
Editor's noteWarm the contact paper with a hair dryer so it lays flatter on curves.
Skip thisDon’t stretch it — stretched contact wrinkles later.
15. Corner towel ladder made from 2x2 pine and stain
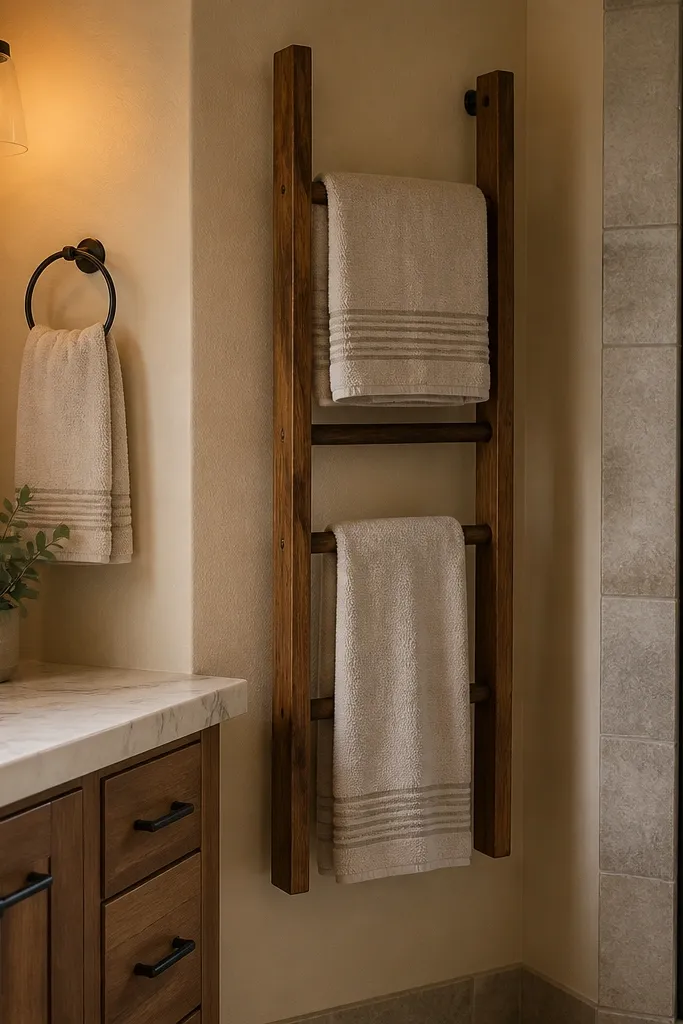
A corner towel ladder solves the storage problem without eating floor space. Wood slats hold towels neatly and look good even when towels are folded, so it stays photogenic. Staining it dark (walnut tone) makes the ladder look intentional and matches dark hardware. This is a practical DIY with a clean silhouette that fits small bathrooms. It takes a few hours, and once it’s up, your bathroom stops looking cluttered.
Cut two vertical sides from 2x2 pine and three to four cross rungs sized for towel width, usually 18-22 inches. Sand all faces, then stain and wipe off evenly, followed by a clear topcoat. Assemble by pre-drilling pilot holes and using wood screws into the verticals. Anchor the ladder to studs if possible using angle brackets so it feels solid and safe.
Stain in thin coats and keep a wet rag for quick wipe-off so you don’t get blotches.
Don’t leave cross rungs too far apart — towels slip and the ladder looks messy.
16. Vanity drawer organization with labeled clear bins
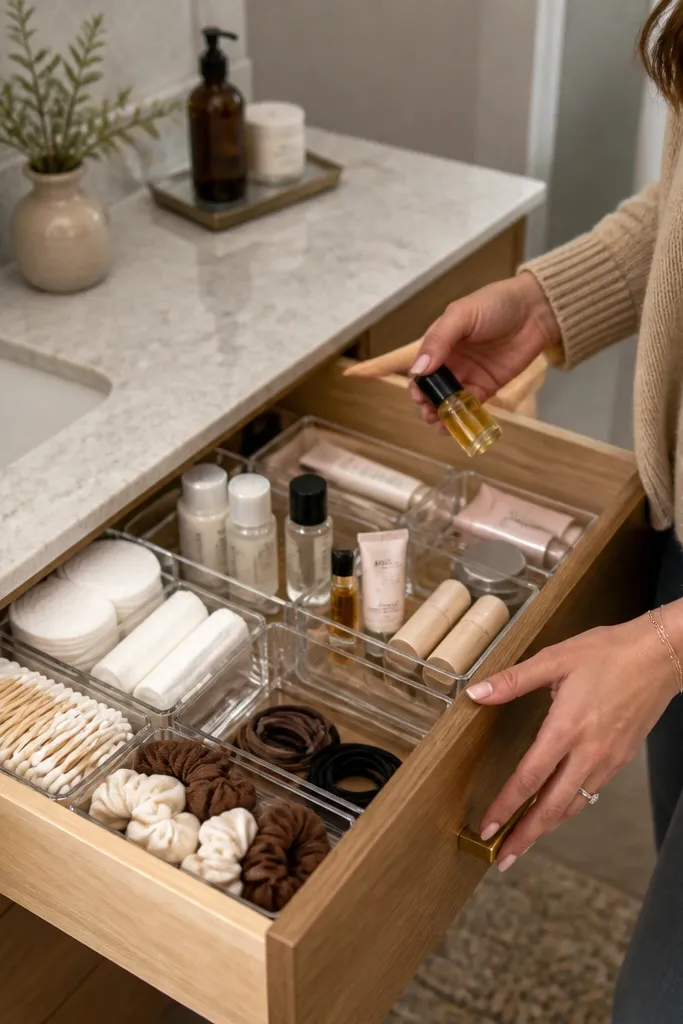
This is the boring project that makes everything look better in photos. When drawers are organized, your counter stays clear, and the bathroom looks upgraded even if you didn’t change finishes. Clear bins keep you from digging, and labels make it look tidy instead of chaotic. It also reduces mess from daily use, so the room stays camera-ready. You can do this with off-the-shelf sizes and a ruler, no construction required.
Measure inside drawer width, depth, and height, then choose bins that fit with a small gap for easy pull-out. Add a non-slip liner so bins don’t slide, then dry-fit your bin layout before sticking anything. Label with a simple waterproof label set so it doesn’t smear with moisture. Place everyday items at eye level in the first row and reserve backups in the back.
Use one label style across the whole drawer for a clean look.
Don’t mix too many bin sizes — it creates visual noise.
17. Replace the medicine cabinet with a recessed mirror frame
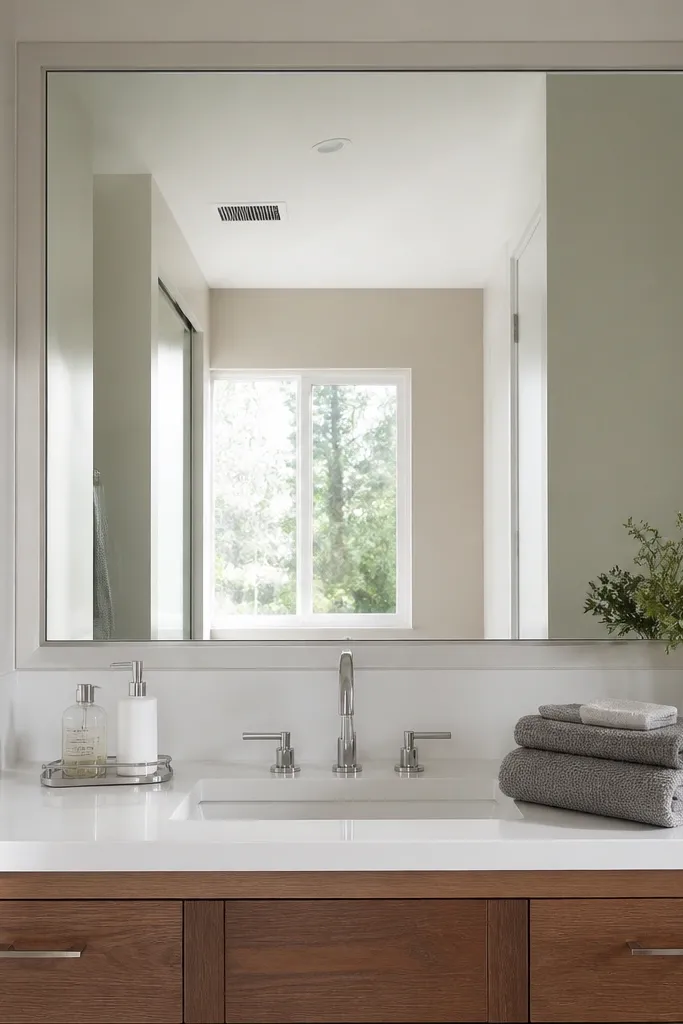
A recessed mirror frame looks sleek and makes the wall feel more open than a bulky medicine cabinet. It’s also easier to keep clean because there’s less trim and fewer corners. If your current cabinet has a dated frame, removing it and adding a mirror panel changes the whole look. This is a bigger DIY than paint, but it’s still achievable if you can handle basic carpentry and drywall patches. The finished result photographs like a custom renovation.
Turn off power if you have any lighting or wiring, then remove the cabinet carefully and save the rough opening dimensions. Patch the drywall edges, sand smooth, and prime the area for paint or mirror mounting. Install a mirror panel sized to the opening, using mounting clips or mirror-safe adhesive per the mirror hardware. Finish with caulk around the perimeter and repaint the surrounding wall for a seamless blend.
Editor's noteTest fit the mirror with spacers so you keep an even gap around the opening.
Skip thisDon’t rush the drywall patch — uneven edges show through caulk lines.
18. DIY vanity light upgrade with glass shades and warmer bulbs
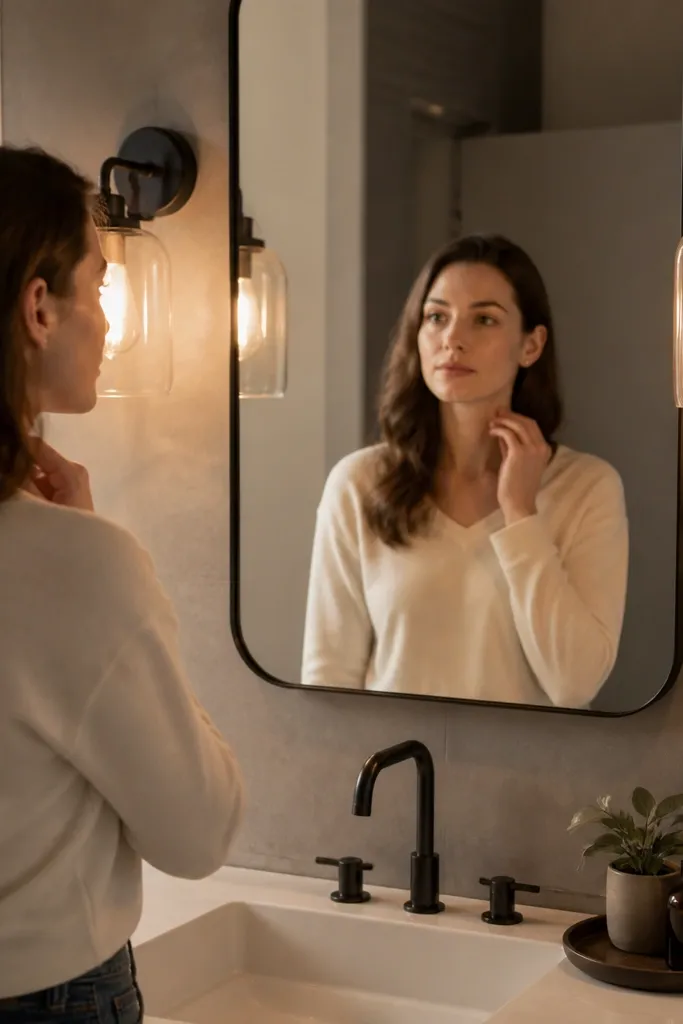
Changing the bulb color and shade style makes the bathroom look better immediately. Warm bulbs (2700K-3000K) reduce that harsh hospital tone, and glass shades soften reflections in the mirror. This upgrade is visible in every photo because it affects skin tones and shadow edges around the vanity. You don’t need to replace the entire fixture if you can swap shades or bulbs. It’s one of the simplest ways to make DIY projects look more intentional.
Turn off the circuit and remove the existing bulbs, checking the base type and wattage limits. Choose glass shade replacements that match the fixture mounting and allow light to spread evenly. Install the warmer bulbs and test the lighting before you put everything back together. If you’re swapping shades, align them symmetrically so the fixture reads balanced from the doorway.
Use LED bulbs rated for enclosed fixtures if your lights are fully covered.
Don’t pick bulbs that are too cool (4000K) — they make paint look gray.
19. Removable wall gallery using floating picture ledge shelves
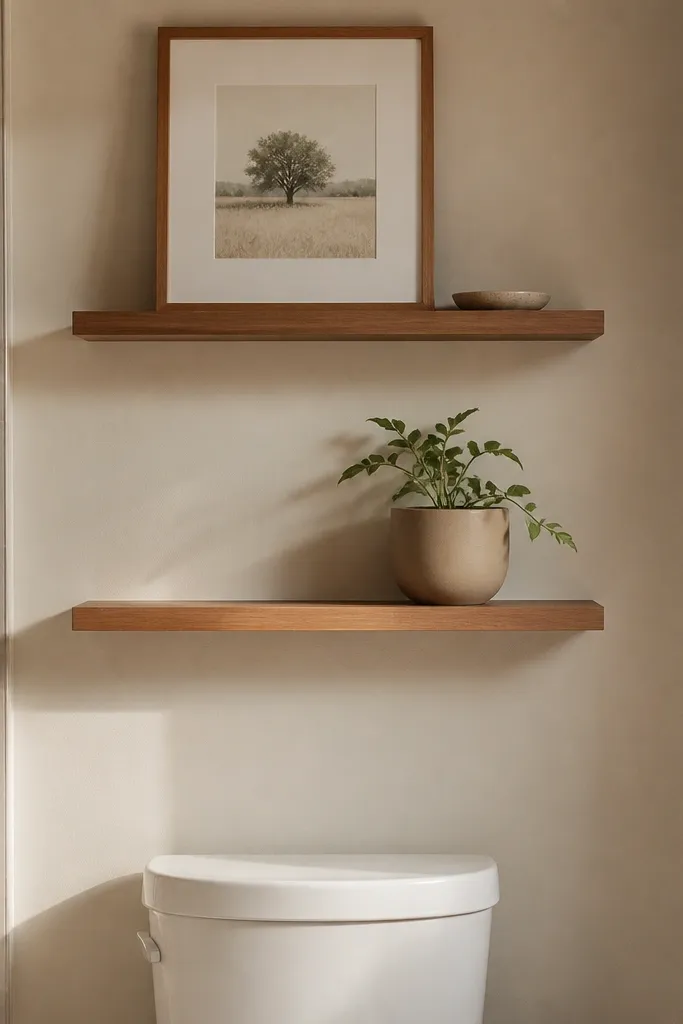
A small bathroom needs a little softness to stop it from feeling like a utility room. A floating picture ledge gives you a surface for one framed print, a small tray, and a plant or candle holder that looks good in photos. Keep the styling minimal: one frame, one tray, one container. This looks intentional because the ledge aligns with the mirror line and creates a tidy visual stack. It’s also renter-friendly if you use proper mounting hardware rated for your wall type.
Pick a picture ledge width that matches your wall space, usually 18-24 inches. Mark mounting points, check for studs, and drill pilot holes for screws. Paint or seal the ledge if it’s raw wood, then mount it level. Style with a framed print that has a bathroom-friendly mat (no glossy paper that warps) and a small tray for everyday items.
Editor's noteChoose frames in the same finish as your towel bar or hardware so everything matches.
Skip thisDon’t overload the ledge — too many items makes a small bathroom look crowded.
20. Painted vanity cabinet refresh with cabinet-grade bonding primer
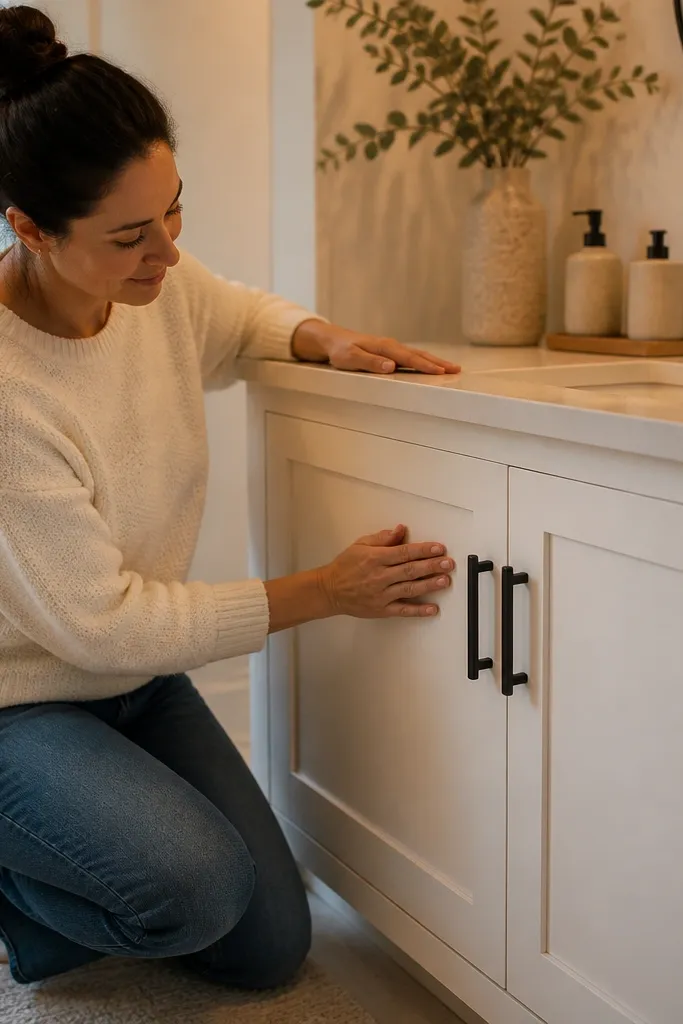
If your vanity looks tired, repainting it changes the bathroom more than any decor. A well-painted cabinet reads smooth and new, and it gives you freedom to pick a color that matches your walls and floors. Use a cabinet-grade bonding primer and a durable finish designed for high-touch surfaces. This is a bigger time commitment than changing hardware, but it’s still a budget remodel because you’re keeping the existing cabinet. The finished look is crisp and photo-ready.
Remove doors and drawers, then degrease and sand to scuff the finish. Apply a bonding primer in thin coats, then sand lightly after it dries. Spray or roll on a cabinet paint finish in two coats, letting it cure fully between coats. Reinstall hardware and hang doors with new hinges if yours are loose.
Label door and drawer positions with painter’s tape so reassembly stays aligned.
Don’t skip sanding — glossy surfaces cause peeling.
21. Shower door or curtain rod upgrade with ceiling-mounted track
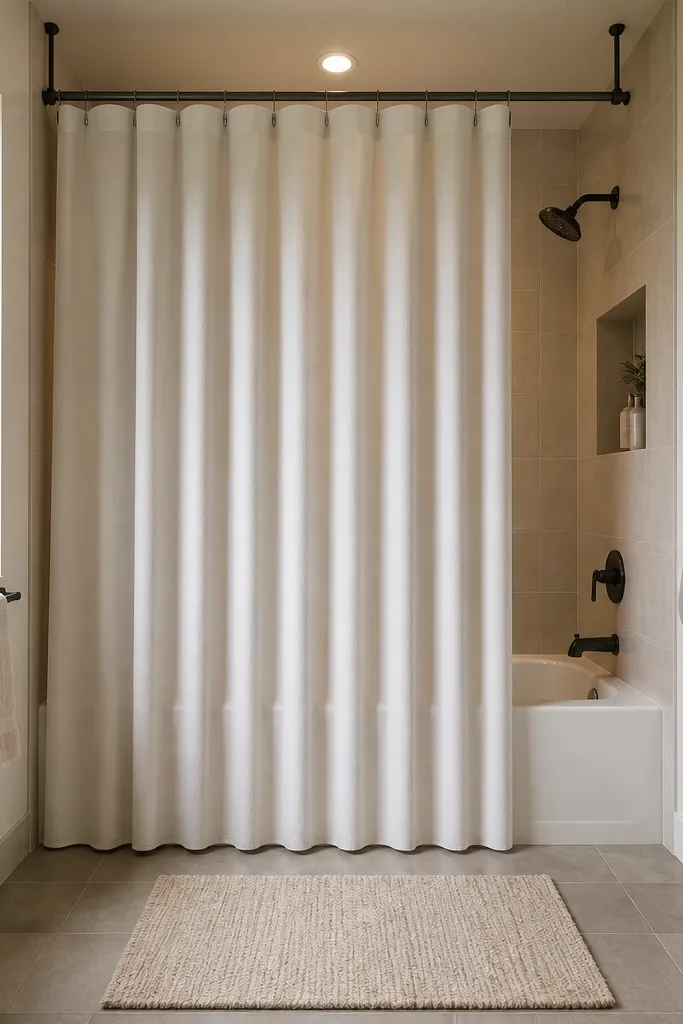
A rod that sits higher and straighter makes a small bathroom feel taller and cleaner. Ceiling-mounted tracks also reduce sagging curtains, so water stays contained and the shower area looks neat. This is a practical look upgrade that improves daily function without touching the shower itself. If your current curtain droops, the whole bathroom looks messy even when it’s clean. Done right, the shower area reads crisp in photos.
Measure the shower width and choose a track length that covers the area with overlap for curtain coverage. Mark ceiling mounting points and drill pilot holes, then anchor into joists if possible. Install the track level, then hang the curtain or panels so they hang straight with minimal wrinkles. Test the curtain glide and make sure it clears the vanity and doesn’t hit the mirror.
Use a level across the track — small tilt looks obvious in a mirror shot.
Don’t mount into drywall only — it pulls loose with curtain tension.
22. DIY vanity skirt using moisture-resistant MDF and paint
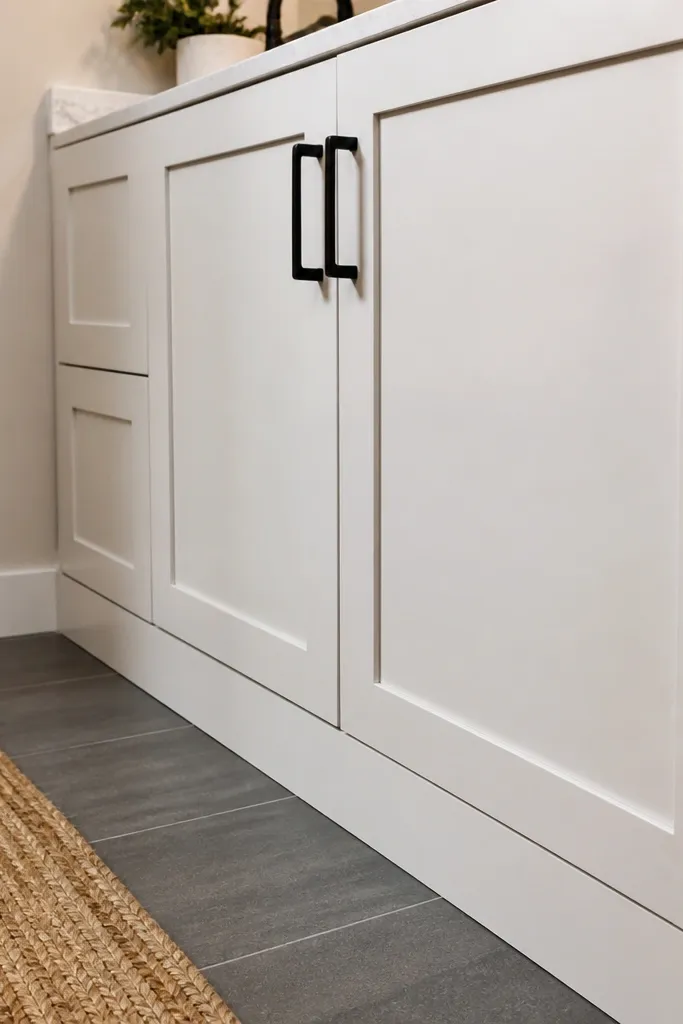
A vanity skirt hides the messy under-sink area and makes the vanity look built-in. In small bathrooms, the bottom edge is visible in photos, and an unfinished gap makes the whole space feel unfinished. Moisture-resistant MDF with paint gives you a smooth, clean line that looks custom. This project also helps visually align your vanity with the wall and floor trim. It’s a solid DIY for anyone who hates seeing plumbing and cleaning supplies.
Measure the vanity face width and height from the floor to the bottom edge, then cut moisture-resistant MDF panels to size. Seal all cut edges with a waterproof sealer or primer to prevent moisture wicking. Attach the panels to the vanity underside using screws with washers and construction adhesive where needed. Caulk seams and paint with semi-gloss so it wipes clean.
Editor's notePre-paint the skirt before installation so you don’t miss edges in tight corners.
Skip thisDon’t forget to seal MDF edges — unsealed edges swell near humidity.
23. Black-and-white patterned bath mat set with matching towel color
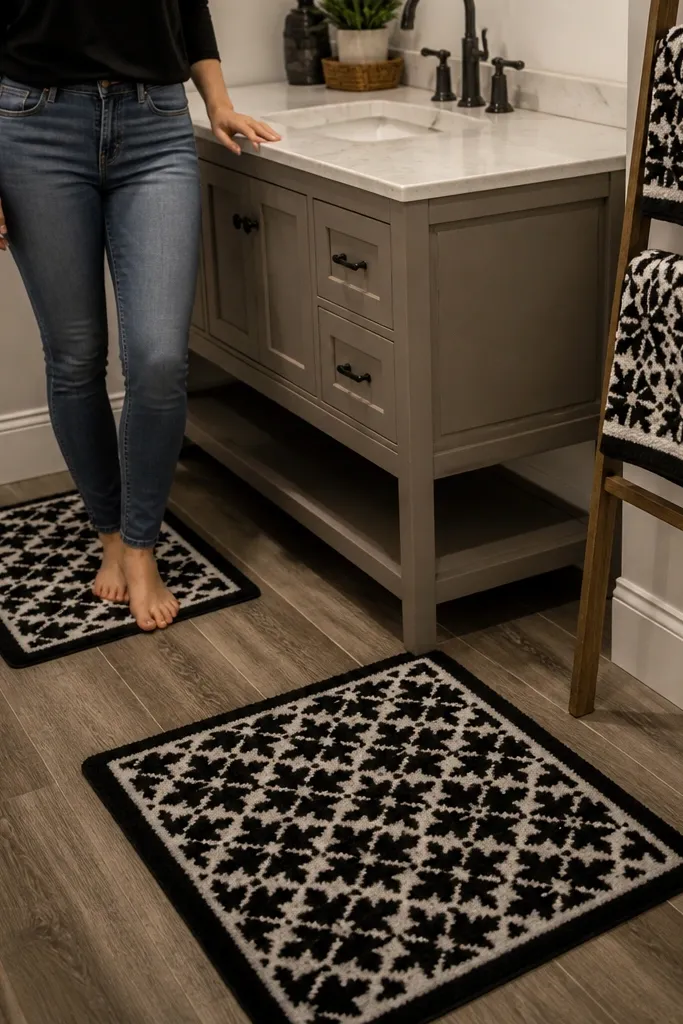
Textiles are the fastest way to make a bathroom look styled, and they’re cheap. A black-and-white pattern reads clean in small spaces because it frames the floor and draws the eye toward the vanity. Matching towels keeps the color story consistent and makes the room look intentional. This is the easiest project on the list and it instantly improves photos. It also makes daily use nicer because the room feels coordinated, not random.
Choose one pattern scale that fits your bathroom size, like small checks or subtle geometric rather than huge motifs. Pick towels in a single color that appears in the mat pattern, and fold them the same way on the shelf or rod. Place the mat centered so it doesn’t bunch, then check the towel height relative to the mirror for a balanced look. Wash and dry before placing so the pattern stays crisp.
Editor's noteUse one towel stack and one hanging towel max — it keeps the scene clean.
Skip thisDon’t mix multiple patterns — the bathroom looks busy fast.
24. DIY vanity mirror ledge with a thin floating tray

A thin ledge beside the mirror adds function without blocking the mirror. You get a place for a small soap dispenser, a toothbrush holder, or a tiny plant so counter clutter drops. The look is crisp because the items line up vertically near the mirror, which reads clean in small bathrooms. This project is also cheap and quick, and it makes your space feel styled every day. It’s best if your counter is small and you need a place to keep things off it.
Measure the side space next to the mirror and choose a tray or ledge depth around 3-5 inches. Sand and paint or seal it, then mount with a hidden bracket or strong screws into studs. Keep the tray level so items don’t slide, and test load weight with a few bottles before styling. Style with one tall item (soap dispenser) and one flat item (tray or small basket).
Editor's noteMatch the tray finish to your towel bar or faucet so it looks like part of the original design.
Skip thisDon’t mount too close to the mirror — it crowds the reflection and looks cluttered.
25. Peel-and-stick wallpaper for the back of open shelving
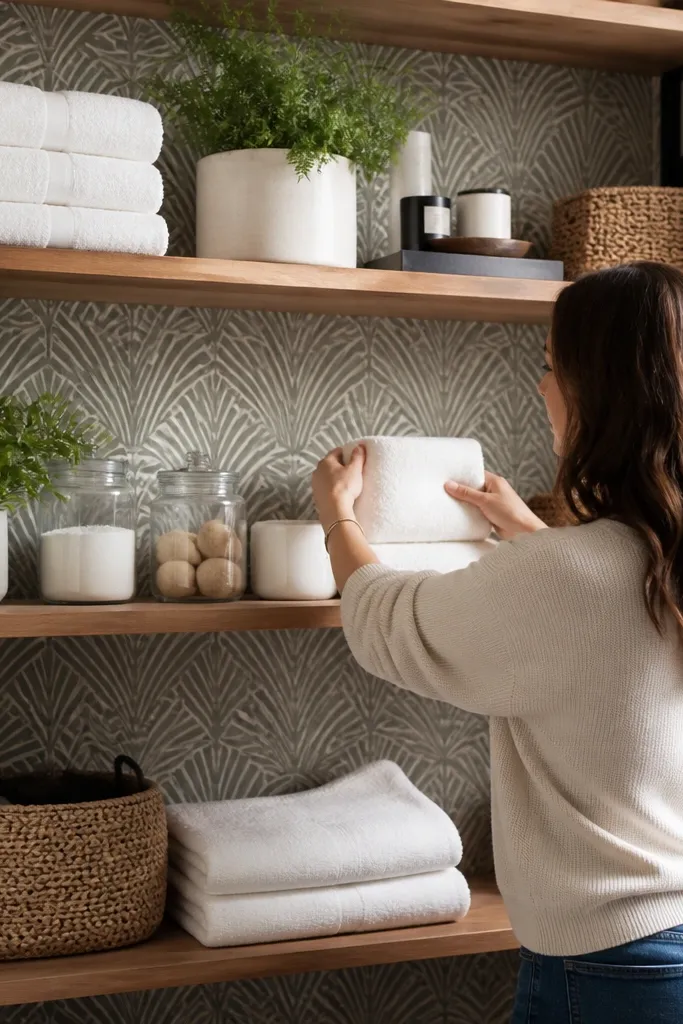
Wallpaper behind open shelves makes the whole storage area look intentional and expensive. Even a small bathroom shelf instantly turns into a focal point because the pattern frames your jars and towels. Choose a moisture-friendly vinyl wallpaper so it wipes down and doesn’t peel from humidity. This is a great way to add personality without committing to painting every wall. The project is quick because you’re covering a narrow section, not the entire bathroom.
Clean the shelf back surface and let it dry, then cut wallpaper pieces to height and width with a small margin. Dry-fit the first piece and use a level to keep the pattern straight. Peel and stick slowly, smoothing from center outward to avoid bubbles. Trim edges with a sharp blade and seal the shelf edges with clear caulk if water splashes there.
Buy extra so you can match pattern repeats on the second shelf section cleanly.
Don’t use non-vinyl wallpaper — it fails near steam and splashes.
26. Replace boring vent cover with a decorative grille
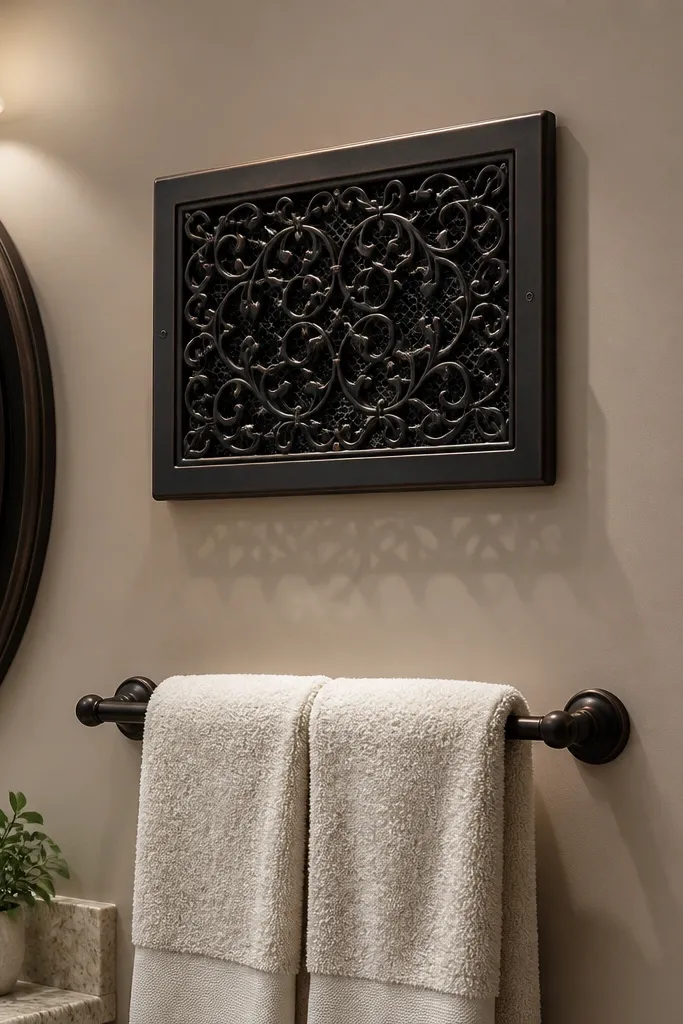
Small details matter in small bathrooms, and a decorative vent grille is one of those changes you can do for less than most people spend on a single decor item. It also helps you keep the room healthier by improving airflow appearance, since you’re not hiding the vent behind clutter. Choose a finish that matches your hardware — brushed nickel, matte black, or oil-rubbed bronze. This looks sharp in photos because it adds texture to a blank wall area. It’s also easy and doesn’t require paint if your cover matches your existing finish.
Remove the old vent cover by unscrewing it, then measure the grille opening size. Buy a replacement grille that matches the opening dimensions and screw pattern. Install by screwing it back in place, checking airflow direction if the grille has directional fins. If you see gaps, caulk lightly around the perimeter and wipe excess.
Editor's noteIf your vent cover is painted, spray it with a matching finish instead of replacing it.
Skip thisDon’t paint over a vent cover without letting the paint fully cure — it can smell.
27. DIY towel bar extension using a longer bracket set
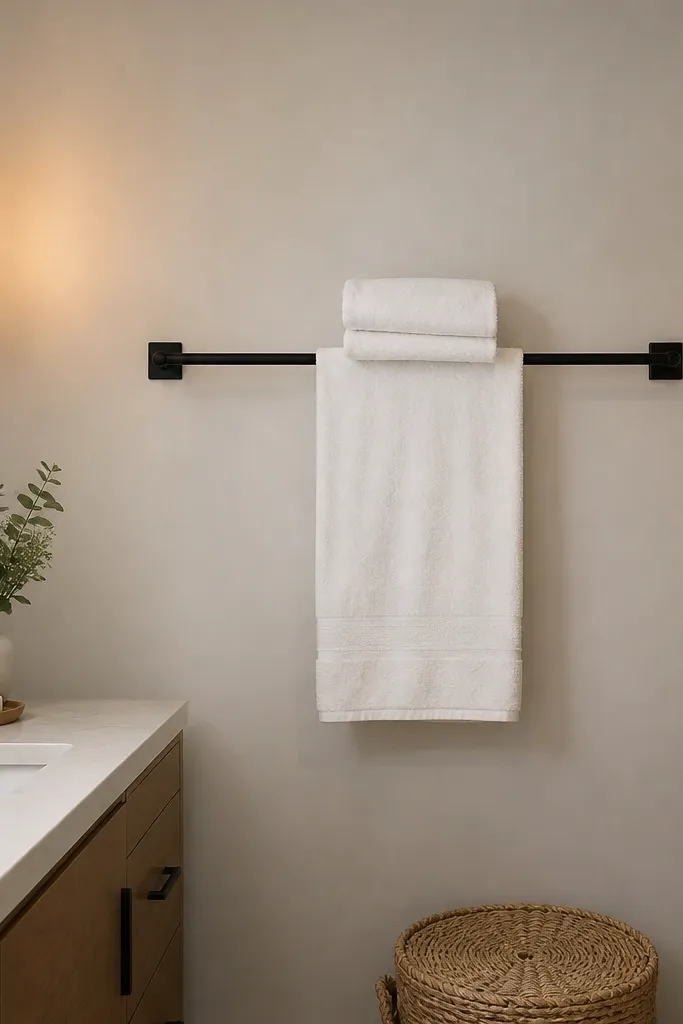
If your current towel bar is too short, towels hang awkwardly and your bathroom looks messy even when you fold neatly. Extending the bar gives you space for one stack and one hanging towel in a clean vertical alignment. It also makes the wall look more intentional because the bar becomes a clear design line. This is a cheap fix that changes daily use and photos. You don’t need to replace the whole wall or tile to get the look.
Measure the wall segment where the bar should sit and compare it to your existing bracket spacing. Buy a longer bar or a bar kit with matching bracket hardware, then remove the old bar. Mark new bracket holes using a level and drill pilot holes, aiming for studs when possible. Reinstall brackets, attach the bar, and test by hanging a towel to check sag and alignment.
Use a template cut from cardboard to mark holes fast and keep spacing accurate.
Don’t mount too high — towels should hang below the mirror line for a balanced look.
28. Rustic wood vanity tray shelf for countertop styling
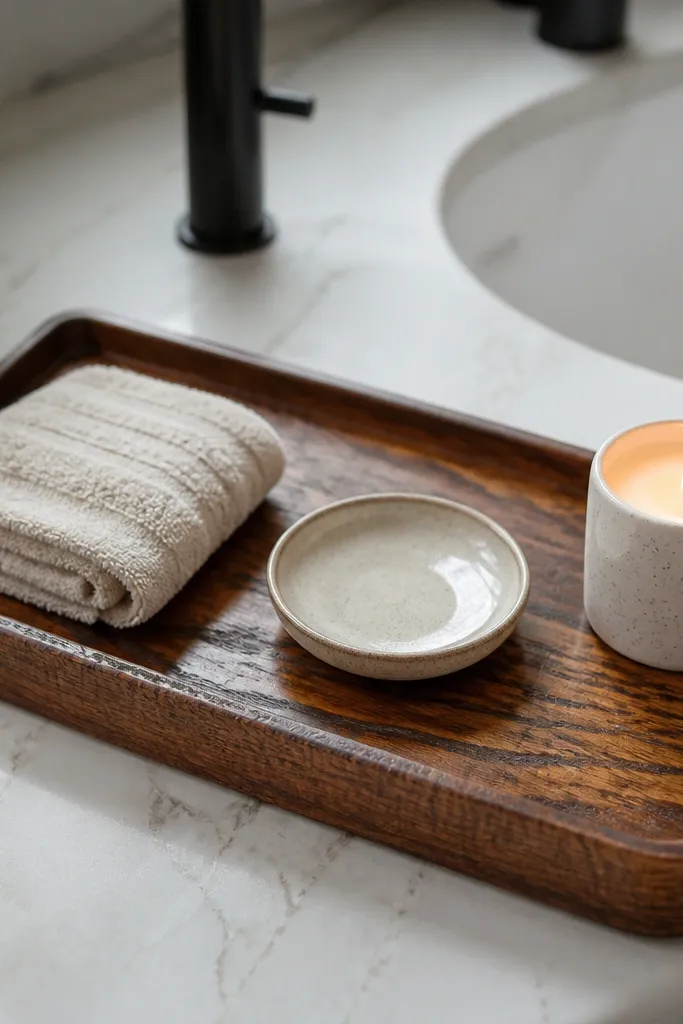
A tray is the simplest way to make a small bathroom look styled without building furniture. Wood adds warmth, and the tray shape creates a visual border so items don’t look scattered. It also makes cleaning easier because you can lift the tray and wipe the surface underneath. Choose a sealed wood finish that handles water and daily wiping. This project is cheap and it instantly upgrades the look of your vanity in photos.
Pick a tray size that fits your vanity counter without blocking the sink, usually 10-14 inches wide. Sand the tray lightly and seal it with a clear, water-resistant topcoat. Add small felt pads on the bottom so it doesn’t scratch and so it stays stable. Style with one soap dispenser, one small container, and one vertical element like a slender candle holder.
Editor's noteKeep the tray color in the same family as your shelf or towel ladder for a cohesive look.
Skip thisDon’t fill the tray with random items — three pieces max looks intentional.
29. DIY bath rug runner using outdoor vinyl and a non-slip backing
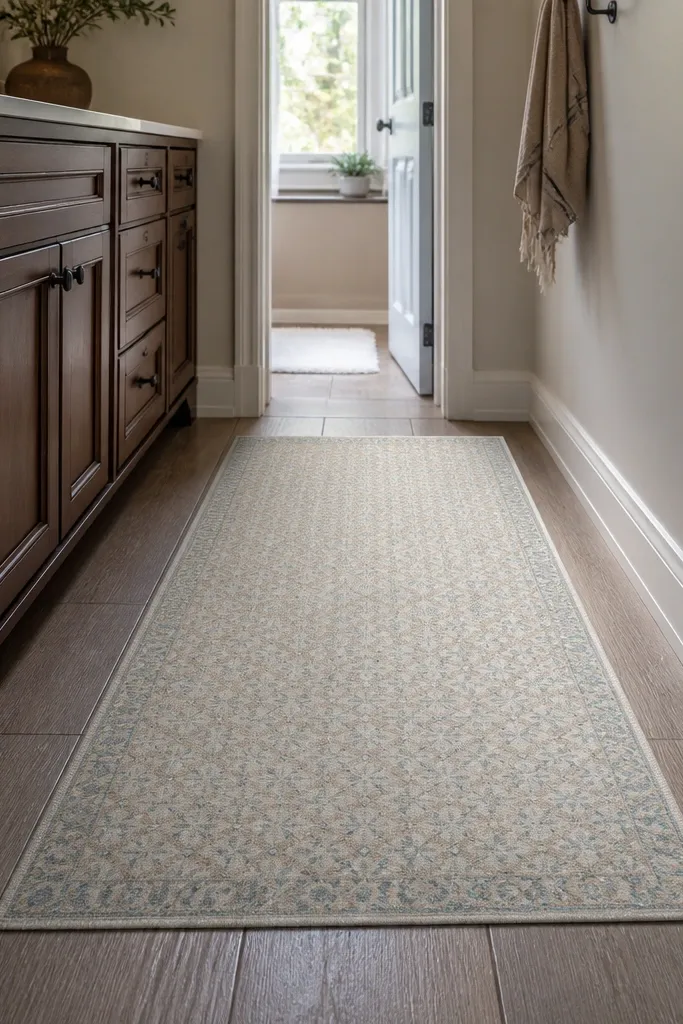
Rugs can make a small bathroom feel finished, but cheap mats slide and look messy. A runner-style DIY uses outdoor vinyl patterns paired with non-slip backing, so you get a tailored look that stays put. The pattern also frames the entry area and makes the floor look more intentional in photos. It’s a budget-friendly way to add style without committing to expensive flooring. This is best for bathrooms where you want a clean, graphic look that wipes down easily.
Measure the floor space and choose a runner size that leaves a few inches of clearance at edges. Cut outdoor vinyl with a straightedge and sharp blade, then apply non-slip backing cut to the same size. Seal cut edges with a thin clear adhesive layer if the vinyl frays. Place the runner on a clean, dry floor and press firmly along the entire perimeter.
Editor's noteUse a hard roller (paint roller) to press vinyl edges so it bonds evenly.
Skip thisDon’t apply backing on a dusty floor — it won’t grip.
30. Painted shower wall stripe using painter's tape for a modern look
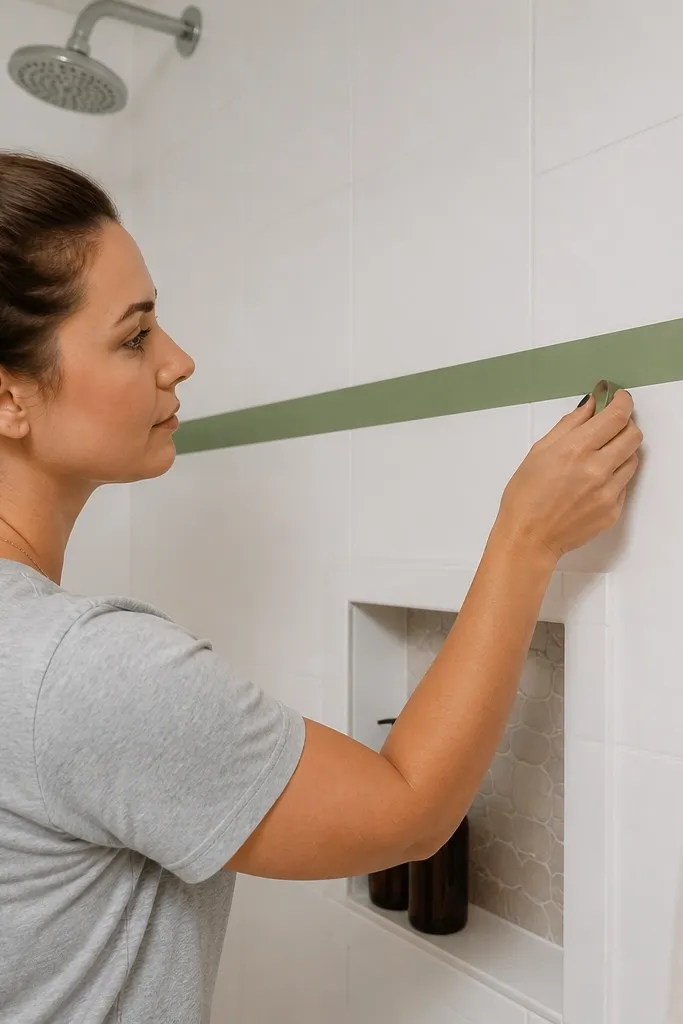
A single stripe adds modern style without changing your whole shower. In a small bathroom, one clean horizontal or vertical line can make the room feel less flat and more designed. Use a moisture-rated paint made for bathrooms and keep the stripe width narrow for a crisp, modern look. This works especially well if your shower surround is plain tile or painted walls that feel boring. It’s a fast project that looks sharp in mirror shots.
Clean the wall area and dry it completely, then tape the stripe with 1-2 mm gaps between tape edges depending on your desired width. Apply a moisture primer if the surface is porous or stained, then paint the stripe in two thin coats. Remove tape while paint is slightly tacky so edges are crisp, not torn. Let cure fully before using the shower heavily.
Use a foam brush for edges so the stripe stays sharp at corners.
Don’t use low-quality tape — it bleeds under paint.



