
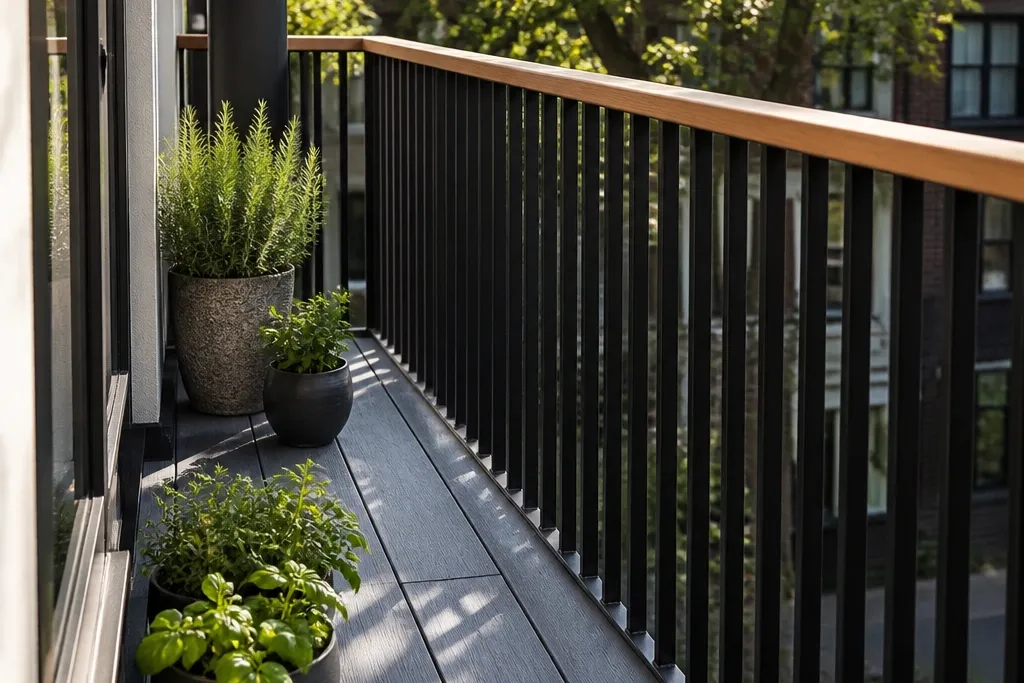
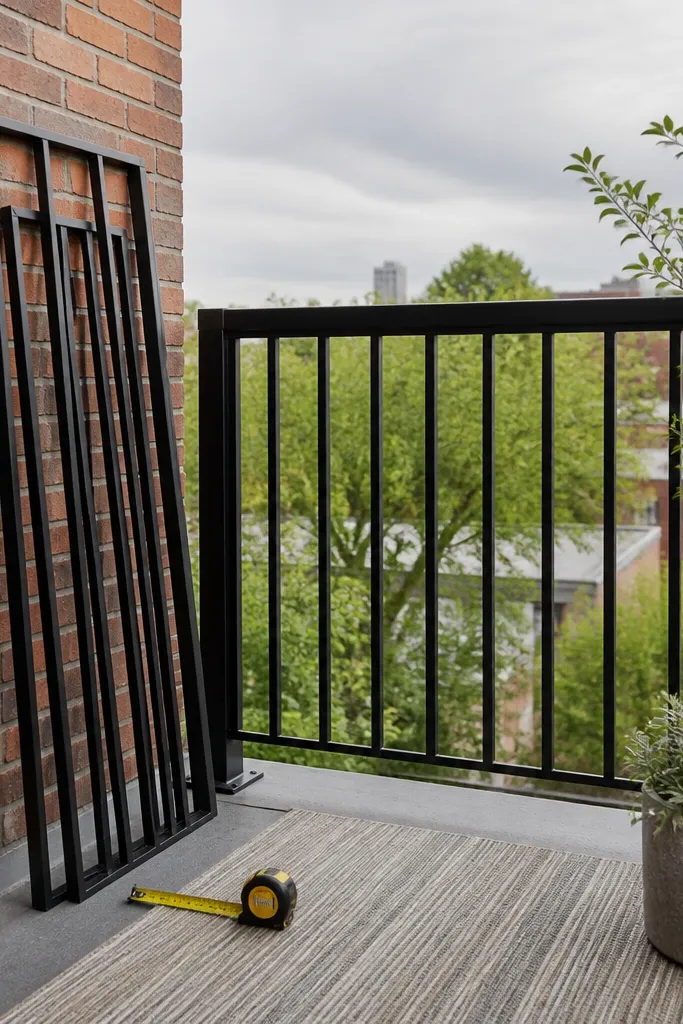
1. Black flat-bar vertical infill with a warm wood top rail
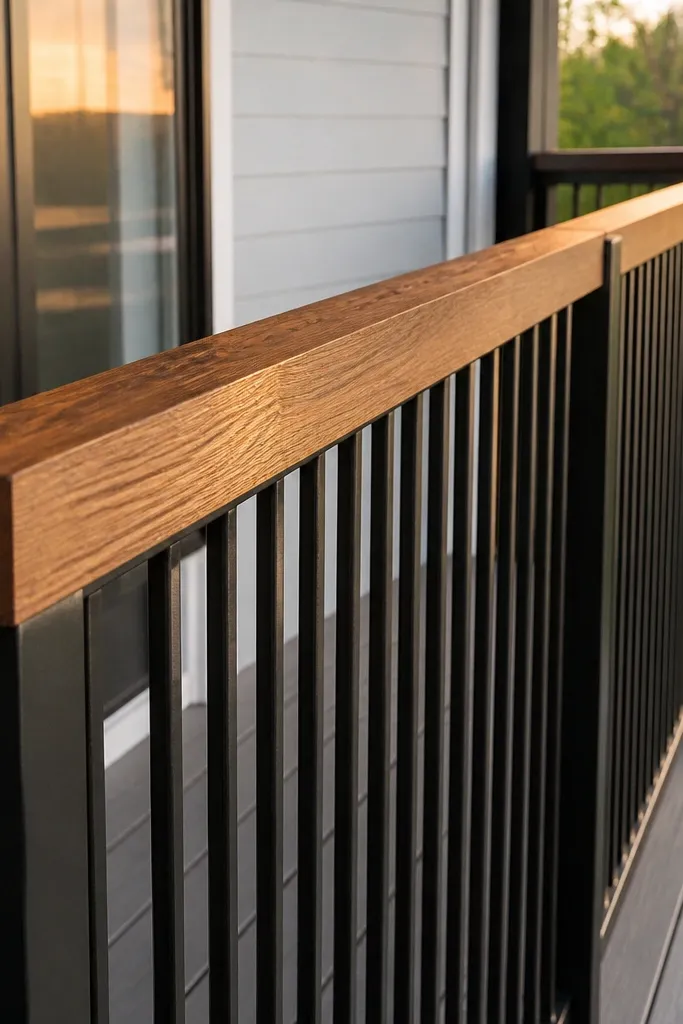
Start by measuring the clear opening between posts and choose a flat bar width that looks slim at distance (1/4- to 3/8-inch wide is a sweet spot). Cut vertical bars to length, then space them evenly with a simple jig made from scrap wood blocks. Install a straight top rail (wood) first so the vertical bars can be aligned to it, then attach vertical bars to the inside faces of the posts with flat brackets or welded tabs. Finish by sanding wood, sealing it, and painting the metal with a metal primer plus a durable matte or satin black topcoat.
This is one of the cleanest budget modern balcony railing design looks because it uses a simple geometry: straight vertical lines plus one warm element. Black flat bar reads crisp from across the balcony, and the wood top rail breaks up the metal so it doesn’t feel like a storefront. Use this when your balcony posts already exist and you want to upgrade the “middle” without rebuilding the structure. The wood top also gives you something comfortable to touch and a place to visually anchor the railing run.
Skip thisDon’t paint over oily metal — degrease and prime or the finish will flake where your hands touch.
Editor's noteMake a spacing jig that matches your target gap before you cut all the bars — it prevents “one bar is wider” syndrome.
2. Square tube grid panel railing with black powder-coat look
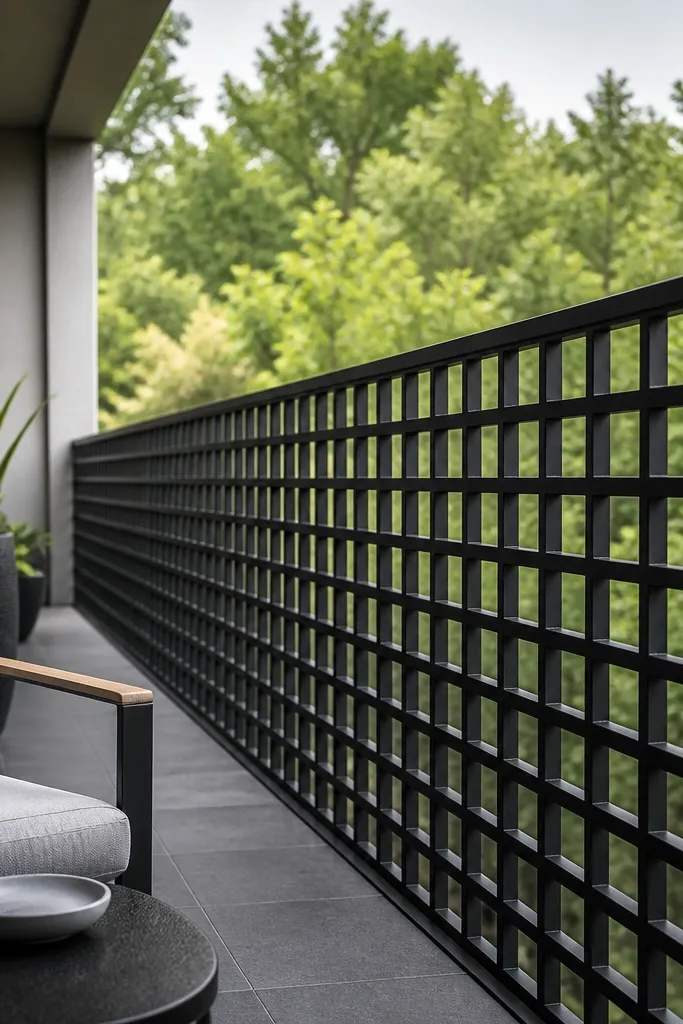
A square tube grid gives you that modern “architectural” read without complex curves. The grid makes the whole railing look designed, even if you’re building it from basic components. This works especially well on medium-width balconies because the repeating squares create a rhythm that’s easy to photograph. Keep the grid tight enough that the balcony doesn’t look airy, but not so tight that it becomes heavy.
Build each section as a panel: frame the perimeter with 1-inch square tube, then fill with smaller square tube across and down. Cut everything slightly oversized, dry-fit, then trim for a snug fit between posts. Attach panels to posts using concealed brackets or angle plates so the front stays clean. Prime and paint the entire panel system, then install and level the panels as a unit so the grid lines don’t wander run-to-run.
Dry-fit panels on the floor using painter’s tape to mark corners — you’ll catch out-of-square frames before paint.
Avoid mismatched tube sizes — one off-spec piece ruins the grid pattern.
3. Wire rope "cable rail" look with black tension hardware
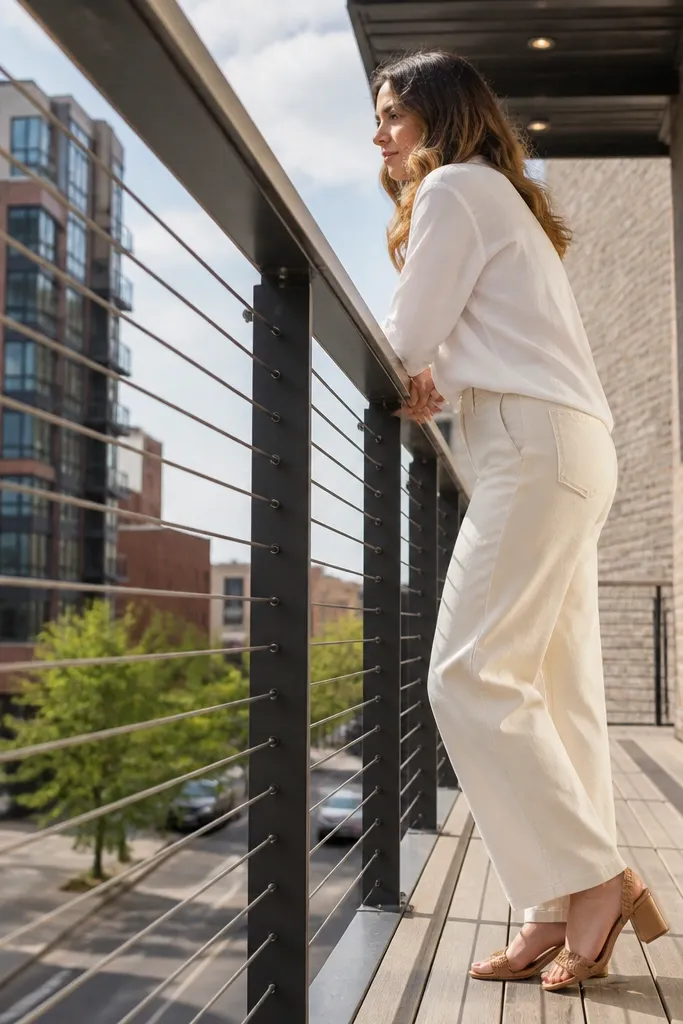
Cable rail looks modern instantly because the visual lines are thin and the railing stays “light” in photos. You get a sleek look without bulky panels, and it’s forgiving if you’re working around existing posts. It’s also easy to swap tension hardware later if you need a small adjustment. Choose this when your balcony has a view you want to keep open.
Mount cable posts or standoff brackets at consistent heights, then plan your cable spacing so it reads evenly across the run. Drill bracket holes carefully and use the correct cable clamps for the wire diameter you choose. Thread cable through, pull tension with a tensioner, then clamp and trim. Finish by checking each cable for equal tension and straightness before you paint or cover hardware.
Use a laser line or long straightedge to set the bracket height — cable rails look wrong when the top line slopes.
Don’t skip proper cable clamps — loose clamps cause sag and uneven lines.
4. Stainless look vertical rods with a matte top cap
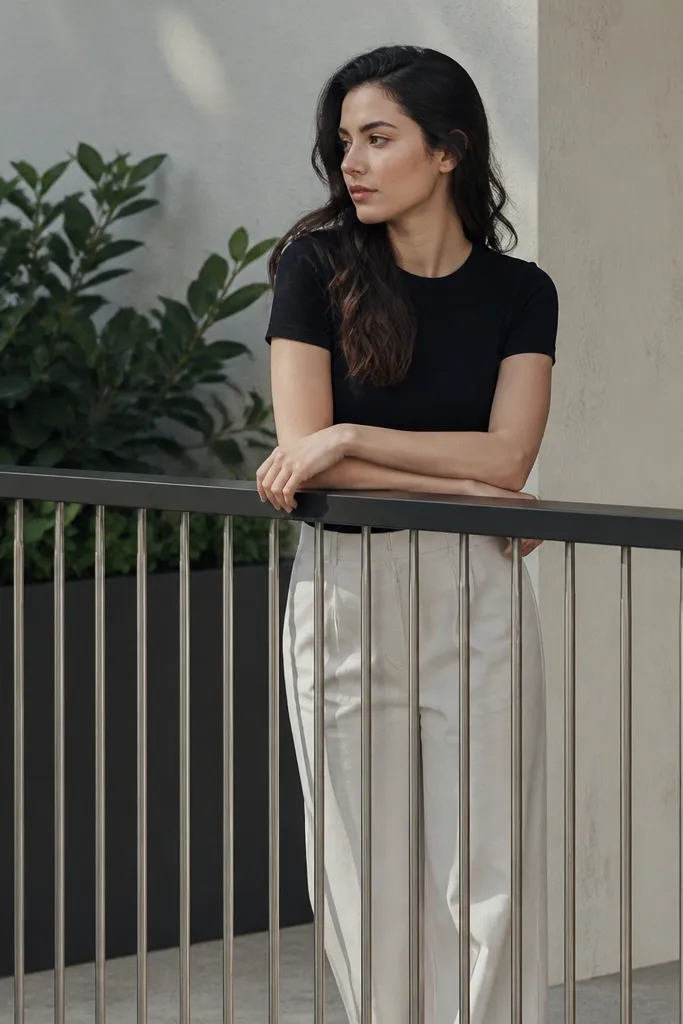
Decide rod diameter first (thin rods look modern; very thick rods look dated). Install top and bottom mounting rails or caps to create straight reference lines, then mount rod brackets so rods sit perpendicular to the balcony edge. Cut rods to match the opening height, then insert and secure with set screws or bracket collars. Finish with a matte top cap and touch up any cut ends with a compatible coating.
Thin vertical rods give a modern “gallery” vibe, and the light metal tone makes balconies feel less heavy. If you want it budget-friendly, you can use stainless-look hardware or coated rods instead of real stainless. A matte top cap keeps the glare down and ties the whole rail together. This design works best on balconies with clean architecture — think simple walls and minimal trim.
Skip thisDon’t eyeball rod alignment — one rod at a slightly different angle is what viewers notice.
Editor's noteMark rod spacing with a measuring tape and pencil line on the mounting rail before you drill — it saves you from redoing brackets.
5. Clear polycarbonate panel infill framed in black steel
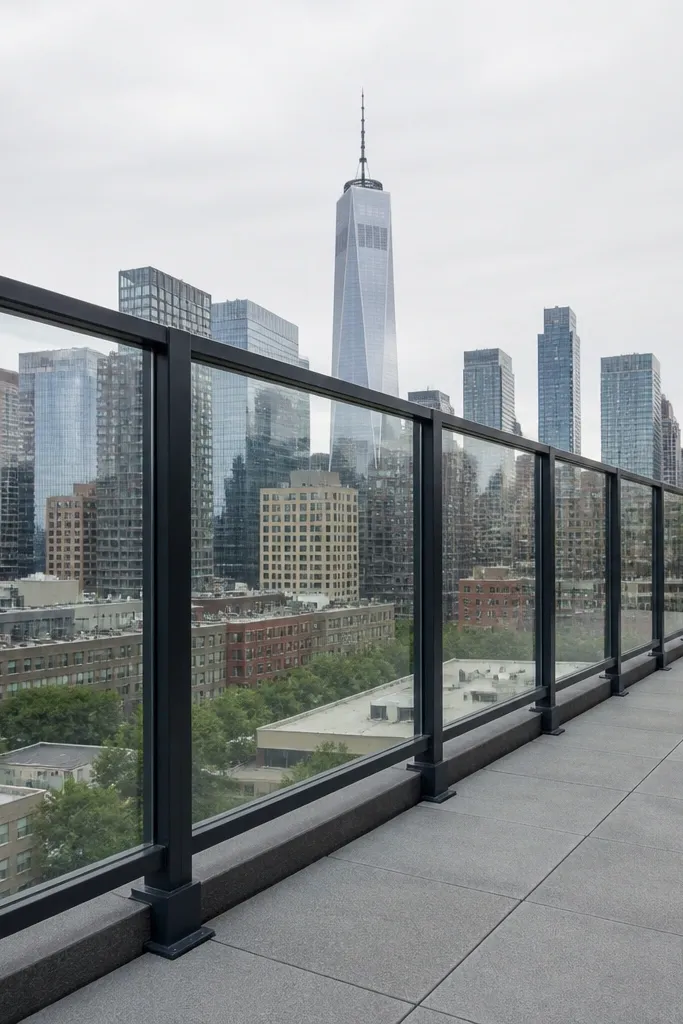
Build a simple rectangular frame with steel angle or square tube, sized to fit between posts. Cut polycarbonate sheets slightly smaller than the frame so they have room for expansion. Install the panels using proper polycarbonate fasteners or clips and avoid overtightening screws. Prime and paint the steel frame, then mount the completed frames to your posts and seal exterior seams with clear outdoor-rated sealant.
Clear panels are a cheat code for modern style because they let the balcony feel open while still giving you a polished barrier. Framing the polycarbonate in black steel keeps it looking intentional instead of “temporary.” This is great for wind protection too, and it photographs well because the lines are clean and the panel edges define the shape. Use it if your balcony faces strong wind or if you want a sleek look with minimal visual clutter.
Skip thisDon’t use regular glass glazing methods — polycarbonate needs flexible fastening.
Editor's noteLeave a small gap around the polycarbonate edges — tightening it hard can cause stress cracks.
6. Diagonal flat-bar infill for a modern "X" pattern
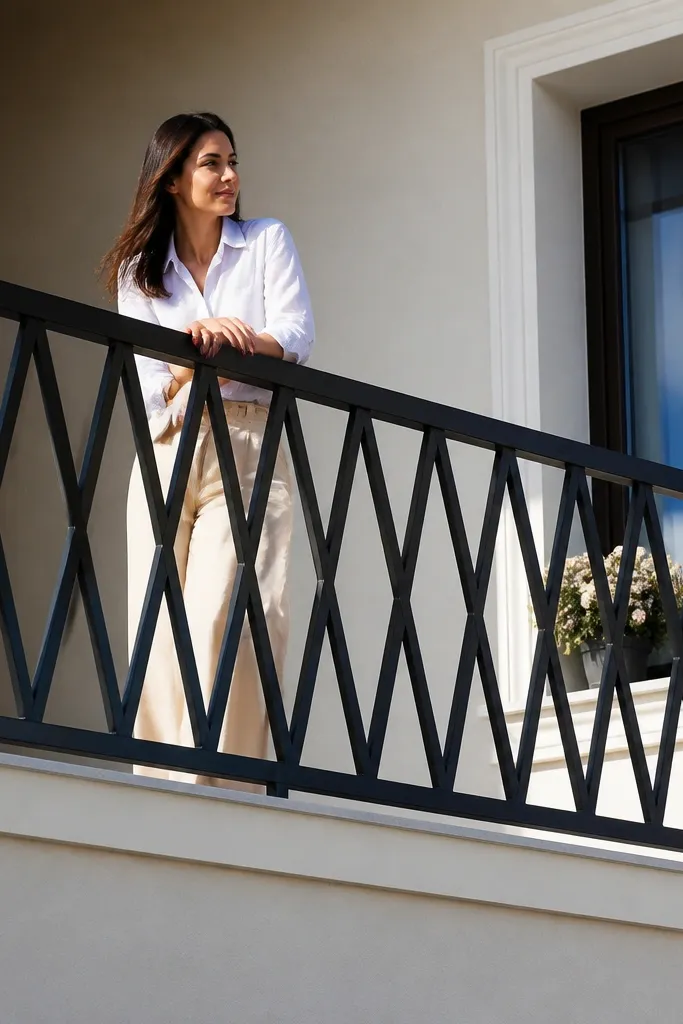
Start by marking the centerline of each opening between posts. Cut two sets of flat bars to form diagonals that meet at the midpoint, then mock them up dry with clamps. Attach the diagonals to the inside faces of posts using bracket plates so the X stays centered. Finish with primer and paint, then add a slim top rail to visually unify the diagonals and posts.
An X pattern reads modern because it creates motion and breaks up the flat plane. It also hides uneven wall-to-rail alignment better than a strict grid because the diagonals draw the eye. This works well on balconies with long spans where you want the railing to look like a single design element. Keep the diagonals consistent in thickness and spacing so the pattern doesn’t look random.
Skip thisAvoid mixing diagonal directions in adjacent bays — keep the same orientation across the run.
Editor's noteUse a paper template for the diagonal angle — it’s faster than recalculating angles after you measure twice.
7. Horizontal slat railing with narrow gaps and a matte finish
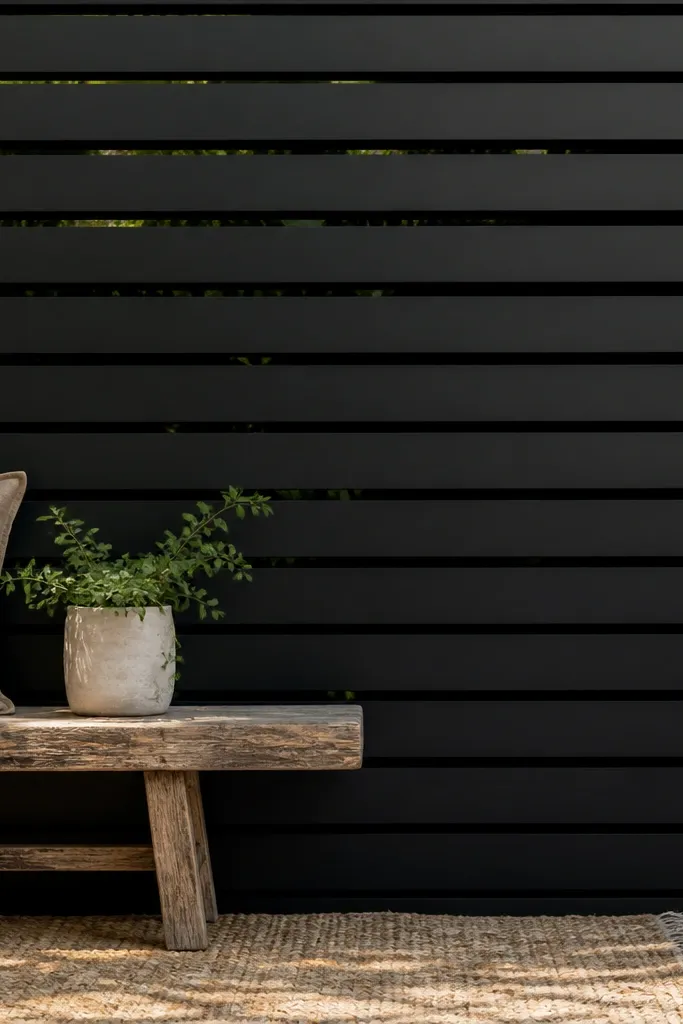
Install two mounting rails inside the posts — one near the top rail height and one near the bottom. Cut horizontal slats and spacers to a consistent width so the gaps look identical. Attach slats to the mounting rails using small angle brackets or through-bolts with washers. After everything is aligned and level, prime and paint the entire railing system in matte or satin black.
Horizontal slats look modern because they create a continuous banding effect, especially when the gaps are consistent. This is a good pick if your balcony has a lot of vertical visual noise already and you want the railing to calm it down. Narrow gaps keep it from looking too open, while a matte finish reduces glare and makes the slats look uniform. It’s also relatively straightforward to build with flat bar and spacers.
Skip thisDon’t use random scrap spacers — they create tiny gap differences that show up in photos.
Editor's noteClamp a straight reference board to use as your slat alignment guide while you fasten the first row.
8. Vertical slat wood-and-black steel hybrid
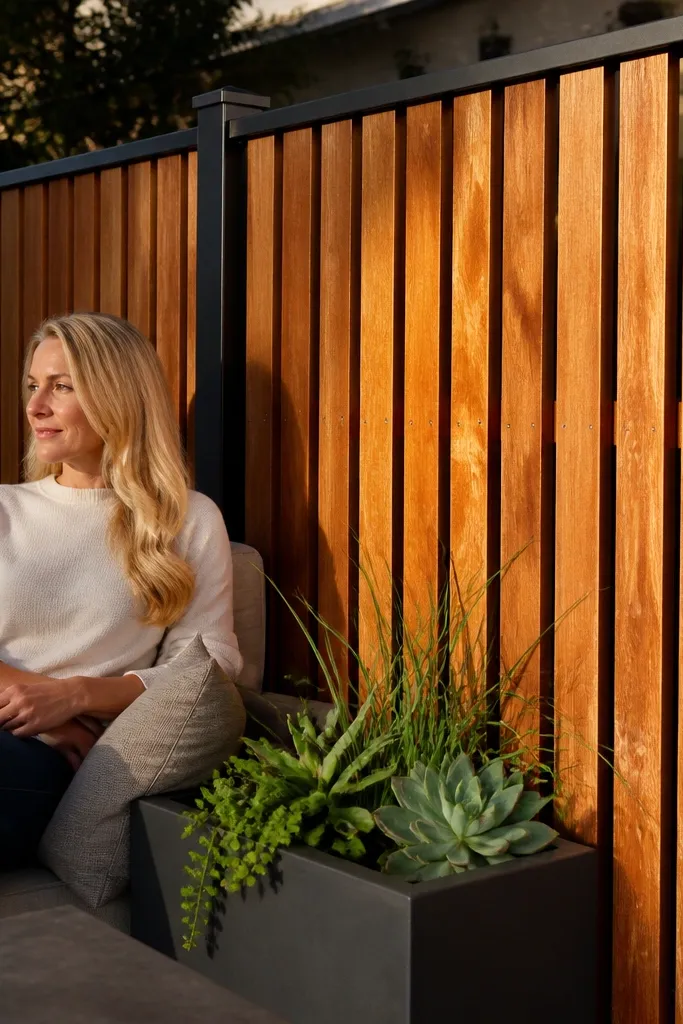
This hybrid gives you a warm, modern look without needing complex metalwork. Black steel posts provide clean structure while wood slats add texture and soften the industrial vibe. It’s photogenic because the contrast is strong and the slats create a repeating pattern. Choose this if you want the railing to feel more “outdoor living” than “safety cage.”
Set black steel posts or use your existing posts, then attach mounting brackets for wood slats along the inside edges. Cut slats to the same width and length, leaving a small gap between them for drainage and expansion. Screw slats to the brackets using stainless screws and washers so the wood doesn’t split. Sand edges, then apply an exterior stain or paint, followed by a clear outdoor sealer if your finish needs extra protection.
Stagger slat ends by 1/2 inch between bays if you want a more natural, less “factory” rhythm.
Avoid sealing end grain last — end grain is where water sneaks in.
9. Corten-style weathering steel panels with a simple cap
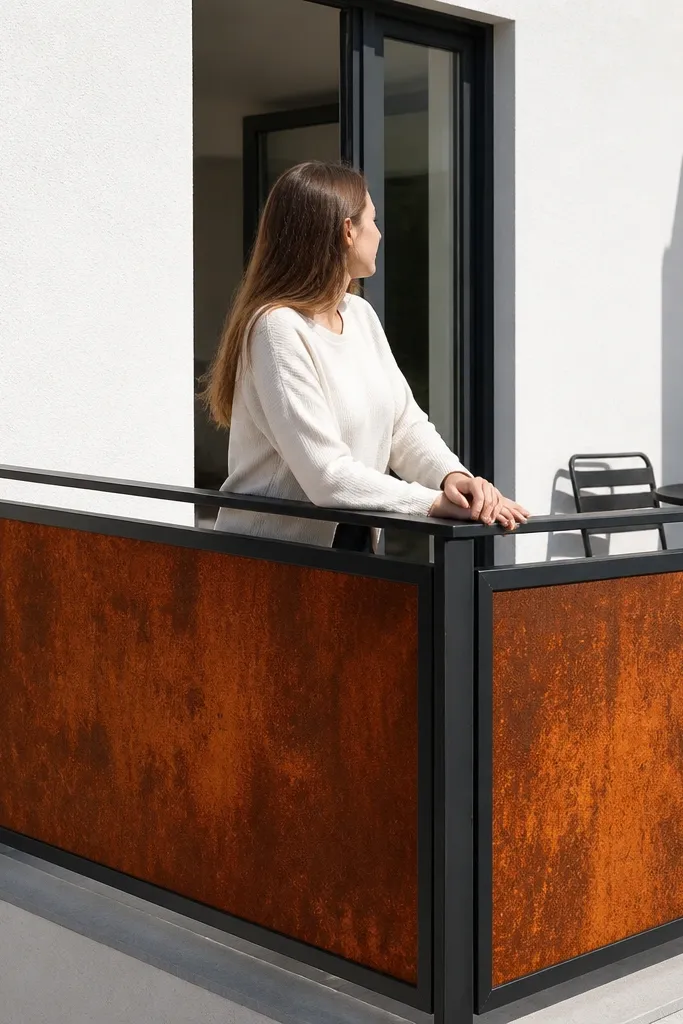
Use pre-finished corten-style sheet or panels, then cut to fit your bays inside the posts. Add a simple top cap made from flat bar or square tube, drilled for fasteners. Mount the panels with standoff spacers so air can move behind them and reduce moisture trapping. Secure everything with outdoor-rated screws and finish with a protective topcoat only if the product calls for it.
If you want modern without painting, weathering steel style infill is the move. The panels look dramatic in daylight and age gracefully, so the railing still looks good weeks later, not just on day one. Pair it with a dark top cap so the rust color doesn’t overwhelm the railing line. This design is best on balconies with neutral walls where the warm steel tone will stand out.
Skip thisDon’t trap wet air between panels and walls — use standoffs.
Editor's noteLeave 1/8 inch clearance around panels for expansion — rusted metal still moves with temperature.
10. White powder-coated minimalist vertical bars with rounded posts
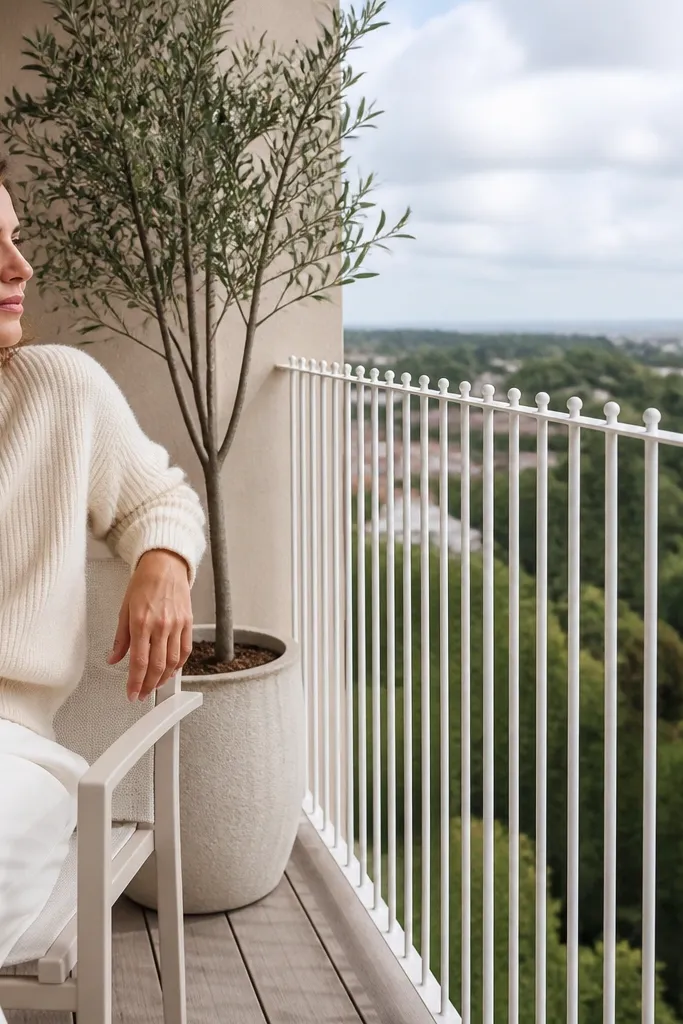
Paint existing posts or install new slim posts, then attach evenly spaced brackets for vertical bars. Use the same bar stock for every run and keep the spacing identical from corner to corner. Assemble with screws and washers so you can adjust alignment before final tightening. Prime thoroughly and use a powder-coat style paint system for smooth coverage, then finish with a consistent top rail cap.
White railings look modern when they’re minimalist and consistent. The trick is keeping the bars slim and the posts clean, not chunky. This is a great budget modern balcony railing design if your balcony is already light-colored and you want the railing to disappear visually while still looking styled. Add rounded or gently finished edges to the metal so it feels softer in photos.
Skip thisAvoid mixing white paint sheens — matte posts with glossy bars look mismatched.
Editor's noteDo a dry run with tape lines on the balcony floor to confirm spacing before drilling anything.
11. Black steel half-height panel plus vertical rods above
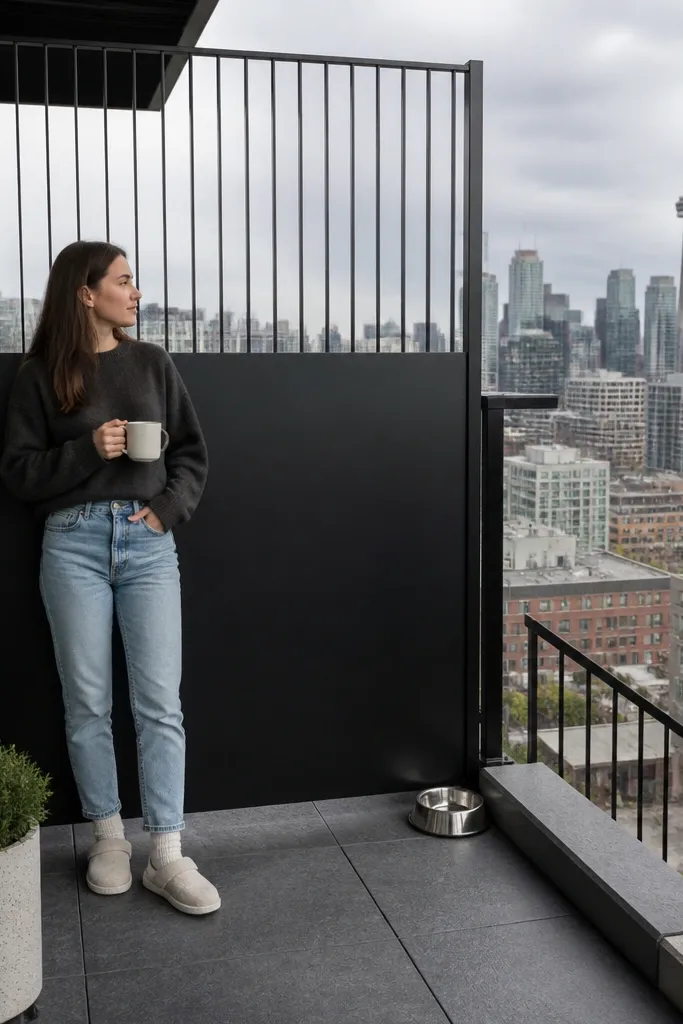
Frame a half-height panel between posts using steel angle or square tube, then mount it flush to the inside faces. Above the panel, install rod brackets at a consistent spacing and cut rods to the remaining height. Attach a top rail across the top of rods so you get one continuous line. Prime and paint everything after final alignment, then check that the panel edges sit evenly.
This design looks custom because it layers two different visual zones. The half-height panel gives privacy and reduces wind, while the vertical rods keep the top airy and modern. It’s also practical if you want the railing to feel safer for pets or kids without fully blocking the view. Use a matte black finish and keep the panel lines straight so the whole run reads crisp.
Skip thisDon’t make the rod spacing random above the panel — it ruins the layered look.
Editor's noteUse longer brackets for the panel area so it doesn’t flex — flex shows up as a wavy line in photos.
12. Matte black perforated metal sheet infill with a clean frame
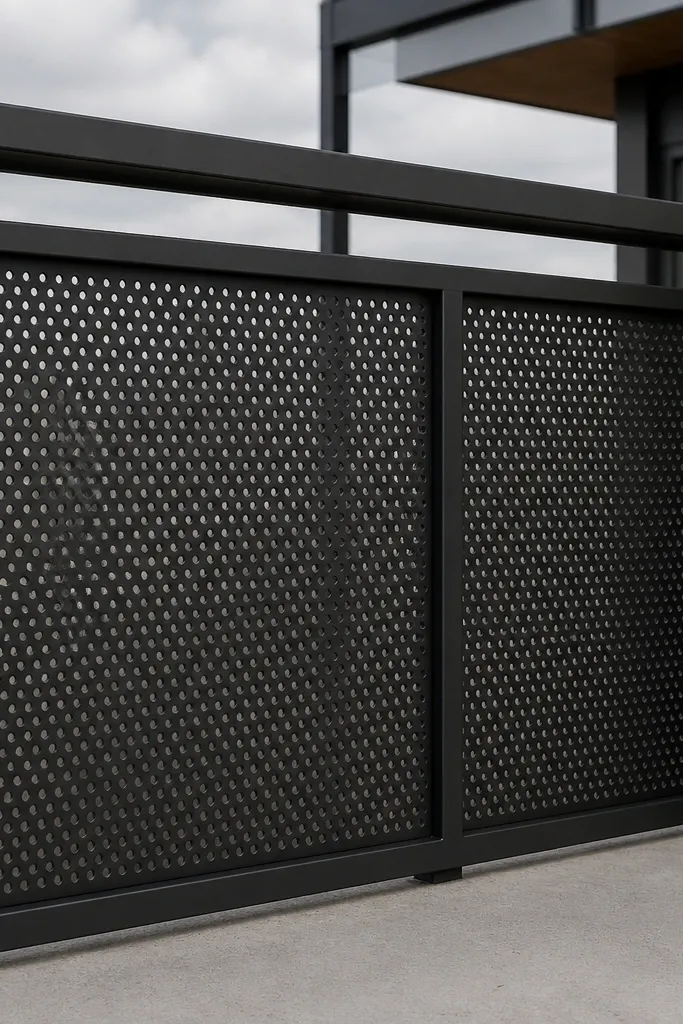
Perforated metal gives you a modern industrial vibe while still letting light through. The pattern hides small imperfections in the background and looks good in both bright sun and overcast light. If you choose a consistent hole pattern (and keep the sheet framed), it reads sleek instead of “rough.” This is a strong pick for privacy without turning the balcony into a dark box.
Measure each bay opening and build a perimeter frame using flat bar or square tube. Cut the perforated sheet to fit with small clearances so it doesn’t buckle. Mount the sheet with standoffs and short screws so the sheet stays flat and doesn’t vibrate in wind. Paint the frame matte black, then paint or leave the perforated sheet finish depending on the product and your desired color depth.
Choose a perforation pattern with consistent hole-to-hole spacing — irregular patterns look messy from a distance.
Avoid leaving the perforated sheet unframed — edges curl and the look gets sloppy.
13. Clear glass-look acrylic panels in a black mullion grid
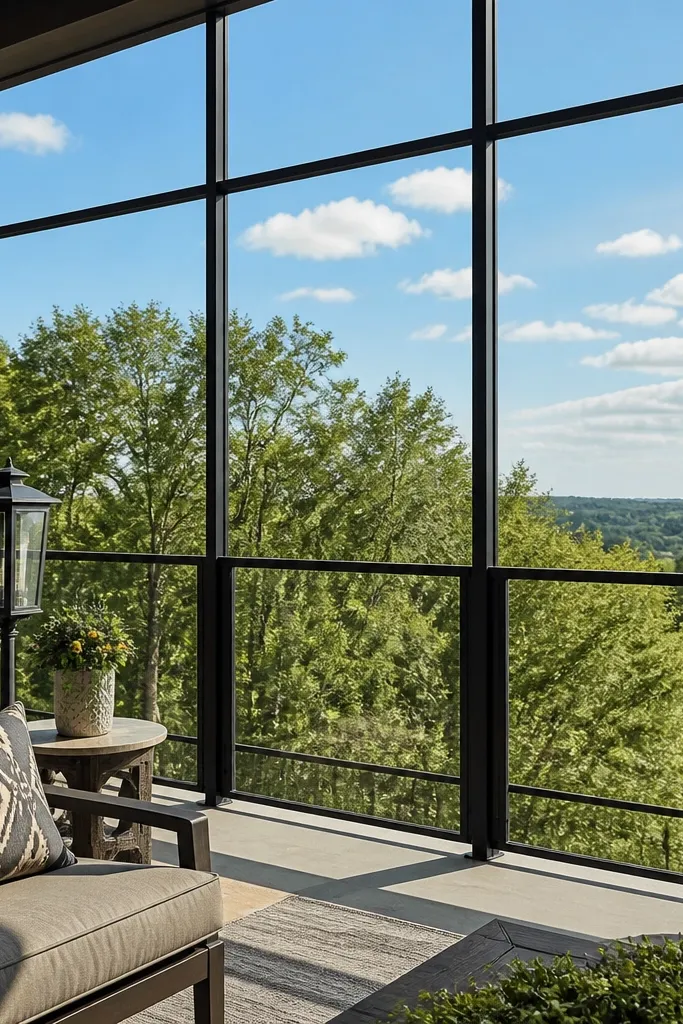
If you want “glass railing” without the cost, a clear acrylic or polycarbonate panel with black mullions hits the same visual goal: clean transparency with crisp lines. The black mullions act like picture frames, so the railing looks designed instead of random clear plastic. This is excellent for balconies facing open views because it keeps the background sharp while still creating a modern barrier. Use it where you can manage panel care since clear plastics show smudges.
Build a mullion frame with slim black steel bars or aluminum strips, then set it to match your bay dimensions. Cut clear panels slightly undersized, then install using clips designed for plastics so you don’t crack edges. Secure the frame to posts with through-bolts and washers. Finish by adding a top rail cover to hide fasteners and paint-touch any metal cuts.
Wipe panels with a microfiber cloth and plastic-safe cleaner — paper towels cause micro-scratches that show up in sunlight.
Don’t overtighten panel clips — cracked edges are the fastest way to ruin the look.
14. Rust-resistant aluminum slat railing with a thin black cap
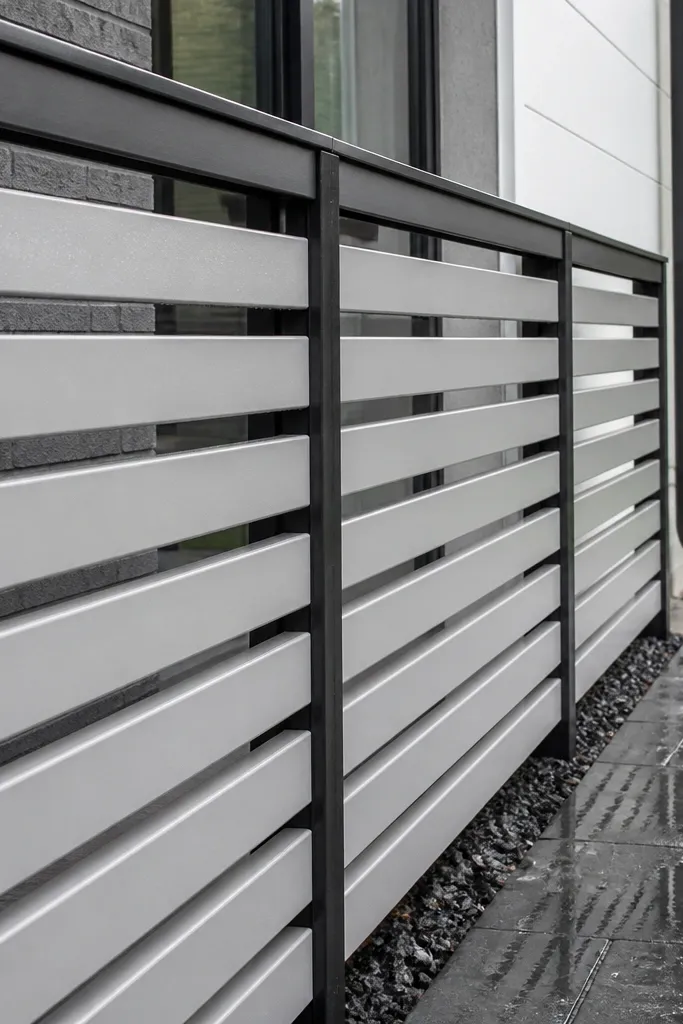
Choose an aluminum slat kit format or buy slats and cut to size, then build a simple top and bottom mounting rail. Mark slat positions with a spacer so the gaps match across the run. Attach slats to brackets with stainless hardware and keep everything aligned to the top rail. Finish by installing a thin black cap rail and tightening all fasteners after a final level check.
Aluminum slats give you a modern look with less long-term maintenance than steel, which matters on balconies exposed to rain and salt air. The look stays crisp because aluminum slats don’t rust in the way painted steel can. Pair light slats with a thin black cap to keep the design cohesive and photo-ready. This is a smart budget modern balcony railing design choice if you want the railing to stay looking new for years without constant touch-ups.
Skip thisAvoid steel screws into aluminum without proper hardware — it creates ugly corrosion marks.
Editor's noteUse stainless hardware and anti-seize where metal contacts metal to prevent corrosion staining.
15. Two-tone railing with black posts and warm teak-look composite slats

Install or prep black posts, then attach mounting brackets for composite slats along the inside faces. Cut slats to the bay height and leave a consistent gap for drainage and expansion. Fasten with composite-safe screws and washers, then add a matching top rail cap. Seal any cut ends if your composite product requires it, then clean and inspect for any loose slat edges.
Two-tone railings look expensive because your eye reads structure first (black posts) and warmth second (teak-look slats). Composite slats help because they don’t need stain like real wood, and they keep their color for longer. This design works well for modern patios because it pairs the clean metal look with the outdoor wood vibe. Keep the slat spacing consistent and the top rail aligned so it photographs like a single system.
Skip thisDon’t mix real wood and composite in the same bay — the grain texture mismatch looks off.
Editor's noteBuy slats from the same batch lot — small color variation across lots is noticeable in close photos.
16. Slim steel frame with horizontal wire mesh infill
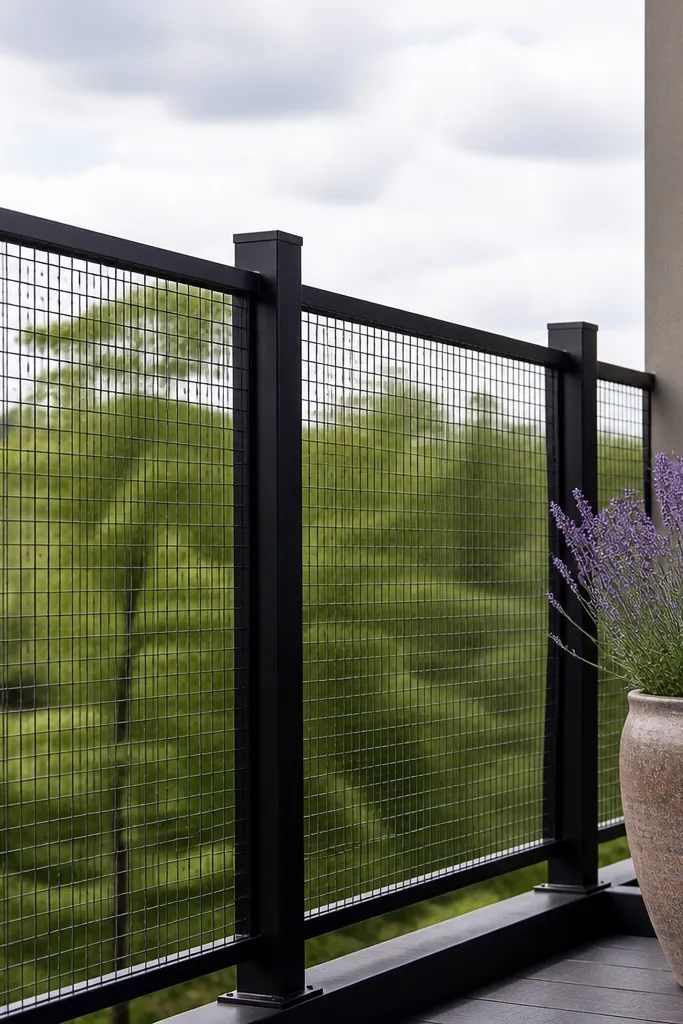
Wire mesh infill looks modern when it’s framed slim and finished matte. The mesh breaks up solid surfaces without turning the railing into a ladder of bars, and it’s good for airflow. This is a practical option if you want a barrier that still feels light and you’re building over existing posts. It also hides minor surface imperfections behind the mesh because the pattern draws attention.
Frame each bay with slim steel angle or square tube so the mesh has a clean perimeter. Stretch mesh evenly across the frame and attach with clips or small screws, keeping tension consistent so it doesn’t sag. Prime and paint the entire assembly, then mount to posts with level reference marks. Add a simple top rail cover to protect mesh edges and give a clean finish line.
Use a mesh roll with a known wire gauge so the pattern density looks consistent from bay to bay.
Avoid leaving mesh edges exposed — they catch light and look rough in pictures.
17. Minimalist louvered slat look using angled flat bar
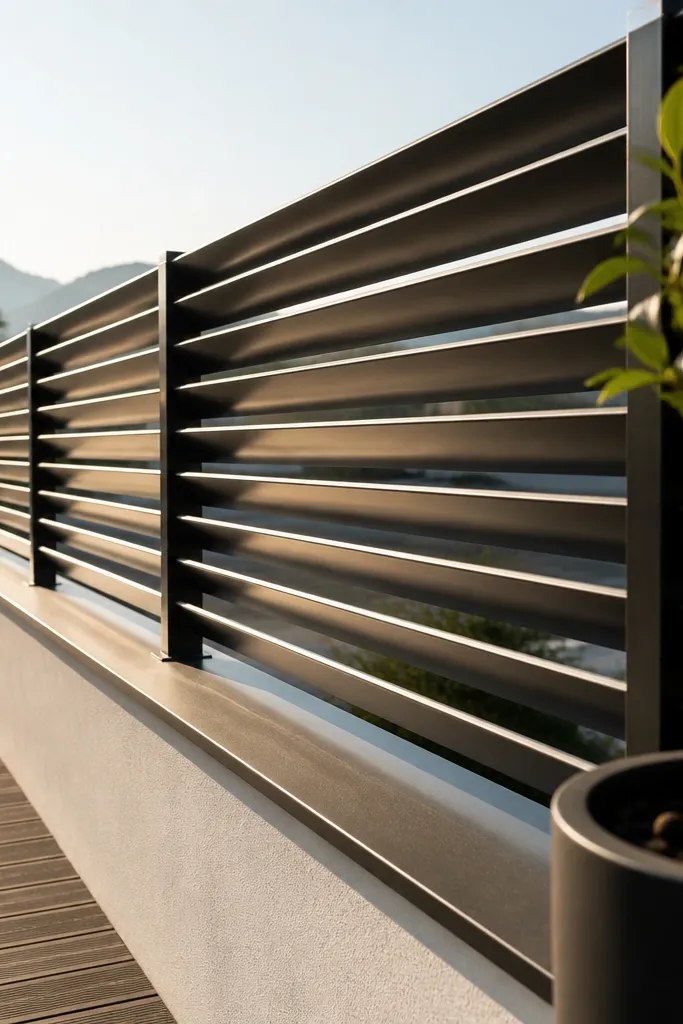
Mark a consistent angle line on a scrap template first, then cut flat bar strips to match. Build a slim frame inside the posts so each bar can be fastened at the same angle. Attach the bars with matching brackets so they sit straight and don’t twist. Prime and paint matte black, then install a top rail cap to hide bracket hardware.
An angled louver pattern gives you modern style with a little more depth than straight lines. Light hits the angled bars, creating a subtle shadow texture that looks good even when the balcony is empty. This design helps with sun glare because the bars aren’t perfectly flat to the camera. It also gives you a sense of privacy while still letting air pass.
Skip thisDon’t use random bar lengths — mismatched lengths break the louver rhythm.
Editor's notePre-drill bracket holes and test one bar before cutting the whole batch — alignment problems show up fast with angles.
18. Geometric panel infill with black diagonal corner braces
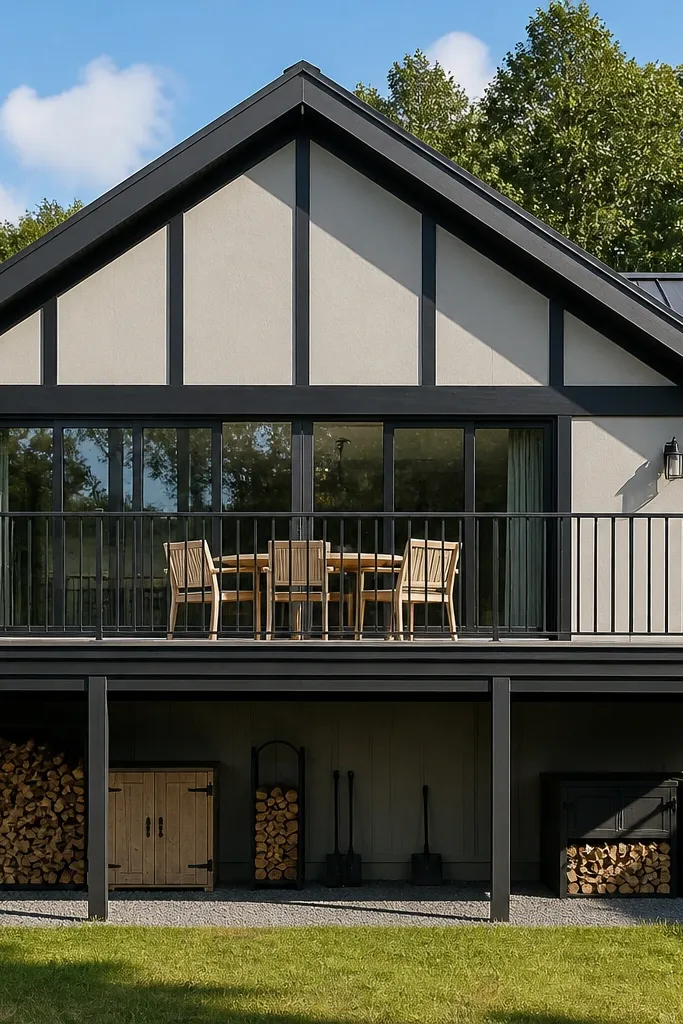
Frame each bay with a rectangular outline, then add diagonal corner braces using flat bar. Fill the center with sheet metal or thin panel board, keeping it slightly set back from the frame edges. Drill and bolt through the frame at the corners so the geometry doesn’t loosen over time. Prime and paint everything, then mount each framed bay to the posts with a level check at both ends.
This is the modern look that feels “designed” because it uses geometry, not just bars. Corner braces create a focal line and make the railing look like a custom fabrication even with simple sheet infill. It’s especially good when your balcony has wide spans and you want the railing to look structured. Keep the panels consistent in size and use one paint color so the geometry reads clean.
Skip thisAvoid overloading the design with extra shapes — one geometric move per bay looks intentional.
Editor's noteUse a carpentry square on the braces before paint — straight geometry is what makes this look modern, not the materials.
19. Matte black vertical tube railing with a recessed top rail
Install vertical tubes or tube brackets at consistent spacing between posts, then create a recessed top rail channel using square tube or flat bar form. Fit the channel so it sits slightly below the top of the vertical lines, then weld or bolt it to the posts. Run a final alignment check so the vertical tubes are straight before you lock everything in. Prime and paint with a matte black system, then touch up any welded seams.
Recessing the top rail makes the whole system look cleaner because the eye reads a continuous channel rather than a bulky cap. Pair that with slim vertical tubes and you get a modern silhouette that looks crisp from street level. This design also protects the top edge from dings since the top rail sits slightly inside the line. It’s a good build if you like metalwork that’s straightforward but looks high-end.
Skip thisAvoid thick top caps — they erase the recessed, modern line.
Editor's noteUse a straightedge along the top during assembly — recessed tops show small dips more than flat caps.
20. Clear acrylic panel with thin black aluminum edge frame
Cut an acrylic or polycarbonate sheet to bay dimensions, leaving a small gap for expansion. Build or buy a thin aluminum edge frame, then secure the panel with plastic-safe glazing tape or clips. Mount the frame to your posts using spacers so it doesn’t rattle. Finish by adding a slim top cap to hide the panel edges and protect the corners from weather.
This one is pure minimalism: a clear barrier with thin black edges. The look is modern because the framing lines are tight and consistent, and the panel keeps the balcony feeling open. It’s best when you have decent background — the panel will show what’s behind it, so keep the wall and deck tidy. Use this for balconies that get a lot of daylight since the thin frame stays visually light.
Skip thisAvoid silicone sealants that aren’t labeled for plastics — they can stain and trap moisture.
Editor's noteChoose UV-stable acrylic/polycarbonate — cheap clear sheets yellow faster and ruin the look.



