
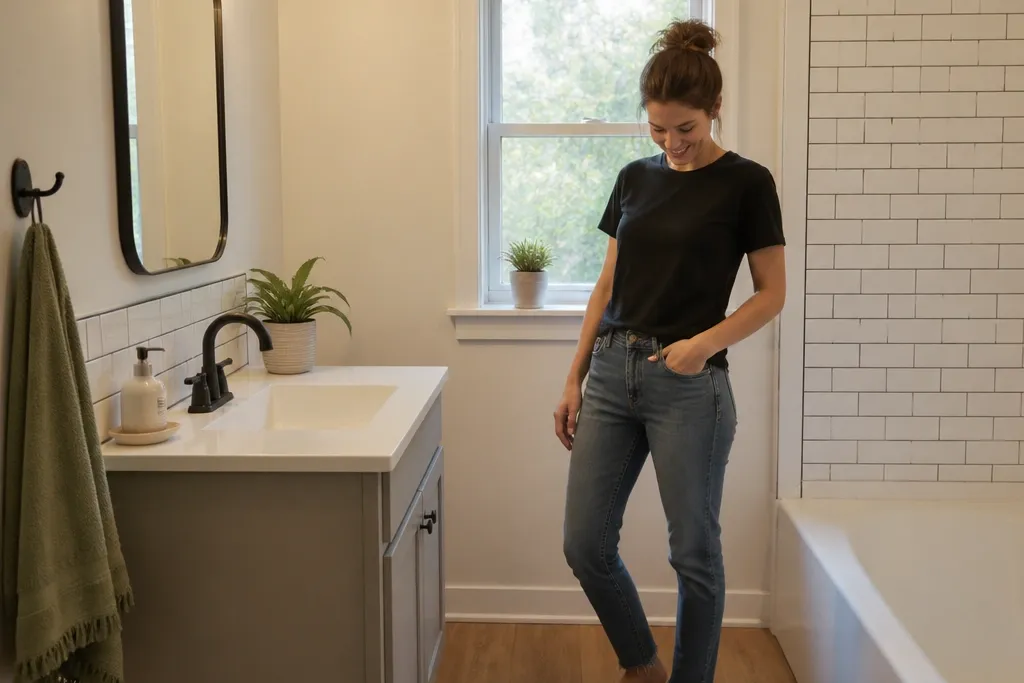
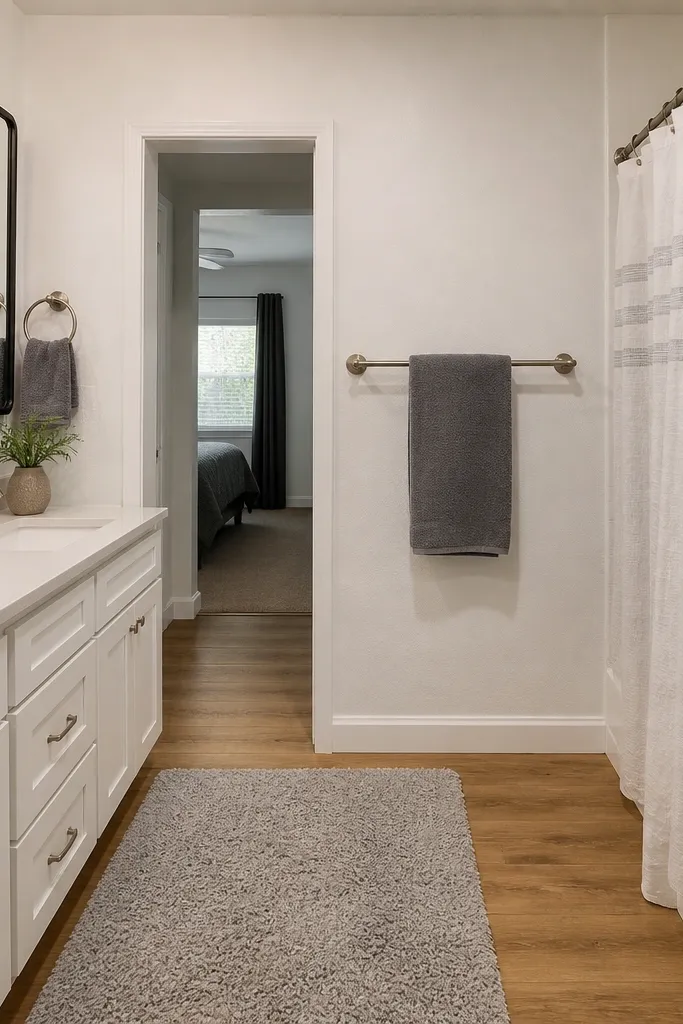
1. Ceiling-to-floor crisp white paint with satin walls
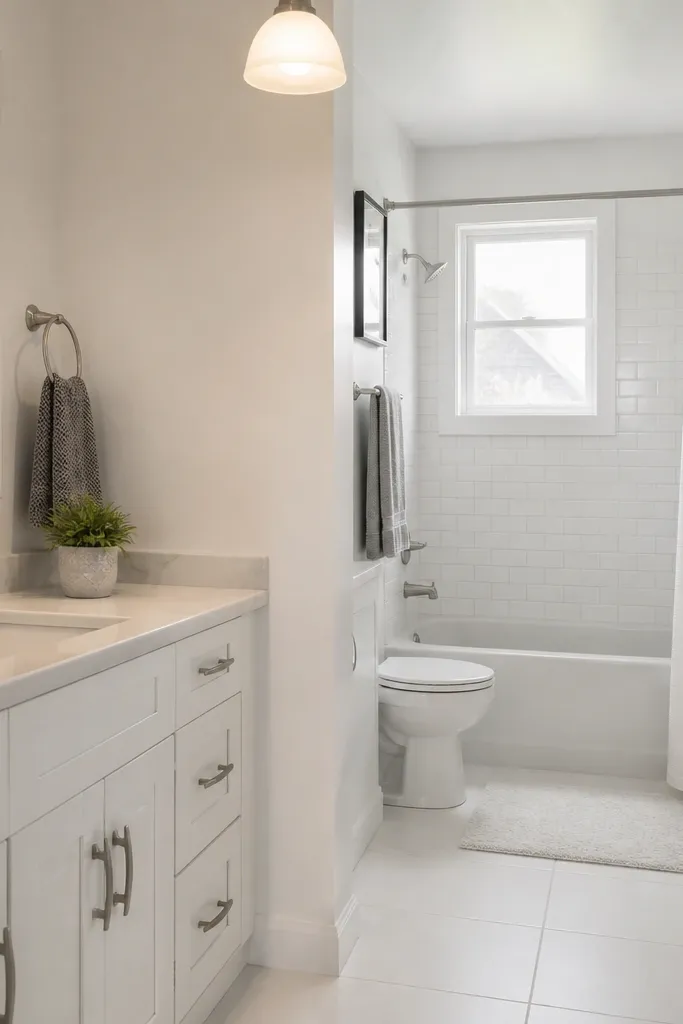
Paint is the fastest way to make a small bathroom look renovated, because it resets color and brightness everywhere. For bathrooms, satin or semi-gloss on walls survives splashes and wipes clean without turning chalky. Keep ceilings the same color family but slightly brighter if you can — a subtle shift raises the perceived height. This works best when your fixtures are already decent and you want the room to read clean, not “dated.” The finish matters in photos: satin catches light softly and hides minor wall texture better than flat paint.
Editor's noteUse a 3/8-inch nap roller cover for smooth walls so you don’t get streaks.
First, clean the walls with a degreaser and scuff any glossy spots with a 220-grit sanding sponge. Then roll two coats of bathroom-rated satin on walls and use semi-gloss on trim and the door, keeping brushwork tight at corners. Finally, let it cure fully before hanging towels or using the shower heavily; humidity can dull fresh paint if you rush it.
Skip thisDon’t use flat paint in a bathroom — it stains and looks dirty fast.
2. Big mirror swap with a thin black frame
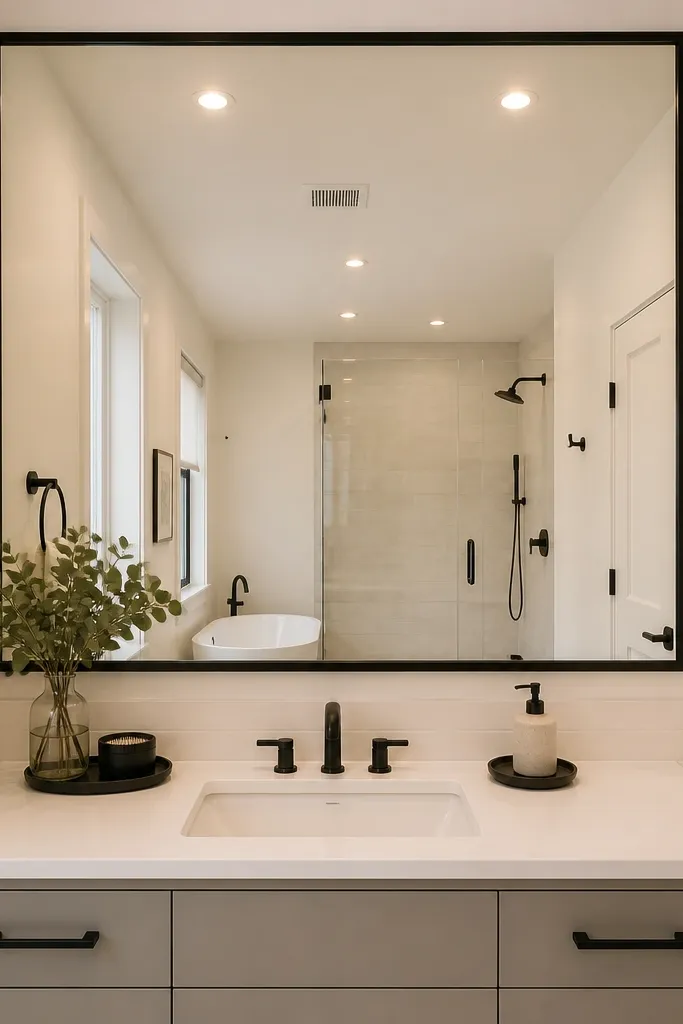
A larger mirror makes the room look wider and brighter because it doubles the light bouncing around the bathroom. Thin black framing adds structure without eating space, and it photographs clean against white walls or light tile. Choose a mirror that reaches close to the vanity width so you don’t get awkward gaps. This is a high-impact upgrade for small bathrooms where the mirror is usually too narrow and the light looks trapped. It also hides minor wall issues because the frame creates a neat border.
Start by measuring the vanity width and the wall space above it, then buy a mirror that’s 2-6 inches wider than the vanity. Use a level to mark mounting points, and check for studs behind the drywall. Install using the manufacturer’s brackets, then seal any tiny gaps with clear silicone where the frame meets the wall.
Match the mirror frame finish to your faucet and towel bar so the whole room looks intentional.
Skip the “too small” mirror — it keeps the room visually narrow.
3. Warm-white LED bulbs for instant bathroom glow
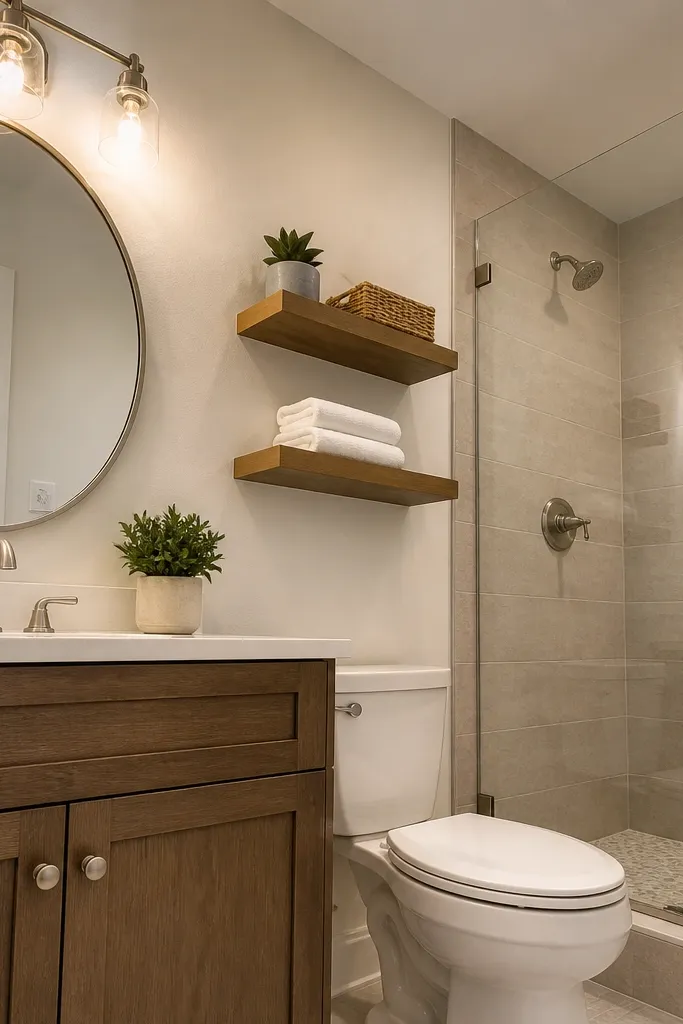
Lighting color changes how skin tones, paint, and grout look, and small bathrooms get the biggest benefit. If you’re using cool 5000K bulbs, switching to warm-white around 2700K-3000K makes everything look cleaner and less gray. Choose LED bulbs with a high lumen output so the room doesn’t look dim after the switch. This project is cheap and fast, and the before/after is dramatic in photos. It also reduces the “sterile” feeling that makes small bathrooms feel even smaller.
Editor's noteIf your fixture has glass shades, pick bulbs with good diffusion so the light doesn’t look spotty.
Turn off power at the breaker, remove the current bulbs, and check the fixture socket type (most are E26). Install LED bulbs labeled 2700K or 3000K and pick a brightness that matches the old bulbs' wattage or lumens. After powering back on, stand at the mirror and look for harsh shadows; adjust fixture direction if your light has shades.
Skip thisDon’t replace bulbs but keep the same dim wattage — you’ll just get warmer dim light.
4. Fresh caulk lines in bright white for a "new tile" look
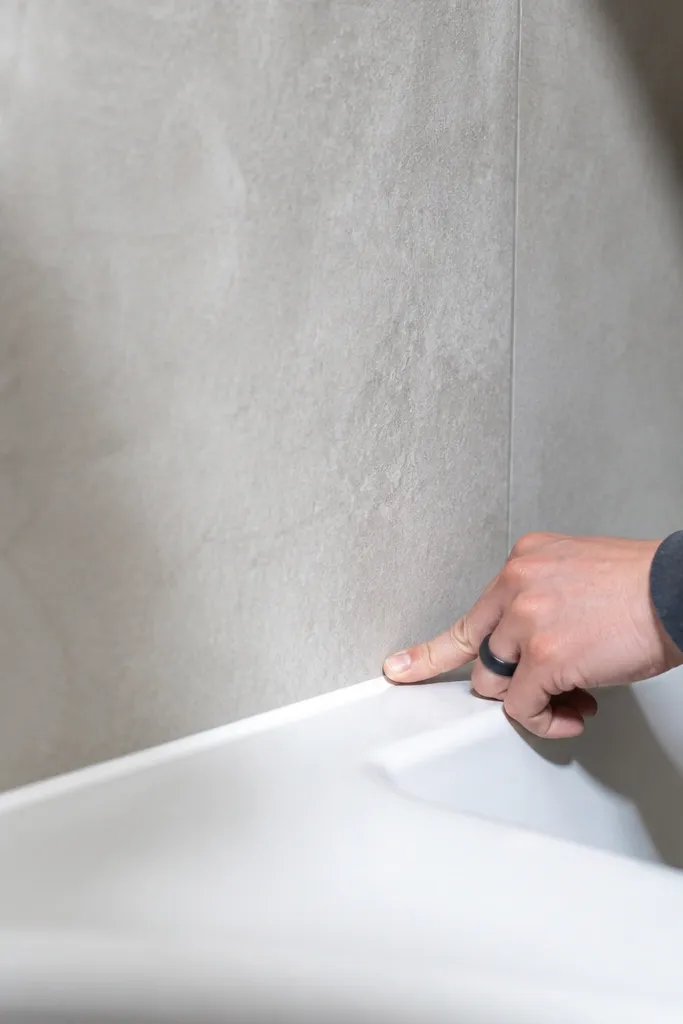
Old caulk makes a bathroom look neglected even when the tile is fine. Crisp, bright caulk lines read like a renovation because they restore straight geometry where the eye expects clean edges. Choose a mildew-resistant bathroom silicone or a paintable acrylic-latex caulk if you need it to match painted surfaces. This is especially worth it in small bathrooms because the tub and sink edges take up more visual space. Done right, it also prevents drafts and water creep behind trim.
Editor's noteUse painter’s tape and pull it while the caulk is still wet so the line stays crisp.
Cut out failing caulk with a utility knife and remove residue using a caulk remover tool or mineral spirits for silicone-safe cleanup. Dry the area completely, then tape both sides of the joint for a straight line. Apply caulk with steady pressure, tool it with a damp caulk tool or a gloved finger, and remove tape immediately for sharp edges.
Skip thisDon’t caulk over loose, dirty silicone — it peels and looks worse.
5. Peel-and-stick shower wall panel in matte white
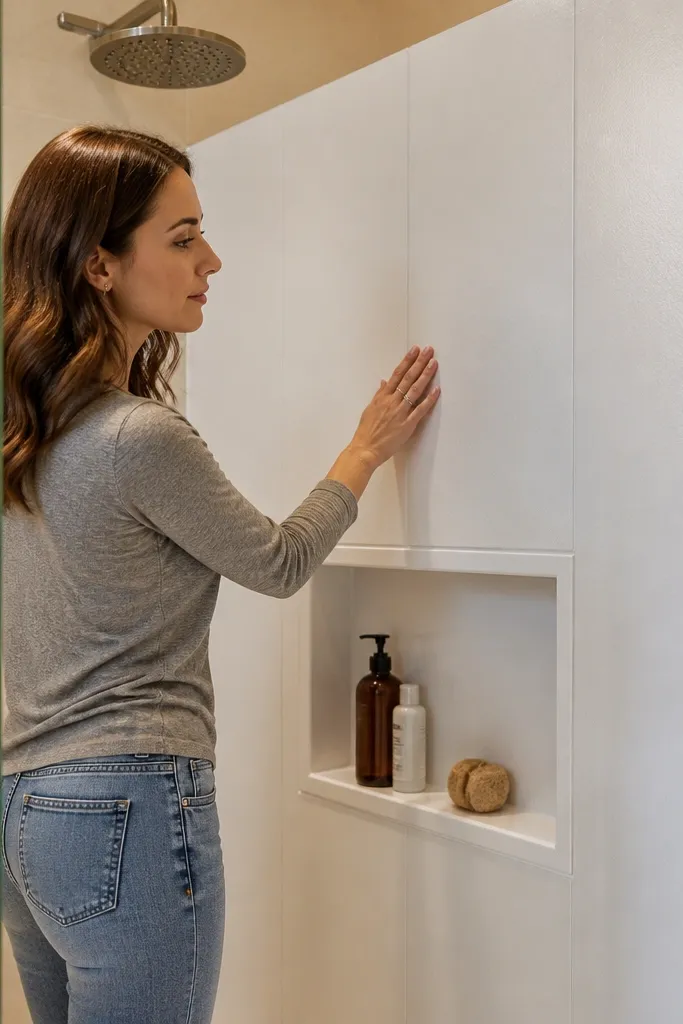
If you want a shower face that looks new without demo, peel-and-stick panels are the fastest photogenic win. Matte white makes the space feel bright and hides minor scuffs better than glossy surfaces. Pick panels that have a subtle texture so they don’t look like flat vinyl when the light hits. This is a good fit for renters or anyone who can’t take on tile removal. The look is modern and clean, and the install stays within a weekend for most small showers.
Editor's noteDo a dry-fit layout on the floor first so your pattern lines up before you commit.
Start by cleaning the wall with soap and water, then wipe with rubbing alcohol and let it dry fully. Measure the wall height and plan your first row so seams land where they’re least noticeable. Apply panels in straight lines, using a smoothing tool to push out bubbles, and trim edges with a sharp utility knife.
Skip thisSkip applying over damp or glossy residue — the panels lift at the corners.
6. Toilet paper holder and towel bar in matching finish
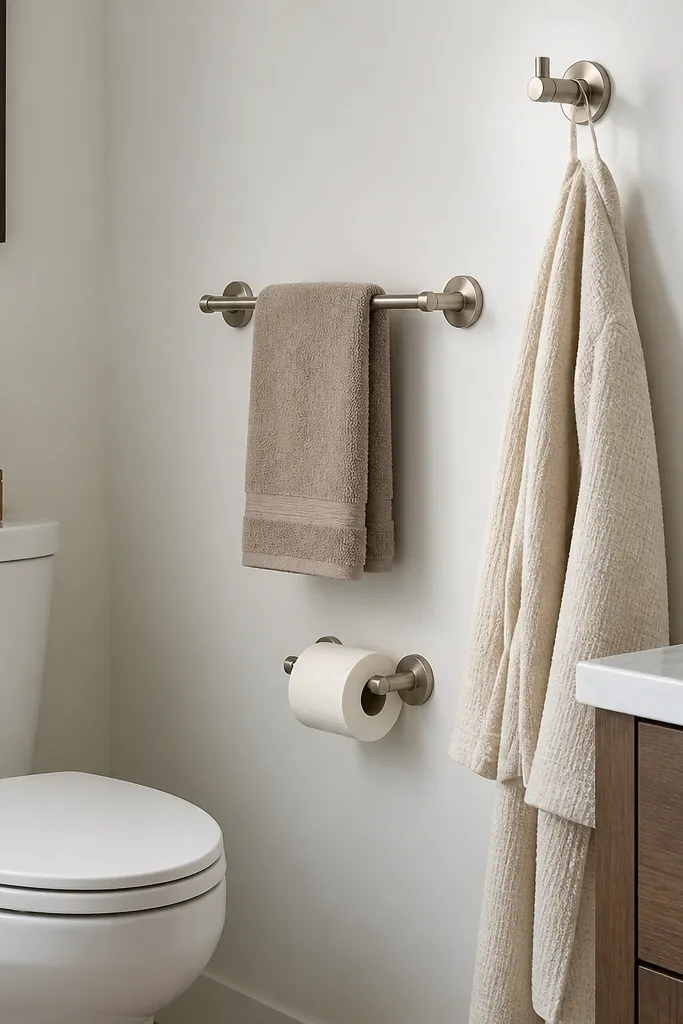
Hardware upgrades sound small, but in tight bathrooms they’re huge because they’re high-contrast objects. Matching finish on the toilet paper holder, towel bar, and robe hook makes the room look designed instead of patched together. Brushed nickel is forgiving and reads clean in photos, while oil-rubbed bronze adds warmth against white paint. This project is cheap, quick, and it fixes the “mismatched years” look. It also improves daily use because towel placement becomes intentional.
Editor's noteLay a strip of painter’s tape where you want the bar, then step back — alignment looks better when you can see it from the door.
Find the studs or use proper wall anchors if you can’t hit framing, then remove the old hardware and patch holes if needed. Mark mounting positions with a level, drill pilot holes, and install using the included screws. Mount at practical heights: toilet paper center around 7-8 inches above the floor and towel bar so towels hang without touching the sink edge.
Skip thisDon’t mix finishes across the room — the eye keeps catching it.
7. DIY vanity backsplash strip with peel-and-stick subway tile
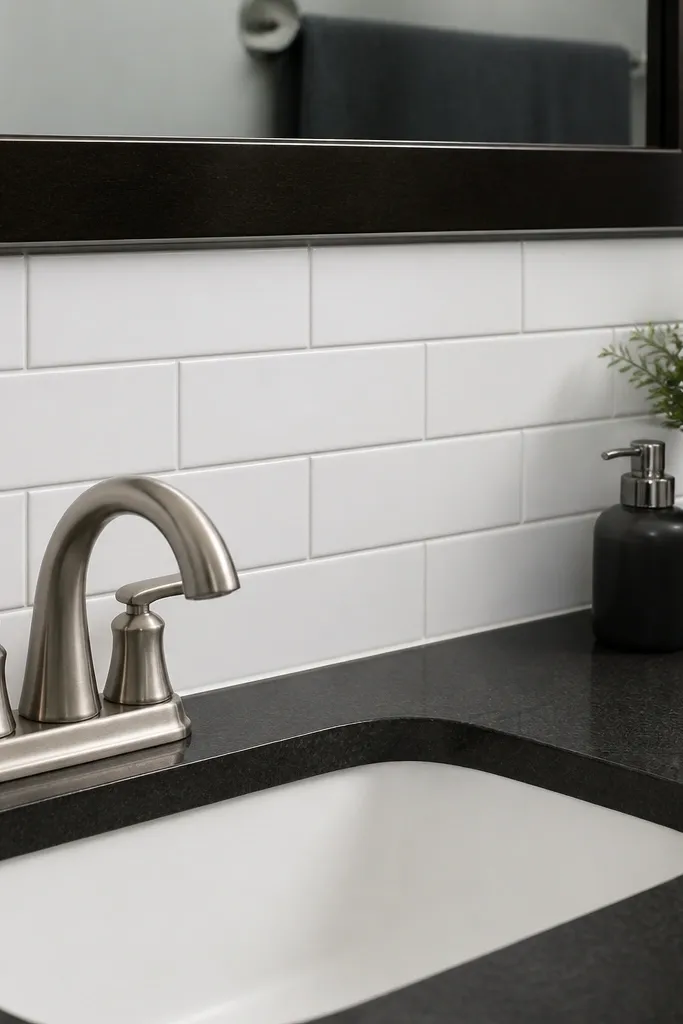
A backsplash strip is an easy way to make a basic vanity look custom. Peel-and-stick subway tile adds pattern without raising your budget, and white tile works with almost every countertop. The key is installation straightness: even small misalignments show up near the sink because people look at that zone while brushing teeth. This works best when you have a small wall section above the counter where splash marks already happen. It also gives you a wipe-clean surface that looks crisp.
Editor's noteUse a plastic tile scraper to press seams firmly so they don’t lift later.
Clean and dry the area above the counter, then use a level to draw a straight guide line. Apply tiles from the guide line outward, smoothing each piece to lock edges. Seal the bottom edge with a thin bead of clear silicone and caulk any gaps at the sides.
Skip thisDon’t start at a crooked point — subway tile makes mistakes obvious.
8. Countertop refresh with a new faucet and drain cover
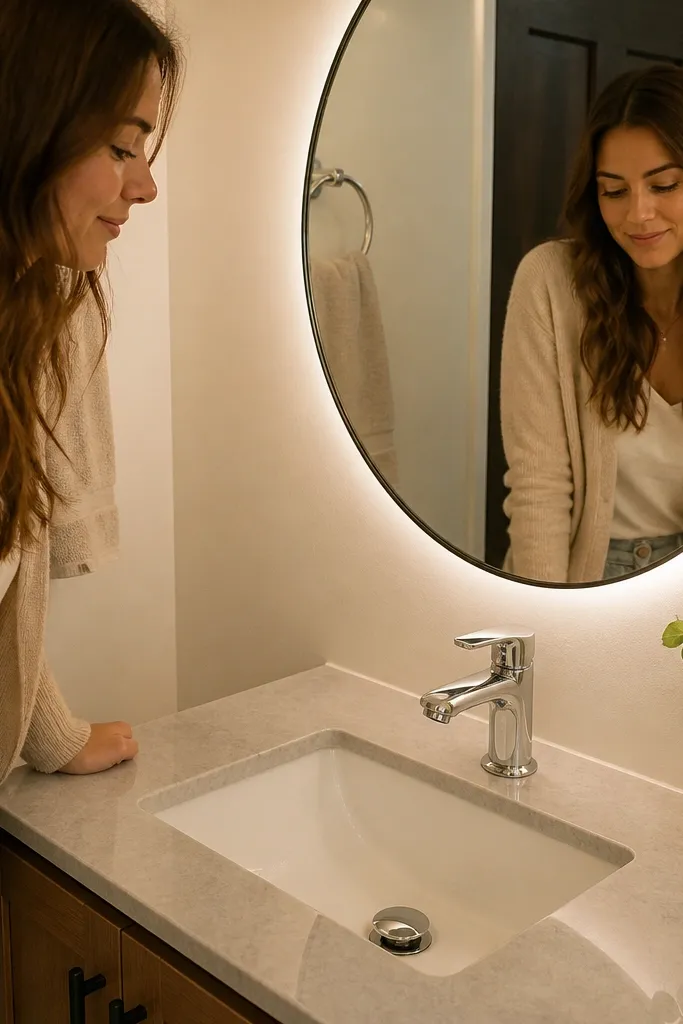
A faucet swap reads like a full bathroom refresh because it changes the biggest metal surface in the room. Pair it with a new pop-up drain cover and you get a clean, consistent look even if the counter stays. For small bathrooms, choose a slightly lower-profile faucet so the mirror area doesn’t feel crowded. This project is doable without remodeling — just shut off the water and swap lines. It also improves daily function with better flow and easier-to-clean finishes.
Editor's noteTake photos of your current supply line setup so you match the hot/cold orientation quickly.
Turn off hot and cold water valves under the sink, then disconnect supply lines and remove the old faucet mounting. Install the new faucet with fresh plumber’s tape on threaded connections and check alignment before tightening. Reconnect supplies, install the drain, then run water and inspect for leaks at the base and under the handle.
Skip thisDon’t overtighten plastic nuts — it cracks and causes slow drips.
9. Small vanity drawer liner with waterproof patterned paper
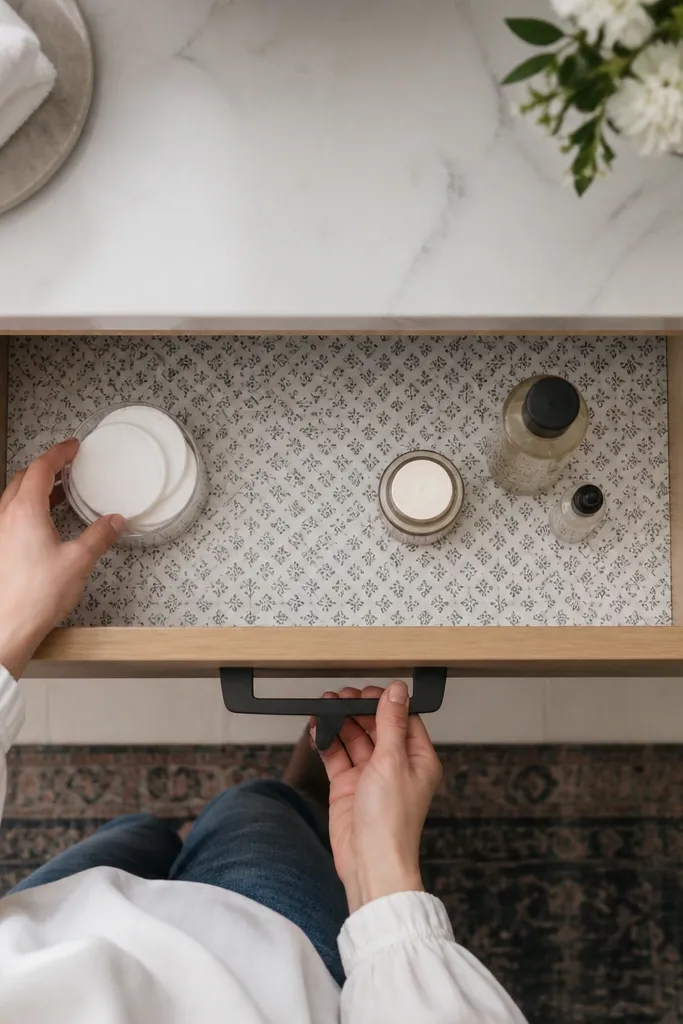
This is a small project that makes the bathroom feel more cared-for because it cleans up the visual mess inside drawers. In photos, drawer fronts read cleaner when items aren’t sliding and the inside looks intentional. Pick waterproof liner paper with a tight pattern so it doesn’t look busy in a small room. It also protects from water drips around the sink and keeps screws, hair tools, and cords from scratching. It’s a good fit for renters because it doesn’t require mounting hardware.
Editor's noteUse a hair dryer on low to help liner corners lay flat if your drawer bottom is slightly curved.
Measure each drawer’s length and width, then cut liner with a sharp utility knife and a straightedge. Dry-fit the liner, trim around corners, and avoid stretching it across the drawer bottom. If the drawer has dividers, cut separate pieces for each section so edges don’t lift when you pull items out.
Skip thisDon’t skip measuring — pre-cut liners leave gaps that look messy.
10. Floor refresh with peel-and-stick vinyl plank in warm oak
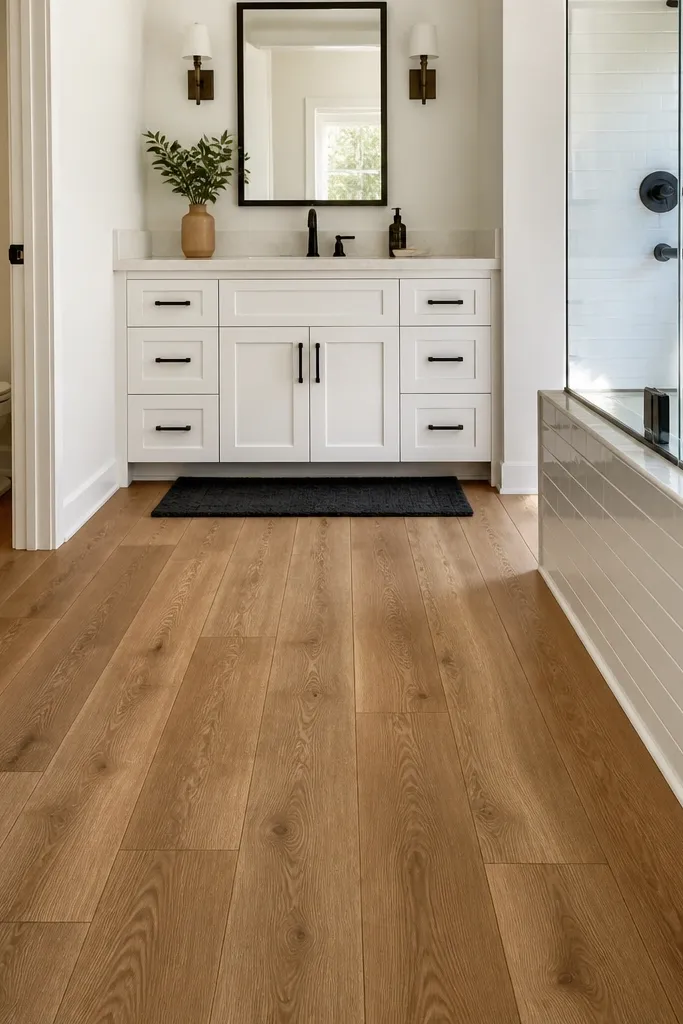
Flooring upgrades are expensive when you do them the normal way, so peel-and-stick vinyl plank is the budget path that still looks expensive. Warm oak tones make small bathrooms feel warmer and less gray, especially with white walls. Choose planks with a matte finish and realistic grain so they don’t look like sticker floors. This project works best over smooth subfloors and low-traffic bathroom footprints with short plank runs. It’s a big look change because the floor takes up a lot of visual space.
Editor's notePlan plank direction so the grain runs toward the longest wall for a longer-looking room.
Start by cleaning the floor thoroughly and flatten any bumps; remove baseboards if you want a clean edge. Lay a starter row along the longest wall, using spacers if you need expansion gaps. Click or peel the planks in a staggered pattern, cut around the toilet flange carefully, and seal transitions with the recommended edge trim.
Skip thisDon’t install over uneven spots — every bump shows through and lifts edges.
11. Renter-friendly magnetic shower caddy rail
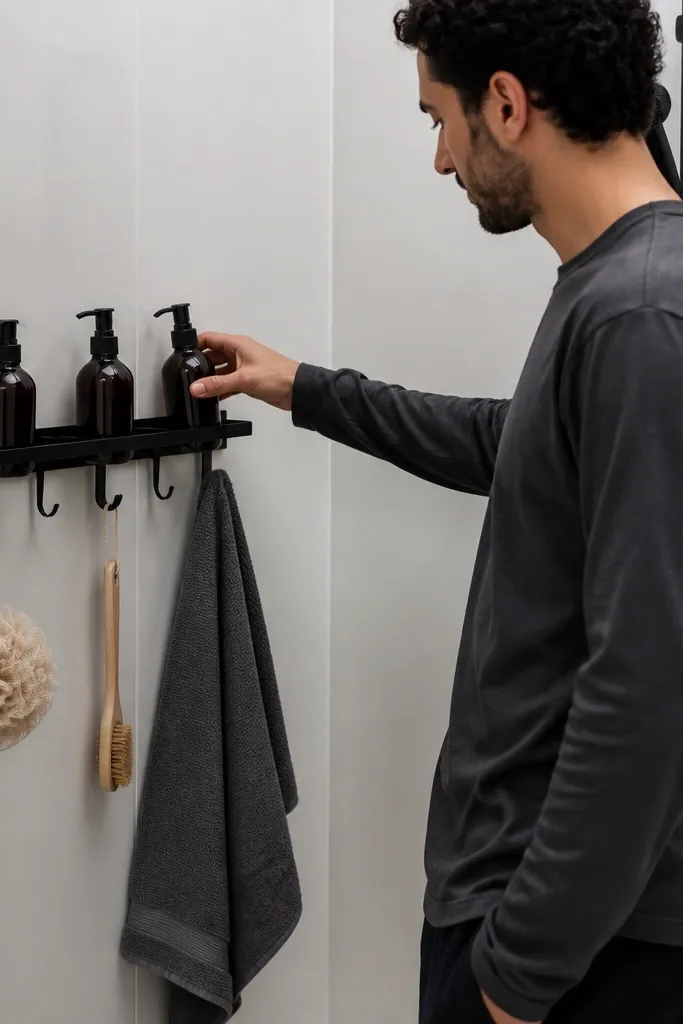
A clean shower corner instantly makes a small bathroom feel calmer. A magnetic caddy keeps bottles off the floor and reduces the visual clutter that makes bathrooms look smaller. Choose one with adjustable hooks so you can hang loofahs and keep towels from draping in the wrong place. This is especially good if you have tile but don’t want to drill. The look stays neat because the hardware is slim and mostly hidden behind items.
Editor's noteUse a hook for the loofah so it stays off the wall and dries between showers.
Clean the shower wall surface with glass cleaner or degreaser, then dry it completely. Mark the placement height so bottles don’t hit the shower door and hooks don’t block water spray. Attach the magnetic rail, wait a few minutes for adhesion, then load items and check stability before regular use.
Skip thisSkip placing caddies too low — wet items collect on the floor and look messy.
12. Two-tone paint: light upper, soft sage lower
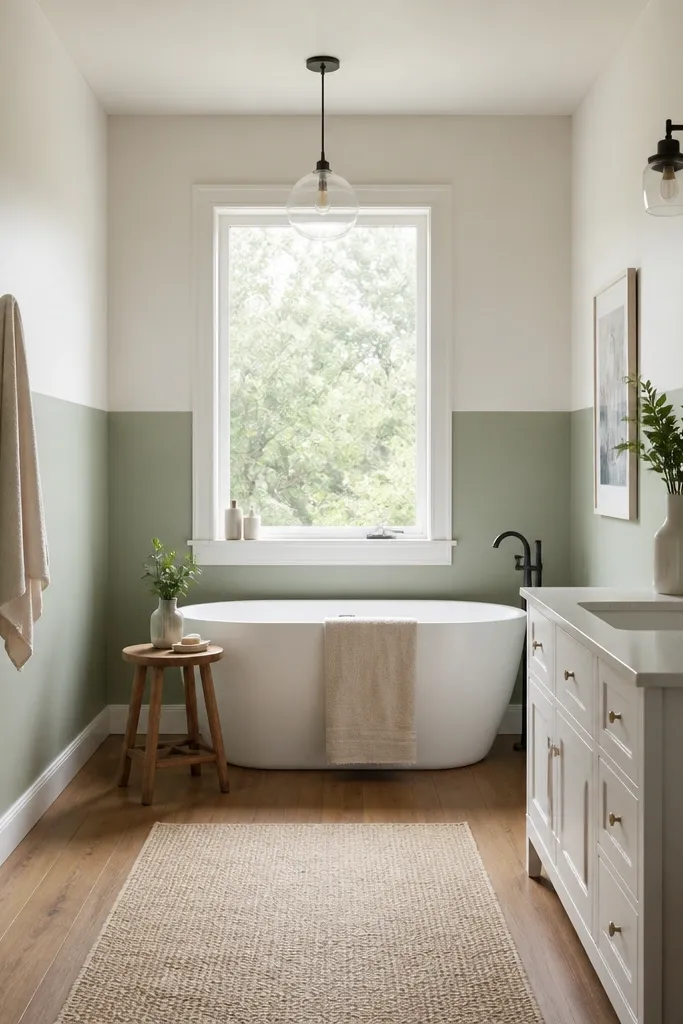
Two-tone paint makes small rooms feel intentional and taller when you keep the line clean. Use a lighter color on top and a muted color on the bottom, with a crisp tape line around mid-wall height. Soft sage reads calming and looks great with white fixtures and warm wood floors. This is a strong option if your bathroom has a lot of white already but feels flat. It also hides scuffs on the lower half better than all-over white.
First, decide the split height, usually around 36-48 inches from the floor depending on your vanity and mirror. Tape a straight line using a level and press tape firmly along edges. Paint the upper color first, let it dry, then paint the lower color and remove tape while paint is still tacky.
Use a satin finish on both colors so the boundary line looks smooth, not chalky.
Don’t pick a bottom color that’s too dark — it shrinks the room.
13. Matte black wall sconces with a clean glass shade
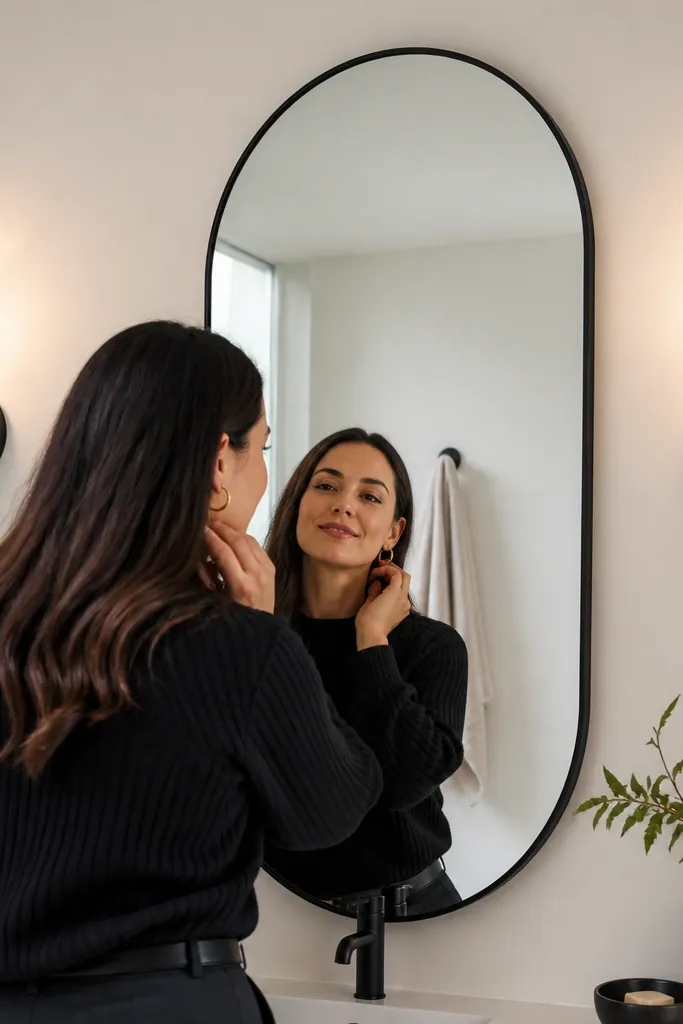
If your bathroom lighting is overhead-only, the face zone looks shadowy. Wall sconces add light at eye level and make the mirror area look brighter and more flattering. Matte black frames the mirror and feels modern, while clear or frosted shades keep glare down. This is a strong pick when your vanity is small and you need light where you stand. It also hides the “builder grade” ceiling fixture look that dates bathrooms quickly.
Turn off power at the breaker, remove existing fixtures, and confirm your electrical box location. Install wall sconces according to the wiring diagram, then attach the shades and bulbs. Choose bulbs around 2700K-3000K and put them at a height that aligns with the center of your eyes in front of the mirror.
Use a dimmable switch if you can; it makes evening lighting look expensive.
Don’t mount sconces too high — it recreates overhead shadows.
14. Over-toilet storage cabinet with a mirror door
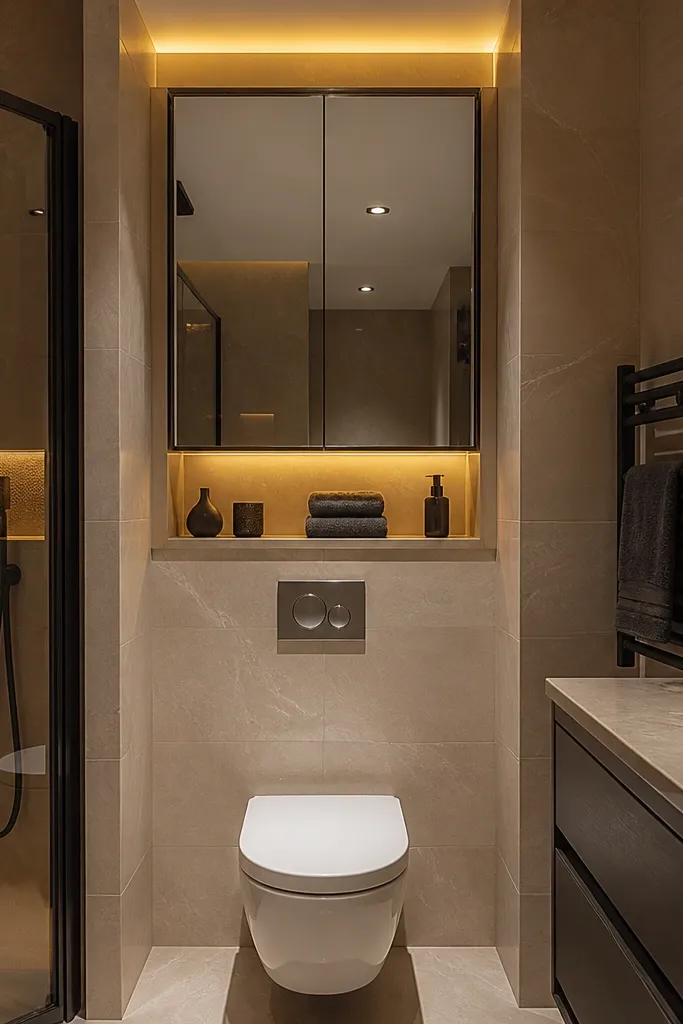
Storage above the toilet clears counter clutter, which immediately makes small bathrooms look larger. A mirror door adds reflected light and gives you a second mirror surface without adding more wall objects. This combination is photogenic because the cabinet looks built-in and the mirror brightens the room. Choose a cabinet with doors that close softly and a slim depth so it doesn’t feel bulky. It also helps keep daily items out of sight — toothpaste, hair tools, and extra rolls.
Measure the width of the toilet tank and the wall clearance, then pick a cabinet that fits without hitting the tank or door swing. Locate wall studs or use rated anchors, mark mounting points, and install the top bracket first. Level the cabinet, secure the bottom if required, and check door clearance before filling it.
Use small pull-out bins inside so you can organize without rummaging.
Don’t buy a deep cabinet — it blocks movement in tight bathrooms.
15. DIY floating shelf in stained wood for toiletries
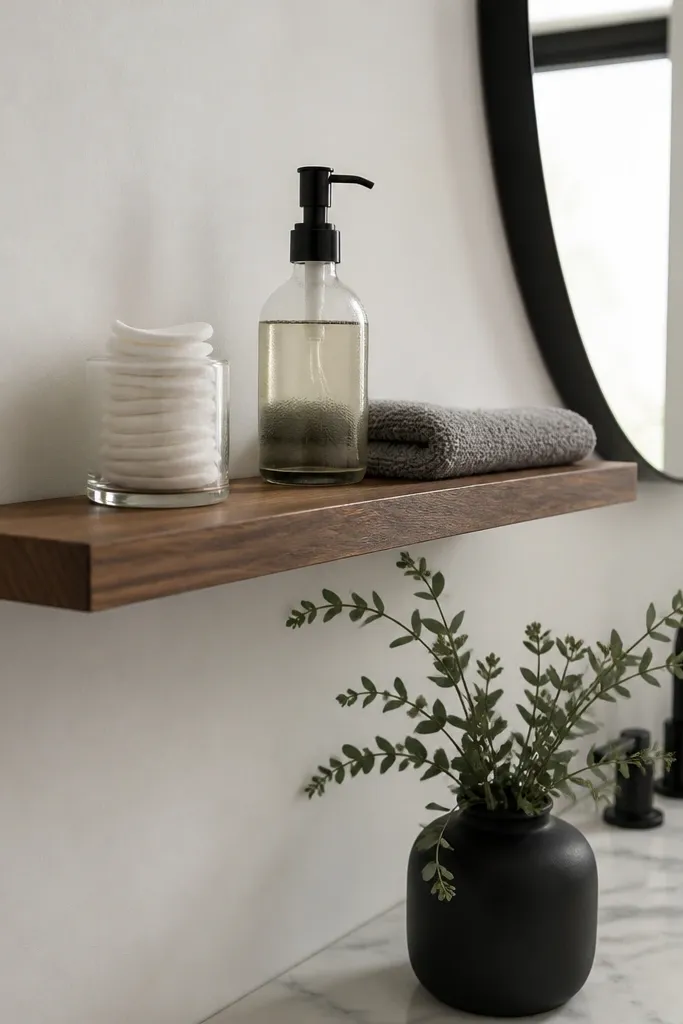
A floating shelf gives you vertical storage and a styling surface that looks intentional in photos. Stained wood adds warmth and breaks up white walls, especially with black hardware. Keep the shelf narrow and place it where it doesn’t crowd the mirror zone. This works well for small bathrooms because it reduces counter clutter while giving you a place for everyday items. The look is clean when you group items by shape and keep labels facing the same direction.
Find studs, then cut shelf boards to the length you want and sand smooth. Stain or seal with a water-resistant topcoat meant for interior wood. Install two brackets or a hidden mounting system into studs, then attach the shelf and add a level check before loading items.
Seal the underside too — bathroom humidity rises and can warp unfinished wood.
Skip loading it with heavy bottles right away — level shifts if you rush.
16. Matte white contact paper for cabinet doors
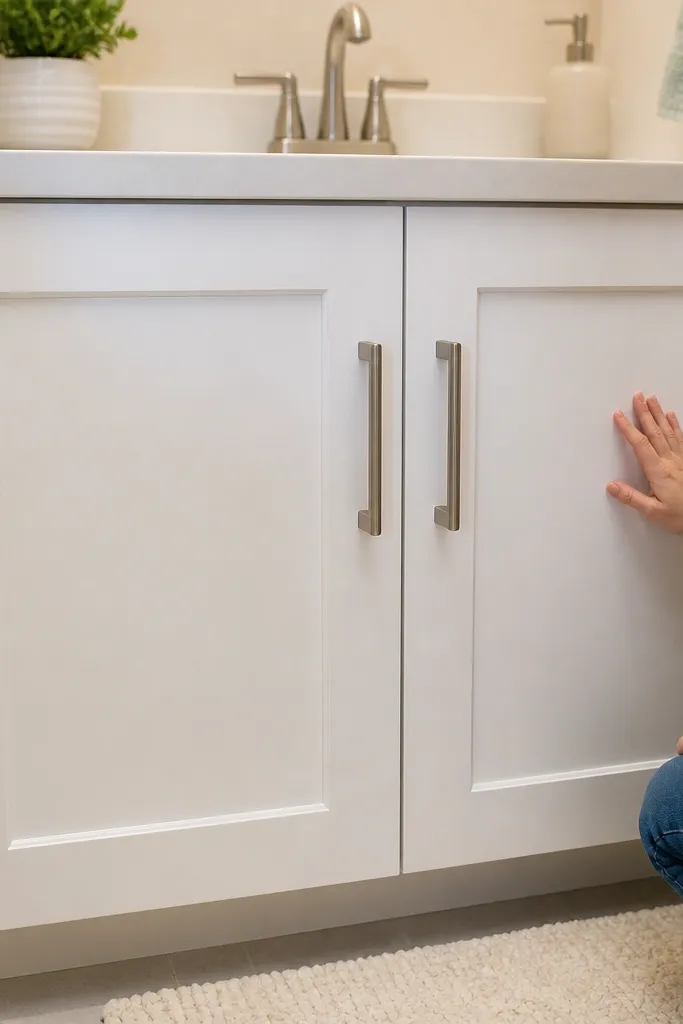
If your vanity cabinet doors look worn or stained, contact paper is the quick fix that still looks smooth. Matte white hides fingerprints better than glossy and makes the whole vanity look brighter. Choose a thicker, furniture-grade paper so edges don’t peel. This project is ideal when you can’t replace the vanity but want it to look clean and coordinated with the walls. It also gives you a consistent backdrop for baskets and drawer liners.
Remove cabinet doors if you can so you can work flat, then clean and degrease thoroughly. Measure each door panel, cut contact paper with a sharp blade, and apply from one edge using a squeegee to avoid bubbles. Trim around hinges, then reinstall and seal any lifted seams with a thin clear finish edge guard.
Warm the paper with a hair dryer so it conforms around corners without wrinkling.
Don’t apply over greasy residue — it lifts at the corners within weeks.
17. Shower curtain upgrade to floor-length textured linen
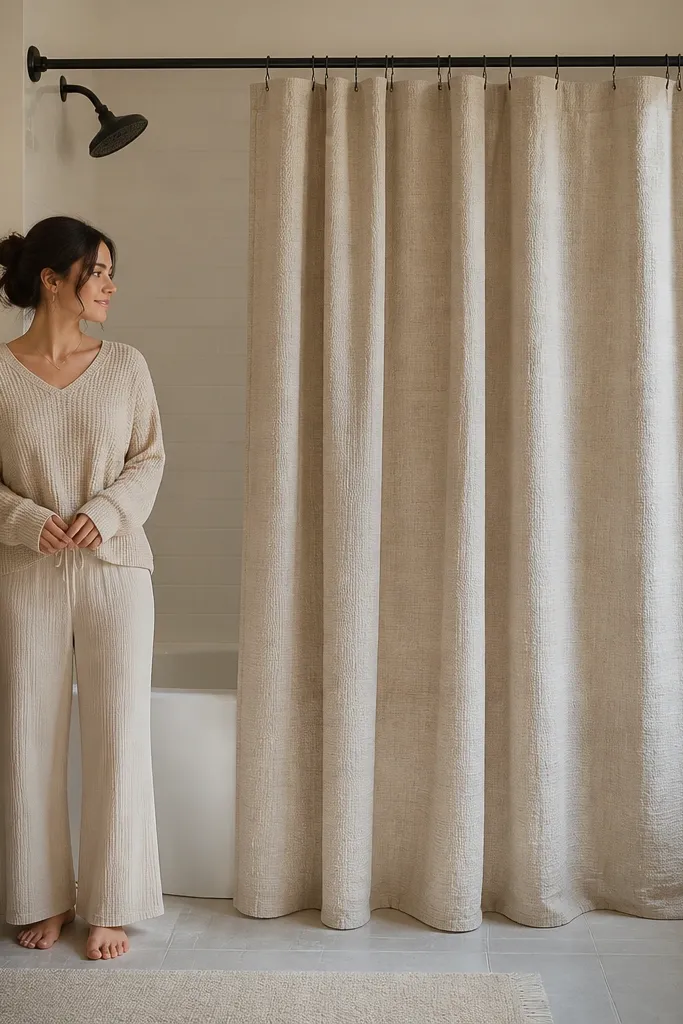
A shower curtain is the biggest soft item in a small bathroom, and it’s one of the easiest ways to make the room look styled. Textured linen-look fabric adds depth and reduces the harsh plastic vibe that dates bathrooms. Go floor-length so the curtain covers the gap and reads clean instead of “short.” Neutral colors like oatmeal, greige, or light taupe work with white walls and warm floors. This upgrade also makes towels and rugs look more coordinated.
Editor's noteUse two curtain hooks on each side of the gap so the fabric hangs evenly.
Measure from your rod down to where you want the curtain to skim the floor, typically 1-2 inches off for puddle-free clearance. Choose a liner that’s machine washable and a curtain with grommets or rings that slide smoothly on your rod. Hang the curtain with even spacing and add a couple of weighted magnets or bottom weights for straight drape.
Skip thisDon’t pick a curtain that stops above the tub rim — it looks unfinished and leaks water.
18. One bold framed print above the toilet
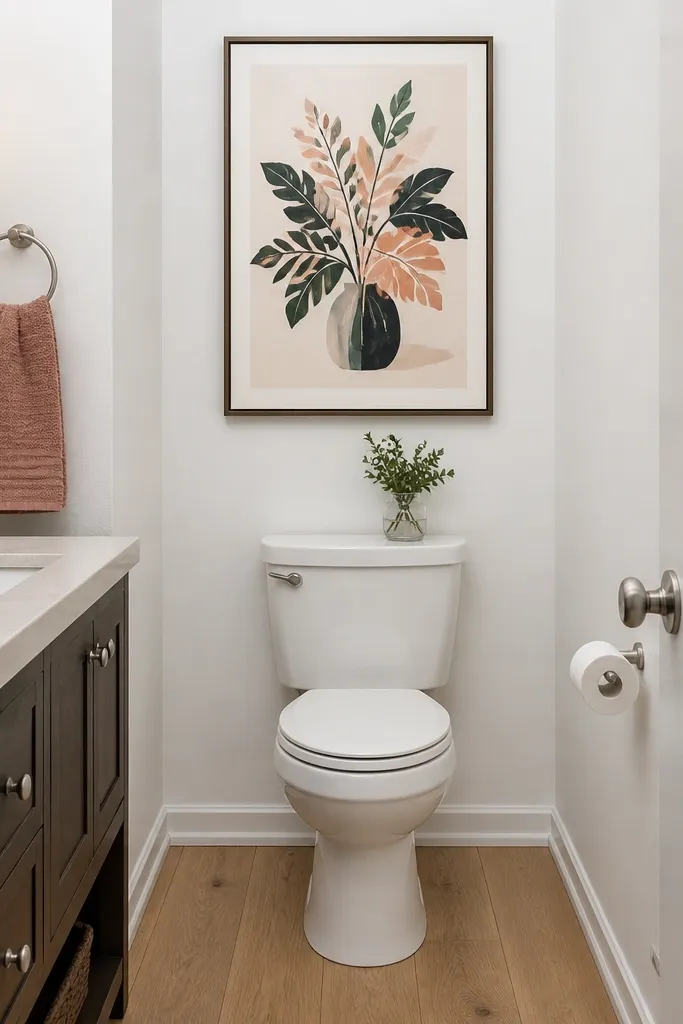
Small bathrooms need one strong visual anchor, or everything looks accidental. A framed print above the toilet adds color and style without taking floor space, and it photographs well because it sits at eye level. Choose art with a light background and one or two accent colors that match your towels or hardware. Use a frame with a simple profile so it doesn’t look bulky. This is a cheap way to make the bathroom feel finished even if you do minimal construction.
Measure the wall width above the toilet and choose a frame that leaves 3-6 inches of margin on both sides. Use a level to mark mounting points and install a wall anchor into studs when possible. Use glass or plexi if you get high humidity and add a simple mat to keep the print from looking washed out.
Pick art with a light area near the top so it brightens the mirror zone.
Don’t go for a tiny frame — it looks lost on small walls.
19. Toilet tank cover in glossy white for a clean line
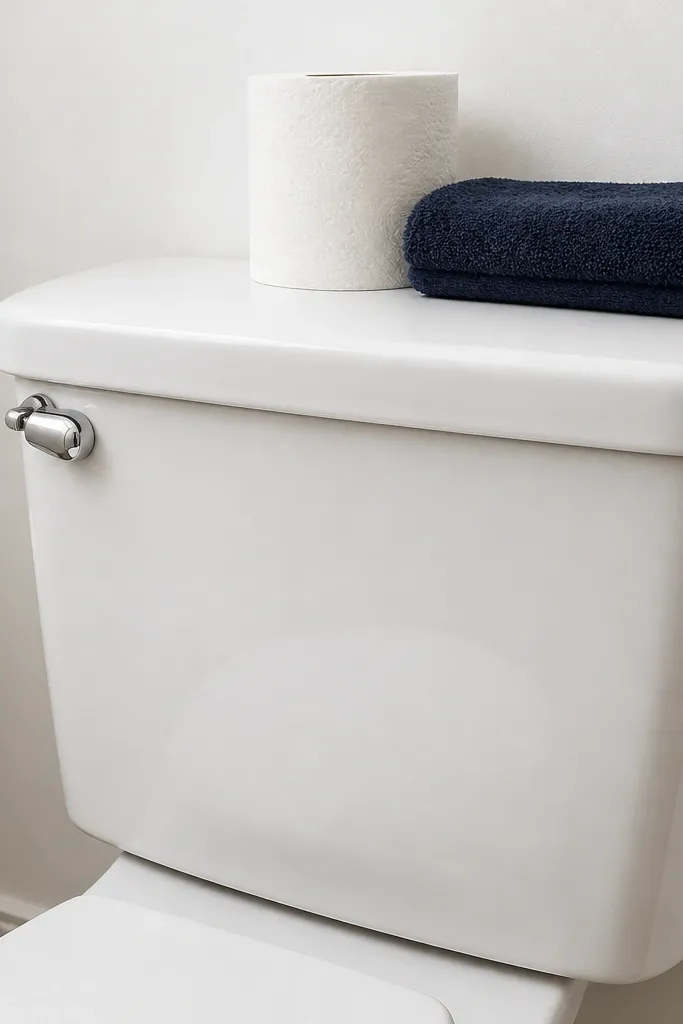
The toilet tank is a big visual block in small bathrooms, and a worn, stained, or scratched tank makes the room look tired. A tank cover in glossy white creates a smooth, photo-friendly surface that matches bright walls and hides imperfections. Choose a cover that fits your tank shape so the lid closes properly. This works best when you don’t want to replace the toilet but you want the room to look new. It also gives you a place to add a minimal decor item like a small tray.
Editor's noteWipe the tank and cover edges with rubbing alcohol before assembly so adhesives grip better.
Measure the tank length and height, then buy a cover designed for your tank style. Remove the lid, place the cover gasket if included, and secure with the provided clips or screws. Test the lid movement and check for wobble before tightening fully.
Skip thisDon’t use a cover that’s slightly off-size — it will shift and look crooked.
20. Tub edge reset with a new tub surround caulk bead
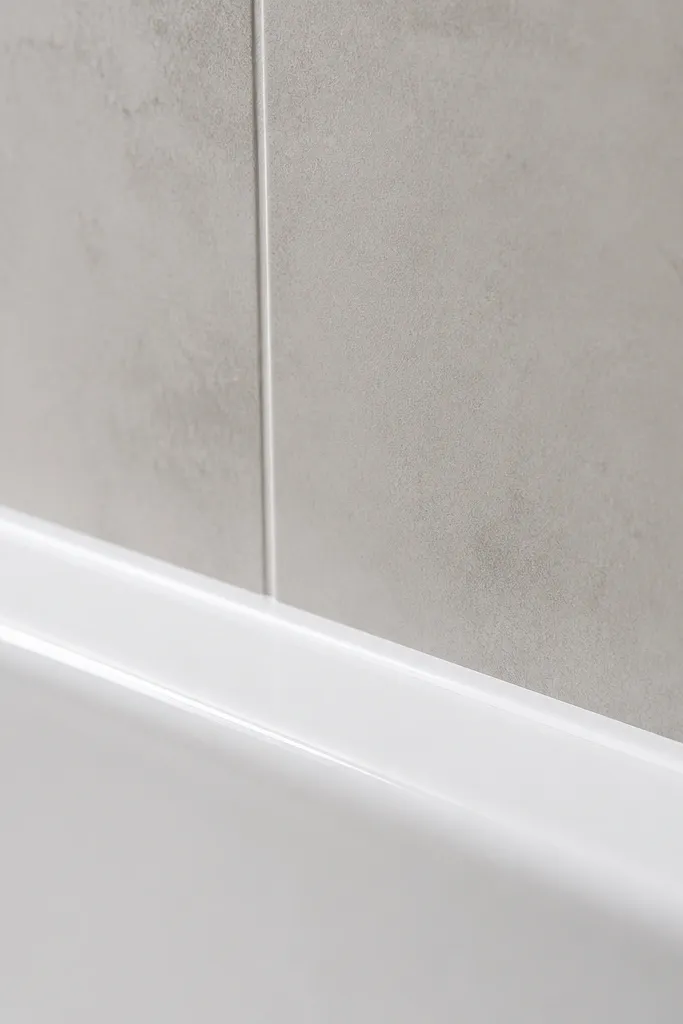
If your tub-to-wall seam has gaps or discoloration, it breaks the whole look. Replacing that bead makes the tub face read crisp and sealed, which is exactly what you want in small bathrooms where the tub takes up a lot of the frame. Pick a mildew-resistant silicone caulk in bright white to match bathroom paint and fixtures. This upgrade is worth it even if you don’t touch tile because it restores clean lines and stops water from sneaking behind trim. Done well, it looks professional.
Editor's noteKeep a damp paper towel nearby — tool the bead in one pass for consistent thickness.
Remove the old caulk completely using a caulk removal tool and scrape residue until the seam is clean. Dry thoroughly, then tape both sides of the seam for a straight edge. Apply caulk, tool it smoothly, and pull tape immediately for a sharp finish.
Skip thisDon’t rush the cure time — touching the bead too soon causes ridges.
21. Bathroom rug swap to a low-pile textured style
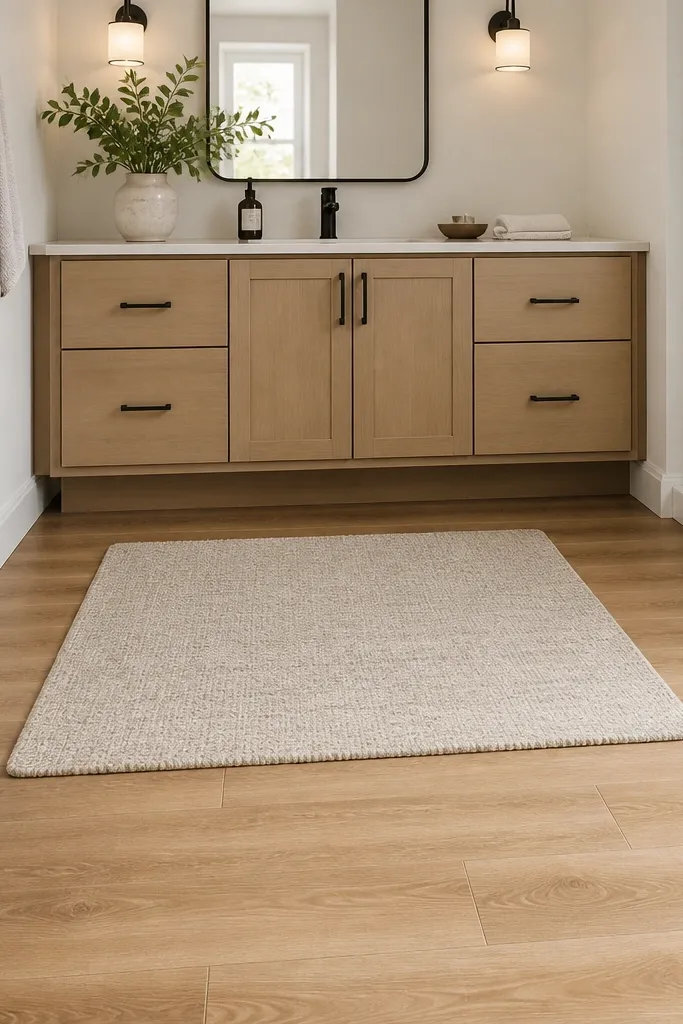
A rug is one of the few budget items that changes the feel of the bathroom instantly. Low-pile textured rugs look cleaner in photos than shag, and they dry faster so your bathroom doesn’t smell damp. Stick to neutrals like oatmeal, charcoal, or light gray so the rug doesn’t fight your tile and paint. This works best when you place it where it frames the vanity area, not in a messy corner. Choose a non-slip backing so it stays put on vinyl or tile floors.
Measure the space between the vanity and the door swing so the rug doesn’t bunch up. Choose a rug with a low pile height and a pattern that hides water spots. Put the rug down dry, then check it doesn’t obstruct the doorway or the toilet clearance.
Shake and hang dry the rug between washes — it keeps it looking new longer.
Don’t pick a thick shag rug — it traps moisture and looks dingy fast.
22. Cabinet under-sink organization with clear bins and labels
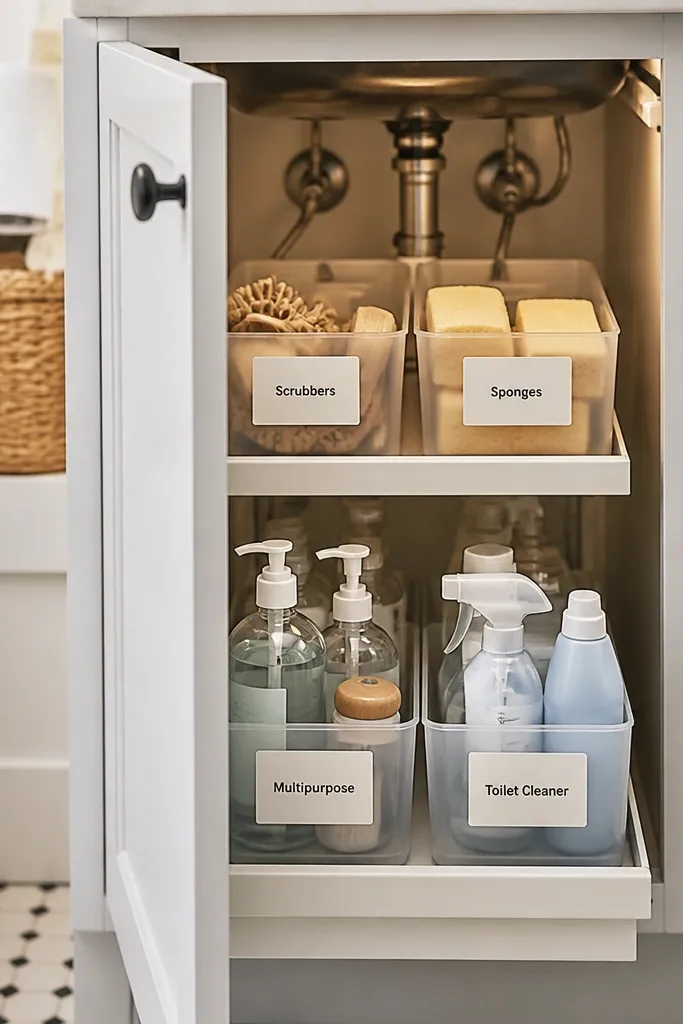
Small bathrooms look messy when cleaning supplies and extra toiletries spill into the same dark space. Clear bins let you see what you have, and labels keep the look tidy even when the bathroom is used daily. This project is purely visual from the outside because the cabinet door stays closed, but it improves day-to-day function. It also stops clutter from piling up around the plumbing lines and makes it easier to spot leaks early. The result is a bathroom that stays photo-ready with less effort.
Measure the cabinet base and the height under the sink plumbing, then buy bins that fit without blocking the P-trap. Group items by category: daily toiletries, backups, and cleaning tools. Add labels on the bin front and place heavier items on the bottom; keep sprays in a separate bin with a small towel inside for drips.
Use a small roll-up mat or liner under the bins so any spill wipes quickly.
Don’t cram tall bottles — they fall out and make the cabinet look chaotic.
23. Accent wall with peel-and-stick 3D geometric panels
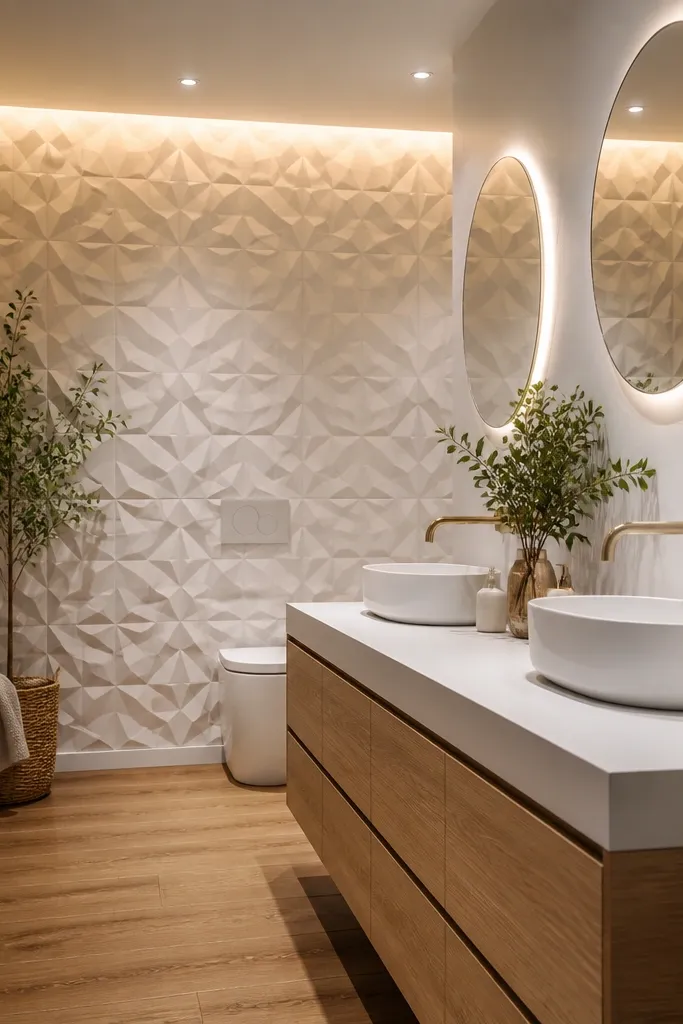
A single textured accent wall adds depth that looks expensive in photos because shadows create dimension. Peel-and-stick 3D geometric panels in matte white, soft gray, or pale greige keep the room light while still giving you a wow moment. Place it behind the vanity or the open wall opposite the mirror so it catches light at the right angle. This works best when your other walls stay plain to avoid visual overload. The texture also helps hide tiny imperfections on the wall.
Editor's noteTurn on the bathroom lights during install and check for glare lines — matte textures hide them better.
Clean the wall and ensure it’s smooth; remove loose paint and fill dents. Plan the panel layout so the first row is level and ends at the center of a stud or a corner. Apply panels in small sections, press firmly along edges, and cut around outlets or light switches with a sharp blade.
Skip thisDon’t cover a crooked wall — textured panels highlight every bump.
24. Window sill refresh with a simple wood ledge and paint
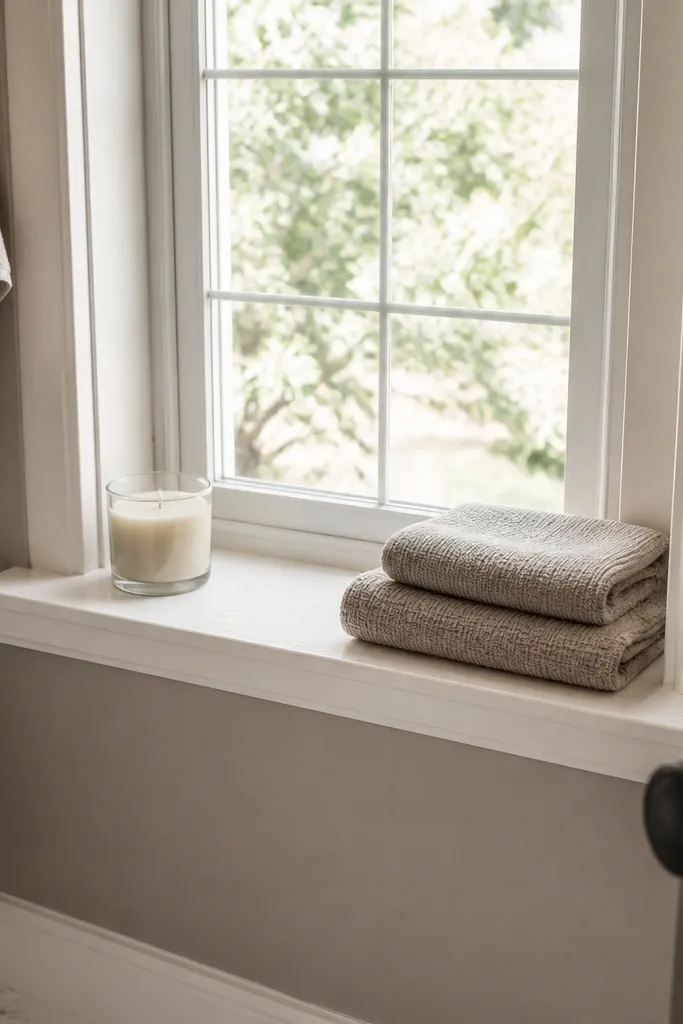
If you have a window, the sill is prime real estate in a small bathroom. A painted sill or a small wood ledge makes the space look cared-for and gives you a place for a candle jar, folded hand towels, or a small plant. Choose paint that matches the wall trim for a seamless look, and use a water-resistant finish on any wood. This is a good project when you want a photogenic upgrade without touching plumbing or tile. It also improves airflow habits because you’ll see the window area more often.
Editor's noteUse a small tray for decor so water rings don’t stain paint.
Clean and lightly sand the sill, then prime with a bonding primer if the surface is glossy. Paint in semi-gloss to resist splashes, and seal wood with a water-resistant topcoat. Add a small ledge board if you need more display space, then mount with screws into studs or use rated brackets.
Skip thisDon’t put unsealed wood directly under heavy moisture — it will warp.
25. DIY towel ladder with a painted finish
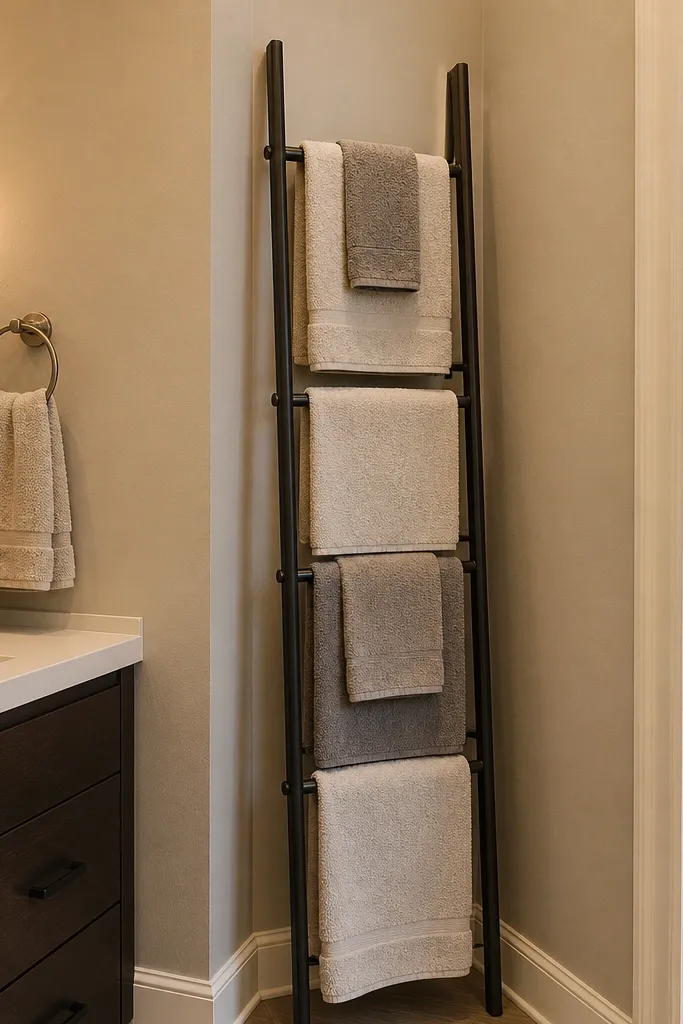
A towel ladder turns bathroom storage into decor, and it’s perfect for tight spaces where a full cabinet feels bulky. Painted wood or metal ladders look clean when the finish matches your hardware color. It also creates vertical lines that make the room feel taller. Keep towels folded in one consistent direction so the ladder looks styled, not cluttered. This is a good choice for bathrooms with limited wall space for more shelves. It’s also easy to move if you change your layout.
Pick a ladder size that fits beside the vanity without blocking the door swing, then sand and prime if it’s raw wood. Paint with a satin finish and let it cure before hanging towels. Place it against a wall on a stable surface, and secure the ladder if it feels top-heavy using an anti-tip strap.
Use matching towel colors in two tones max so the ladder looks intentional.
Don’t hang wet towels directly — they sag and make the arrangement look messy.
26. Matte black showerhead and control trim swap
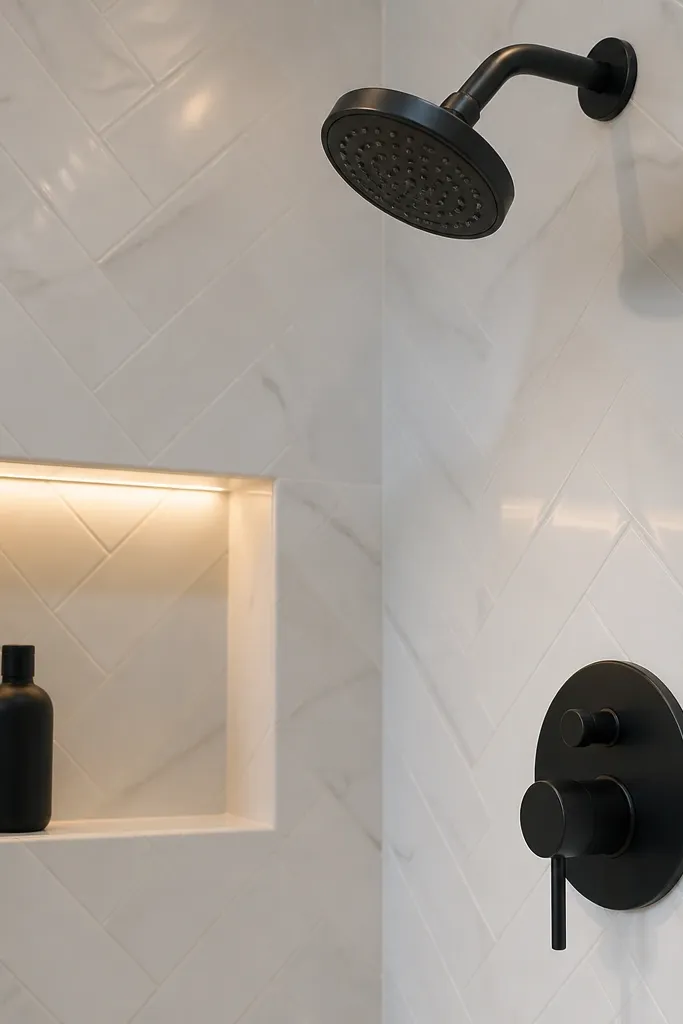
Changing the showerhead and trim hardware is one of the quickest ways to make a dated shower look modern. Matte black contrasts beautifully with white tile and helps the shower area read crisp, especially in small bathrooms. Choose a showerhead with a finish that resists hard-water spots so it stays photogenic. This project is best when you already have accessible plumbing and you’re comfortable with basic tool work. The look is clean and high-contrast without adding bulk.
Shut off the water supply, then remove the old showerhead and trim using a wrench and plumber’s tape. Install the new showerhead, ensuring the connection is tight but not over-strained. Turn water back on and check for leaks at the arm and handle, then wipe the finish dry to prevent spotting.
Wrap threads with plumber’s tape in the direction of the threads so it seats cleanly.
Don’t reuse old gaskets — they cause slow leaks and messy water trails.
27. Backlit mirror look with a simple LED strip behind a regular mirror
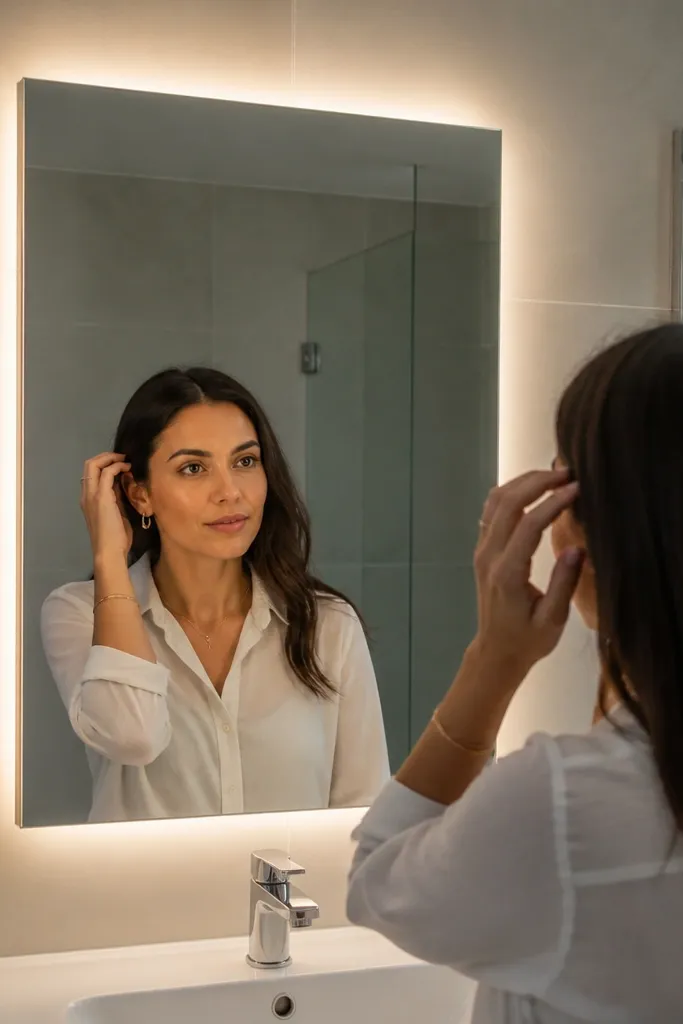
A backlit mirror effect makes small bathrooms look higher-end because it creates even light across your face and reduces harsh shadows. You can get that glow using an LED strip hidden behind a regular mirror frame, as long as you keep the wiring neat and the strip diffused. Warm white looks flattering and keeps grout and paint from looking gray. This project is best for bathrooms where you want a dramatic photo look but don’t want to replace the whole mirror with a built-in system. It’s also very noticeable at night.
Editor's noteUse a dimmer if your power supply supports it — you’ll control the glow for photos and real life.
Pick a warm-white LED strip with a diffuser and a power supply rated for wet areas if any splash risk exists. Mount the strip behind the mirror frame using clips or adhesive designed for LEDs, leaving slack for removal. Route the wire to a safe connection point, test before fully sealing, then close the back cover and secure the mirror.
Skip thisDon’t expose wiring — keep all connections behind the mirror backing.
28. Shower niche refresh with paint and a small shelf insert
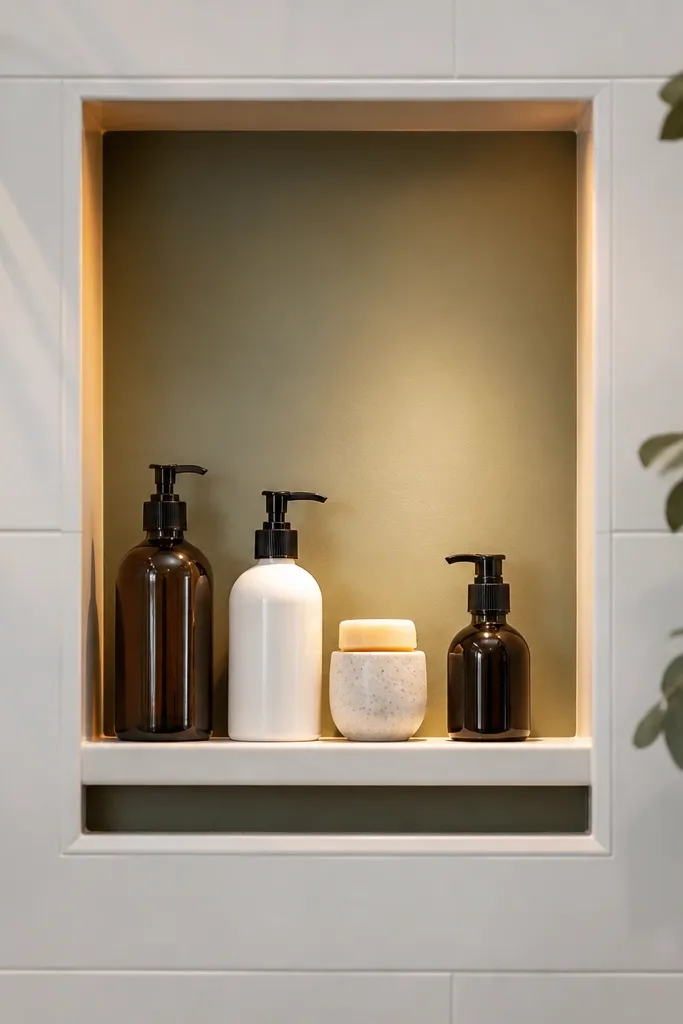
If your shower has a recessed niche, it’s a natural styling spot that also fixes clutter. Painting the niche back a clean color and adding a small shelf insert makes bottles look organized and prevents the “random products” look. Choose a bathroom-rated paint or a moisture-safe coating made for wet areas. This is a smart budget move because it upgrades one small surface that’s always in the frame when you use the shower. The niche also improves daily function by keeping items off the shower floor.
Editor's noteDry the niche with a fan before painting — humidity ruins adhesion faster than people think.
Clean the niche thoroughly and sand lightly for adhesion, then apply a moisture-safe primer and two coats of bathroom-rated paint. If your niche is shallow, add a small rust-resistant shelf insert and secure it with screws or rated adhesive. Arrange bottles by height so labels face outward and nothing blocks the drain area.
Skip thisDon’t paint over chalky old coatings — it peels and looks messy quickly.
29. Matte ceramic-look tub surround peel-and-stick panels
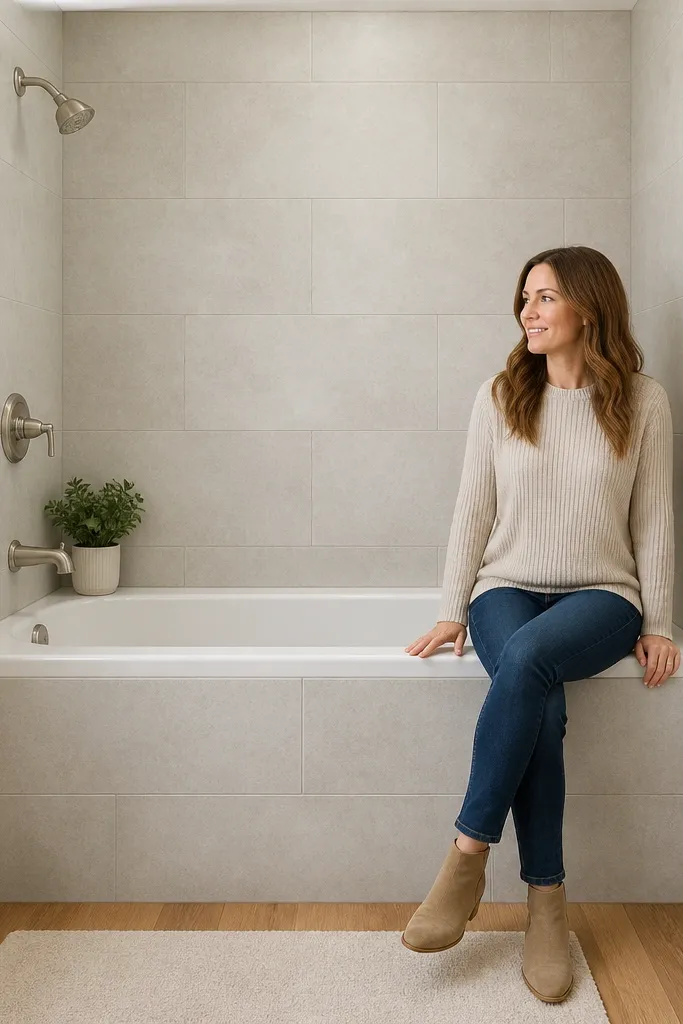
Ceramic-look peel-and-stick panels give you the tile look without the mess of grout and mortar. Matte finishes hide scuffs and fingerprints better than shiny tile, which matters in bathrooms where you touch everything. This project is great when your tub surround looks dated but you don’t want to remove it. The look is clean and modern, and it photographs well because the pattern is consistent. Keep your grout lines subtle and choose a color that matches your floors or hardware.
Clean the tub surround and remove any loose caulk, then let it dry. Measure panel sections and start with the main flat wall pieces so edges meet neatly at corners. Apply panels carefully, smooth from the center outward, and seal seams with clear silicone where water could reach.
Use a sharp blade and change it often — dull blades tear the edges and cause uneven seams.
Don’t stretch panels to fit — it warps the pattern and makes gaps show.
30. Small bathroom window film for privacy and soft light
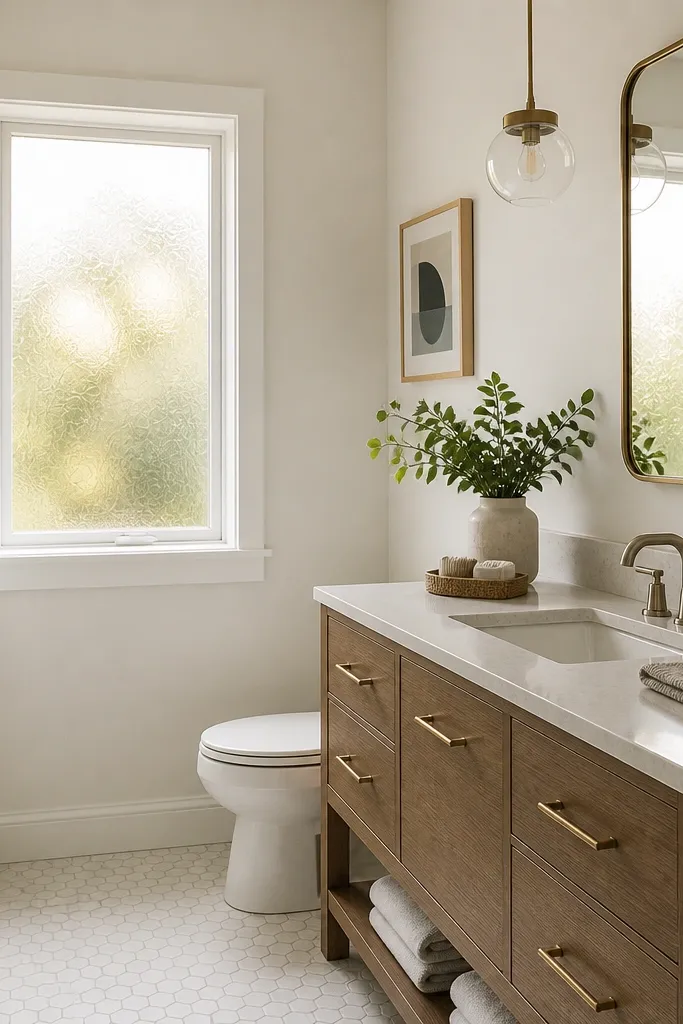
Window film is a budget upgrade that fixes two problems at once: privacy and harsh glare. Frosted or subtle geometric films make the bathroom look cleaner and more spa-like because the outside view becomes a soft blur. It also helps with lighting consistency during the day, so your walls look less gray. Choose a film that blocks visibility but still lets light in — that’s what keeps the room bright. This is ideal for bathrooms with a window facing a neighbor or street.
Editor's noteApply in a cool room and avoid direct sun so the film doesn’t dry before you smooth it.
Clean the glass with glass cleaner and wipe dry. Cut film to size with a little extra, spray the adhesive side with the recommended application solution, and position it smoothly. Squeegee outward to remove bubbles, then trim edges with a sharp blade.
Skip thisDon’t rush trimming — cut after the film is fully squeegeed flat.



