
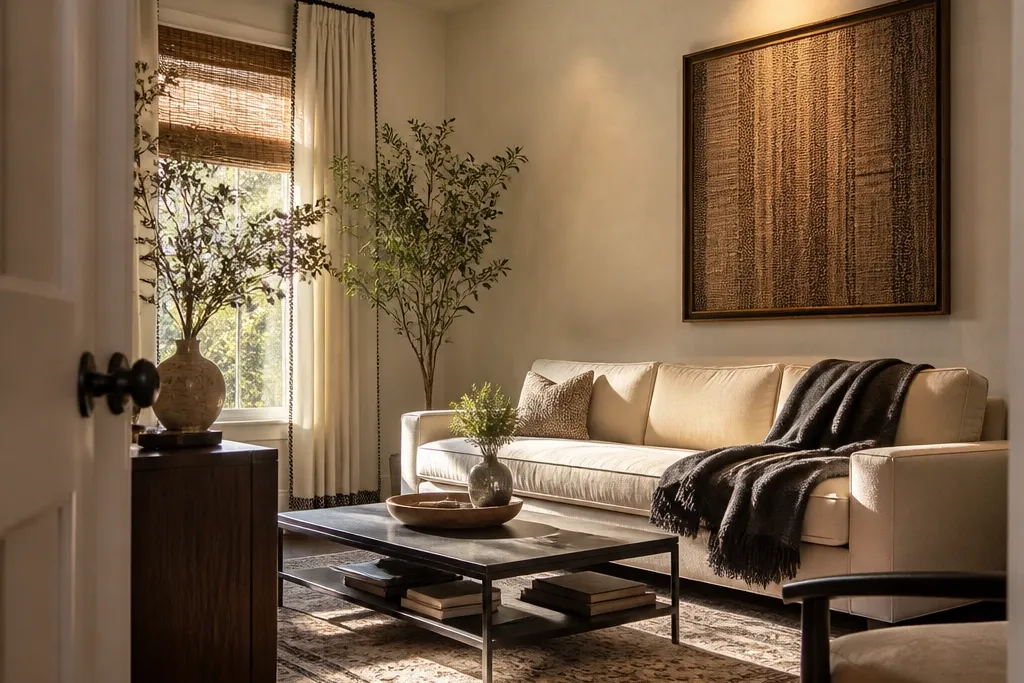
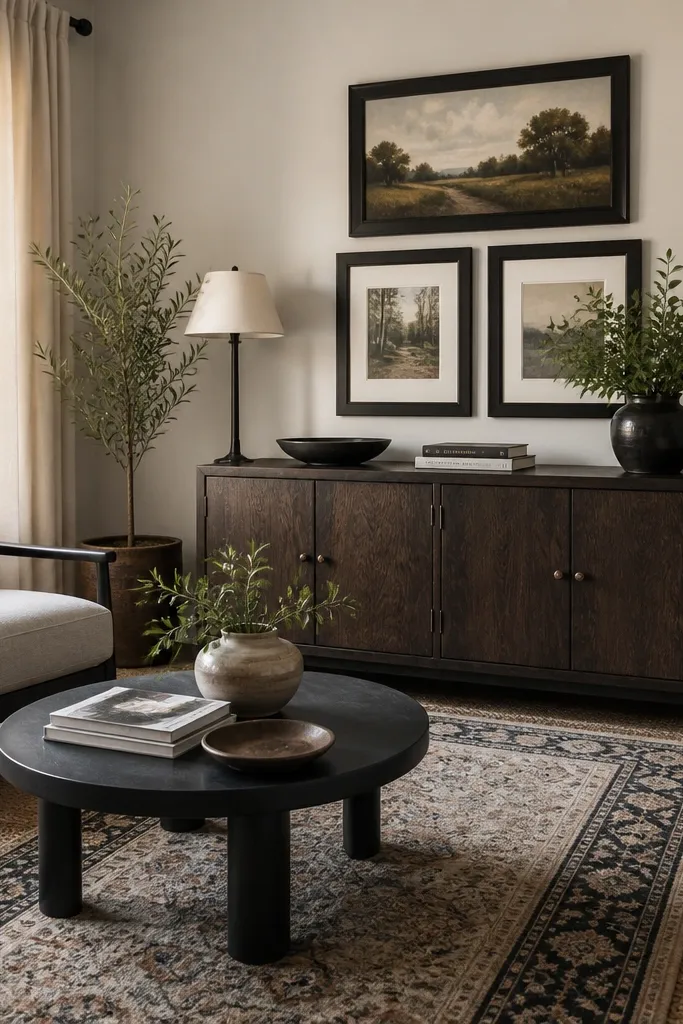
1. Limewash-look wall panel in warm white with a soft taupe undertone
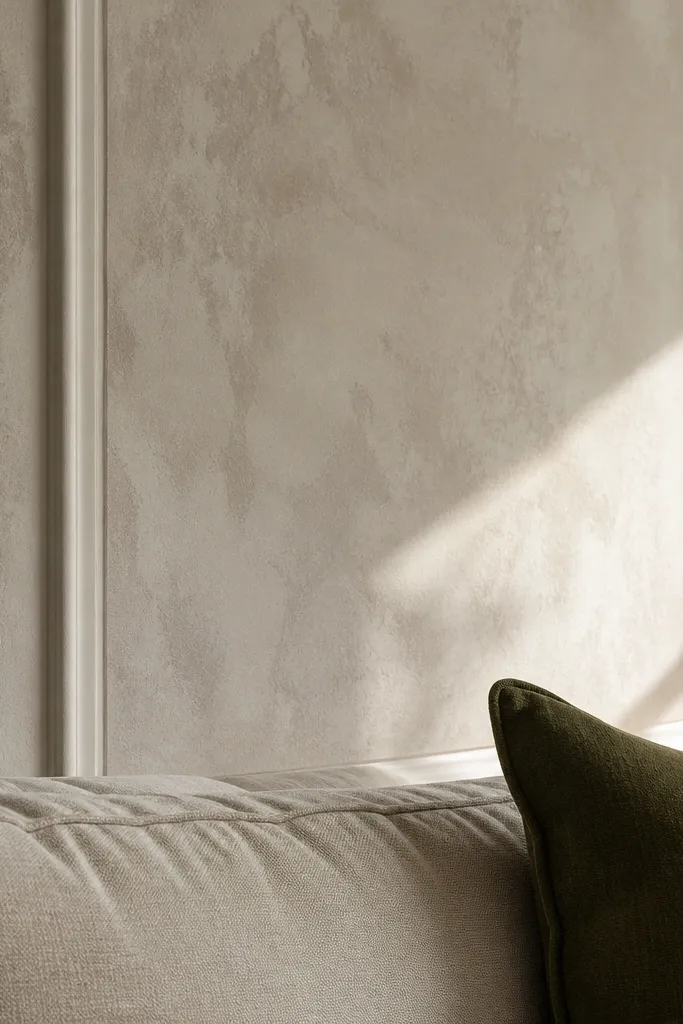
A limewash-look wall reads cozy and high-end because it has uneven, natural-looking variation that catches light differently across the day. You don’t need to repaint the whole room to get the effect either — one wall behind the sofa is enough to make the drawing room feel styled. Use a warm white base with a hint of taupe so the room doesn’t go icy. This works best when your furniture has medium woods or warm metals, because the undertone keeps everything from looking mismatched. Skill level is beginner-friendly if you follow the dry-brush pattern and don’t overwork the surface.
Step 1: Patch and sand the wall smooth, then wipe with a damp cloth and let it dry fully. Prime with a stain-blocking primer if the wall has dark marks. Step 2: Roll on a warm white base coat and let it dry. Step 3: Mix tinted paint to a light taupe undertone, then apply with a wide brush and dry-brush lightly in random directions; stop when you like the cloudiness and let it cure before adding decor.
Editor's noteWork in 3-4 foot sections so the texture edge doesn’t harden into lines.
Skip thisDon’t use glossy paint — it kills the cloudy, soft look.
2. Peel-and-stick panel wall behind the sofa in a simple vertical stripe pattern
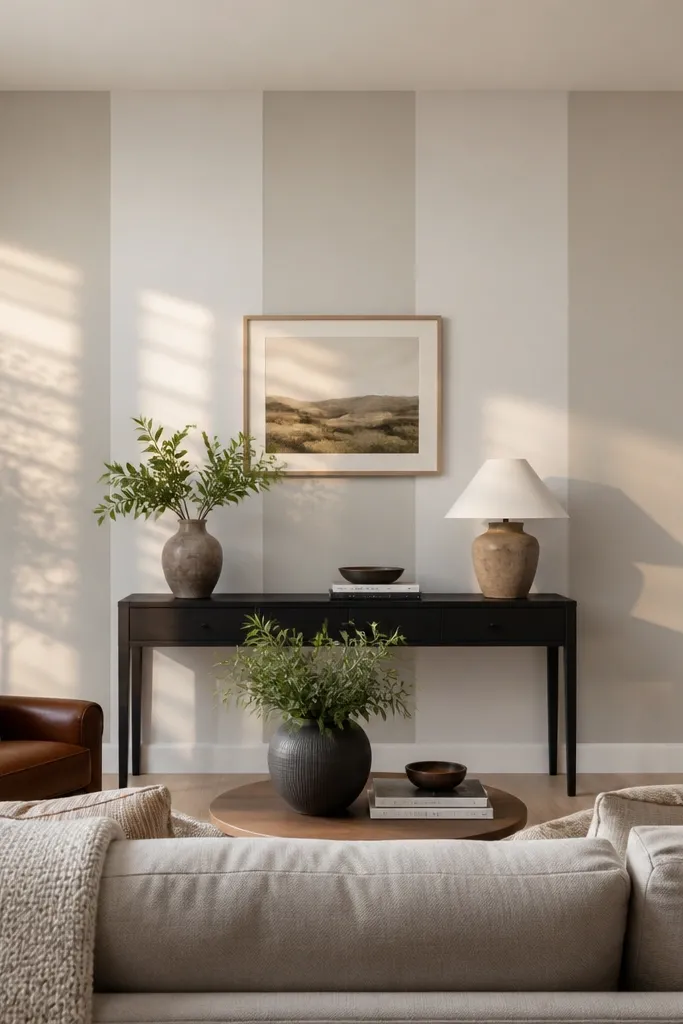
Vertical stripes make a drawing room look taller and more structured without changing your furniture. Peel-and-stick wall panels are a fast way to add architectural lines that photograph well, especially when you place them behind the sofa or console. Choose a matte finish and a light neutral so it doesn’t fight your curtains or rug. This is ideal when you want budget-friendly drawing room interior ideas that look designed but you’re nervous about big paint commitments. The result is crisp and clean, and it pairs beautifully with simple art frames.
Step 1: Measure the wall width and mark a center line. Dry-fit panels starting at the center so you end with neat partial panels on the edges. Step 2: Clean the wall with a degreaser wipe, then apply panels from the center outward, pressing with a plastic smoothing tool to avoid bubbles. Step 3: Use a utility knife to trim at baseboards and outlets, then seal the edges only if the panel system recommends it.
Editor's noteUse a laser level or a long spirit level — crooked stripes show up in photos immediately.
Skip thisDon’t install over dusty paint — the edges lift.
3. DIY picture ledge with a floating oak shelf and staggered art grid
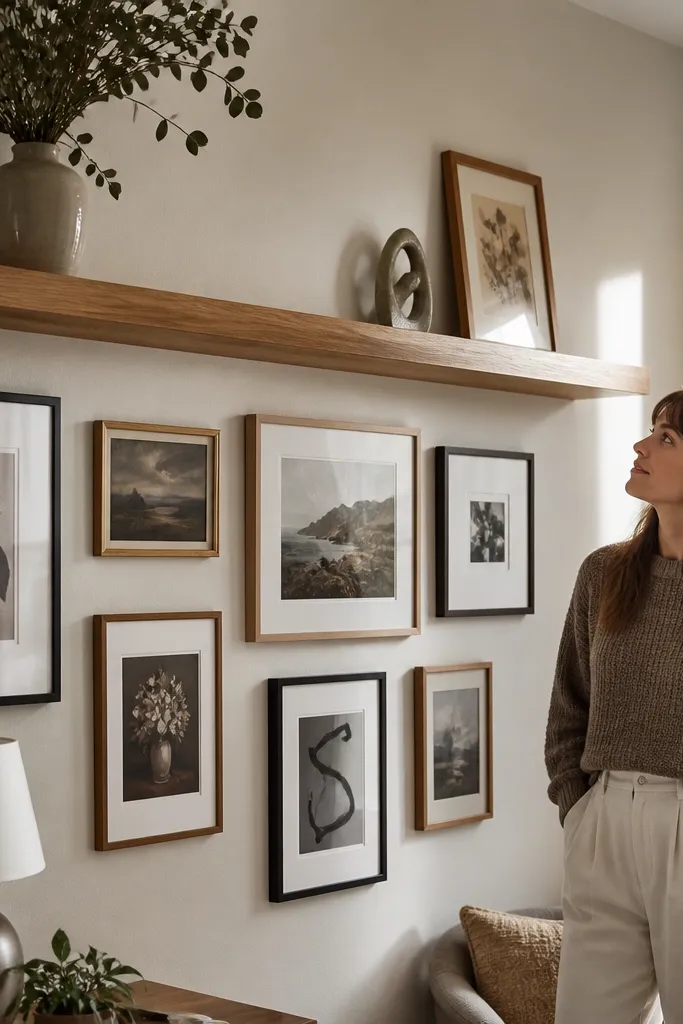
A picture ledge gives you an instant gallery wall that looks intentional even when you swap art later. You get clean lines, plus the shelf edge creates a highlight that reads “designed” in daylight. This works especially well in drawing rooms where you want a focal point without drilling a full grid of frames. Use it behind a sofa, at a side wall near seating, or above a console. The shelf also makes styling easier because you can group frames, candles, and small objects with consistent spacing.
Step 1: Pick shelf depth around 5 inches so frames sit flush without looking cramped; cut two end brackets and a shelf board from a 1x6 or 2x6 depending on your design. Pre-drill holes and use wood screws into studs or use proper anchors rated for the shelf load. Step 2: Paint or stain the shelf — matte is best for glare control — then mount at a height where the top frame sits around eye level. Step 3: Arrange frames in a staggered grid on top, keeping 1-2 inches between frames for a clean look.
Lay frames on the floor first and measure spacing with painter’s tape before you mount anything.
Skip heavy decoration on the shelf — too much weight makes the ledge look saggy.
4. 3D wall trim grid in warm white for a modern panel look
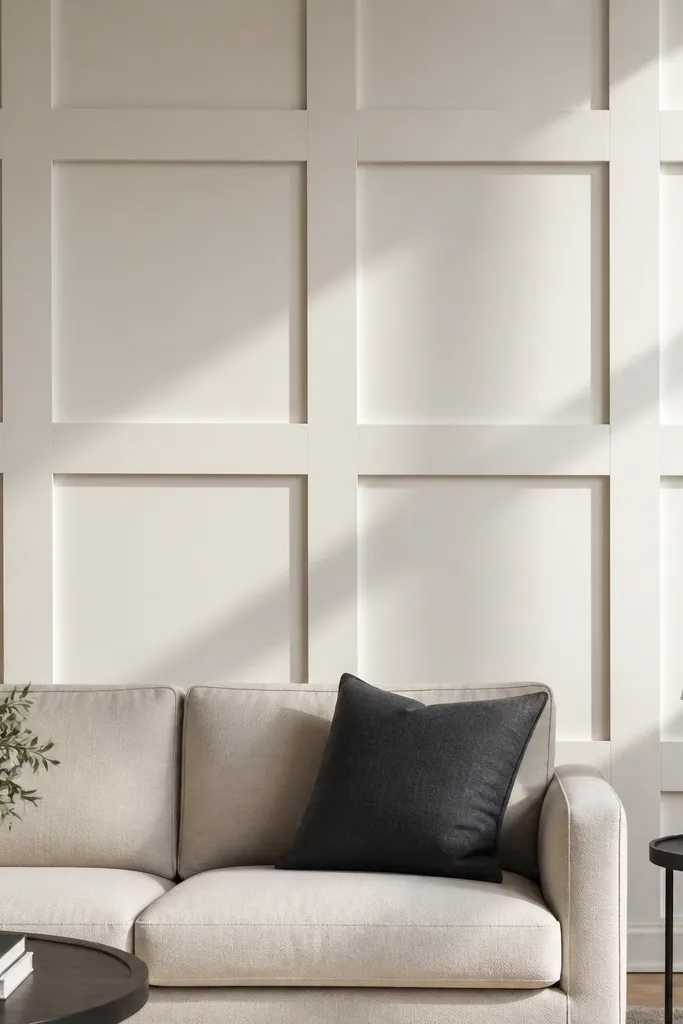
A simple trim grid adds depth through shadow, which is what makes rooms look expensive in photos. The beauty here is that you can keep it monochrome — warm white trim on a warm white wall — and still get visible dimension. This is a great budget-friendly drawing room interior idea when you want structure without busy wallpaper. It looks best behind the sofa or on the wall that faces the doorway so the grid catches light. Skill level is intermediate because you’re cutting and aligning, but the materials are straightforward.
Step 1: Mark a grid with painter’s tape using a consistent spacing like 12x12 inches or 16x16 inches depending on wall size. Cut trim strips and dry-fit to confirm straight lines. Step 2: Apply construction adhesive to the back of trim and nail lightly in place with a finish nailer or small brads. Step 3: Fill nail holes with wood filler, sand, and paint everything in the same warm white for a uniform look.
Editor's noteUse a speed square and check every strip against the tape line — small drift ruins symmetry.
Skip thisDon’t use thin baseboard trim — it looks too wimpy for the shadow effect.
5. Oversized framed fabric art in a deep accent color
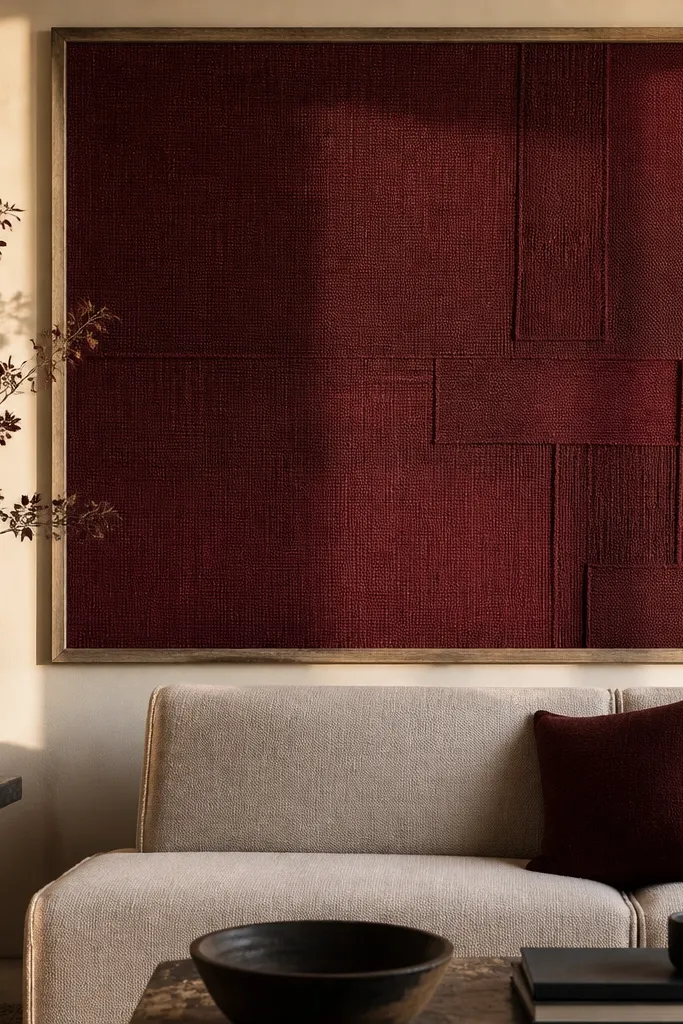
Fabric art is one of the easiest ways to add color drama without complicated painting. A large frame with textured fabric makes your drawing room feel styled because it creates a bold block of color where your eye already lands. Choose a deep accent like deep green, navy, or oxblood and pair with neutral walls and warm wood. This is budget-friendly because you can use remnant fabric or a single yard of upholstery-weight cloth. It also works when your room already has prints — the fabric gives a calmer, richer surface.
Step 1: Buy a simple frame or build one from 1x2 wood; choose frame size so it covers at least 60% of the width of the wall space you have. Stretch fabric over a foam board or thin plywood backing, then staple on the back. Step 2: Seal the edges so they don’t fray and keep corners tight — pull evenly to avoid wrinkles. Step 3: Mount using two picture hooks or a French cleat for a level hang.
Editor's notePick fabric with a visible weave — it photographs better than flat cotton.
Skip thisDon’t choose thin, shiny fabric — it looks cheap under angled light.
6. Curtain upgrade with a bold tieback and a floor-length hem
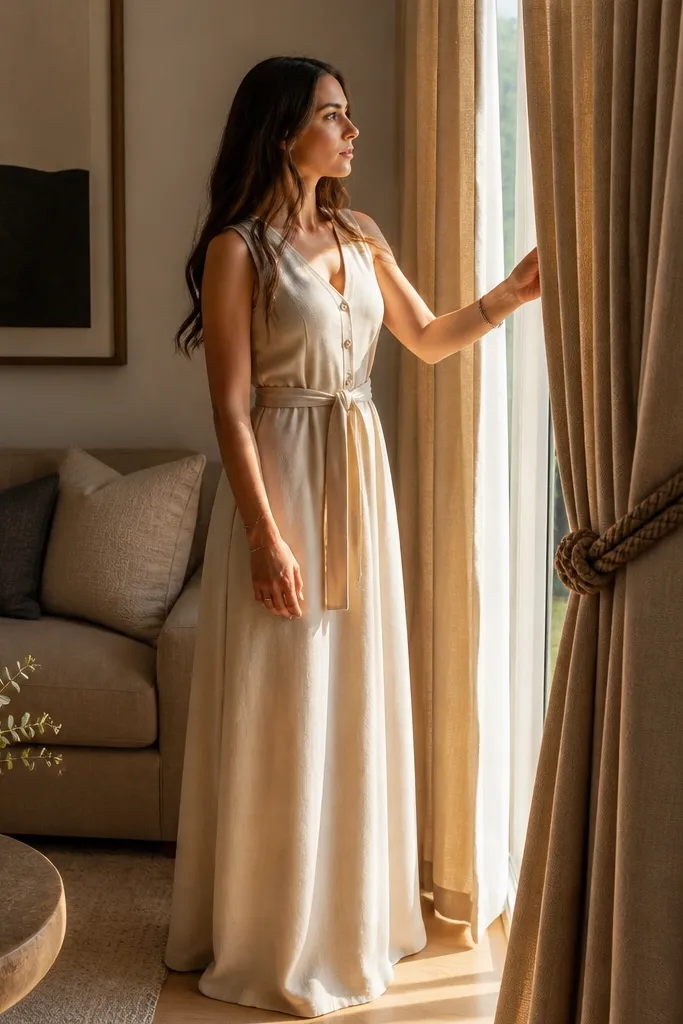
Curtains change a drawing room faster than almost any DIY because they control light and soften the room’s edges. A floor-length hem makes the room feel taller and more finished, and a tieback adds a designed silhouette when the curtains are open. Choose a heavier fabric like linen blend or cotton twill so the folds hold their shape. This idea is photogenic because the drape creates texture and shadow. It’s also budget-friendly if you buy one extra panel and adjust the length yourself.
Step 1: Measure from the floor to your desired rod height, then add 2-3 inches for a clean puddle-free hem. If you’re using tiebacks, decide where the curtain should gather — usually 1/3 from the side. Step 2: Hem the bottom with a straight stitch and press hard for crisp folds. Step 3: Install a rod at the highest practical height (closer to ceiling) and add tiebacks so the curtains look styled even when you’re not actively arranging them.
Press seams with steam before you hang — it makes the curtain fall correctly the first time.
Don’t hang the rod too low — short curtains ruin the whole look.
7. Rug layering with a border rug on top and a plain neutral base
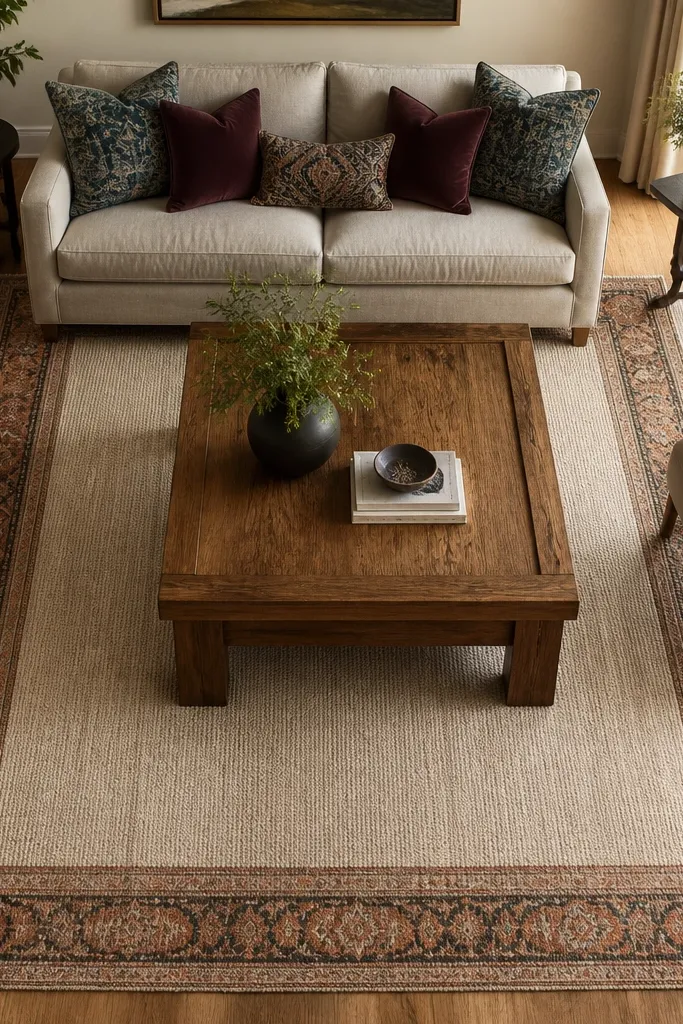
Layering rugs creates depth and makes the drawing room feel curated without buying a single expensive rug. Use a plain base rug to anchor and reduce noise, then add a border rug on top for the “framed” look. This is a strong budget-friendly drawing room interior idea when your main rug is too small or too plain. The layered edges also help define seating areas for open-plan rooms. Choose colors with a shared undertone — warm beige base with a cream-and-espresso border works cleanly.
Step 1: Lay the base rug first and align it so the front legs of your sofa sit on it. Step 2: Center the border rug on top, leaving an even edge all around — aim for 6-10 inches of visible base. Step 3: Use rug grippers or a thin anti-slip pad between layers so the top rug doesn’t slide when you walk by.
Editor's noteTrim the top rug’s corners only if you’re confident — uneven corners draw attention.
Skip thisDon’t layer two busy patterns — you’ll get visual clutter.
8. Painted fireplace surround in matte charcoal with a warm plaster finish
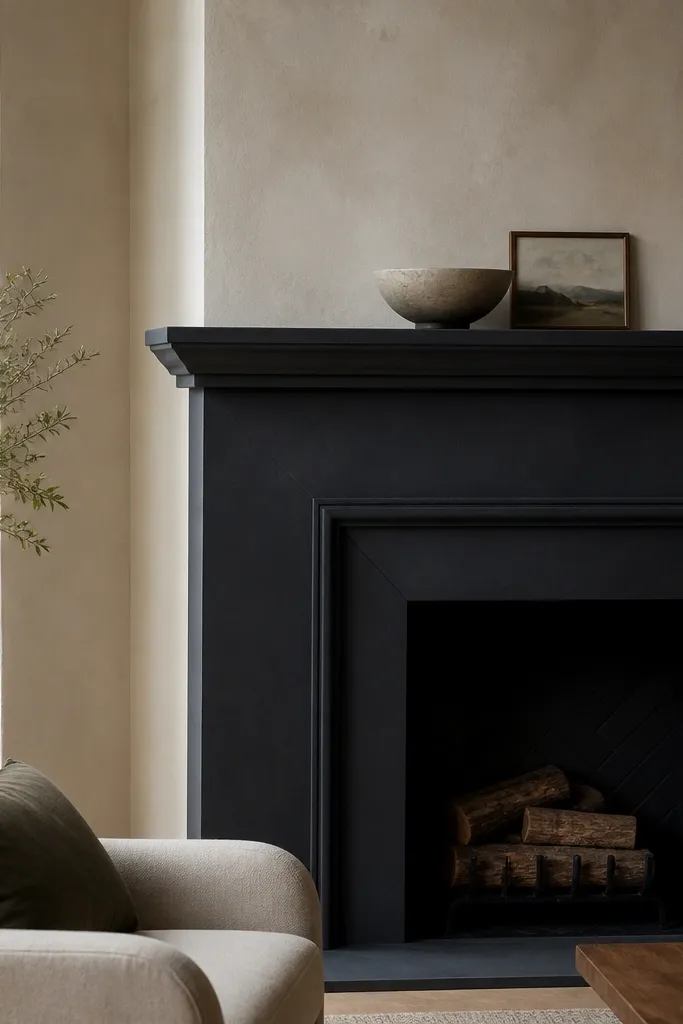
If your drawing room has a fireplace or feature surround, painting it is the fastest way to create a focal point that looks intentional. Matte charcoal adds contrast, and the warm plaster finish keeps it from looking flat or too modern. This makes the rest of the room feel cohesive because your eye has a strong anchor. It’s also budget-friendly because you’re using paint and basic supplies instead of replacing the surround. This project is best when the surface is already solid and you can prep it properly.
Step 1: Clean thoroughly, sand any rough spots, and tape off the firebox and trim edges. Prime with a heat-rated or bonding primer if the area gets direct heat. Step 2: Apply 2 coats of matte charcoal paint using a foam roller for smoother texture. Step 3: For a plaster-like look, lightly mist or dry-brush a very slightly lighter charcoal tone after the base coat is set, then seal if the product recommends it.
Use a small angled brush for corners so the finish stays crisp.
Don’t skip primer — unprimed surfaces peel and look patchy.
9. DIY gallery wall using thrifted frames in one paint color
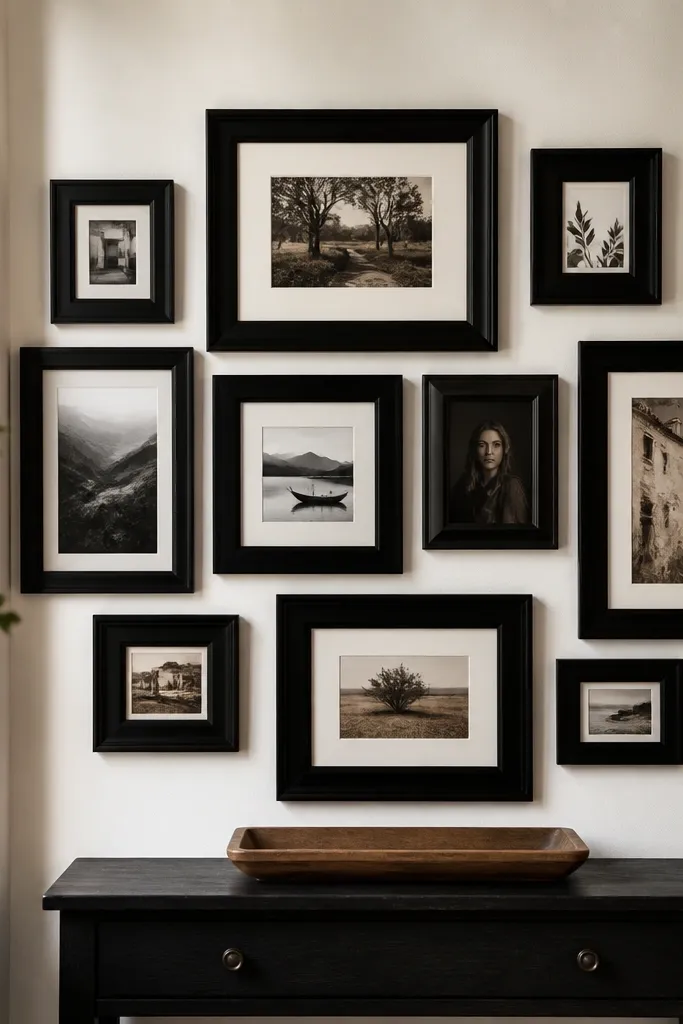
Thrifted frames are the budget-friendly base, but the real trick is painting them all one color so the wall reads as a single design. A matched frame set makes your drawing room look collected, not random. Choose a color like satin black or warm brass tone paint for a clean, modern look. This is one of the most photogenic projects because frames create strong edges that catch light. It also lets you control spacing — the difference between messy and gallery is measurement.
Step 1: Collect 8-12 frames in similar widths if possible; remove glass and backings and clean them well. Spray paint in thin coats until fully covered, then let them cure overnight. Step 2: Layout a pattern on the floor — use a tape grid to keep consistent gaps like 2-3 inches. Step 3: Transfer the layout to the wall with painter’s tape and hang using a level and wall anchors where needed.
Editor's notePick prints that share one color — even if the images vary, the wall looks calm.
Skip thisDon’t hang frames of wildly different sizes without a planned layout.
10. Wainscoting look using chair rail trim and panel molding
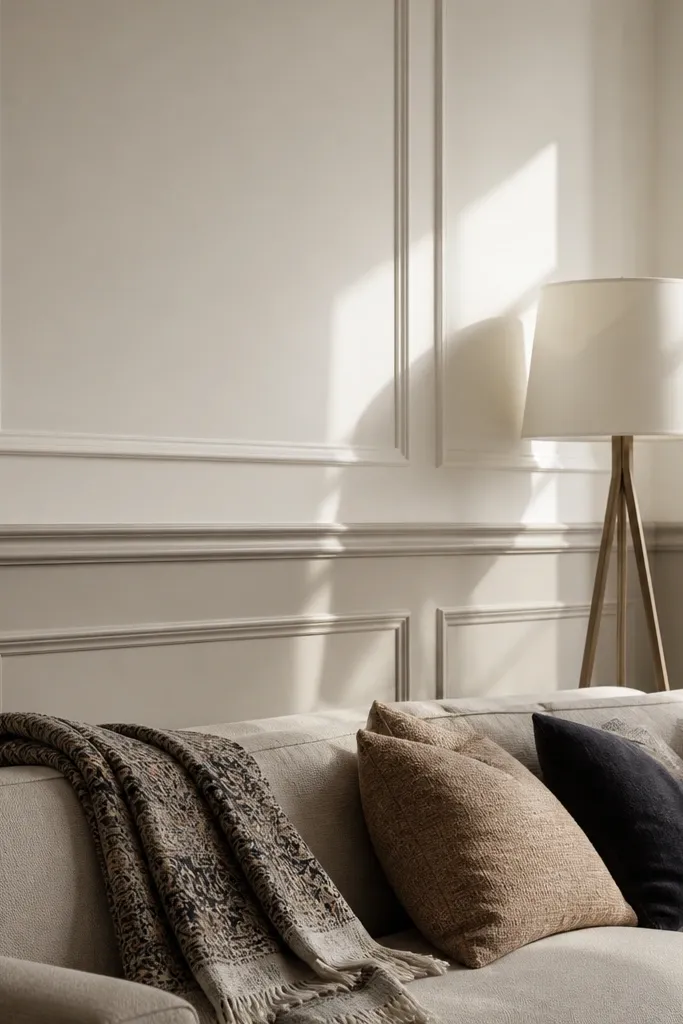
Wainscoting style makes a drawing room look more finished without buying furniture. The chair rail line creates a visual stop, and panel molding adds classic structure that photographs well. Keep the top color warm white and add a deeper lower band like greige or espresso for contrast. This works in living rooms that feel too plain or too tall, because the horizontal line breaks up the wall height. It’s more work than peel-and-stick, but still a DIY you can complete in a couple sessions.
Step 1: Measure wall height and decide the chair rail height — a common look is about 36 inches from the floor, then adjust for your sofa height. Step 2: Install chair rail trim level using a laser or long level, then add vertical panel molding between. Step 3: Prime and paint the trim and wall; tape the edges cleanly and remove tape while paint is still slightly tacky.
Editor's noteUse a caulk that matches paint color and tool it lightly — it makes the trim edge look factory-made.
Skip thisDon’t eyeball the chair rail height — the whole look depends on straightness.
11. DIY lampshade makeover with linen texture and a darker inner liner
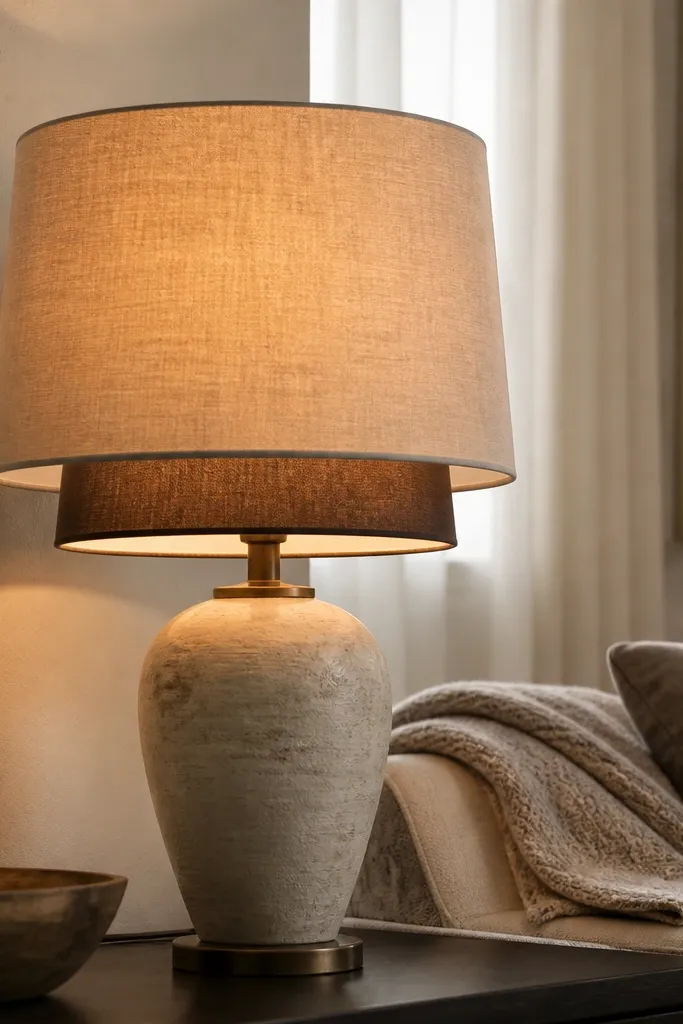
Lighting changes mood and makes every surface look better, but you don’t need new fixtures. A lampshade makeover adds texture and controls glare — especially if you use linen outside and a darker liner inside. The darker inner band makes the light warm and focused, so your drawing room looks cozy in photos. This is budget-friendly because you’re reusing the base and swapping only the shade cover. It’s also forgiving for DIY skill level as long as you keep the shade centered.
Step 1: Remove the old shade fabric and inspect the frame; tighten any loose rings. Step 2: Wrap new linen fabric around the frame, then secure with fabric glue or staples, keeping tension even so the shade doesn’t ripple. Step 3: Add a darker liner strip inside around the top and bottom edges for glare control, then reattach to the lamp base.
Use spray adhesive made for fabric so the wrap stays smooth without lumps.
Don’t use a bright white liner — it makes the room look harsh.
12. Console styling with a DIY stain-and-seal wood tray and two ceramic heights
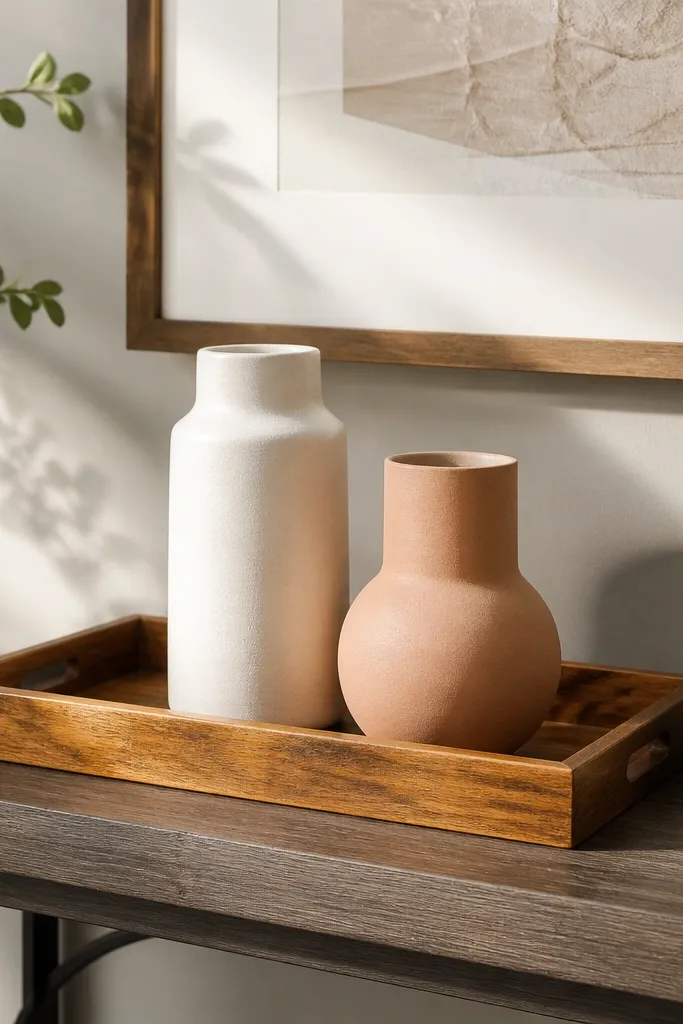
A styled console or sideboard can make the whole drawing room feel finished because it’s one of the first surfaces you see. This approach looks good because you create height variation with two ceramics and you add a grounded base with a wood tray. The tray also hides random items that clutter photos. Keep ceramics in one family of tones — cream, sand, and a deep accent like charcoal. It’s budget-friendly because you can build the tray from scrap wood and buy only two statement pieces.
Step 1: Build a simple tray from 1x6 boards cut to your console depth, then sand edges until rounded. Stain with a medium oak or walnut tone, then seal with matte polyurethane so it doesn’t shine. Step 2: Place the tray centered and add two ceramics: one tall, one shorter, with a small gap between. Step 3: Add one flat element like a small framed print or a folded linen runner behind the ceramics to create a clean backdrop.
Editor's noteKeep the tray width about 60-70% of the console width for a balanced look.
Skip thisDon’t scatter more than 3 items — it reads messy fast.
13. Stenciled mural corner using a repeating botanical line pattern in one color
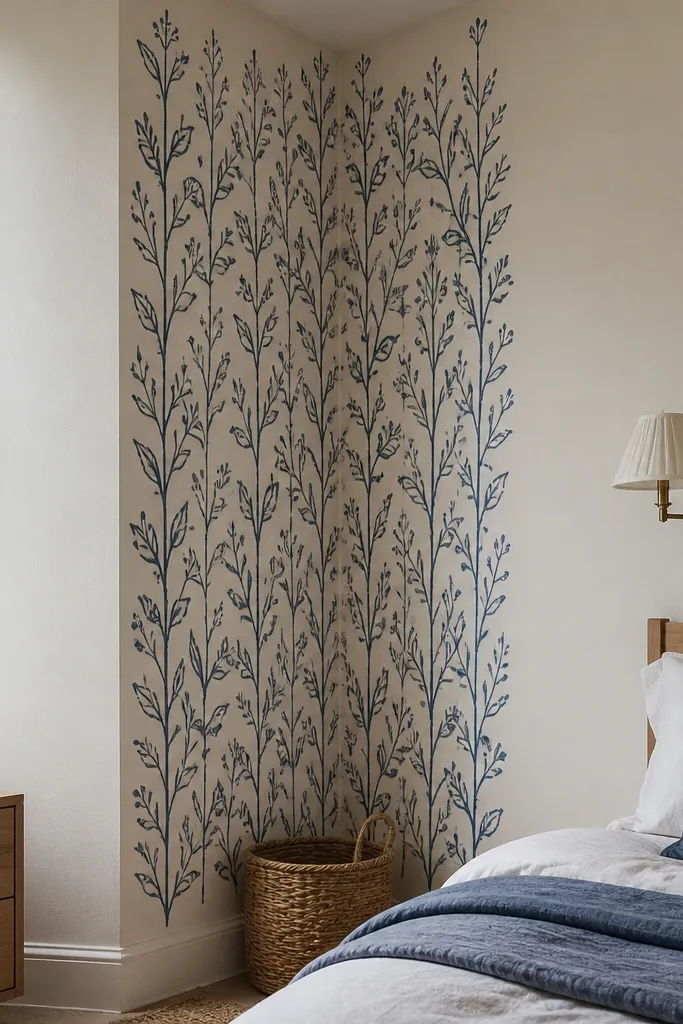
A mural corner is a smart way to add personality while staying budget-friendly. The reason it looks good is that it’s focused: one corner has pattern, and the rest of the room stays plain. Choose a single-color stencil like deep navy on warm white so it reads crisp and modern. This works when you want art-like texture but don’t want to commit to a large painting. It’s also a great DIY for people who can’t freehand — the stencil keeps the lines sharp.
Step 1: Tape paper to the wall in your corner zone and mark a repeating starting point so your pattern aligns with the corner. Step 2: Secure the stencil and dab paint with a stencil brush; reload often and keep the paint light to avoid bleeding. Step 3: Work upward in rows, letting each row dry before continuing, then peel tape carefully to keep edges clean.
Use painter’s tape to mask a 2-inch border so the mural edge looks intentional.
Don’t use thick paint — it pools and makes the pattern fuzzy.
14. DIY textured wall art using 1x2 wood slats and stretched jute
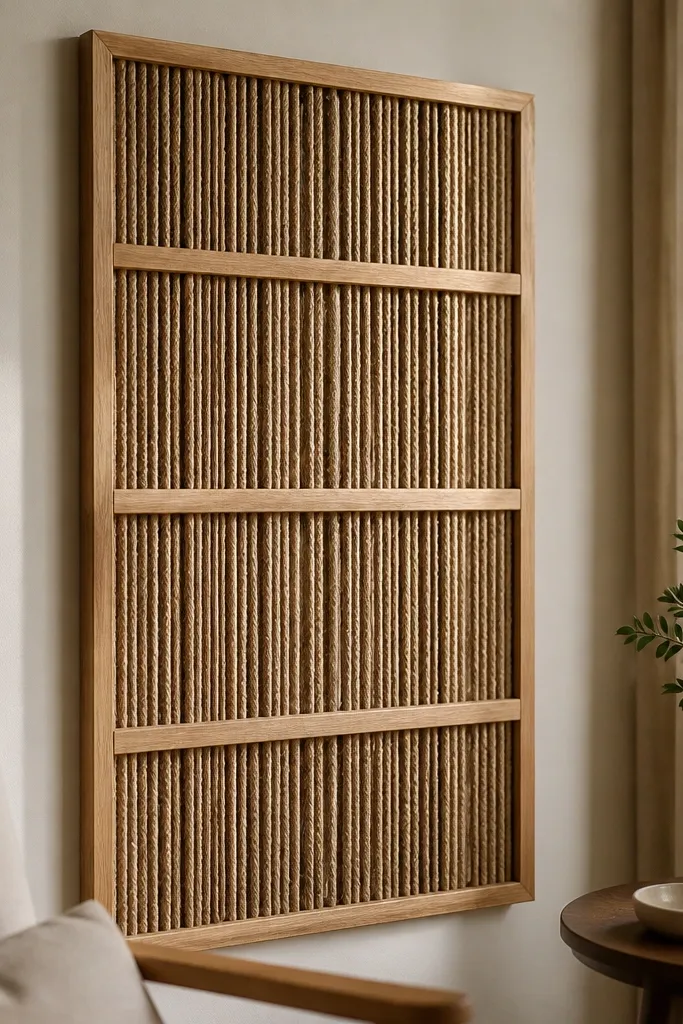
Textured wall art makes a drawing room look layered without adding more furniture. A wood slat frame with stretched jute creates a natural, tactile surface that catches light and looks great next to a sofa or chair. It’s budget-friendly because you can use inexpensive lumber and rope or jute from a craft store. This idea is also good if you have blank wall space and want something larger than small decor pieces. It reads warm and intentional, especially with neutral curtains and wood furniture.
Step 1: Build a rectangular frame using 1x2 slats, then sand and stain to a medium tone. Step 2: Stretch jute across the back like a canvas and staple on the back; then add two or three slat strips across the front for a grid effect. Step 3: Seal the wood and lightly mist the jute with a fabric stiffener so it holds shape, then mount with two wall anchors.
Pull jute tight like a drum; loose jute looks sloppy in photos.
Don’t skip sanding — rough edges snag fabric and ruin the clean finish.
15. Painted accent wall with a geometric chevron using painter's tape
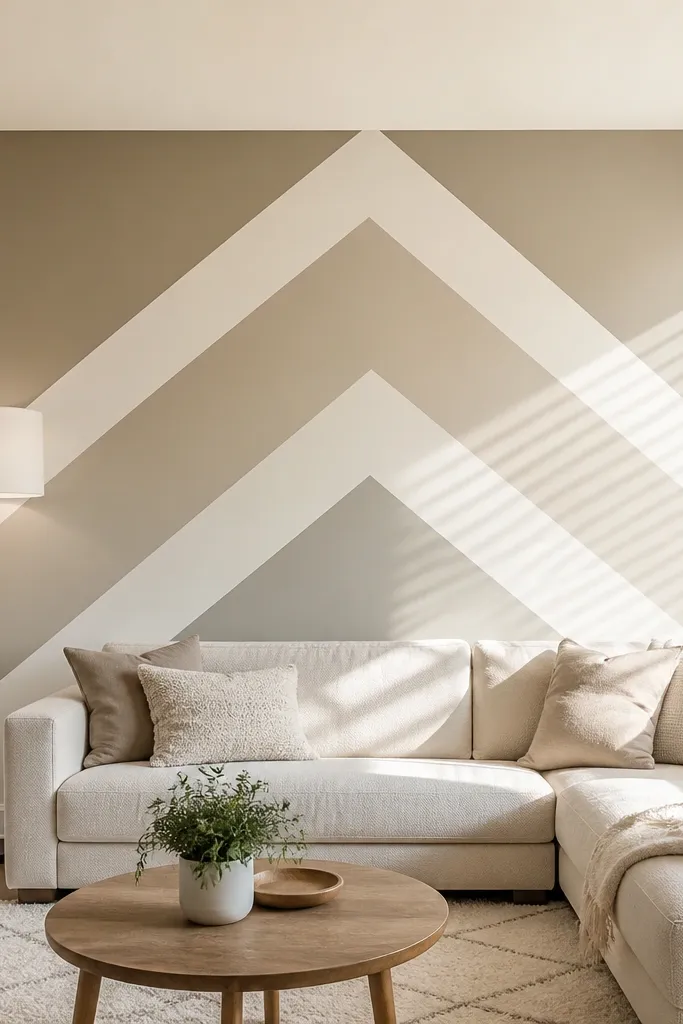
A chevron accent wall brings movement and makes the room feel more dynamic without changing your furniture. The look is clean and photogenic when your lines are sharp and the colors are muted. Choose two neutrals like warm white and greige, or warm white and charcoal. This works best in drawing rooms where you want the focal point to be the wall, not the couch. The DIY is straightforward if you commit to measuring and tape discipline, and it’s budget-friendly because you’re using paint, tape, and patience.
Step 1: Measure the wall and decide the chevron size, like 12-inch peaks. Mark a center line and create a tape guide using a level; press tape firmly along edges. Step 2: Paint the darker chevron color with a small roller for even coverage; remove tape after the paint is slightly tacky. Step 3: Touch up edges with a small angled brush and let the wall cure fully before hanging heavy items.
Editor's noteUse a fresh roll of painter’s tape and replace it mid-wall if it loses stickiness.
Skip thisDon’t paint over thick tape — it creates ridges and messy edges.
16. Chair re-upholstery look with slipcover panels and contrasting piping
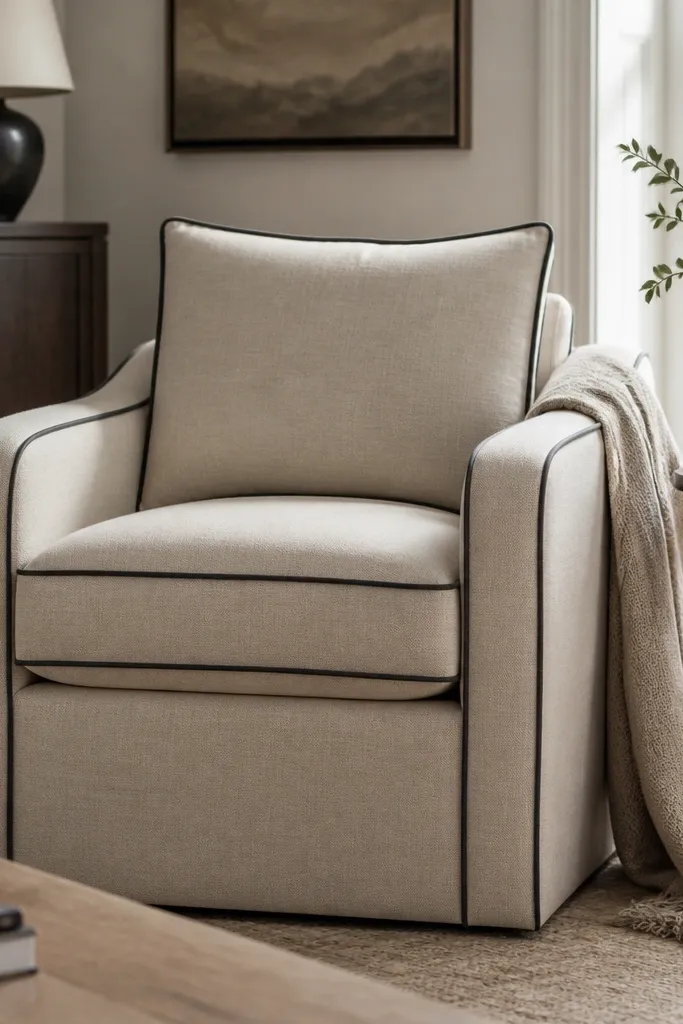
If your drawing room has chairs that look tired, a slipcover-panel look upgrades the whole seating area fast. Contrast piping makes the chair look tailored, and the clean seam lines read crisp in pictures. This is budget-friendly if you use fabric you like and sew simple panels rather than full custom upholstery. It also helps when your chairs are mismatched — the piping visually unifies them. Choose a durable cotton twill or canvas so the fabric holds shape and doesn’t sag.
Step 1: Remove the seat cushion and measure the chair front and sides; draft simple panel shapes that cover worn areas. Step 2: Cut fabric panels and add piping along edges where panels meet; sew with a zipper foot for tight seams. Step 3: Attach panels with hidden ties or hook-and-loop so you can remove for cleaning, then press and reassemble.
Press seams flat before you attach panels — it reduces puckering.
Don’t use slippery fabric — it shifts and the piping will not stay straight.
17. DIY wall-mounted mirror with a stained wood frame and slim bevel
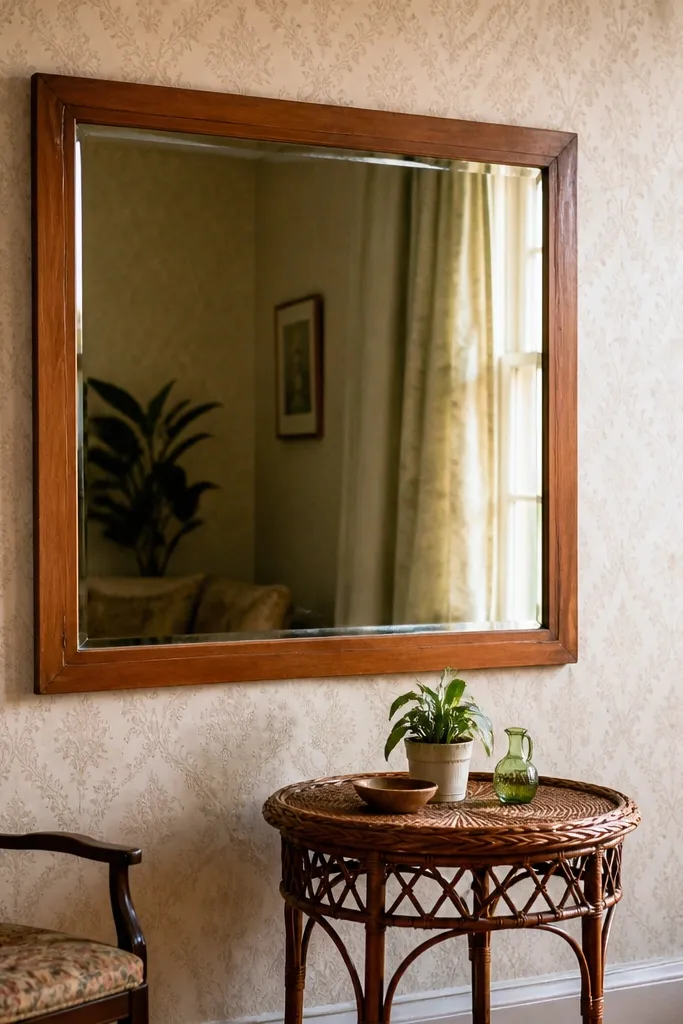
A mirror is the quickest way to make a drawing room feel brighter, but the frame is what makes it look expensive. A stained wood frame warms the space, and a slim bevel on the mirror edge catches light without looking bulky. Hang it opposite a window or across from your main light source so it bounces light into the seating area. This is budget-friendly because you can buy a simple mirror and build the frame yourself from inexpensive lumber. It also photographs well because the frame adds strong lines.
Step 1: Buy a plain mirror panel and cut frame boards with a tight miter fit; sand and stain or paint the frame. Step 2: Attach the mirror using mirror clips or a thin MDF backing so it sits flat and secure. Step 3: Mount with a French cleat or two heavy-duty wall anchors, checking level carefully.
Add felt pads between mirror and frame so it doesn’t rattle.
Don’t hang it too high — the bottom edge should land roughly 12-18 inches above the floor.
18. Curtain rod upgrade with ceiling-mount track for full-height drape
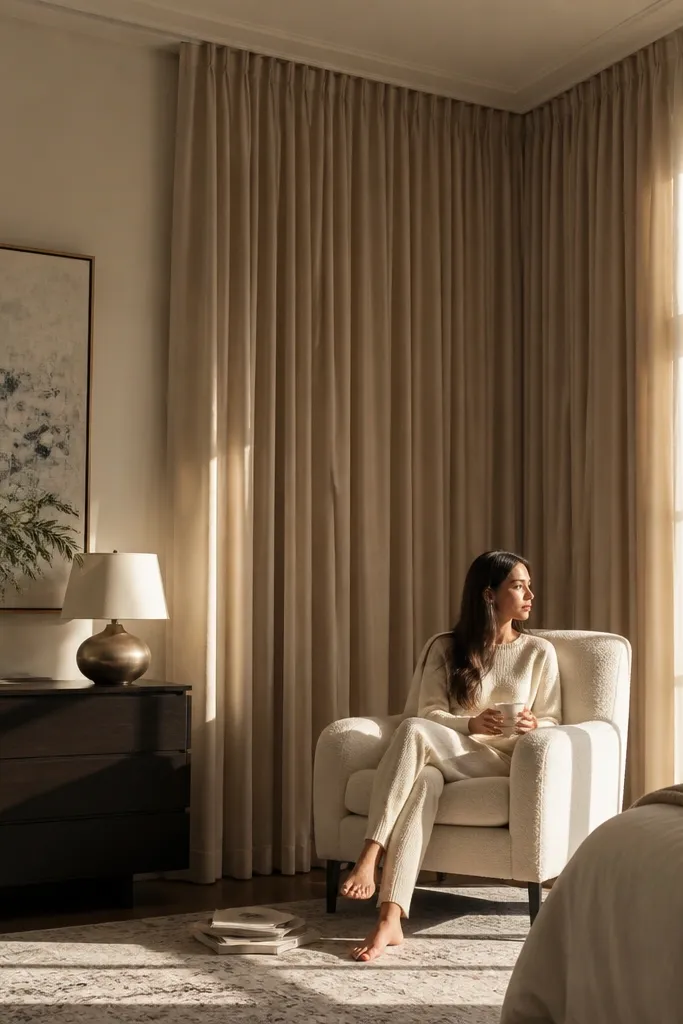
Even if your curtains are fine, a ceiling-mount rod changes everything because it lets the fabric hang from near the ceiling, not from eye level. The higher hang creates the illusion of taller walls and makes the room feel more composed. This is a budget-friendly drawing room interior idea when you want a dramatic look without replacing furniture. It’s also practical: ceiling tracks slide smoothly, which makes it easier to open curtains wide. The visual payoff is strong in photos because you get clean vertical lines.
Step 1: Find ceiling joists or use appropriate anchors rated for the track weight; mark the track centerline above your window or wall opening. Step 2: Install the track so the curtain panels clear the floor by about 1 inch after hemming. Step 3: Hang panels and adjust the hems for straight fall; add tiebacks if you want a tailored open look.
Editor's noteIf your ceiling is uneven, use shims behind the track mounts so the rail stays level.
Skip thisDon’t mount only to drywall — it pulls loose with repeated curtain movement.
19. Repurposed door slab wall art with a limewash finish and hooks
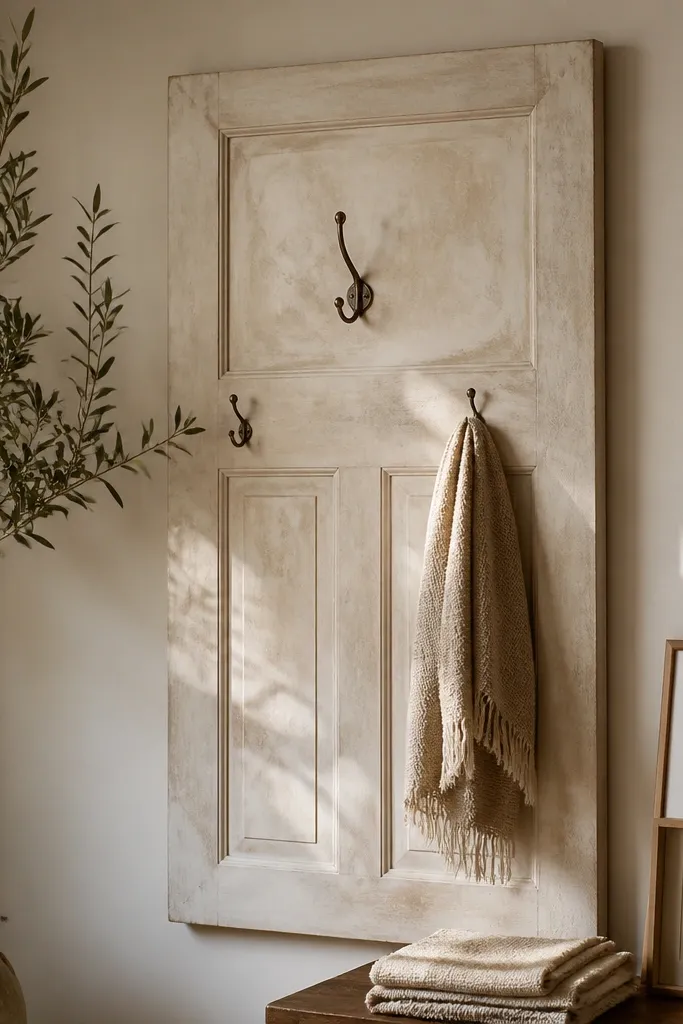
A repurposed door slab turns a boring wall into something architectural. The limewash finish keeps it soft and light-catching, and the hooks give it function without looking like a coat rack. This works in drawing rooms because the piece looks like wall decor, not storage, especially if you style it with one or two frames or small planters. It’s budget-friendly because you’re using scrap or thrifted wood and doing one finish pass. The skill level is beginner to intermediate — the main work is sanding and mounting securely.
Step 1: Sand the door slab down to remove rough splinters and old finish; fill deep dents with wood filler. Step 2: Apply a limewash-look paint using a wide brush and rag technique — wipe off excess so it stays cloudy. Step 3: Mount with two or three heavy wall brackets or into studs, then attach 2-3 hooks near the top or where you want styling space.
Seal the wood after limewash so it doesn’t mark when you touch it.
Don’t mount without checking studs — heavy slabs need real anchors.
20. Coffee table styling with a marble-look tray and a layered candle stack
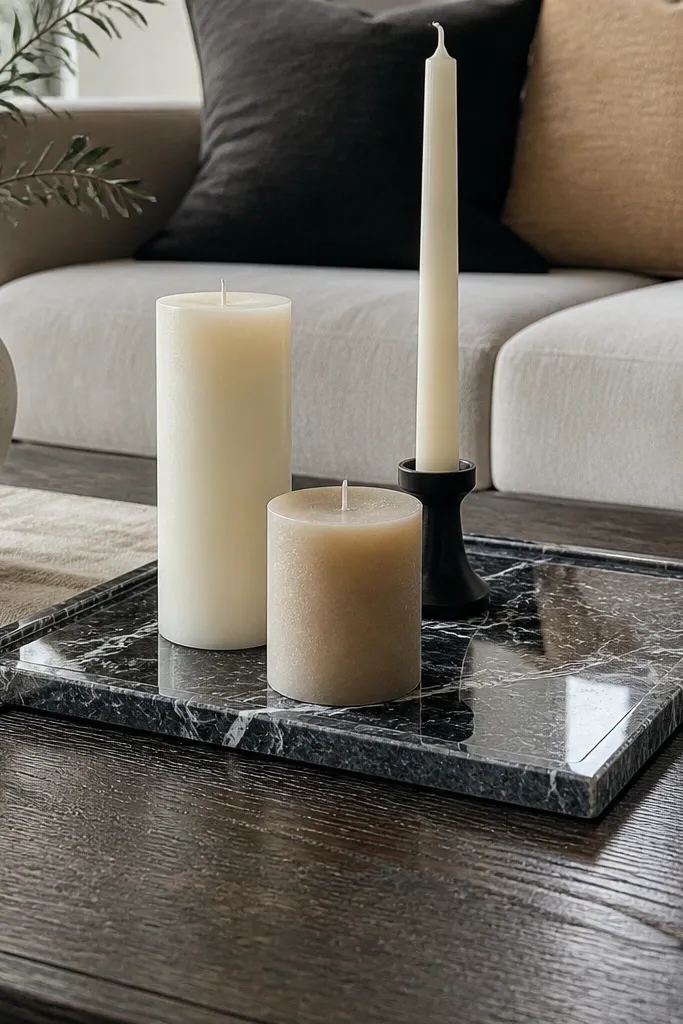
A styled coffee table makes the seating area look intentional and helps the room read “finished” from across the sofa. The key is building a small composition: one tray to unify items and a candle stack to add height. Marble-look trays photograph well because they create a bright highlight without being loud. Keep the palette simple: warm neutrals plus one deep accent candle color. This is budget-friendly because you’re mostly arranging, and trays and candles are cheaper than replacing furniture.
Step 1: Place a tray centered on the coffee table; choose a tray that takes up about 60% of the table surface. Step 2: Build height with two candles of different sizes and add one flat item like a small stack of books or a slim framed photo. Step 3: Finish with one textured element like a linen coaster or a small plant pot so the surface doesn’t look bare.
Wipe tray surfaces with glass cleaner before photos — smudges show up fast.
Don’t add more than one accent color — extra colors make it look chaotic.



