
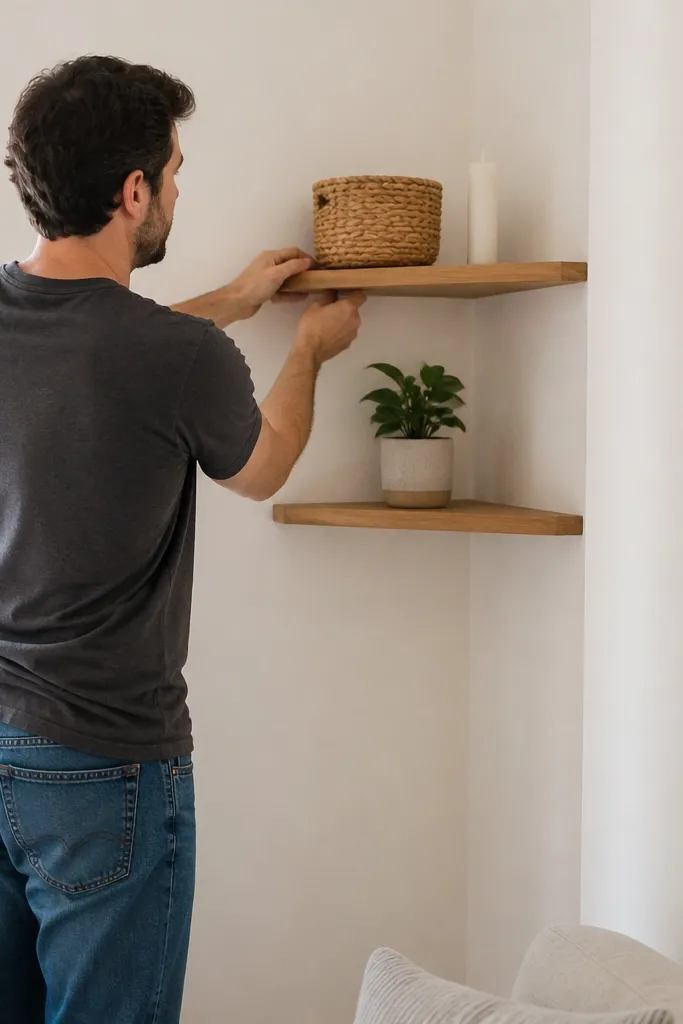
1. Painted White L-Channel Corner Ledges
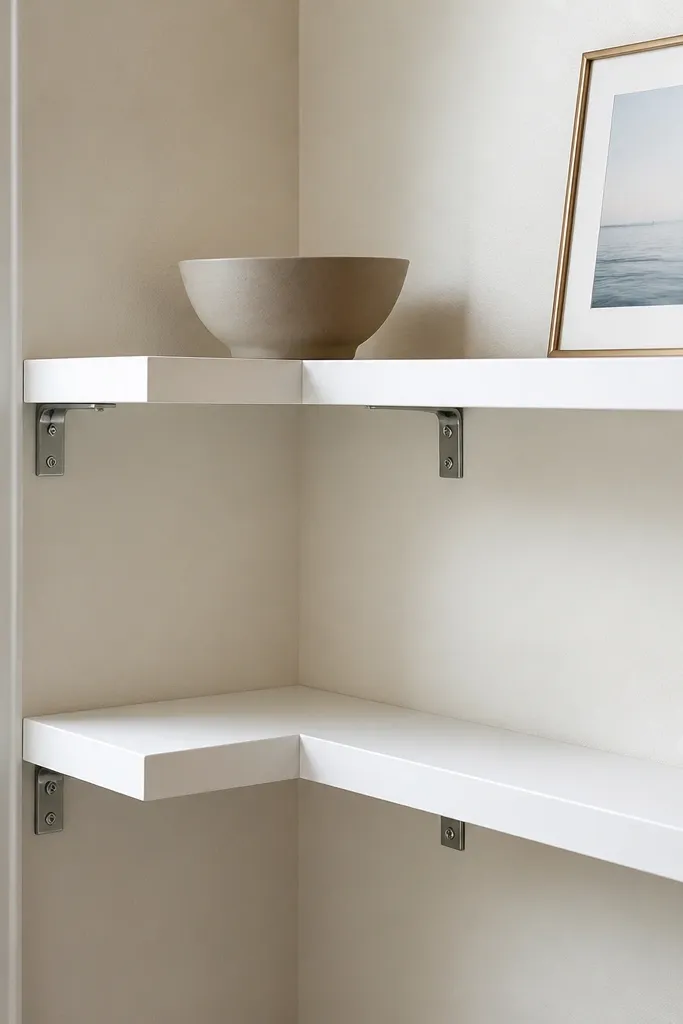
This look works because the metal hardware reads light and the shelf face stays visually simple. White shelves against a light wall make the corner disappear, so the room feels bigger without needing extra decor. Use a satin paint finish on the shelf face so it catches light softly instead of turning chalky in photos. It’s a smart choice for kitchens and small entryways where you want mugs, keys, or a couple of stacked books without clutter.
Cut shelf boards to 8-10 in depth and whatever length fits your corner. Install L-channel brackets so their inner edges sit just inside the corner line, then mark screw holes using the bracket as a template. Attach the shelf with wood screws through the shelf into the bracket, then fill screw heads and sand smooth. Paint with primer + two coats of cabinet-grade paint, and let it cure fully before loading heavy items.
Editor's noteSpray primer in thin coats; thick primer makes the shelf edge look rounded after sanding.
Skip thisDon’t mount brackets too low or your corner will look cramped from eye level.
2. Weathered Oak Corner Floating Shelf with Hidden Cleat
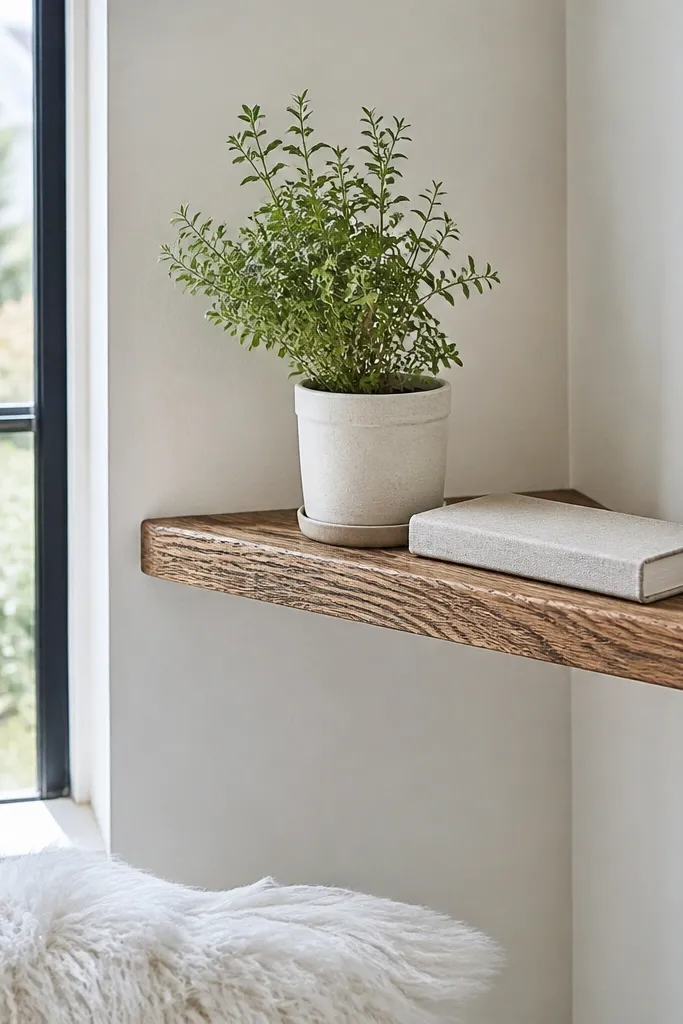
A floating shelf in warm oak tones makes the corner feel intentional and adds contrast without adding bulk. The hidden cleat keeps the hardware out of sight, which is why this setup looks neat even with small decor. Weathered oak finishes look good in rooms with natural light because the grain catches highlights instead of looking flat. This is best for living rooms and bedrooms where you want books, framed prints, or a small lamp without seeing bracket clutter.
Rip or cut plywood to a 9 in depth, then glue and screw a thin edge strip (about 3/4 in tall) for a clean lip. Attach a concealed cleat inside the corner using a level and a stud finder, leaving the cleat top aligned to your shelf bottom. Mount the shelf by screwing upward from underneath into the cleat, then clamp while glue sets if you’re using a ledge strip. Finish with stain, then a matte or satin clear coat so the color stays even across the shelf face.
Seal the end grain with thin clear coat before staining so it doesn’t go darker than the face.
Skip glossy varnish; it reflects harshly and makes corners look smaller in photos.
3. Two-Tone Corner Steps with Dark Trim
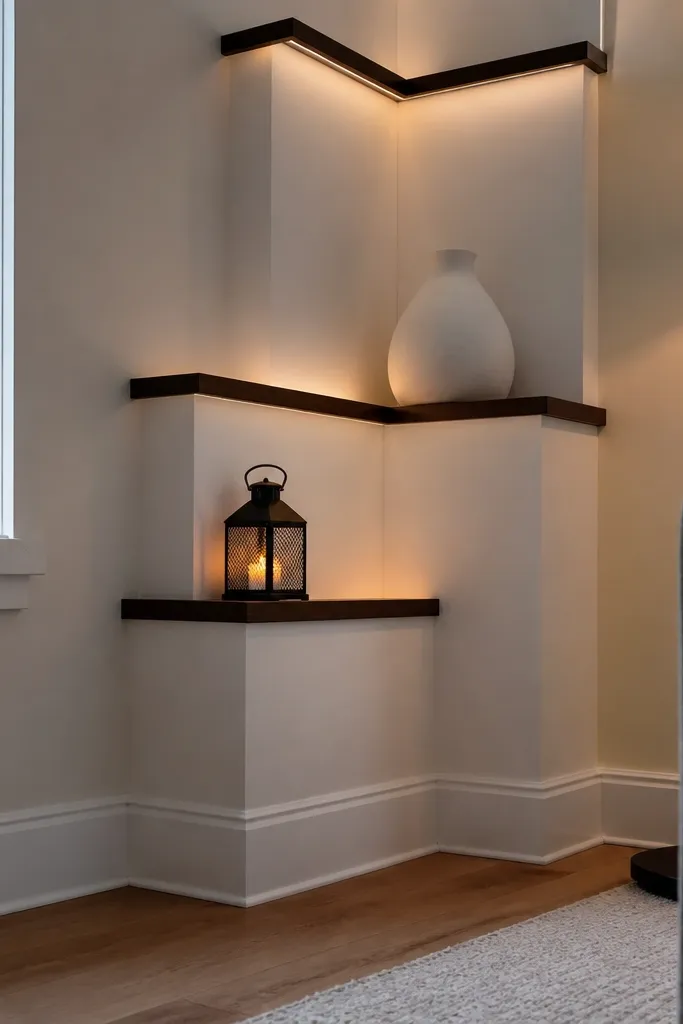
Step shelves create height and movement, which makes a corner feel taller and less boxed-in. The two-tone trick is simple: paint the shelf surfaces a light color, then add dark trim on the front edge so the lines stay crisp. This is one of the best styles for rooms with busy wall art, because the shelves add structure without competing. It also gives you a built-in styling plan: taller items on the lower shelf, smaller items on the higher one.
Cut two shelf boxes from 3/4 in plywood with 9 in depth, then cut 1x2 trim for the front edge. Build the lower shelf first and mount it to studs so the top is at your chosen height, then repeat for the upper shelf with 12-16 in spacing between shelf surfaces. Paint the boxes one color and the trim another, then attach trim after the first paint coat dries. Dry-fit decor to check that the step lines read clean from the doorway angle.
Editor's noteUse painter’s tape as a guide along the shelf lip so your dark trim stays straight across corners.
Skip thisDon’t stack shelves at random heights; the corner will look accidental instead of open.
4. Corner Shelf with Built-In Planter Ledge
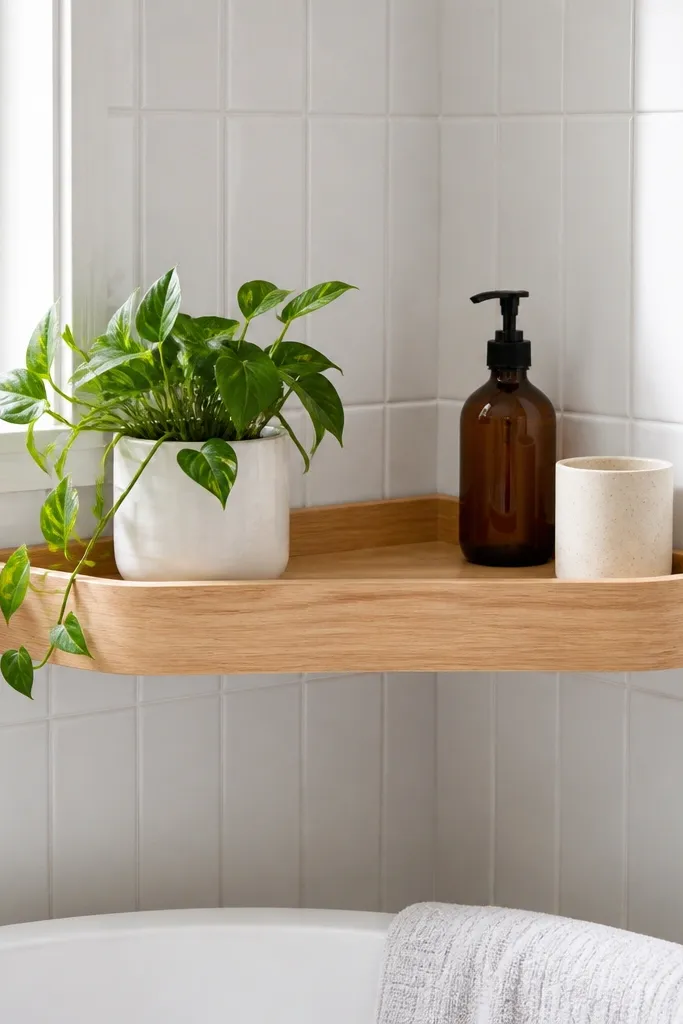
A planter-ledged corner shelf makes the room feel bigger because plants soften the corner while the shelf stays visually light. The key is that the planter trough is shallow and contained, so water doesn’t stain the wood and the shelf stays photo-clean. This style looks best in bathrooms, kitchens, and bright hallways where you can keep plants thriving. It’s also great if you want one focal item in the corner instead of lots of small decor.
Build a 9 in deep shelf with a front trough by cutting a low plywood box insert (about 2 in tall) that sits on the shelf surface. Line the trough with a thin waterproof liner like a food-safe plastic sheet or a sealed fabric liner, then seal all wood edges with polyurethane. Mount the shelf to studs using two brackets spaced near the ends so it doesn’t sag under soil weight. Finish the outer shelf with matte paint and keep the trough interior sealed.
Editor's noteUse a tray under the plant pot; it prevents water from wicking into the liner seams.
Skip thisDon’t rely on raw wood for planter contact; it will discolor and smell.
5. Mitered Corner Hex Shelf with One Continuous Face
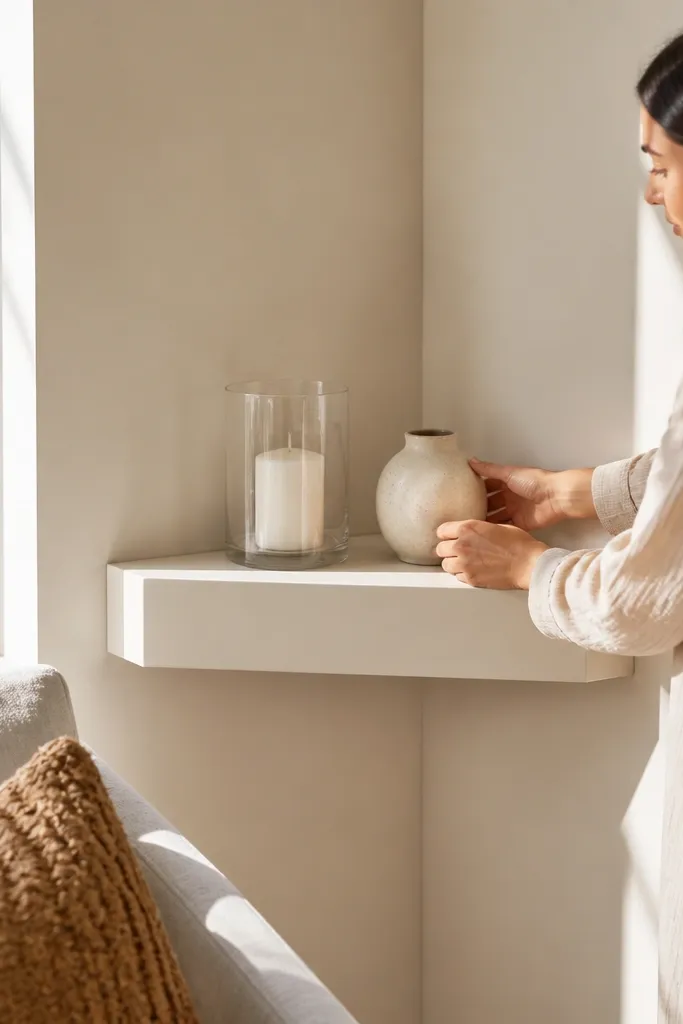
A mitered corner hex shelf looks premium because the front face reads like one piece instead of two shelves meeting. That continuous look is what makes rooms feel bigger: fewer visible seams means less visual interruption in the corner. Hex shelves also give you a natural styling zone for a candle, small vase, or framed photo. Use this when you want the corner to look designed even with minimal decor.
Decide your outer width and cut two shelf arms with 45-degree miter cuts so the meeting point forms the hex front. Use 3/4 in plywood for the base, glue the miters, and clamp until the joint is tight. Add a backing strip for strength and mount into studs with angled screws through the backing. Sand the miter seam flush, then finish with stain + clear coat or paint for a smooth, seam-free look.
Dry-fit miters without glue first; small angle errors show up immediately on corners.
Don’t skip sanding the seam; a visible line makes the corner feel busier.
6. Slim Floating Corner Shelves in Matching Walnut Tone
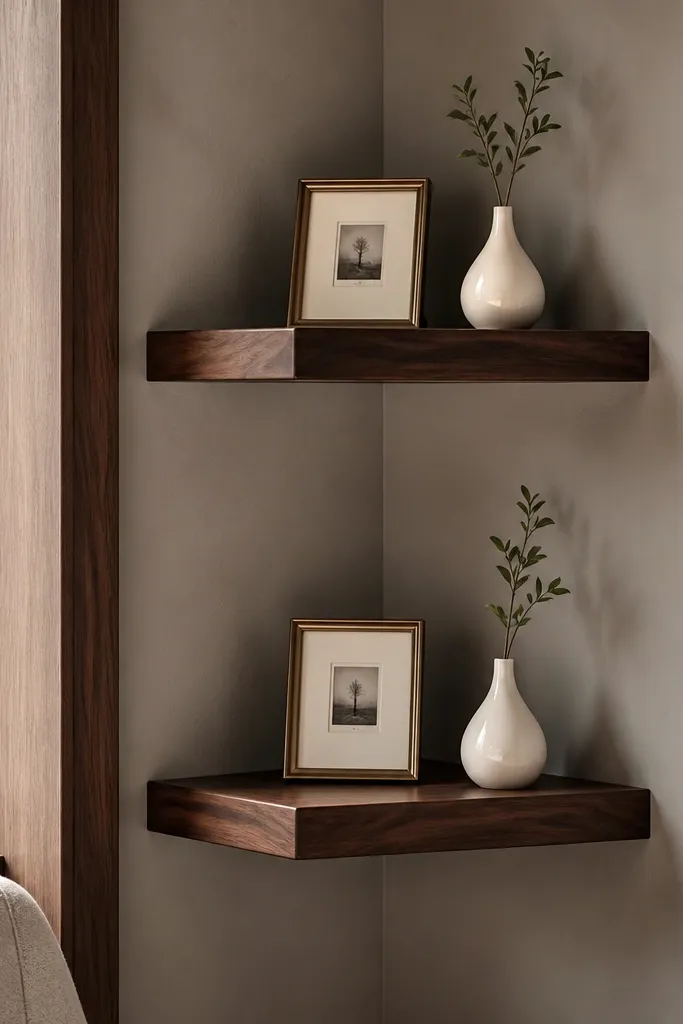
Slim floating shelves keep the corner airy, especially when you use only one or two items per shelf. Matching walnut tones tie the shelf into the room without adding bright contrast that can shrink the space. This is a strong choice for renters because the look works even if you keep the shelves minimal and easy to remove later. It’s also a good option for small bedrooms where you want a few books and a photo without taking up nightstand space.
Cut shelves to 7-9 in depth and keep thickness around 3/4 in for a light profile. Install a cleat inside the corner for each shelf, using a level and marking studs, then mount cleats at the exact height you want. Screw the shelf from underneath into the cleat, then add a thin front edge strip if you want a more finished lip. Finish with a walnut stain and a satin top coat for even color across the face.
Editor's noteKeep the shelf thickness consistent; a thicker front edge looks heavier and changes the whole corner feel.
Skip thisDon’t cram three figurines on one shelf; it stops reading as airy.
7. Rustic Ladder Corner Shelf with Wide Base
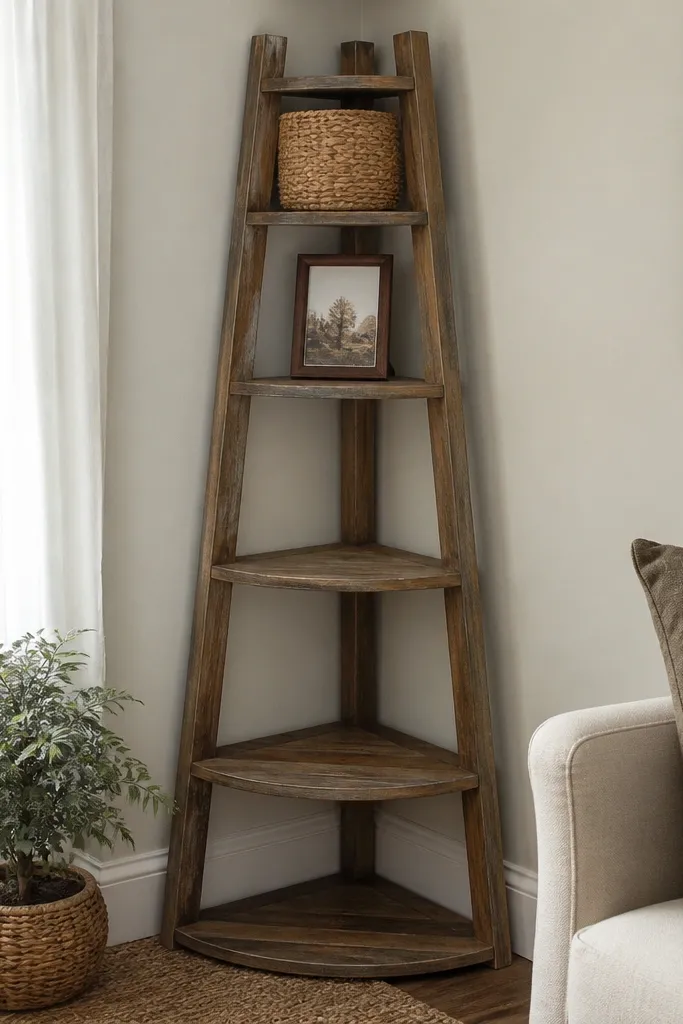
A ladder shelf in the corner helps because it uses vertical lines that draw the eye upward. This one works even on a budget if you use pre-cut boards and build only the tiers that you’ll actually style. The wide base makes it feel stable, so the corner doesn’t look like it’s about to tip. It suits living rooms and entryways where you want a bigger visual anchor without filling the whole wall.
Build side rails with 1x2 boards and cut three or four tier shelves from 1x10 or 3/4 in plywood. Use corner braces inside the frame so the ladder doesn’t wobble when you add decor. Mount the shelf to studs through the back rails, then add a top rail if your corner has a wall seam that makes it easier to anchor. Finish with stain and a clear matte coat, then lightly distress only the edges so the face stays readable.
Editor's notePre-drill every screw into the side rails; ladder builds split easily at the ends.
Skip thisDon’t make the bottom tier too narrow; a narrow base makes the whole corner look unstable.
8. Black Iron Pipe Corner Shelf with White Boards
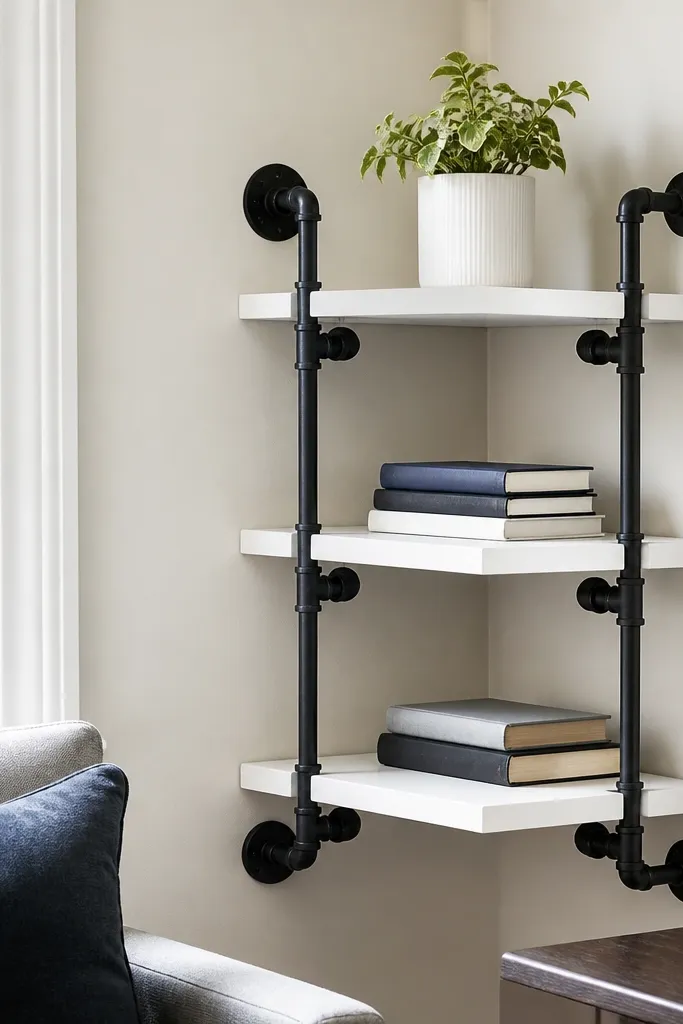
Iron pipe brackets look bold without requiring heavy wood, and that contrast is what makes the corner pop in a photo. White boards keep everything bright and stop the black hardware from making the room feel dark. This combo works great in industrial-leaning rooms, but it also looks clean in modern spaces because the shelf line stays simple. Style with a single tall plant on the bottom shelf and a framed photo on the top shelf.
Buy pipe fittings that match your shelf width and choose shelves around 9 in deep. Build the shelf faces from primed and painted boards, then attach them to pipe flanges using wood screws. Assemble two vertical pipe runs into a corner bracket system so each shelf is supported on both sides of the corner. Mount the base flanges into studs, then paint any visible pipe spots with high-heat black enamel for a uniform finish.
Editor's noteUse foam weather stripping where the pipe touches the wall to reduce micro-wobble and protect paint.
Skip thisDon’t use thin particleboard; pipe shelves can sag if the shelf face flexes.
9. Shiplap-Style Corner Shelves with Paint-Ready Plywood
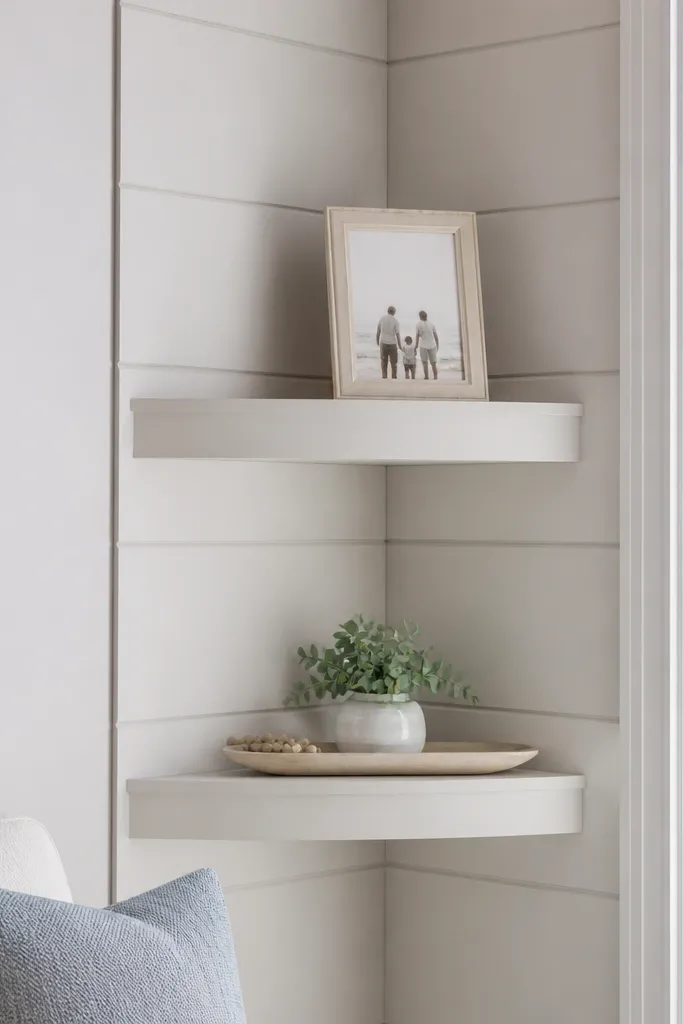
Textured shelf faces make the corner feel richer, but you control the texture by keeping everything in the same color family. Faux shiplap on the shelf front gives depth in the corner without adding extra objects. This is especially good if your walls are plain and you want a little architectural interest. It also photographs well because the texture creates soft shadows that make the shelf look more substantial.
Use plywood for the shelf base and cut thin strips (about 1/4-3/8 in thick) to create the shiplap look on the front face. Glue and nail the strips in a consistent pattern, then sand the edges so the texture feels smooth at the corners. Mount the shelf with a hidden cleat or brackets into studs, keeping the shelf depth around 9 in. Prime everything, then paint two coats so the texture stays crisp instead of patchy.
Editor's notePaint the textured face first, then paint the wall touch-ups last so color mismatch doesn’t show around the shelf edges.
Skip thisDon’t leave raw glue squeeze-out; it shows through paint as a glossy bump.
10. Floating Corner Shelf Set with Built-In Cable Channel
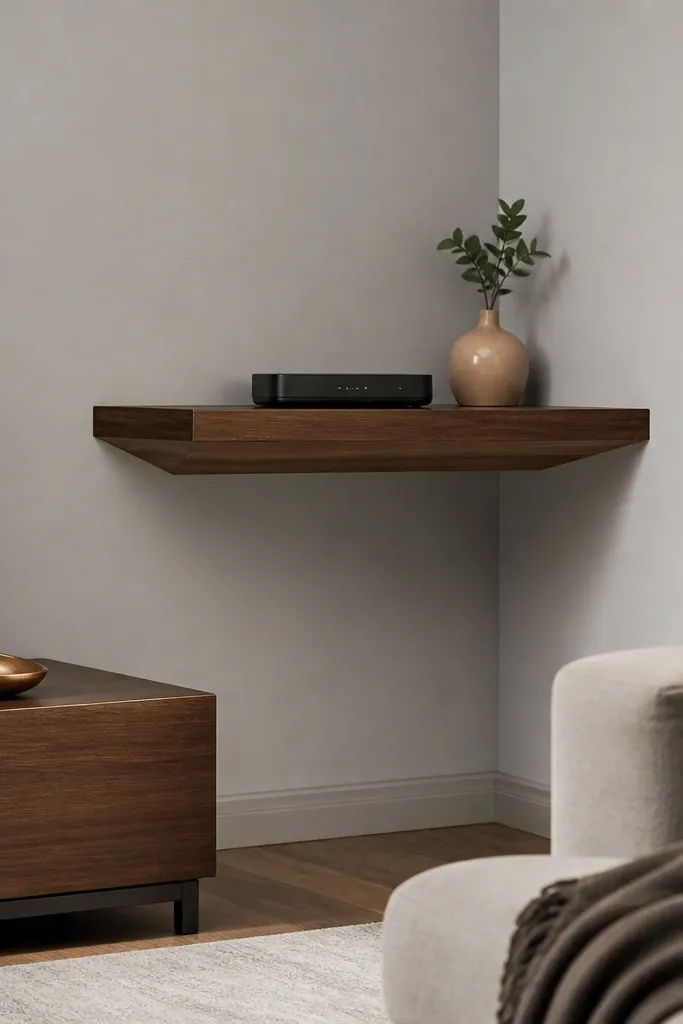
If your corner is near a TV, router, or charging station, a cable channel makes the whole setup look cleaner. Clean lines are what make rooms feel bigger because your eye isn’t jumping between cords and clutter. This style is also very practical: you get storage height without turning the corner into a tech mess. Use it in living rooms, home offices, and entryway charging corners.
Build two floating shelves about 9 in deep, then add a back notch or channel insert under the shelf surface. Use a U-shaped cable channel or cut a 1x2 backing spacer that creates a hidden raceway. Mount shelves to studs with a cleat system so the underside stays flat and free of visible brackets. Finish with paint or stain, then add a small cord grommet hole at the channel exit so cables route cleanly.
Editor's notePlace the channel exit near the corner seam so the line disappears into the shadow of the wall.
Skip thisDon’t route cables through open gaps; cords snag and pull decor out of alignment.
11. Corner Shelf with Thick Edge and Chamfered Front
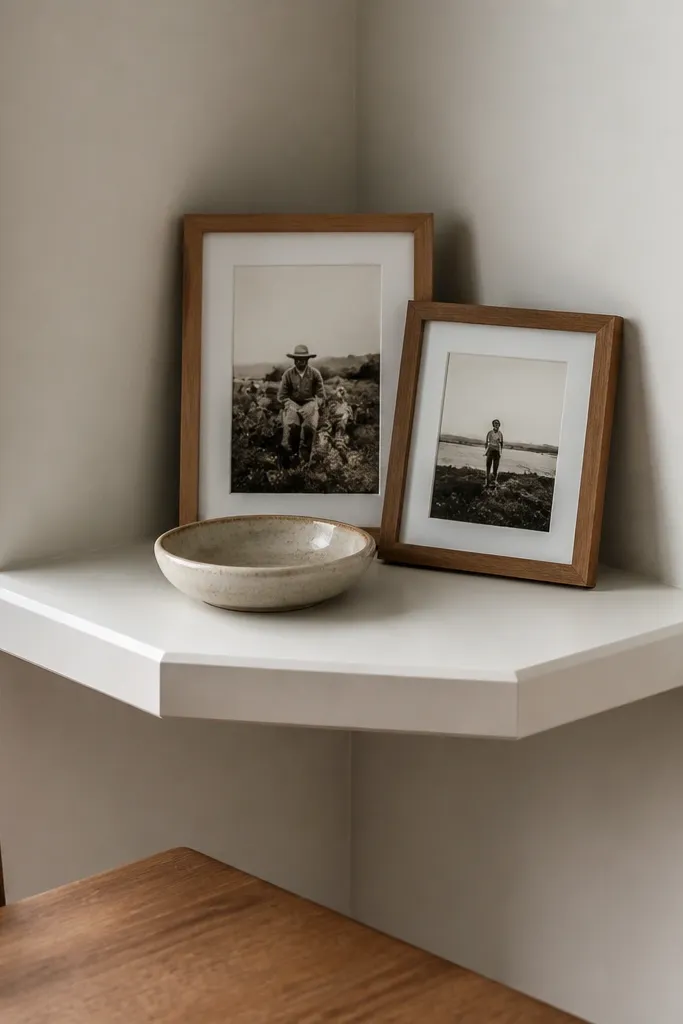
A chamfered front edge makes shelves look thicker even when they aren’t. That matters because thicker-looking shelves read as furniture, not hardware, and the corner looks more intentional. This build is great for bedrooms and dining rooms where you want framed photos and small decor to look “finished.” It also reduces the look of warping because the front edge is visually dominant and hides minor unevenness in plywood.
Cut shelf faces to 9 in depth and 3/4 in thickness, then add an edge strip or build up thickness to about 1-1/4 in at the front. Chamfer the front edge using a router or sandpaper jig so you get a consistent angled bevel. Install two brackets per shelf into studs, then place the shelf so the chamfer faces the room. Finish with stain or paint, and seal the chamfer so it doesn’t look rough after sanding.
Editor's noteDo a test chamfer on scrap plywood; chamfer width changes how “thick” the shelf looks from across the room.
Skip thisDon’t skip sealing the bevel; unsealed edges absorb moisture and get dull over time.
12. Corner Shelf with Floating Round Peg Support
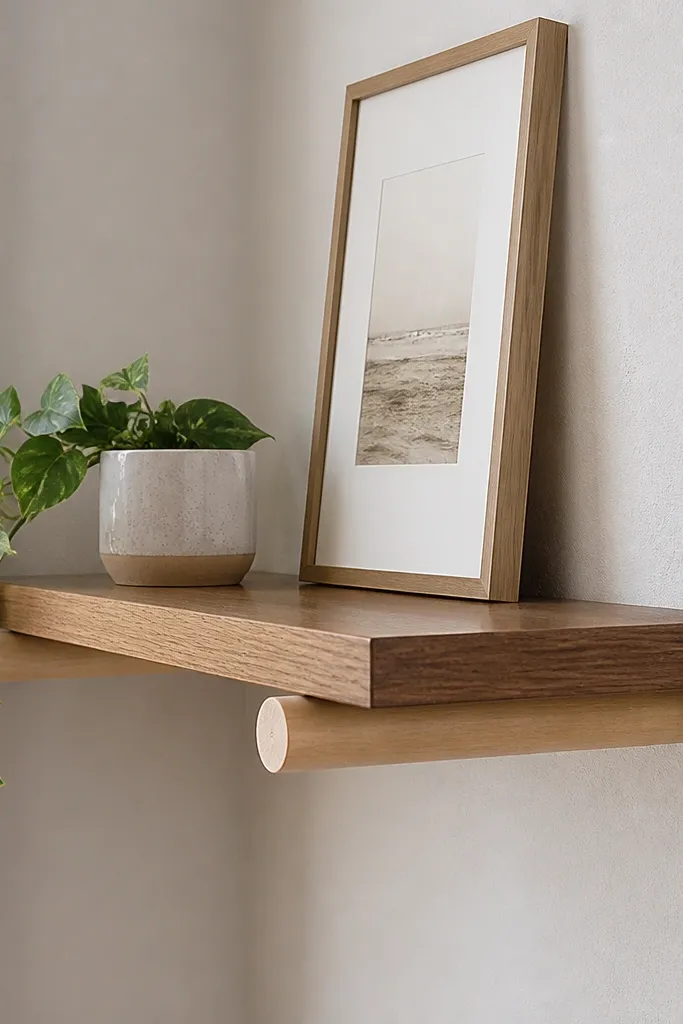
Peg-supported shelves look airy because the supports are small and evenly spaced. That keeps attention on your decor instead of on bulky brackets. Round pegs also soften the geometry of a corner, which makes the whole setup feel less sharp and less “blocky.” This is a good style for small bathrooms and laundry areas where you want a neat spot for baskets, folded towels, or a soap dish.
Mark peg holes on the underside of the shelf using a jig or a plywood scrap template so spacing stays consistent. Install matching pegs or dowels into a corner backer board anchored to studs. Set shelf depth at 8-9 in so the peg line stays centered under the shelf face. Sand the shelf underside smooth, then finish the shelf face with paint or stain, leaving peg holes cleaned out so the shelf sits flush.
Editor's noteUse a stop collar on your drill bit so you don’t drill through the top face when making peg holes.
Skip thisDon’t guess peg spacing; uneven spacing makes the shelf look crooked even when it’s level.
13. Whiteboard-Style Corner Shelves with Chalky Finish
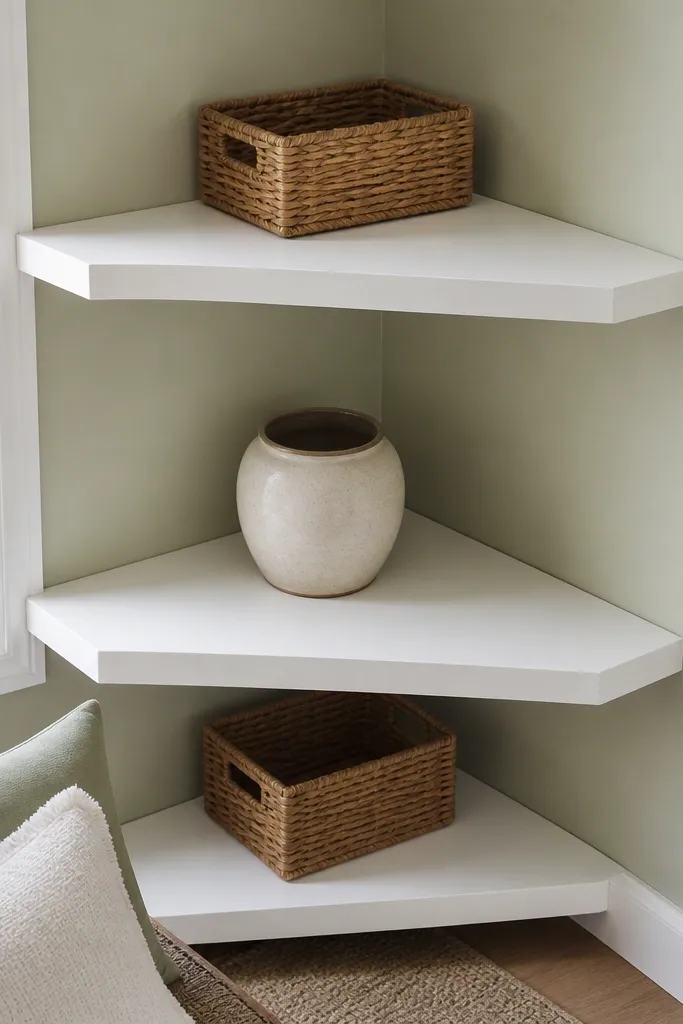
A chalky matte finish makes the shelves visually recede, which helps a corner feel less crowded. The matte surface also hides tiny imperfections in plywood edges, so the build looks better even if your cuts aren’t perfect. This style is perfect for kitchens and mudrooms where you want a clean spot for small baskets and a couple of everyday items. Keep decor minimal for best results; the finish does the heavy lifting.
Build shelves from plywood cut to 8-10 in depth, then sand edges until smooth. Prime with a bonding primer, then paint with a chalk-finish paint or a matte paint designed for furniture. Install with a hidden cleat or brackets into studs, and add a thin front lip strip so items don’t slide. Let the paint cure fully, then lightly buff with fine sandpaper on the edges if you want a worn, smooth look.
Editor's noteTint your primer slightly if your wall is darker; it prevents gray bleed-through on matte paint.
Skip thisDon’t place glossy photo frames right on top; glare fights the matte finish and looks messy.
14. Corner Floating Shelf with Brass-Tone Corner Blocks
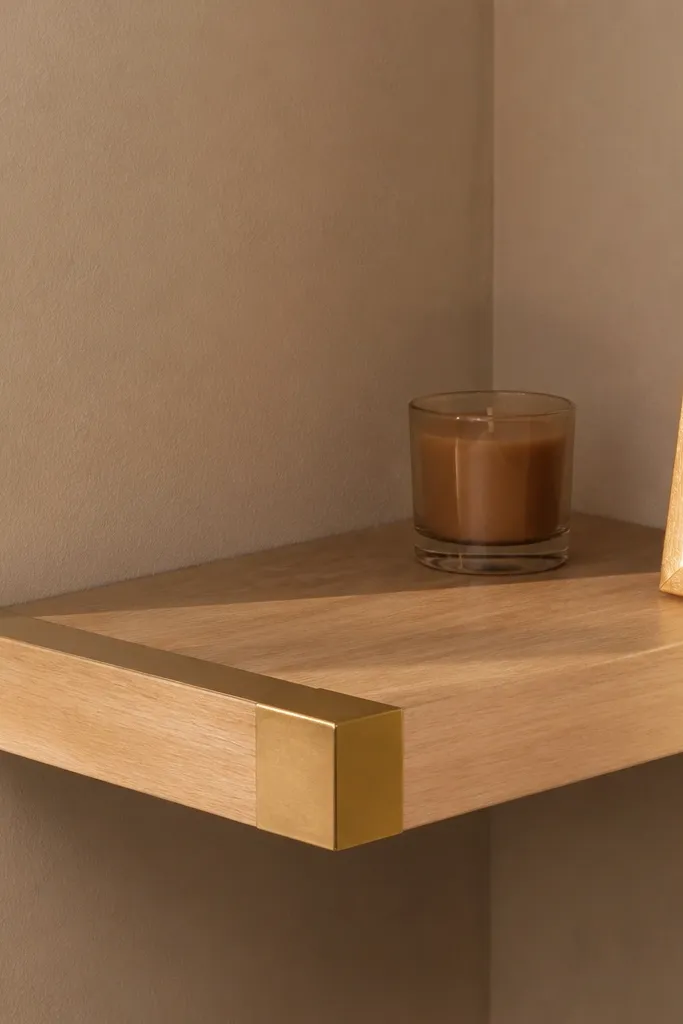
Brass-tone corner blocks add a small amount of warmth without taking over the room. The blocks sit right where the shelves meet, so the corner reads as intentional hardware rather than an awkward join. Use this when your room has warm metals like brushed brass, aged bronze, or warm gold picture frames. It’s also a strong choice for entryways because it looks polished from the front door.
Cut a shelf to 9 in depth and choose a light wood finish like maple or birch stain. Install a concealed cleat inside the corner for the shelf to sit on, then add two small brass-tone corner blocks at the visible seam lines. Use anchors only if you’re not hitting studs; otherwise, screw into studs for real holding power. Polish the brass-tone blocks if needed, then apply a satin clear coat to the shelf so the wood doesn’t look dry.
Line up the brass blocks using painter’s tape on the wall first; it keeps the seam symmetrical.
Don’t mount blocks on the shelf alone; they should stabilize the corner joint, not just look decorative.
15. Narrow Corner Shelves for Small Spaces with Basket Fit
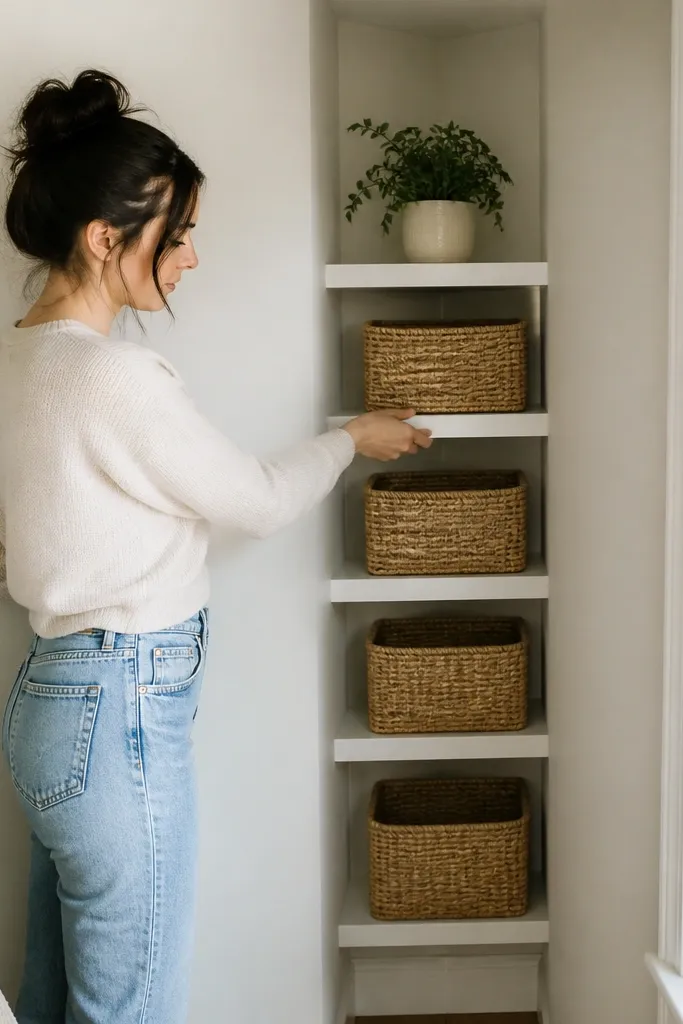
If your corner is small, don’t fight it with wide shelves. Narrow corner shelves paired with baskets make the space feel bigger because the corner stays organized and visually quiet. The basket fit matters: you want the basket rim to sit just below the shelf lip so the shelf reads clean, not messy. This style works well for linen corners, toy storage corners, and pantry-adjacent spots where you want “hidden” clutter.
Pick basket dimensions first and build the shelf opening around them, usually 7-8 in deep. Add a shelf lip or front rail about 1 in tall so baskets can’t slide forward. Mount to studs with a ledger cleat, then space multiple shelves so basket heights align with your storage needs. Finish the shelf face in a color that matches the wall trim so the baskets become the only color pop.
Editor's noteDry-fit a basket on the floor and measure the gap from basket top to shelf lip before you cut anything.
Skip thisDon’t make the shelf depth bigger than the basket; the extra space invites clutter.
16. Corner Shelf Gallery Rail with Photo-Ledge Lip
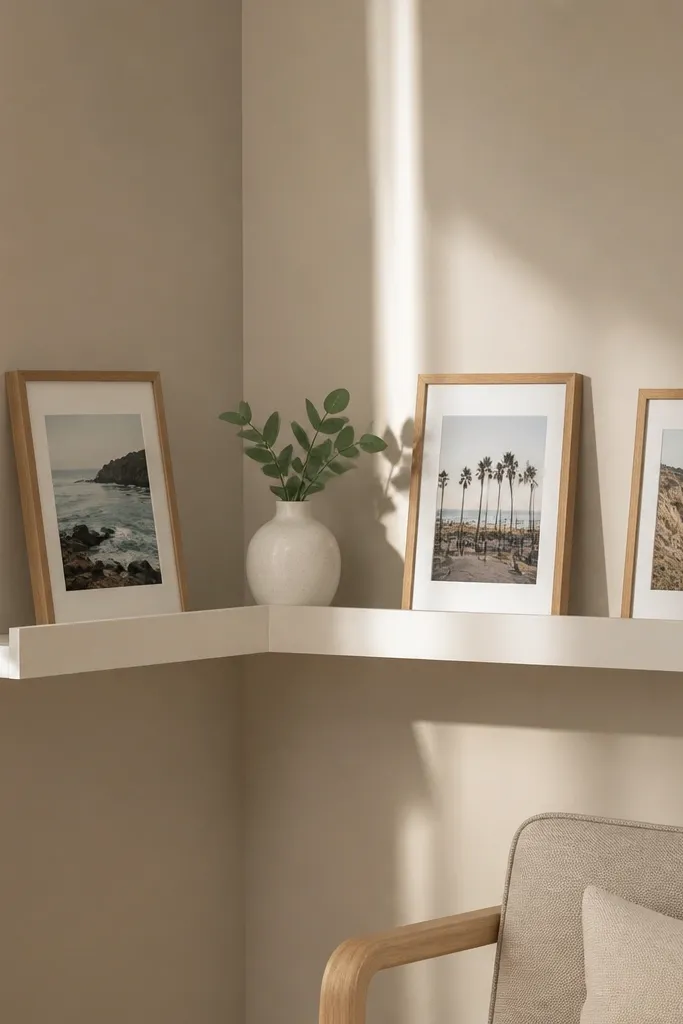
This setup makes a corner feel bigger because it creates a single, continuous styling line. A gallery rail lip keeps frames and small decor aligned, so you don’t end up with items at random angles. Use it with 4x6 frames or thin prints so the corner looks curated without looking crowded. It’s great for hallways and stair landings where you want a clean visual rhythm.
Cut a long shelf at about 9 in depth and add a front rail strip (about 1x2) centered on the front edge. Install a cleat inside the corner at the correct height, then screw the shelf down into studs. Paint the rail and shelf in matching colors so the lip looks intentional, not like an add-on. Style with frames that sit flat against the rail and use a small spacer card behind one frame if you need alignment.
Editor's noteUse uniform frame thickness; mixed thickness makes the line look uneven even if shelves are level.
Skip thisSkip the rail if you want photos; without it, frames slide and the corner looks messy fast.
17. Color-Blocked Corner Shelves with Matching Wall Tone

Color-blocking makes corners feel bigger when you use the wall tone as one of the colors. The shelf face blends into the wall while the trim line gives definition, so you get depth without visual clutter. This style looks great in living rooms where you already have one accent color, like sage, dusty blue, or warm greige. Keep decor light: a small vase, a candle, and one stack of books.
Build shelves at 9 in depth with a plywood base and a 1x2 front trim. Paint the shelf face in your wall color, then paint the front trim in your accent color. Mask edges with tape, then remove tape while paint is still slightly tacky for sharper lines. Mount into studs with two brackets or a cleat, ensuring the trim sits straight along the corner line.
Use a small foam roller for the shelf face; it prevents brush marks that show under corner lighting.
Don’t pick two dark colors; dark-on-dark in a corner makes the room feel smaller.
18. Walnut Stain Corner Shelf with White Marble-Look Tile Inserts
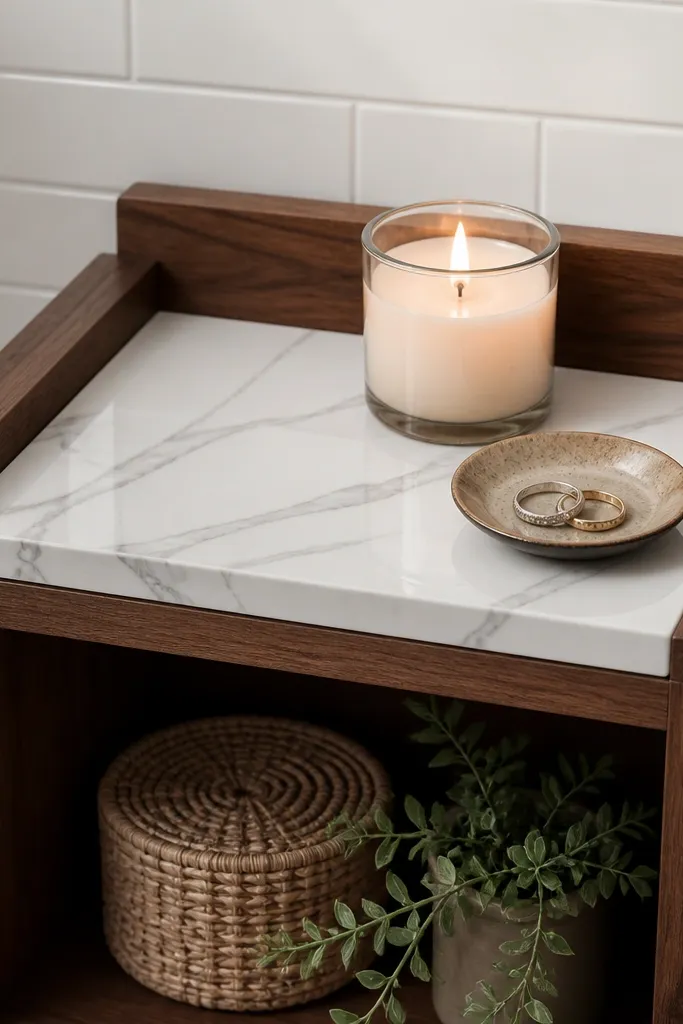
Tile inserts make the shelf look more expensive and more stable for styling, because they give you a clean landing spot for candles, small trays, and vases. Walnut stain warms up the look, and the light tile keeps the corner bright. This setup is also practical: tile is easy to wipe and doesn’t stain from plant water or candle wax. It’s perfect for bathroom corners, coffee corners, and any spot where you want the shelf to look crisp even with daily use.
Cut shelves to 9 in depth and sand smooth, then seal the top with a thin clear coat to stop stain bleed. Cut small tile pieces to fit the shelf top, leaving at least 1/2 in around the edges. Use thinset or a strong tile adhesive, then grout lightly or use a grout sealer after curing. Mount to studs with brackets or a cleat, and finish the shelf sides in walnut stain with a satin top coat.
Editor's noteDry-fit the tile with spacers so your tile edges look straight from across the room.
Skip thisDon’t tile directly on unsealed plywood; moisture from adhesive can warp edges.
19. Pegboard-Backed Corner Shelves with Removable Dishes
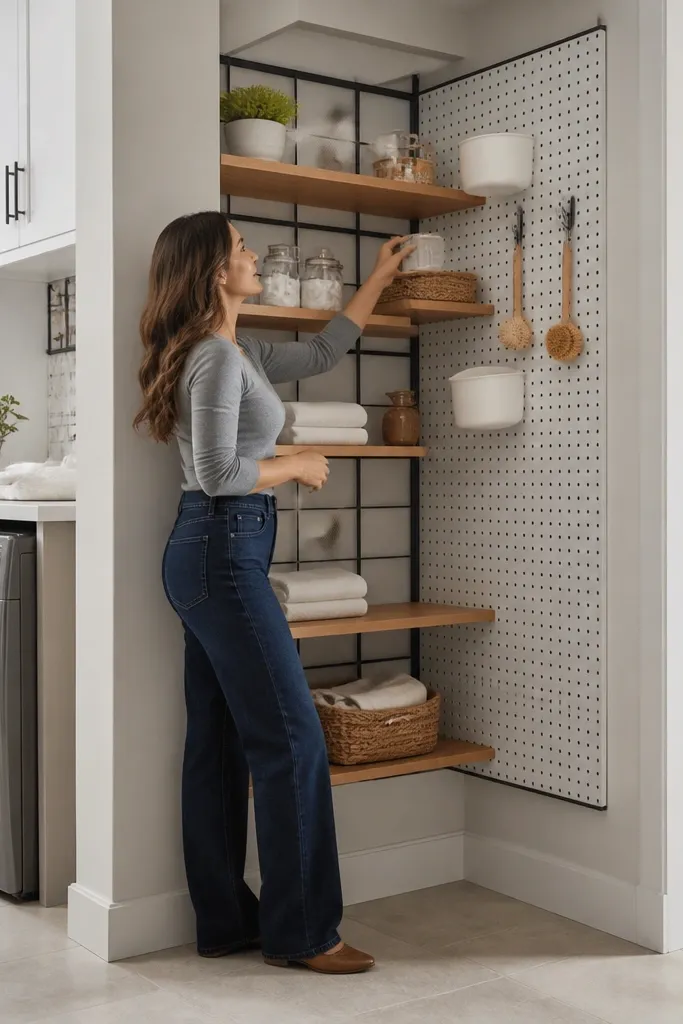
A pegboard back makes the corner feel more open because it turns the wall into a functional grid, not a blank space. You get a clean shelf front, plus the option to hang small dishes, cups, or utensil-style organizers. This style is great for kitchens and laundry rooms where items change often. It also photographs well because the pegboard adds a subtle pattern without heavy color.
Cut pegboard to fit the corner’s back surface and mount it to studs using screws. Build a shelf ledge box at 8-9 in depth and mount it so it sits over the pegboard, then attach the shelf to the cleat or brackets anchored to studs. Add small hooks or cup hangers to the pegboard so you can style the corner with removable pieces. Paint the shelf in a light color and either leave pegboard unpainted or paint it to match the wall for a cleaner look.
Editor's notePaint pegboard after mounting so the screw heads blend into the wall tone.
Skip thisDon’t add too many hooks at once; the corner gets visually busy fast.
20. Two-Shelf Corner Frame with Open Middle for Airy Styling
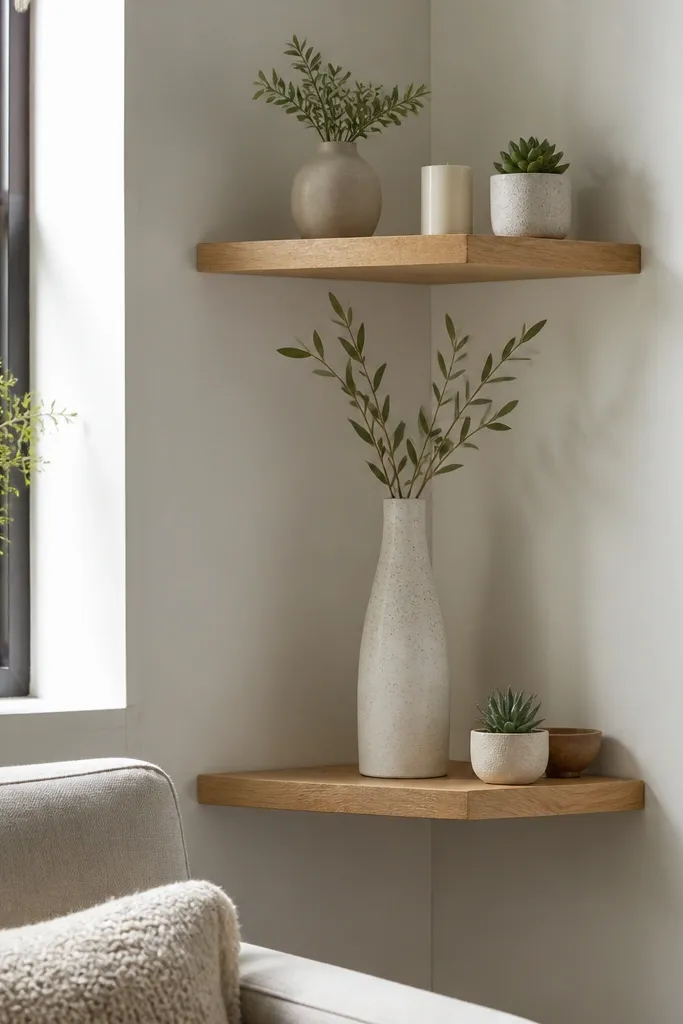
Keeping an open middle makes a corner feel bigger because it creates a visual break where your eye can rest. This frame style uses two shelves separated by a gap, so you can place one taller object in the open zone and keep the shelves from looking stacked. The result is cleaner than a full three-shelf tower, especially in small rooms. This is a great option for entryways and bedrooms where you want a focal plant or decorative vase without crowding.
Build two shelves at 9 in depth and mount them with a fixed gap of about 18-24 in between shelf surfaces. Use side frames made from 1x2 boards to connect the shelves and hide bracket hardware. Anchor the frame into studs, then attach shelves to the frame so the front edges align. Paint the whole unit in one color or do a light shelf with a darker frame for contrast.
Editor's noteUse a long level and check alignment from the doorway, not just from the corner itself.
Skip thisDon’t reduce the gap below 16 in; the open middle stops reading as open.



