
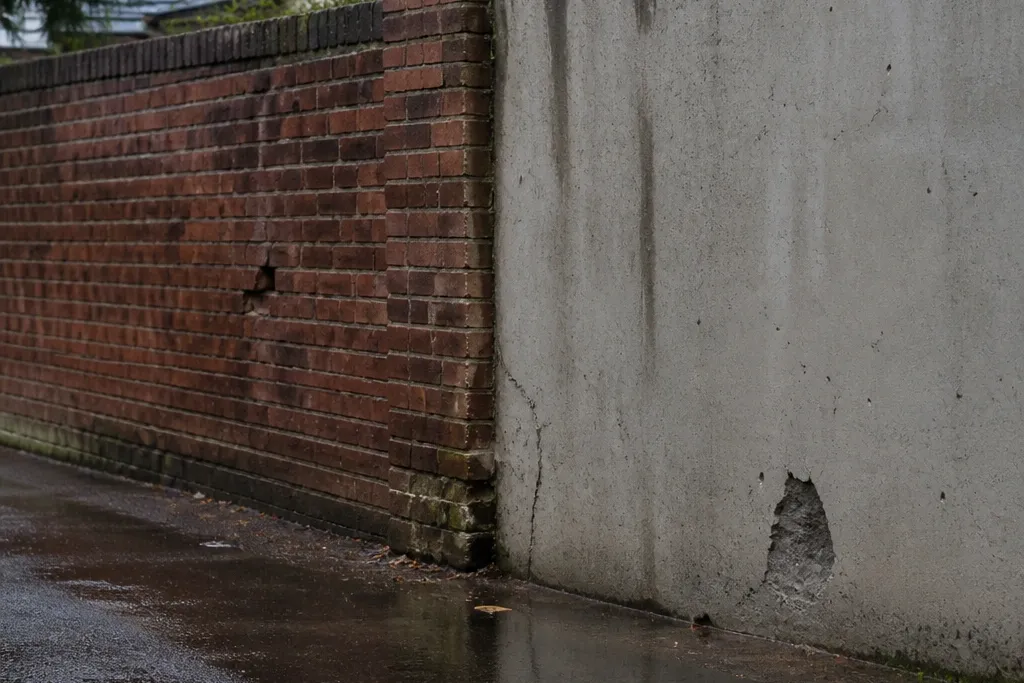
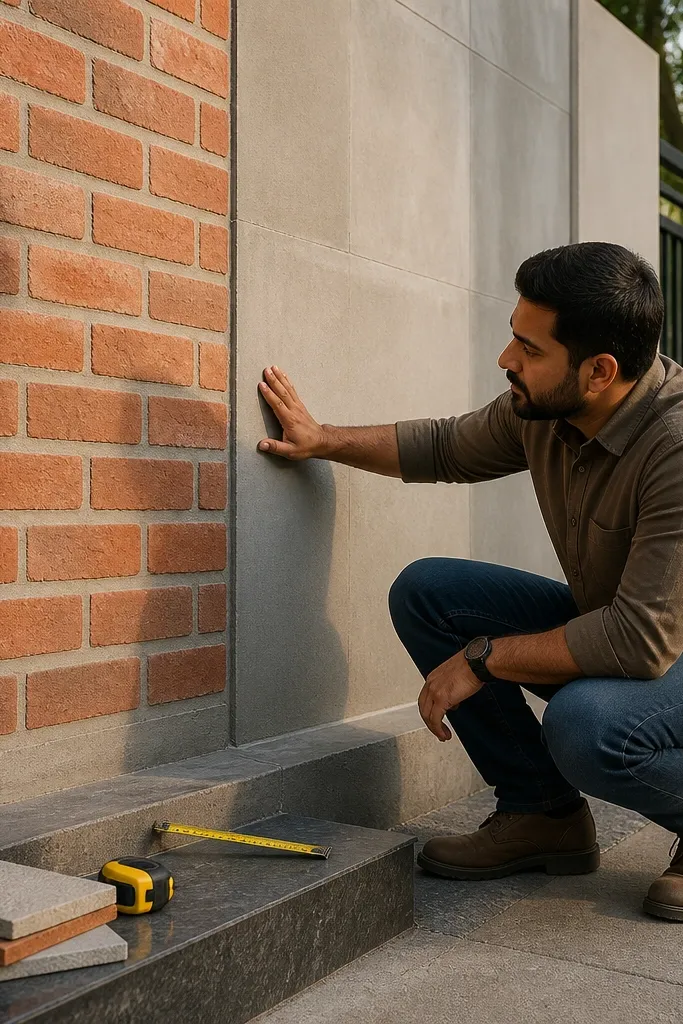
1. Brick wall with RCC pillars and a proper cement cap
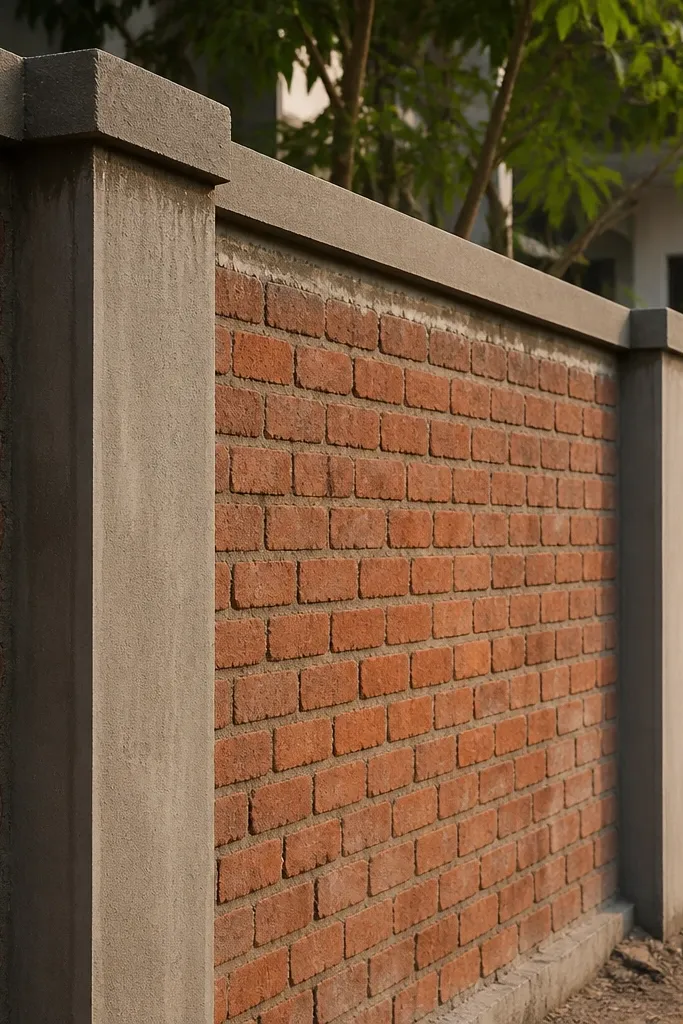
This setup is the cleanest way to get the brick look without betting everything on brick alone. RCC pillars and beams control movement at corners and openings, so you get straighter lines and fewer ugly cracks. The brick infill gives you the warm texture, while the cement cap keeps rain from soaking the top joints. It works well for boundary walls that face the street and need to look finished from day one.
First, plan pillar spacing so each bay is manageable for brick laying; a common approach is 2.5 to 3.0 m between pillars, then adjust for your plot dimensions. Pour RCC pillars and beams with rebar cages and keep the top level perfect before you start brick infill. Then lay bricks in a running bond with full mortar beds, tie the brick into the beams using mortar and good contact at the edges, and finish with plaster on the exterior face if you want a smoother look. Finish with a cement cap slab or a sloped cap layer so water sheds instead of pooling.
Make the cap overhang 25-40 mm on each side so drips fall away from the brick face.
Don’t skip damp-proofing at the base or leave the top joints unprotected.
2. Reinforced concrete panels with cement plaster finish
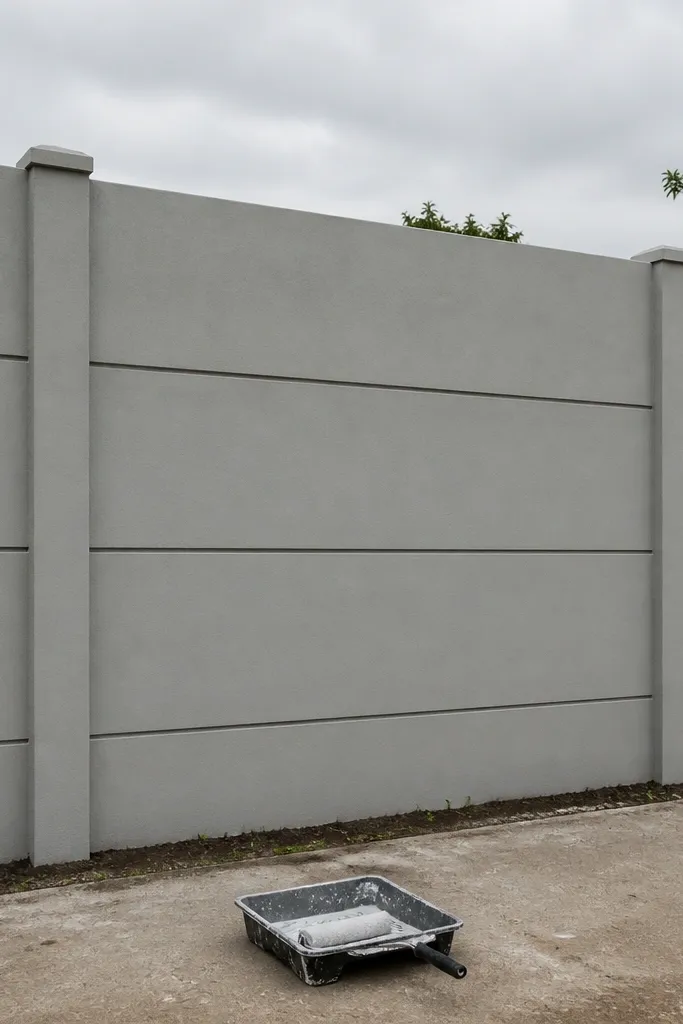
If your priority is strength and straightness, reinforced concrete panels are the practical pick. You get better control over cracking because reinforcement placement and curing govern performance more than surface appearance. Cement plaster gives you a uniform surface that hides minor patching and lets you paint or texture later. This is a strong option for rainy regions, areas with dust storms, and properties where the wall takes frequent impacts.
Start by marking panel dimensions and pillar positions, then install formwork and rebar cages for pillars and horizontal reinforcement. Use a consistent bar spacing plan and keep cover thickness steady so the steel doesn’t rust from the outside. Pour concrete in lifts that avoid cold joints, then cure with wet curing or curing compound for the full recommended period. After curing, apply cement plaster in two coats, straightedge the surface, then prime and paint once the plaster is dry.
Use a straightedge check across the formwork before every pour — your final flatness starts there.
Avoid plastering too soon after pouring; trapped moisture causes peeling and patchy discoloration.
3. Full brick wall with damp-proofing and lime-cement mortar
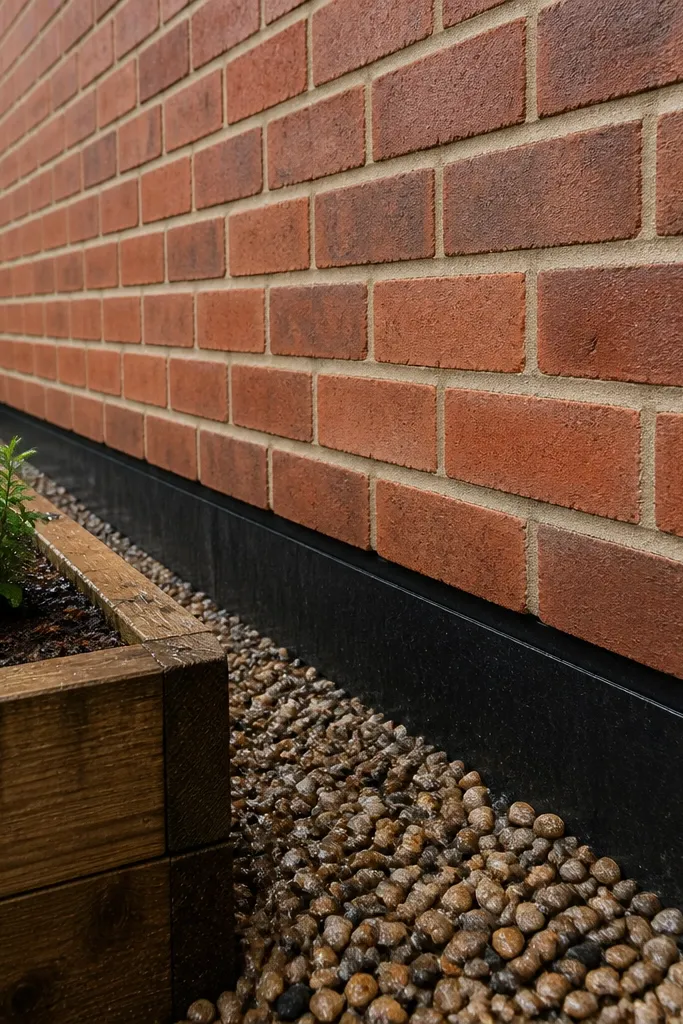
A full brick compound wall can look sharp and stay stable if you treat moisture control like part of the structure. Damp-proofing at the base stops rising moisture from wrecking mortar joints and causing discoloration. Lime-cement mortar (or a mortar designed for masonry exposure) helps with workability and crack resistance compared to weak cement-only mortar. This is best when your site drainage is decent and you want a traditional brick face.
First, build a proper footing and create a damp-proof layer at the base before laying the first course. Then lay bricks with consistent joint thickness and maintain alignment using string lines and corner gauges. Use mortar that matches your exposure conditions, and keep the first few courses extra careful because they set the wall straight. Finally, seal the top with a cap and apply exterior pointing or plaster only after the masonry has settled enough to avoid shrink cracks.
Use a tight brick pattern at corners and check plumb every 3-4 courses with a spirit level.
Don’t use overly wet mortar; it makes joints weak and increases shrinkage cracks.
4. Brick-and-block hybrid with a plastered outer face
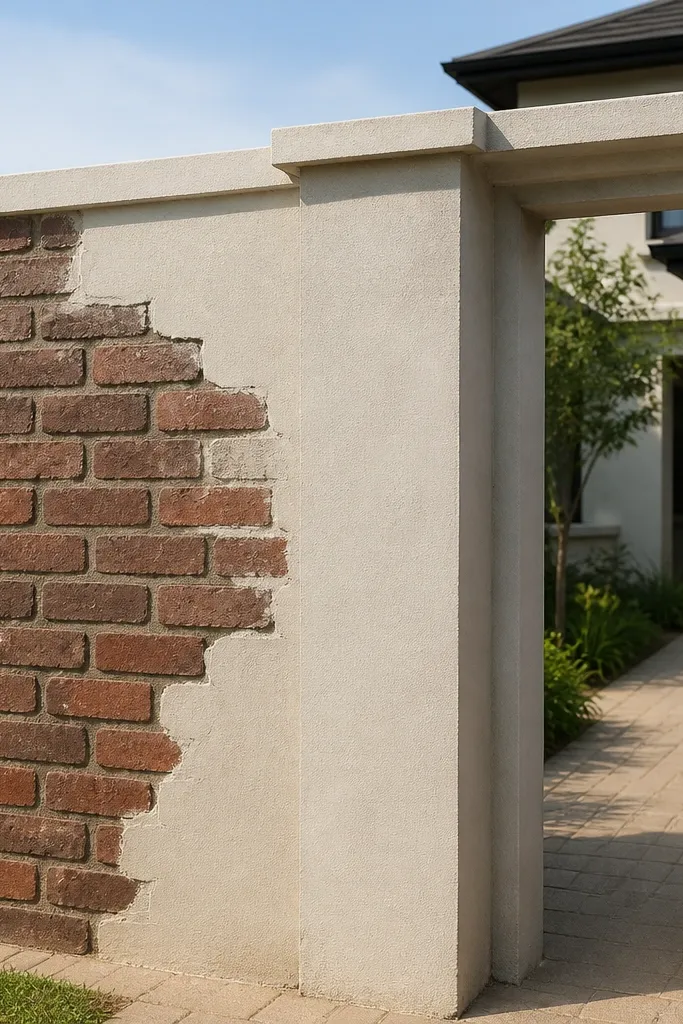
This hybrid approach gives you a cleaner build and a controlled surface. Brick on the visible face handles the look, while blocks behind it reduce load and speed the build. The outer plaster face then unifies the texture and hides minor gaps. It’s a good middle path when you want brick aesthetics but your budget or labor timeline is tight.
Editor's noteKeep the front brick thickness consistent across bays; uneven thickness shows through plaster as waves.
Start by setting RCC or masonry supports that keep the front face aligned. Build the back layer with concrete blocks, then bond the front brick layer to the back at regular intervals using mortar contact and ties if your contractor can handle it. Apply exterior plaster in two coats, with the first coat scratched for grip and the second coat finished smooth. Add a top cap and paint only after the plaster has fully dried.
Skip thisAvoid skipping bonding between the front and back layers — that’s how you get hollow-sounding patches.
5. Concrete block wall with wire-mesh reinforced plaster
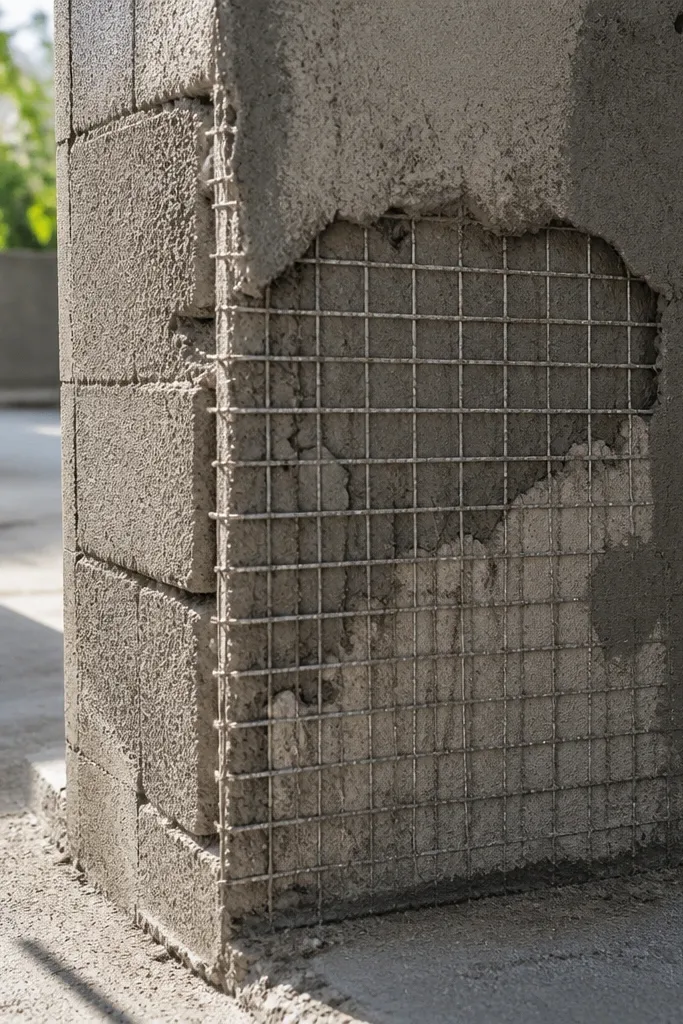
If you want fast and cheap but still want a solid finish, block walls with reinforced plaster are a strong option. The wall body is simple to build, and the plaster system handles the surface durability and crack control when you add mesh. This works well for long boundary stretches where labor needs to move quickly and you want a neat, paint-ready face.
Editor's noteUse mesh that overlaps at joints by at least 100 mm so cracks don’t travel straight across seams.
First, lay blocks on a level base with good mortar joints and keep alignment tight using string lines. Install wire mesh or plaster reinforcement sheets before the final plaster coat, fixing it so it sits in the middle of the plaster thickness. Apply a scratch coat, allow it to set, then apply a finish coat and smooth it with a straightedge. Cure the plaster by keeping it lightly damp for several days, then prime and paint after full dry-out.
Skip thisDon’t plaster directly onto dusty blocks; wash and prime/roughen the surface first.
6. Brick wall with vertical grooves for better water behavior
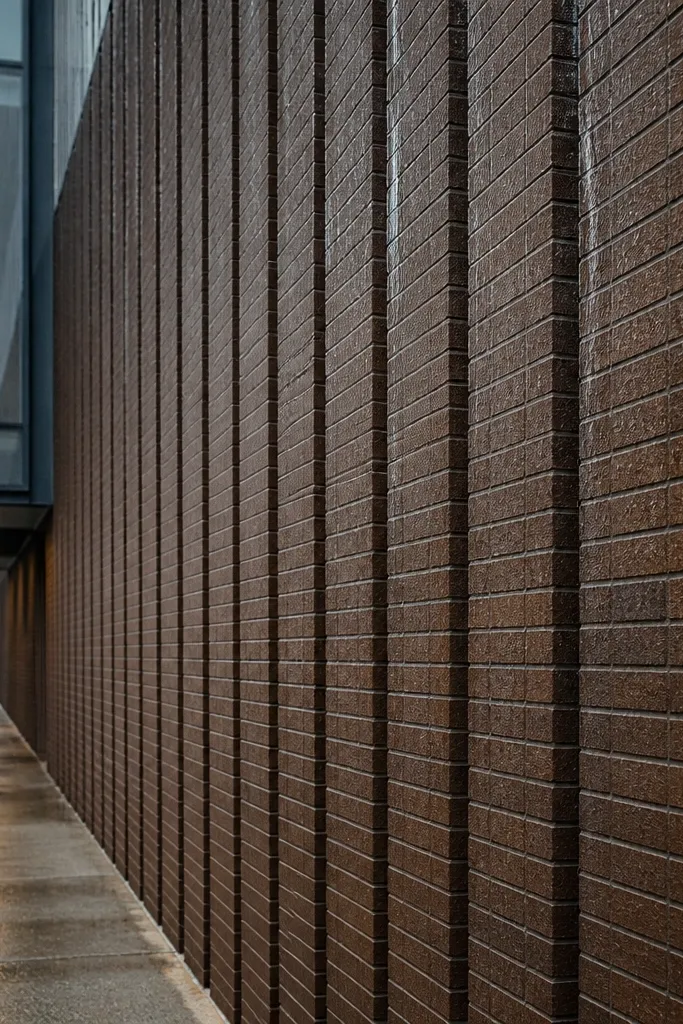
This is a design choice that helps the wall shed water and looks intentional. Shallow vertical grooves break up the flat surface and reduce streaking when rain runs down. Brick still gives you the texture, while grooves help hide minor efflorescence lines that would otherwise look messy. This suits street-facing walls where you care about appearance even after a wet season.
Start by marking groove spacing before laying brick, usually around 150-250 mm apart depending on your brick size and desired rhythm. Lay bricks with consistent mortar thickness so grooves stay straight across courses. After masonry work, apply plaster or tuck-pointing to define groove edges cleanly. Finish with a sloped or drip-edge cap so water doesn’t soak the top joints.
Plan the groove alignment so it matches pillar centers — it looks deliberate, not random.
Don’t cut grooves too deep; you weaken mortar beds and increase crack risk.
7. Reinforced concrete wall with anti-rust cover discipline
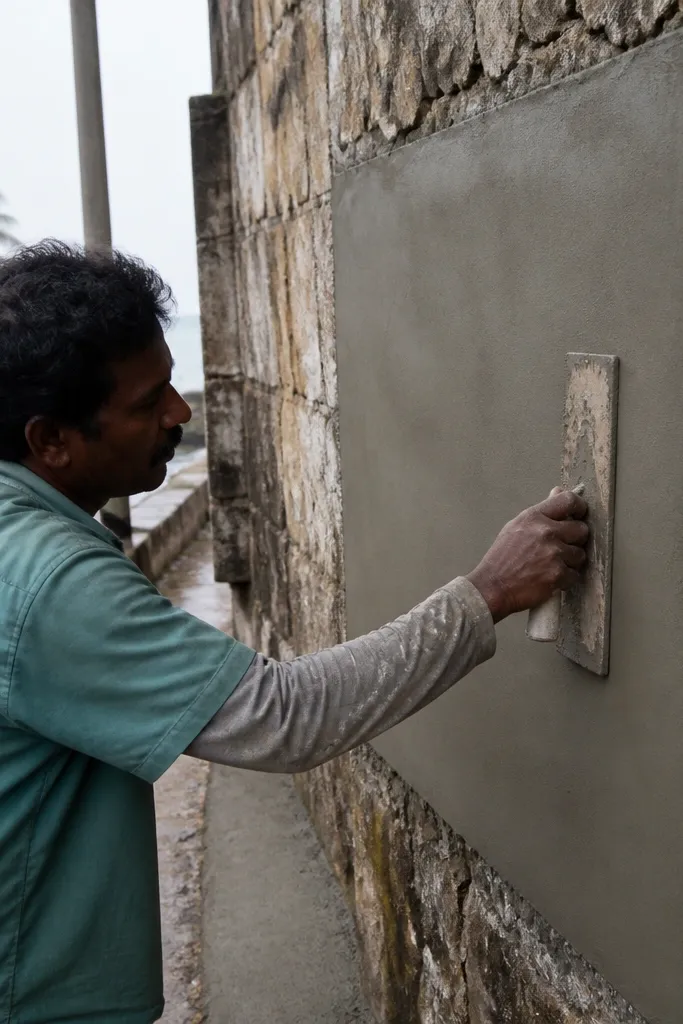
This is the “boring but smart” version of concrete compound walls. Concrete is only as durable as the cover thickness around rebar, because exposed steel rusts and stains the face. Keeping the cover correct and curing properly reduces surface cracks and keeps the wall looking clean. It’s a great choice for humid climates and places where repainting every few years is annoying.
Editor's noteUse cover spacers at regular intervals; “eyeballing” cover is how walls rust early.
First, set spacers or cover blocks so the rebar cage sits at the correct distance from the formwork. Pour concrete with a mix that finishes well and doesn’t segregate, then vibrate carefully to remove voids around steel. Cure continuously — don’t stop after the surface looks dry. After curing, repair any small honeycombing before plastering or painting so rust stains don’t bleed through later.
Skip thisAvoid skipping surface repair; patching after paint usually fails within a season.
8. Brick compound wall with lime wash-like finish (cement-smooth base)

Brick can look less “patchy” when you create a smooth cement base and finish with a breathable coating system. The smooth base hides uneven brick texture, while the finish gives you a lighter, cleaner look that still feels like masonry. This works when you want the brick identity but don’t want to see every joint line after plastering. It also helps with minor discoloration because the finish system handles small variations better than heavy glossy paint.
First, plaster the brick face with a cement-sand leveling coat and keep it flat with a straightedge. Let it cure fully, then apply a breathable finish system designed for exterior masonry. Use consistent application thickness so you don’t get blotchy patches. Finish with a solid top cap and seal around pillar edges so water can’t creep into cracks.
Do small test panels on scrap brick so you know the shade and coverage before committing the whole wall.
Avoid painting directly on raw plaster — chalking and patchy adhesion show up fast.
9. Thin brick with RCC face frame for modern spacing
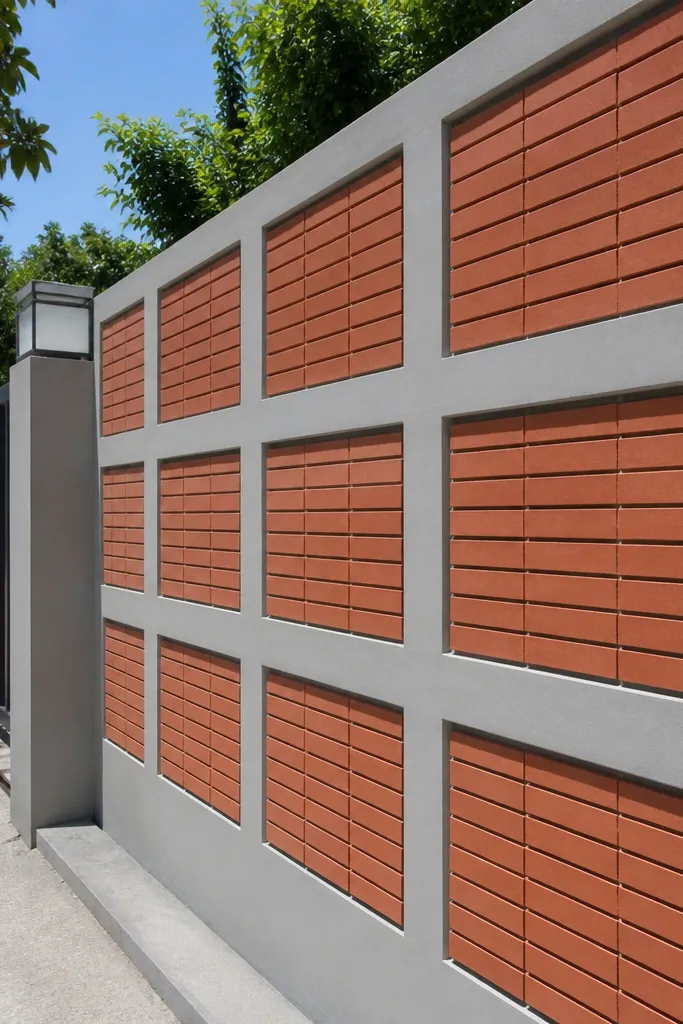
If you like a clean, modern grid look, a face frame with brick infill delivers it. RCC frames control the vertical lines and carry the structural load, so the brick layer is mainly for appearance. This can reduce brick quantity and speed up construction while keeping the wall from looking flimsy. It suits properties where you want a crisp pattern and faster turnaround than full brick.
Start by designing a face frame grid and casting RCC verticals and a top beam at the correct spacing for your brick module. Set the frame plumb and level before any brick work starts. Lay brick infill inside the frame with consistent joint thickness, and keep the infill bonded to the frame edges using mortar contact. Apply a thin exterior plaster coat or leave brick with proper pointing, then cap the top with a drip edge design.
Use spacer strips or cardboard templates to keep infill joint width consistent across bays.
Don’t rely on brick alone at the frame edges; leaving gaps invites water and cracking.
10. Brick soldier course at the base for splash control
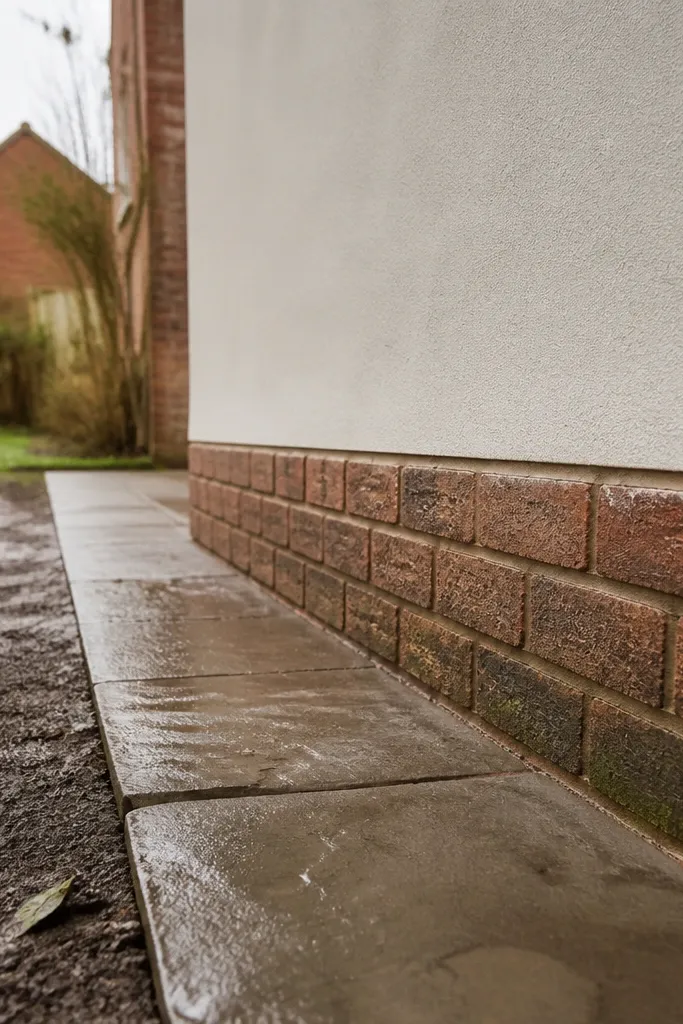
This is a small detail that stops a big mess: splashback stains and eroding mortar near the ground. A soldier course at the base, combined with a sealed plaster band, takes the hit from water and mud. Brick looks better up close here, and it also gives you a clear visual line that makes the whole wall feel intentional. Use this when your wall sits near a driveway, garden edge, or area with muddy rain runoff.
First, plan a base band height of about 300-450 mm above ground level. Lay a soldier course (bricks placed vertically with the face exposed) at that height and ensure it is well bedded in mortar. Apply waterproofing or a cement-sand band plaster over the base zone, then finish the rest of the wall normally. Seal the top with a cap and keep the paint system water-resistant on the lower section.
Add a small drip line under the soldier course plaster band so water doesn’t creep backward.
Avoid painting the base before the waterproofing cures; early paint traps moisture and flakes.
11. Concrete compound wall with anti-efflorescence surface treatment
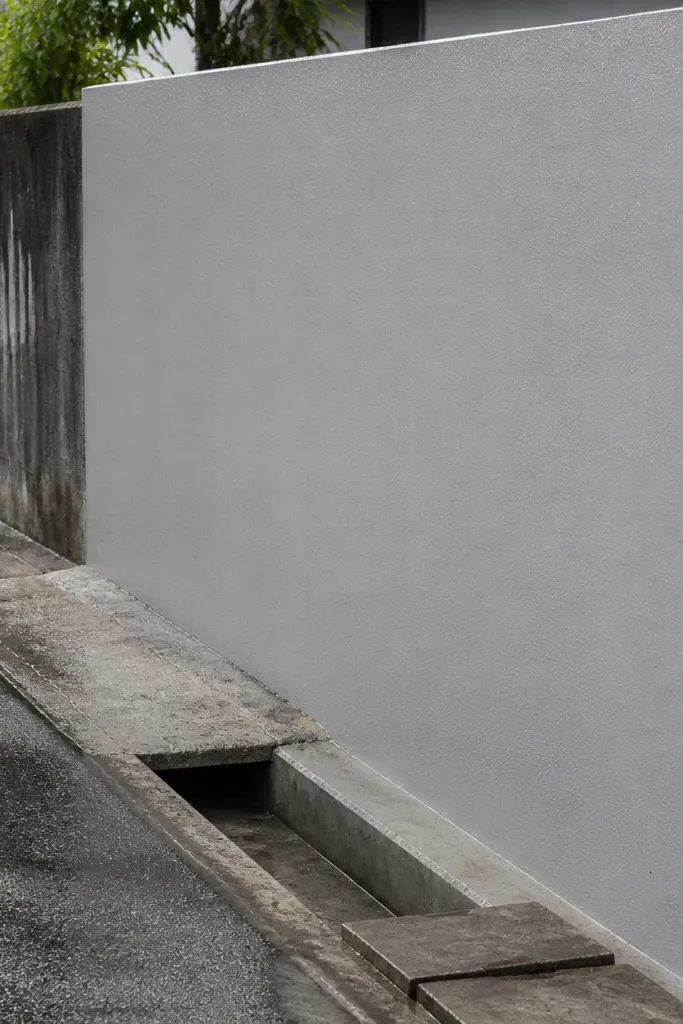
Concrete walls can look rough when salts migrate to the surface after rain. A surface treatment plan — not just a coat of paint — keeps the face looking clean. This approach is best when your area has frequent wet-dry cycles and you’ve seen white streaking on older concrete. It’s also a good pick if you want a smooth, uniform color without constant repainting.
First, cure the concrete and any plaster thoroughly so salts have less opportunity to migrate early. After curing, clean the wall with a proper masonry cleaner if needed, then apply a masonry sealer or anti-efflorescence treatment designed for exterior cement surfaces. Use a primer compatible with the treatment, then apply exterior paint in two coats. Recheck joints and edges around pillars; seal gaps with exterior-grade sealant so water doesn’t drive behind the coating.
Test the cleaner and sealer on one panel so you don’t lighten the whole wall unexpectedly.
Don’t trap moisture by applying thick coatings over damp plaster; it drives efflorescence later.
12. Brick wall with steel angle reinforcement at corners
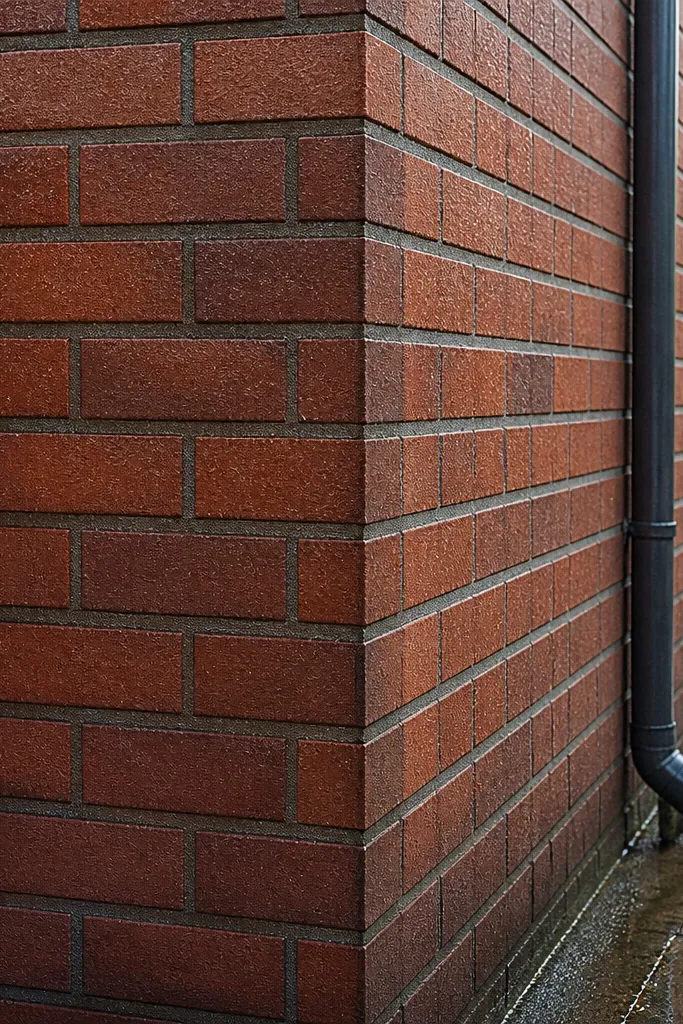
Corners are where brick walls start to show stress — hairline cracks and separation lines. Adding steel angle reinforcement at corners improves stiffness and reduces corner opening during minor movement. You still get the brick look, but the wall behaves more like a framed system. This is a smart choice if your property has uneven soil, minor settling risk, or you know your corners take impacts from gates and knocks.
First, install corner steel angles anchored into the footing or RCC corner blocks before brickwork. Keep the angles plumb and aligned with string lines so your brick courses don’t drift. Then lay brick infill against the corners with tight mortar contact and consistent joint thickness. Finish with corner plastering or pointing, and add a cap that covers the top edges fully so water doesn’t enter at the corner reinforcement.
Use corrosion-resistant coating on steel angles before placement so stains don’t show through later.
Avoid leaving gaps between steel and brick; voids become crack starters.
13. Reinforced concrete wall with anti-climb detailing
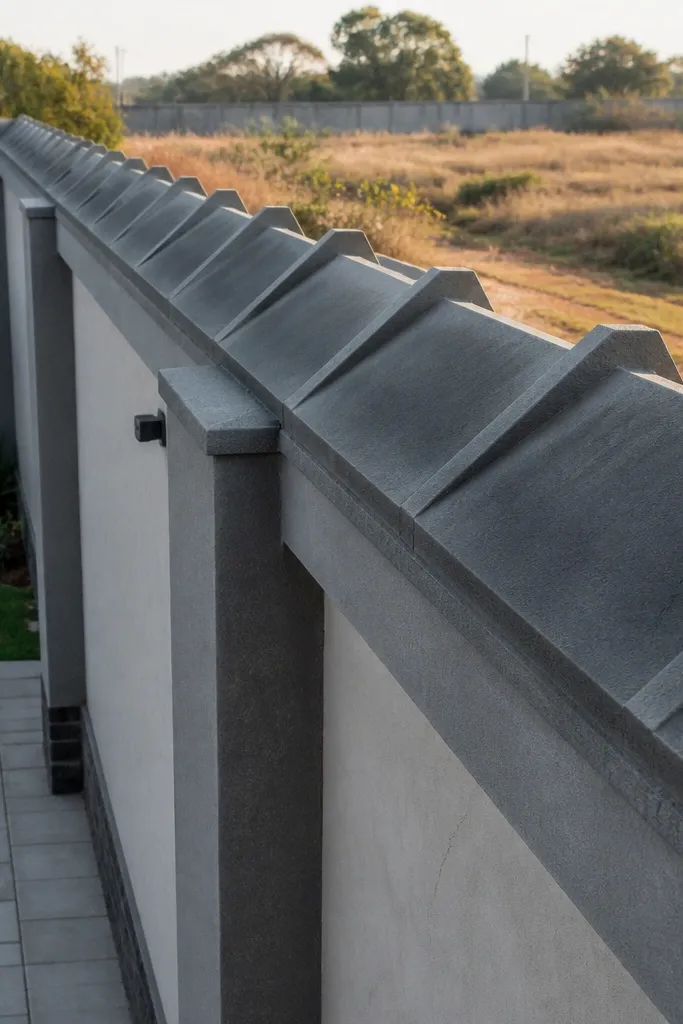
If security is the reason you’re building a compound wall, the top is the first place to design. Reinforced concrete provides the strength, and anti-climb top detailing prevents easy footing. You can do this with angled coping or a reinforced parapet top that discourages climbing without making the wall look chaotic. This suits homes with ground-level access, kids playing nearby, or properties with minimal gate control.
Editor's noteMake the top cap one continuous piece per bay to reduce joint lines where water enters.
First, design the wall height and top shape before pouring so your rebar and formwork match the coping angle. Cast the parapet with reinforcement that ties into the main wall so the top doesn’t chip off. After curing, apply a cement plaster finish if you want a smooth surface, then add a coping layer or angled top cap. Seal joints carefully and paint after the final coat is fully dry.
Skip thisAvoid adding separate small top pieces after the wall is done; joints fail first.
14. Brick vs concrete choice for a 30-meter boundary stretch
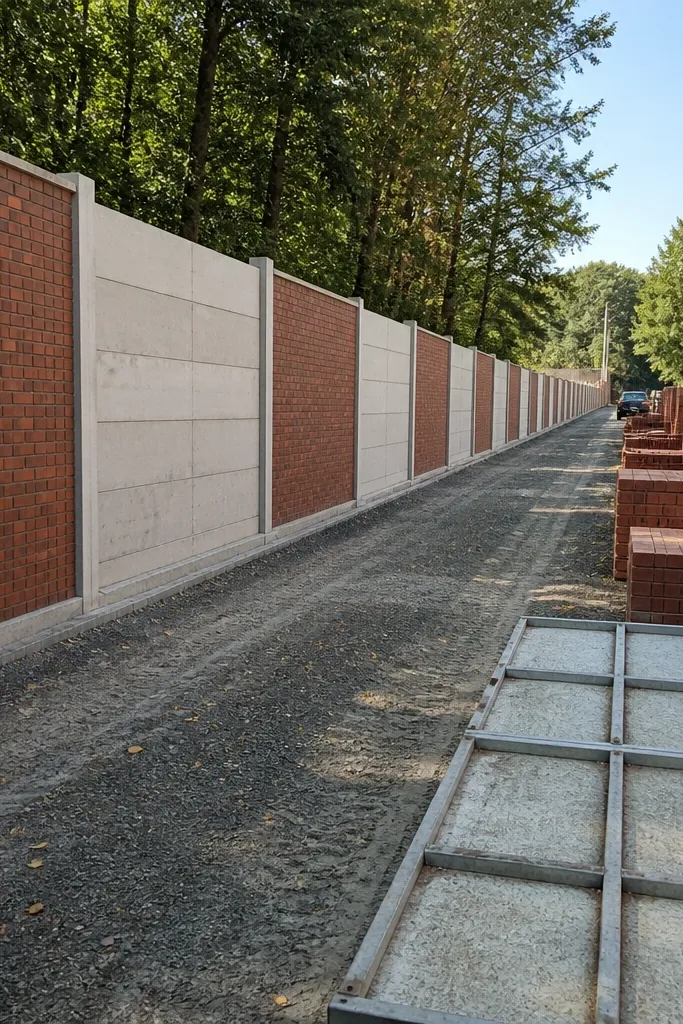
For a long boundary, the decision gets practical fast: labor time, material wastage, and how often you’ll need to fix small defects. Brick compound walls can look amazing but require careful masonry consistency across the entire run. Reinforced concrete panels are faster to standardize because you repeat formwork sizes and pour schedules. If your 30-meter stretch includes multiple gates and corners, RCC pillars and frames reduce surprises and keep the line straight.
Editor's noteStandardize bay width. When bays vary, brick joints and plaster thickness drift and the wall starts looking wavy.
First, measure your boundary and mark pillar positions so your bays repeat cleanly across the run. If you pick brick, use RCC pillars at a consistent spacing and keep gate openings framed with beams. If you pick reinforced concrete, standardize panel sizes and keep reinforcement spacing uniform across bays. Then plan finishing work so plaster and paint happen in a steady sequence — don’t leave surfaces exposed to rain for weeks at a time.
Skip thisDon’t start without a written schedule for curing and plastering; rain timing can ruin the surface.
15. Concrete compound wall with textured finish to hide micro-cracks
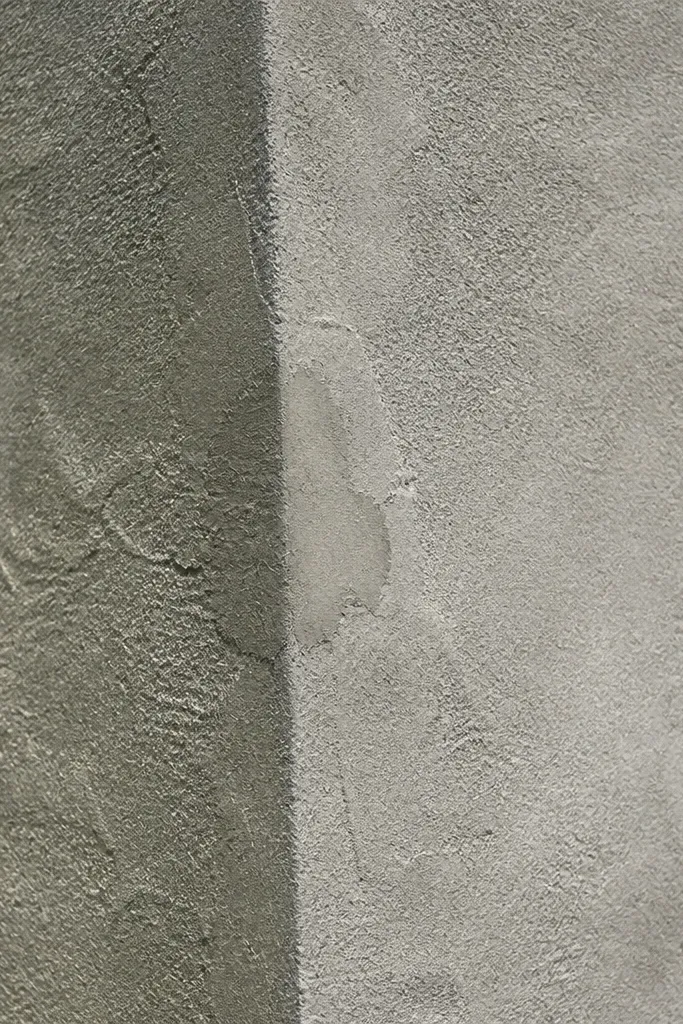
Micro-cracks can happen in concrete even when the structure is correct. A textured cement finish makes those tiny lines less noticeable and keeps the wall from looking patchy after repairs. This is a good option when you want a clean wall face but you’re in a climate that stresses materials with heat and rain swings. It’s also a smart choice if you expect minor shrinkage no matter how careful the build is.
Editor's noteTexture direction should follow the wall length so it hides seam lines between panels.
First, apply a base plaster coat and let it cure so the surface is stable. Then apply a textured top coat using a trowel and texture technique like a light broom or sponge pattern, keeping the texture consistent between bays. Prime and paint with exterior-grade masonry paint after the textured coat dries fully. Seal the top cap and pillar edges so water doesn’t concentrate in one spot and create a visible stain pattern.
Skip thisAvoid heavy glossy paint on textured plaster; it highlights unevenness and shows repairs.



