
1. Classic Chair Rail with Flat Panels
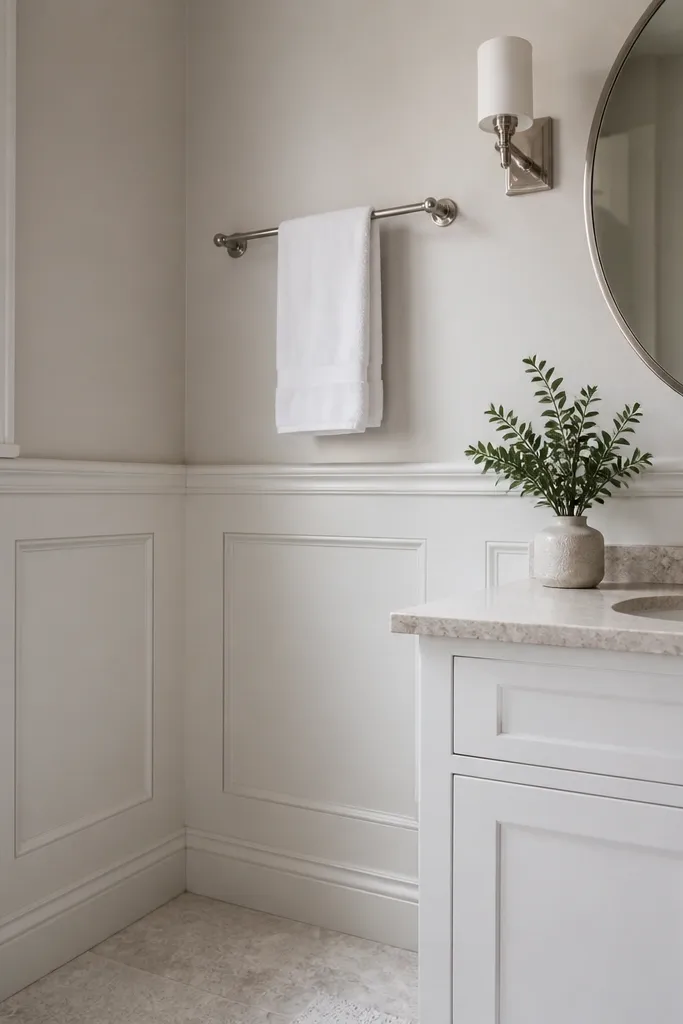
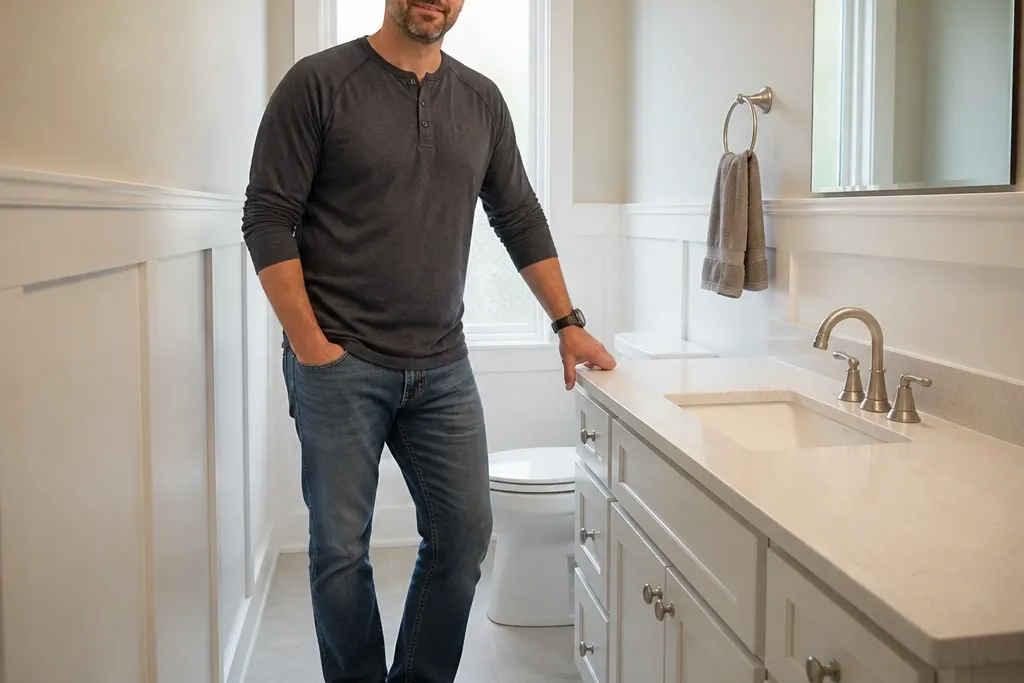
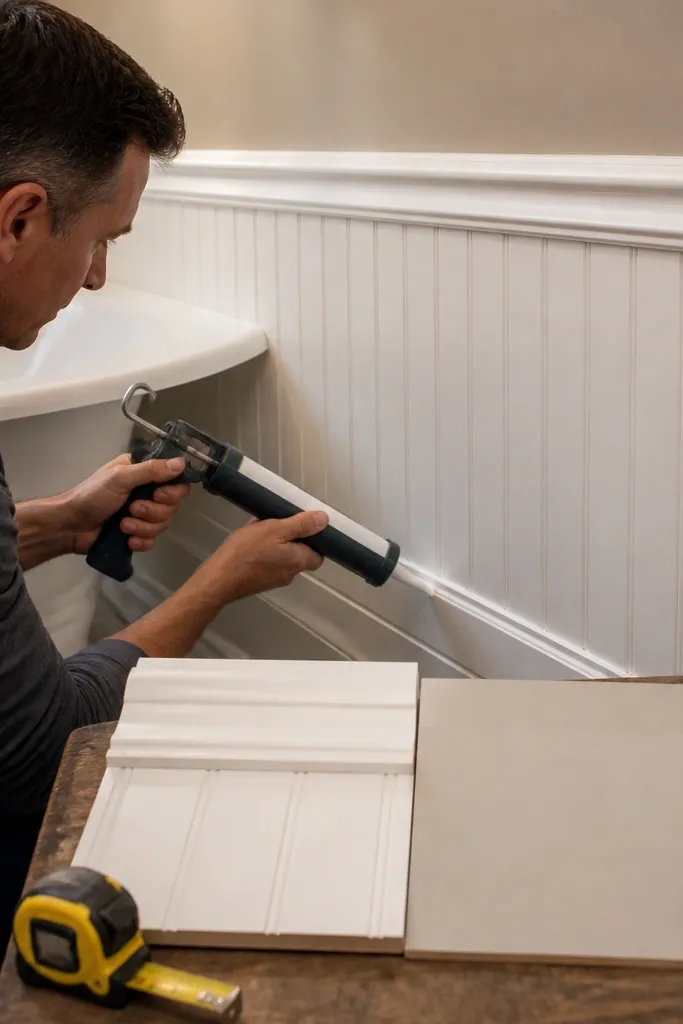
This is the most reliable “pretty in photos” option because it reads like traditional built-in millwork even when you DIY it. The look comes from two things: a straight, level chair rail and clean rectangles that frame light and shadow. In a bathroom, flat panels also forgive slightly uneven walls because you can shim behind the trim before fastening. Plan for a top rail at about 40 inches and panel heights that stop neatly above the vanity splash line.
Start by finding your top-rail height. Mark a level line around the room, then apply painter’s tape bands to map where the panel rectangles will land. Cut and install the top rail first, then install the bottom rail at your chosen panel height, checking level as you go. Next, measure between rails and cut the vertical stiles and horizontal panel pieces so the rectangles look even; use wood spacers to keep widths consistent. Caulk every seam lightly, fill nail holes, prime with a bathroom-rated primer, then paint with a satin or semi-gloss finish.
Dry-fit one panel section on the floor and measure it against your marked wall spacing before you cut all the pieces.
Don’t guess panel sizes — if the rectangles aren’t consistent, the whole wall looks off in daylight.
2. Half-Height Shaker Wainscoting
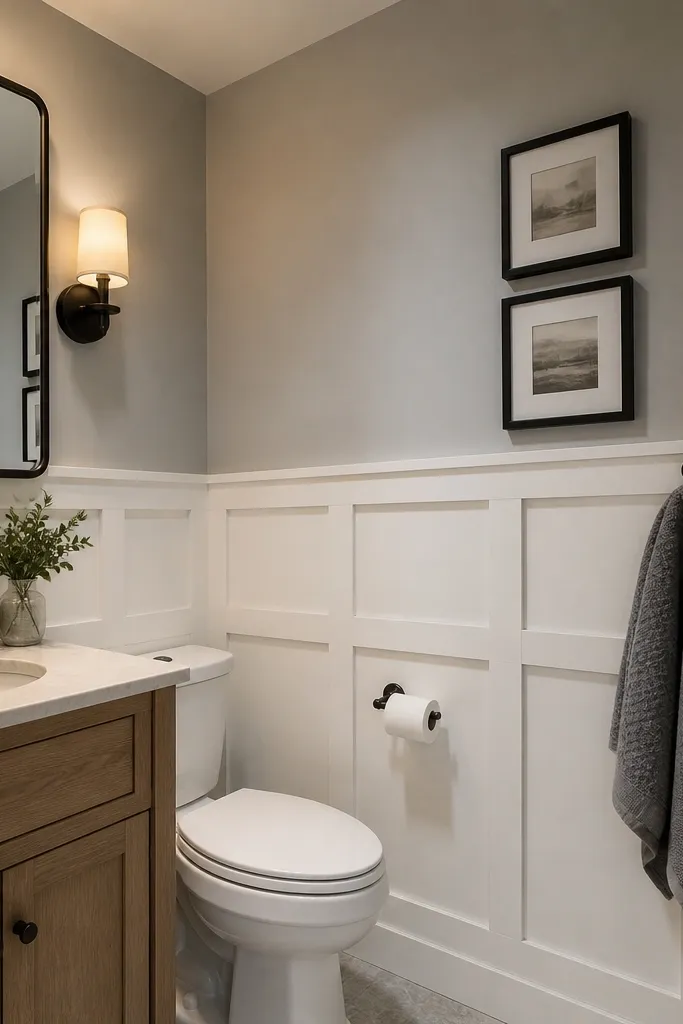
Shaker-style wainscoting looks sharp because the frames create a grid that catches light from every angle. It’s a great weekend project when you want a modern-traditional blend without complex profiles. The square panel layout also hides small wall imperfections better than beadboard because you can align the frames to your level reference lines. If you pick a crisp white paint with a subtle gray undertone, the frames look crisp rather than flat.
Choose your half-height target first, usually 36 inches from the floor for the top of the bottom rail if your mirror is around 60 inches. Mark the rectangle grid: vertical stiles every 12 to 18 inches depending on your wall length, and panel spacing that keeps the outer frames centered. Install the perimeter rails, then build each square frame by attaching the outer trim pieces to the wall. Add center dividers last so they land cleanly on your spacing. Fill nail holes, caulk seams, prime, then paint in two coats with a finish rated for bathrooms.
Use a framing square to check every frame corner before you drive nails — one crooked corner shows up in every photo.
Don’t place a frame so it’s cut off by a corner or window trim; shift your whole grid to keep full squares.
3. Beadboard with a Thick Picture-Frame Border
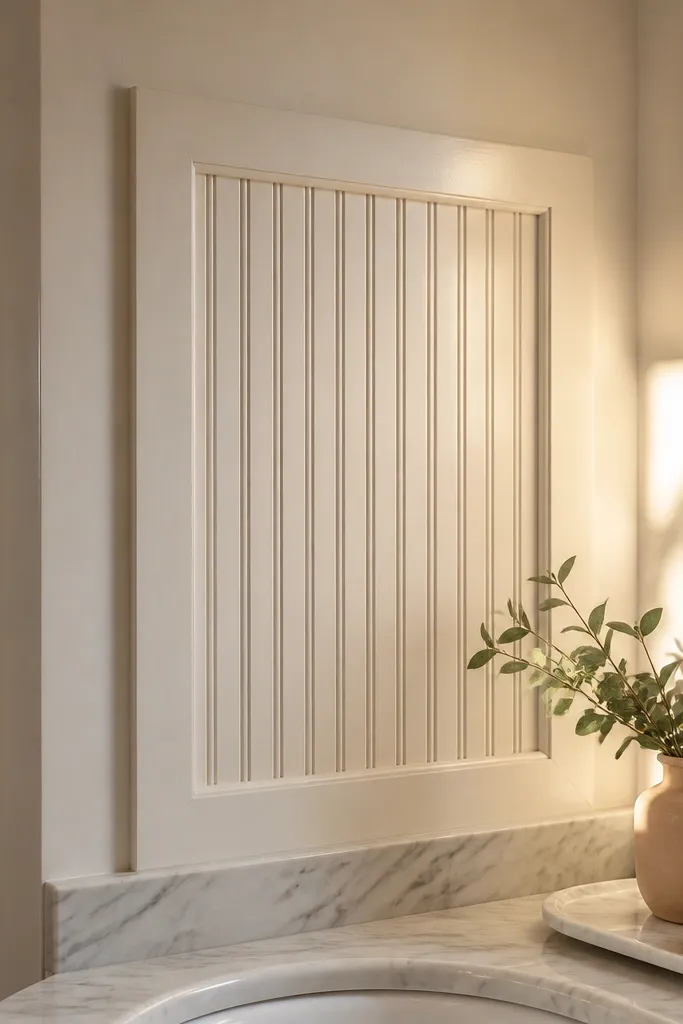
Beadboard is the quickest way to get instant texture, but the trick is making it look finished instead of “installed boards.” A thick picture-frame border around the beadboard panels gives you that gallery-wall look and makes the texture feel intentional. It also looks great in bathrooms because the raised beads cast small shadows that hide minor touch-ups. Keep the beadboard panels at half-height and use a slightly wider border than you think — it’s what photographs as “custom.”
Measure your wall width and decide your beadboard panel area between left and right trim. Install a level bottom rail first, then add the thick border pieces around the panel area as a rectangle. Fit beadboard sheets or beadboard boards inside that framed rectangle, fastening into studs where possible and using panel adhesive on the back edges if your system allows it. Add vertical corner trim to cover expansion gaps. Caulk the top and bottom edges, prime thoroughly, then paint with a moisture-resistant primer and a satin finish for wipeable durability.
Editor's noteLeave a small expansion gap at corners and cover it with trim; don’t try to force beadboard tight into every corner.
Skip thisDon’t paint over raw seams without caulk — unfilled gaps telegraph as dark lines once the paint dries.
4. Tall Panel Wainscoting to the Vanity Mirror Line
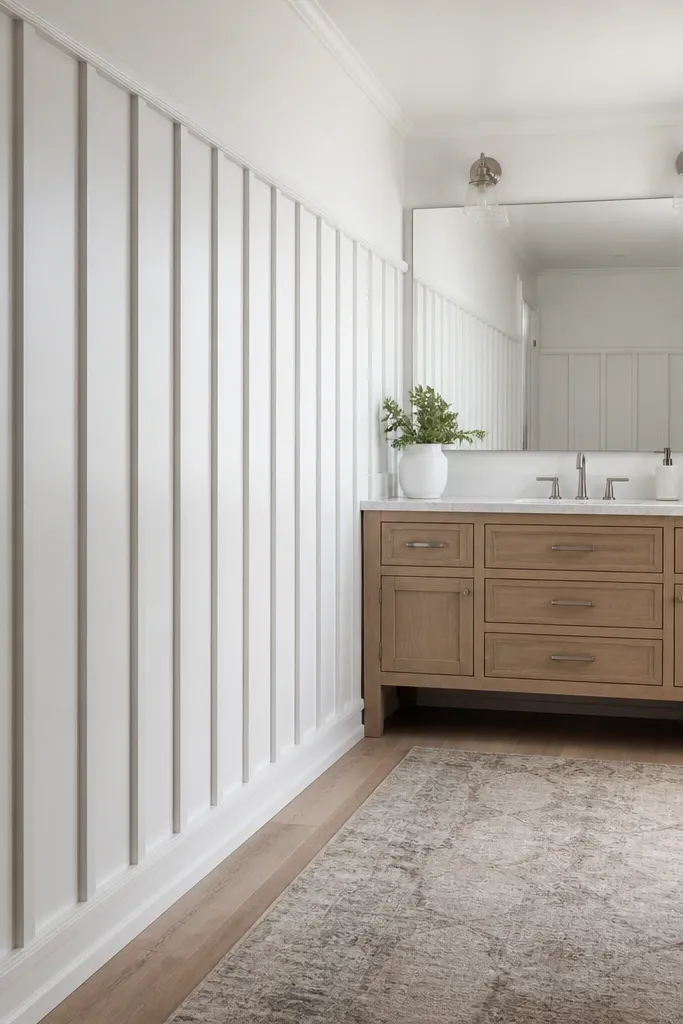
If your bathroom feels plain, tall-panel wainscoting makes the wall look dressed without adding clutter. The look is dramatic because the panels extend upward, so the eye travels vertically and the room feels taller. This is best when your mirror is fairly large or when you have a long wall section above the vanity. Keep the top rail aligned with the mirror’s visual height, then make the panel grid slightly narrower so it reads upscale instead of boxy.
Pick your top rail height based on mirror placement: aim for the top rail to land around the same height as the mirror’s bottom third. Mark the level line and install the top rail. Build a bottom rail at a consistent height above the vanity splash zone, then add vertical stiles at intervals of 14 to 20 inches. Use horizontal rails to create panel boxes that look balanced, and keep the outer panels symmetrical around the center of the wall. Caulk all trim edges, sand nail holes smooth, prime, then paint with a bathroom-rated system in semi-gloss.
Editor's noteUse painter’s tape to outline panel rectangles before cutting anything; adjust spacing until the center panel hits the wall center.
Skip thisDon’t let the top rail drift off level — tall wainscoting exaggerates even small mistakes.
5. Wainscoting with Vertical Slats (Modern Farmhouse)
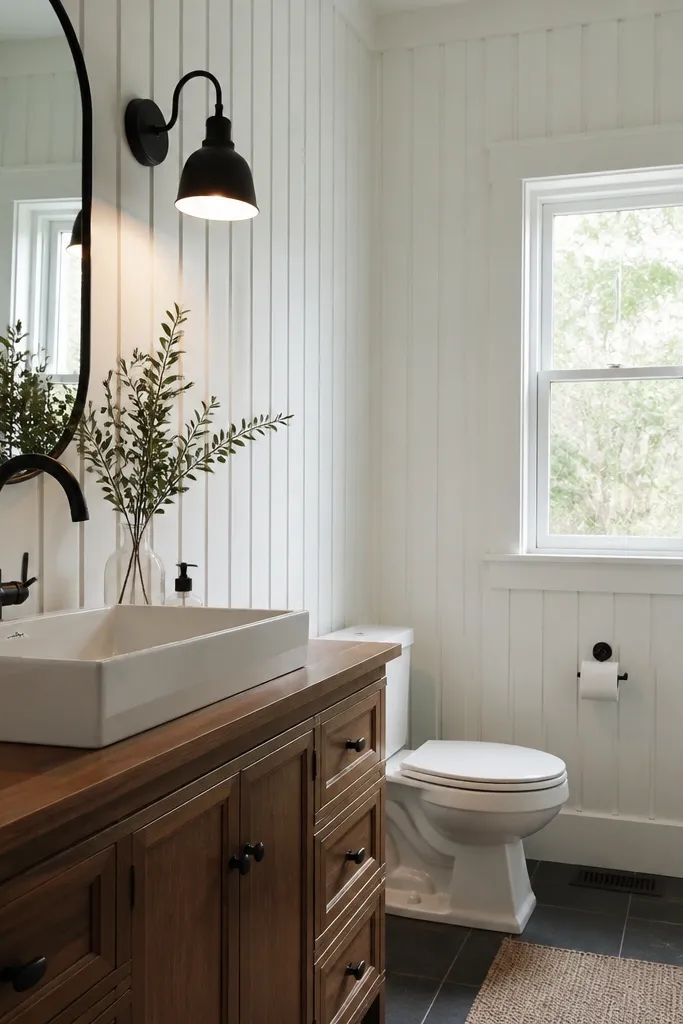
Vertical slats turn wainscoting into something you’d normally pay for because they look like custom built-in wall treatment. The photos pop because slats create stronger shadow lines than flat panels, and the vertical rhythm makes narrow bathrooms feel longer. Keep the slats consistent and use a simple top rail so the texture does the work. This style looks best in bathrooms with clean lines and simple fixtures; it can feel busy if you already have a lot of pattern.
Start with the top rail height, usually 40 inches for a classic bathroom proportion. Mark your rail line, then install the top and bottom rails to define the slat area. Choose slat width and spacing (for example, 1x2 slats with 1/4-inch gaps is an easy visual ratio). Cut slats to length, then install from the center outward so the slat pattern stays symmetrical. Fill nail holes, caulk around all edges, prime the whole surface, then paint with a satin finish so the slat shadows stay crisp.
Pre-sand slats and run a light edge bevel so paint doesn’t build up in sharp corners.
Don’t use random spacing; inconsistent gaps read as sloppy even if the rails are level.
6. Lattice-Grid Wainscoting with Mitered Corners
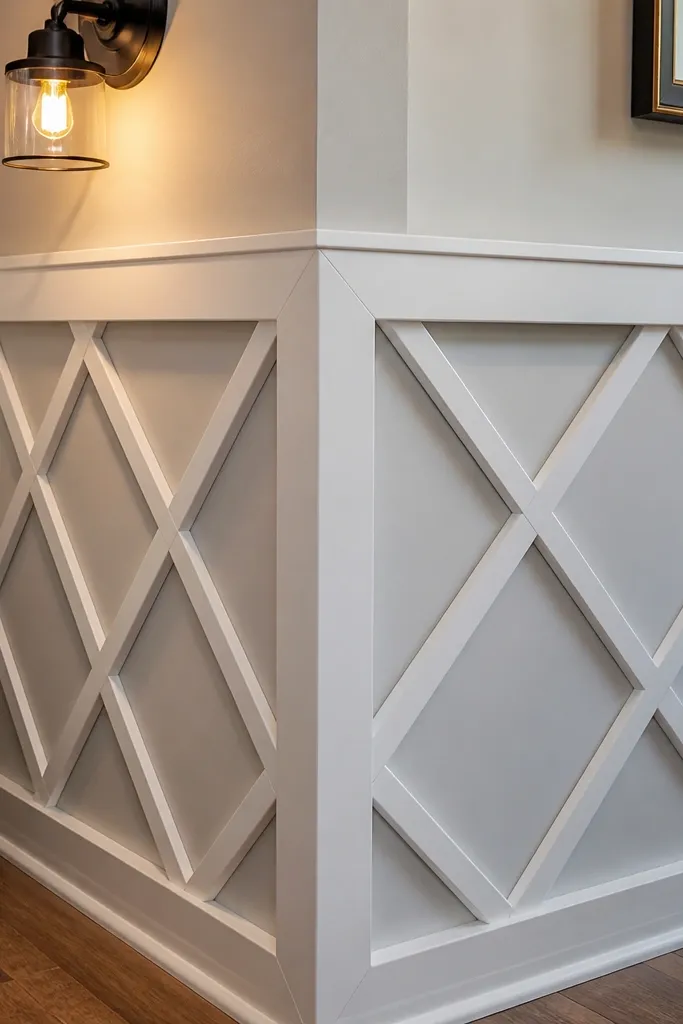
This one looks expensive because the lines form a lattice pattern that creates a complex shadow play. It’s also surprisingly doable in a weekend if you keep the lattice size consistent and use straight cuts with careful measuring. The trick is choosing a simple perimeter frame so the diagonal pattern doesn’t fight your room’s existing trim. This looks best on a single long wall section where the lattice can be the star.
Mark a rectangular wainscoting zone with a top rail and bottom rail, then decide on your lattice cell size (for example, 8 to 10 inches per diamond). Build the perimeter frame first. For the lattice, cut diagonal members so they meet at the center of each diamond; use a consistent angle and measure off a template piece for repeat accuracy. Install diagonals in a grid pattern, starting from the center and working outward. Caulk seams and paint; use a brush for corners and a small roller for the flat areas to avoid streaks.
Editor's noteMake one perfect “diamond” template from scrap and reuse it to measure every diagonal length.
Skip thisDon’t rely on eyeballing diagonals — small angle errors stack up and the lattice starts to look wavy.
7. Waterfall Wainscoting with a Cove Base Detail
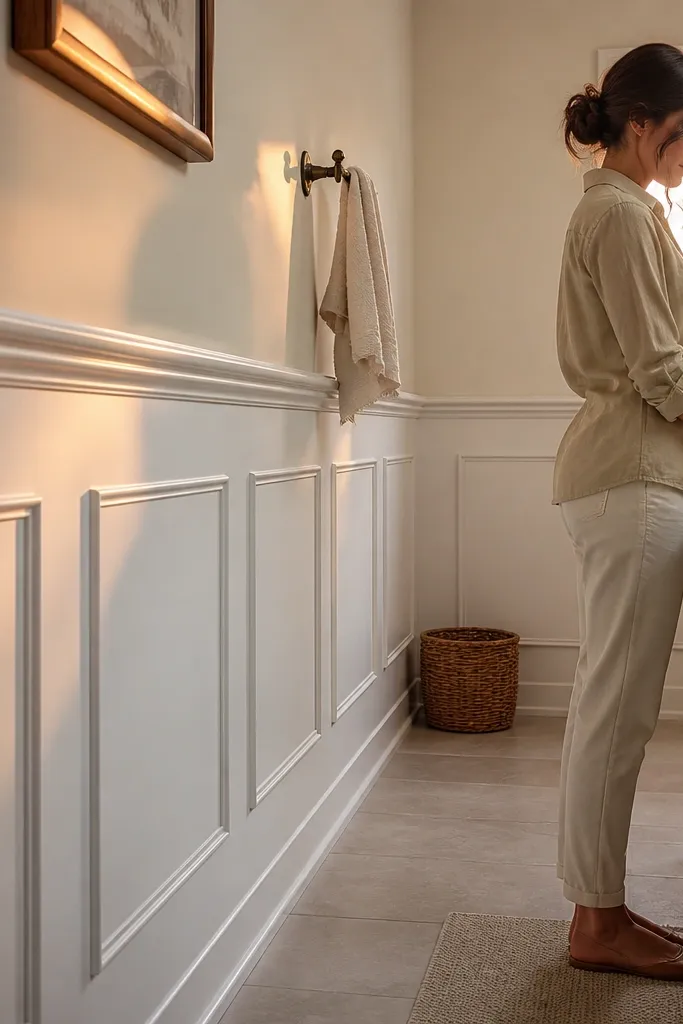
If you want a soft, high-end look, a cove base detail beneath the bottom rail makes the whole installation feel finished. It creates a gentle shadow line instead of a hard stop, which looks great in bathrooms with warmer lighting. The panels still keep it structured, but the lower transition looks more architectural. Choose a cove profile that’s not too tall; you want the curve to read as a subtle landing, not a dramatic molding moment.
Set your top rail height first, usually around 38 to 42 inches depending on your mirror. Install the top rail, then install your bottom rail at the panel height. Instead of ending the bottom edge flat, add the cove profile trim along the bottom transition so it covers the seam and creates a smooth visual curve. Cut panel sections between rails, install vertical pieces, then add the panel face pieces. Fill, caulk, prime with moisture-resistant primer, and paint with satin or semi-gloss so the curve wipes clean.
Editor's noteTest the cove profile fit on a scrap wall section so you don’t discover a gap after all the panels are installed.
Skip thisDon’t skip sanding and caulk at the cove seams — paint reveals every tiny edge.
8. Two-Tone Bathroom Wainscoting (White Panels, Painted Wall)
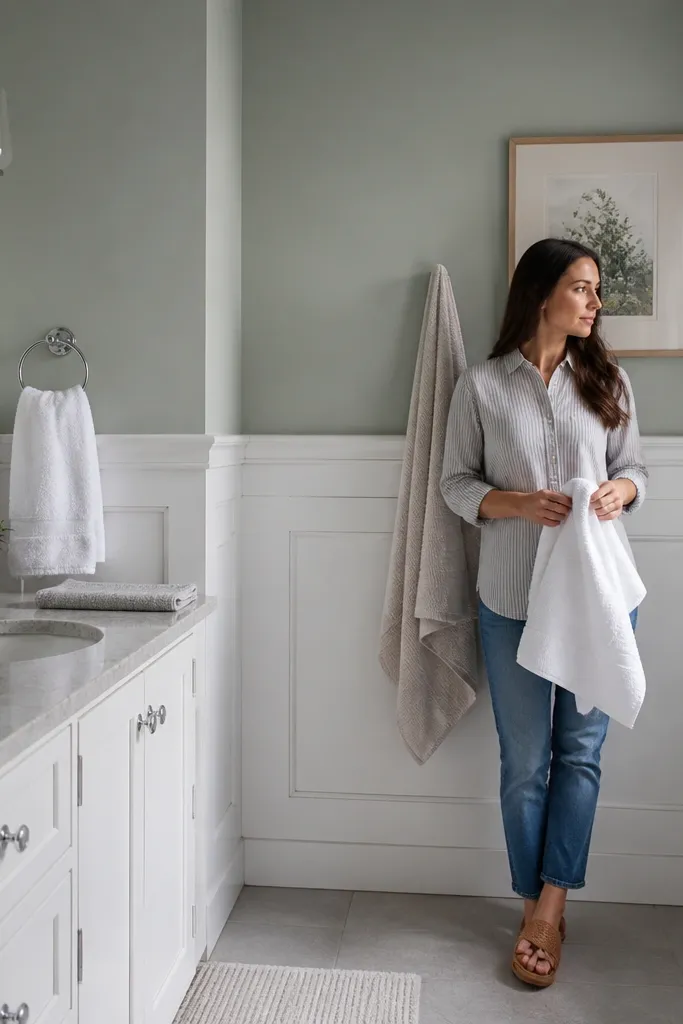
Two-tone wainscoting makes the lines look crisp and intentional, especially in smaller bathrooms where single-color walls can look flat. The best combo is a bright, durable white on the trim and panels, with a muted color on the upper wall that matches your hardware or tile undertones. This style photographs well because the separation line is obvious even in shadowy corners. It also lets you hide imperfections: the trim color reads clean while the wall color can be forgiving.
Pick your split height first and mark the line where the top rail or chair rail will sit. Apply painter’s tape carefully along that line so you get a sharp separation between trim and wall paint. Install the wainscoting as usual with rails and panels, then prime everything together so the paint levels out. Paint the trim and panel faces in a bright white satin, let it cure, then paint the upper wall in your chosen color with a washable bathroom paint. Remove tape after the trim paint is dry to the touch so edges don’t tear.
Use the same sheen level on both colors when possible; mixing matte on the wall with semi-gloss on trim can look messy in photos.
Don’t paint the wall first — splatter and roller texture on the trim edges ruin the crisp separation.



