
1. Oversized bars that turn "modern" into bulky
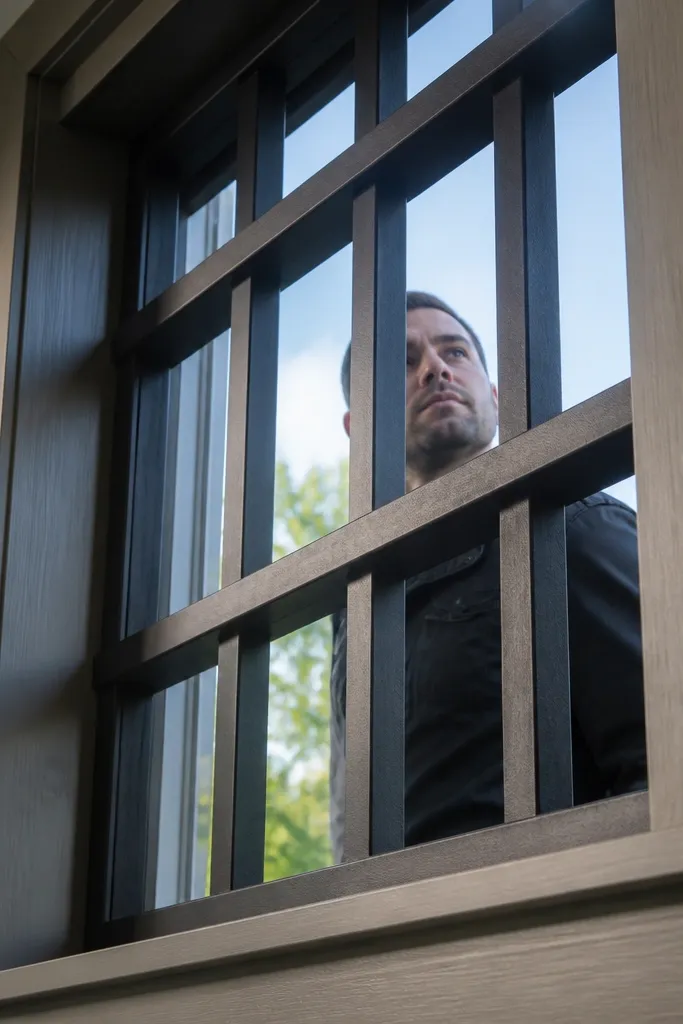
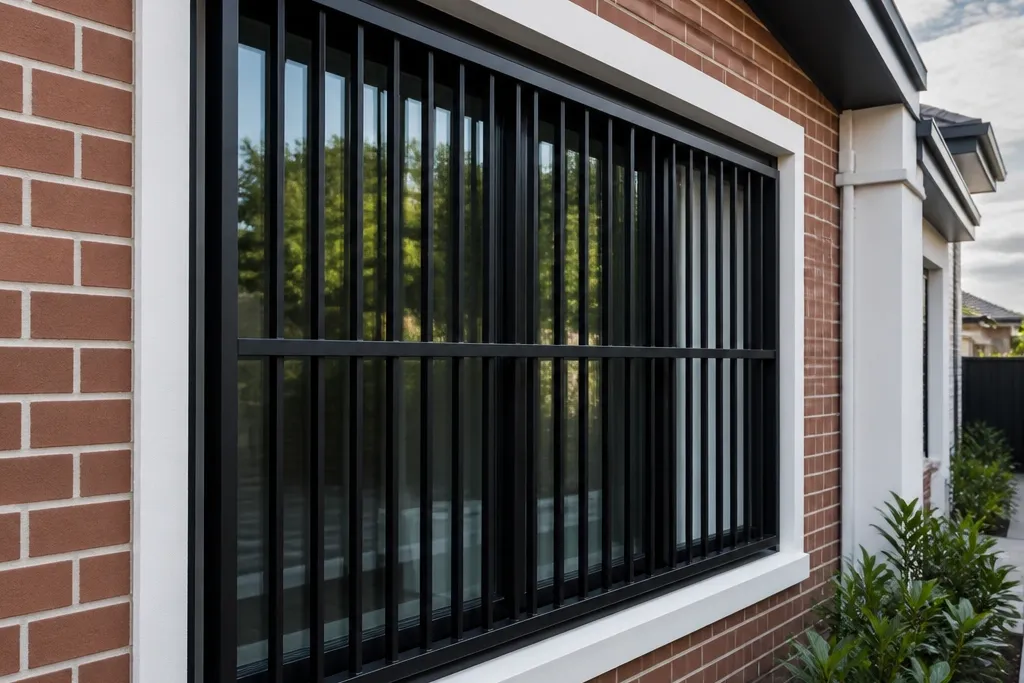
The biggest modern-window-grill lie is thinking you need thick bars for strength. In real use, spacing and proper anchoring do the heavy lifting, not bar mass. When bars are too thick, the grid looks like a cage and it visually crushes the window frame. The fix is to choose bar thickness that matches the window size so the grill reads light, not heavy.
Start by measuring your window width in millimeters. For most residential windows, choose bar thickness around 12-16 mm and keep the gap between bars consistent at about 80-120 mm depending on how open you want it to look. Then redraw your pattern using those exact numbers so you’re not guessing once you’re cutting metal.
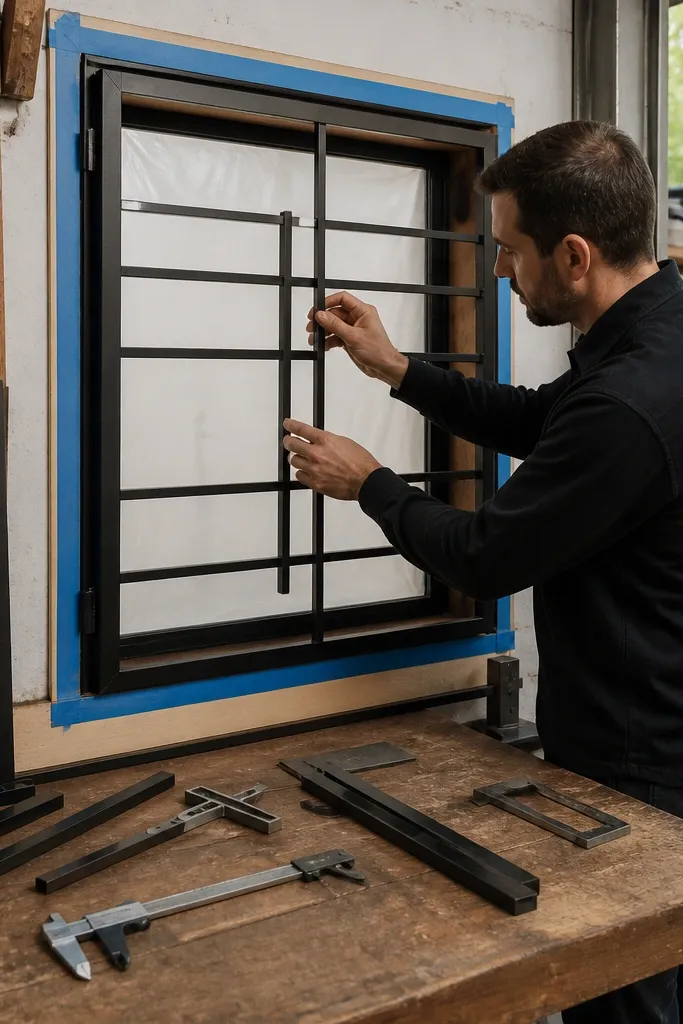
If you’re unsure, mock one bar and one gap length on cardboard and hold it up to the window from outside.
Don’t jump to 25 mm bars just because they look “strong.”
2. Crooked spacing that ruins the whole grid
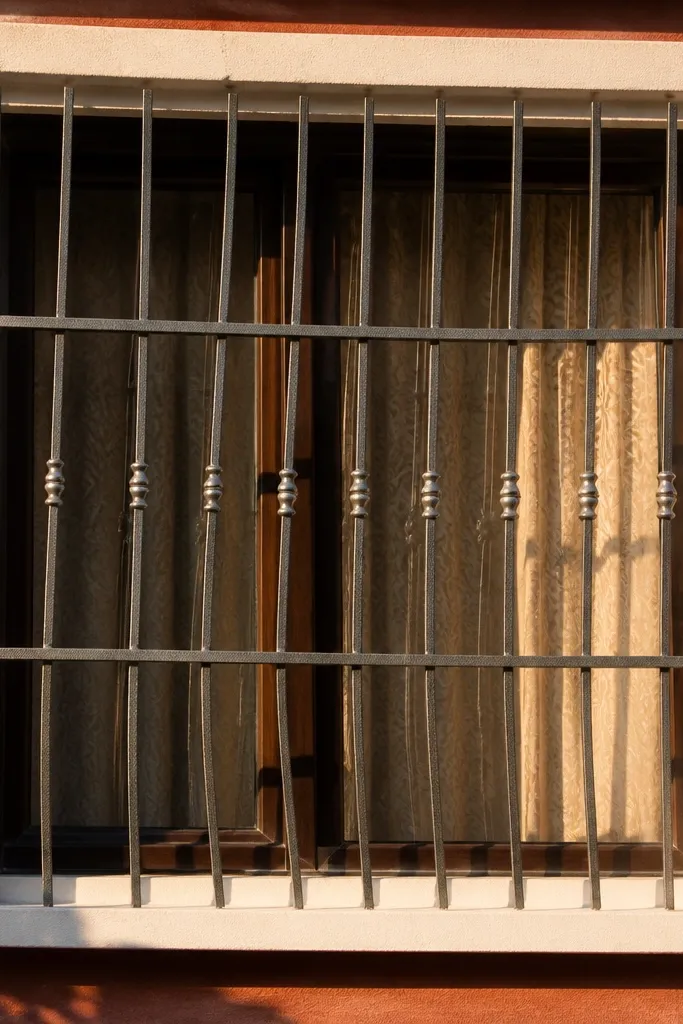
Modern grills look clean because every bar repeats the same rhythm. When spacing drifts, your eye catches it immediately, even from across the room. Crooked spacing usually comes from cutting bars without a jig or assembling on a surface that isn’t flat. It’s also common when people tack-weld first and “adjust later,” because later becomes sloppy.
Editor's noteUse a steel ruler and a square for every row, not just the first one.
Build a simple assembly jig: two straight rails on a flat board set to the exact grill width, with marks for bar locations. Cut all bars to length first, then place them between the side rails using spacers (thin metal strips or uniform wood strips) so every gap matches. Tack-weld each bar in place, re-check alignment against your marks, then fully weld once everything lines up.
Skip thisDon’t weld the whole grid before you verify all gaps match.
3. A frame that's not square to the opening
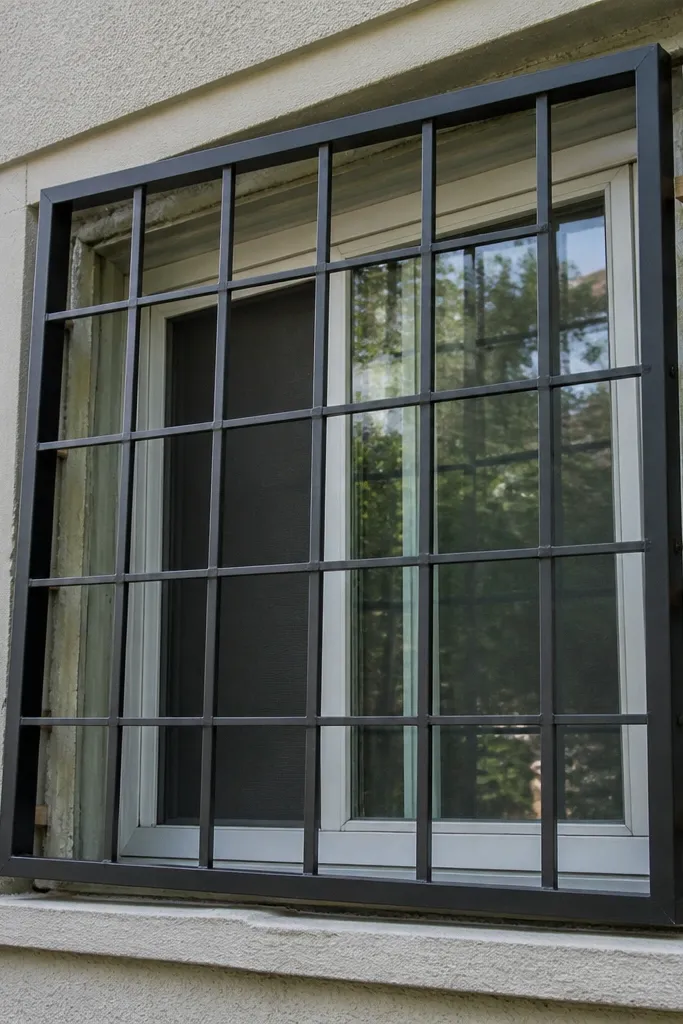
A modern pattern can still look wrong if the frame is twisted. When the frame isn’t square, the bars look like they’re drifting even if the cuts were accurate. You also end up with uneven reveals around the window, which screams “DIY” in a bad way. The fix is to square the frame during build, then install with shims so it stays square.
Editor's noteCheck squareness again after drilling anchor holes; drilling can pull metal slightly.
Start by cutting your outer frame pieces and laying them on a flat surface. Use corner clamps and measure diagonals — they should match within 2-3 mm for a clean look. Then dry-fit the frame into the opening and shim behind the frame at anchor points so it sits flat without forcing one corner tight.
Skip thisDon’t size the grill to the largest measurement and hope it fits.
4. Wrong finish: glossy paint that looks cheap
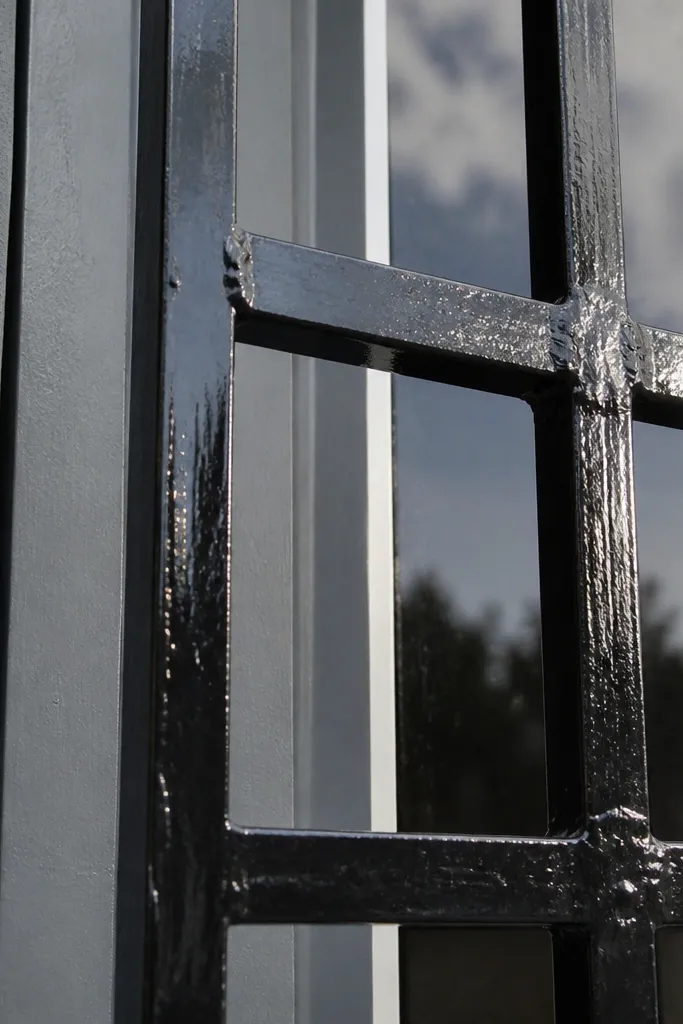
Glossy finishes reflect light hard, and that makes thin bars look uneven and welds look more obvious. Matte powder-coat hides minor texture differences and reads modern because it stays calm in different lighting. If your grill will face sun or bright exterior light, glossy paint will show every brush mark and patch. The fix is choosing a finish that reduces visual noise.
If you’re buying pre-finished metal, pick matte powder-coated steel in a flat black or dark charcoal. If you’re painting yourself, use metal primer made for ferrous metal, then apply a quality exterior enamel with a satin or matte sheen. Then test a small scrap piece in your lighting before you commit to the whole grill.
Avoid “high gloss” anything — it’s the fastest way to make a grill look DIY.
Don’t paint bare steel without primer; rust will creep under later.
5. No rust planning: bare steel, rushed prep
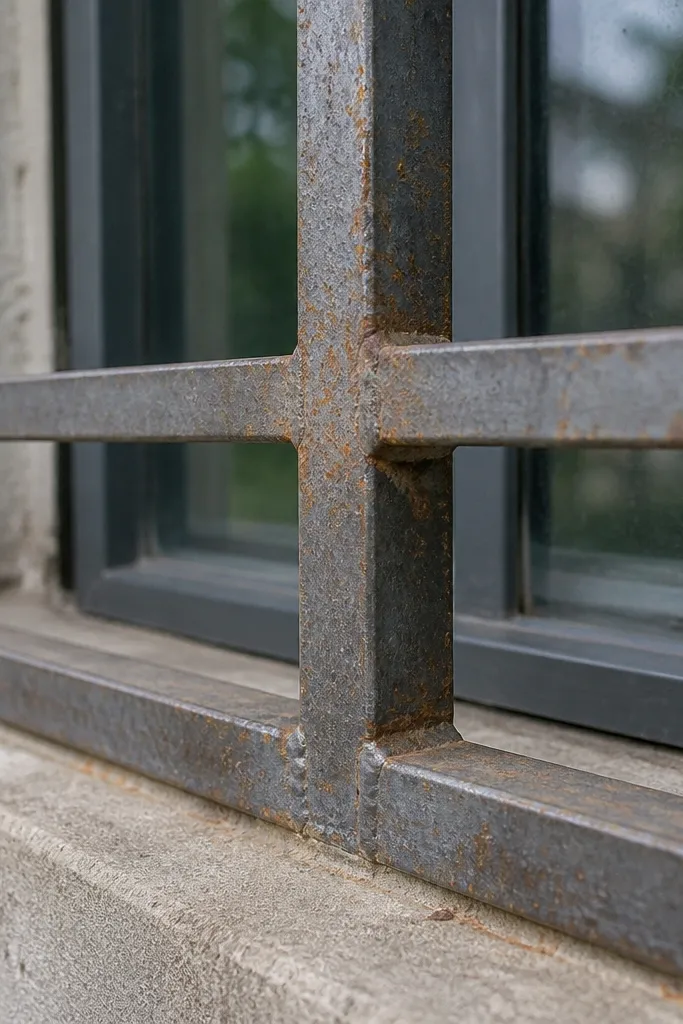
Grills live in the weather, and weld seams are the first place corrosion starts. If you leave mill scale, old paint, or oily fingerprints on the metal, rust will bloom in months, not years. Modern grills look bad when they spot-rust around joints because the pattern starts to look patchy. The fix is proper prep and coating at every weld and edge.
Start by grinding welds smooth and removing all surface contamination with a degreaser wipe. Then sand to a clean, uniform surface and apply metal primer right after prep so you don’t trap contamination. After primer cures, apply your exterior top coat, and seal any exposed edges you cut or drill.
Focus on welds and cut ends — those are the rust hotspots.
Don’t finish over oily metal or skip primer at welds.
6. Pattern choice that blocks the window view
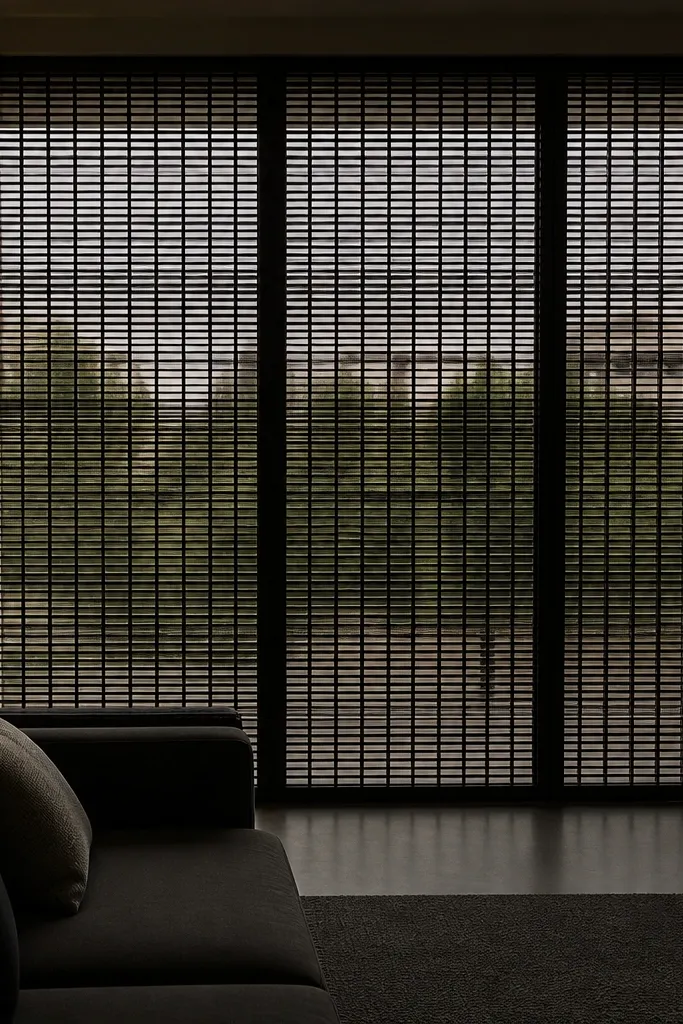
Modern grills should feel like a light frame, not a wall. If your pattern has too many bars or too small gaps, it kills daylight and makes the window look smaller. It also makes the grill look heavier even if you used thin metal. The fix is choosing a pattern density that preserves view while still meeting safety needs.
Editor's noteIf you can, use fewer horizontal bars and more vertical rhythm; it reads cleaner.
Decide your target openness first: pick gap widths around 80-120 mm for most homes. Then calculate how many vertical bars fit using your measured grill width and the bar thickness you chose. Finally, keep horizontal members minimal and align them with the window’s natural trim lines so the grill looks intentional.
Skip thisDon’t pack bars so tightly that the grid becomes a solid panel.
7. Using decorative curls that look dated
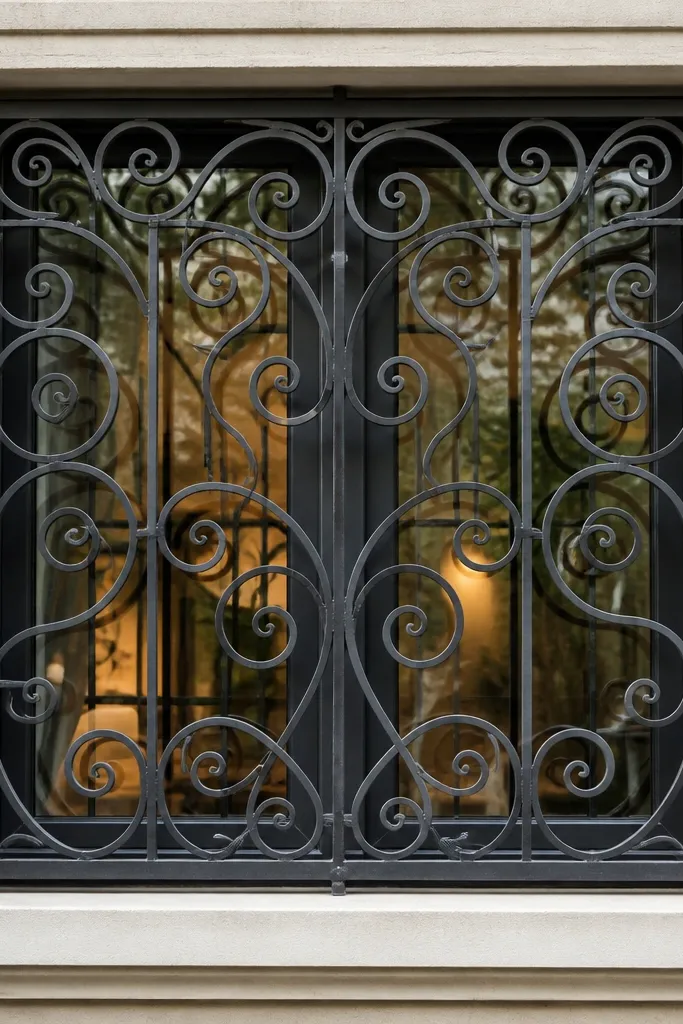
Scrollwork and heavy curls can look old fast, especially on modern windows with clean lines. The problem isn’t that decoration is “bad,” it’s that curls add thickness, visual clutter, and inconsistent spacing. Modern window grill design ideas look better when the pattern is straight, repeated, and controlled. You can still get style with simple geometry — just avoid the swirl overload.
Editor's noteIf you add one decorative element, add only one — keep the rest strict and repeatable.
Replace curls with geometry: use straight bars plus a simple chevron, half-diamond, or minimal horizontal bar crossing. Draw the full pattern and keep every element aligned to a consistent grid spacing. Then use a consistent bar thickness for every piece so it doesn’t look like you mixed parts from different projects.
Skip thisDon’t combine scrollwork with thick bars; it reads heavy and dated together.
8. Too many horizontal bars creating a ladder look
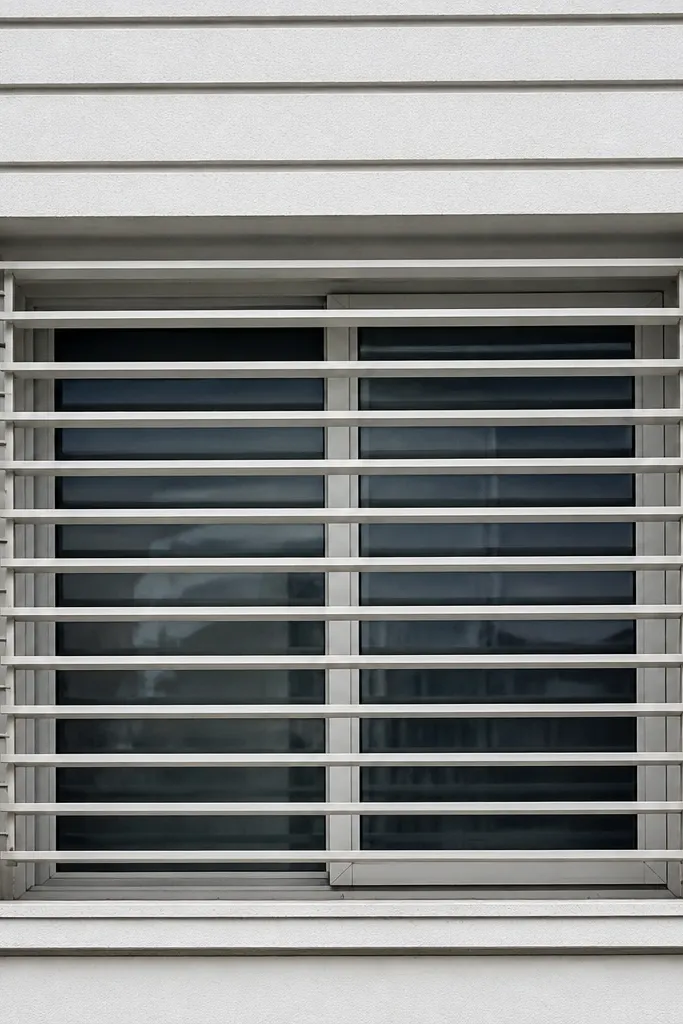
Horizontal members can look fine, but too many create a ladder effect that flattens the window. It also makes the grill feel busy, especially when the window trim already has horizontal lines. Modern grills feel cleaner when the dominant rhythm is vertical, with only one or two horizontal rails for structure or a simple accent. The fix is limiting horizontals and placing them where they match trim or sightlines.
Pick a structural plan: one top rail and one bottom rail for the frame, then add at most one interior horizontal accent if you want it. Mark the interior accent position using the window’s midline so it looks balanced, not random. Cut and install the interior rail using spacers so its distance to vertical bars stays consistent.
If the window is narrow, skip interior horizontals entirely.
Don’t add 3-5 interior rails just because it looks “busy.”
9. Bar ends that stick out and catch fingers
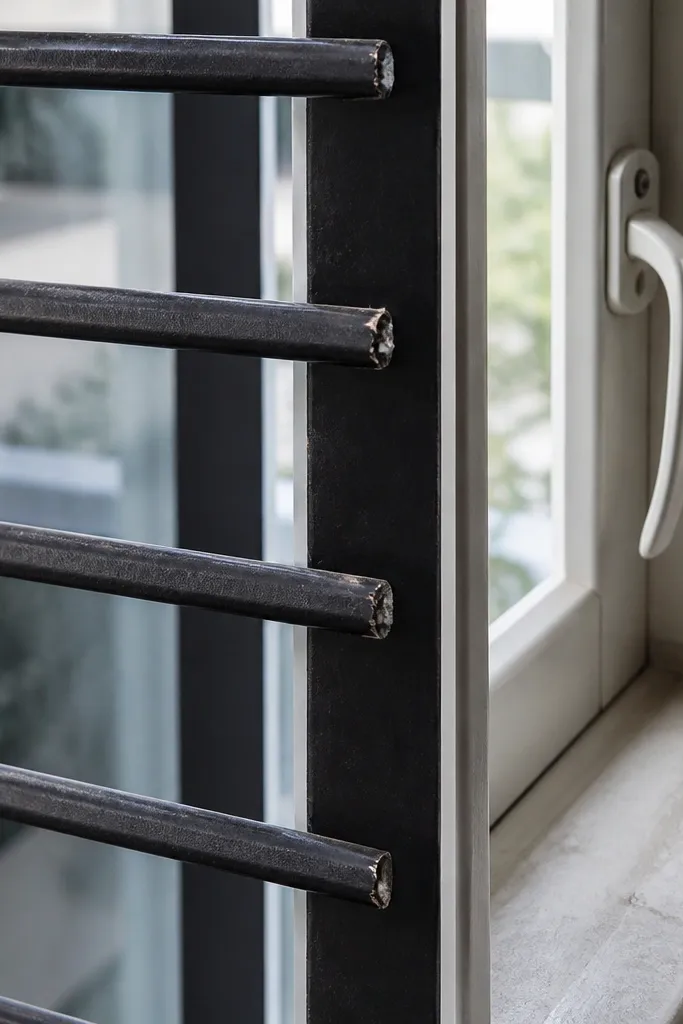
Sharp, raw bar ends are both a safety issue and a visual one. They look rough, and they chip paint quickly where the edge is most exposed. Modern grills need clean terminations so the edges look finished. The fix is using proper caps, grinding, and a coating system that fully covers the end grain.
Editor's noteRun your hand over every edge after coating cure — if you feel a snag, fix it before it fully hardens.
Start by cutting bars with a small overage, then grind the ends smooth and square so there are no burrs. Use end caps if you’re building a frame with hollow sections; otherwise ensure the end grain is fully coated. After welding, grind the weld area, then prime and top coat so the end edges match the rest of the grill finish.
Skip thisDon’t leave burrs after cutting and hope paint hides them.
10. Wrong spacing for the safety goal
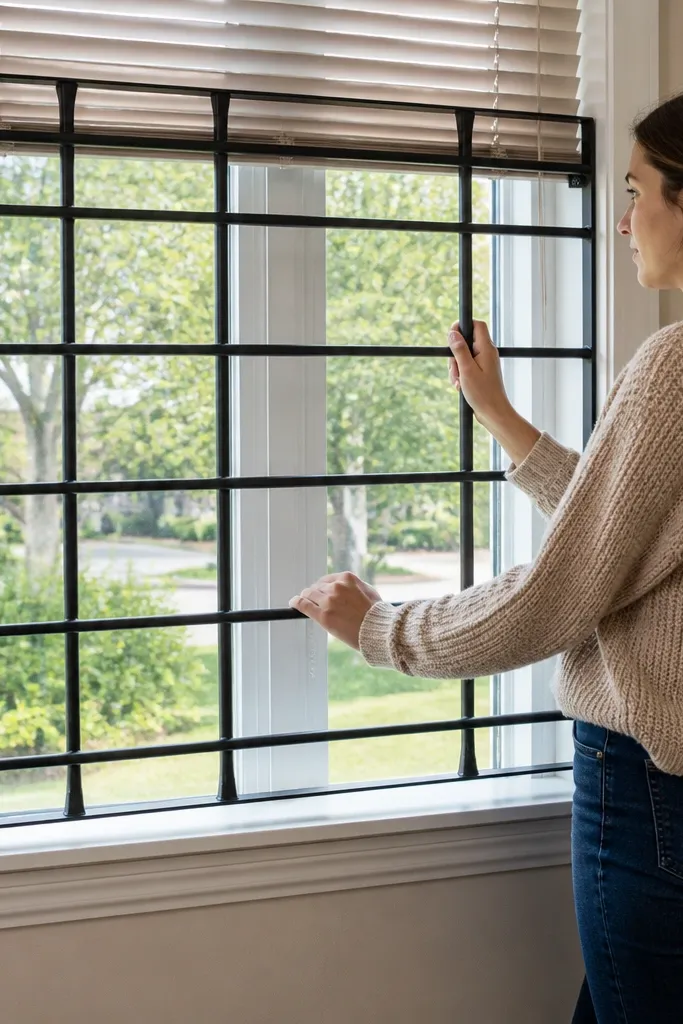
Spacing isn’t just style. If the gap is too wide, the grill fails the safety reason people install it in the first place. If the gap is too small, it looks heavy and blocks light. The best modern window grill design ideas balance openness with a practical gap target. The fix is choosing spacing based on your household needs, then sticking to it during fabrication.
Pick a gap target and write it on your pattern drawing before cutting anything. For many home safety setups, people aim for gaps around 100 mm or less — use your local safety requirements if you have them. Then set spacers to that gap and keep them consistent while you tack and weld each bar.
Measure gap width from bar face to bar face, not from center to center.
Don’t change spacing halfway through because “it looks better there.”
11. No cross-bracing on long spans
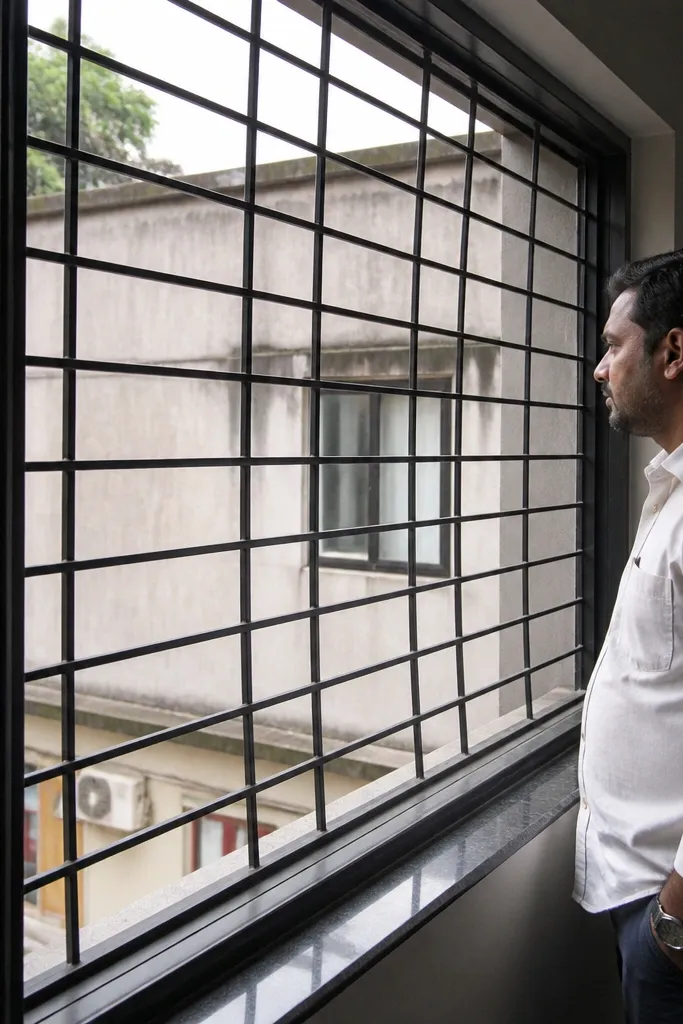
Long spans sag when the grill isn’t braced. It might look fine during build, then it bows after a few temperature swings or after installation stress. Bowing kills the modern look because everything stops lining up cleanly. The fix is adding structural members where they prevent flex without adding clutter.
Start by checking your grill width and bar lengths. If your span is large, add a diagonal brace or a single chevron element using thin bar stock that matches your grid thickness. Then weld braces to the frame and at least two adjacent bars so load transfers instead of bending one member.
If you see any wobble on the tabletop, add bracing before you coat.
Don’t skip diagonals or internal bracing on wide windows.
12. DIY welding that looks rough through paint
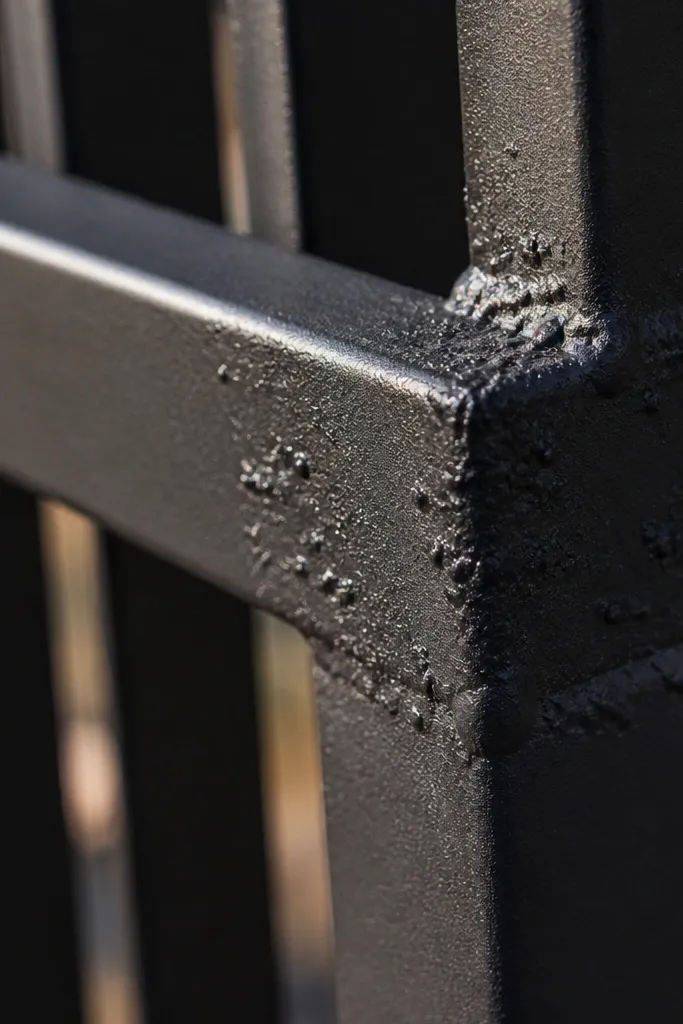
Even if your pattern is perfect, sloppy welds show through paint and make the grill look cheap. Weld spatter creates texture that catches light and makes the grill look uneven. Modern design depends on clean lines, so your weld cleanup matters. The fix is grinding and consistent weld technique before finishing.
Editor's noteGrind slowly — removing too much metal can weaken joints.
Start by doing your tack welds first, then fully weld in short sections to reduce warping. After welding, grind down spatter and high weld beads until the surface feels smooth under a gloved hand. Then use primer to fill micro-scratches so the top coat lays evenly.
Skip thisDon’t rush to paint while welds are still bumpy.
13. Forget to plan for window hardware clearance
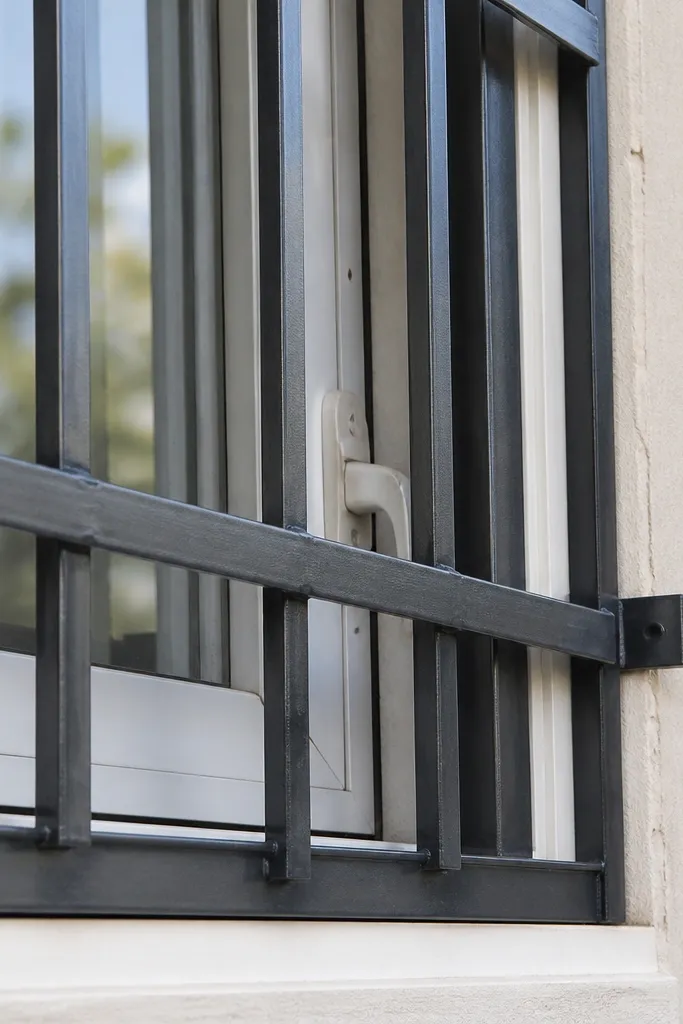
A grill that blocks a handle or latch is worse than no grill. The window becomes hard to open for cleaning or emergencies, and you end up removing parts later. Modern grills need clean clearance around hardware and trim. The fix is measuring what swings, slides, or locks, then designing your grill to leave those zones open.
Start by opening the window fully and measuring the travel of the latch, crank, or sliding rail. Mark a clearance zone on your drawing — include a few extra millimeters so paint and minor misalignment don’t cause contact. Then place your horizontal members and any decorative elements outside that clearance zone.
Test with masking tape mock-ups on the window before you commit to metal placement.
Don’t design the grill from the outside measurement only.
14. Anchoring the frame with weak fasteners
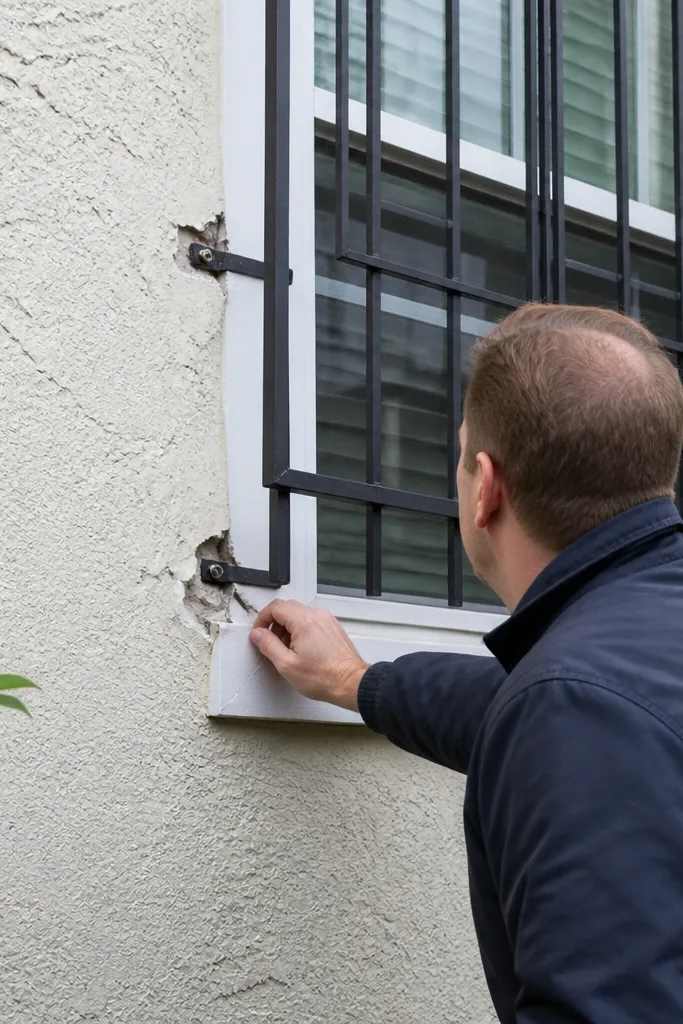
A modern-looking grill that’s not anchored well is a safety failure and a visual failure. Poor anchors let the frame shift, which creates gaps and misalignment over time. You also get vibration and rattling when doors or windows move in wind. The fix is matching anchors to your wall material and spacing them properly along the frame.
Start by identifying your wall material — concrete, brick, or block each needs different anchors. Then choose the fasteners accordingly and drill at the frame’s anchor points without enlarging the holes. Finally, install with shims so the frame sits tight and square, then tighten anchors evenly on both sides.
If you’re anchoring into brick, don’t drill too close to edges — use safe embed depth.
Don’t use short screws in solid-looking walls without checking what’s behind the surface.
15. Install gaps around the frame that collect water
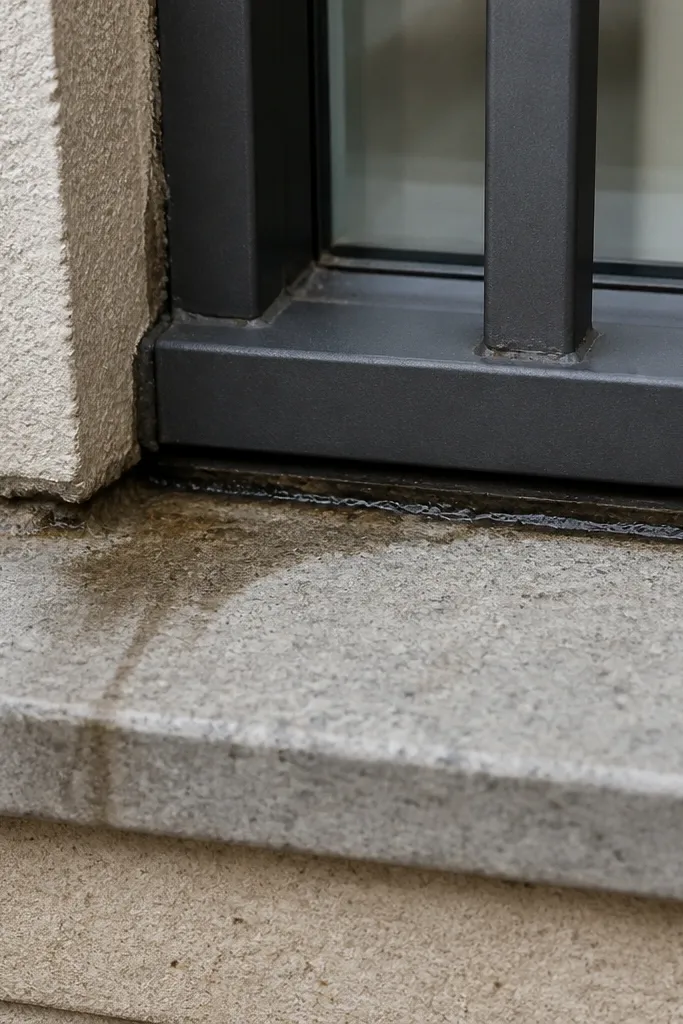
Gaps around the frame create water paths. That means rust starts at the edges, paint bubbles, and the grill looks worse every season. It also makes the frame look unfinished, which kills the modern clean-line effect. The fix is a tight fit plus sealing at the right seams so water has nowhere to sit.
Editor's noteMask the frame face before sealing so you don’t spend hours cleaning smudges.
Start by dry-fitting the frame and using shims to get an even reveal around the opening. Then seal the perimeter with an exterior-rated sealant compatible with your frame finish. Finally, keep sealant coverage consistent so it doesn’t smear onto the visible face of the grill.
Skip thisDon’t leave a wide, uneven gap and fill it later with random caulk.
16. No anti-rattle plan for the window and grill
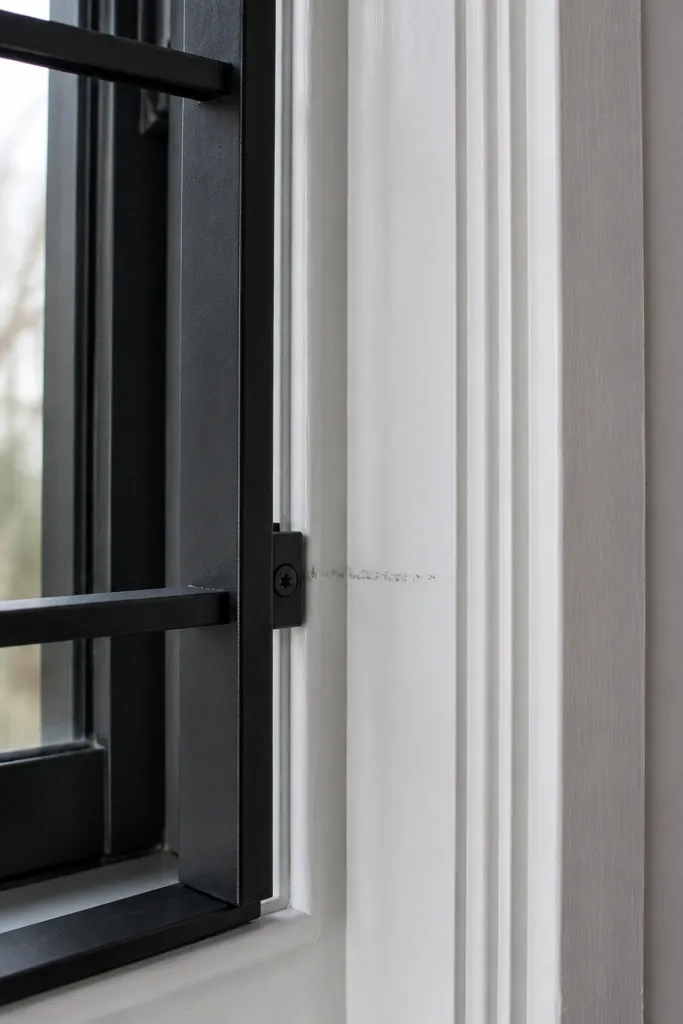
Even when the grill is installed correctly, it can rattle if it touches the window frame or trim during movement. Rattle makes everything feel low quality, and it can scratch the finish. Modern grills should feel solid and quiet. The fix is using proper clearance and adding thin isolating pads where needed.
Editor's noteUse thin isolators only where contact happens; too much padding creates new gaps.
Start by checking the window’s movement with the grill in place — open and close it and watch for contact points. Then add thin rubber or foam isolator strips at contact areas between the grill frame and the wall trim, not on the visible face. Finally, tighten anchors evenly so the frame doesn’t flex into the window track.
Skip thisDon’t force the grill tight against moving window parts.
17. Pattern alignment that ignores the window centerline
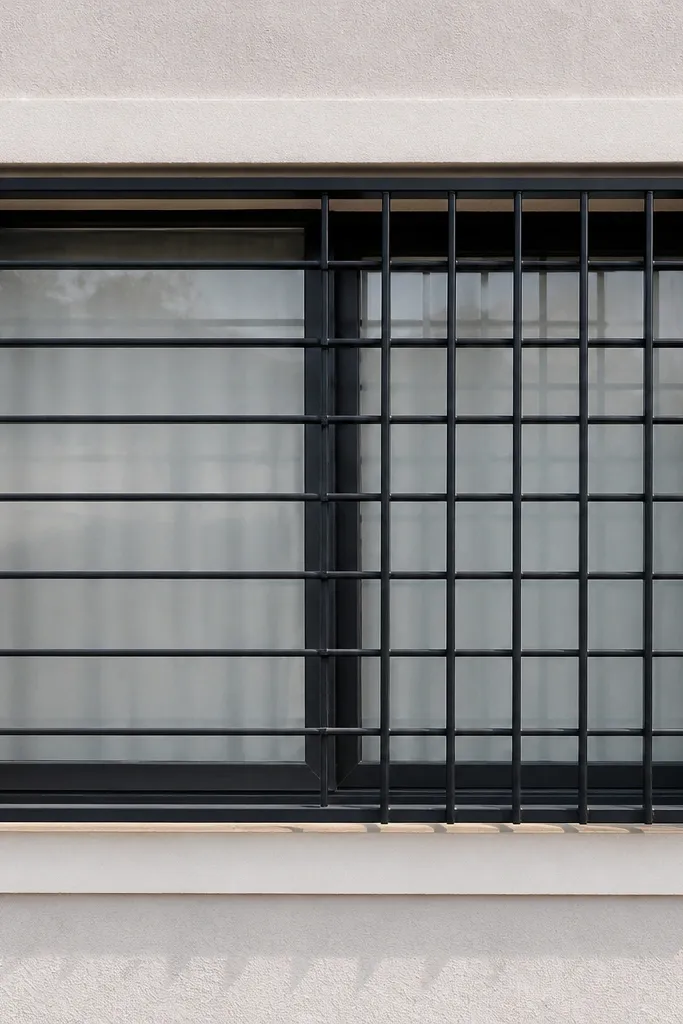
If the pattern isn’t centered, the whole grill looks off even when measurements are correct. People notice it subconsciously because one side feels heavier. This is a classic DIY mistake when someone counts bars by guess instead of using the exact remaining width. The fix is calculating leftover space and distributing it evenly on both sides.
Start by choosing your bar count based on the usable width minus frame thickness. Then calculate the leftover space and split it evenly — that gives you equal margin on both sides. Finally, mark the first bar location from the centerline outward so the pattern stays balanced across the whole window.
Write the bar count and leftover margin on your plan before cutting.
Don’t start from one edge and hope the other side looks right.
18. Using mismatched metals and finishes
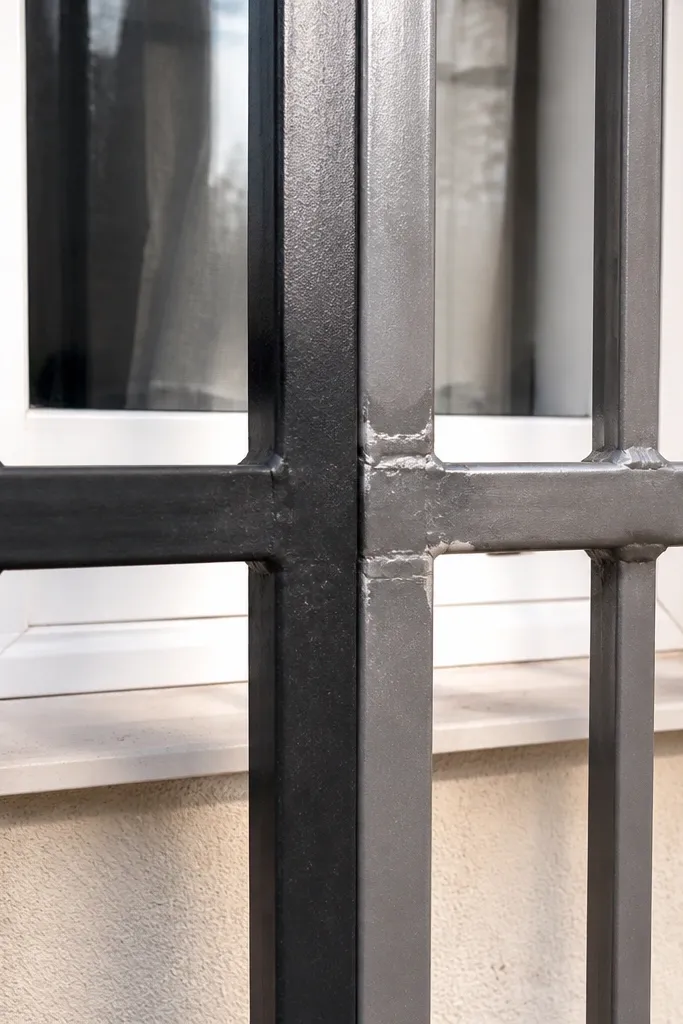
Mixing metal types or finishes makes the grill look patchy. Even if the pattern is modern, different sheen levels and slight color differences show through immediately in daylight. Weld repairs also stand out when the finish doesn’t match the rest. The fix is using one system end-to-end: same metal type, same coating, and consistent touch-up method.
Start by picking one base metal and one coating system before you buy supplies. If you’re mixing frame and bars, keep them the same coating or plan a single paint step after welding. Then do all touch-ups with the same primer and top coat so the sheen matches across the entire grill.
Buy extra coating for touch-ups; running out mid-project makes mismatched repairs.
Don’t mix shiny hardware components into a matte grill.
19. No paint coverage at drilled holes
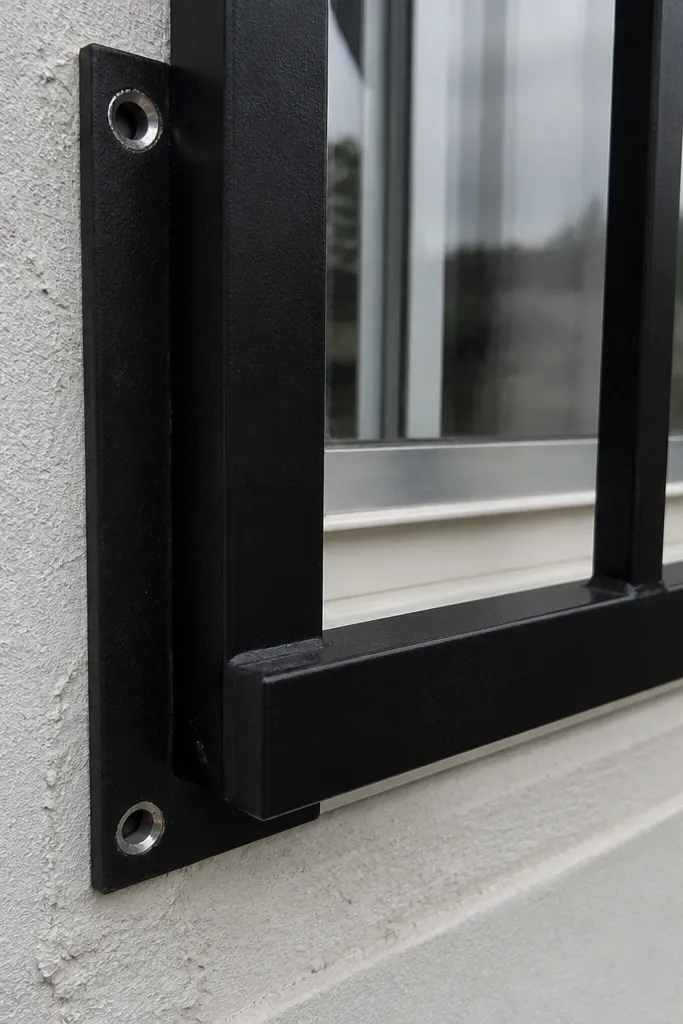
Drilled holes and cut edges are bare metal points. If you drill after coating, those spots rust quickly and stain the finish. People think they can “touch it up later,” but later often means weeks of exposure. The fix is to plan hole locations before coating or to seal holes properly afterward. Modern grills look clean when every small edge is treated.
Editor's noteUse painter’s tape to mask around touch-up spots so you don’t smear primer onto the face.
Start by marking and drilling anchor holes before the final top coat if you can. Then prime and top-coat over the holes so the coating film covers the metal edges. If you must drill after coating, clean the bare area, apply primer to the exposed metal, and add a top coat touch-up with a small brush.
Skip thisDon’t drill through a finished grill without priming the exposed metal.
20. Overcomplicating the design with features you can't control
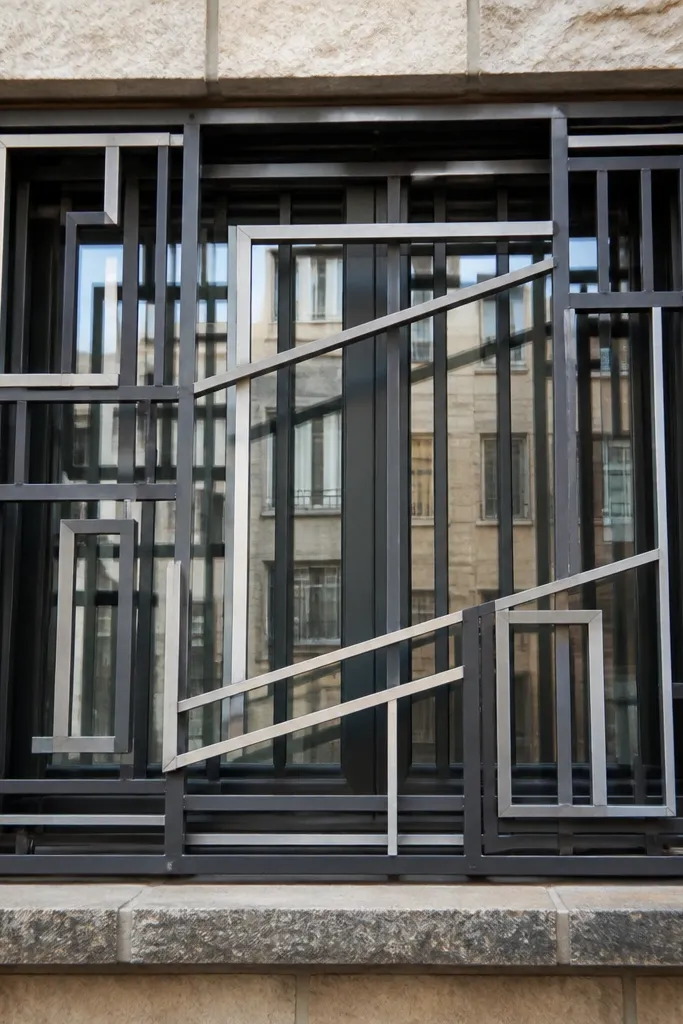
The most common mistake in “modern” grill design is adding too many special elements before you’ve mastered the basics. When you add multiple decorative pieces, angled cuts, and different bar thicknesses, the tolerances stack up and you end up with gaps, misalignment, and finish issues. A modern look is about repetition and clean geometry, not a list of features. The fix is to pick one pattern concept and execute it with strict measurements.
Start by choosing one pattern type: a vertical grid, chevron, or simple diamond. Keep every bar thickness the same and keep the gap rules consistent across the whole grill. Then build a full-size pattern drawing, cut all parts from that drawing, and only after dry-fit do you weld and finish.
If your pattern needs more than one “style” of bar, simplify it before cutting.
Don’t stack 4 different design ideas into one grill.



