
1. Walnut Tray + Float Candle Row
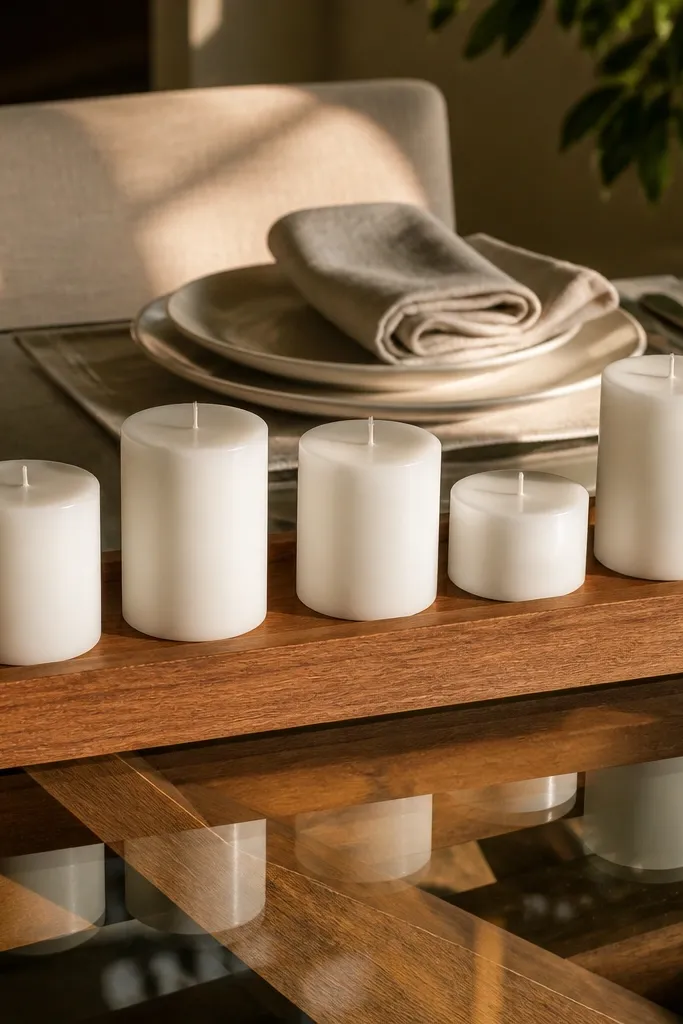
This is the cleanest way to style a glass dining table because the tray gives the centerpiece a grounded “home.” A walnut tray looks warm under glass and adds visual weight so the candles don’t look like random sticks floating. Use pillar candles with a smooth finish so reflections stay tidy instead of scattering. The look is modern and cozy at the same time, and it photographs well because the tray creates one clear shape in the middle of the table.
Start by centering a walnut serving tray that’s about 14-18 inches wide. Place three unscented pillar candles on the tray in a straight row, spacing them 2-3 inches apart, with the middle candle slightly forward. Add a thin layer of filler under the candles — either river rocks or a folded linen strip — so the base stays opaque through the glass. Finish by wiping the tray and candles with a dry microfiber cloth to remove dust that shows up as gray smudges under light.
If your candles are short, stack them with a non-slip candle mat underneath each one so they don’t wobble on the smooth tray.
Don’t use too many tiny items on this setup — three candles is the whole point.
2. Black Stone Bowls with Citrus + Brass
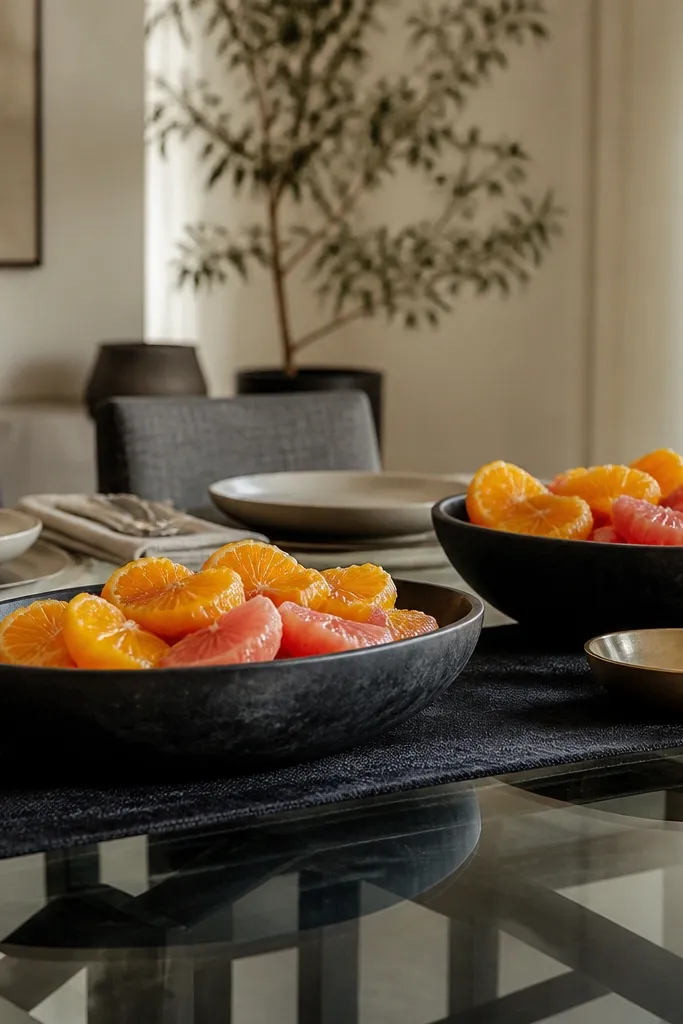
Black stone bowls make glass tabletops look intentional because they block reflections and create a strong focal shape. Pair that with bright citrus for color pop that still reads natural. Brass accents add warmth without turning the centerpiece into a holiday theme. This works especially well for everyday styling because you can swap the fruit weekly and keep the same base and proportions.
Set two shallow stoneware bowls on a low wooden or black acrylic tray, spaced about 8-10 inches apart. Fill each bowl with mixed citrus — oranges, lemons, and a few whole limes — until the fruit sits just above the rim. Add 2-3 small brass items like pinch bowls or a mini brass bud vase near the gap between the bowls. Keep the top layer uneven on purpose: slightly higher fruit in the center, lower fruit at the edges.
Use fruit with firm skins and a matte finish — glossy fruit reflects the overhead lights and can look streaky in photos.
Skip tall stems here; the whole look depends on a low, bowl-based silhouette.
3. Linen Runner + Dried Pampas Cloud
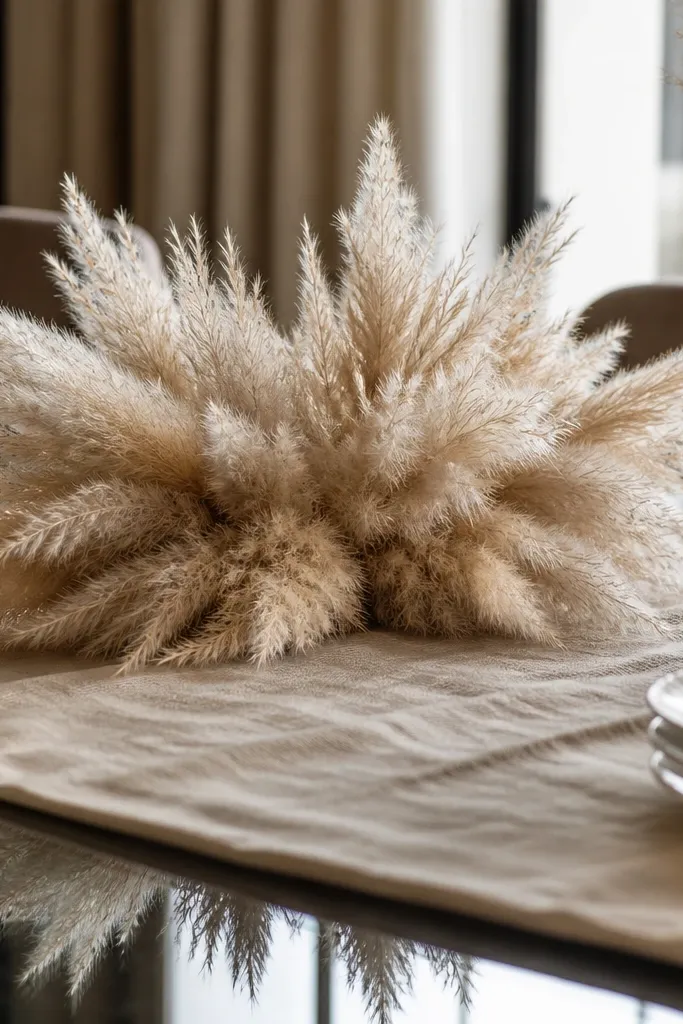
A linen runner is the secret weapon for glass tables because it sits low, softens glare, and creates a clear “stage” for your centerpiece. Pampas grass gives you that airy cloud shape without needing water or complicated florals. The neutral tones look expensive because they don’t fight your dinnerware color. This is a great choice when you want something that lasts weeks and still looks styled every day.
Cut a linen runner so it’s about 10-12 inches wide and long enough to sit centered under your arrangement, leaving 6-8 inches of space at each end. Create a bundle of dried pampas stems and tie them with twine so the top forms a rounded mound. Place the bundle on a small base like a shallow ceramic dish or a foam-free floral block wrapped in twine. Arrange 2-4 shorter stems around the mound so the silhouette spreads, not spikes upward.
Editor's noteMist the pampas lightly with a fabric-safe spray and let it dry — it reduces flyaway fluff and keeps the shape crisp.
Skip thisDon’t put the pampas directly on glass without a base — the stems will shift and look messy fast.
4. Terracotta Planter + Mossy Mini Garden
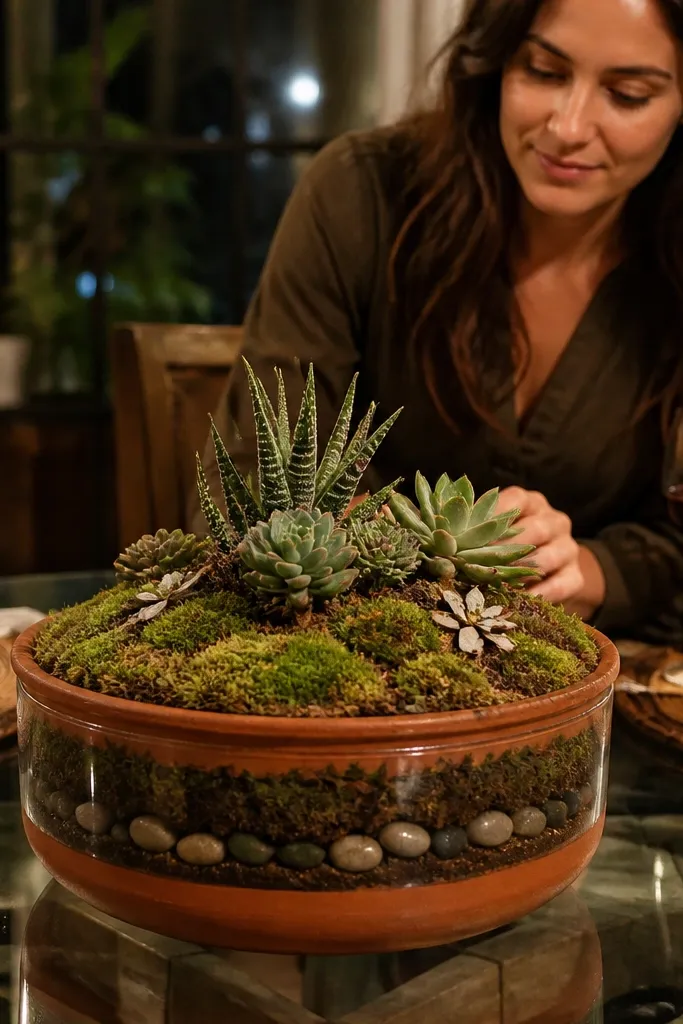
This centerpiece turns “glass table” into “intentional scene.” Terracotta warms up the transparency, and moss plus succulents create texture you can see through the table light. It looks fresh even when it’s not blooming. The best part is upkeep: you’re not building a new floral arrangement every few days; you’re maintaining a small living display.
Choose a terracotta planter that sits flat and has drainage holes, ideally 6-9 inches wide. Add a thin gravel layer, then a cactus-friendly potting mix. Plant 3-5 small succulents and tuck preserved or sheet moss around the edges to hide the soil. Set the planter on a saucer or a waterproof acrylic coaster so water never hits the glass directly. Top with a small amount of decorative sand or fine gravel for a clean finish.
Use preserved moss for zero watering and a consistent look, especially if you’re styling for photos or hosting.
Skip oversized planters — big pots look heavy and cluttered on glass.
5. Clear Glass Vase Cluster + Floating Marbles
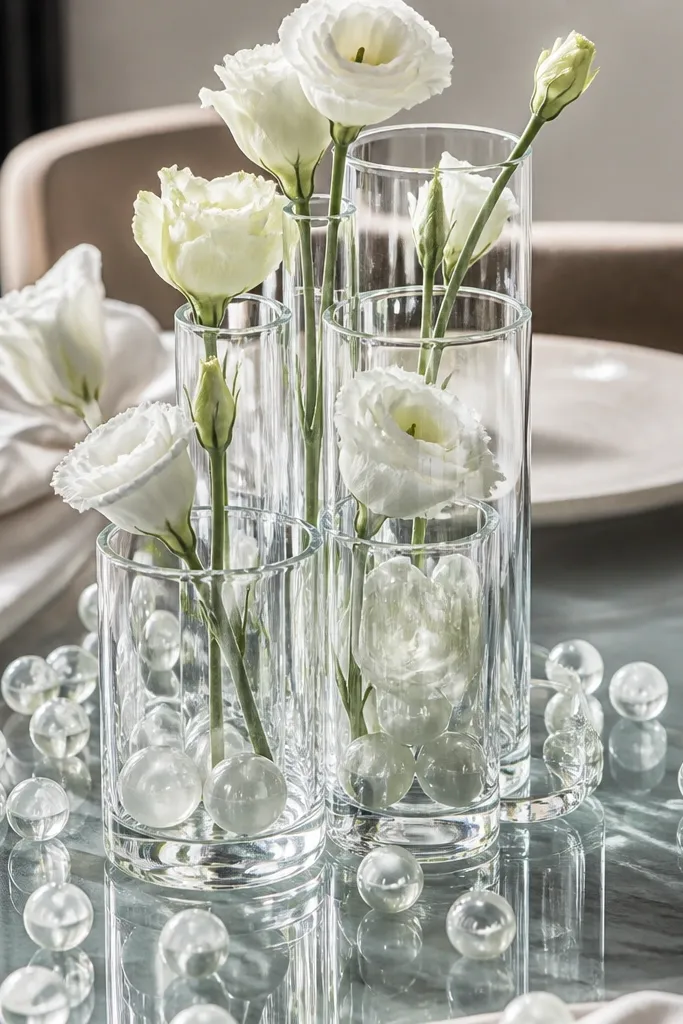
A glass-on-glass centerpiece can look stunning when you separate layers on purpose. This setup uses a clear vase cluster plus a scatter of marbles or glass beads to create a controlled sparkle. White flowers keep it crisp and don’t compete with the table’s transparency. It’s a modern centerpiece that looks airy, clean, and photo-ready because the reflections are part of the design instead of a problem.
Place two clear vases on a small mirrored tray or a thin acrylic sheet, spaced about 10-12 inches apart. Fill them with short stems so the flowers sit 8-12 inches above the tabletop. Scatter glass marbles or white beads around the base — just enough that the glass shows movement but not enough to look messy. If the vases are too light, add a few marbles inside the base to stabilize them.
Editor's noteWipe the vases with glass cleaner and dry completely — streaks look dramatic in a bad way on clear glass furniture.
Skip thisDon’t use dark beads under a bright room — they can create muddy-looking shadows through the glass.
6. Mirror Gold Candle Tray + Layered Faux Leaves
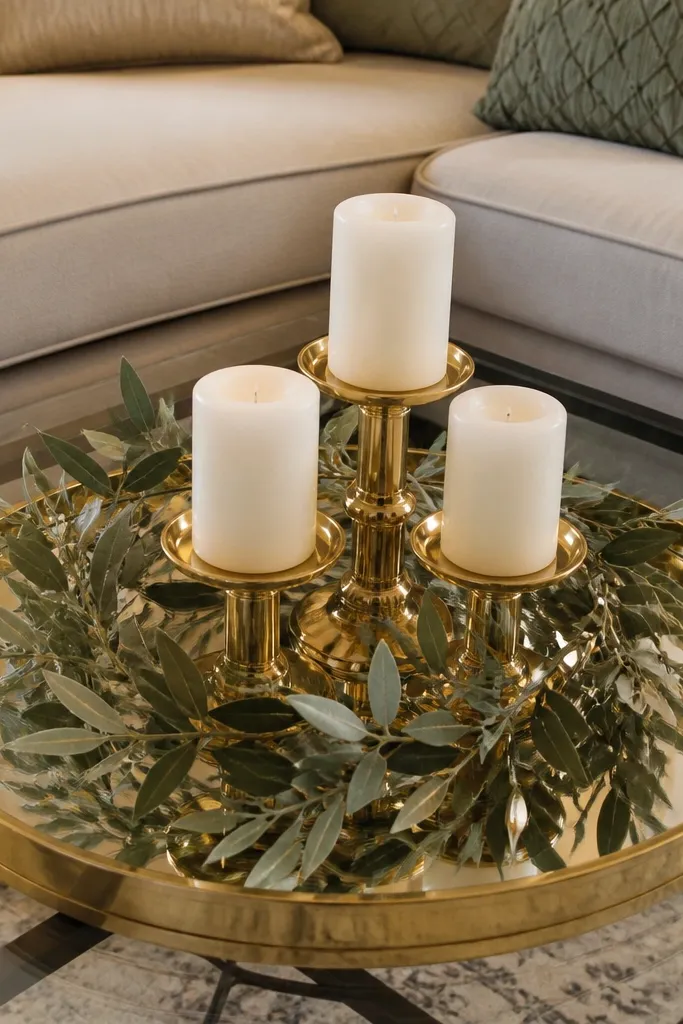
Mirror trays make glass tables feel dressed because they reflect light back up and sharpen the centerpiece silhouette. Add layered faux leaves to create depth without worrying about wilting. Gold candle holders keep the palette warm and cohesive, and the mirror base hides minor mess underneath. This is a strong option for dinner parties because the centerpiece looks “set” even when you’re not changing it daily.
Pick a mirror tray with raised edges so it doesn’t slide on smooth glass. Place a ring of faux leaves around the inner perimeter — keep the leaves 1-2 inches away from the candle line. Add three tapered candles in matching gold holders, spacing them 3-4 inches apart. Finish by tucking one leaf cluster in the center to connect the outer ring to the candle group.
Editor's noteUse felt pads under the candle holders so the tray doesn’t scratch and the candles don’t shift when people move chairs.
Skip thisDon’t overfill the tray — mirror surfaces show clutter fast.
7. Wood Slat Base + Roasted Grain Bundles
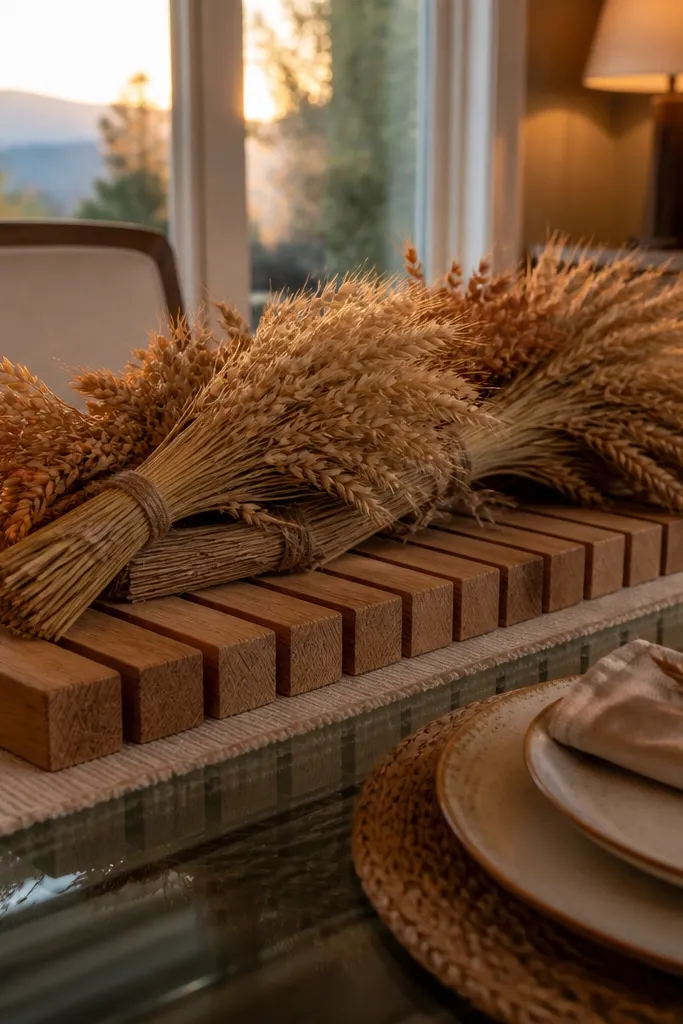
This centerpiece reads warm and grounded because it uses wood slats to add structure where glass usually feels floating. Roasted grain bundles — wheat, barley, or rye — bring texture that catches light along the edges. It’s not a holiday theme; it’s a harvest-inspired table look that works through fall and winter without needing pumpkins. The wood base also keeps the silhouette clean, so your table doesn’t look scattered.
Center a narrow wood slat tray or a slatted wooden serving board that’s about 12-16 inches long. Arrange 2-3 dried grain bundles with tips facing inward, tying them with twine so they form a gentle V shape. Place the bundles directly on the wood base, then tuck small sprigs of preserved eucalyptus or olive leaves around the sides for a finished edge. Add a few small wooden beads or a single strand of neutral twine across the front edge for detail.
Editor's noteTrim the bundle stems so the tallest point lands around 12 inches above the glass — that keeps it photo-clean.
Skip thisSkip fluffy filler — it blurs the outline and looks messy under overhead lights.
8. Monochrome Terrarium Tray with Black Sand
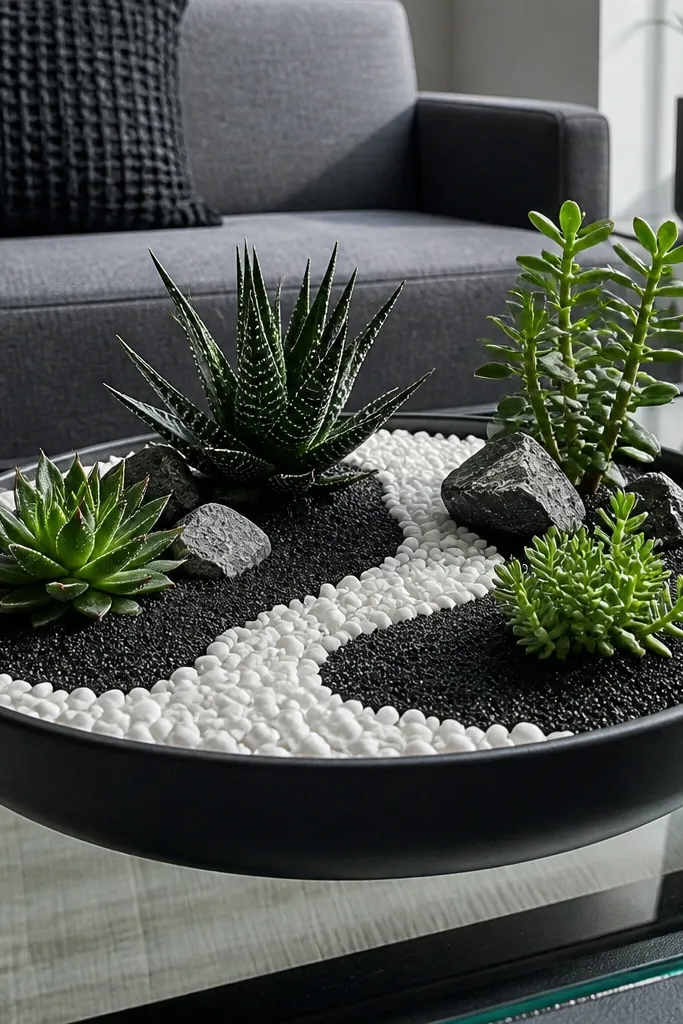
If you want a centerpiece that looks styled even when you don’t have fresh flowers, this is the one. Black sand creates a dramatic base that anchors everything, and monochrome plants keep the look calm. White stones add bright contrast without adding extra colors. It’s clean, graphic, and very photogenic because the tray reads as a single design block in the center of the glass table.
Use a shallow rectangular tray about 16-20 inches long. Spread a 1/2-inch layer of black aquarium sand across the bottom. Plant 3-4 succulents in a tight cluster, then surround them with white stones for contrast. Mist lightly at first if needed, then top with a thin pinch of extra sand to smooth the surface. Place the tray centered on a non-slip mat so it doesn’t creep.
Editor's noteChoose succulents with similar leaf thickness so the texture stays consistent in photos.
Skip thisDon’t use wet soil or loose mulch — it shows through the sand and looks uneven quickly.



