

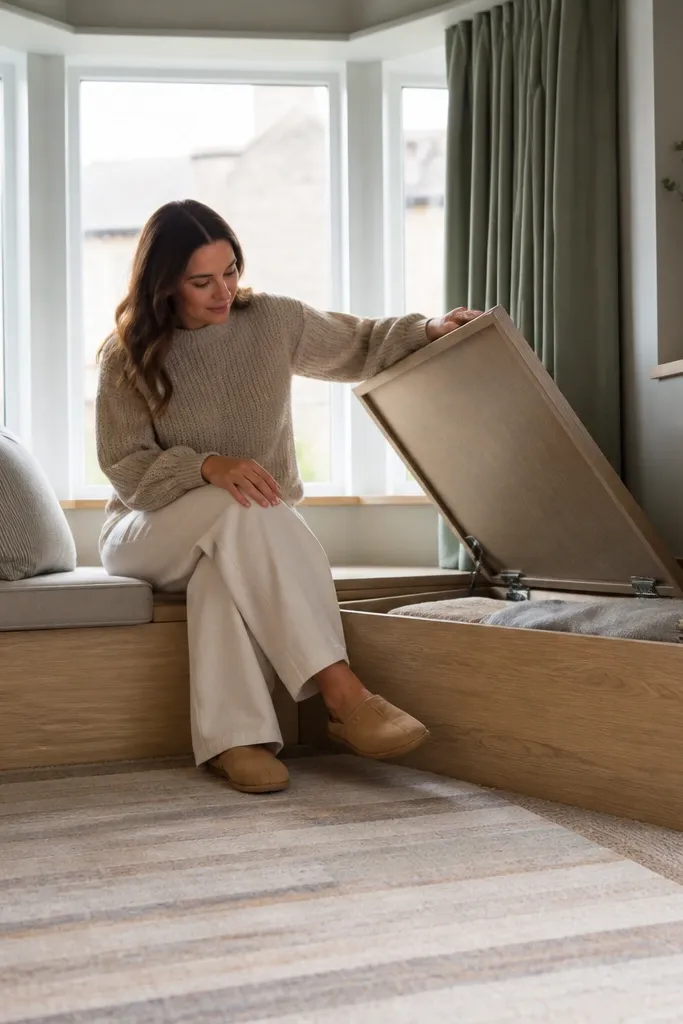
1. Sill-height seating that actually clears your knees

This is the mistake that makes a bay window look “almost right” instead of usable. When the seat height is off by even an inch or two, your knees either hit the underside of the sill or you end up perched too high and uncomfortable. A properly sized window seat makes the bay feel built-in, not temporary. Aim for a cushion that sits about level with the sill opening line so your legs don’t get squeezed by the frame. This works best in living rooms, reading nooks, and bedrooms where you’ll actually sit for more than five minutes.
Start by measuring the sill height at the front and at one angled side panel. Subtract the cushion thickness you want (typically 3 to 5 inches) and decide if you need a platform or just a cushion. Build or buy a seat platform so the cushion top lands roughly in line with the sill opening, then test with a cardboard mockup for knee clearance. Finally, use a fabric that resists flattening, like a medium-weight canvas or outdoor cushion cover, and add non-slip grip tape on the cushion base.
Do a quick “chair test” with a folding stool and a folded blanket at the target thickness before you commit.
Avoid buying cushions first and “figuring it out later” — height errors are hard to fix after the room is styled.
2. Bench depth that doesn't steal foot space
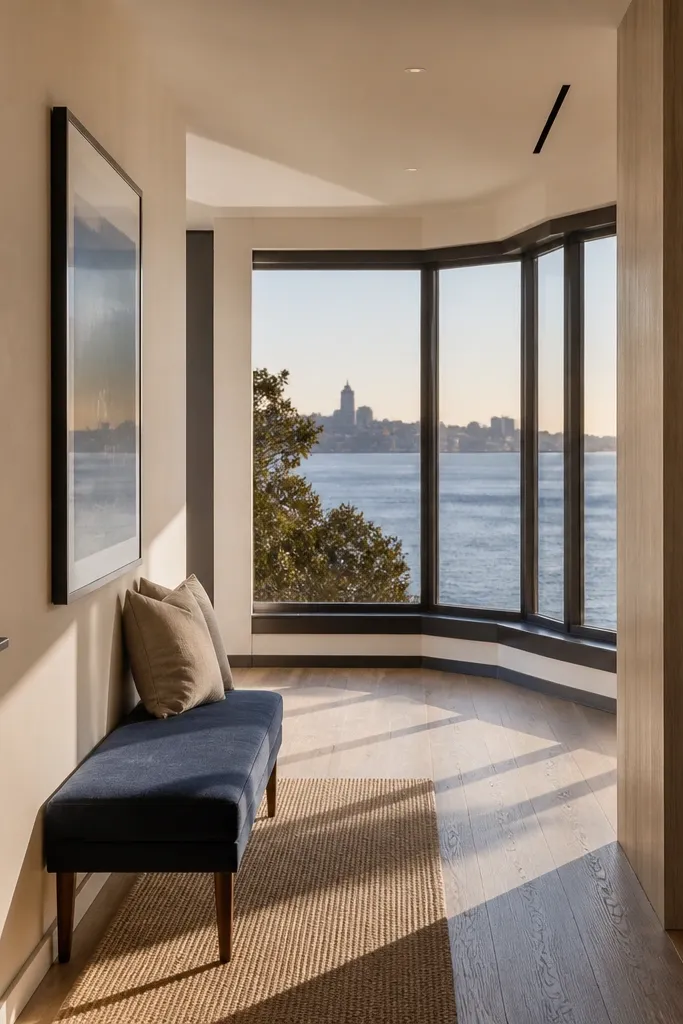
Bay windows often have a narrow walkway around them, so deep seating can trap your feet and make the room feel cramped. The best Bay Window ideas protect your circulation while still giving you a real place to sit. A bench that’s too deep forces you to hover or scoot, which makes the space feel awkward even when it looks pretty. Keep the bench depth in line with how you enter the room and where people walk past. This is especially important in small living rooms and apartments where every inch counts.
Measure the clear walkway from the bay front edge to the nearest obstacle (like a coffee table or radiator). Pick a bench depth that leaves at least 18 inches of walking clearance in the main path. If your bay is deeper than you want, use a shallower platform and rely on thicker seat cushions for comfort. Mount or secure the front face so it doesn’t wobble, then finish the surface with a durable top fabric or a removable slipcover.
If you’re unsure, mark the floor with painter’s tape at the bench front edge and walk through the space for a day.
Avoid going for a “comfy” deep bench when the room already feels tight — comfort won’t matter if you can’t pass safely.
3. Light-blocking curtains sized for the window angles
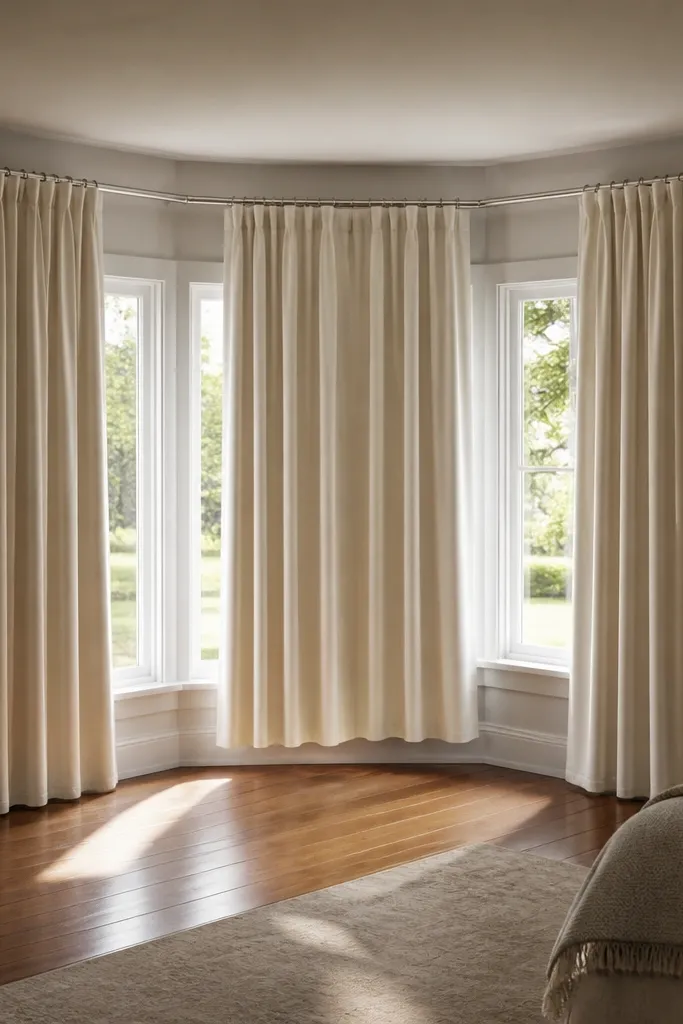
One panel of wrong curtain length can ruin the whole bay because the angles show every mismatch. If the curtain hem hits differently across the bay, it looks sloppy even with good fabric. The best Bay Window ideas treat the bay like multiple windows, not one big rectangle. Use the right curtain length so the fabric doesn’t puddle on the sill line or float too high and expose glare. This is a must in bedrooms and media rooms where you need control over light.
Decide whether you want the curtains to kiss the floor or just skim above it, then measure each bay panel separately from the rod line. Hang three sections — one for each angled side and one for the center — so the hems stay consistent. Choose a rod system that can bend with the bay geometry or use separate rods per section. Finally, steam the fabric flat after hanging, and add curtain weights so the hem hangs straight.
Editor's noteUse iron-on hemming tape only if you’re sure about length — bay windows shift visually once mounted.
Skip thisAvoid one long curtain panel meant for a flat wall — the hem will drift and look uneven across angles.
4. Rug anchoring with rug tape or non-slip underlay
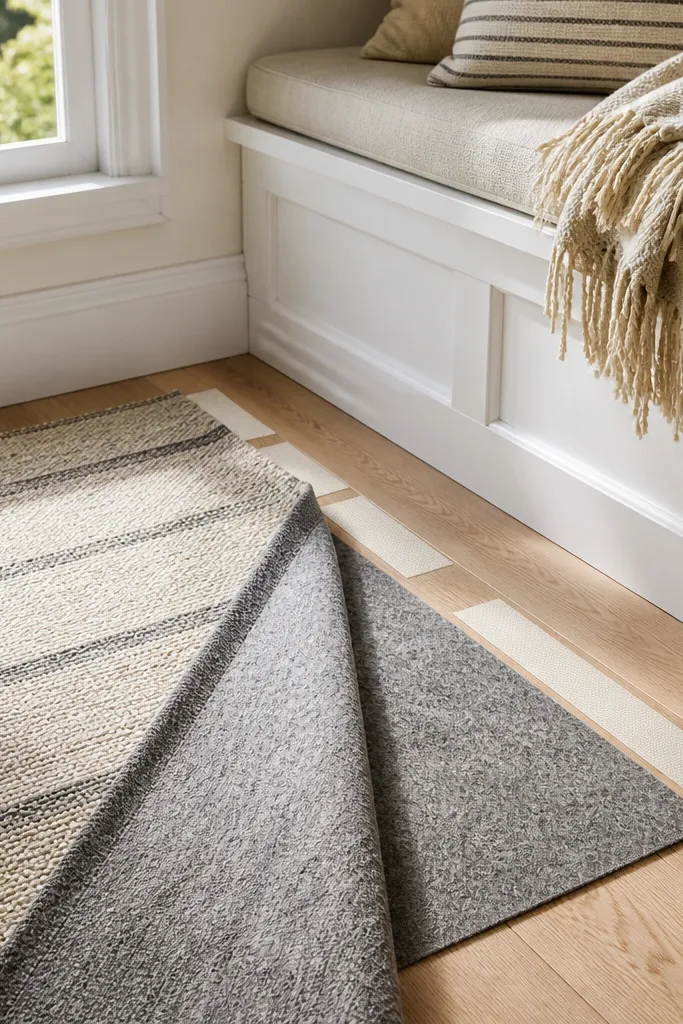
Bay window rugs slide because the area gets constant airflow and the angled surfaces create uneven friction. When the rug creeps, the bay looks unfinished, even if everything else is expensive. The best Bay Window ideas keep the rug edges locked down so the seating base reads clean. A rug that stays put also makes cushions sit more naturally because the visual grid doesn’t shift. This matters in living rooms, especially where you have a bench and pillows that you move around.
Cut rug underlay to match the rug footprint exactly — don’t bunch it at the edges. Press rug tape along the corners and seam lines where the rug turns toward the bay. If your floor is smooth, use a grippy underlay like felt-backed or rubberized non-slip pads. Place the rug first, then position seating so the front edge of the bench aligns with a rug pattern line.
Editor's noteBefore taping, clean the floor with isopropyl alcohol so adhesive grabs properly.
Skip thisAvoid skipping underlay because “the rug is heavy” — weight doesn’t stop creep on smooth floors.
5. Pattern scale that fits the bay's angles
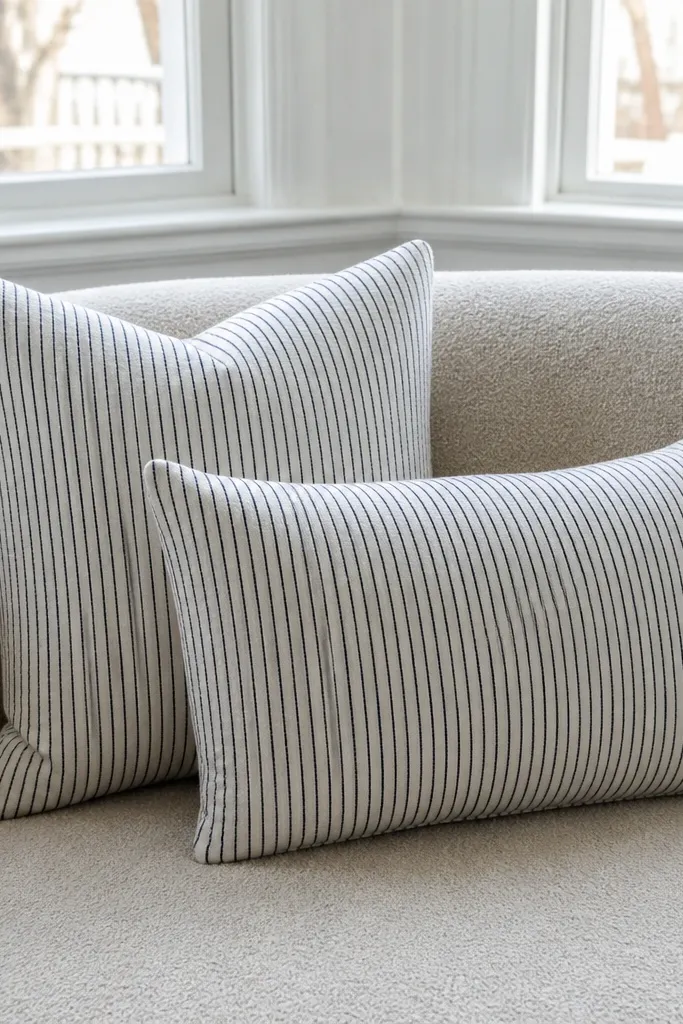
Big, busy patterns tend to look chaotic in bay windows because the angles multiply the visual noise. If you’ve ever seen cushions that look great in a store but messy in your bay, this is why. The best Bay Window ideas use pattern scale that matches the bay size and viewing distance. Smaller patterns or simple stripes behave better across angled glass. Keep one “statement” pattern and let the rest be solid or subtle so the bay doesn’t feel loud.
Pick a main fabric for the seat cushions and keep it either solid or a very small repeat. Add one accent pillow with a bolder pattern, then repeat a small color from that pillow in your curtains or a throw blanket. If you use stripes, orient them so the stripe direction supports the bay — usually vertical lines on the sides and horizontal only on the center panel. Photograph the bay from standing height and check whether the pattern looks balanced across all three sections.
Editor's noteUse a 60/30/10 rule for bay windows: 60% solid seat, 30% secondary fabric, 10% pattern pop.
Skip thisAvoid mixing two large-scale patterns in the bay — the angles turn it into visual static.
6. Window seat storage with a real hinge plan
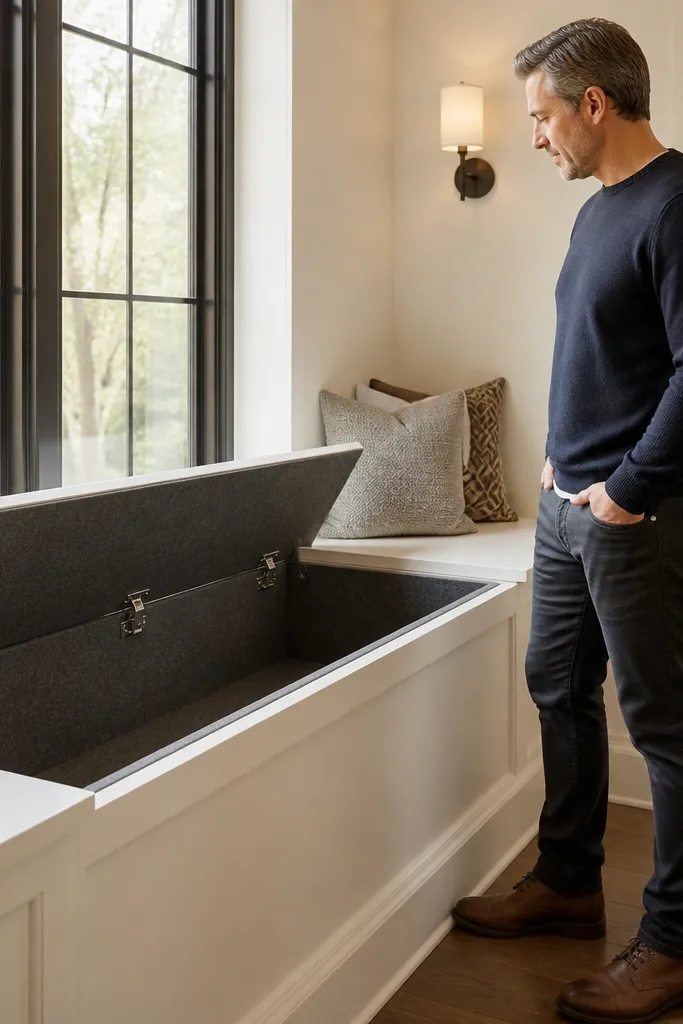
Storage is where most bay windows fail because people design a lid that opens awkwardly or blocks access to the back corners. If you can’t reach what you stored, you’ll stop using the space and it becomes clutter. The best Bay Window ideas include storage that’s easy to open and doesn’t scrape the underside of the window. A hinged lid also adds that built-in look without needing complicated trim. This is perfect for blankets, seasonal throws, and board games.
Plan lid size so it opens fully without hitting the window frame or trim — mock it with cardboard first. Use piano hinges for long lids and add a gas strut if the lid is heavy (over about 15 to 20 pounds). Install a latch that holds the lid safely open, then line the interior with a durable fabric or paintable panel. Finish the top with cushion fabric or a removable upholstered cover so you can refresh it without rebuilding.
Editor's noteAdd a soft-close hinge or a controlled damper so the lid doesn’t slam and rattle the bay.
Skip thisAvoid storing items in the back corners with no way to grab them — plan reach before you build.
7. Cable management for bay window lamps
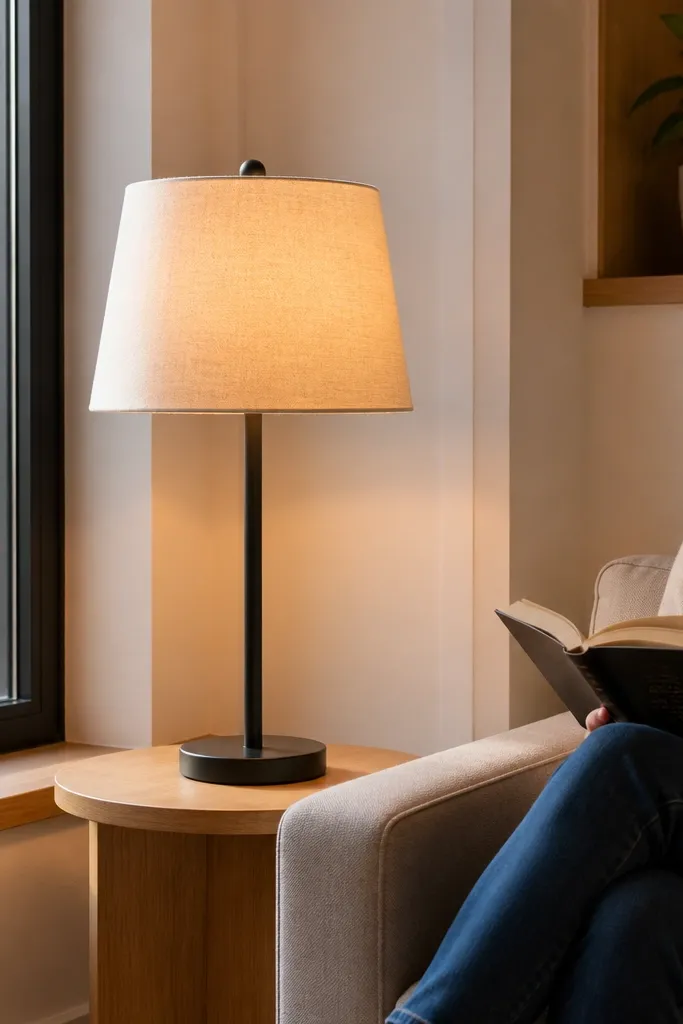
Lighting looks messy fast when cords cross the bay or hang where the light reflects off glass. Bay windows already have glare, and a visible cord makes it feel chaotic. The best Bay Window ideas keep cords tight to the wall and out of sight, especially when you’re adding a reading lamp. You also want the light source positioned so it doesn’t create hotspots on the window panes. This works for reading nooks and evenings when you want warm light without harsh glare.
Run lamp cords behind a baseboard channel or along the back edge of a side table. Use adhesive cord clips rated for the wall surface and keep the cord slack-free so it doesn’t sag. If you’re using a plug-in sconce, mount the cord cover so it disappears into the trim line. Test light direction by turning the lamp on and checking reflections in the glass from the couch position.
Editor's noteUse a 2700K bulb for bay seating so the warm tone doesn’t bounce back off the window.
Skip thisAvoid placing a lamp where the cord crosses the seating area — it turns into clutter the second guests notice.
8. Curtain rod height that stops glare and looks intentional

Rod height seems minor, but in bay windows it changes both light control and how tall the space looks. If the rod is too low, the fabric sits in the glare line and the bay feels shorter. If it’s too high without enough fabric, the curtains look like they’re floating and never settle. The best Bay Window ideas hang the rod above the trim line so the fabric can stack neatly when closed. This also helps curtains avoid catching on the angled frames.
Measure from the top of the window trim to your desired rod line and aim for at least 4 inches above for a more open look. For each panel, keep rod placement consistent so the curtain stacks align across the bay. Install brackets securely into studs or use proper anchors if you’re in plaster/drywall. Hang curtains and steam them, then adjust the stacking so the closed curtains don’t bunch in the corners.
Editor's noteUse a curtain track or ring system that glides smoothly on angled runs — snagging ruins the look fast.
Skip thisAvoid mounting the rod at the trim line — you’ll fight glare and the bay will look chopped up.
9. Shallow side tables that fit the bay's angles
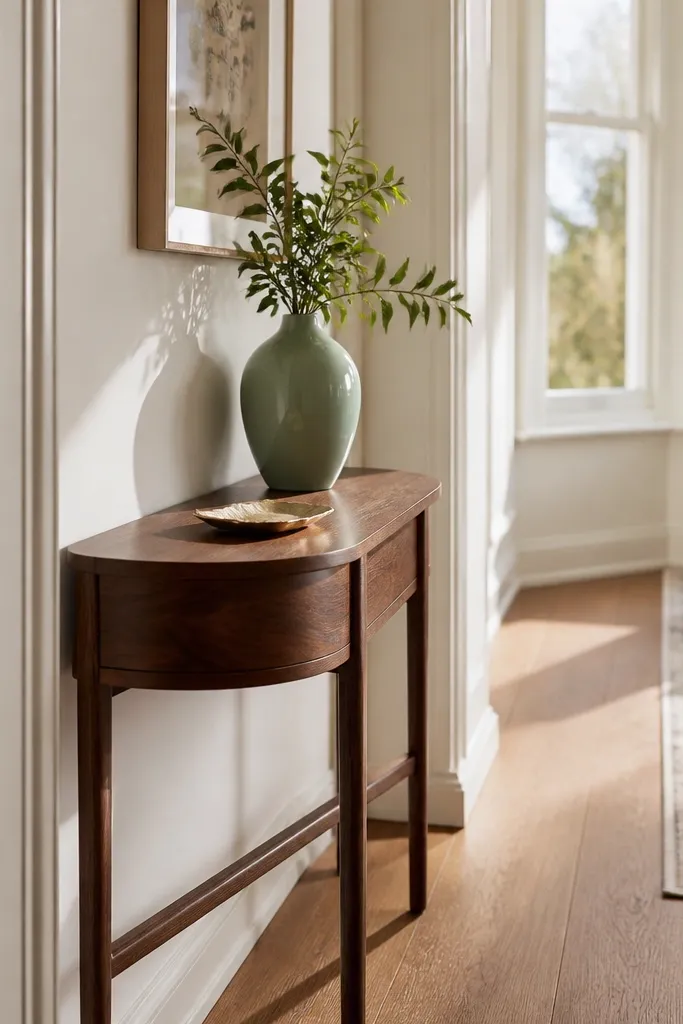
People try to squeeze in a standard end table and it looks wrong because the bay creates a slanted corner where square furniture crowds the angle. A shallow side table keeps the bay usable and makes the styling look deliberate. The best Bay Window ideas use furniture depth that matches the sightline — you want items to be reachable without bumping the chair or bench. This also helps you place a lamp or a small tray without blocking the walkway. Great for coffee nooks and bedrooms where you want a place for a book.
Measure the space between the bay seating edge and the nearest wall or walkway obstruction. Choose a table depth that leaves at least 2 to 3 inches of clearance for comfortable movement. Pick a table with a rounded or chamfered corner so it doesn’t look square against angled glass. Style with one tray, one lamp base, and a small stack of books — avoid tall clutter that blocks the view of the window.
Editor's noteUse felt pads under table legs to stop sliding on rugs or hardwood.
Skip thisAvoid oversized square tables that force you to angle them — the bay will look crooked.
10. Bench cushions that stay put with fabric-to-fabric grip

Sliding cushions are the fastest way to make a bay look messy. Even if your layout is great, cushions that shift every time someone sits make the whole space feel unfinished. The best Bay Window ideas include a non-slip system that doesn’t show and doesn’t damage fabric. You want the cushion to anchor to the bench base so pillows sit straight and the front edge looks crisp. This works in any bay seat, especially when you have a hinged lid or removable cushion covers.
Choose cushion covers with a grippy backing material or add a non-slip liner under the cushion. Use hook-and-loop fasteners (Velcro) in hidden corners so the cushion locks in place. Apply non-slip grip tape on the underside edges where it meets the bench surface. Finally, check alignment after you add pillows — some cushions compress and shift when you load them.
Editor's noteIf your bench top is smooth, use a rubberized drawer liner — it grips without leaving residue.
Skip thisAvoid relying on cushion weight alone — angled bays push cushions toward the glass.
11. Two-tone trim so the bay looks built-in, not patched

Bay windows look “tacked on” when the trim color and seat base color don’t relate. You end up with an obvious boundary line that draws attention to the bay frame instead of the seating. The best Bay Window ideas match the seat base to the trim that surrounds the window, then use a slightly different tone for the inner panel or cushion frame. This makes the bay read as one built-in unit. It’s also a practical way to hide seams where you’ve added a platform or built storage.
Pick one trim color to match the window surround exactly and another color for the seat base face or skirt panel. Use painter’s tape to mask straight lines and test your paint in a small area of the bay where the light hits. Sand the surface lightly and use a primer rated for your substrate (wood, MDF, or laminate). Finish with a durable topcoat like satin so scuffs from legs don’t show.
Editor's noteUse a small foam roller for trim areas — it reduces streaks that show up on angled light.
Skip thisAvoid painting over glossy surfaces without primer — the finish will peel or look patchy in sunlight.
12. Mirror placement that doesn't multiply glare

Mirrors can make a bay window look brighter, but the wrong placement turns glare into a permanent problem. In bays, glass angles bounce light unpredictably, so a mirror placed near the window can create a bright hotspot on your seating. The best Bay Window ideas place reflective surfaces where they bounce light indirectly, not straight back at the couch or chair. If you want shine, choose a matte finish or position it on a side wall where the reflection hits a wall, not the window pane. This is mainly a living room and reading nook issue.
Stand where you’ll sit and look for reflections in the bay window. Move a small piece of cardboard around the wall spot you’re considering and watch where the reflected light lands. If it lands on the seat cushion or in your face line, choose another wall or angle the mirror slightly. Use a small mirror or a textured finish to reduce harsh reflections.
Editor's noteChoose matte or lightly textured frames if you want the brightness without the glare.
Skip thisAvoid placing a mirror directly across from the bay angles — it makes hotspots and eye strain.
13. Built-in look without custom carpentry using modular bases

Not everyone can build a full bay seat from scratch, and that’s fine. The mistake is using random bins and stacking them without a consistent front face, so it looks like storage shoved into a corner. The best Bay Window ideas use modular bases you can cover with a single front panel and a matching cushion top. You get the built-in look with less risk and a clearer line. Great for renters or anyone who wants a removable solution.
Choose modular storage units that fit the bay depth and can be secured to prevent shifting. Dry-fit the units in the bay and confirm you can still open any access lids. Build a simple front frame from plywood or MDF and screw it to the units, then cover with fabric or paint. Add a cushion top and attach non-slip liners so everything stays aligned.
Editor's noteUse shims behind modules during dry-fit so the top stays level across all three bay sections.
Skip thisAvoid stacking mismatched units with visible seams — the bay angles make the gaps obvious.
14. Roman shades with the right fabric weight
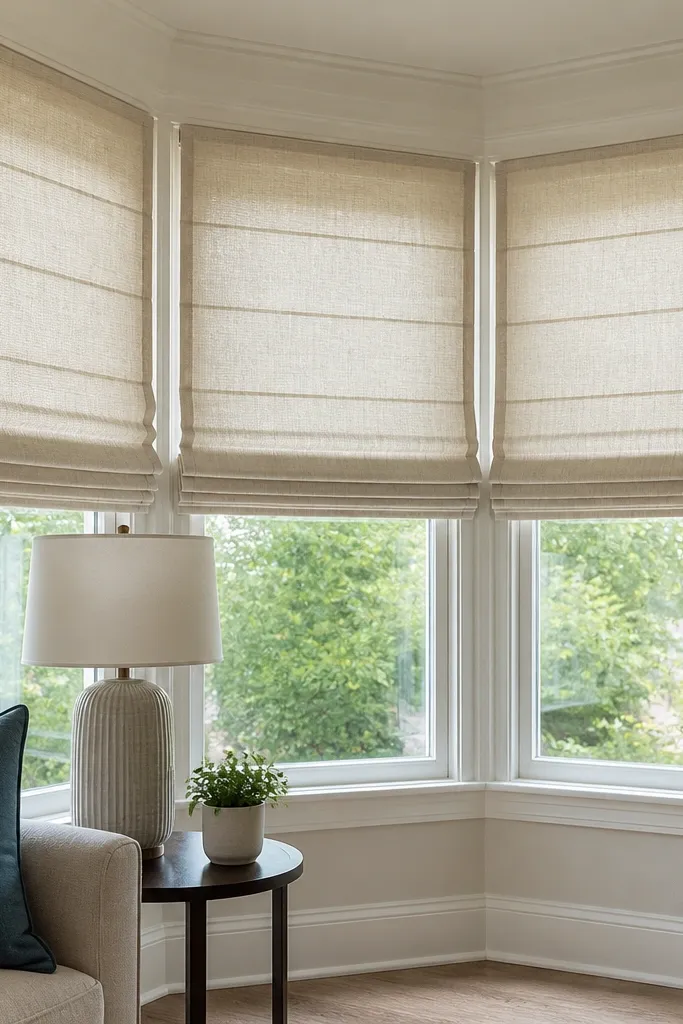
Roman shades look clean, but cheap or too-light fabrics hang loosely and stop you from getting a crisp fold. In bay windows, loose folds exaggerate the angles and can block sightlines in an uneven way. The best Bay Window ideas use fabric that holds structure and folds into straight stacks. This also helps with heat control and privacy without taking up floor space. Works well in dining areas, bedrooms, and offices where you want a tailored look.
Pick a shade fabric weight that holds its shape when folded, not a thin curtain material. Measure each bay panel separately and confirm the shade system can mount at the angled frames. Use a cordless or well-tensioned cord system so the shade stays in place. Install the shade, then test raising and lowering multiple times to make sure the folds don’t skew.
Editor's noteAdd a light-blocking liner if privacy matters — sheer roman shades look patchy in bright daylight.
Skip thisAvoid using lightweight sheer roman fabrics — they sag and the folds look uneven.
15. One large art piece instead of three tiny prints

Bay windows already break up space with angles, so multiple small art pieces can feel scattered. The common mistake is hanging three tiny frames so they don’t line up visually with the seat and curtains. The best Bay Window ideas anchor the bay with one larger piece or a single horizontal arrangement that matches the seating width. This makes the bay feel intentional and keeps attention on the window area instead of the walls around it. Great for living rooms where you want a calm focal point.
Measure the bay front width and pick art that spans about 70 to 90% of that width. Center the art above the seat or window line, not above an angled side. Use a level and mark the hanging points before you drill. If you use two pieces instead of one, keep equal frame sizes and align them with a shared center line.
Editor's noteUse frames with a matte finish to avoid reflections in the window glass.
Skip thisAvoid three tiny frames — the spacing gets weird fast in bay angles.
16. Throw pillow layout that respects the seat edge

Pillow stacks that climb unevenly can make a bay look messy even when everything else is clean. The mistake is mixing pillow heights and sizes without a plan, so one side ends up taller and the bay looks lopsided. The best Bay Window ideas create a predictable pillow layout that matches the bay’s front edge. You want symmetry from the viewing angle, not a random scatter. Works for reading nooks and casual living rooms where you like to swap covers.
Choose two main pillow sizes and keep them consistent across the bay seat. Place the back row pillows first, then add front pillows only up to the seat edge so they don’t slide down over the front lip. Use one lumbar pillow for support and keep it centered. Finally, check the arrangement from standing height and adjust so the top lines match across the angled sections.
If pillows slide, add a non-slip liner under the cushion base before you blame the pillows.
Avoid mixing three different heights without a center line — bays exaggerate the imbalance.
17. Plants that don't block the window or overheat

Plants are great for bay windows, but the common mistake is stacking them where they block airflow and make the window area feel cramped. Tall plants also hide the window view and create a clutter line against the glass. The best Bay Window ideas use low to medium plants placed so light still hits the window and the bay seating stays clear. Choose pots that sit stable and don’t tip when you open curtains. This works in kitchens, living rooms, and bedrooms where you want greenery without turning the bay into a jungle.
Decide how much sill space you can spare while keeping at least a few inches of clearance from curtain hardware. Use shallow planters or plant stands with a stable base so the weight stays low. Group plants with similar watering needs, then leave space between pots so leaves don’t touch wet soil. Rotate the pots weekly so they grow evenly toward the light.
Use saucers that catch water and wipe the sill after watering — bay windows show water spots fast.
Avoid tall planters placed right at the window edge — they block light and crowd the seating.
18. Side storage that matches the bay's depth line
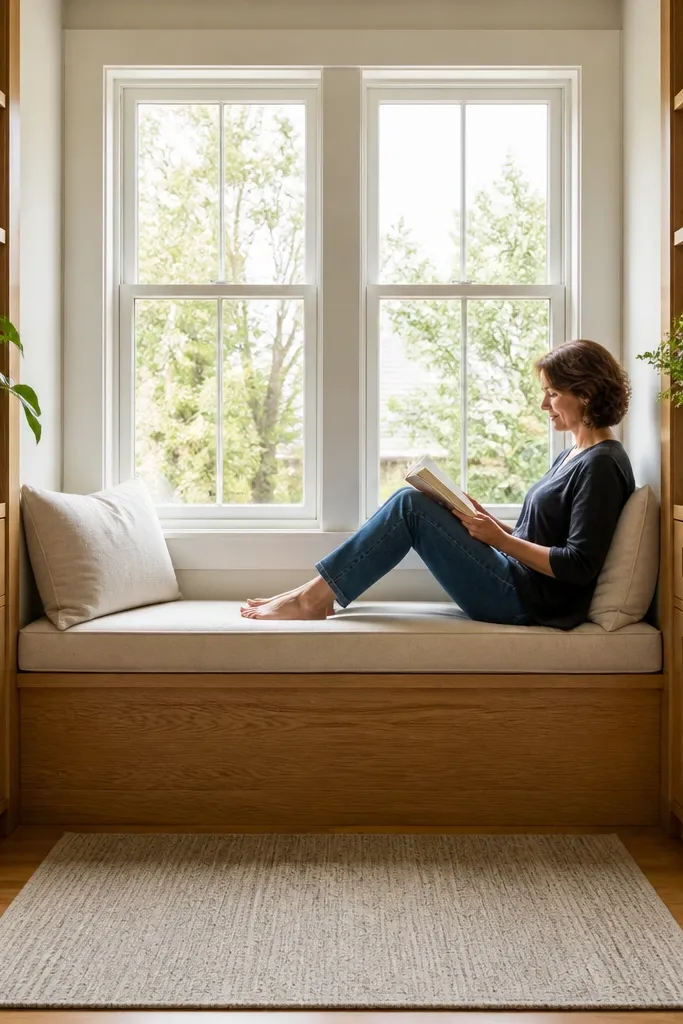
Storage on the sides of a bay can look amazing, but only if it aligns with the depth line of the seating. The common mistake is adding cabinets that stick out too far, making the bay look wider than it is. The best Bay Window ideas treat the bay like one shape — the front face should line up even if the units are different. This also keeps doors and drawers usable without hitting curtains or lamp bases. Best for entry-adjacent bays and living rooms with lots of clutter.
Measure the depth from the bay front edge to the nearest wall obstruction on each side. Choose storage that matches the shallowest depth so nothing sticks into the walkway. Align the cabinet faces with the bench front edge using spacers during installation. Secure units to studs where possible and add adjustable feet so the bay sits level across angles.
Use a single hardware finish across all pieces so the bay reads as one set.
Avoid mixing storage depths — the angles make every mismatch obvious.
19. Painted or upholstered seat front that hides the seam line

A bay seat looks DIY when the seam between the platform and the cushion shows through. The mistake is leaving raw edges or exposing panel gaps that catch shadows in angled light. The best Bay Window ideas hide those lines with an upholstered skirt or a painted front panel that matches the trim. This is a finishing detail that makes the whole bay look intentional. It also makes the seat more comfortable when you lean against it. Great for reading chairs and living rooms where the seat gets touched.
Build the seat platform and leave a small, consistent gap for cushion removal. Install a front skirt panel that covers the entire seam area, then wrap it with fabric or paint it for a clean look. If upholstering, use batting around the panel edge so the fabric doesn’t crease sharply at the seam. Finish by tacking fabric on the back side or underside so raw edges are hidden.
Editor's noteUse a fabric with a tight weave so seams don’t show through and shadows stay soft.
Skip thisAvoid leaving exposed MDF edges — they soak scuffs and look gray under bay light.



