
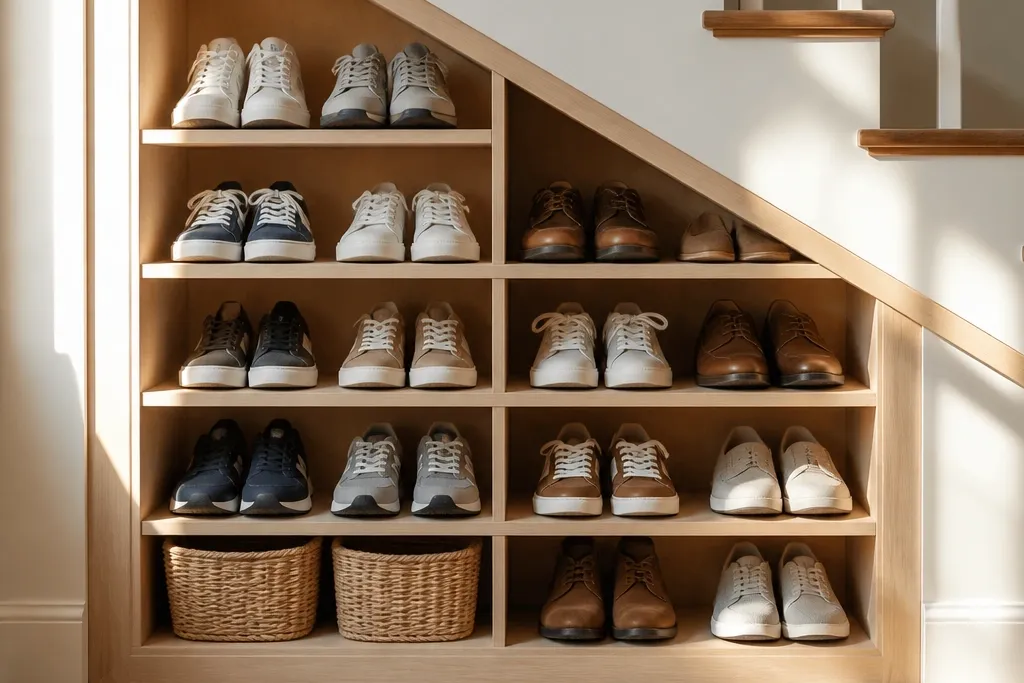
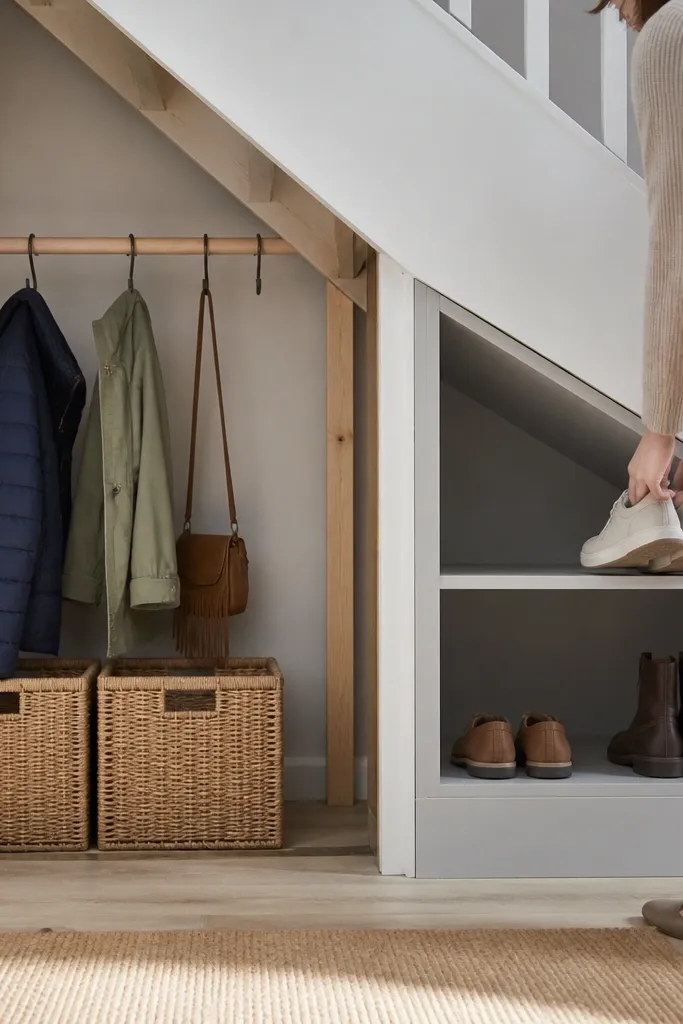
1. Shallow pull-out shoe trays on a simple frame
Step 1: Build a rectangular frame from 3/4-inch plywood (or cabinet-grade MDF if you seal it well) sized to the niche, then mount it level using a stud finder and shims where needed. Step 2: Install full-extension drawer slides on the frame and the tray sides; use 1x2 cleats as tray supports and keep the tray front lip low enough to grip. Step 3: Add a simple stop so the trays don’t slam into the front edge, then paint or seal the frame and wax the tray runners lightly so they glide. Finally, mount a small toe-kick guard under the front edge to catch stray laces and protect the slide alignment.
If your under-stairs depth is tight, pull-out trays fix the biggest problem: you can’t reach into a deep shelf without dumping shoes. A basic frame built to the niche dimensions gives you solid mounting points, and the trays slide forward so you see the pair you want. This setup handles mixed heights better than cubbies because shoes sit flat and don’t get crushed by leaning boots. Expect about a half-day for measuring and cutting, then another block of time for installing rails and finishing. It’s beginner-friendly if you’re comfortable with a circular saw and you take your measurements twice.
Skip thisDon’t mount slides to drywall alone; use studs or add blocking behind the drywall.
Editor's noteUse full-extension slides rated for at least 50 lb so the tray doesn’t sag after months of shoe weight.
2. Built-in open cubbies with staggered shelf heights
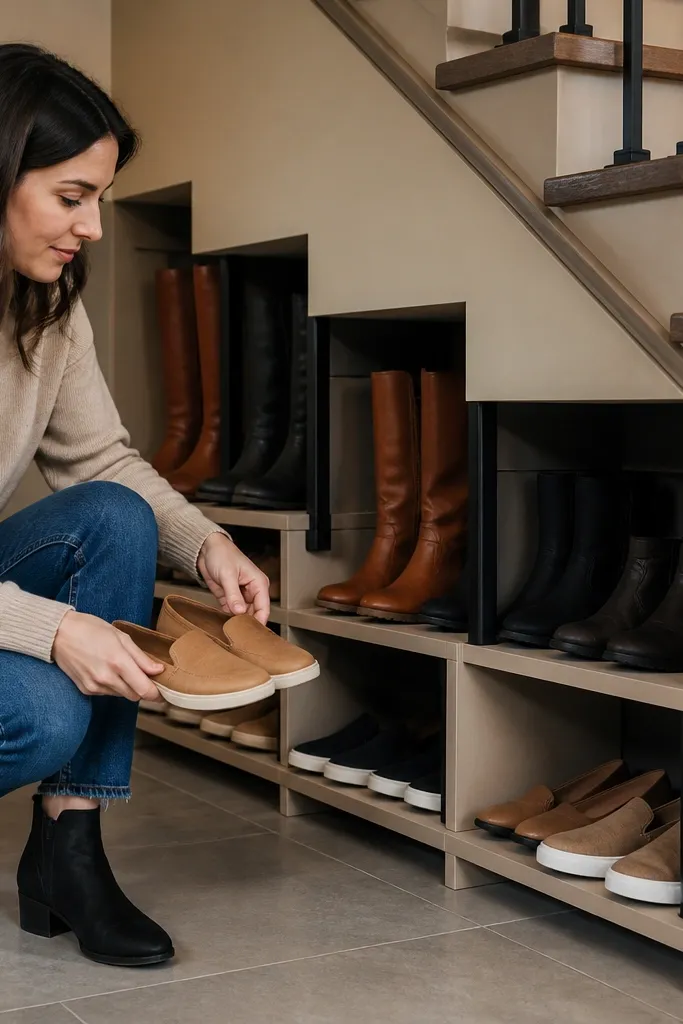
Step 1: Measure your niche and plan a grid with 2-3 different cubby heights; for example, 7-8 inch cubbies for sneakers, 10-12 inch for boots up to mid-calf. Step 2: Cut side panels and shelf boards from 3/4-inch plywood, then dry-fit the layout so you can shim to keep everything level. Step 3: Screw the shelves to the side panels using pocket holes or angle brackets, then add a back ledge so shoes don’t slide into the wall. Finally, sand edges, seal with a matte paint, and add a small vent gap behind each cubby by not sealing the back tight to the wall.
Open cubbies are the quickest built-in look because you skip doors and focus on access. The trick is staggered shelf heights so each row matches shoe height instead of forcing everything into one box size. Place low cubbies at the front for daily pairs and taller cubbies behind for boots or thicker soles. This works especially well when the under-stairs area has some airflow from gaps around the stair skirt. It’s a solid choice for beginners who want a clean, organized result without dealing with hinges or latches.
Skip thisAvoid making every cubby the same height if you have boots; they will end up folded and take up the whole row.
Editor's noteLabel the front edge of each cubby with a small sticker or paint dot; it keeps sorting consistent.
3. Angled boot slots built into the side wall
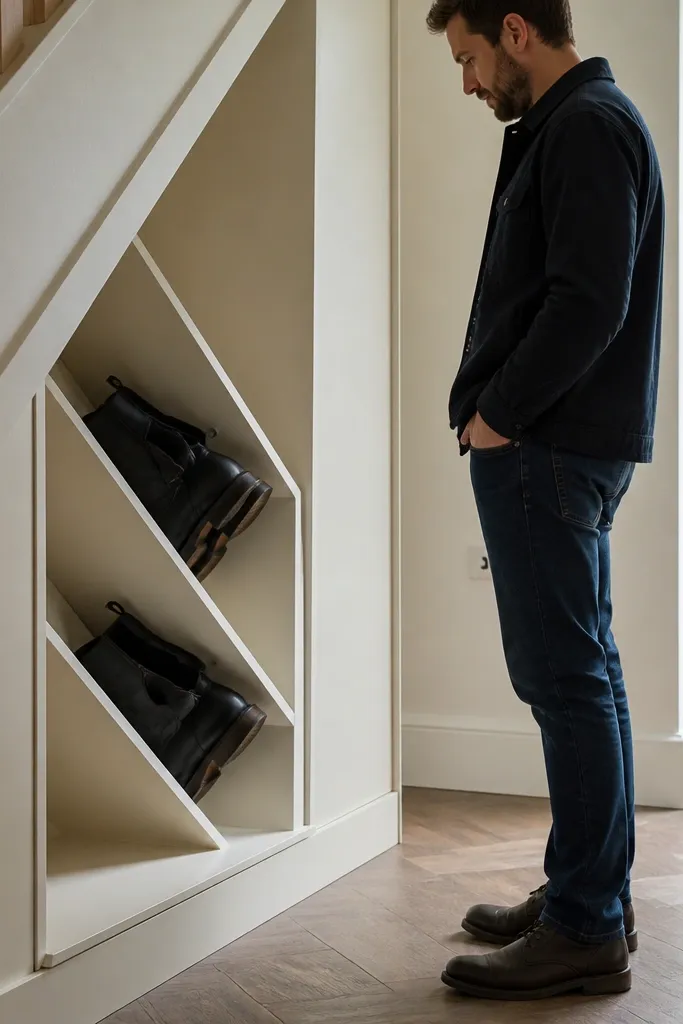
Boot storage fails when the boot has nowhere to stand. Angled slots solve this by letting boots lean into a designed shape instead of falling over and crushing the toe. Built into the side area, the slots also use vertical space better when the under-stairs clearance changes from top to bottom. This plan is best for people who own tall boots and want them to stay in good shape without constant folding. Skill level is moderate because you’re cutting repeating angles, but the payoff is a tidy nook where boots look intentional, not shoved.
Step 1: Decide the boot angle based on your boot shaft stiffness; a common starting point is 15-25 degrees from vertical so the boot rests without sliding. Step 2: Cut slot supports from 3/4-inch plywood, spacing them so the boot can slide in without scraping the sole; aim for 3/4-inch clearance around the shaft. Step 3: Mount the angled supports to the wall framing or add a backing panel first, then add a top cleat that prevents boots from drifting forward. Finally, seal the wood and add a felt strip at the slot contact points so leather doesn’t scuff.
Test-fit one boot with the sole slightly elevated so you can tune the slot angle before you commit to the whole row.
Don’t make the slots too tight at the toe; boots need a little wiggle room or they’ll snag every time.
4. Basket rail system with latching bins
Step 1: Find studs along the under-stairs wall and mark a level line at the height you want the basket tops; install two rail brackets with 2-inch screws. Step 2: Choose basket sizes based on your largest daily shoe; for most adults, bins around 10-12 inches deep work well. Step 3: Attach basket hooks or slide-in hangers to the rails, then add a small front stop so baskets don’t swing. Finally, wipe the area clean, run a quick check that baskets clear the stair skirt, and add a small label on each basket front so sorting stays simple.
This is the beginner-friendly under-stairs shoe storage that doesn’t require carpentry. Mount a couple of rails to studs, then hang baskets or bins sized by your shoe types. Latching baskets help when the stair area is busy and kids kick the front edge. You get airflow because baskets are breathable, and you can swap sizes when your shoe rotation changes. It’s also the cleanest answer for renters because you can remove it later with minimal patching. Expect a couple of hours for install once you’ve measured.
Skip thisAvoid mounting rails to drywall only; baskets become heavy fast once you fill them.
Editor's noteUse felt or rubber pads between basket hooks and the rail to cut noise and prevent wobble.
5. Fabric drawer bins on a simple plywood base
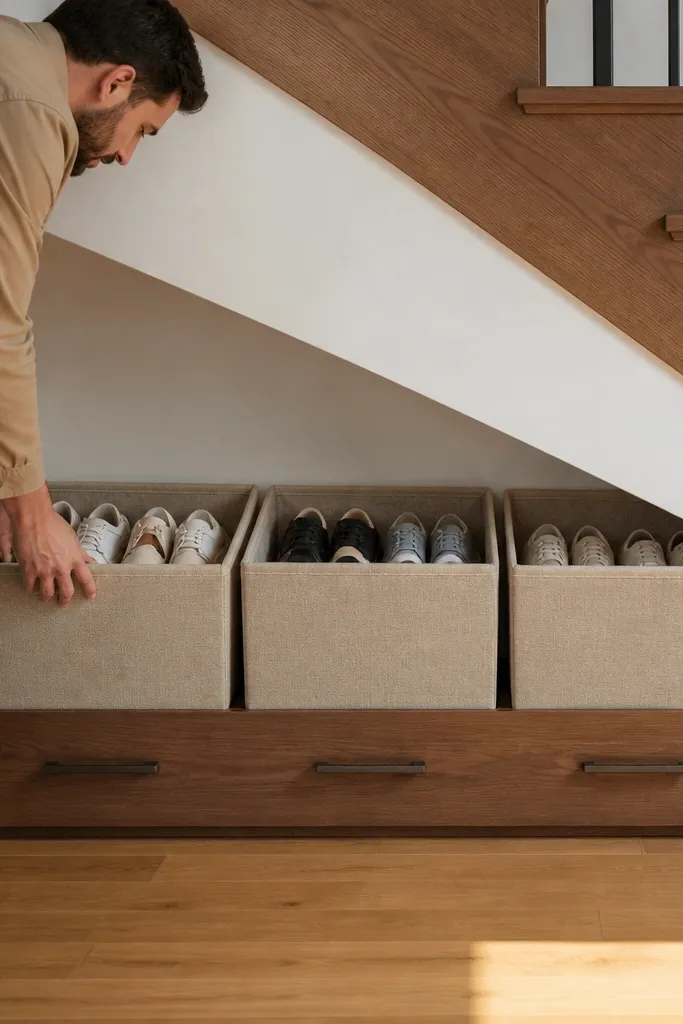
Step 1: Cut a plywood base to the niche footprint and screw it to cleats mounted to studs or the side framing. Step 2: Add 1x2 side cleats to act like guides so the bins slide straight; keep the gap between cleats tight enough that bins can’t tip. Step 3: Install a front lip (a 1x2 strip) so bins don’t slide out when someone yanks them. Finally, add a small strip of adhesive hook-and-loop on the bin front if you want them to stay put.
If you want a look closer to a cabinet drawer without building drawers, fabric bins on a plywood base are a smart compromise. The plywood base keeps bins from sagging and gives you a consistent track width so they slide in and out cleanly. Choose bins with rigid sides so they don’t collapse when you grab a shoe by the heel. This is great for sneakers and flats, and it’s also easy to reorganize for seasonal swaps. Timing is beginner-friendly: measure, cut a base, add cleats, then push the bins in.
Skip thisDon’t use floppy bins for boots; they collapse and you’ll end up stacking shoes sideways.
Editor's notePick bins with a removable top flap; it reduces dust without trapping moisture.
6. Closet-style hanging shoe organizer under the stairs
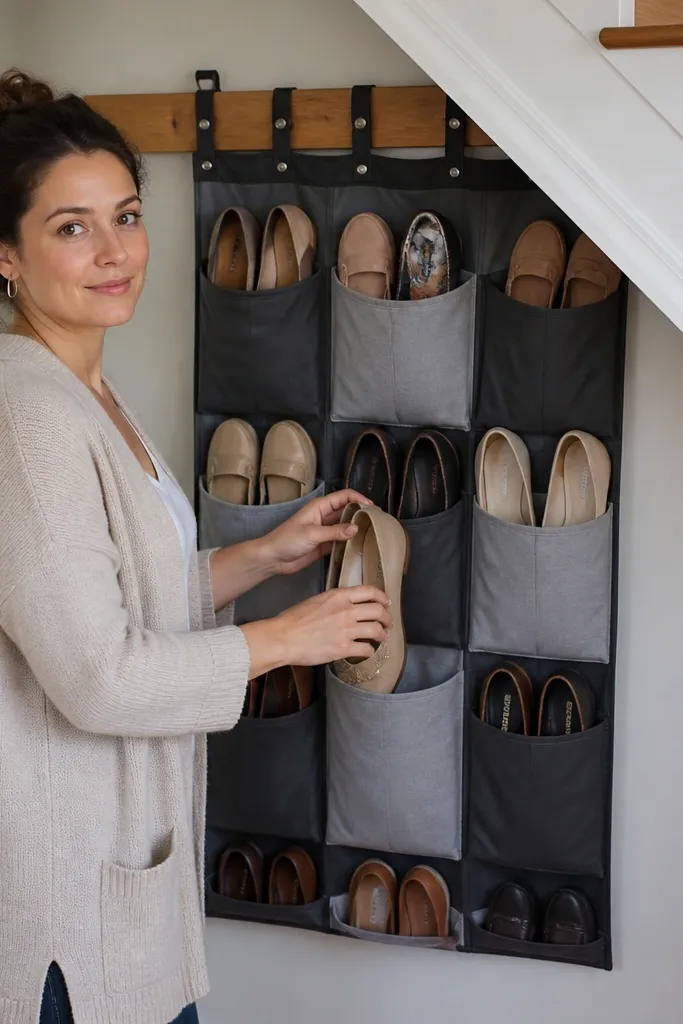
Step 1: Find a solid mounting line near the top of the under-stairs area and install two strong screws into studs (or a beam) with a level line. Step 2: Use the organizer’s hanging loops or create a simple rail using 1x2 lumber so the organizer hangs straight. Step 3: Adjust the bottom so pockets don’t drag on the floor; leave at least 1 inch of clearance for dust and airflow. Finally, add a small bin at the bottom for loose accessories like shoehorns and laces.
A hanging organizer is the fastest way to create order when you don’t want shelves at all. It works best for low-profile shoes like loafers, flats, and kids sneakers because pockets keep pairs separated. Install it where you have a strong top mounting point, like a beam or sturdy stud line, so the organizer doesn’t droop. This is a good choice when the under-stairs clearance is awkward and building a rigid frame feels annoying. It’s also forgiving — if you change your shoe mix, you just keep using the pockets.
Skip thisAvoid pocket organizers for heavy boots; the weight bends the fabric and makes access messy.
Editor's noteChoose an organizer with clear pocket backing or mesh pockets so you can see pairs without opening anything.
7. Doorless built-in with removable shoe baskets
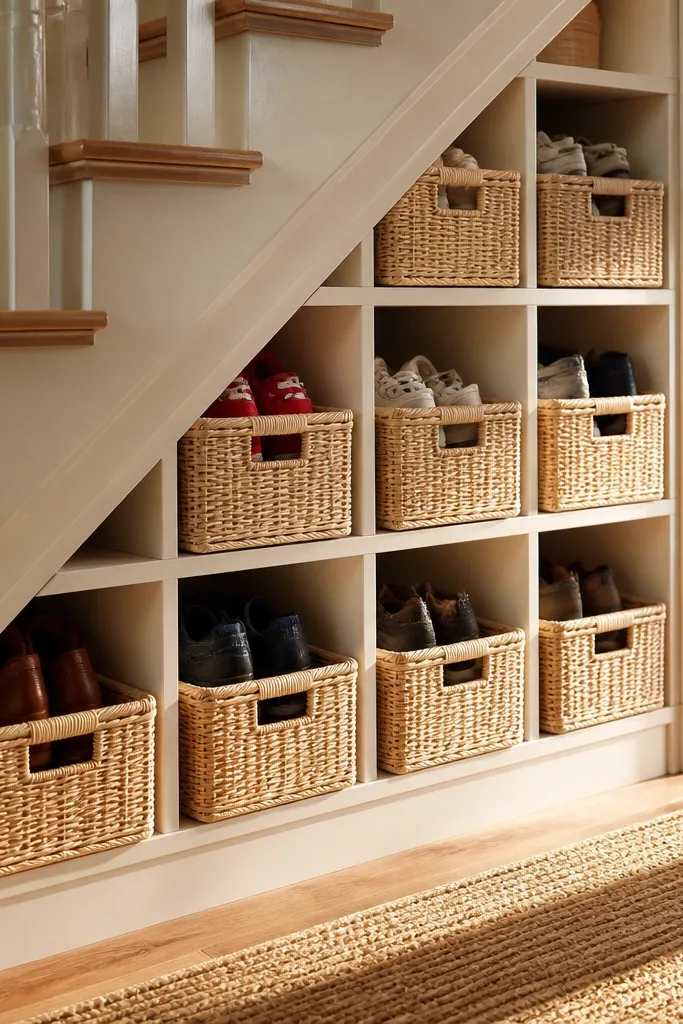
Step 1: Build a simple open shelf frame from 3/4-inch plywood with two or three levels, sized so baskets fit with a 1/2-inch gap around the sides. Step 2: Mount shelf cleats and add a front stop strip on each level so baskets don’t slide out when you pull a pair. Step 3: Choose baskets with rigid frames or thick wire so they don’t collapse. Finally, seal the wood and leave the back of the shelf slightly open or at least avoid caulking it airtight to the wall.
This is the built-in look with basket convenience. The shelves keep everything square and aligned, but you store shoes in removable baskets so you can take them out to clean or swap seasons. It’s excellent for mixed families because each person can have a basket without you needing custom compartments for every shoe. You also get airflow because baskets aren’t sealed into wood cubbies. Skill level is beginner-friendly if you can mount a shelf level and screw in basket stops.
Skip thisDon’t make the baskets too snug; tight gaps trap moisture and make baskets harder to remove.
Editor's noteUse baskets with handles so moving them for cleaning is easy and doesn’t turn into a wrestling match.
8. Under-stairs shoe bench with lift-up top and dividers
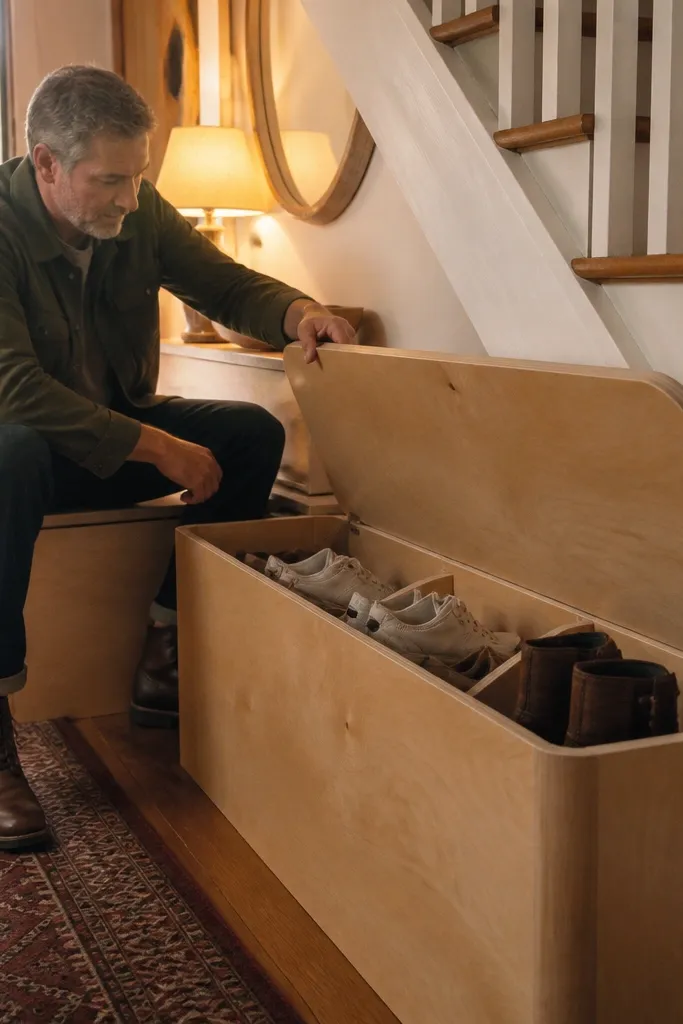
Step 1: Build a box frame from 2x2 or 3/4-inch plywood, sized to the under-stairs footprint, then add an internal divider grid based on shoe size (for example, 10-inch wide sections for adult pairs). Step 2: Attach a lift-up lid using piano hinges along the back edge and add a gas strut or prop rod so it stays open safely. Step 3: Install a front lip inside the box so shoes can’t slide forward when the lid is lifted. Finally, add non-slip padding on the lid top and seal the interior wood so it wipes clean.
A shoe bench is a better storage idea than it sounds because it solves two problems at once: you get a place to sit while you put shoes on, and you get hidden storage that stops clutter from spreading. Use a lift-up top with internal dividers so shoes stay separated even when the space is busy. This works best when you have at least 16-18 inches of depth so the bench top doesn’t block access. Built-in benches look intentional and give you a clear boundary for shoes instead of scattered pairs. It’s moderate difficulty because you’re building a top and adding hinges or supports, but the end result is very livable.
Skip thisDon’t store wet shoes against bare wood; add a breathable mat or keep a small vent gap.
Editor's noteAdd a small rubber door gasket or felt strip on the lid edge so it closes quietly and reduces dust.
9. Modular cubby inserts with labeled bins
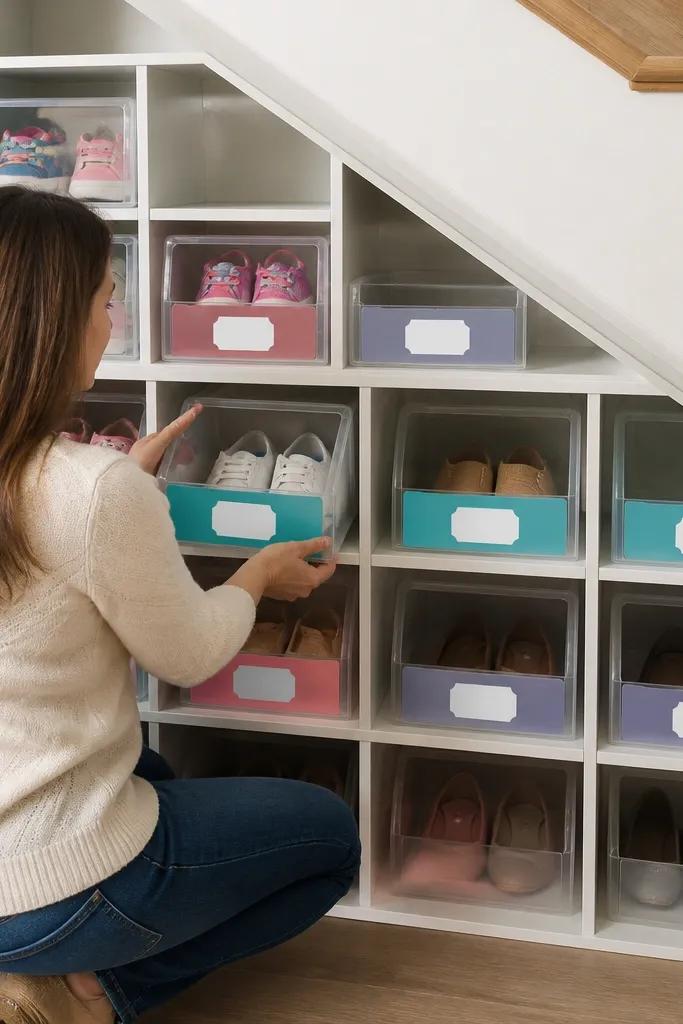
Step 1: Build a simple open cubby grid with 3/4-inch plywood, leaving a 1-inch gap between cubbies so bins slide in without scraping. Step 2: Choose bins first, then work backward to cut openings; measure bin width and add 1/8-inch clearance per side. Step 3: Mount a small front stop strip inside each cubby to keep bins from sliding out. Finally, label each bin on the front with a paint marker and add a quick-use rule like “street shoes go in the top row.”
If you like clear categories and fast grabbing, modular cubby inserts with bins are clean and predictable. You build a fixed grid once, then drop in bins that match your shoe sizes. The big win is repeatability: every bin has a label and a home, so you don’t end up with random piles. This setup is great for kids because you can assign “left foot” chaos to one bin per person. It’s beginner-friendly because you’re mostly cutting shelf boards and keeping spacing consistent.
Skip thisAvoid deep bins if you hate digging; shallow bins let you grab without rummaging.
Editor's noteUse matte labels or paint marker on plastic; glossy labels peel off faster in humid entryways.
10. Raised toe-kick shelf with a front lip
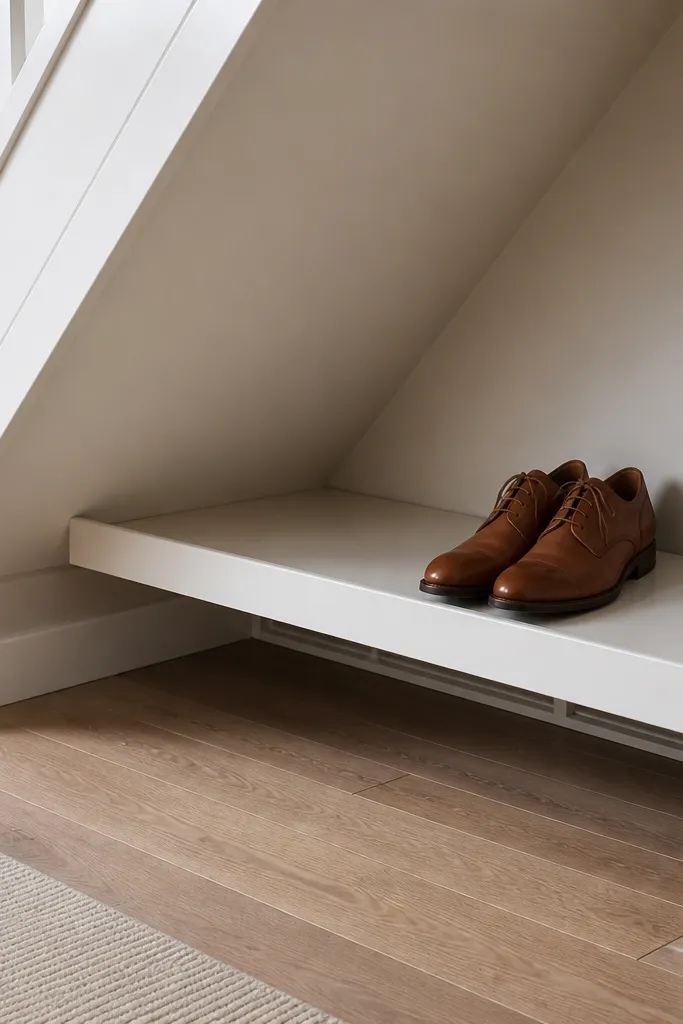
Step 1: Mark your shelf heights while holding a shoe in place; aim for about 7-9 inches for sneakers and 10-12 inches for thicker soles. Step 2: Mount two cleat lines to studs and screw the shelf board on top, keeping it level. Step 3: Add a 3/4-inch front lip strip so shoes can’t slide forward; keep the lip low enough to grab shoes by the heel. Finally, seal the shelf and add a small rubber strip under the lip to reduce scuffs.
This is a simple build that fixes a common under-stairs problem: shoes slide forward and end up on the floor. A raised shelf with a front lip keeps pairs in place, and the gap under the shelf helps airflow so shoes dry instead of trapping moisture. It’s also a great option when your under-stairs space is too awkward to build a full system. You can stack two or three tiers depending on height clearance. Beginner-friendly because it’s basically cleats, a shelf board, and a lip strip.
Skip thisDon’t put the shelf directly on the floor; you’ll trap dampness and the wood will smell.
Editor's noteLeave a 1-2 inch gap below the shelf for airflow and for easy vacuuming.
11. Pegboard shoe wall inside the under-stairs nook
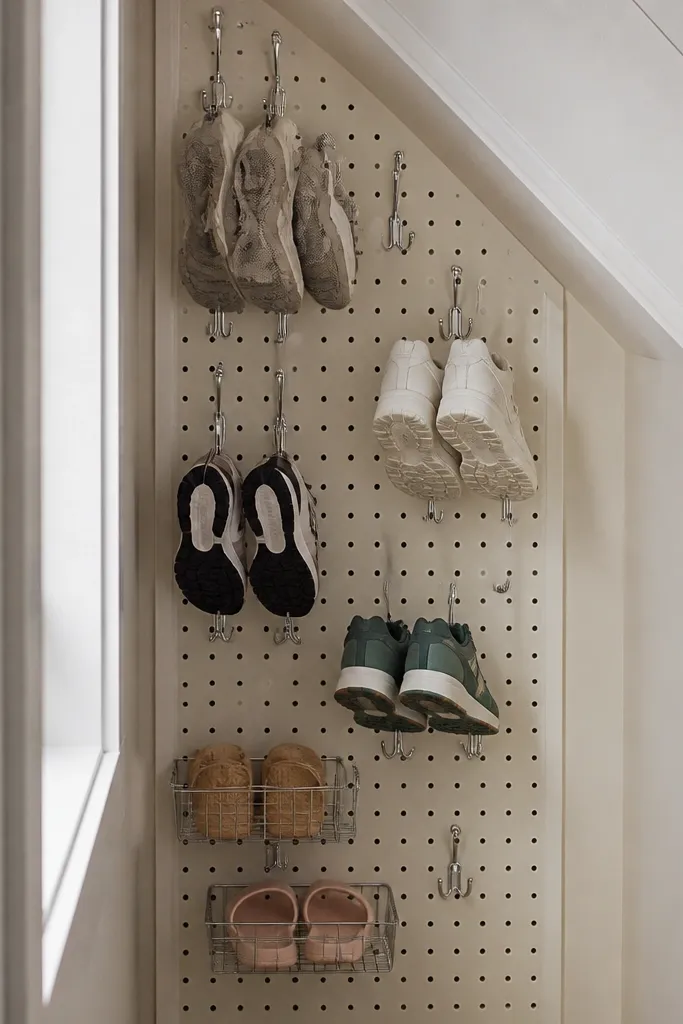
Step 1: Cut pegboard to fit the niche and mount backing strips to studs or solid framing so screw points land on structure. Step 2: Add hooks designed for shoes or use U-shaped hooks so the shoe sits stable; keep the shoe toe area supported. Step 3: Add small wire baskets or tray hooks for laces and shoe care, then paint the pegboard if you want a cleaner look. Finally, hang only dry shoes at first so you can spot any moisture issues early.
Pegboard is one of the most beginner-friendly ways to get adjustable shoe storage when the under-stairs shape is weird. Use it inside the niche with hooks for shoes and small bins for small items. This works best for sneakers, slippers, and lightweight shoes where hooks won’t bend the shape. The adjustability is the point — move hooks as your shoe lineup changes. It also keeps shoes off flat shelves, so air moves around them. It’s a quick build if you can mount a pegboard securely.
Skip thisAvoid storing heavy boots on peg hooks; they’ll stretch and slip.
Editor's noteUse a mix of hook heights — one row for slip-ons, one row for higher-profile shoes — so pairs don’t overlap.
12. Built-in ladder-style shelf with angled top supports
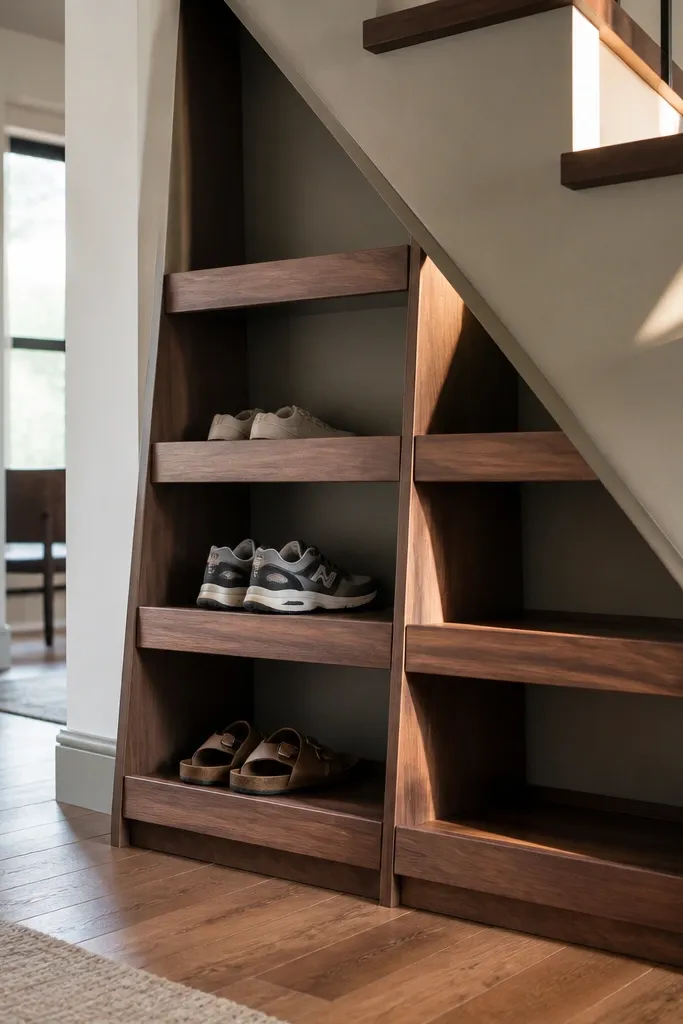
Step 1: Cut two side rails and several cross supports from 3/4-inch plywood, then mark a repeating spacing pattern for your shoe sizes. Step 2: Install the side rails first, then screw cross supports in at a slight angle so the shoe heel sits back naturally. Step 3: Add a front stop strip to each shelf level so shoes don’t slide. Finally, sand, seal, and add felt pads on support contact points to reduce scuffing.
A ladder-style shelf uses angled supports to keep shoes from tipping forward. It’s a strong choice when you want a built-in look but don’t want doors or bins. The open structure lets shoes dry and makes it easy to see what’s available. This works well with sneakers and sandals, and it can handle boot shafts if the supports are spaced correctly. Skill level is moderate because you’re cutting multiple repeated supports, but the build is straightforward if you keep your spacing consistent. The result is a crisp, organized shoe wall under the stairs.
Skip thisDon’t rely on friction alone; without a front stop, shoes will creep forward over time.
Editor's noteMake one cardboard template for your support angle and spacing; it speeds up the repeat cuts.
13. Corner triangle shoe shelves for the awkward under-stairs side
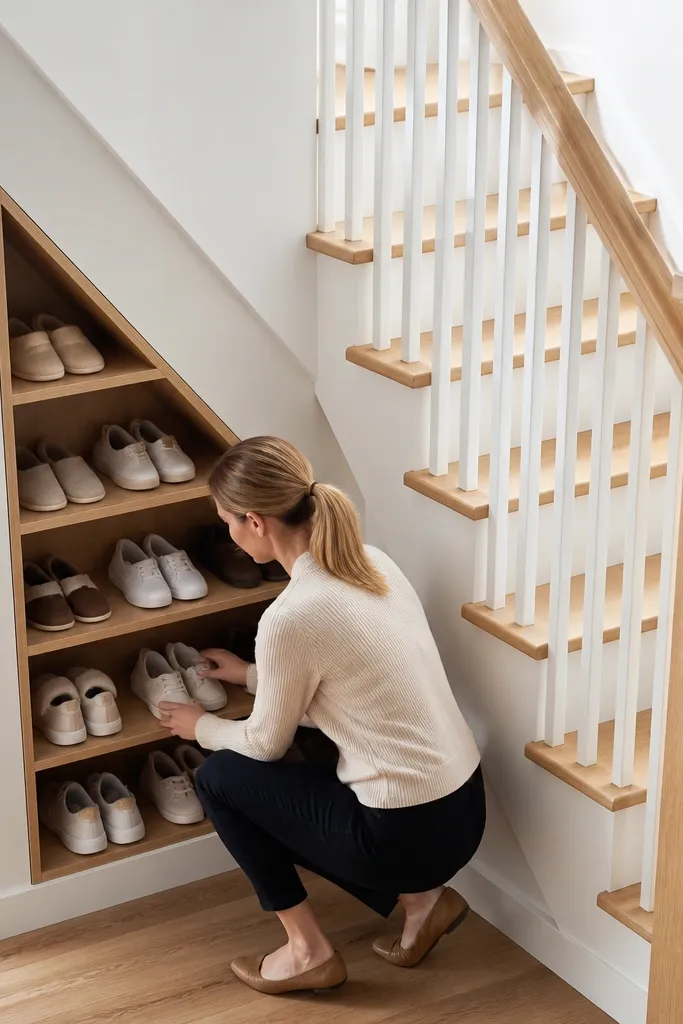
Step 1: Measure the triangle area where the wall meets the stair skirt and transfer those dimensions to plywood; cut two matching side triangles and a set of shelf boards. Step 2: Mount the triangle side pieces first to studs or solid backing, then screw shelf boards between them using pocket holes or brackets. Step 3: Add a thin front lip on each shelf so shoes don’t slide. Finally, seal the wood and add a small non-slip pad on the shelf surface.
The corner under the stairs usually becomes dead space. Triangle shelves turn that awkward shape into usable storage without forcing you into a full built-in wall. It’s best for smaller shoes and slippers, and it keeps pairs from piling up where you can trip. This plan is beginner-friendly because the cuts are simple right triangles and shelf strips, not complex frames. It looks intentional and uses the space you already pay for. Build time is short once you measure the triangle footprint correctly.
Skip thisAvoid making triangle shelves too deep; shallow triangles keep access easier and reduce shoe crowding.
Editor's noteUse a scrap shoe box as a sizing guide so you don’t cut shelves that are too small for your actual pairs.
14. Under-stairs shoe cubbies with sliding fabric doors
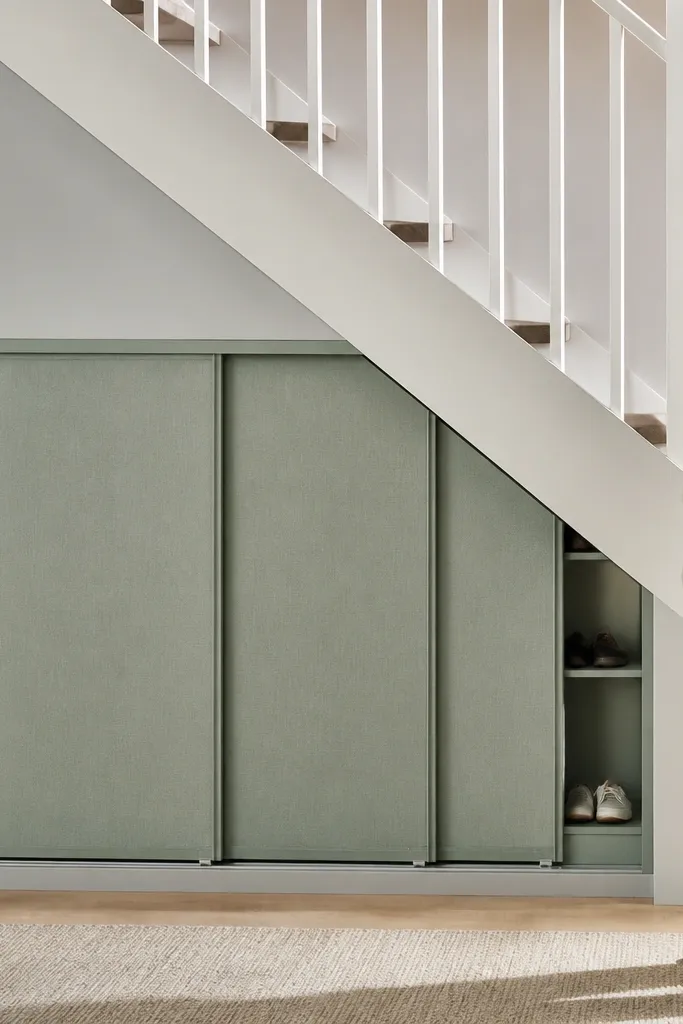
Step 1: Build an open cubby frame from 3/4-inch plywood and install shelf boards at shoe-height spacing. Step 2: Add a top track using a small curtain track mounted to studs, then attach fabric panels with grommets or clips so they slide smoothly. Step 3: Add magnetic stops or a simple bumper strip so panels don’t swing out. Finally, seal the wood and choose a fabric that wipes clean.
If you want the neat look of closed storage without building real doors, sliding fabric panels are a smart move. You get hidden shoes when guests come over, and you still have airflow because fabric isn’t airtight. This is also a great compromise when your under-stairs space has uneven surfaces that make hinge doors annoying. It’s beginner-friendly: build the cubby frame, then hang fabric on a track or tension rod. The storage is practical and doesn’t feel like a construction project.
Skip thisAvoid thick, heavy fabric that drags; it will sag and snag on the shelf edges.
Editor's noteUse a track with ball-bearing wheels; fabric slides without jerking and it stays aligned.
15. DIY under-stairs shoe storage wall using wire baskets and a plywood backboard
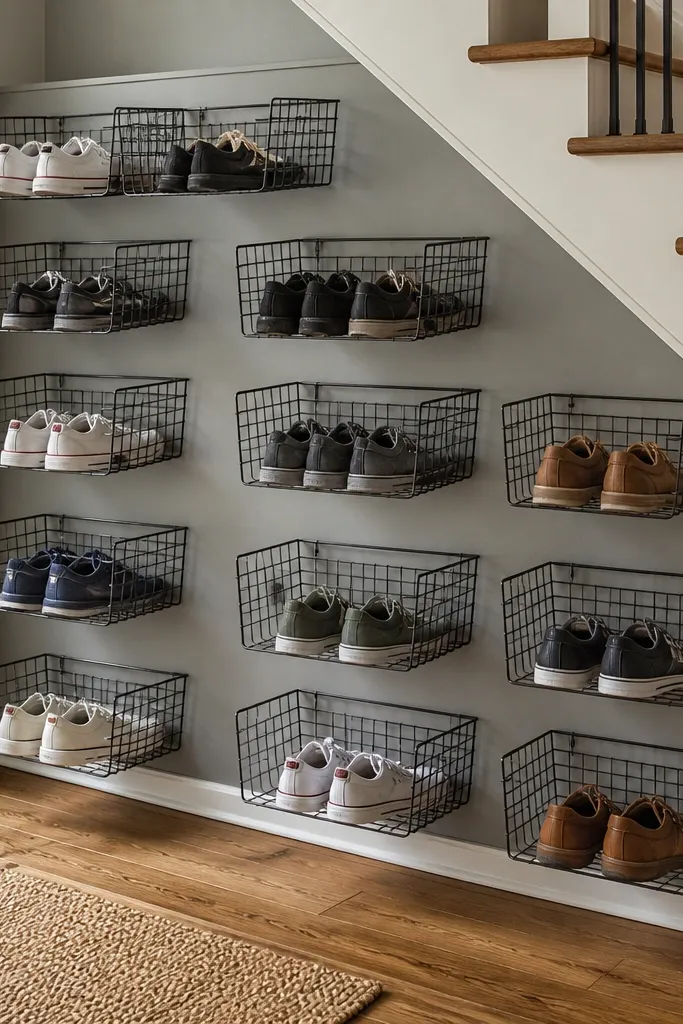
Step 1: Cut a plywood backboard to the niche width and height, then locate studs and mount the backboard securely with shims if needed for flatness. Step 2: Mark basket mounting points and screw in basket brackets so baskets sit level; keep basket fronts aligned with the niche opening. Step 3: Add a lower shelf or tray beneath the baskets for shoe care items, then finish the plywood with matte paint or a wipe-on sealant. Finally, test-fit a full basket before you load it so you confirm clearance with the stair skirt.
Wire baskets on a plywood backboard give you strong airflow and a light, organized look. This is the best option when you want your shoes to dry quickly and you don’t want to handle individual bins. The plywood backboard matters because it turns a flimsy basket setup into a stable wall that holds shape. You can arrange baskets in a grid that matches your shoe sizes and adjust spacing later by changing basket depth. Skill level is beginner-friendly with basic drilling and measuring.
Skip thisDon’t skip the plywood backing; mounting brackets only to drywall will loosen as baskets get heavy.
Editor's noteChoose baskets with a front lip so shoes don’t slide out when you pull the pair from the back.



