

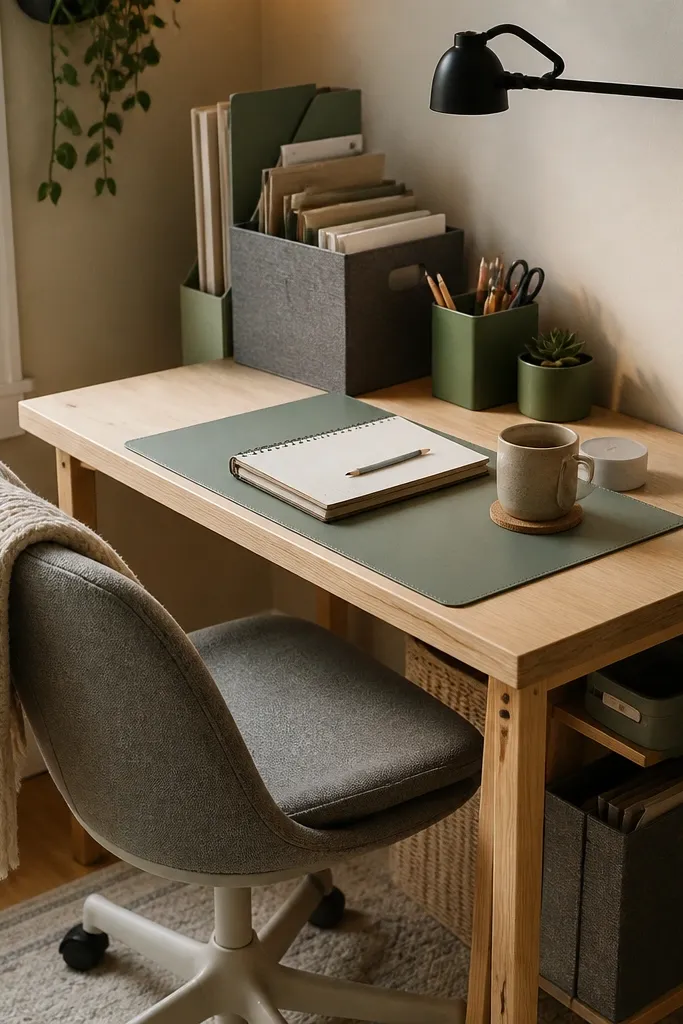
1. Floating Desk Tray With a 1-Inch Lip
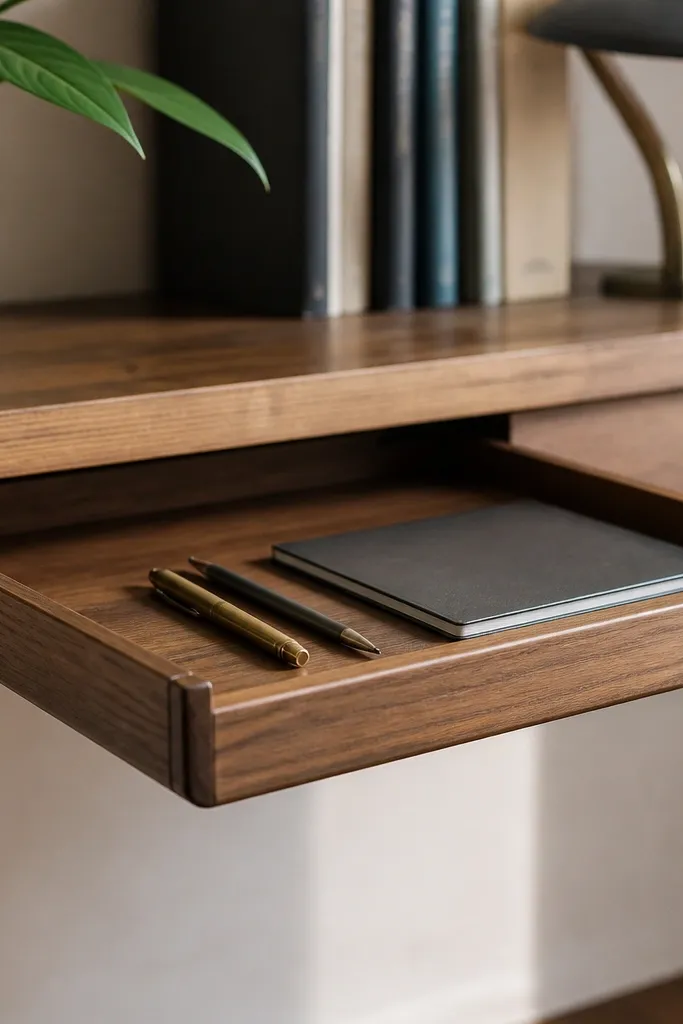
Cut a rectangle of 3/4-inch plywood to 16 x 10 inches for a typical desk. Sand the edges, then add a 1-inch lip strip along the front using wood glue and 1-inch brad nails. For the “floating” look, mount two small cleats under the tray — 2 x 2-inch blocks attached to the underside — then screw the cleats into the desk with pilot holes. Finish with two coats of matte clear varnish so it doesn’t glare under a lamp.
A floating tray with a front lip makes your desk look “styled” because it creates a clean boundary for small stuff. Books, notebooks, and stationery stop spilling across the surface, so the tabletop stays visually calm even when you’re actively studying. Go for a wood tray with a slightly raised edge so pens don’t roll and loose paper doesn’t slide. This is beginner-friendly because the build is simple, and the result looks intentional from every angle.
Skip thisSkipping pilot holes when you screw into the desk can split the plywood.
Editor's noteAdd a strip of felt to the underside where it touches the desk to prevent scratches and sliding.
2. Cable Channel Track in Matching Wood
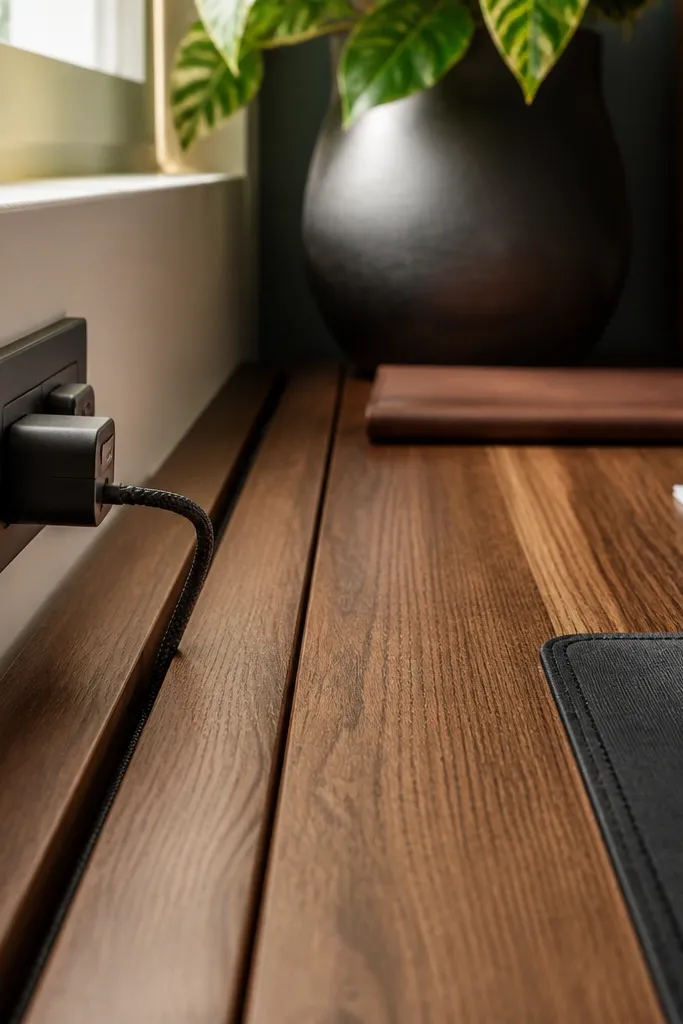
Cable mess kills the “want to sit down” feeling because your eyes keep finding it. A cable channel track gives you a straight, clean line from outlet to charger and keeps cords from draping over books. The aesthetic is simple: one wood piece that matches your desk tone, with a tidy opening that disappears into the background. It also makes daily use easier because you can route cords without fishing them out from behind a stack of papers.
Measure the longest cable run you need to hide and decide the channel length, usually 24 to 30 inches. Rip a 1 x 1-inch hardwood strip and cut a shallow groove on the top using a router or a chisel-and-sand method. Add a snap-on cable cover by screwing a thin backing board first and then attaching the cover with small screws. Stain or paint the track to match your tabletop, then mount it with a level line and two to three screws into the desk underside.
Route the power brick under the desk and bring only the thin cable up through the channel for a cleaner look.
Don’t bury thick power adapters inside tight channels where heat can build up.
3. Pegboard Wall Organizer Behind the Desk
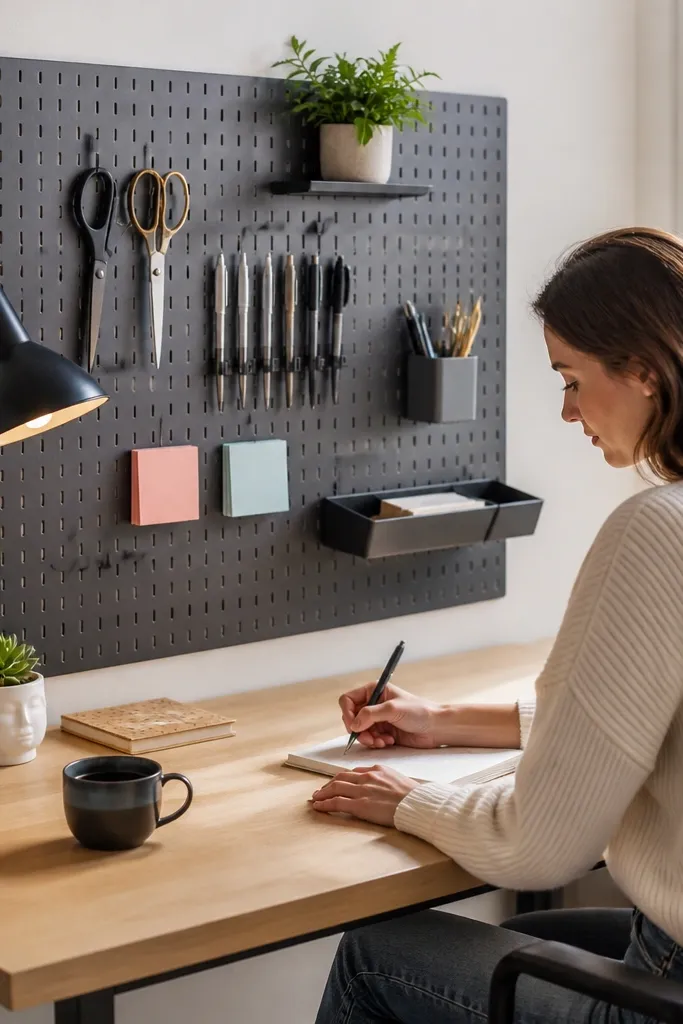
Pick a pegboard size that fits your space, like 24 x 36 inches, and locate studs or use strong wall anchors. Paint the pegboard or cover it with a wood-look finish so it matches your room. Add two rail-style shelves for books or reference binders, then hang a mix of hooks for daily items. Mount everything after you mark a center line and keep tools within arm reach to avoid “reaching clutter.”
A pegboard wall behind your desk makes the whole area look planned because vertical storage creates structure. You can hang tools, sticky notes, scissors, and extra pens, so the desk surface stays open for writing. The look is photogenic because pegboard patterns and metal hooks form clean lines, not random piles. Beginners like this because you can start with a small section and expand later.
Skip thisDon’t place the heaviest items too high — it makes the wall feel chaotic and harder to use.
Editor's noteUse clear labels on small bins and place them at eye level so you don’t keep digging.
4. Desk Riser With Side Steps for Posture
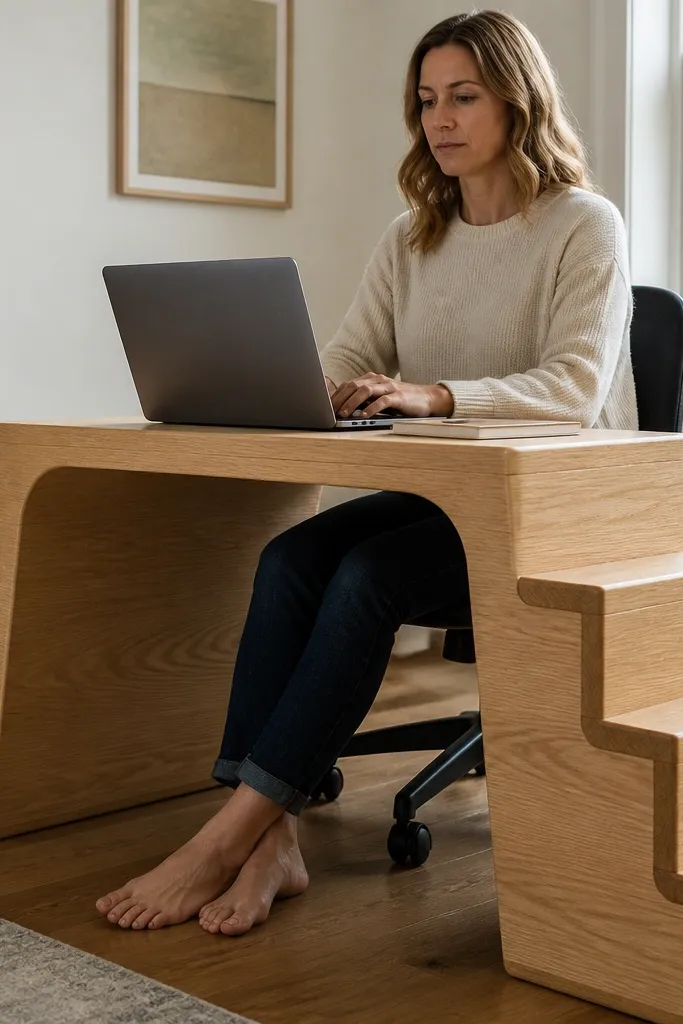
Measure your current tabletop height and your chair seat height, then aim for a difference that lets your forearms rest around level with the surface. Build a simple riser frame from 2x2-inch lumber or 2-inch wide plywood strips, keeping the top platform at 18 to 24 inches wide depending on your desk. Use two side “steps” so the riser sits stable and doesn’t wobble. Sand, then finish with matte varnish; add non-slip pads on the bottom corners.
If your desk height is wrong, no accessory fixes it. A riser with side steps raises your working surface and gives your knees a comfortable clearance so you stop hunching. Visually, it looks clean because it’s one solid platform instead of random books. It also makes the desk feel more “designed” since the surface appears lifted and deliberate.
Skip thisAvoid making a riser too tall — if your shoulders lift, you’re worse off.
Editor's noteAdd a 1/4-inch rubber strip on the top edge where it meets the desk to prevent any shift.
5. Rounded Corner Desk Organizer Box (No Sharp Edges)
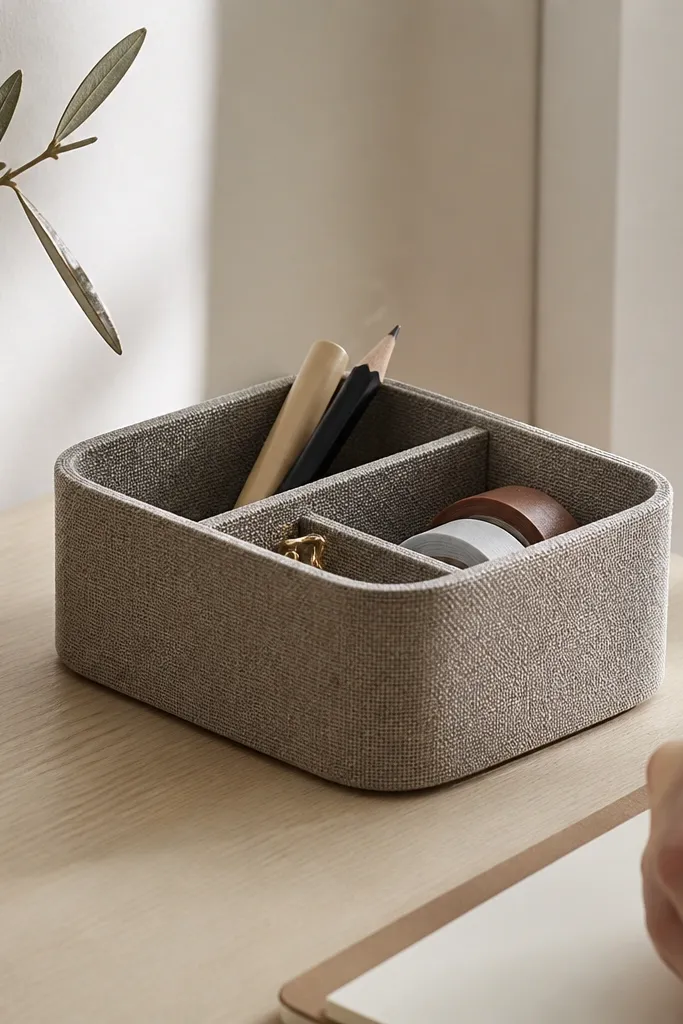
Sharp clutter corners look messy. A rounded corner organizer box turns loose items into a tidy block, and it’s easy to keep your desk looking good mid-study. This project is also friendly for beginners because you’re building a single form with simple joinery. The aesthetic is soft and modern, and it reduces paper and pen chaos immediately.
Cut plywood panels for a box about 10 x 6 inches with a height of 3 inches. For rounded corners, use a template and a jigsaw to cut quarter-circle corners, then sand smooth. Assemble with wood glue and screws from the inside corners, then add a removable top tray if you want extra separation for pens vs sticky notes. Finish with a light stain and a satin clear coat so it looks warm without glare.
Line the bottom with thin felt to keep items from rattling and to protect your desk surface.
Don’t leave raw plywood edges — they chip and look unfinished fast.
6. Matte Black Minimalist Under-Shelf for Laptops

Measure your laptop width and add 2 to 3 inches on each side for comfortable placement, usually a 14 to 18 inch deep shelf. Cut a shelf from 3/4-inch plywood and round the front edge with sandpaper. Use two heavy-duty L brackets or shelf brackets mounted into the desk underside with pilot holes. Paint or spray the shelf matte black and add rubber pads on the top so the laptop doesn’t slide.
A laptop shelf under the desk makes the whole setup look cleaner because the screen stops sitting on top of your writing space. Matte black hardware visually “disappears” against most rooms and reads modern. It also helps your posture because you’re not leaning forward to see the screen. Beginners can build this with basic brackets and a simple platform.
Skip thisDon’t mount brackets without checking clearance for your chair arms.
Editor's noteMount the shelf so the laptop sits 2 to 4 inches below your tabletop to keep the writing space usable.
7. Book-Ledged Wall Shelf With a Light Shade Back Panel

Books look good when they’re framed, not scattered. A book-ledged shelf with a light back panel makes the books pop and gives you a cleaner background behind your desk photos. The back panel also hides messy edges and makes the shelf look more finished. This is a strong beginner project because it uses straight cuts and simple mounting.
Pick a shelf length that matches your wall space, like 30 inches. Cut a shelf board from 3/4-inch plywood and a back panel from 1/4-inch plywood or thin MDF, painted a light warm white. Add a 1-inch lip at the front to stop books from sliding and a 1/2-inch ledge on the back so spines sit neatly. Mount into studs if possible; use anchors only if you can’t find studs and keep the shelf load realistic.
Use a consistent book orientation (all spines facing outward) for an instant styled look.
Don’t paint the back panel glossy — it reflects lamp light into your eyes.
8. Laminated Desk Writing Pad on a Plywood Base
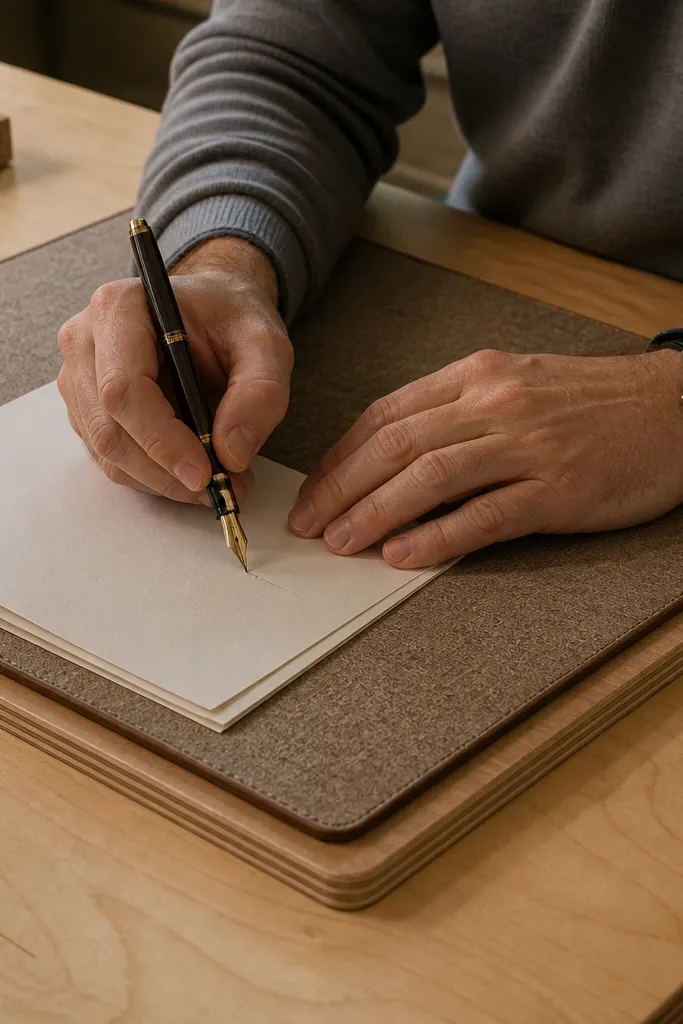
Cut plywood to size, like 20 x 14 inches, then sand and wipe clean. Cover the top with faux leather or cork sheet using contact cement, smoothing it from the center outward. Trim the edges and wrap them underneath, then staple the underside if you’re using leather. Finish by adding a thin non-slip layer on the bottom so the pad doesn’t slide as you write.
A writing pad changes how your desk feels because your pen glides and your papers stay flat. It also makes the desk look intentional because you get one big “clean zone” for notes. Choose a material with a subtle texture like faux leather or cork so you don’t get glare under overhead lighting. This works great for beginners because you’re basically building a base and stretching a covering.
Skip thisDon’t use glossy vinyl — it shows every fingerprint and glare.
Editor's noteRound the corners slightly so it looks softer and doesn’t snag paper edges.
9. Under-Desk Storage Drawer From a Scrap Box
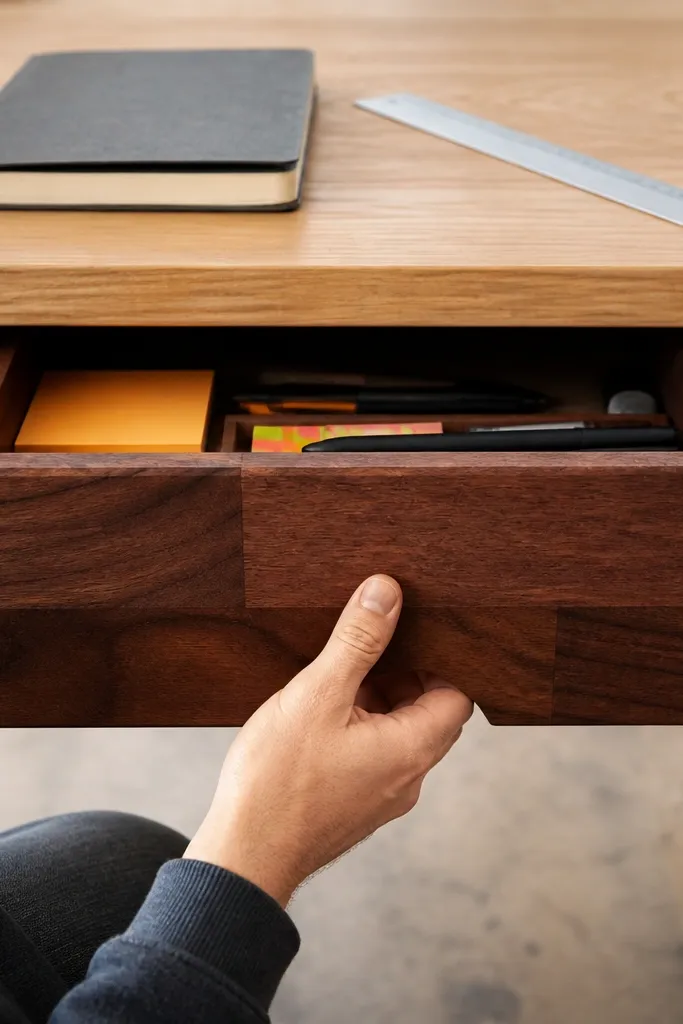
Measure the space under your desk and build a drawer box from 1/2-inch plywood, like 14 x 10 x 3.5 inches. Add two side runners from scrap wood and use small drawer slides if you want smoother movement. Attach a front pull tab made from a dowel or a bent metal handle for a clean look. Sand edges and paint or stain to match the desk underside; add felt stops so it doesn’t slam.
A hidden drawer makes the desk look clean even when your study materials are messy. You pull out the drawer when you need pens or sticky notes, then everything disappears. The aesthetic stays consistent because the tabletop stays uncluttered. This is a beginner-friendly DIY because you can build a simple drawer with basic rails or even a slide-in box.
Skip thisDon’t make the drawer too tight — you want 1/8-inch clearance on each side.
Editor's noteUse a removable organizer tray inside the drawer so small items don’t become another pile.
10. Corner Shelf Ladder for Supplies and Plants
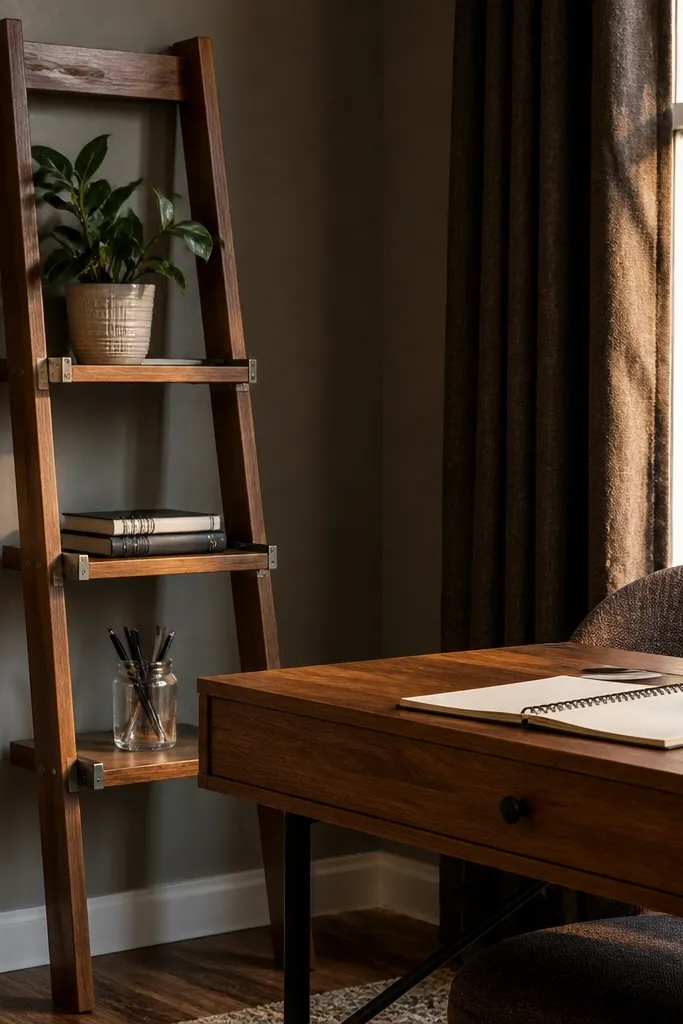
Cut two side rails from 1x2 lumber or plywood strips at your desired height, like 48 inches. Mark evenly spaced shelf positions, usually 10 to 12 inches apart. Cut shelves from 3/2-inch plywood, screw them into the rails with pilot holes, and add a backing board or diagonal brace for stability. Sand and finish with a satin clear coat; add felt pads at the feet to protect flooring.
A corner shelf ladder makes your desk area look styled because it adds height and a clean vertical frame. You can place a small plant, a stack of notebooks, and a jar of pens on different rungs so everything looks intentional. The ladder shape also keeps items from blocking the desk view. Beginners can build it using simple side rails and shelves.
Skip thisDon’t skip diagonal bracing — a tall ladder shelf wobbles and looks sloppy.
Editor's noteKeep only 3-5 items per shelf to avoid the “storage shelf” look.
11. Paper Organizer Wall Frame With Cloth Bins
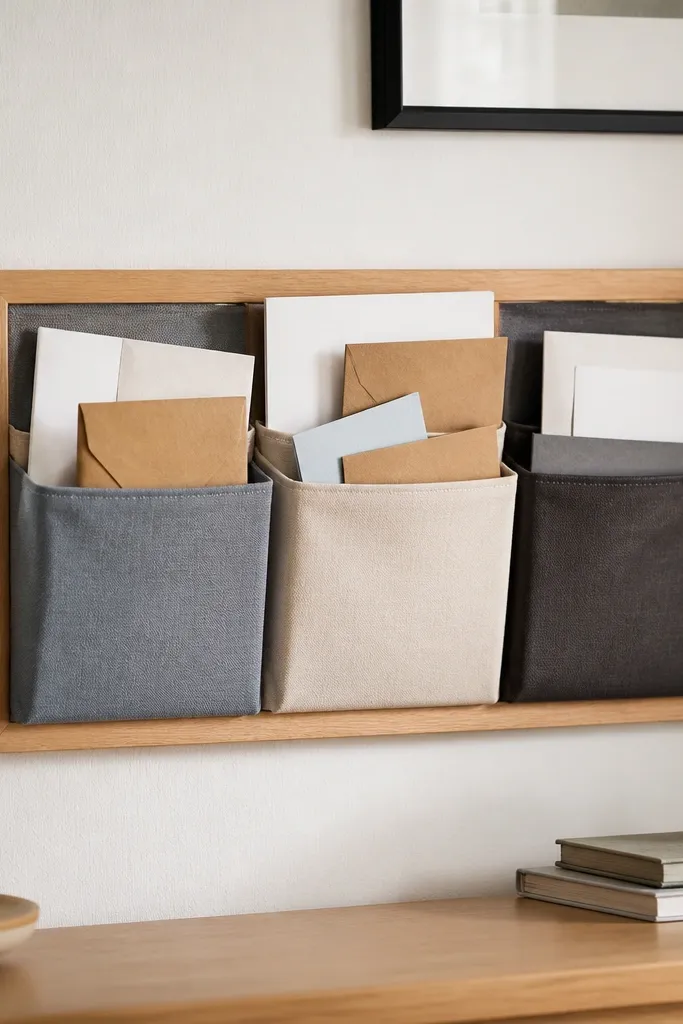
Paper piles look messy even when they’re organized by category. A wall frame with cloth bins makes your papers look like part of the decor, and it keeps them from sliding off the desk. Cloth bins also soften the look so the desk doesn’t feel like a workshop. This project is beginner-friendly because you’re building a simple frame and attaching bins with hooks or Velcro.
Build a rectangular frame from 1x2 lumber, like 30 x 22 inches, and add three crossbars if you want four bin sections. Sand and paint the frame to match your wood tone. Use fabric bins with reinforced tops, then attach them using small screws with eyelets or heavy-duty Velcro strips. Mount the frame above the desk at a comfortable reach height so you can grab papers without standing up.
Label bins with a small tag system using thick cardstock so it looks neat, not handwritten chaos.
Don’t choose flimsy bins — they sag and look messy fast.
12. Desk Lamp Stand With Weighted Base

Choose a lamp head you like and measure its stem diameter, then build a base from a 10 x 10 inch plywood block at least 2 inches thick. Drill a centered hole for the cord and stem, then add a wooden dowel or metal insert for the lamp mount. Finish the base with matte paint or stain and seal with a clear coat. Add weight by screwing a metal plate underneath if the base feels light.
Lighting is where study setups either feel cozy or painful. A lamp stand with a weighted base keeps the light from tipping and gives you a stable, focused beam for reading. The aesthetic looks clean because the lamp is anchored to a solid base instead of balanced on a random stack. Beginners can build a simple stand and pair it with a standard lamp head.
Skip thisDon’t aim light from above your shoulder — it creates glare on notebooks.
Editor's noteUse a clamp-style lamp arm if you can — it looks cleaner than a tall stand.
13. Sliding Pencil Tray Insert for a Desk Top
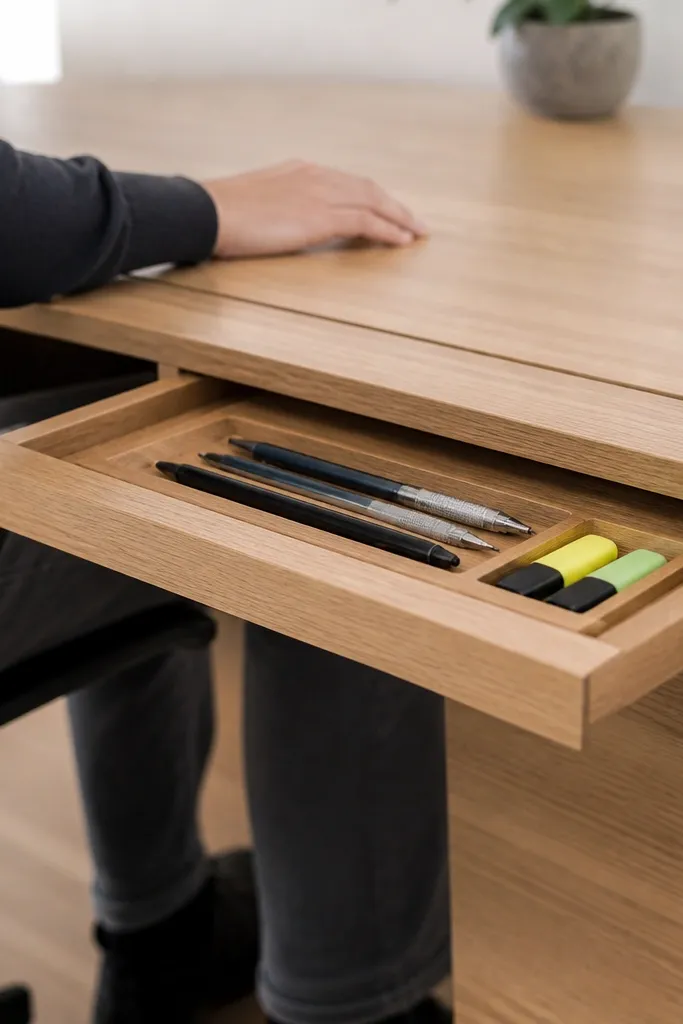
Decide where on the desk you want the tray, usually 2 to 3 inches from the front edge. Cut a rectangular opening in the tabletop if you can, or mount a tray on top with concealed rails. Build a tray box from 1/2-inch plywood, sized to fit with a 1/8-inch clearance. Install two small wood rails on the sides of the opening and attach a front pull tab so you can grab it easily.
A sliding pencil tray turns your desk into a workspace, not a storage shelf. You get a dedicated slot for pens and highlighters that looks tidy and stays out of the way when you clear your surface. The visual payoff is big because the front edge stays clean. This is beginner-friendly if you build the tray as a simple box insert with rails.
Skip thisAvoid tight tolerances — swelling wood can make a too-tight tray stick.
Editor's notePaint the tray interior the same color as your desk underside so it disappears when closed.
14. Stain-Blocked Desk Organizer Wall Panel
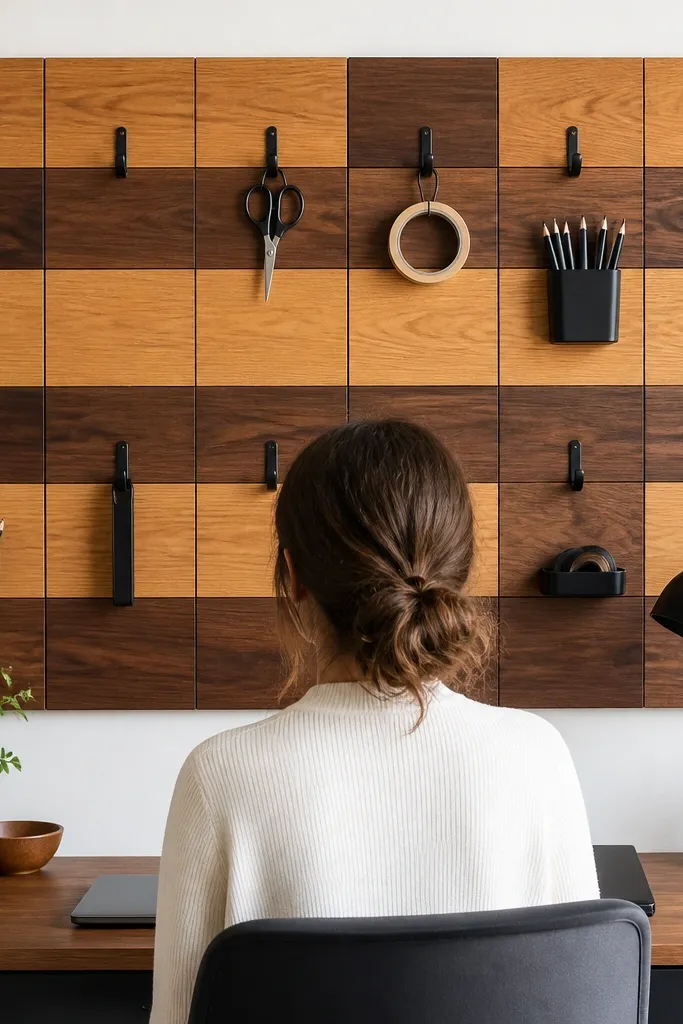
This is the project for people who want the desk area to look designed, not patched together. A stain-blocked panel uses two wood tones and a simple hook layout to create a strong visual pattern behind your desk. It looks good in photos because the background is consistent and the objects hang in a grid. It’s beginner-friendly because it’s mostly sanding, staining, and screwing hooks.
Cut a plywood panel, like 24 x 18 inches, and tape off sections to create two or three stain blocks. Sand to a smooth 180 grit, then wipe with a tack cloth before staining. Apply your first stain tone, let it dry, then remove tape and apply the second tone. After sealing, mark a hook grid and screw in hooks and a small ledge for sticky notes.
Use the same stain brand for both tones so the undertones match under warm lamp light.
Don’t skip sealing — unsealed stained plywood can look blotchy and dusty.
15. Notebook Stand With a Magnetic Back Strip
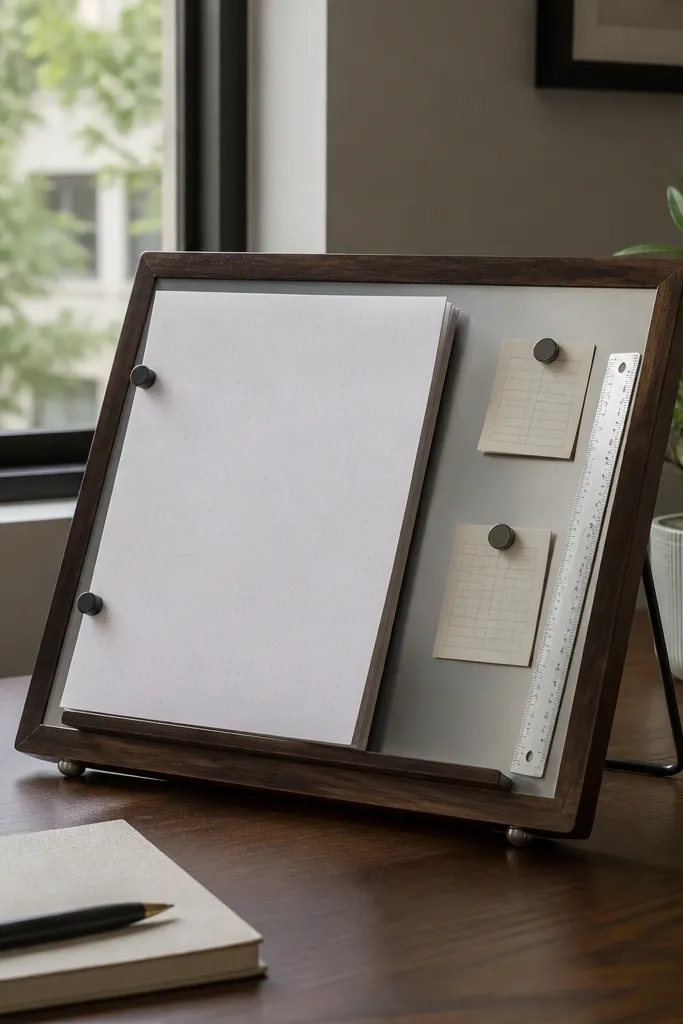
Cut a base from plywood, like 12 x 8 inches, then sand an angled face using a scrap wedge under the base while you glue. Attach a 1/4-inch back board behind the stand and mount a thin metal sheet or magnetic sheet to it. Add a ledge at the bottom so notebooks don’t slip. Seal and finish the wood, then attach a small tray at the bottom edge for paper clips.
A notebook stand makes your desk feel organized because you’re viewing your notes instead of stacking them. Add a magnetic strip so you can attach loose pages and keep them aligned. The look is clean because the notebook has a consistent angle and the notes sit flat against a metal-backed surface. Beginners can build the stand with a simple angled base and mount a magnetic sheet behind it.
Skip thisDon’t use a weak magnet — loose pages will slide and ruin the neat look.
Editor's noteUse rare-earth magnets only if you’re attaching small items; a full magnetic sheet is easier for beginners.
16. Desk Side Shelf for a Book Stack and a Timer
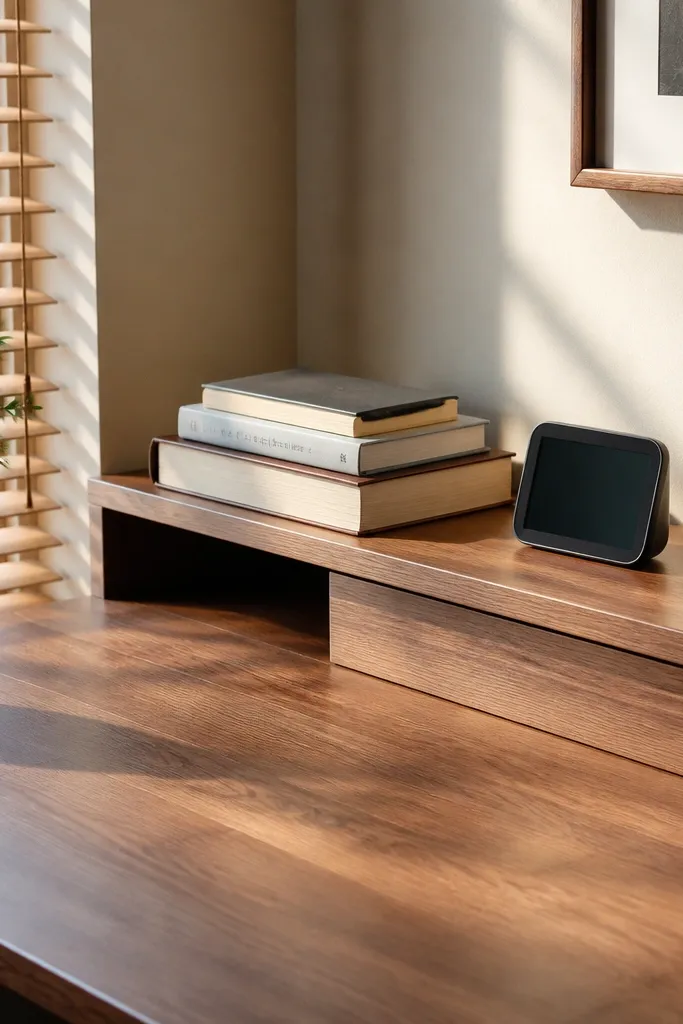
Measure your desk side and decide how far the shelf should stick out, usually 6 to 8 inches. Cut a shelf board from 3/4-inch plywood with rounded front edges. Mount two brackets under the shelf into the desk frame or into studs on a wall if you’re building a hybrid setup. Finish with matte clear coat and add a small lip or cork strip so books don’t slide.
A side shelf is a clean way to keep your essentials in reach without crowding the writing surface. Put one book stack, a timer, and a small lamp or diffuser on it so the desk looks balanced. The aesthetic is good because you get a vertical line and a tidy “display” area. This is beginner-friendly since it uses simple shelf brackets and a single shelf board.
Skip thisAvoid mounting on thin particleboard without reinforcement — brackets can pull out.
Editor's noteKeep the shelf load light and use only one display item per session so it doesn’t turn into clutter.
17. Fabric Drawer Organizer for Desk Documents
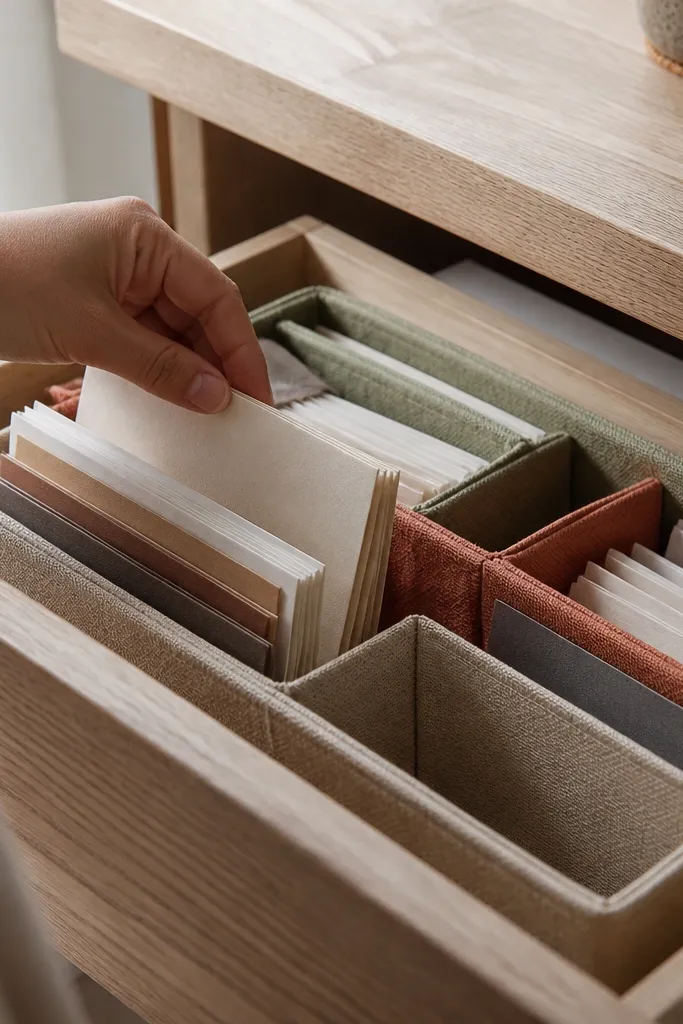
Measure your drawer interior and cut fabric panels to create 3 to 5 compartments, like 10 inches wide each depending on drawer size. Add a simple base panel from felt or thin plywood so the organizer sits flat. Sew or glue seams, then attach Velcro strips to the base and dividers so you can adjust the layout. Add a label patch on the front for categories like “Reading,” “Assignments,” and “To File.”
If your desk drawer is a mystery box, it won’t look good even if the tabletop is clear. A fabric compartment organizer makes documents look tidy and lets you grab what you need fast. The look stays soft and homey, not like office supplies exploded everywhere. It’s beginner-friendly because sewing is optional — you can build with stitched fabric panels and Velcro closures.
Skip thisDon’t use slippery fabric — papers slide and the compartments stop looking neat.
Editor's noteUse washable fabric so you can clean smudges from highlighters and sticky notes.
18. Desk Backdrop Divider Using Acoustic Felt Panels
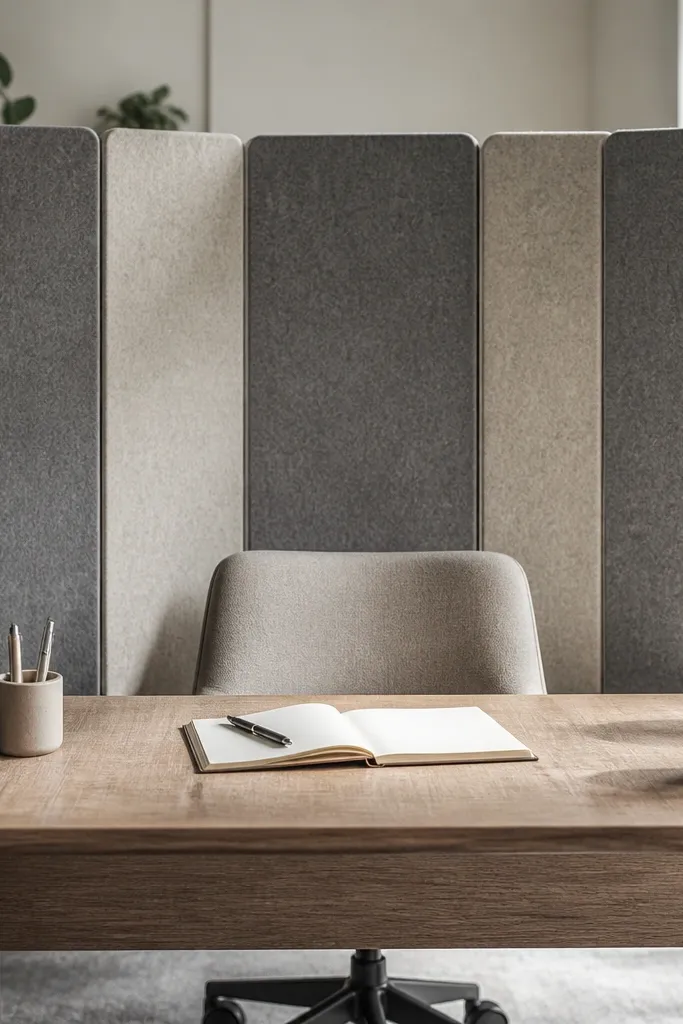
Choose felt panels in a neutral tone like warm gray, cream, or deep olive. Cut to size for a vertical strip behind your desk, like 36 inches wide by 24 inches tall. Mount two vertical rails on the wall or a simple freestanding frame using 1x2 lumber, then attach felt panels with Velcro or staples on the rear. Add a small floating shelf above the divider for a single plant or notebook stack.
A backdrop divider behind your desk makes everything look more intentional. Acoustic felt panels reduce visual clutter and soften the background so your desk area looks calm in photos. You also get a subtle “zone” effect that makes study feel separate from the rest of the room. This project is beginner-friendly because felt panels are easy to cut and mount, and you don’t need fine woodworking.
Skip thisDon’t mount panels too low — they can block your view of your work and feel cramped.
Editor's notePick felt with a matte surface to avoid reflections from your desk lamp.
19. Walnut-Tone Vertical Monitor Stand From Plywood Blocks
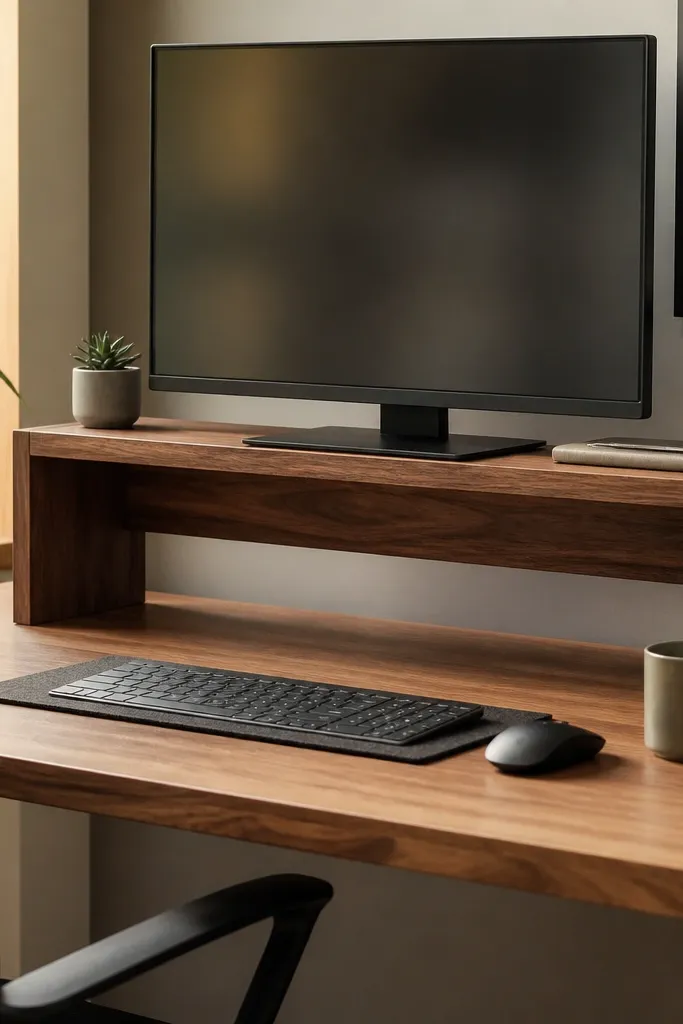
A monitor stand raises your screen and clears the desk surface, which instantly makes the setup feel cleaner. Finish it in a walnut tone so it looks warm and expensive without actually needing fancy materials. The vertical lines also frame your workspace and make the desk feel more “built.” Beginners can make this with plywood blocks and simple sanding.
Cut two side blocks from plywood, like 14 inches wide and 3 inches tall, then cut a top platform board sized to your monitor base. Sand edges smooth and pre-drill screw holes before assembly. Stack and glue the blocks so you get a stable base, then attach the top platform with screws from underneath. Finish with walnut stain and two coats of satin clear coat.
Add a thin rubber sheet on top so the monitor doesn’t slide or scratch.
Don’t leave the stand too tall — if your neck tilts up, it defeats the posture goal.
20. Desk Organizer Stand for Scissors, Tape, and Rulers
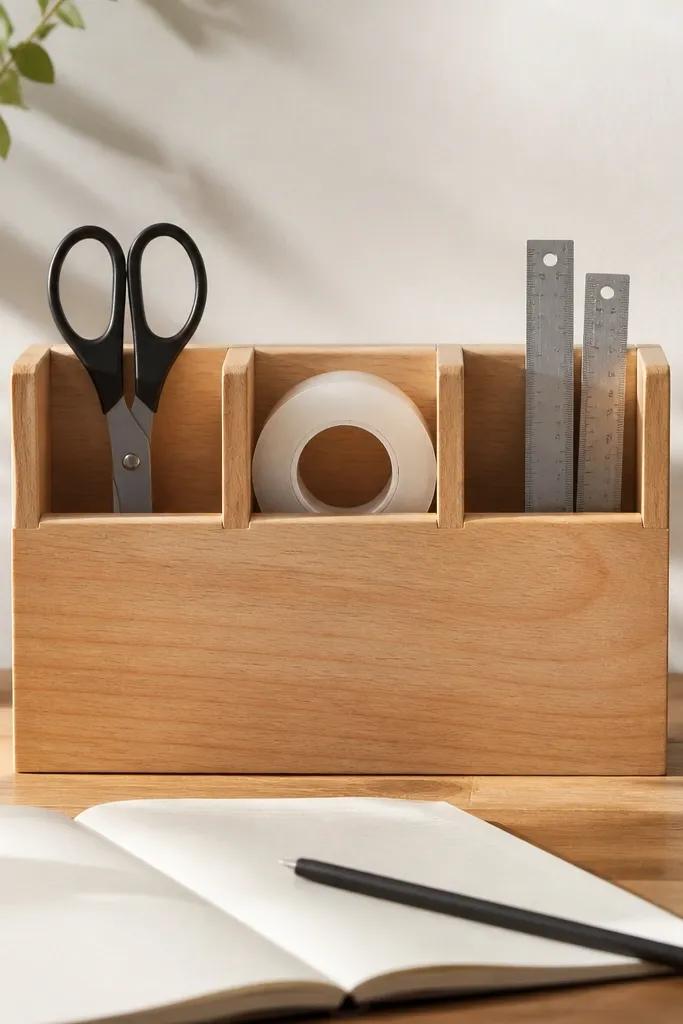
Sketch a layout first: two pen slots, one tape slot (measure your tape width), and one long slot for rulers. Cut a base from plywood, then cut divider pieces and glue them in place. Drill a few holes for ventilation or cable management if you keep chargers nearby. Sand everything smooth, then seal with matte clear coat so the stand looks clean under light.
This stand turns your most-used tools into a tidy set. When scissors, tape, and rulers have a home, your desk stays photogenic because you’re not hunting around. The look is strong when the compartments are the same height and lined up neatly. It’s beginner-friendly because you’re building a single block with dividers — no complex joinery.
Skip thisAvoid mixing random compartment heights — that’s what makes it look cluttered.
Editor's noteUse slightly thicker dividers than you think so tools don’t rattle and slide around.
21. Corner Desk Shelf With a Hidden Cable Pass-Through
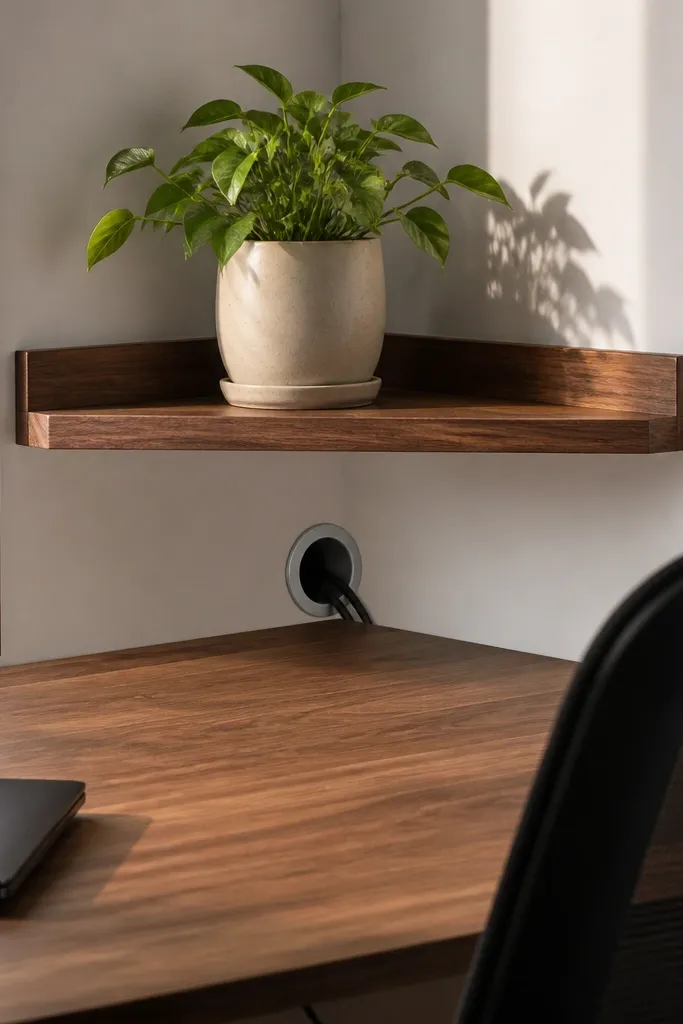
Cut a shelf board, like 18 x 14 inches, and round the front edge. Mark a pass-through hole near the back corner and drill it with a hole saw, then sand smooth. Mount the shelf into wall studs or into a strong corner frame, then attach a small cable grommet cover around the hole. Finish the shelf to match your desk, and keep the cable cover matte so it doesn’t glare.
Corner shelves look good because they frame the desk without taking over the center. If you add a pass-through hole for cables, the shelf doesn’t become another place where cords hang. The result is a clean corner that feels designed and makes the desk area look bigger. Beginners can build this using a corner shelf board plus a simple cable opening and cover.
Skip thisDon’t leave the hole edges raw — it frays fabric sleeves and looks unfinished.
Editor's notePlace your lamp cord on the pass-through so the light setup looks clean from the start.
22. DIY Desk Frame With Slatted Under-Shelf for Binders
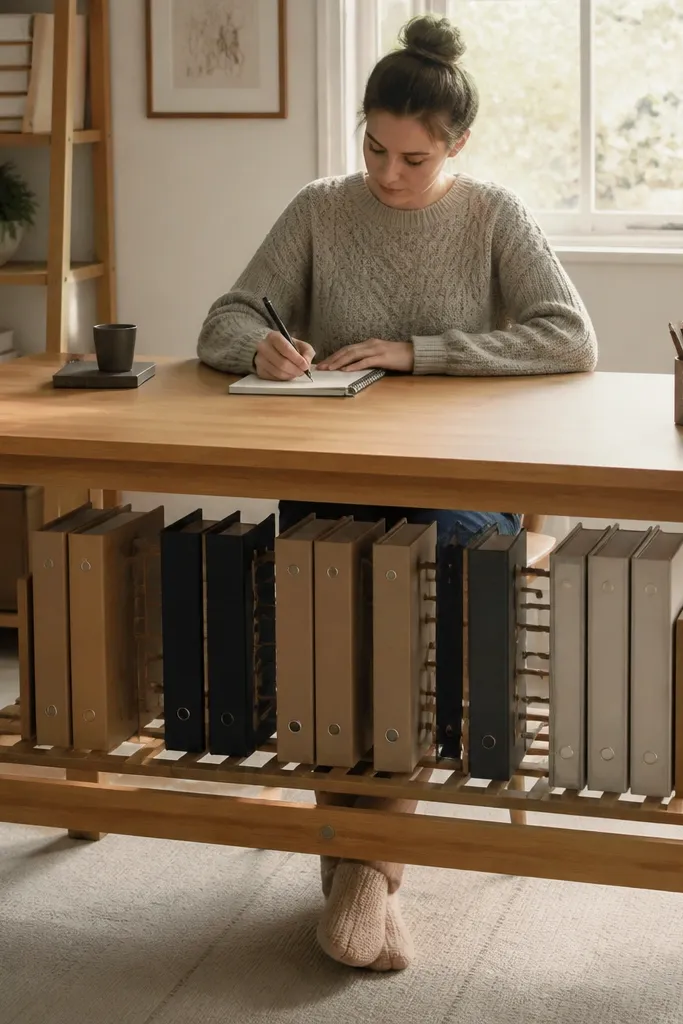
Measure the area under your desk and build a rectangular frame from 1x2 lumber sized to hold binders, usually 16 to 20 inches wide. Screw the frame into the desk underside using pilot holes. Add slats from thin plywood strips across the frame at 2 to 3 inch spacing so binders rest securely. Sand, then paint or stain to match the desk tone, and add rubber feet to prevent vibration.
A slatted under-shelf makes binders look like part of the decor instead of stacked storage. Slats create airflow and stop the “flat wall of paper” look that makes desks feel heavy. It also gives you a dedicated spot for reference binders so your main surface stays clean. This is beginner-friendly if you build it as a simple add-on frame under an existing tabletop.
Skip thisSkip slat spacing checks — too-wide spacing makes binders sag and look messy.
Editor's noteUse binders with matching spine colors for a cleaner visual rhythm.
23. Stationery Caddy With a Removable Tray Top
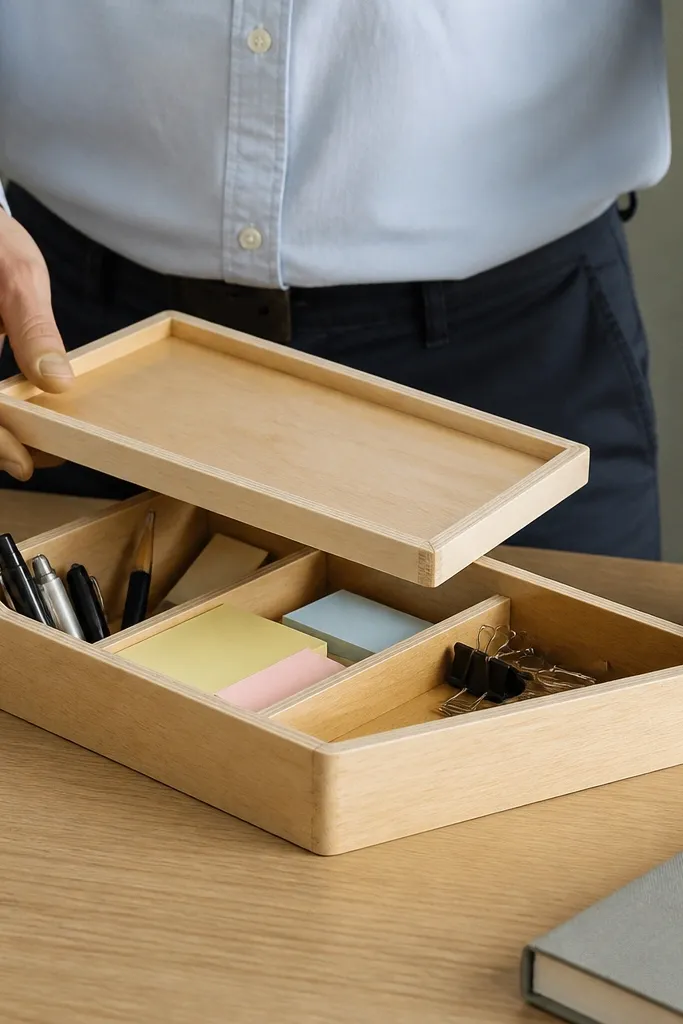
A stationery caddy with a removable tray makes your desk look organized because the “mess” stays inside the caddy. When you need to clear the desk for writing, you lift the tray and the tabletop stays clean. This project looks good because it has a defined shape and a strong front face. Beginners can build it from plywood blocks and a simple tray top.
Cut a base and two side walls from 3/4-inch plywood, then cut a front panel with a gentle curve if you want a softer look. Build an inner divider grid for pens and scissors, using 1/4-inch strips. Make the top as a removable tray using a thin plywood sheet with small cleats on the inside edges. Sand, seal, and add a small felt pad at the bottom so it doesn’t slide.
Make the tray slightly larger than the base so it covers the top edges when it sits in place.
Don’t leave open gaps at the back — cords and paper scraps collect there.
24. Standing Desk Look Without the Standing Desk
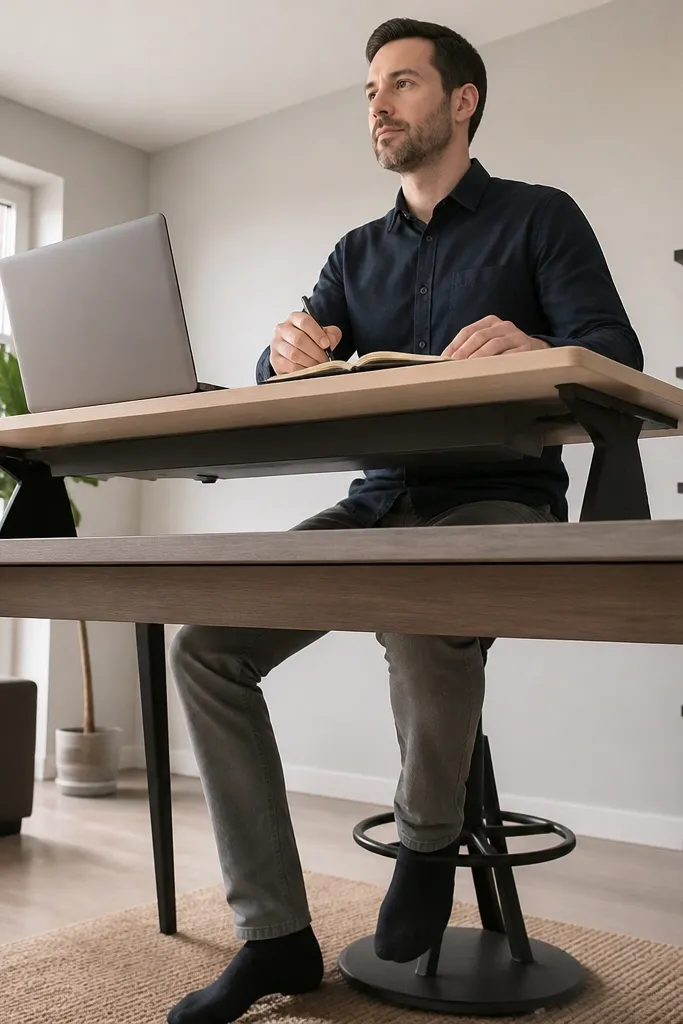
Build a platform from plywood sized to your desk, like 22 x 16 inches, with a front panel made from 1-inch wide trim. Raise it using a frame of 2x2 lumber or stacked plywood blocks, keeping it stable and centered. Add a front lip panel that covers the frame so it looks like one unit. Sand everything flush and finish with matte clear coat to reduce glare.
You can get the “upright” feel that makes people sit better without buying a new desk. A platform that raises your surface and includes a clean front edge makes your setup look like a standing-desk style workstation. The aesthetic is crisp because the front edge is straight and the surface looks elevated. Beginners can build this using the same riser idea but with a more finished, furniture-like front panel.
Skip thisAvoid wobbly platforms — a shaky surface makes people stop studying.
Editor's noteIf your chair is adjustable, set it so your elbows rest on the surface without shrugging.
25. Built-In Study Nook Desk With a Lift-Up Writing Flap
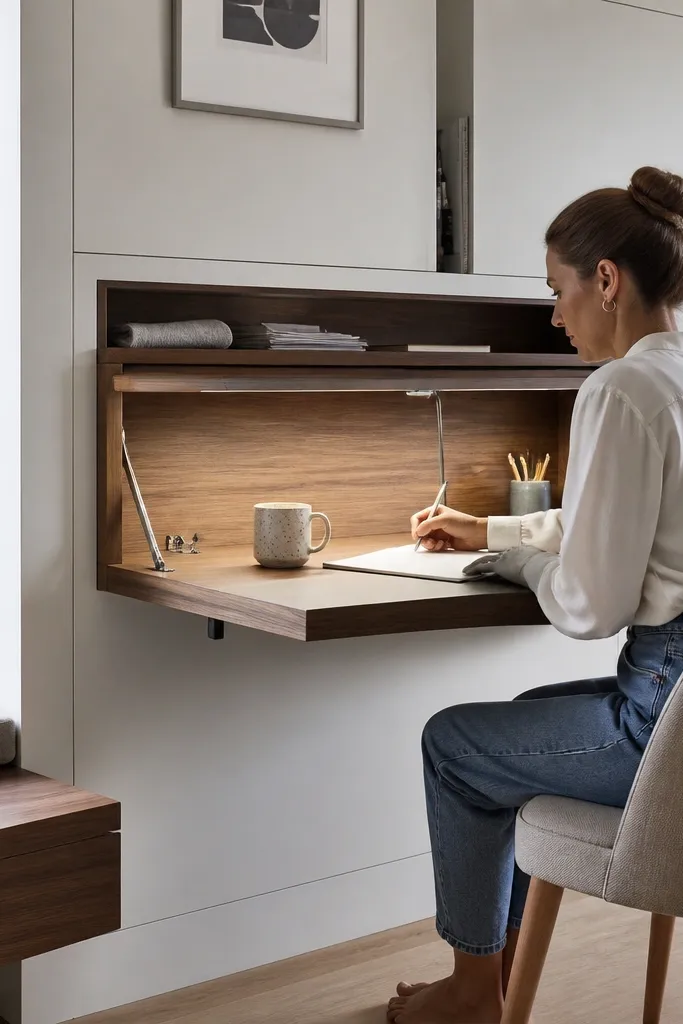
This is the desk idea for people who want a clean, calm study spot but hate clutter. The lift-up writing flap gives you a dedicated surface for homework, then closes flat so the wall looks tidy again. It also controls light and glare because you can angle the flap slightly higher than your lap when it’s down. Build it with plywood and a simple finish so it looks custom, not “garage carpentry.” This one is beginner-friendly if you can measure twice and drive straight screws, and it usually takes a weekend for a solid, sturdy unit.
Step 1: Cut a back panel and side supports from 3/4-inch plywood. Size it so the open work surface is about 24 inches deep and 32 to 40 inches wide, with a flap that’s 2 to 3 inches shorter than the full width so it clears the sides when it closes. Step 2: Build the base frame with 2x2 or 1x2 lumber for stiffness, then attach a lift-up flap made from 3/4-inch plywood with a 1/2-inch front edge cap (so your wrists don’t hit raw plywood). Add a storage compartment behind the closed flap using a fixed shelf at mid-height and a small cable route hole near the bottom. Step 3: Install two heavy-duty lift hinges rated for doors, plus a magnetic catch or a small latch to hold the flap shut. Finish the visible faces with water-based matte polyurethane, then sand edges to remove splinters and add felt pads where the flap meets the frame.
Use a flush-mount hinge template or a scrap jig so the flap sits level when down. Add a drawer pull or finger notch on the underside of the flap so it opens smoothly without tugging.
Don’t hinge the flap directly to thin plywood without a solid frame behind it — it will sag after a few weeks of use.



