
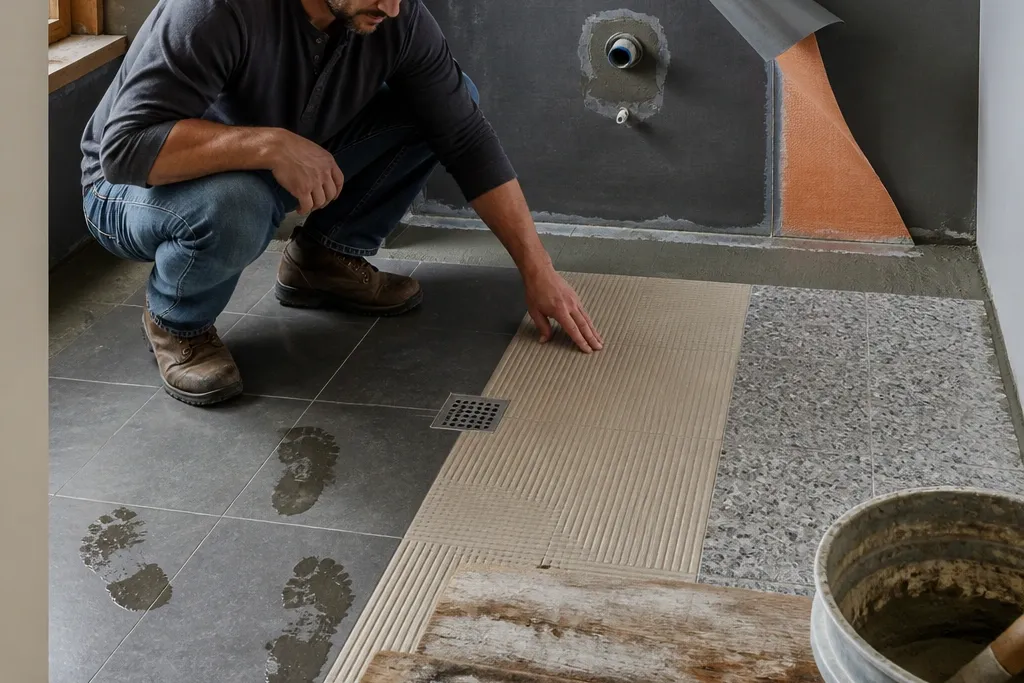

1. Matte porcelain in a 60x60 cm square
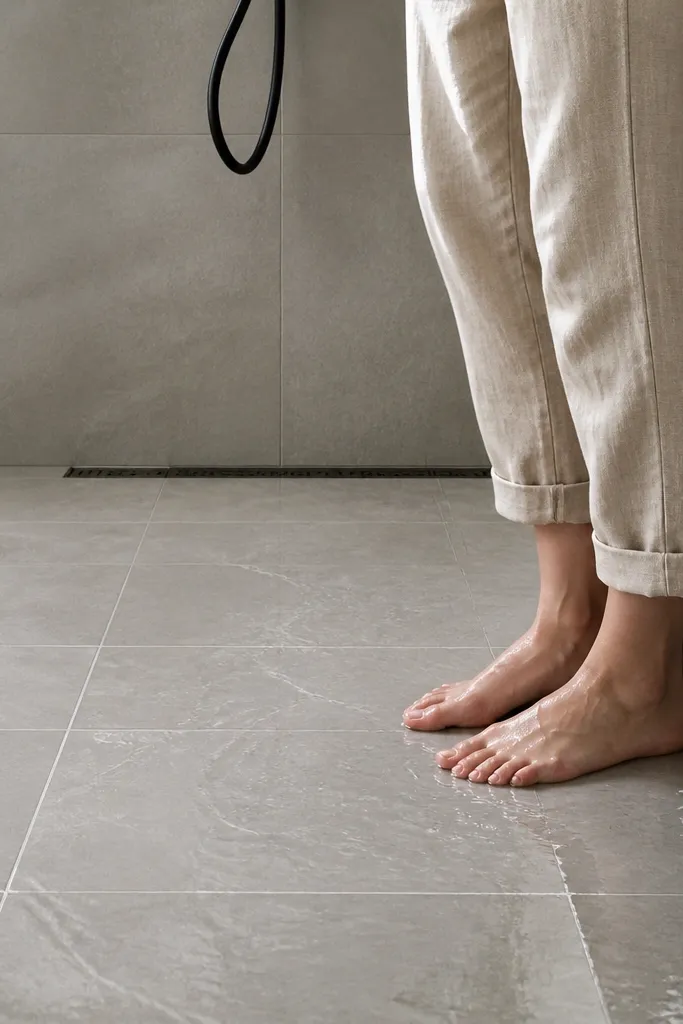
This is the “do it once and stop thinking about it” tile for small wet rooms. Matte porcelain has low water absorption and a surface that doesn’t turn slick when it gets soapy or steamy. The 60x60 size keeps grout lines under control, which matters in tiny bathrooms where every line is visible. Choose an R10 or higher slip-rated finish for the floor and a coordinated matching wall tile so you aren’t mixing looks or slip properties room to room.
Editor's noteLay two test boards: one with the tile dry, one after you mist it. If it feels grabby when damp, you’re on the right track.
Start by picking a porcelain tile that lists R10 or higher for wet areas on the box or spec sheet. Plan your layout with a dry fit so you don’t end up with skinny cuts near the drain or shower edge. Then install with a cement-based thinset rated for porcelain, back-butter large tiles if your floor is uneven, and use spacers to keep grout lines straight. Finish by sealing grout only if the grout system calls for it, and keep the first cleaning simple so you don’t grind in haze.
Skip thisAvoid glossy porcelain for wet floors even if it looks gorgeous in photos.
2. Textured porcelain with micro-ridges
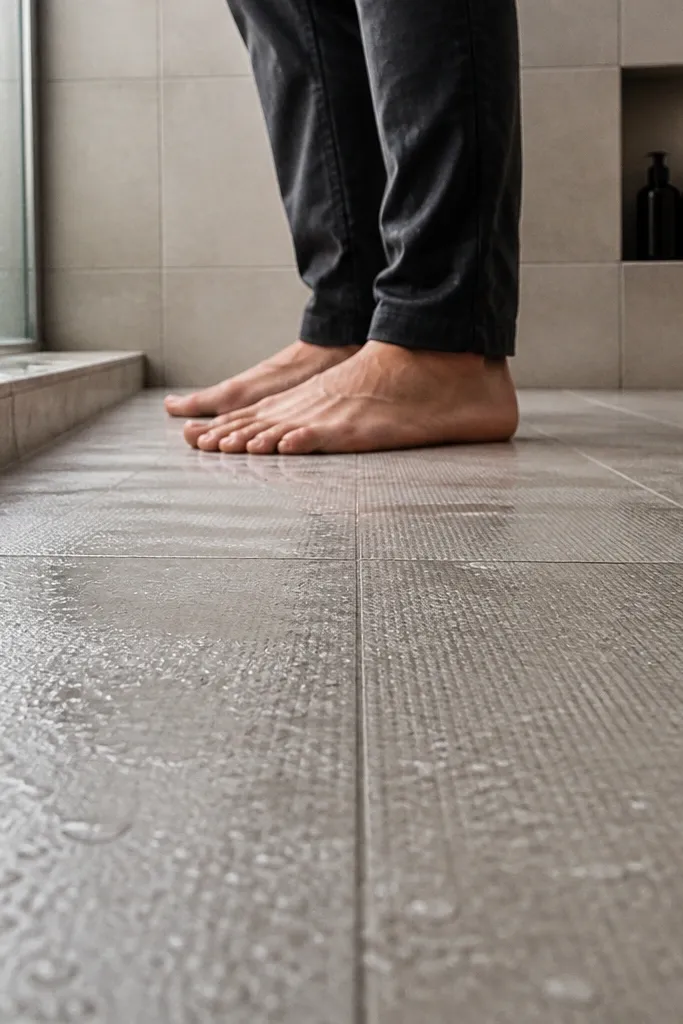
If you care about traction, micro-ridges are the most practical surface texture for wet rooms. The texture isn’t loud like big 3D patterns, but it creates grip when your feet hit damp tile. It also hides light scuffs better than ultra-smooth matte finishes. This tile choice is best when you have a family bathroom, a walk-in shower used daily, or anyone who hates the feel of slick floors.
Editor's noteUse a grout haze remover only after the grout has cured per the bag instructions; texture holds onto haze longer.
Pick a textured porcelain tile that includes a slip rating for wet areas, not just “anti-slip” marketing. Dry-lay a few rows to see how the texture lines up with your grout joints; you want joints that don’t look like they’re fighting the pattern. Install using a floor-rated thinset and trowel size sized for your tile thickness, then press each tile firmly to avoid hollow spots. After grouting, wipe diagonally with a clean sponge and rinse often so texture doesn’t trap cement residue.
Skip thisDon’t try to “smooth” grout lines in textured tiles — residue will burn in.
3. Porcelain with raised anti-slip dots
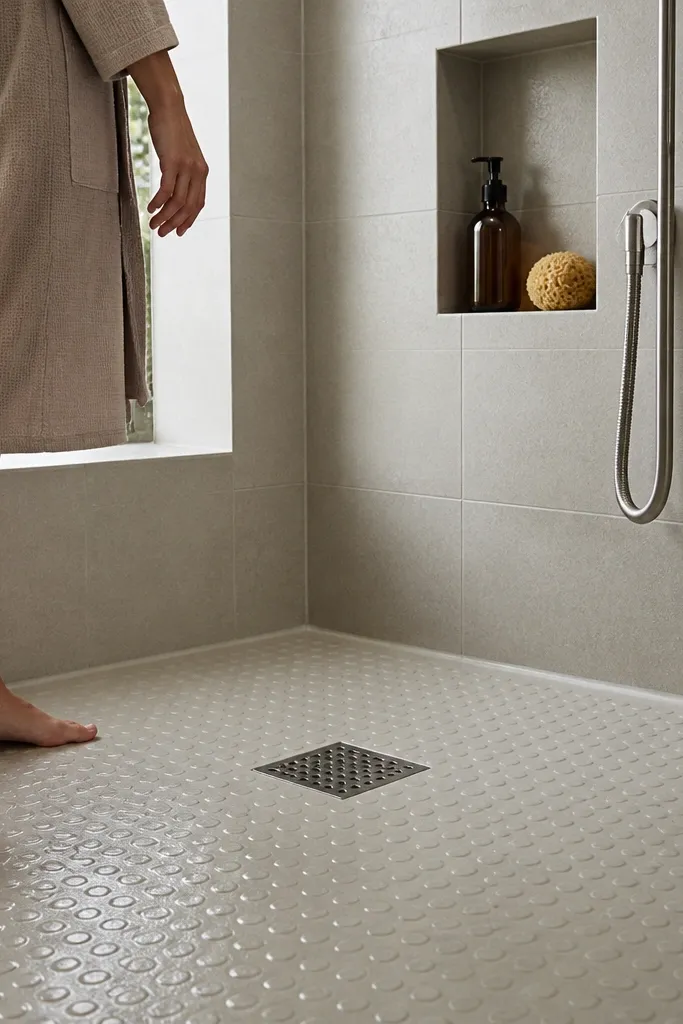
Raised anti-slip dots are simple and effective in wet rooms because they create contact points underfoot. They’re also forgiving for DIYers because the surface has obvious texture even if your grout line placement isn’t perfect. The look is clean when the dots are subtle, but it’s not the tile choice for someone chasing a perfectly uniform, flat “spa” surface. Use this for shower floors, wet room floors, and anywhere you want maximum grip without going to heavy mosaic.
Choose dots that are shallow enough that they don’t collect grime in the grout line; check close-up photos or request a sample. Install like standard porcelain, but back-butter if the ridges/dots change the contact area. Use the right thinset coverage (full coverage is the goal) so the dots don’t create tiny voids that can crack later. Grout with a consistent joint width and fully pack the joints, then do repeated light wipes until the grout stops smearing.
Keep your shower curtain or glass panel positioned so water doesn’t blast directly onto the floor in one spot all day.
Don’t pick dot tiles with a high-gloss glaze; dots won’t save slick coating.
4. Small-format ceramic 10x10 cm for tight splash zones
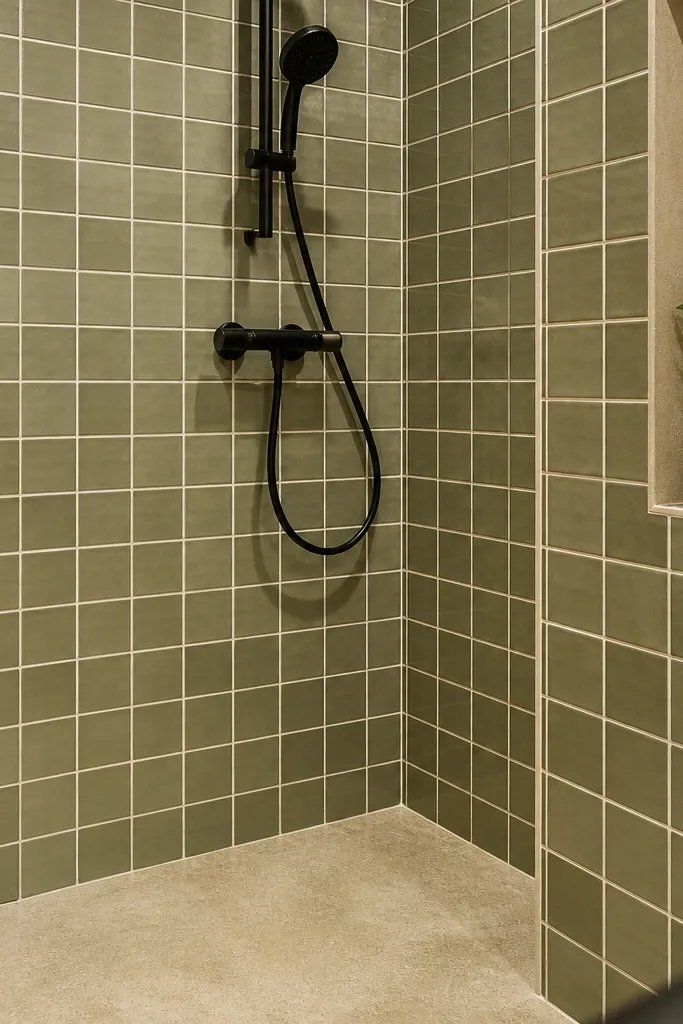
Ceramic can work in small bathrooms when you limit it to walls and splash zones, not the main wet-room floor. The 10x10 format is beginner-friendly for layout changes because you can adjust around outlets and awkward corners with smaller cuts. It also lets you create a traditional grid look without needing complex trim. If you’re doing a wet-room floor, treat ceramic as a wall-only option unless you have a specific slip-rated ceramic floor tile and a waterproofing system to match.
Start by using ceramic for walls first: mark your tile height with a level and build up from a reference line. Cut using a wet saw for clean edges around plumbing, and keep spacers consistent so grout stays even. For the splash zone, use a thinset rated for ceramic and waterproof behind the tile if the surface gets constant spray. Seal grout only if your grout type calls for it, then cure fully before heavy cleaning.
Use a slightly darker grout than the tile if your bathroom gets hard water — it hides mineral staining.
Avoid ceramic on wet-room floors unless the product is explicitly rated for wet slip.
5. Glazed ceramic anti-slip floor tile for budget wet rooms
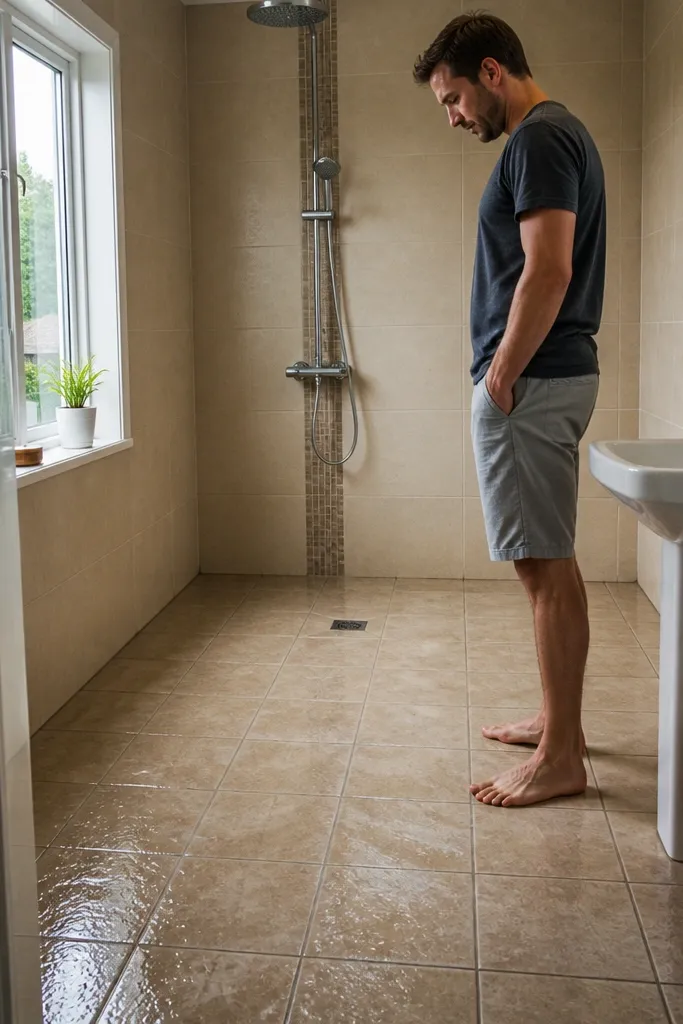
This is the budget path when you want a tile that looks finished but you don’t want to pay porcelain prices. Glazed ceramic can hold up on floors if you pick the right finish and the product is rated for wet areas. The trade-off is durability: ceramic can be more prone to chips and wear than porcelain, especially in small bathrooms where the floor gets hit by shoes, wet towels, and frequent cleaning. I’d still use it for smaller wet rooms if you commit to good waterproofing and choose the most matte, grippy glaze you can find.
Look for a slip rating printed on the box or spec sheet and choose the most matte finish available in that line. Test-fit a section and check how the glaze looks when damp; if it looks shiny when wet, skip it. Install with a thinset that matches ceramic and use full coverage so you don’t get hollow spots. Grout carefully and keep the first week clean and dry so curing doesn’t get disturbed by early steam.
If the tile comes in multiple finishes, buy the matte one only. The “anti-slip” gloss versions are the ones that turn slick.
Don’t rely on grout alone for traction; the tile surface needs grip.
6. Large-format porcelain slabs for fewer grout lines
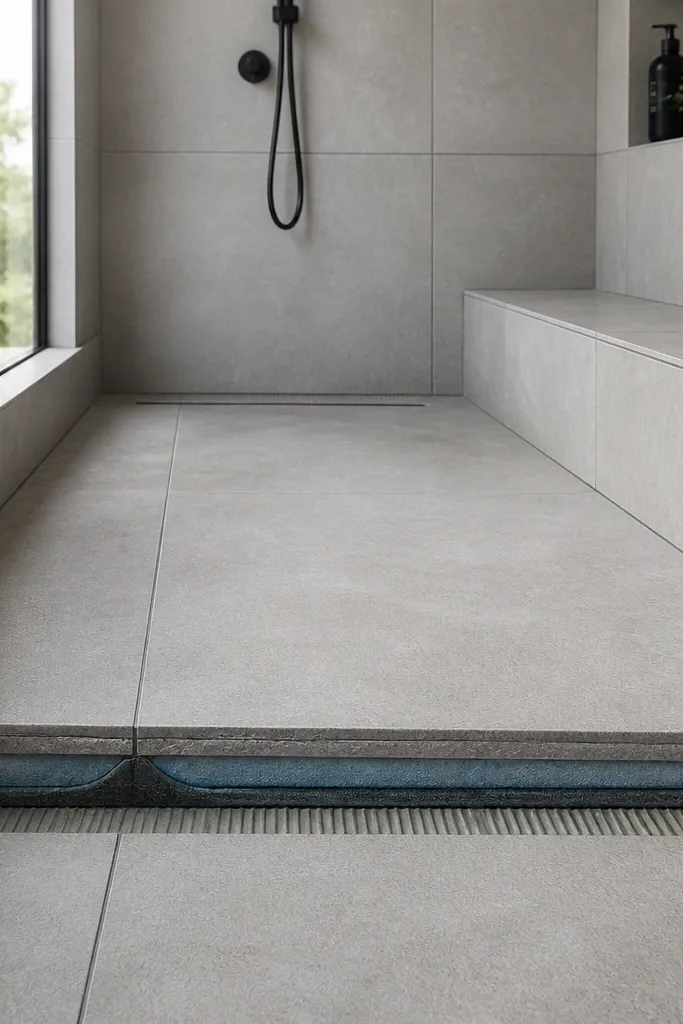
Large-format porcelain looks sharp in a small bathroom because it reduces grout lines and creates long visual runs. In wet rooms, it can also feel more seamless because there are fewer joints where grime collects. The catch is install difficulty: large tiles demand a flatter substrate and good thinset coverage, or you’ll see lippage and uneven lines. If your subfloor is a little wavy, this is where beginner DIYers get frustrated fast.
Start by checking flatness with a long straightedge across the whole shower zone. If you find dips or humps, fix them before tiling, because large tiles exaggerate every imperfection. Use a floor-rated thinset and trowel size matched to the tile format, then back-butter to improve coverage. Set tiles in small sections, use leveling clips or a leveling system, and finish with grout that matches your maintenance tolerance.
Plan your cuts so the longest tile edges face the main walking path; it hides minor lippage when you look down the room.
Don’t skip the flatness check. Large-format tiles punish uneven floors.
7. Honed porcelain for a stone-look wall that stays matte
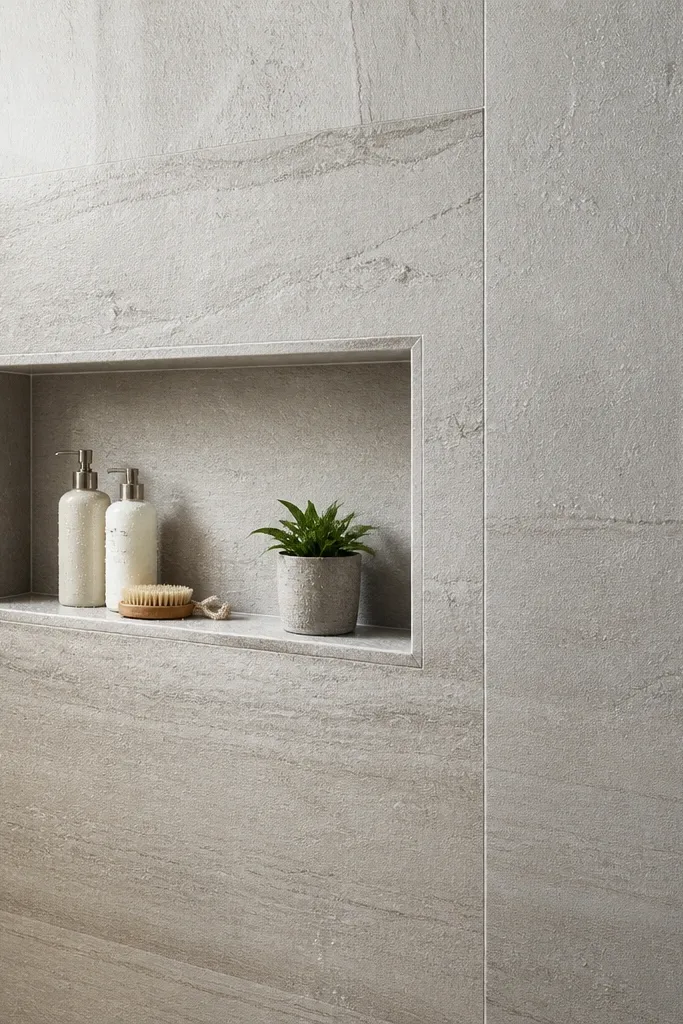
Honed porcelain is a great look for shower walls when you want the stone vibe without the maintenance drama of natural stone. Honed finishes stay matte and don’t reflect light like glossy tiles, which helps small bathrooms feel less harsh. It’s not my first pick for the wet-room floor because honed surfaces can be less grippy depending on the finish and rating. Use it where your feet aren’t directly planted — walls, niche backs, and borders — and keep the floor tile separate.
Pick honed porcelain with a clear spec for slip if you insist on using it on the floor, otherwise keep it wall-only. Install walls with a thinset rated for porcelain and use spacers so you keep grout joints consistent across corners. Use waterproofing behind the tile and a solid sealing plan for any penetrations like valves and showerheads. Grout and cure fully, then avoid harsh cleaners that can dull the honed surface further.
Use a grout color that matches the stone veining direction so grout lines blend instead of drawing attention.
Avoid honed tiles on floors unless the product is explicitly rated for wet slip.
8. Cement-look porcelain with matte texture
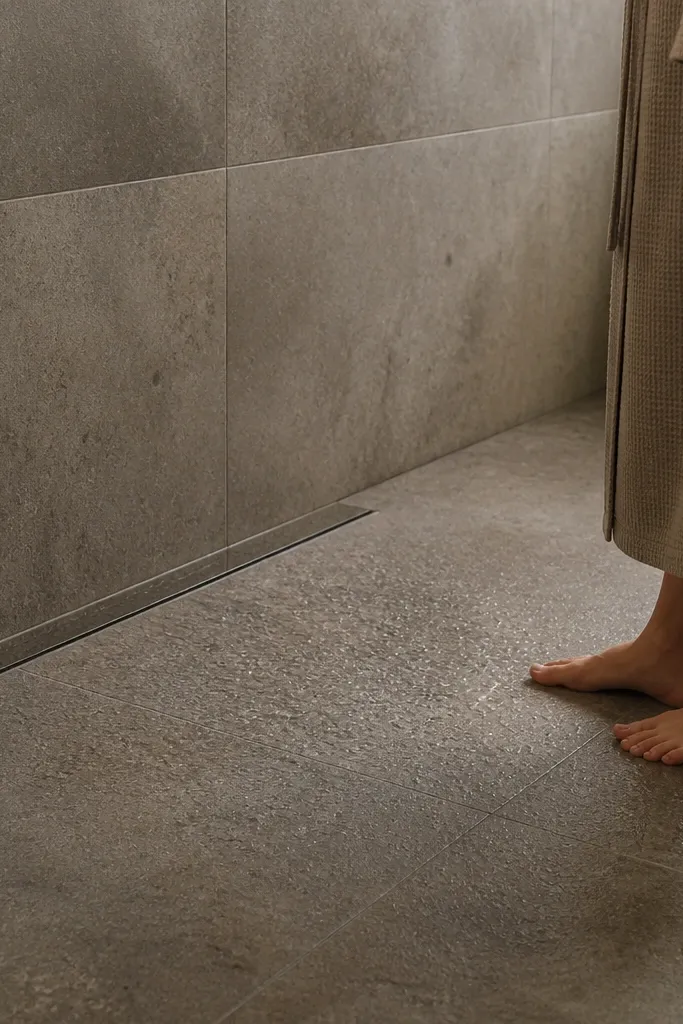
Cement-look porcelain gives you the imperfect, lived-in look without real cement’s mess. Matte texture helps with traction, and the speckled surface hides dirt and small scuffs better than plain solid colors. It’s a strong choice for small wet rooms because it doesn’t show every wipe mark or water spot as clearly. Choose this when you want a modern-but-warm feel and you’re okay with a bit more visual variation across tiles.
Start by selecting tiles with a consistent pattern repeat if you want a calmer floor; otherwise accept that the floor will look “random.” Dry-lay a few boxes to check color range and decide if you need a blend. Install with proper coverage and keep grout joints consistent so the cement effect reads right. Grout with a color that matches the lighter specks, then seal only if your grout system requires it.
Use a grout float with firm pressure and clean off residue twice; cement-look textures trap haze.
Don’t choose a cement-look tile that’s too smooth. You want matte texture for wet safety.
9. Mosaic porcelain 2x2 cm for shower floors and corners
Mosaic porcelain is the safety-first option because it creates lots of grout and lots of surface texture points underfoot. In a small wet room, mosaics also help you manage tricky geometry around drains, benches, and niches. The look can be clean and modern when you keep grout narrow and pick a consistent color. The trade-off is time: mosaics take longer to install, and you need patience with lines and uneven edges.
Start by choosing a mosaic sheet with a waterproof backing and a slip rating for wet floors. Dry-lay a section around the drain to confirm how the sheets align and where individual tile edges fall. Install sheet mosaics with a thinset suitable for mosaics and use a notched trowel that prevents voids. After setting, grout in small sections and rinse often so grout doesn’t lodge in the micro texture.
Use a grout joint guide or spacers and keep sheets aligned — it’s the fastest way to avoid a wavy pattern.
Don’t rush grouting. Mosaic texture holds residue and makes haze harder to remove.
10. Glass mosaic for wet-room walls with controlled shine
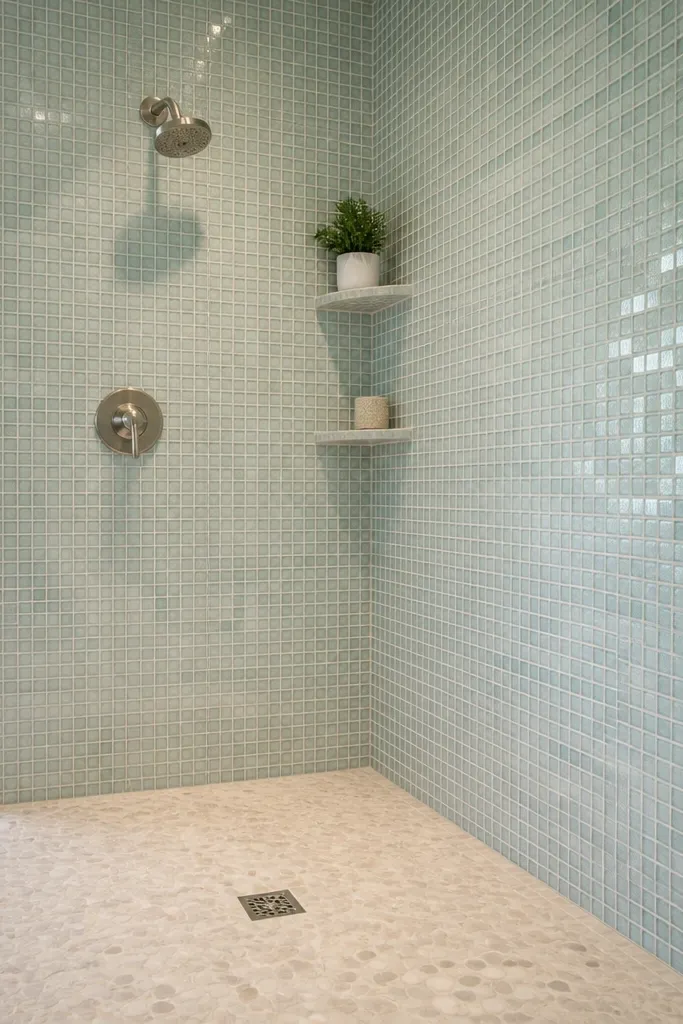
Glass mosaic is a wall material, not a floor material, in most DIY wet rooms. It looks bright in small bathrooms and makes showers feel bigger because light bounces around the wall. The surface is also easy to clean once it’s sealed and grouted correctly. For wet-room flooring, glass mosaics are usually too slick and too demanding to install without perfect substrate prep.
Pick glass mosaic that is intended for wet areas and buy the matching grout recommended by the manufacturer. Install on walls over properly waterproofed substrate, using a thinset rated for glass (often white) so you avoid discoloration. Keep grout joints consistent and use careful backer board waterproofing at corners and around valves. After curing, clean with a pH-neutral cleaner so you don’t etch the glass finish.
Use white grout or a grout color matched to the glass — dark grout can look dirty fast in small showers.
Avoid glass on floors unless the product is explicitly rated for wet slip and you’re experienced with shower waterproofing.
11. Travertine-look porcelain with honed matte finish
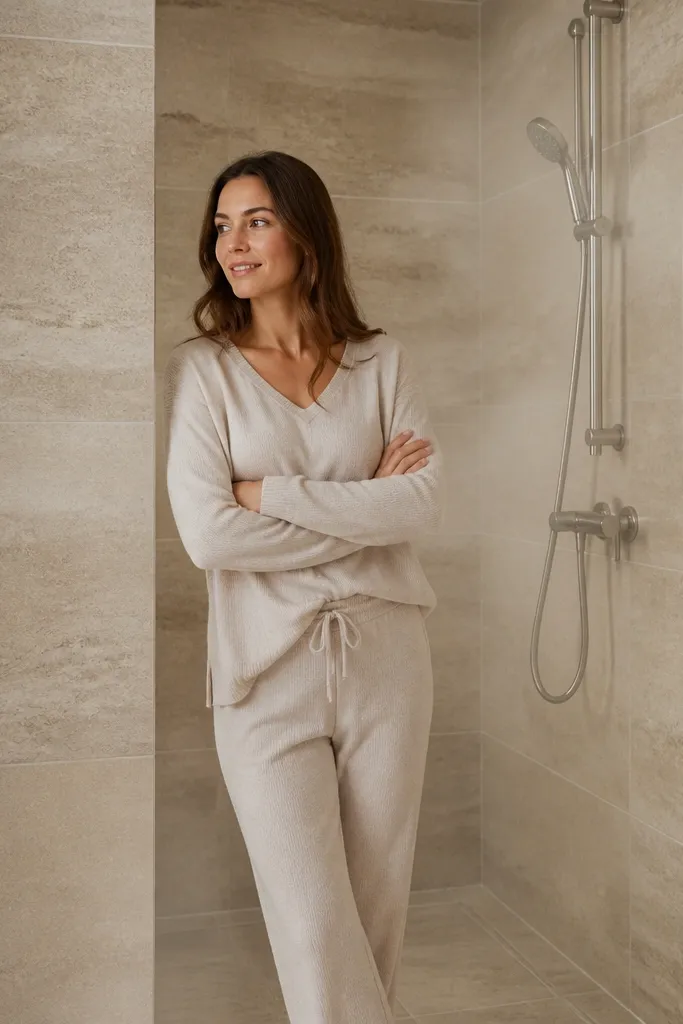
Travertine-look porcelain gives you warm, spa-style movement without buying and sealing real travertine. The honed matte look helps small bathrooms feel soft rather than shiny. In wet rooms, porcelain is the safer choice than natural stone because it absorbs less water and is easier to keep consistent. Use it on walls and niches, and if you want it on the floor, pick a version that is specifically slip-rated for wet walking.
Editor's noteUse a slightly warm white or beige grout, not gray, so water spotting reads as part of the design instead of grime.
Choose a travertine-look porcelain that has a matte honed finish and confirm it’s intended for the surface you’re tiling. Dry-lay a few tiles and check that the “vein” pattern doesn’t create bands that look accidental in a small shower. Install with porcelain-rated thinset, and keep your layout so the character lines don’t land awkwardly above the drain. Grout with a color that matches the grout-friendly parts of the tile, then cure fully and seal only if the grout system calls for it.
Skip thisDon’t choose a travertine-look tile that’s too smooth. Smooth surfaces can get slippery when wet.
12. Terracotta-look porcelain for warm, matte wet rooms
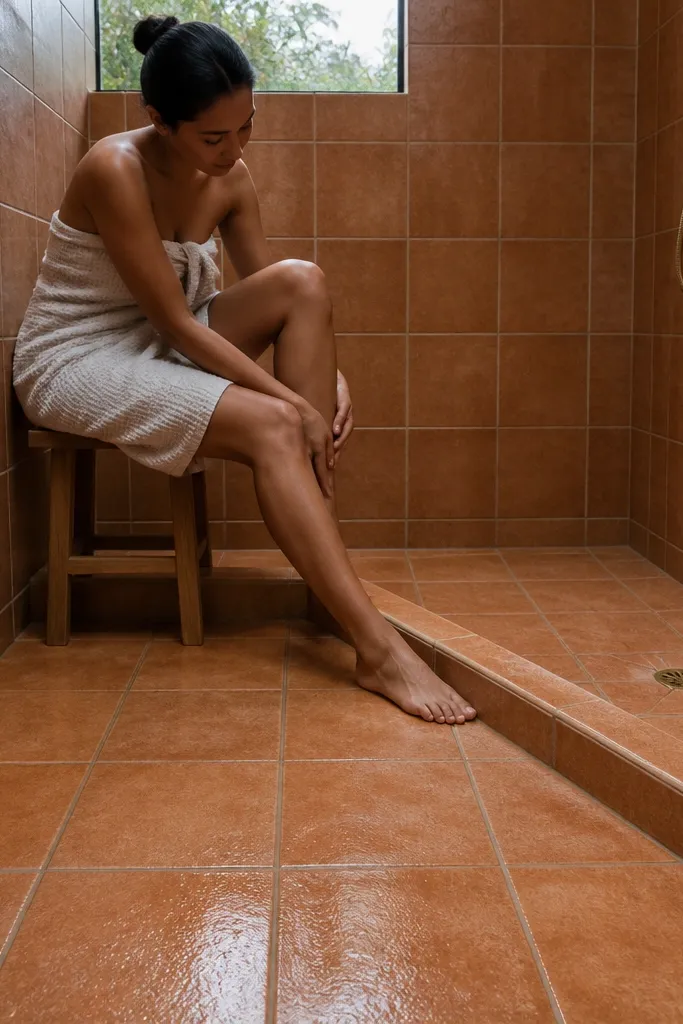
Terracotta-look porcelain is a great option when you want warmth and a grounded palette in a small bathroom. Matte terracotta-style surfaces hide small water marks better than cool-toned tiles. Porcelain keeps the maintenance easier than real terracotta, which needs sealing and can stain. The main decision is slip: pick a matte terracotta-look that’s slip-rated for wet floors, because some “look terracotta” tiles are still too smooth.
Editor's noteIf your bathroom has hard water, test a small grout area with cleaner before you do the whole shower — some colors show spotting sooner.
Start by choosing a terracotta-look porcelain with a wet slip rating and a matte surface finish. Dry-lay a small section to check color consistency and how the pattern shifts across the room. Install with porcelain thinset and use full coverage so the tile doesn’t flex or crack later. Grout with a color that sits between the light and dark parts of the terracotta print so it looks intentional as it ages.
Skip thisAvoid terracotta-look tiles that feel glassy when damp.
13. Salt-and-pepper porcelain for dirt-hiding floors
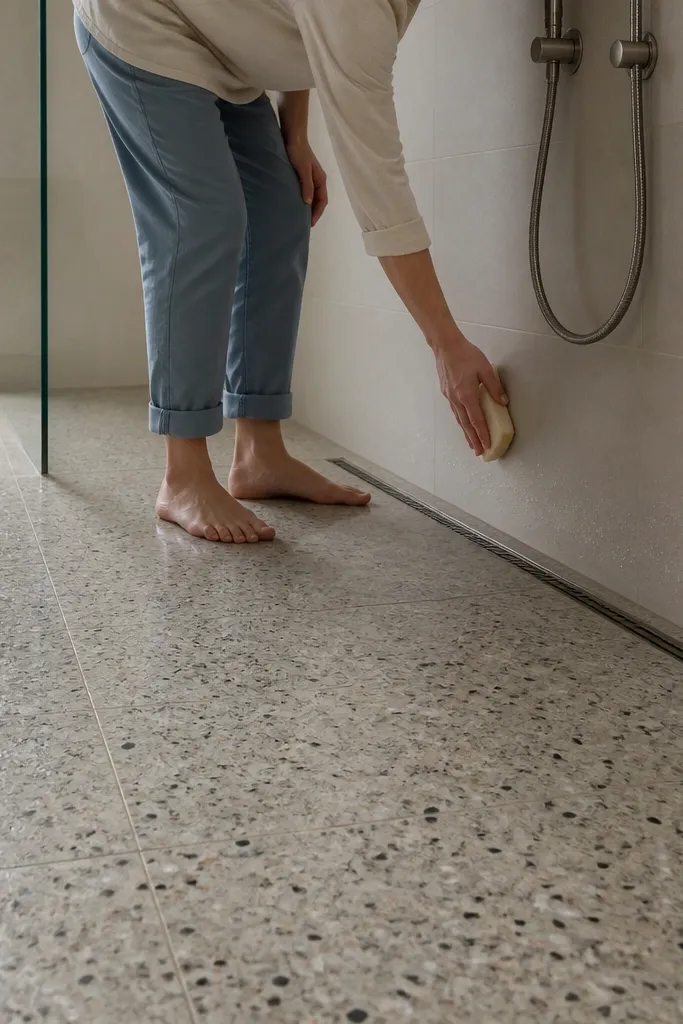
Speckled salt-and-pepper porcelain is one of the most forgiving tile looks for small wet rooms because it hides soap residue and light scuffs. Matte finishes stay more neutral under bathroom lighting, so your floor doesn’t look “dirty” after a couple of weeks. It’s also easier to match with grout colors because the speckles blend with both warm and cool palettes. Pick this when you want a practical floor that still looks designed.
Choose porcelain with an R10 or higher wet slip rating and a matte or lightly textured finish. Dry-lay one row across the shower threshold to see how the speckle aligns with the layout line. Install with porcelain thinset, keep joint width consistent, and use spacers that match the grout system you’re using. After grouting, clean with a neutral cleaner and avoid acidic products that can leave grout looking uneven.
Use slightly darker grout than you think. Speckled floors plus light grout can look patchy after curing.
Don’t pick a glossy speckled tile. Soap makes gloss look slick.



