
1. Full-height mirror with a thin black frame
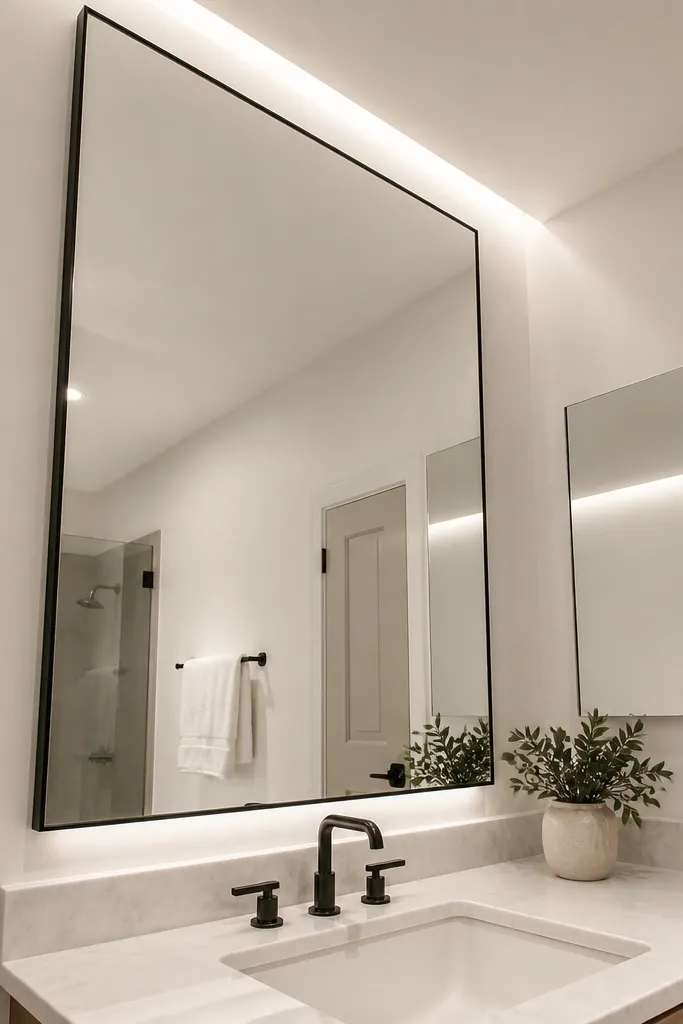
A full-height mirror changes the way your bathroom reads by stretching reflections from counter level up to the ceiling. That vertical pull makes the room feel taller and wider because your eye keeps traveling instead of stopping at the top of a small medicine cabinet. Choose a thin frame in matte black or brushed steel so it looks crisp, not heavy. For a small bathroom, the mirror should be the tallest thing in the shot, even if the room is narrow. This is a beginner-friendly project because it upgrades the look immediately with minimal demolition.
First, measure the wall height from above the faucet splash zone to about 2 inches below the ceiling trim or light fixture. Buy a mirror that fits that height and has mounting points or a bracket system. Then mark stud locations, drill pilot holes, and mount using the included hardware. Finally, confirm the mirror doesn’t hit the door when it swings and wipe the glass clean before you step back to judge alignment.
Use a level that’s long enough to span the mirror width so the top edge stays dead straight.
Don’t center a small mirror if you can fit a taller one — the whole point is vertical stretch.
2. Wall-hung vanity with an open toe-kick
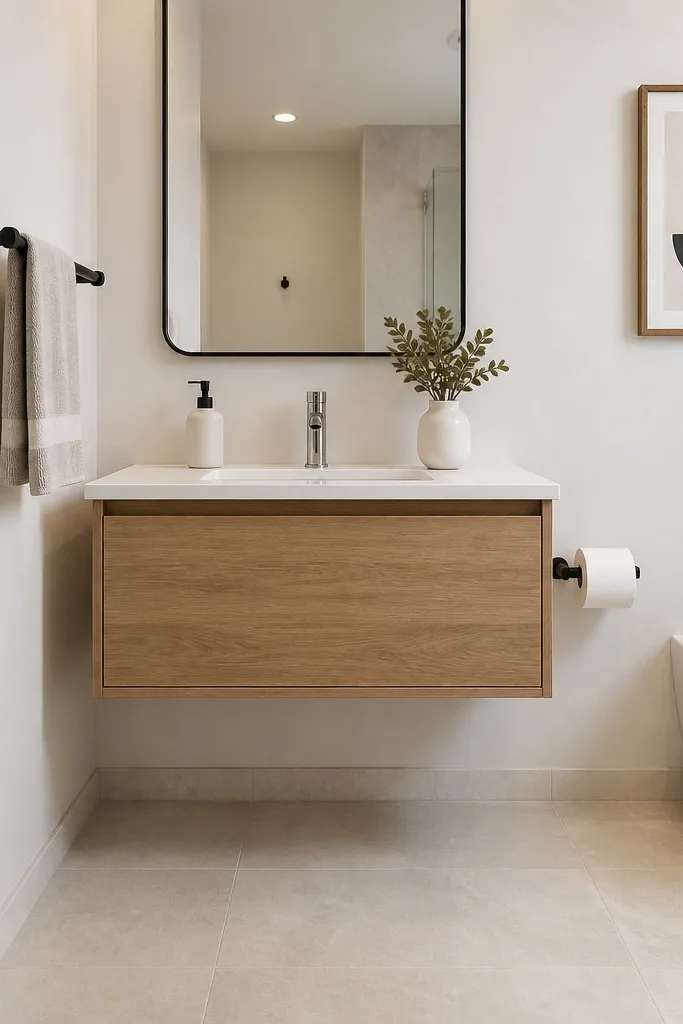
A wall-hung vanity makes the floor look continuous because you can see under it. That single change helps the bathroom feel bigger even when the vanity width stays the same as before. Look for a model with a slim front and a clean drawer face, not a thick cabinet body. Pair it with a vessel or undermount sink that keeps edges minimal so the counter doesn’t look bulky. This project is worth doing because it’s one of the few beginner moves that changes the room’s geometry instantly.
Start by turning off the water and disconnecting the supply lines and drain. Dry-fit the vanity against the wall at the height you want — aim for counter height around 32 to 34 inches from the floor. Next, mount the wall rail and secure it into studs, then attach the vanity and reconnect plumbing using new supply lines if the old ones are stiff or cracked. Finish by caulking the backsplash gap and installing the drawer pulls so the front sits flush.
If your wall studs don’t line up, add a blocking board behind the drywall before you mount.
Don’t mount the vanity without checking the vanity rail level — a slight tilt makes the whole bathroom look off.
3. Floating shelves with a backsplash strip
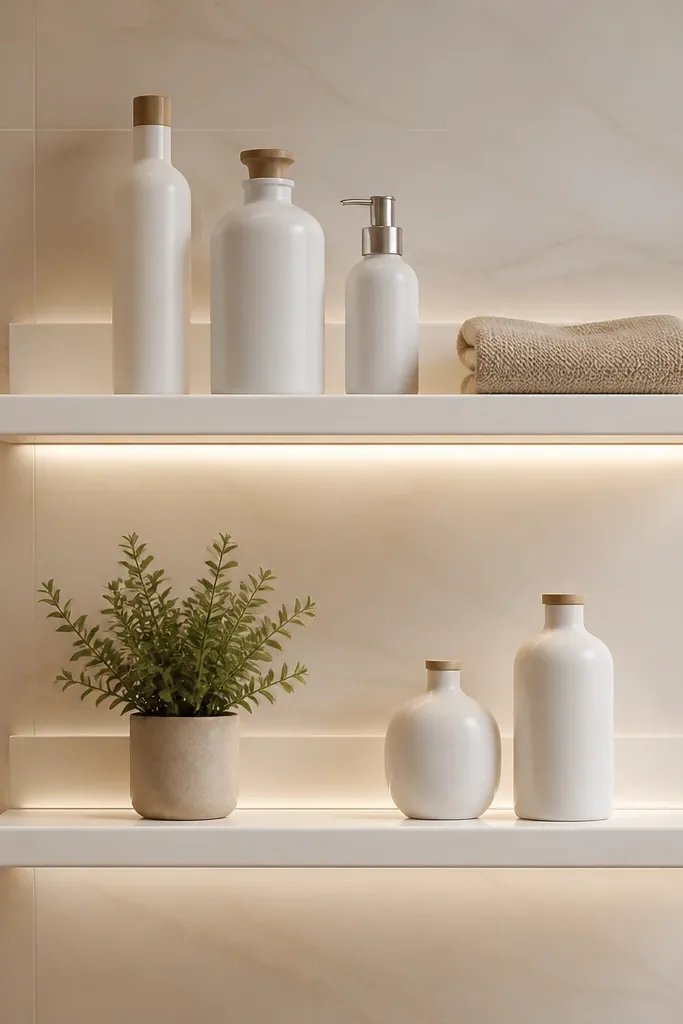
Floating shelves add storage without adding a heavy base that crowds the floor. The look is clean and modern, and it also lets you keep counters clearer, which makes the room feel larger. A narrow backsplash strip behind the shelves keeps the area looking intentional and prevents the wall from looking unfinished. Use shelves with a light wood or painted finish so they don’t visually weigh down the wall. This works best in small bathrooms where the vanity counter is always crowded with bottles and towels.
First, decide shelf height: keep the bottom shelf about 16 to 18 inches above the counter for easy reach. Mark stud locations, then drill pilot holes and mount shelf brackets using a level. Install shelves, then tile or apply a simple backsplash strip behind them — a 3 to 6 inch height band is enough. Seal grout or caulk where tile meets the wall and where it meets any wood trim.
Put the top shelf slightly higher than you think — it frames the mirror and makes the wall feel taller.
Don’t overload shelves with tall bottles — mix one flat tray and a few short items so it reads tidy.
4. Paint walls in soft white, satin finish, and a darker trim line
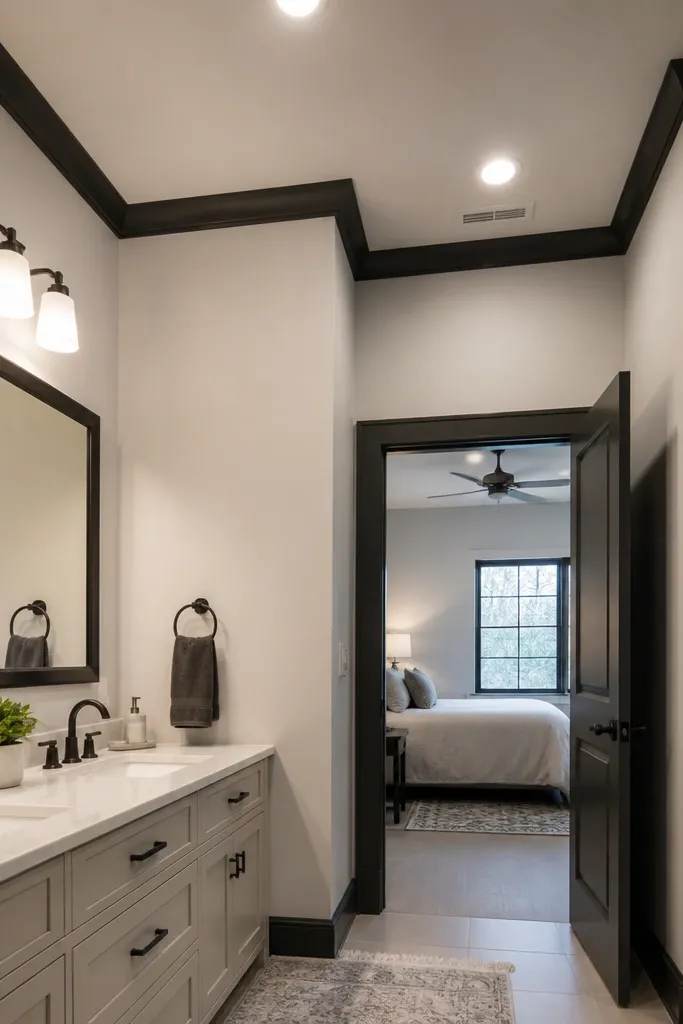
Small bathrooms look bigger when light bounces off smooth surfaces. Soft white in a satin or semi-gloss finish reflects more than flat paint, so the room feels brighter without changing fixtures. Add a darker trim line (a thin band around the ceiling or door casing) to create crisp edges. Those edges give your eye a clear frame, which makes the space feel designed instead of cramped. This is the fastest beginner remodel that still looks intentional in photos.
Start by patching holes and sanding until the wall feels uniform by hand. Apply a bathroom-rated primer if you have stains or glossy paint underneath. Then paint the main color in satin, using painter’s tape for a straight trim line. After it dries, paint the trim line in a slightly deeper neutral and remove tape while the paint is still just tacky to reduce tear.
Editor's noteUse a 2-inch angled sash brush for cutting in — it keeps edges sharp without overloading the roller.
Skip thisDon’t use flat paint on walls — it dulls light and makes the room feel smaller.
5. Light-colored large-format tile laid in the same direction
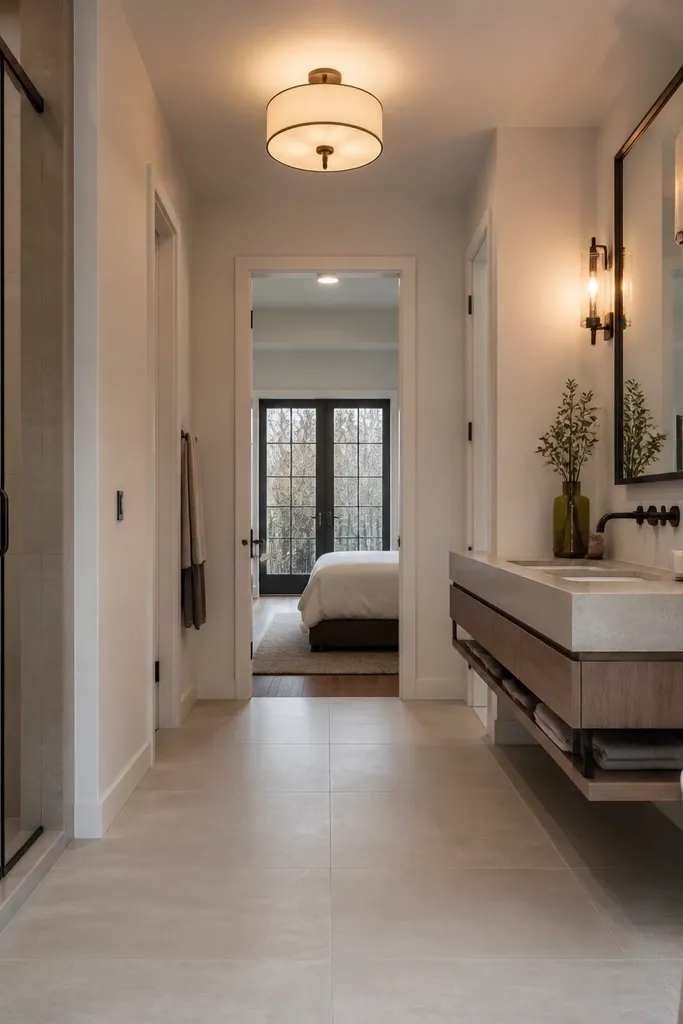
Large-format tile reduces grout lines, and fewer grout lines makes a small bathroom feel calmer and more open. Choose a light neutral like warm white, light greige, or very pale beige so it reads bright even with limited natural light. Lay the tile in a direction that guides the eye toward the doorway — usually long edges parallel to the longest wall. If you can’t redo everything, do the floor and one accent wall for a big visual payoff. This works because the room stops looking “broken up” into small squares.
First, measure the floor and plan your layout so you get at least a half tile at the entry edge. Dry-lay rows to confirm the pattern direction, then mix thinset and notch with the correct trowel size for your tile thickness. Set tiles, keep grout lines consistent with spacers, and check flatness with a straightedge. Finally, grout after the thinset cures, then seal grout if the product calls for it and caulk changes of plane near the tub or toilet.
Editor's noteRent or use a wet saw with a guide rail if you need clean edge cuts — rough edges show in small rooms.
Skip thisDon’t center the tile pattern if it forces ugly slivers at the edges — shift the layout to hide cuts.
6. Niche or shelf for toiletries with a matching tile finish
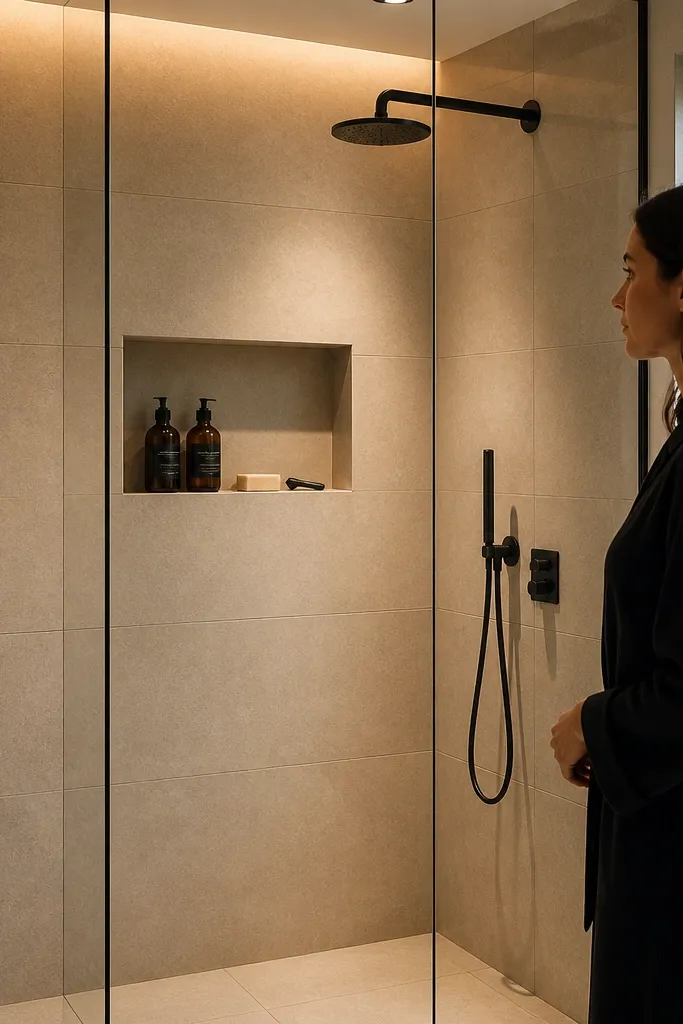
A built-in niche keeps shampoo and soaps off the shower ledge, which makes the shower look cleaner and more spacious. When the niche uses the same tile or finish as the surrounding wall, it disappears into the design instead of looking like clutter. Even a simple shelf niche makes the shower feel more like a hotel bathroom. This is worth doing if your current setup relies on multiple bottles and suction caddies. The look is photogenic because the wall stays uninterrupted and tidy.
Start by deciding the niche size based on what you store: a common beginner-friendly size is about 12 inches wide and 14 inches tall. If you’re tiling a shower, frame the niche with moisture-resistant backer board and waterproof the surfaces. Tile over the niche so the grout lines match the rest of the wall layout. After curing, use a waterproof grout or seal the grout per the product instructions and caulk the edges with a mildew-resistant silicone.
Editor's noteKeep the niche depth around 3 inches so bottles sit without scraping and the opening stays clean.
Skip thisDon’t install a niche without waterproofing — the surrounding wall will pay for it later.
7. Matte white subway tile with a bright grout color
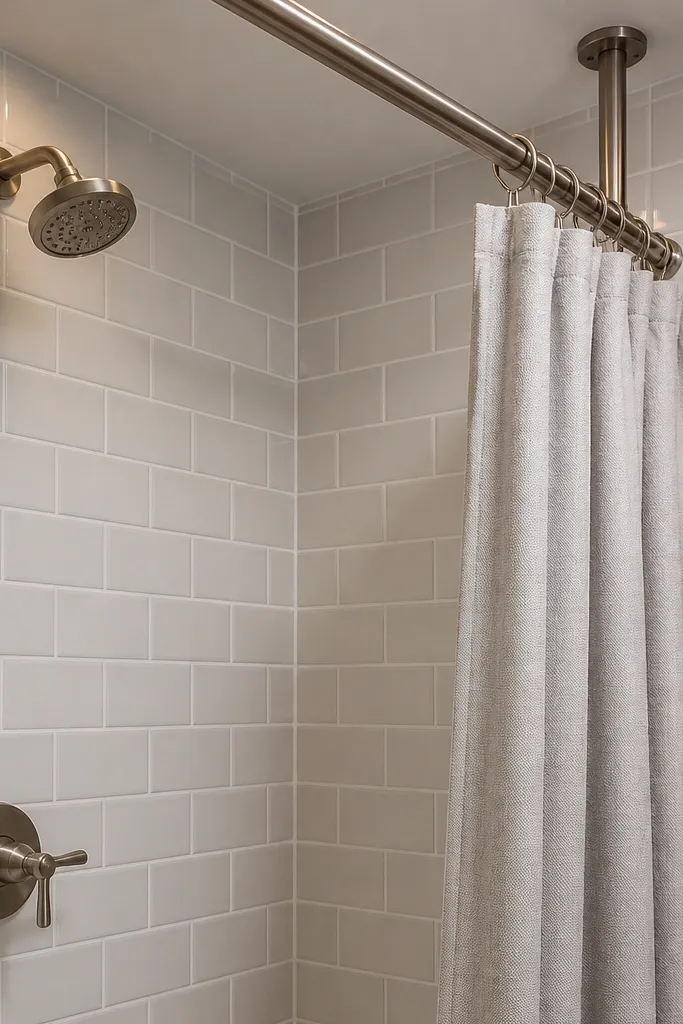
White subway tile alone can look flat in a small bathroom, but grout color changes the whole picture. Pick a bright, clean grout tone that contrasts slightly with the tile — it makes the lines crisp and gives depth. Matte tile hides scuffs and water spots better than glossy, which matters in real life. Keep the pattern consistent and avoid mixing sizes so the wall reads structured. This remodel feels bigger because the visual grid makes the space look more intentional and less crowded.
First, remove old caulk and clean the wall so tile adhesive bonds properly. Dry-fit a few rows to confirm the starting line and the height you want — aim to keep cuts minimal around the vanity and mirror. Spread thinset with a notched trowel, then set tiles with spacers and a consistent stagger if you’re doing a classic subway offset. Grout after cure, then seal grout if required and run new mildew-resistant caulk along edges.
Editor's noteUse a grout release and wipe grout haze immediately with a damp sponge — haze makes tile look dirty fast.
Skip thisDon’t use the wrong grout — unsanded grout on wider gaps cracks, and sanded grout in tiny gaps looks rough.
8. Two-tone vanity paint with a darker drawer front
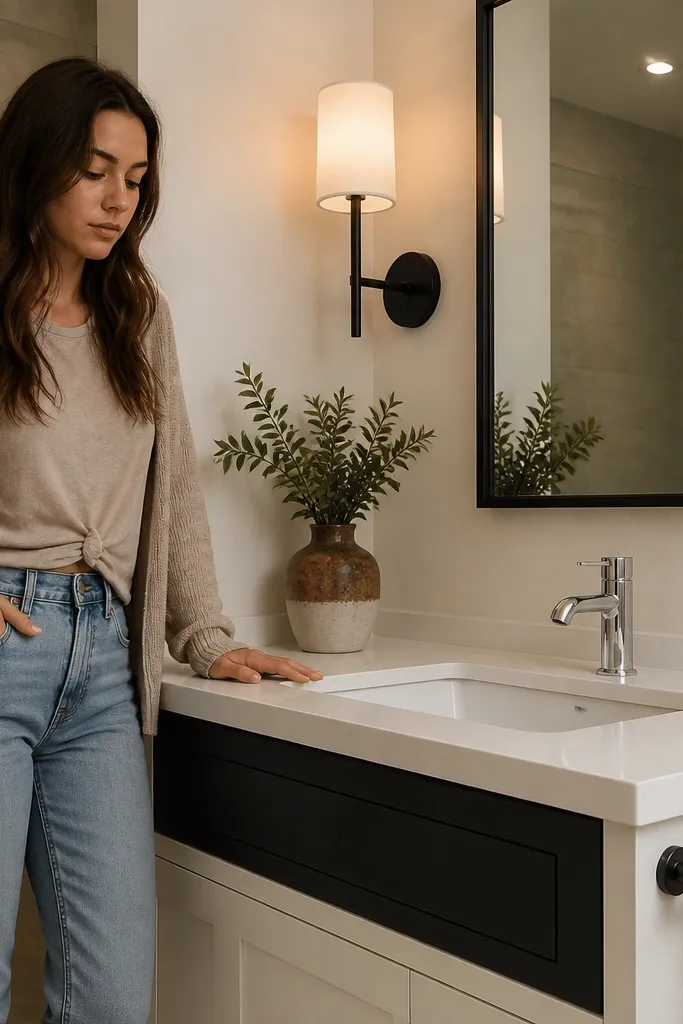
Two-tone vanity paint gives you the look of a designer piece without replacing plumbing or tile. A light body color keeps the visual mass low, and a darker drawer front adds contrast so your eye focuses on clean lines. This works especially well on older vanities with laminate or painted wood where you want a fresh face. Use durable bathroom paint and a topcoat that resists daily splashes. The result is a bathroom that feels updated and brighter while staying within beginner-friendly DIY scope.
Start by removing doors and drawers and sanding the surfaces to remove sheen. Clean thoroughly with a degreaser, then prime with a bonding primer made for laminate or painted surfaces. Spray or roll on the light base color for the cabinet body, then mask and paint the drawer fronts with your darker neutral. After curing, apply a water-resistant topcoat and reinstall hardware, making sure drawer fronts sit evenly.
Label hardware placements with painter’s tape so reassembly stays straight and fast.
Don’t paint over glossy laminate without sanding and primer — it peels at the first wipe.
9. Backlit mirror panel with warm-white LEDs
Backlighting makes a small bathroom look instantly more expensive because it floods the wall behind the mirror with soft light. That glow reduces harsh shadows around your face and brightens the whole room without changing paint. Choose warm-white (around 2700K to 3000K) so skin tones and surfaces look flattering. The look is clean and modern, and it also helps the mirror feel bigger because the light defines the rectangle. This is a beginner-friendly swap if you already have a properly wired mirror outlet or can hire an electrician for the electrical work.
First, turn off power at the breaker and confirm the existing junction box location. Install the mounting bracket or electrical box per the mirror instructions, then connect wiring and secure the mirror panel. Test power before fully tightening everything so you can fix alignment. Finally, set the mirror level, apply any included trim covers, and wipe off fingerprints from the diffuser surface.
Editor's noteIf you have a foggy mirror problem, pick a mirror that supports anti-fog heating.
Skip thisDon’t rely on a basic fixture with a cold color temperature — cool light makes small bathrooms look harsher.
10. Shower curtain in a long, ceiling-to-rail length
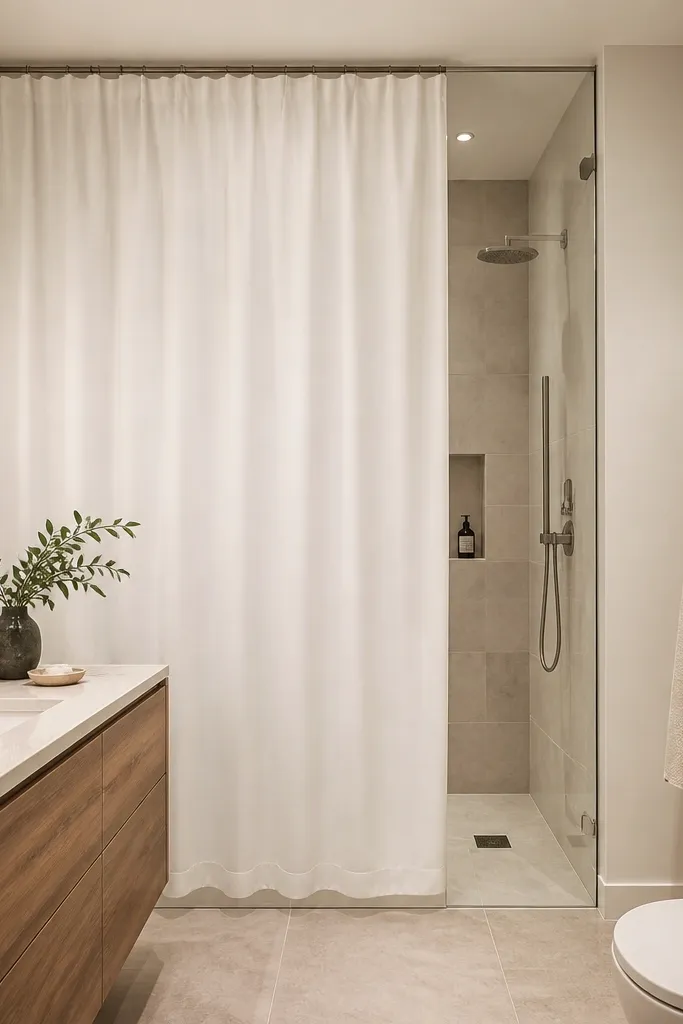
A shower curtain that reaches near the ceiling adds height and makes the bathroom feel taller. In small bathrooms, the shower area is visually heavy, so the right curtain length lightens the whole look. Choose a crisp solid color or subtle texture and hang it from a rod placed close to the ceiling. The drape also hides clutter like soap bottles and keeps the shower visually contained. This is one of the simplest remodel ideas that still changes the room’s proportions.
First, measure from the rod location near the ceiling down to the shower floor, and add 2 to 4 inches for puddling. Install a tension rod or drill-in rod based on your wall and tile type, keeping the rod centered. Use curtain rings that glide easily so the curtain doesn’t snag and looks smooth. Add a liner if needed and keep the curtain pleats consistent so it hangs evenly.
Pick a curtain width that’s 1.5 to 2 times the shower opening so it drapes in soft folds, not flat panels.
Don’t hang the rod at standard height — short curtains make the bathroom feel boxed in.
11. Matte black towel bar with matching toilet paper holder
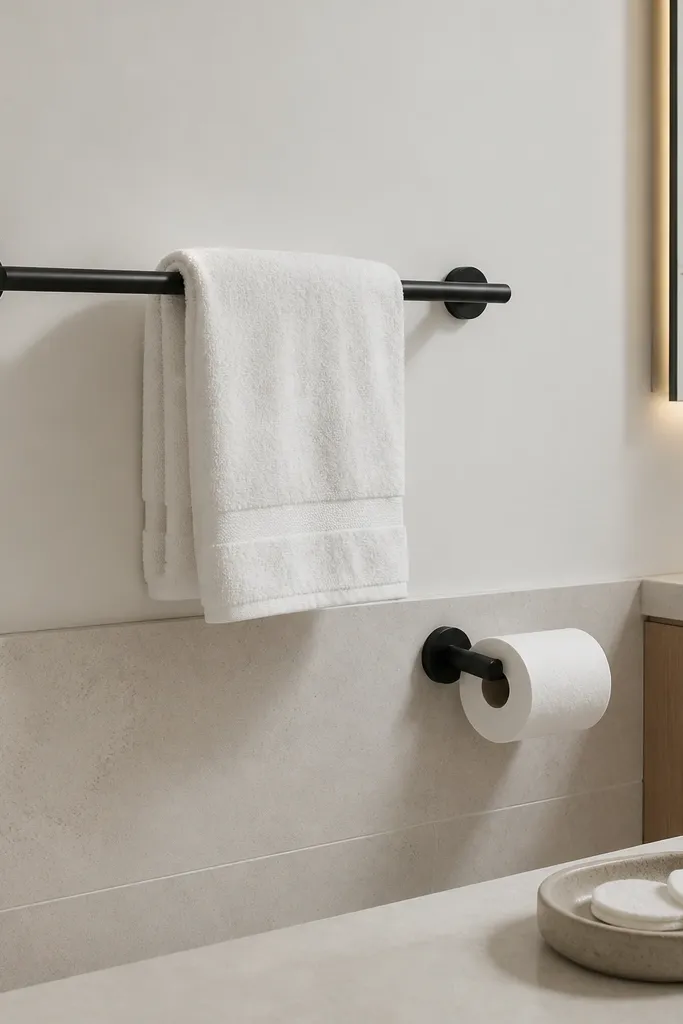
Small bathrooms look bigger when hardware looks intentional and aligned. Matching towel bars and toilet paper holders in the same finish reduce visual clutter from mismatched metals. Matte black also creates a crisp contrast against light walls and tile, which reads sharper in photos. Keep the bars slim and mounted at consistent heights so your eye doesn’t bounce around. This is a quick DIY that upgrades the look without touching plumbing or tile.
First, remove old hardware and patch screw holes if needed. Measure mounting heights: towel bar is usually around 36 to 40 inches from the floor, toilet paper holder around 26 to 28 inches. Mark stud or anchor points, then drill pilot holes and mount the new hardware with the included screws. Finally, level everything and add caulk around any gaps if the old hardware left rough edges.
Editor's noteUse a template from the hardware box or make your own cardboard template so holes line up perfectly.
Skip thisDon’t mix finishes like chrome and black — it makes the small space feel busier.
12. Corner sink with a mirrored backsplash strip
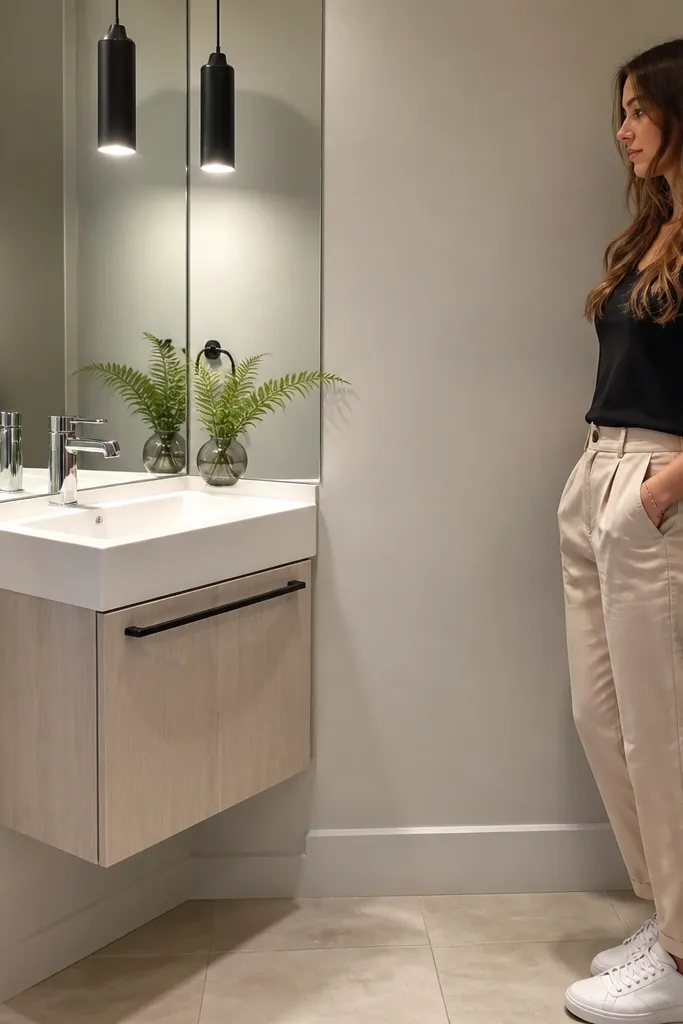
A corner sink frees up the main wall and reduces the “dead zone” that makes small bathrooms feel cramped. When you add a mirrored backsplash strip behind it, the reflection bounces light into the corner and makes the area feel deeper. Keep the sink compact and the faucet simple so it doesn’t look top-heavy. This combo works best in powder rooms or narrow bathrooms where every inch matters. The look is photogenic because the corner becomes a focal point, not a cluttered triangle.
First, confirm your plumbing can route to a corner sink or plan a relocation with a pro if needed. Choose a compact corner vanity or stand and dry-fit it so the sink drain aligns. Install the sink, then add a mirrored backsplash strip — typically 2 to 6 inches tall — secured with mirror-safe adhesive. Finish with silicone around the sink and touch up paint or caulk where the mirrored strip meets tile.
Editor's noteUse a mirror-safe cleaner to avoid streaks and water spots on the backsplash.
Skip thisDon’t pick a mirrored strip that’s too tall — it can overpower a small room and look messy.
13. Slim medicine cabinet with mirrored door
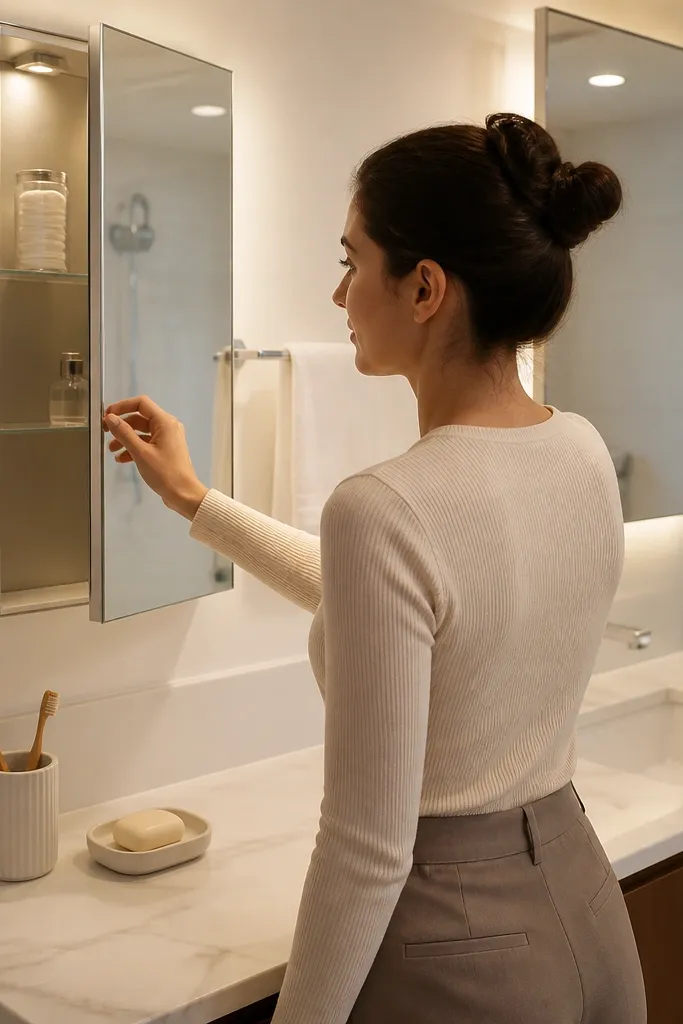
A slim mirrored medicine cabinet adds storage while keeping the wall visually open. Instead of a big bulky cabinet that interrupts the look, you get a flat reflective surface that blends with a mirror wall. It also reduces countertop clutter because you can store cotton pads, toothbrushes, and small bottles behind the door. This remodel works in bathrooms where you already have a mirror but it’s too small to cover your storage needs. The photo effect is simple: fewer objects in the frame and more reflection.
First, measure the wall space between studs and above the sink so the cabinet fits without hitting plumbing lines. Choose a cabinet depth that doesn’t conflict with the drain or faucet — shallow is safer for beginners. Remove old fixtures if necessary, then mount the cabinet using the bracket and stud anchors. Install door level, then add interior shelves or organizers if the cabinet includes adjustable rails.
If you’re adding a second mirror, pick one — don’t stack two reflections that create a busy pattern in photos.
Don’t mount it too low; you want the top edge to stay near eye level so it reads clean.
14. Raised-panel vanity doors replaced with flat fronts
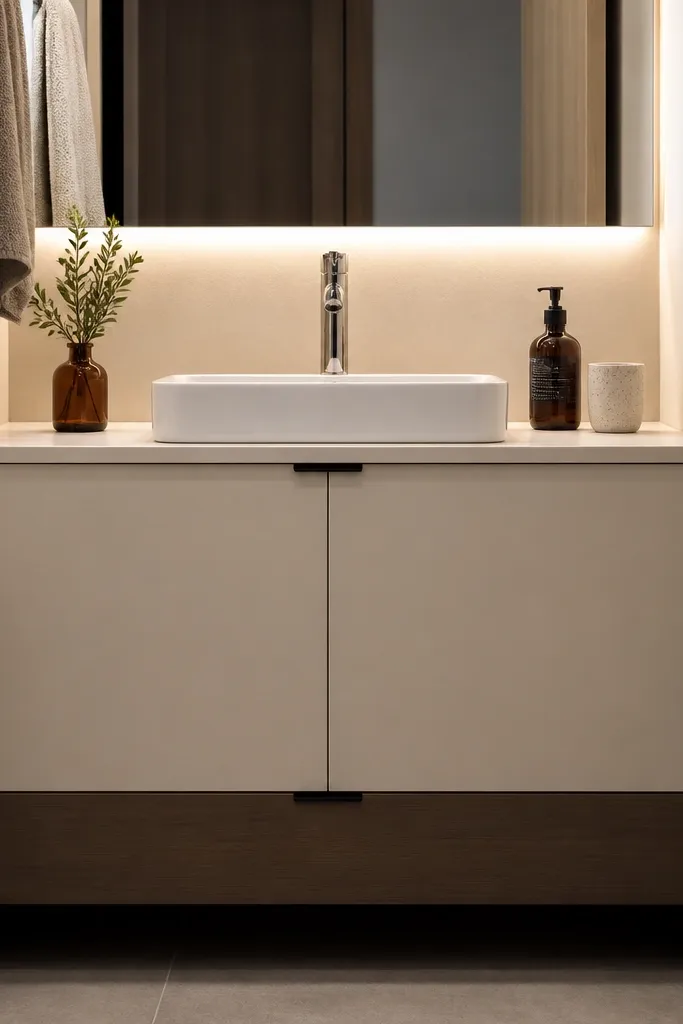
Flat-front cabinet doors make a small bathroom feel more modern and less visually busy. Raised panels create shadow lines that add texture in a space that already struggles with limited light. Swapping doors is a beginner-friendly way to get a high-end look without redoing plumbing. Choose a matte finish and simple hardware so the lines stay sharp. This remodel is about reducing visual noise, which helps the room feel bigger even if the footprint doesn’t change.
First, remove the existing doors and drawers and measure each opening for new door sizes. Order replacement flat-front doors that match your hinge style. Sand and repaint the cabinet frames if needed, then attach new doors using the hinge locations. Finally, install updated drawer fronts and pulls, then check alignment with a straightedge across the cabinet face.
Use a hinge jig or a template so the door gaps stay even on both sides.
Don’t reuse old hinges if they’re loose — misaligned hinges make flat doors look crooked.
15. Ceiling light shade upgrade to a wider glow
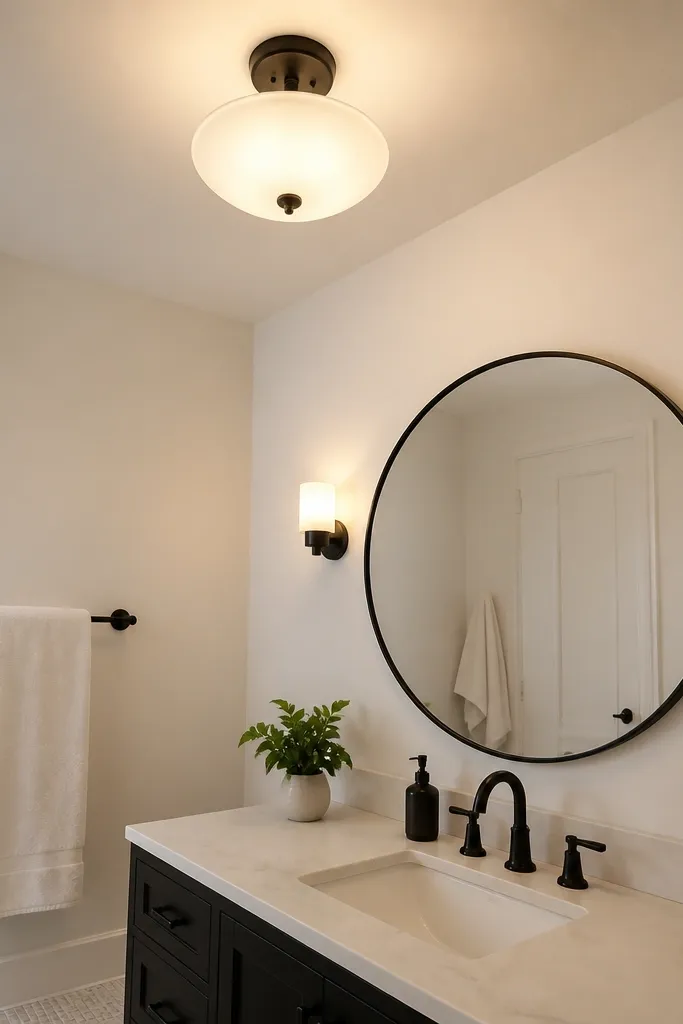
Lighting changes bathroom size perception fast because it controls shadow edges. A wider-glow ceiling fixture spreads light across the ceiling and walls, which makes the room feel less “dim and boxed.” Choose a frosted or diffused shade and warm-white LEDs for flattering, non-greasy light. If your current light is a small, harsh spot, your bathroom will feel smaller because shadows pool in corners. This is a beginner project if you’re comfortable swapping fixtures or can hire an electrician.
First, turn off power and remove the old fixture. Check the junction box mounting size and wire type, then match the new fixture’s wiring instructions. Install the new mounting bracket, connect wires with proper wire nuts, and secure the shade. Test power and adjust the fixture so it’s centered and aligned with the mirror.
Aim for a color temperature around 2700K to 3000K so whites look clean, not blue.
Don’t use a high-contrast exposed bulb look in a small bathroom — it creates harsh shadow lines.
16. Hex tile accent band on the wall behind the vanity

A narrow hex tile band adds visual interest without covering the whole bathroom. The trick is placement: put it behind the vanity where your eye naturally looks, and keep the rest of the wall simple. Light hex tiles with a soft neutral glaze look crisp and feel airy, especially with a clean grout line. This creates depth because the pattern draws attention to one focal zone while the surrounding walls recede. It’s a beginner-friendly way to make a small bathroom look designed.
First, pick your band height — 12 to 18 inches is enough behind the mirror line for a balanced look. Mark a straight level line where the band will start and end. Tile the band first, using spacers and checking alignment with a level every few rows. After the thinset cures, grout and seal if your grout calls for it, then caulk where the band meets vertical edges.
Use a contrasting grout color only if you can keep it clean — bright grout shows every stain.
Don’t cover the entire room in hex — it turns a small space into a busy pattern.
17. Glossy tile on one wall and satin on the rest
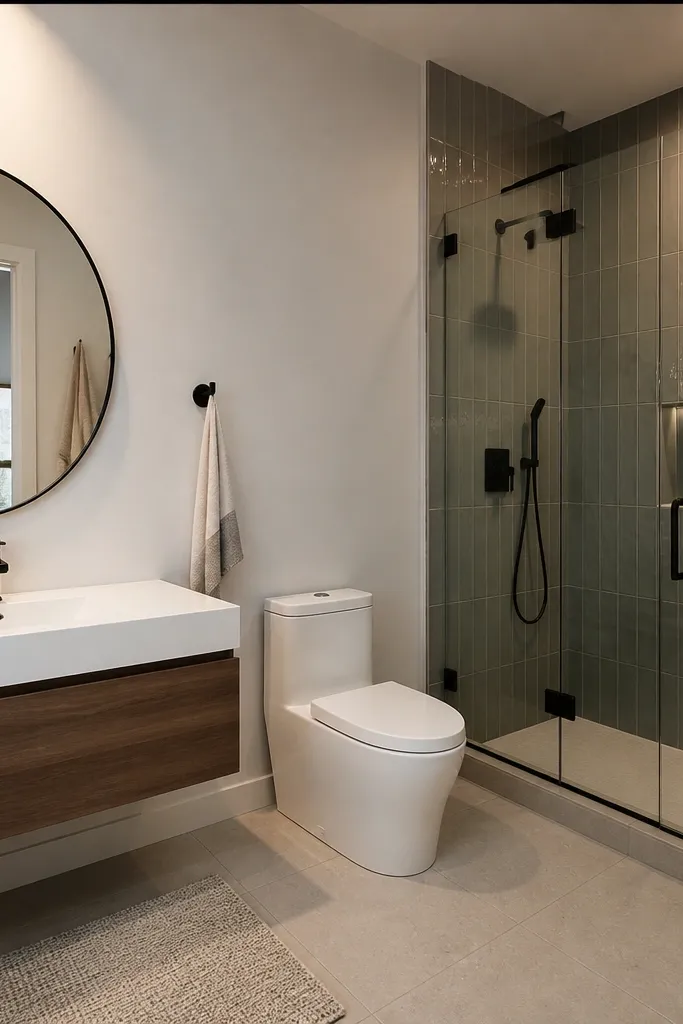
Glossy tile catches light and makes your bathroom feel more dimensional, but only on one wall. Keep the rest satin-painted so you don’t overwhelm the space with glare. This is a smart beginner move because you can limit tile work to a single feature wall, usually the one behind the mirror or on the shower surround. The shiny surface makes the room feel brighter and more open, while satin walls keep it soft and forgiving. It looks great in photos because the light hits one plane and creates depth.
First, choose a feature wall and decide your tile area — a strip around the mirror or a full shower wall works well. Prep the wall by cleaning and priming if needed, then plan your tile layout so you avoid tiny cuts at the edges. Apply thinset and set glossy tiles with consistent spacers, keeping lines straight. Grout, seal if required, and finish with caulk at corners and changes of plane.
Use a satin paint for the surrounding walls so glare stays mostly on the tile wall.
Don’t place glossy tile on a wall with messy angles or clutter — it will reflect the mess.
18. White penny tile floor with a darker grout line
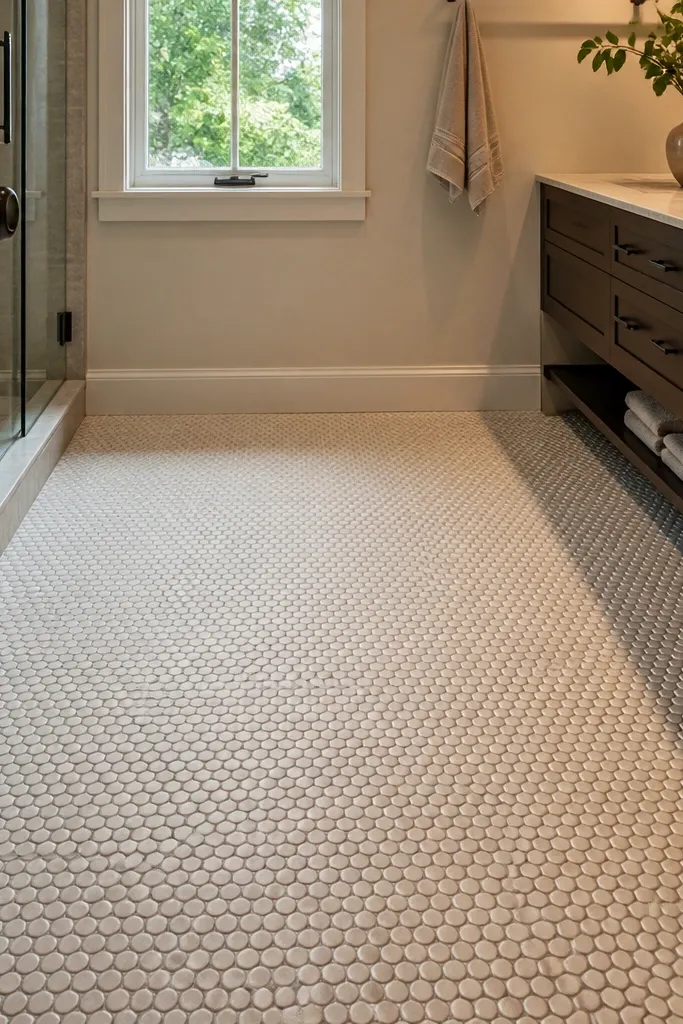
Penny tile looks busy in the wrong color, but white with a darker grout line can make it feel crisp and intentional. The smaller pieces create texture, while the grout contrast defines each shape and keeps the floor from looking flat. A light floor also makes the room feel larger because it reflects more light and reduces the “dark base” effect. This works best when your walls stay simple and your vanity isn’t too dark. It’s a strong look for small bathrooms because it adds pattern without swallowing the room.
First, remove old floor material and ensure the subfloor is smooth and flat. Plan your layout so the penny tile lines align with the doorway — dry-lay a few rows to see the effect. Set the tile using thinset and grid sheets, then press firmly to keep the surface level. After cure, grout with the darker color, wipe carefully, and seal grout if the product recommends it.
Editor's noteUse a grout float with firm pressure to pack the joints so they don’t look shallow.
Skip thisDon’t choose two grays that are too close — if the grout barely contrasts, the pattern disappears.
19. Clear glass shower panel with a minimal track
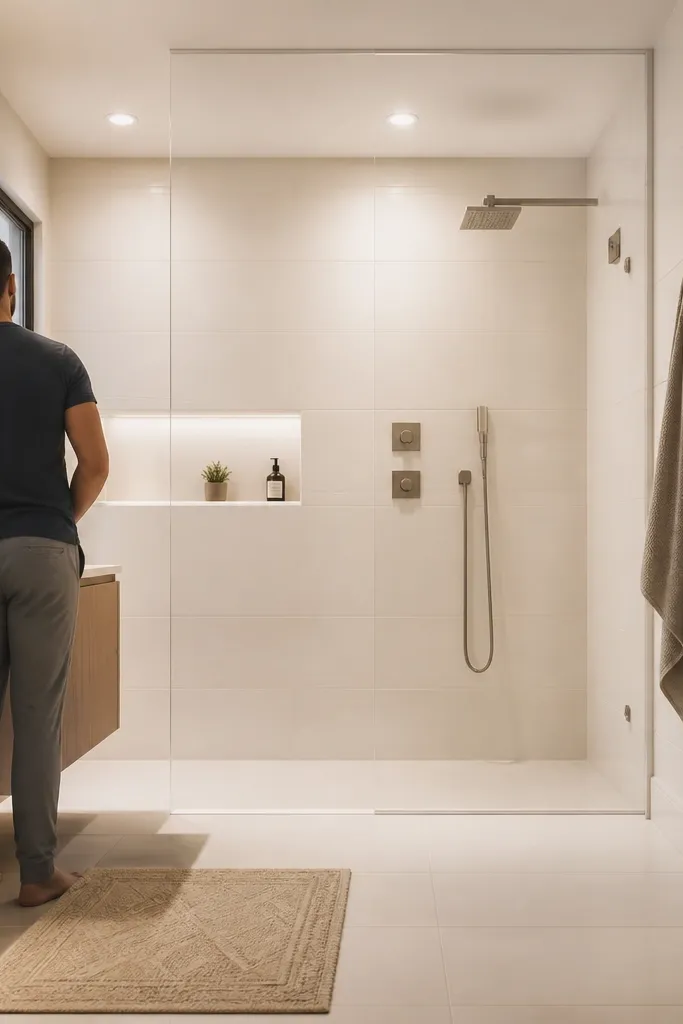
A clear glass shower panel makes the shower visually disappear, which is the fastest way to make a small bathroom feel bigger. Curtains and opaque doors block the view and create a hard visual wall. Clear glass also keeps the room brighter because light passes through instead of bouncing off fabric. Choose a minimal frame in chrome or matte black to keep lines clean. This remodel is worth doing when your bathroom already has nice tile and you want to show it.
First, confirm your shower opening measurements and check if you need a custom panel. Install the base track or clamps per the manufacturer instructions, anchoring into tile or studs where required. Use proper caulk for wet areas and let it cure fully before using the shower. Finally, adjust door alignment so the panel seals evenly and doesn’t leave gaps.
Use a water-repellent glass treatment so the panel stays clear instead of spotty.
Don’t pick a heavily tinted or thick-framed panel — it brings back that boxed-in feeling.
20. Slim, tall storage cabinet in light oak
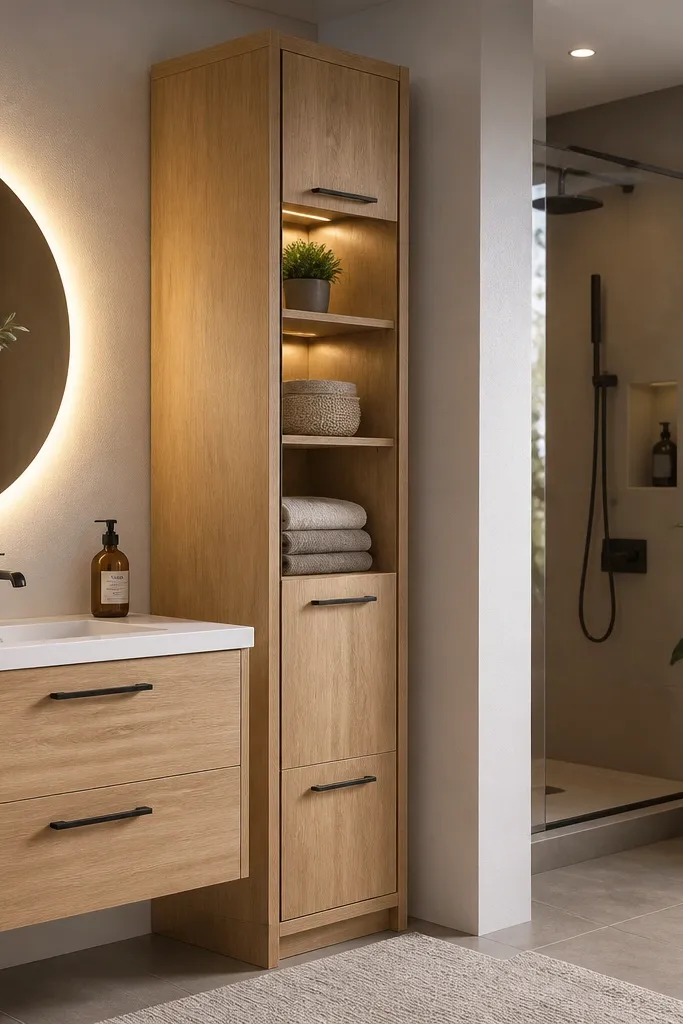
A tall, slim cabinet adds storage without widening the room. In small bathrooms, width is the enemy, so you want vertical storage that keeps the floor open. Light oak or light wood tones warm up the space and make it feel clean rather than sterile. Add shelves inside so you can stage towels and bathroom essentials neatly behind doors. This is a good beginner project because you’re reducing clutter fast, which makes every other design decision look better.
First, measure the wall space beside the toilet or between the door and vanity, including door swing clearance. Choose a cabinet width that leaves at least 1 inch of breathing room from trim. Install the cabinet with wall anchors into studs or use a mounting rail if the cabinet requires it. Level it, then secure the doors and add adjustable shelves so you can fit different bottle heights.
Editor's noteUse a cabinet with adjustable shelves so you can reconfigure as your products change.
Skip thisDon’t choose a cabinet with deep doors that hit the toilet lid or door swing.
21. Toilet tank cover in matching color with a flat front
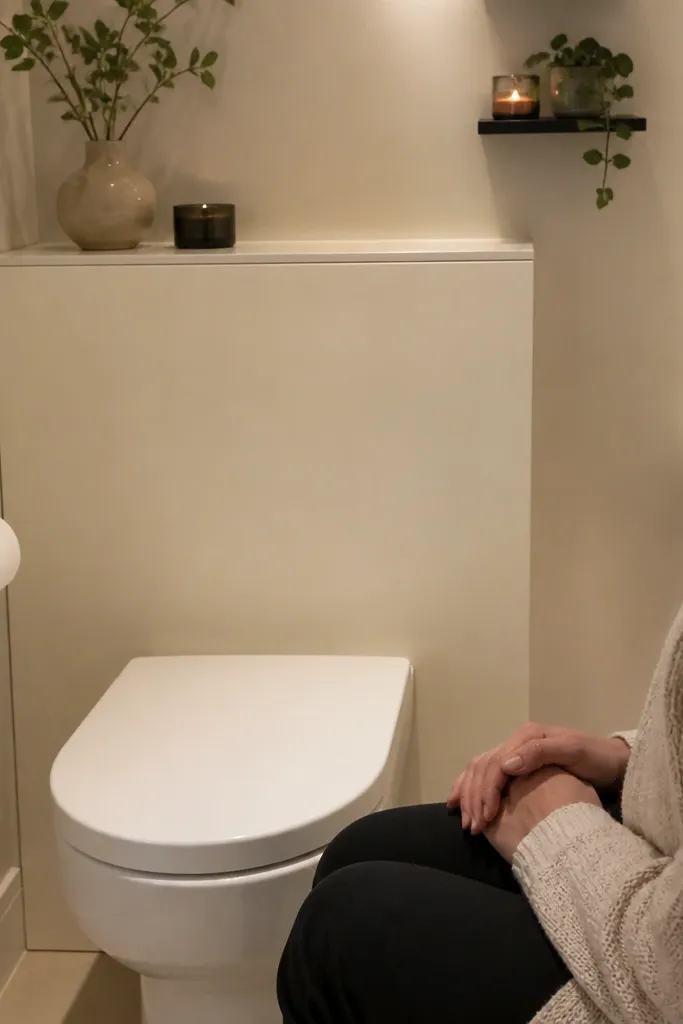
A toilet tank cover can make the bathroom feel more finished because it removes a visual block that interrupts the wall line. When the cover matches your vanity or wall color, it blends in instead of looking like an extra appliance. Flat-front covers look cleaner than quilted or ornate styles, which helps the room feel less cluttered. This is a beginner-friendly update that improves aesthetics without touching plumbing. The payoff is mainly visual: a smoother wall line behind the toilet makes the whole space read bigger.
First, measure your toilet tank and choose a cover that fits the shape and mounting points. Dry-fit it and check clearance from the toilet lid and any flush buttons. Then attach it using the manufacturer’s clips or screws, avoiding excessive force on porcelain. Finish by painting the cover if it’s not already in your chosen color, then seal edges where moisture can reach.
Editor's noteMatch the cover to the wall color if your bathroom is already light — it visually removes the tank mass.
Skip thisDon’t trap moisture under a cover with gaps — keep the fit tight and caulk where the product recommends it.
22. Recessed can lights or a single flush LED panel centered over mirror
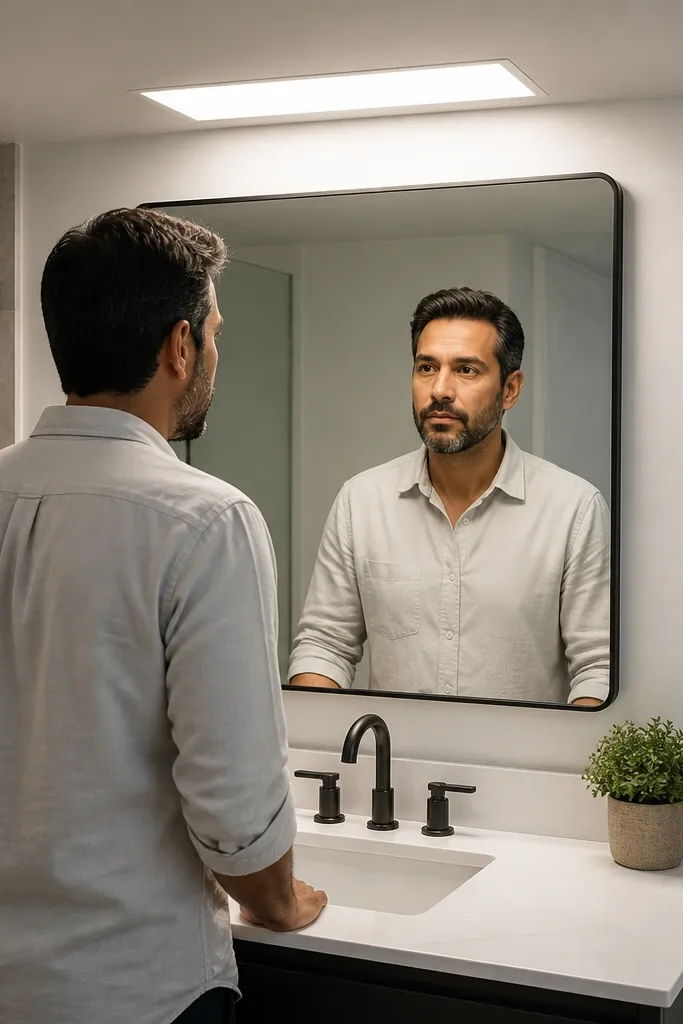
Small bathrooms look bigger when the light source is centered and evenly diffused. A flush LED panel or recessed lights reduce the shadow ring that happens with side-mounted fixtures. Center the light over the mirror area so faces and counters look bright, and the room doesn’t feel top-heavy. This also makes the mirror reflection look cleaner because there’s less glare from off-angle bulbs. If you can’t add recessed lighting, a flush panel is the next best look.
First, turn off power and remove the existing fixture or switch to a new wiring setup if needed. Install a flush LED panel with mounting points aligned to the junction box. If you’re adding recessed lights, plan spacing so the lights land around the mirror and vanity, not on the edges of the room. After installation, test brightness and check for glare in the mirror.
Editor's noteChoose a dimmable fixture so you can reduce glare at night without changing bulbs.
Skip thisDon’t pick a fixture with a shiny trim ring — it reflects in the mirror and makes the light look harsh.
23. Shiplap-Free Vertical Plank Walls with Light-Toned Grout Lines
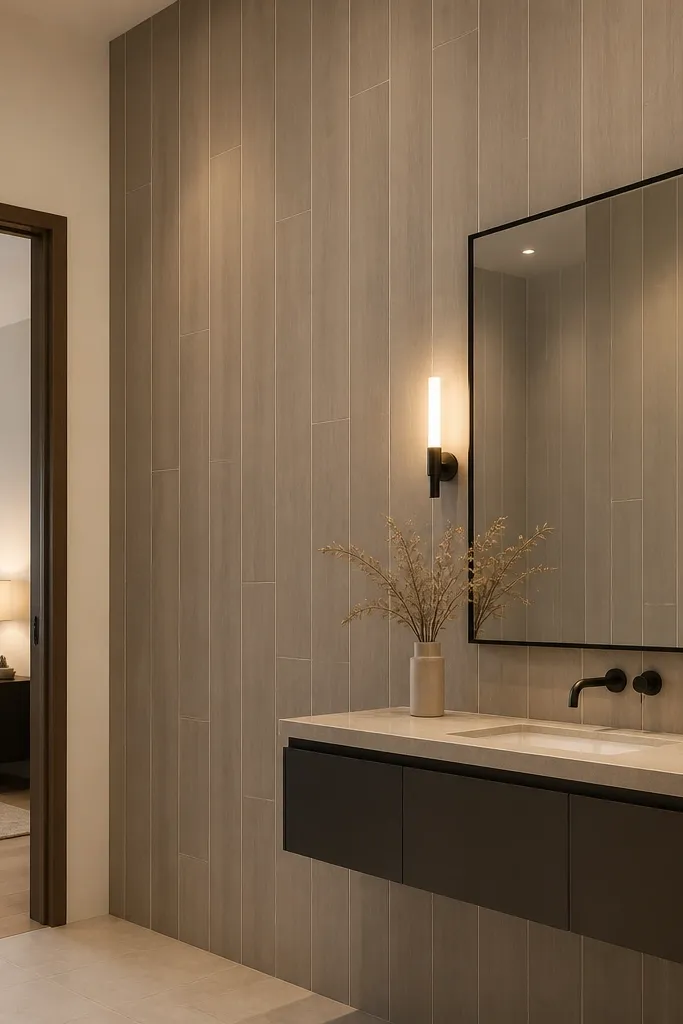
This is a small-bath trick that makes the room feel taller without adding visual clutter. You get the height-boosting look of vertical lines, but you keep it clean by using smooth, factory-finished panels and crisp, light-toned joints that read like grout. The finish is what makes it photogenic — it catches bathroom light softly instead of throwing harsh glare. You can do it as a beginner-friendly remodel because you’re covering walls in a controlled way instead of chasing trim, patching, and perfect paint edges across every corner. It suits rentals, powder rooms, and any bathroom where the ceiling feels low and the walls look busy.
1) Measure the wall height from finished floor to ceiling and plan your first panel line 1/2 in off the corner so you can hide a cut behind the vanity trim. Use 1/4 in thick PVC or MDF bathroom wall panels made for wet areas, and choose a pale warm white (not pure white) so the joints don’t look gray. 2) Dry-fit the panels vertically, then mark a level start line. Install with a bathroom-rated construction adhesive plus a few finish nails where studs are available; keep all panel seams aligned and use the included edge-joint strips or a thin 1/8 in spacer strip to create uniform “grout lines.” 3) Caulk every seam and around the vanity cutouts with a mold-resistant acrylic caulk, then paint only if the panel system calls for it; otherwise leave as-is and seal any cut edges with the manufacturer’s edge sealer.
Use a laser level for the start line and keep a small spacer stack at the seams so every “joint” stays the same width from floor to ceiling.
Don’t run vertical seams through a doorway or mirror edge — line them up so the mirror and vanity sit on a whole panel whenever possible.
24. Ceiling-to-Floor Sheer Shade Over the Window
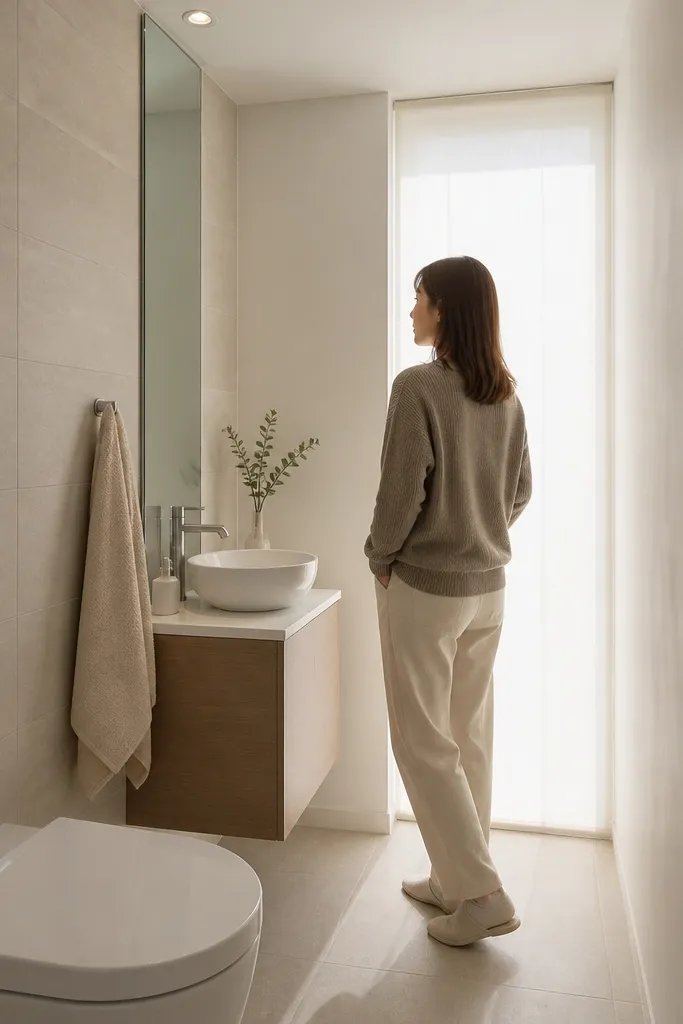
A small bathroom feels bigger when it looks brighter and less boxed in by heavy window treatments. A ceiling-to-floor sheer shade adds height and softens light so the walls bounce it around instead of creating dark corners. It also photographs well because the window area becomes a bright vertical rectangle, not a cutout. You don’t need to tile or rip anything out — this is a remodel move that changes the whole vibe fast. It fits bathrooms with any kind of window, especially ones with a tub or vanity placed near it.
1) Measure the window opening width and decide how wide you want the shade. For a taller look, mount the rod or track 4 to 6 in above the top of the window and extend the mount 3 to 5 in past each side of the frame so the sheer covers the glass when pulled. 2) Choose a washable sheer fabric in warm white or light ivory and get a simple ceiling-mounted track or tension rod system rated for curtains. Hem the bottom so it lands about 1/2 in above the floor if you have toe-kicks, or close to the floor if your trim is minimal; keep the fabric straight so it hangs in one smooth plane. 3) Install the track level, hang the sheer, then steam it and check it from the doorway to confirm the vertical lines read cleanly.
If the bathroom light is cool-toned, pick warm ivory fabric so the window light doesn’t look bluish against the walls.
Don’t mount the shade inside the window frame — it shortens the visual height and makes the room feel smaller.
25. Slim Frameless Shower Niches with Polished Edge Tile
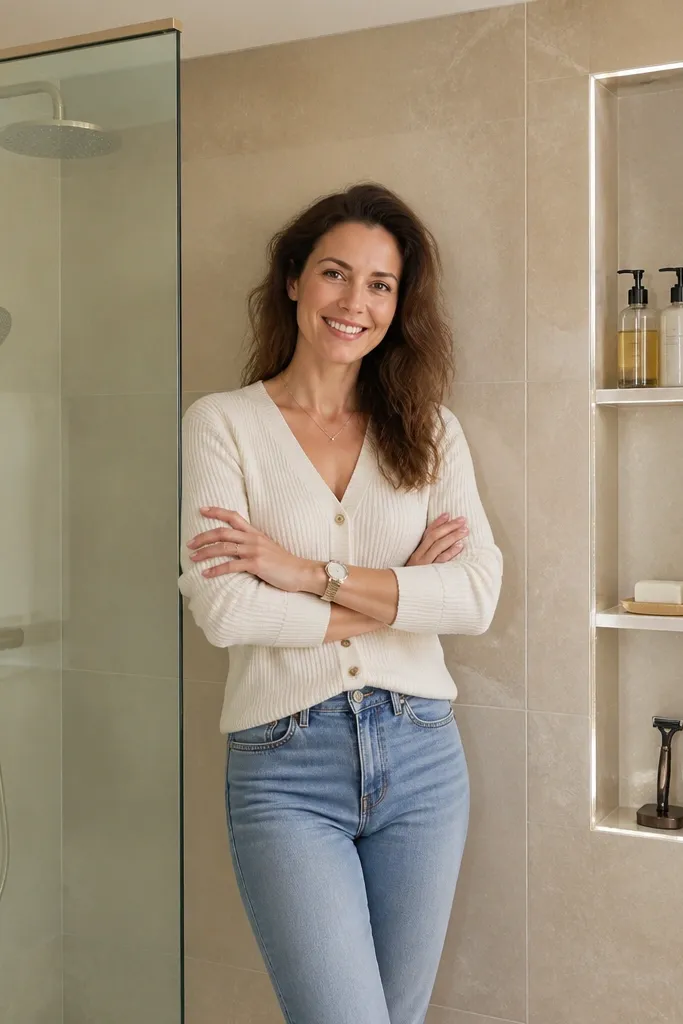
This idea makes a small shower feel organized and bigger by removing countertop clutter and creating clean vertical storage. Slim, frameless niches look built-in and sleek, and the bright tile edges catch light so your shower reads more open. You also get a clear win in function: shampoo, soap, and razors live in the wall instead of on a caddy that visually breaks up the space. It’s worth doing because it upgrades the shower without changing your whole layout, and it photographs like a high-end remodel. It suits tile showers, especially if you have a spot next to the valve or along a side wall where a narrow recess will fit.
1) Pick a niche location and size that matches your tile layout. A beginner-friendly target is 6 in wide by 10 to 12 in tall for a single niche, or two niches stacked, each about 6 in wide and 8 to 10 in tall; keep them centered so they don’t look off. 2) Cut the recess in the cement board or waterproof backer using an oscillating tool, then install a waterproof niche kit or build a simple box with cement board strips and waterproof seams. Use a thinset made for wet areas, then set your tile with a 1/16 to 1/8 in joint; finish the niche edge with a polished or glazed bullnose edge so it reflects light. 3) Waterproof all seams with a compatible membrane system, then grout after cure. Seal grout in the shower and run a final bead of caulk at any transitions to prevent water migration.
Editor's noteDry-lay one tile row inside the niche first and mark your grout line positions — the edge tile needs to align with the main wall grout so it looks intentional in photos.
Skip thisDon’t use unsealed grout in a niche — shampoo bottles make that area the first place water stains show up.



