
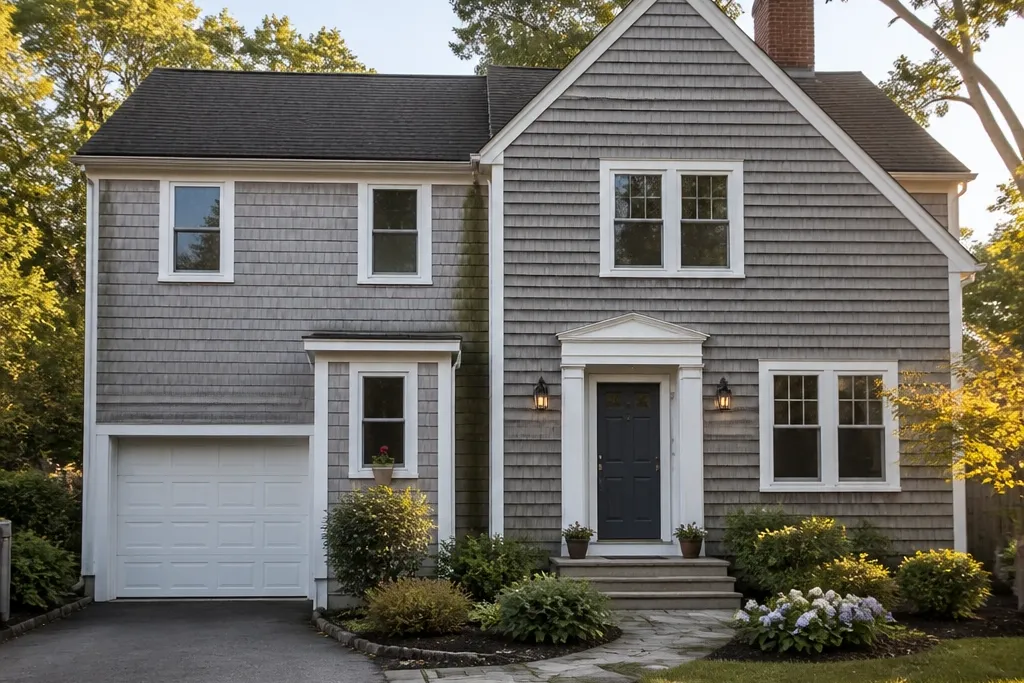

1. Painted Front Door With a Real Door Surround
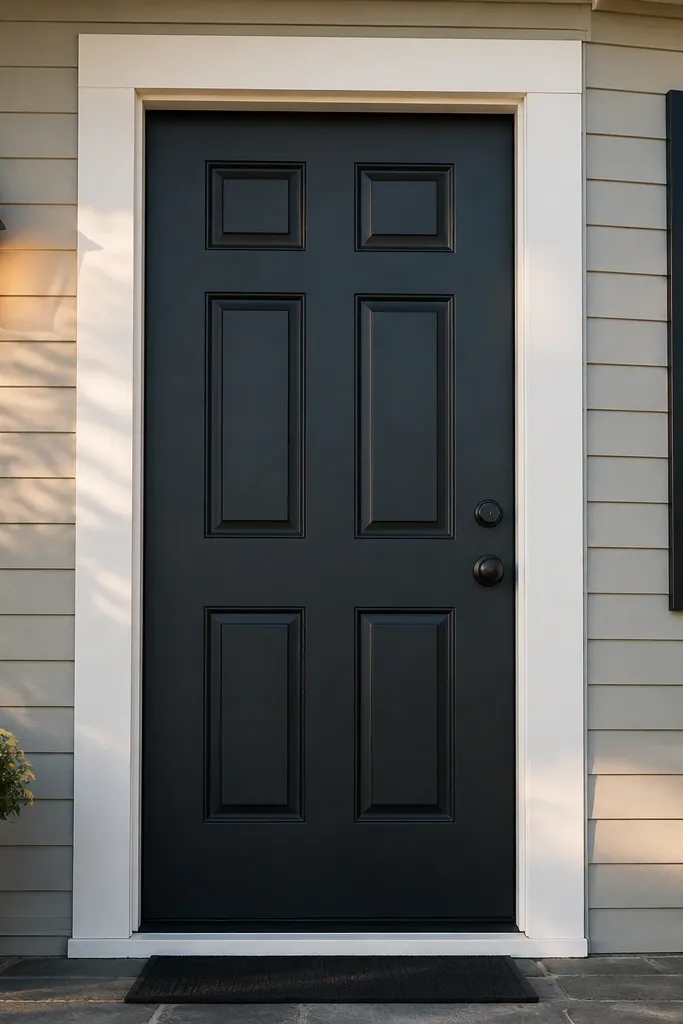
A front door is the highest-contrast element on a facade, so repainting it without a surround usually reads as “random color.” A beginner-friendly upgrade is to add a simple door surround using trim boards and then paint everything as one unit. Choose a door color that works with your siding temperature: cool grays pair with charcoal and black, warm exteriors pair better with deep brown or deep green. The payoff is a clear entry zone that looks like it belongs there, not like a door got updated in isolation.
Start by removing the hardware and masking the door edges tight with painter’s tape. Measure the door width and height, then plan a surround that leaves a 1/2-inch reveal between the door slab and the inner trim edge. Install treated 1x3 or 1x4 trim boards with exterior screws into framing, then add corner returns so the surround doesn’t end in a raw butt joint. Prime bare wood and scuffed surfaces, then use an exterior door paint or exterior enamel on the door and trim, with two full coats.
Editor's noteUse a foam roller for the flat areas and a quality angled brush for edges; it reduces brush marks that show up in sunlight.
Skip thisDon’t skip primer on raw wood or glossy old paint — peeling starts at the door trim seam first.
2. Window Trim Refresh by Matching Reveal Lines
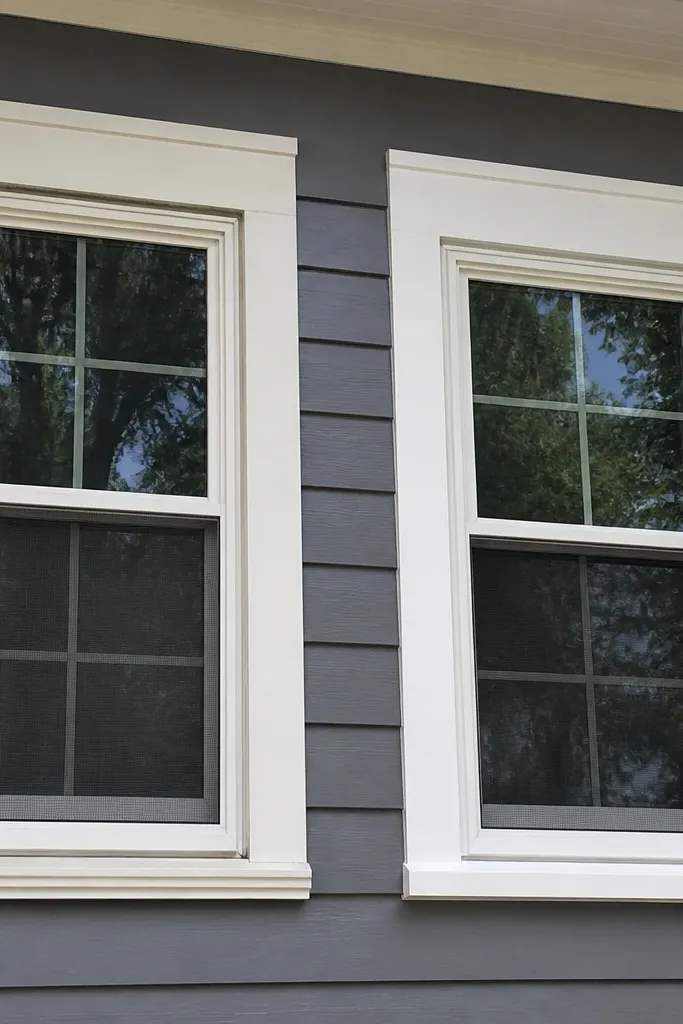
A lot of facades look “unfinished” because window trim reveals don’t line up. You’ll see it as uneven shadows around each window, especially where trim meets siding or brick. The fix is not just repainting — it’s resetting the trim edges and then matching the reveal all the way around. This project is beginner-friendly because it’s mostly measure, cut, caulk, and paint. It works best when your trim boards are still solid and you just need cleaner edges and consistent spacing.
Start by measuring one window opening and picking a reveal size you can repeat, like 1/4-inch between trim and siding. Use a miter saw set to 45 degrees for corners and dry-fit each side before fastening. Remove peeling caulk, clean the joint, then set trim back so the reveal matches on all four sides. Caulk the exterior gaps with paintable exterior caulk and then paint trim with an exterior trim enamel after priming.
Editor's noteMark a reference line with a level across the facade so every window trim edge lands on the same height.
Skip thisDon’t “estimate” reveals; one off-by-1/8-inch window will pull the whole facade down visually.
3. Soffit and Fascia Paint Job That Removes the Flat Look
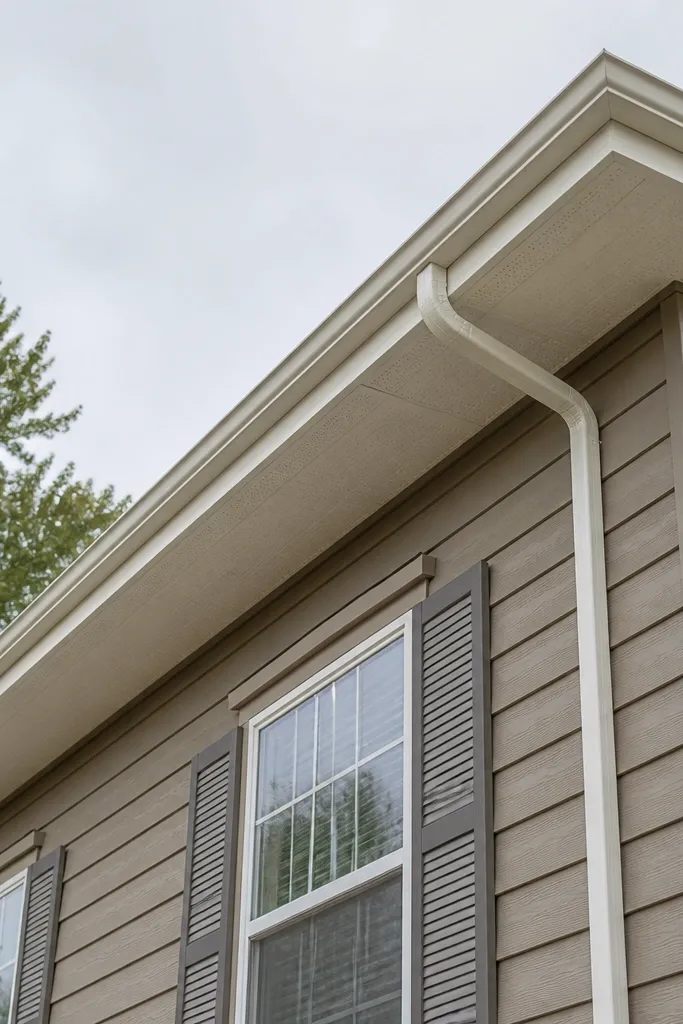
If your facade looks tired, the soffit and fascia are often the culprit. Old trim usually fades to gray and kills contrast, making the whole house read flatter. A clean paint refresh adds structure because it sharpens the roofline. Go for a true exterior trim white or a light warm white, not a random “ceiling white.” This is a good beginner project because it’s straightforward — clean, prep, prime, paint — and it instantly changes the silhouette.
Start by washing the soffit and fascia with a degreaser and rinse well, then let it dry fully. Scrape loose paint and sand glossy spots until dull, then wipe with a tack cloth. Prime any bare wood and stained areas using exterior bonding primer. Paint with an exterior trim paint in two coats, working from one end to the other to avoid lap marks; use an extension pole if needed and protect landscaping with plastic sheeting.
Editor's notePaint when the surface is cool and out of direct sun; it reduces lap marks and pinholes.
Skip thisDon’t paint over chalky old paint — it will fail at the next hot/cold cycle.
4. Skirt Board and Porch Transition Update With Matching Trim
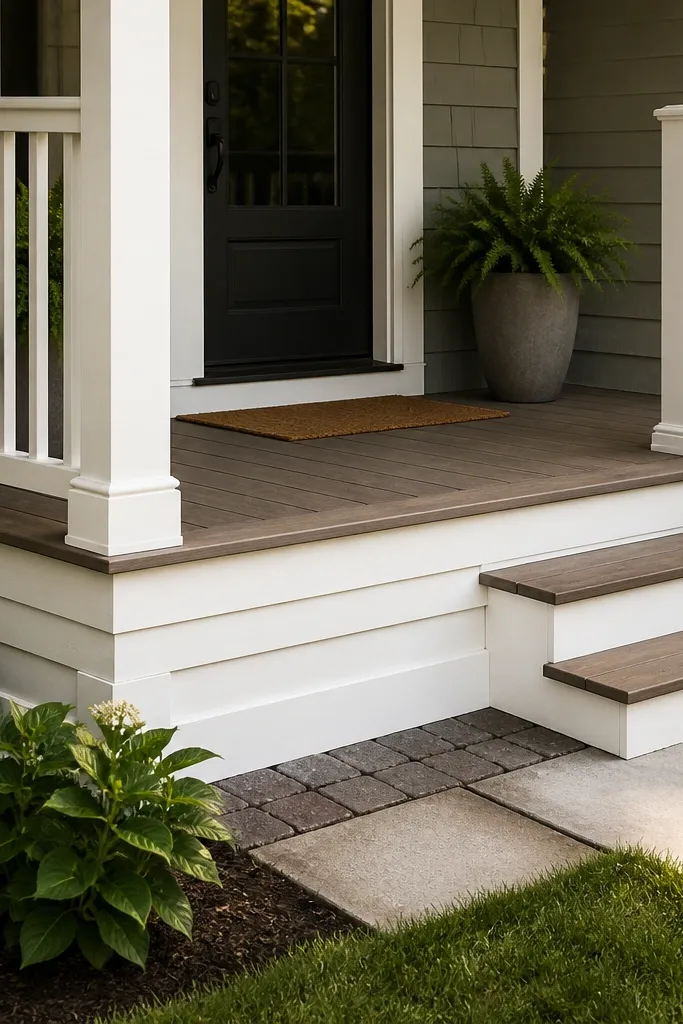
Porches often look “stuck on” because the transition between the porch base and the house siding is messy. A skirt board update gives the porch a grounded edge and makes the facade before and after look coordinated. This is beginner-friendly if your porch base isn’t rotted — you’re mostly adding trim strips, filling gaps, and painting. The look reads cleaner because you’re turning a rough seam into a straight line the eye can trust.
Start by checking the bottom edge for rot and water staining; fix any soft spots before you cover anything. Measure the porch perimeter and plan a skirt board width that matches your existing trim scale, like 1x4 or 1x6. Add furring blocks or shims where needed so the skirt board sits straight, then fasten with exterior screws and spacing that matches studs if you can find them. Caulk the top seam, install drip edge if you have a horizontal lip, then prime and paint with exterior trim paint.
Use a chalk line snapped tight along the top edge so the whole skirt runs straight across corners.
Don’t cover a leaky joint — if water is getting behind the porch base, paint will hide it for a month and then fail.
5. Exterior House Number and Mail Slot Upgrade for a Cleaner Entry Zone
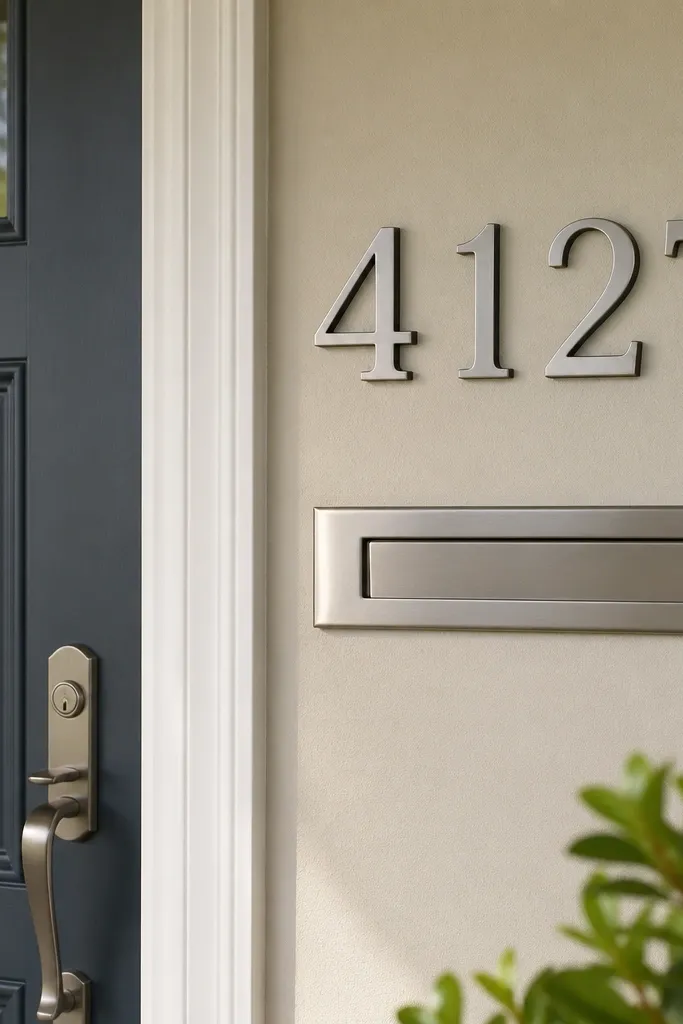
This one sounds small, but it fixes a common “before” problem: the entry looks visually unfinished because there’s no anchor. House numbers and a mail slot that match in finish and size make the door area feel designed. Pick a finish that matches your hardware — if your door lock is brushed nickel, choose brushed nickel numbers or matte black if your lights are black. It’s beginner-friendly because it’s mostly mounting, spacing, and paint touch-ups, not carpentry.
Start by cleaning the mounting surface and removing any old adhesive or loose paint. Measure the door width and set the numbers so the centerline sits at about eye level, then keep spacing even between digits. For a mail slot, verify clearances so it doesn’t interfere with the door frame or trim; drill pilot holes and mount into solid backing when possible. Touch up paint around holes with exterior trim paint so you don’t leave raw edges showing.
Editor's noteUse painter’s tape templates for spacing; it prevents crooked mounting that shows up immediately in photos.
Skip thisDon’t mount numbers on peeling paint — it will fail and pull chunks off your facade.
6. Front Steps Edge Redo With Non-Slip Treads and Fresh Cap Trim
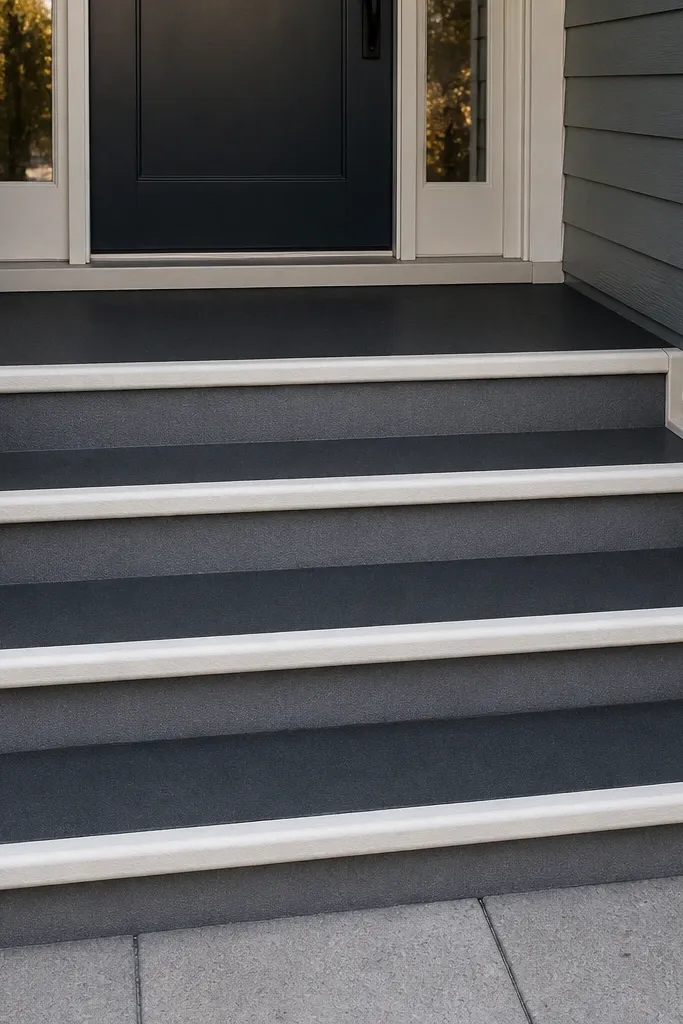
Safety upgrades also look like a reno. If your steps have worn edges or slippery surfaces, the facade reads neglected even when the siding looks fine. Adding non-slip treads and a clean edge cap tightens the entry and improves function. Choose treads that are dark and low-gloss so they hide grime between cleanings. This is a beginner-friendly job when your concrete or wood steps are sound — you’re replacing the surface and finishing edges, not rebuilding the whole structure.
Start by inspecting for loose boards, spalling concrete, or water pooling; fix anything that’s actively failing first. Clean the step surface thoroughly and dry fit the tread pieces to confirm overhang and alignment. Install with an exterior-rated adhesive or screws into framing where appropriate, then cap the edges with treated trim or step edge metal with a drip lip. Seal gaps with exterior caulk and check that the tread is secure and level before finishing.
Editor's noteLightly roughen glossy concrete with sandpaper so adhesive bonds better.
Skip thisDon’t rely on just caulk to hold treads; adhesive and mechanical fastening is what keeps them in place.
7. DIY Shiplap or Panel Accent Over a Small Entry Wall Section
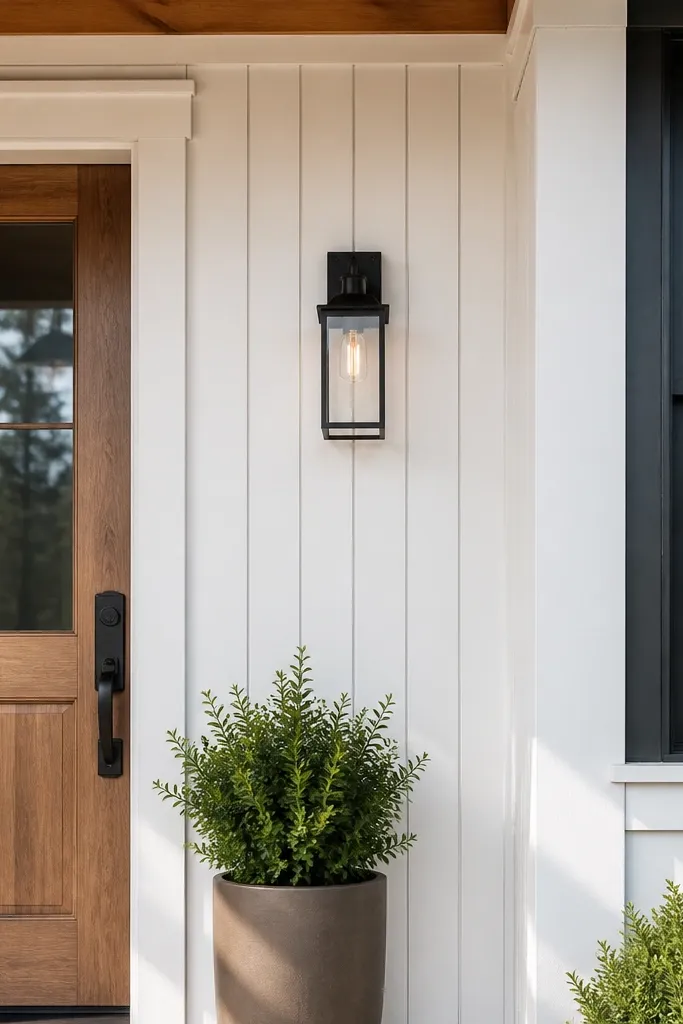
A common before problem is a flat entry wall that has no depth cues. A small panel accent — like a narrow shiplap or modern plank panel — gives the entry wall a focal point without redoing the whole facade. I like keeping it to one wall section between the door and a window or porch column so it stays beginner-friendly and doesn’t turn into a full siding project. Use exterior-rated boards and proper sealing so it doesn’t warp or trap moisture behind the boards.
Start by removing loose caulk and checking the wall for flatness; shim the mounting surface so the first board line is straight. Install furring strips horizontally or vertically depending on your panel direction, spaced so fasteners hit solid backing. Cut boards to fit with small gaps at edges for expansion, then fasten with exterior trim nails or screws. Seal joints with paintable exterior caulk, prime, and paint with an exterior finish that’s meant for trim.
Use a laser or long level for the first board — every other line follows it.
Don’t install panel directly over wet siding or without checking drainage — the boards trap moisture and fail at the bottom.
8. Modern Window Film or Shade Upgrade for Better Daytime Contrast
Not everything is paint and wood. A lot of facade before photos look rough because windows are visually “busy” from glare, mismatched blinds, or cheap mini blinds that hang crooked. Upgrading to roller shades or installing a consistent window film pattern can make the facade look calmer and more intentional. This is beginner-friendly if you choose an option designed for DIY installation. It works best when your windows are already in good shape and the issue is visual clutter, not structural damage.
Start by measuring each window’s width and height at the trim openings, not the rough framing. Decide on inside-mount or outside-mount shades based on how much trim depth you have. For film, clean glass with a solvent-free glass cleaner, measure carefully, and cut with a sharp blade plus straightedge. Apply film with a spray and squeegee method to avoid bubbles, then trim edges cleanly and let it cure per the product instructions.
Editor's noteIf you’re doing multiple windows, buy one sample and test alignment on the first window so the rest match.
Skip thisDon’t install glare-control film over hard water spots — the texture shows through and looks worse after it cures.
9. Exterior Lighting Upgrade With a Door-Centered Layout
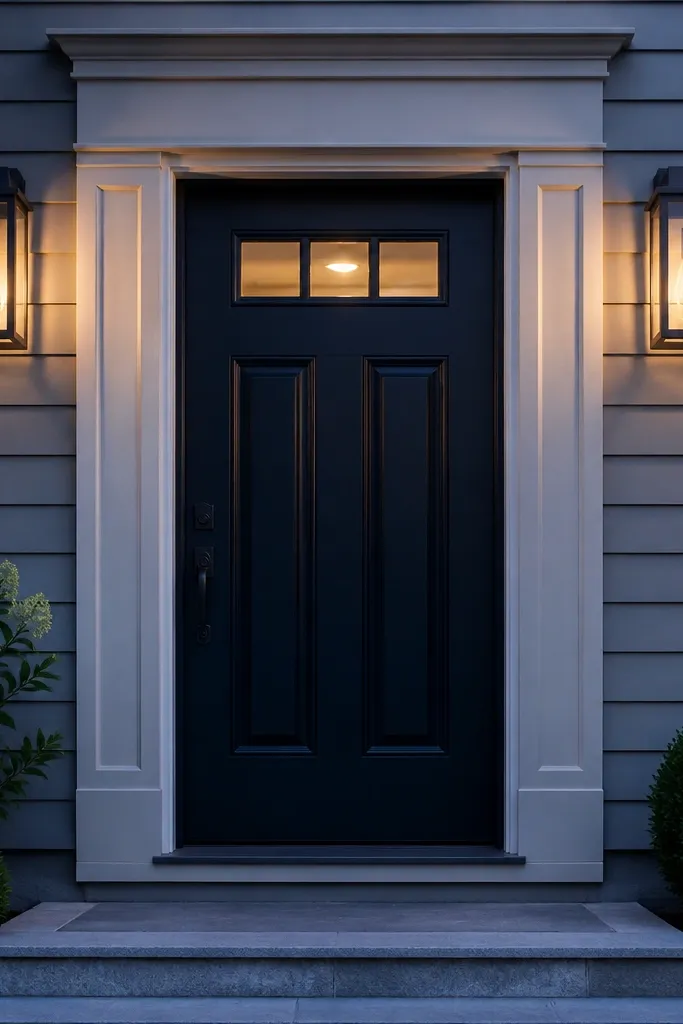
Bad lighting is one of the fastest ways to make a facade look DIY in a bad way. If your porch lights are mismatched sizes or mounted too high, the entry loses balance. Replacing fixtures with matching sizes and placing them symmetrically makes the before and after read intentional immediately. Choose fixtures with a warm bulb temperature around 2700K for a flattering look on siding and trim. This is beginner-friendly if you’re swapping like-for-like wiring and you can follow basic electrical safety rules.
Start by turning off power at the breaker, then remove the old fixtures and check the wiring connections. Pick two matching fixtures for sides of the door or one centered fixture above, depending on your entry layout. Mount at a consistent height from the finished floor or porch step — measure from one reference point so both sides match. Connect using proper wire nuts and rated connectors, then seal the fixture base if the product requires it, and test before fully tightening everything.
Editor's noteUse cardboard templates taped to the wall to preview fixture height and spacing before you drill.
Skip thisDon’t mount new fixtures over unsealed holes — water intrusion around junction boxes is the slow facade killer.
10. Siding Edge and Corner Trim Lines With PVC or Composite Trim
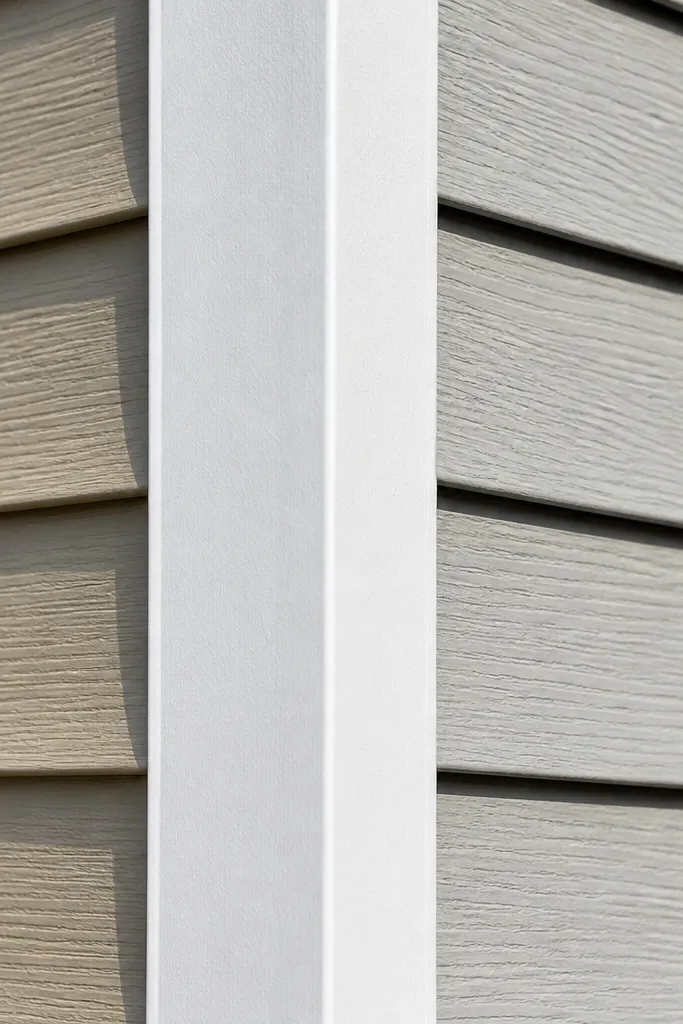
Corners are where a facade shows its age. When corner boards are thin, warped, or missing, you get that messy seam look in every photo. Adding or replacing corner trim lines with PVC or composite trim makes the facade crisp and low maintenance. I recommend this when your siding edges are intact but the trim is the weak link — it’s often the best “before and after” impact per dollar. It’s beginner-friendly if you’re comfortable with measuring and miter cuts, because the shape is simple.
Start by checking corners for rot and loose siding; replace any damaged boards first. Measure corner height and plan straight runs so you minimize joints; use miter cuts at corners for a tight look. Dry fit trim pieces and mark fastener locations; use corrosion-resistant exterior screws and leave expansion gaps per the trim manufacturer. Caulk the seams with exterior-grade caulk, then prime and paint if the trim isn’t pre-finished.
Editor's notePre-drill screw holes to avoid splitting and keep your lines straight at the edges.
Skip thisDon’t glue trim directly to siding — mechanical fastening and expansion gaps are what keep it from buckling.
11. Brick or Stone Veneer Touch-Up With Mortar-Color Matching
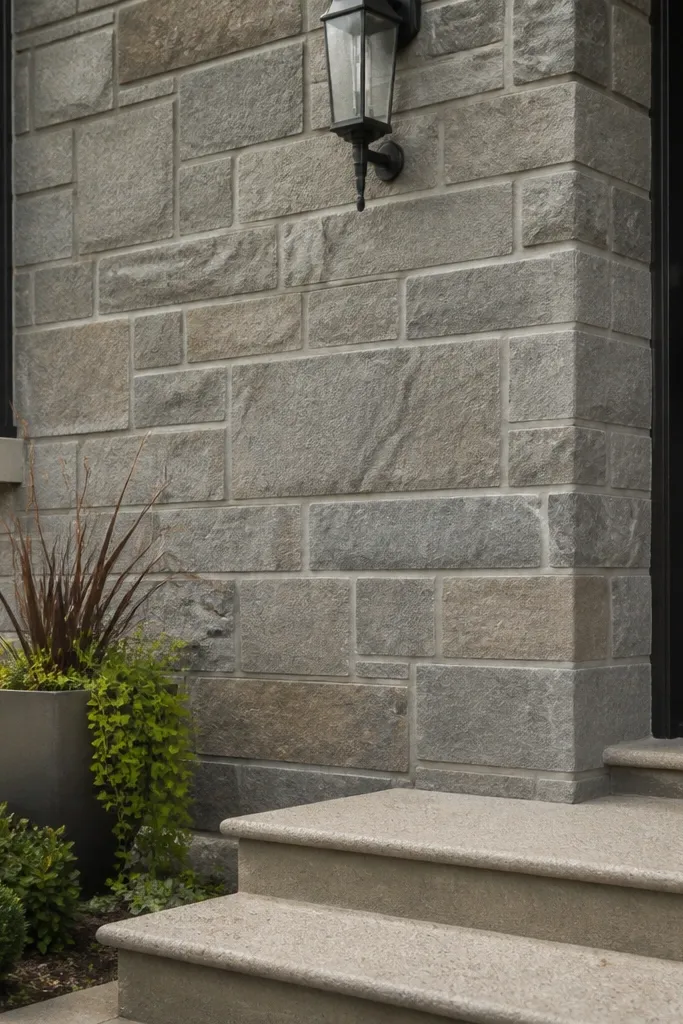
If you have brick or stone, the “before” problem is rarely the masonry itself. It’s usually dirty mortar, mismatched repairs, or old caulk lines that look like they were slapped on. A focused touch-up can make the facade look newly redone without rebuilding anything. Choose mortar repair product colors that match your existing joints — the difference shows up immediately on camera. This is beginner-friendly if you stick to small areas: a few gaps, cracked caulk, or weathered mortar at seams.
Start by cleaning the joints with a stiff brush and a masonry cleaner that matches your surface type; rinse and let it dry fully. Remove old failing caulk from gaps around windows or where trim meets masonry. Mix mortar repair to the right consistency — it should hold a ridge when you trowel it — then press it into joints with a pointing trowel. Tool it to match the existing joint profile, then let it cure and seal only if your existing masonry is sealed.
Test the mortar color on a hidden spot first; mortar shifts lighter as it dries.
Don’t overfill joints — thick mortar patches look like repairs no matter how good the color is.
12. Siding Caulk and Trim Seam Rehab for a Clean, Modern Finish
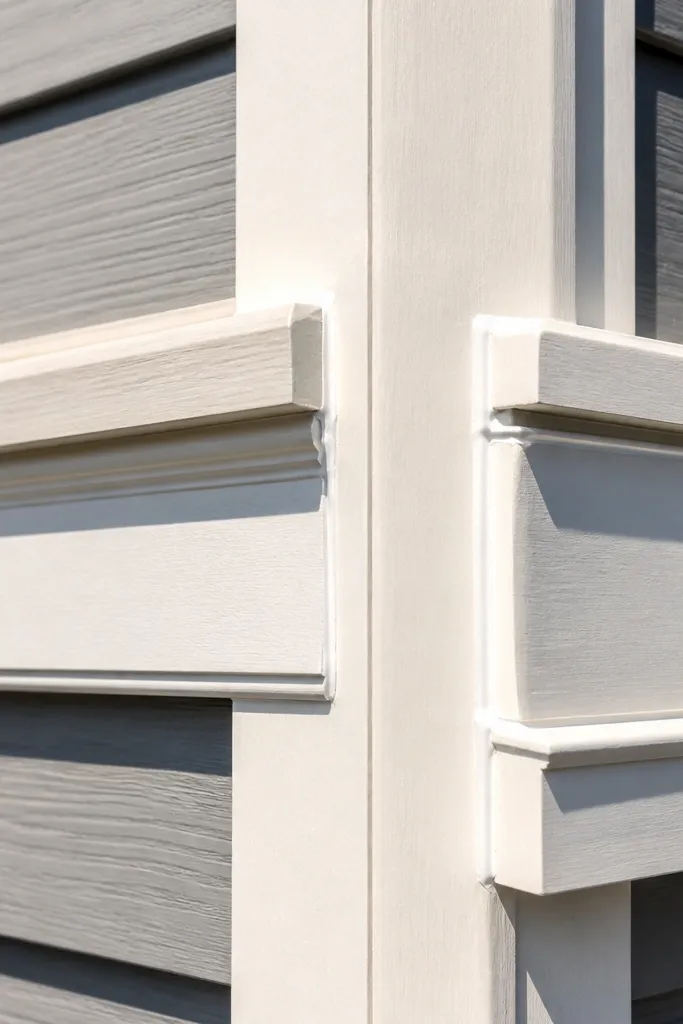
Most DIY facades fail at seams. Old caulk shrinks, cracks, and pulls away from trim, leaving ugly gaps that make the facade look neglected even if you just painted. A seam rehab is one of the most beginner-friendly “before and after” moves because it’s mostly cleaning and re-caulking — no major demolition. It works best when your siding is sound and your problem is the line quality around windows, corners, and soffit edges.
Start by running a utility knife along old caulk lines and removing anything that peels or flakes. Clean the groove with a brush and solvent appropriate for your caulk type, then dry thoroughly. Load a paintable exterior caulk into a caulk gun and apply a steady bead, then tool it with a caulk finishing tool or a gloved finger for an even line. Let cure, then paint over if the caulk requires paint for full coverage.
Cut the caulk nozzle smaller than you think; a thinner bead is easier to tool clean than a fat one.
Don’t caulk over loose paint edges — the new seal will crack right at the failing edge.
13. Outdoor Entry Wall Sconce + Trim Paint System (No Drips, No Runs)
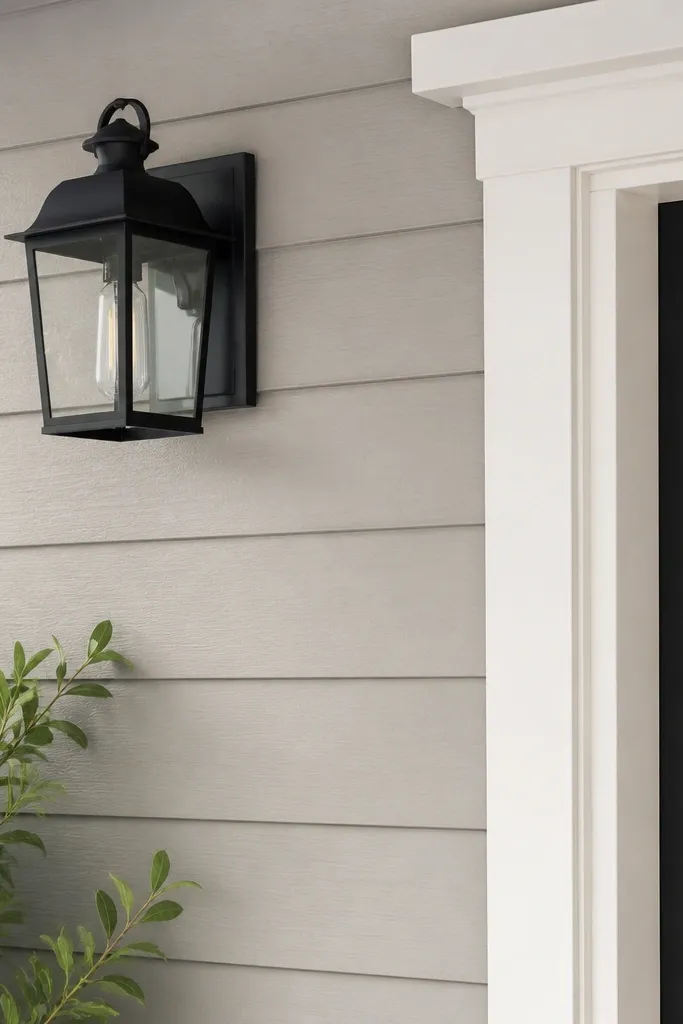
If your entry wall is peeling or patchy, the facade before and after will never look right until the paint system is consistent. The common mistake is painting over stained walls without priming, so the stain bleeds through and you end up repainting in circles. A proper entry wall paint system makes the wall and trim look like one clean surface. This is beginner-friendly because it’s repeatable: prep, prime, paint, and manage edges around fixtures and trim.
Start by masking around fixtures and outlets, then scrape peeling paint and sand edges smooth. Clean the wall and let it dry; apply a stain-blocking exterior primer on any discolored areas. Paint walls with exterior wall paint and trim with exterior trim paint — don’t mix sheens across surfaces or you’ll see the boundary. Use a brush for cut-in edges and a roller for fields, then keep a wet edge to prevent lap marks.
Editor's noteUse painter’s tape along trim edges, remove tape while paint is still slightly tacky, and touch up the line with a small brush.
Skip thisDon’t paint the day after heavy rain or when the wall is still cool and damp — you’ll get adhesion failures.
14. Simple Faux Shutters or Real Shutter Frames for Window Dressing
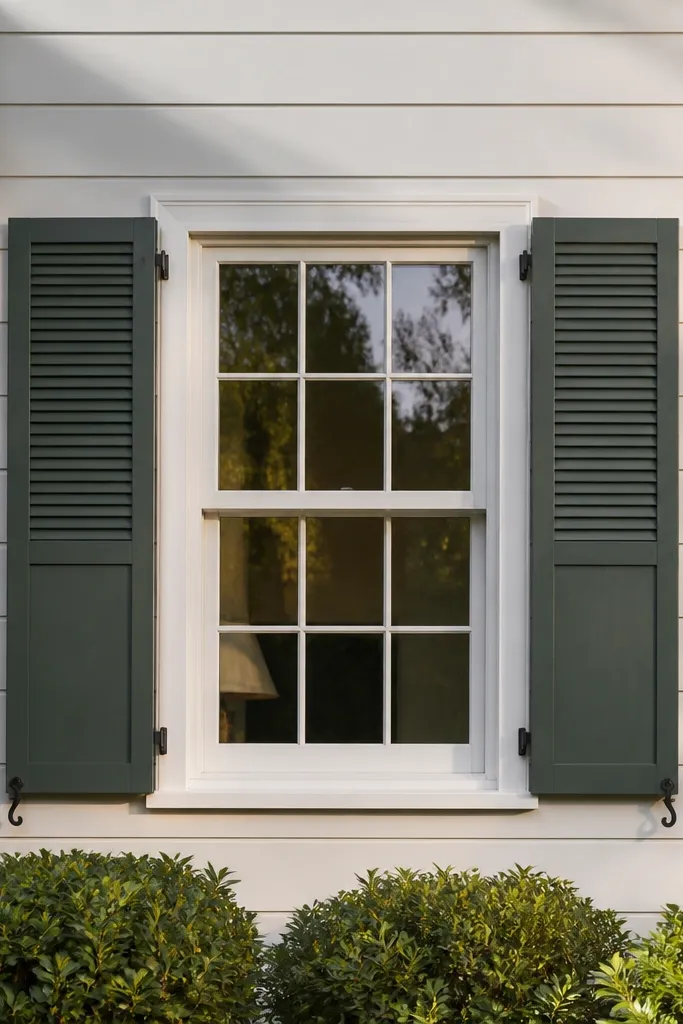
Windows often look unfinished because they lack “weight.” Shutters — real or faux frames — add depth and give the window opening a more architectural look. For a beginner-friendly facade before and after, pick one style and repeat the logic on each window so spacing stays consistent. The key is scale: shutters should visually match the window width and trim thickness. This works well on houses where you can mount into solid backing and you’re not dealing with rotted trim.
Start by measuring the window width and height, then choose shutter width so the outer edges sit with a consistent gap from the trim. Dry fit on the wall and mark mounting points with pencil through the shutter holes. If you’re using real shutter boards, install mounting rails first so the shutters sit level; if you’re using faux frames, mount the frame to solid backing and caulk the edges. Prime and paint shutters, then install and seal around the mounting points with exterior caulk.
Editor's noteUse a level to set the first shutter; the second will look better if the first is dead-on.
Skip thisDon’t mount shutters directly to fragile siding panels — find studs or use proper backing blocks.
15. Porch Rail or Column Wrap With Straight, Modern Covers
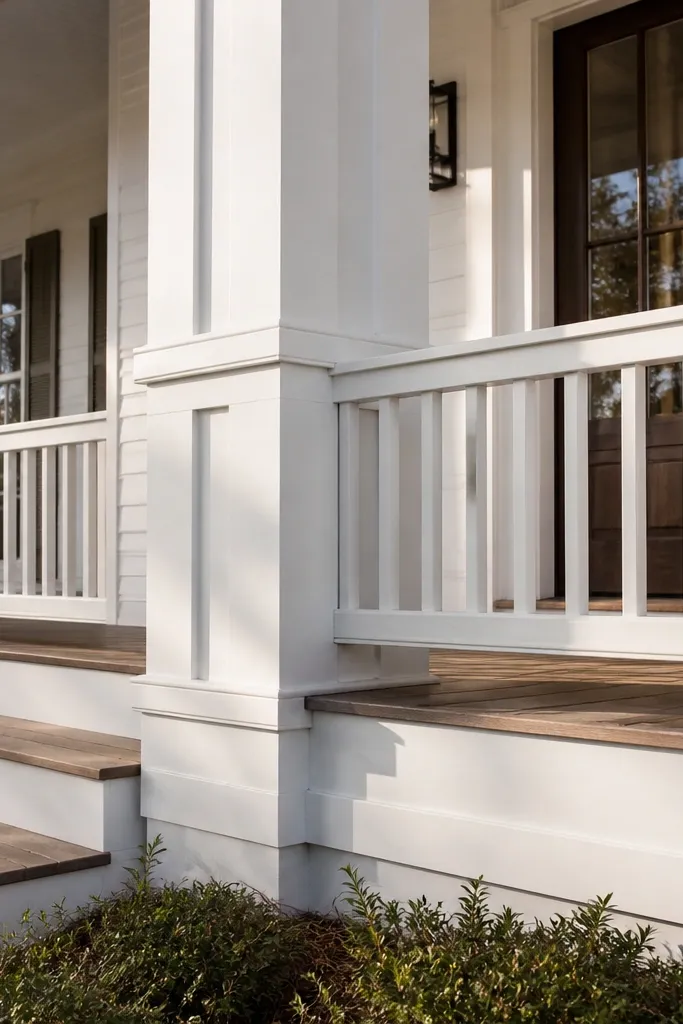
Porch rails and columns are where outdated styles show up fast. A column wrap or rail cover can make the porch look updated without changing the whole porch structure. The before problem is usually rounded, stained, or mismatched parts that don’t line up with the rest of the facade trim. Wraps using exterior PVC or composite pieces create crisp edges and reduce future maintenance. This is beginner-friendly when your porch elements are straight enough to measure and cover without heavy reshaping.
Start by measuring each column width and height, then buy wrap covers or build with straight stock boards cut to fit. Clean the existing surface and remove loose paint or rust; fix any wobble first. Install vertical or horizontal supports so the covers screw into something solid, then fit the wraps and secure with exterior screws through the provided channels. Caulk the seams, prime if needed, and paint or use pre-finished wraps for a uniform look.
Editor's noteDo dry fitting in the shade and check gaps with a thin ruler; direct sun makes plastic expand slightly.
Skip thisDon’t cover loose or rotting trim — you’ll trap the problem and it shows up as bulging or gaps.



