
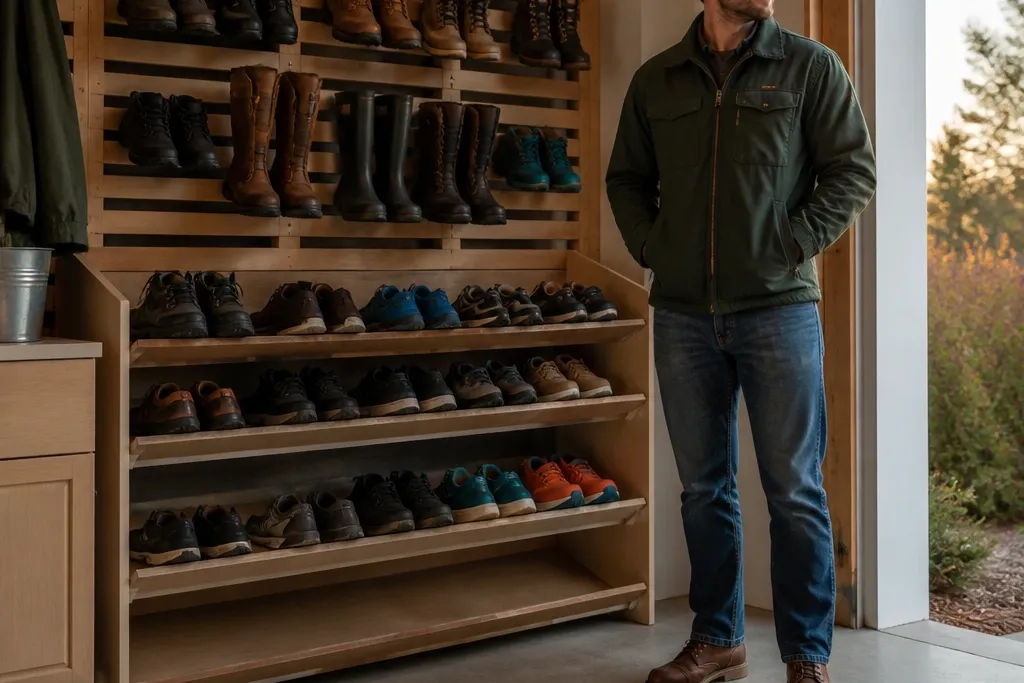
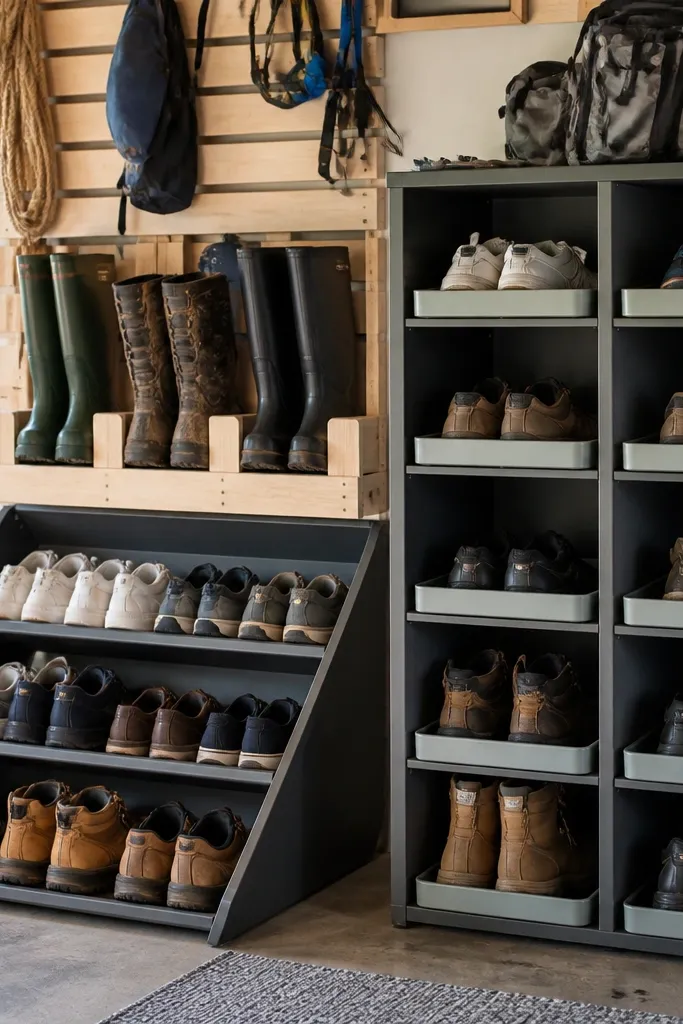
1. Slatted wall rack with tall-boot zones
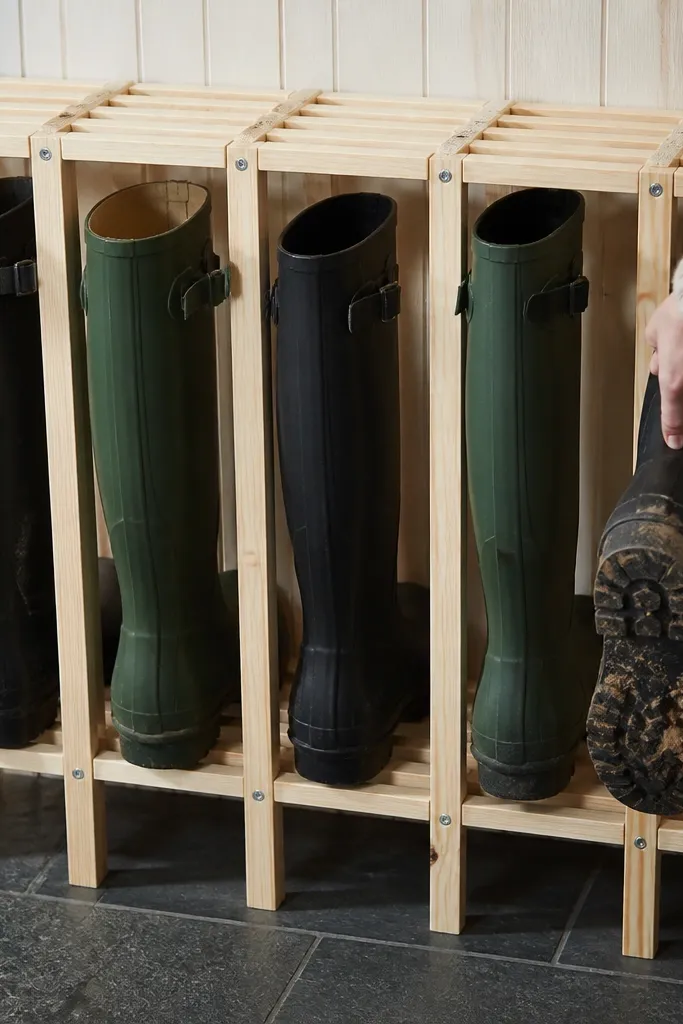
This is the DIY option I’d pick when your garage has a mix of tall boots, mid-height sneakers, and random sandals that never line up. Slats keep shoes from sitting in a puddle, and the open gaps let soles dry after rainy days. Build it with a simple grid so you can assign each slot to a shoe type instead of tossing pairs into one messy pile. It’s beginner-friendly because you’re basically building a sturdy frame and adding evenly spaced shelves, not doing fancy joinery. Expect about a weekend if you’re measuring carefully and want it straight.
Editor's notePre-drill every screw hole and use a speed square to keep shelf spacing even from left to right.
Step 1: Find your “shoe wall” and measure the tallest boot height from floor to where you want the top of the boot to land. Then cut two side rails from 3/4-inch plywood (or straight 2x lumber) and add horizontal shelves spaced 9-11 inches apart for sneakers and 12-14 inches for boots. Step 2: Screw on 1x slats (about 3/4-inch thick) with 1/2-inch gaps so airflow stays open. Step 3: Sand edges, stain or paint the wood with a garage-ready finish, and mount to studs using 2.5-inch structural screws and a level before the first screw goes in.
Skip thisDon’t mount into drywall anchors if the rack holds boots — the load is heavier than it looks.
2. Slanted shoe tray shelf with drip lip
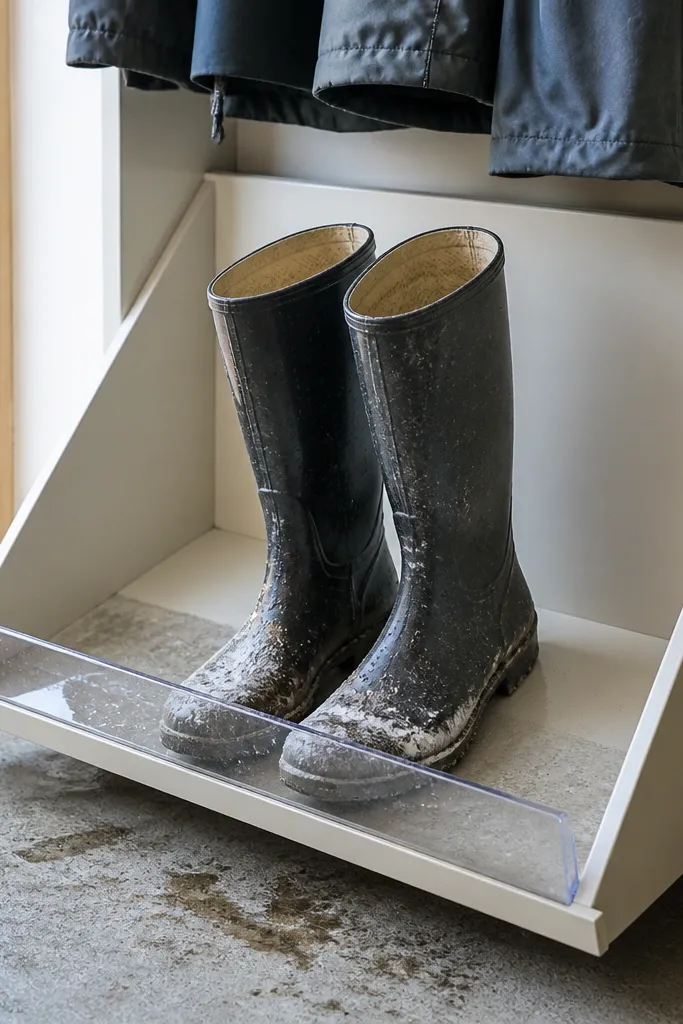
If your garage shoe problem is moisture — wet boots, muddy soles, salt stains — this design fixes the mess instead of just hiding it. The slight slant helps shoes settle and encourages any drip to run forward into a tray lip you can wipe clean. You still get air circulation from the open sides, but you also get control over the dirty runoff. It looks clean because the front edge is straight and the shoes sit at a consistent angle. This is ideal for one “drop zone” near the door where you come in from rain or snow.
Editor's noteUse rubber shelf liner under the shoes — it reduces scuffs and makes cleanup take seconds.
Step 1: Build a shallow shelf frame from 1x2 or 2x2 boards and set the back height about 1 inch higher than the front so it slopes gently. Add a front drip lip using a strip board about 3/4-inch tall, then line the tray surface with a wipeable material like rubber shelf liner or a thin PVC sheet. Step 2: Attach a back brace and side supports so the shelf doesn’t flex when you grab a boot. Step 3: Seal wood with a water-resistant coat and mount using studs or heavy-duty anchors rated for the weight.
Skip thisSkip glossy floor paint on the shelf surface; it gets slippery when wet.
3. PVC vertical shoe towers with labeled openings
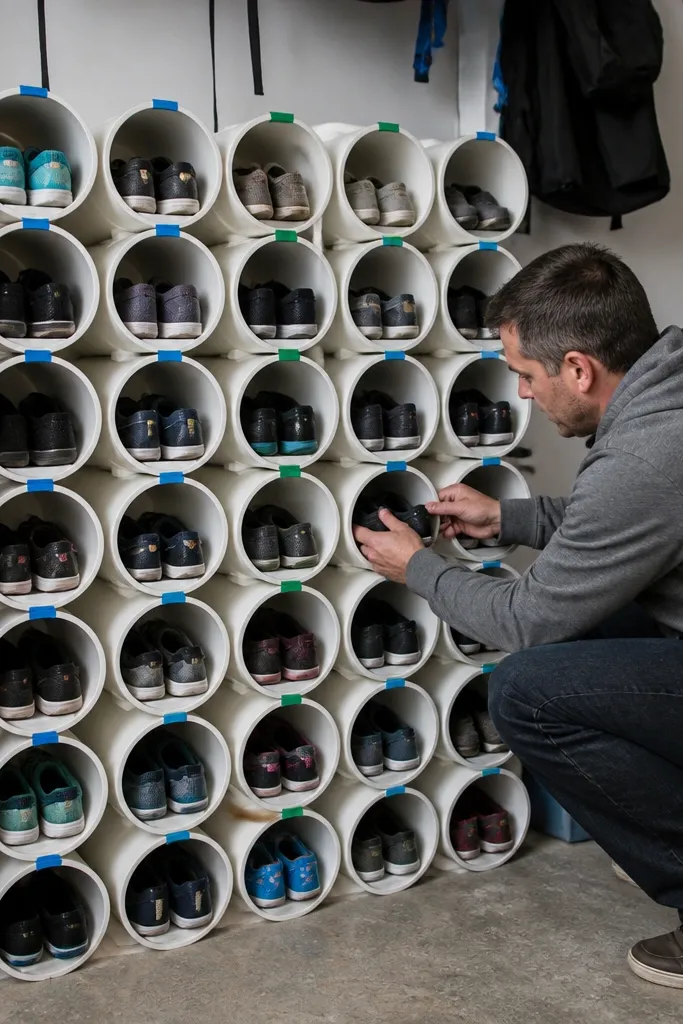
PVC towers are one of the most beginner-friendly garage shoe storage ideas if you’re storing lots of sneakers and kids' shoes and you want a clear, visual system. Each pair gets its own opening, so you stop mixing sizes and stop stepping on loose shoes. PVC is easy to cut and cheap, and the tubes keep shoes off the floor. The trade-off is airflow — closed tubes trap moisture more than slats. That’s why I’d use this for mostly dry shoes or for a garage that’s not constantly wet.
Step 1: Decide tube diameter by shoe type: 2.5-inch PVC is better for slides and kids' shoes, while 3-inch works for adult sneakers. Cut lengths so the tube holds the shoe sole and part of the upper, then glue end caps or leave the bottom open if you want airflow. Step 2: Mount the tower on a plywood backing panel. Use a grid layout and mark each tube position before gluing so the openings line up. Step 3: Label each slot with a simple label maker or waterproof marker, then add a base board so it sits firmly on the floor.
Leave the bottom slightly open and add a small gravel-free drainage gap so water doesn’t pool inside.
Don’t stack adult work boots in small tubes — the pressure cracks PVC faster than you expect.
4. Wire grid wall with removable bins and shoe hooks
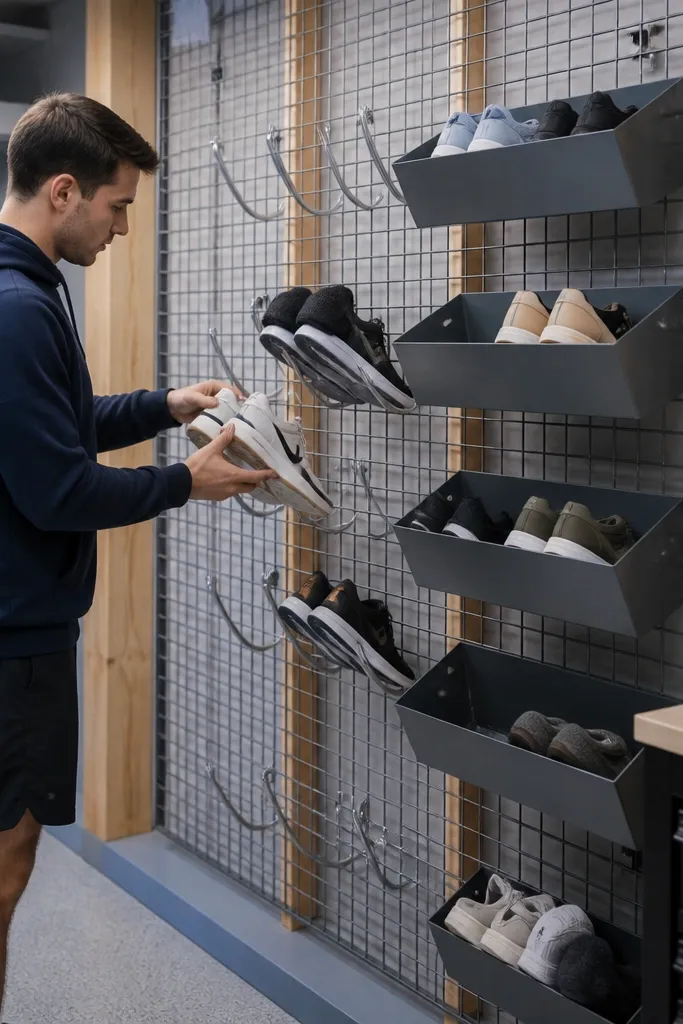
This is the best “I need flexibility” option. You can move hooks and bins as your shoe lineup changes, which is a big deal in garages where families grow and seasons swap. Wire grid also handles airflow well, and you can wipe it down without babying it. The downside is durability if you buy cheap wire — weak coatings rust and bend under boot weight. If you choose a solid grid system and add bins for smaller items, it turns into a practical daily landing spot.
Editor's noteUse rubber-coated hooks or add a strip of shelf liner where shoes contact metal to prevent scuffs.
Step 1: Install a heavy-duty wire grid system on studs. Measure your shoe zone first and mount the grid so the lowest hooks are about 8-10 inches off the floor. Step 2: Add wire hooks for pairs that hang well (slippers, sandals) and add small removable bins for laces, polish, and socks. Step 3: Put a shallow, wipeable tray under the bins to catch debris and make cleanup easy.
Skip thisAvoid hanging tall boots only from hooks — use bins or slat shelves for boots.
5. Stacked cube cabinet with removable trays
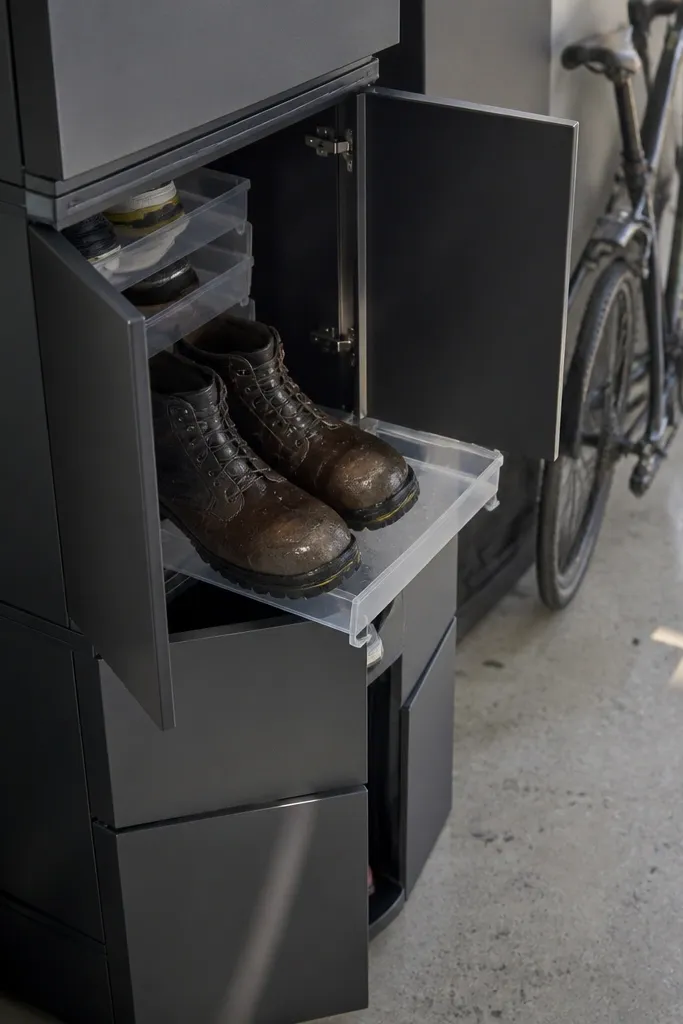
Store-bought cube cabinets are a decent pick when your garage shoes are mostly dry and you want a quick, uniform look. Removable trays inside help you keep pairs together and keep the bottom clean. The biggest issue is moisture: closed cabinets trap dampness, so they work best if you can crack doors open occasionally or if you’re not storing rain-soaked boots here. If you’re a beginner and want results this weekend, this is one of the simplest ways to get consistent organization.
Editor's noteAdd small felt pads under tray bottoms to reduce squeaks and make sliding trays easier.
Step 1: Choose a cabinet with ventilation slots or at least open sides inside the cubbies. Measure the longest shoe length and pick cubbies that fit it with 1-2 inches to spare. Step 2: Remove or add a tray liner you can wipe — rubber or vinyl works better than fabric. Step 3: Place the cabinet away from direct water splash and keep a small brush nearby for salt dust.
Skip thisDon’t store freshly wet shoes in a fully closed cabinet — that’s how you get smell and mildew.
6. Bench with slatted top and lift-out bin base
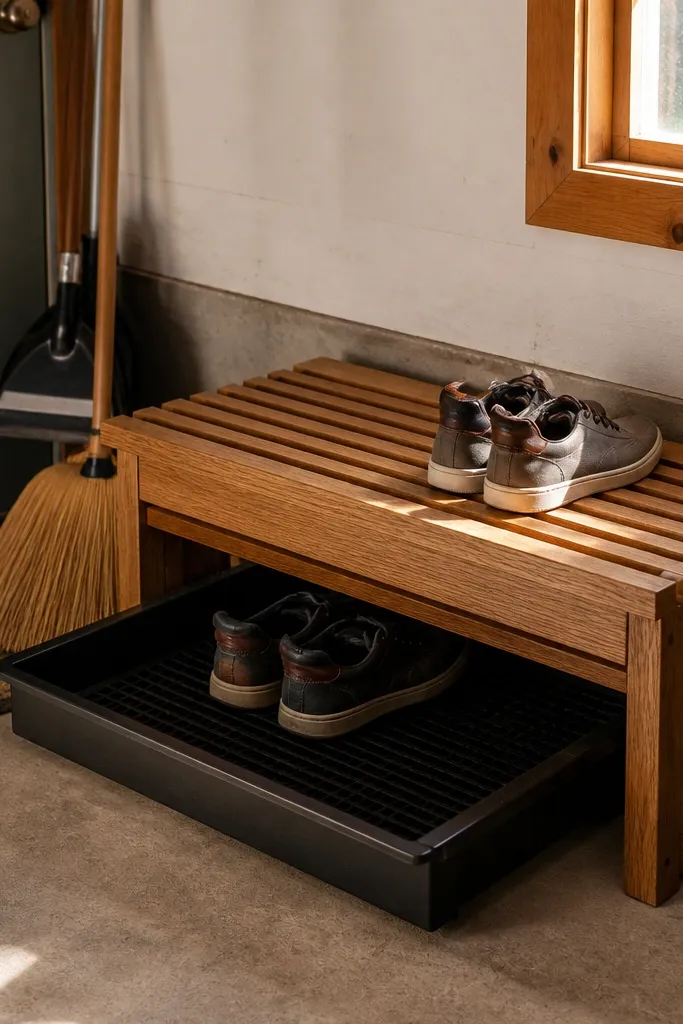
A bench is a practical upgrade when you want a single spot for shoes plus a place to sit while you put them on. Slatted tops keep airflow moving, and a lift-out base makes it easy to clean grit without dumping everything out. This setup works well near the garage entry door where you do daily shoe changes. It’s still beginner-friendly if you keep the build simple: a frame, a slatted top, and a bin system under it. The look is more furniture-like than wall racks, which helps if you want the garage to feel less like a storage closet.
Editor's noteUse galvanized screws for the frame so rust doesn’t bleed through after humidity swings.
Step 1: Build a rectangular frame from 2x lumber and add cross supports so the slatted top doesn’t sag. Use slats spaced about 1/2 inch apart and attach with screws so you can replace damaged boards later. Step 2: Build or buy a bin system for the base and make sure it lifts out or has access doors. Step 3: Sand and seal the top with a water-resistant finish, then add non-slip pads on the bottom so it doesn’t scoot when you step on it.
Skip thisDon’t use MDF for the top or sides in a damp garage; it swells and flakes.
7. 3-tier corner shoe rack with anti-tip straps
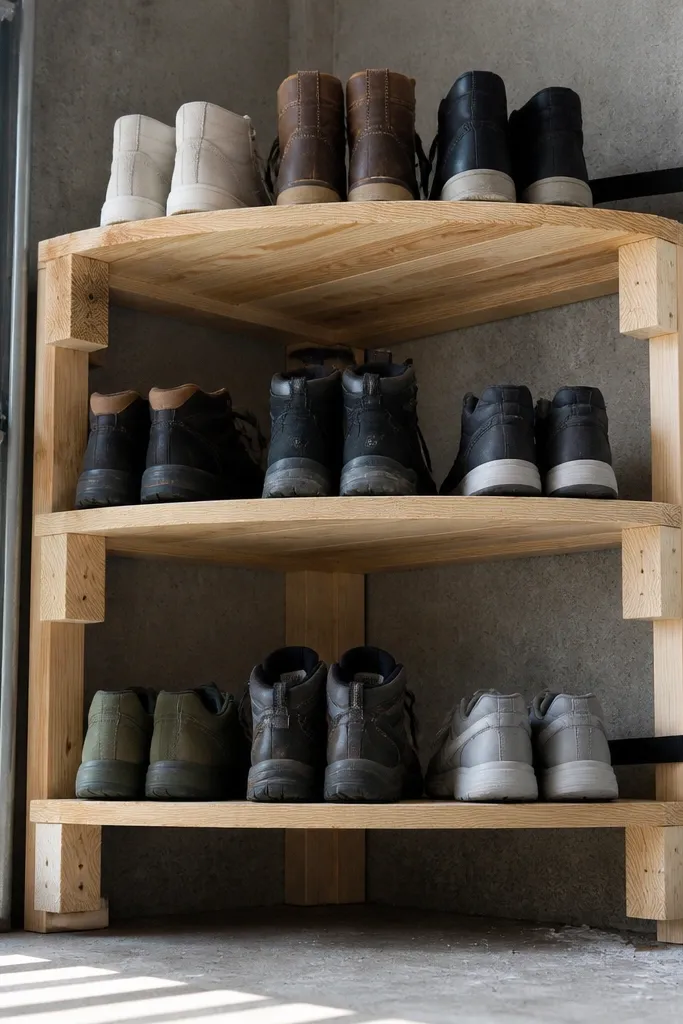
Corner storage is underrated because it uses dead space where you don’t want bulky bins. A 3-tier rack keeps shoes visible and easy to grab, and it’s beginner-friendly because you can build it with straight cuts and simple braces. The key is anti-tip — corner racks get pulled when people reach for boots, and if it’s not anchored it wobbles. This idea is best for garages with enough wall space to mount anchors but not enough room for a long rack. You also get a cleaner floor because shoes sit above the surface.
Step 1: Measure the corner and build a triangular frame using plywood side panels. Cut shelves to match the corner angle and add 1x2 braces under each tier. Step 2: Mount the rack to studs with wall brackets and add anti-tip straps to keep it from tipping forward. Step 3: Seal shelves with a garage finish, then add a wipeable mat on each tier to protect shoe soles and catch grit.
Install the anchors first, then build the rack to match the stud spacing so you don’t end up re-drilling mid-build.
Skip the straps if you’re storing heavy boots — corner racks tip from leverage, not just weight.
8. Reclaimed wood boot ladder with removable drip mats
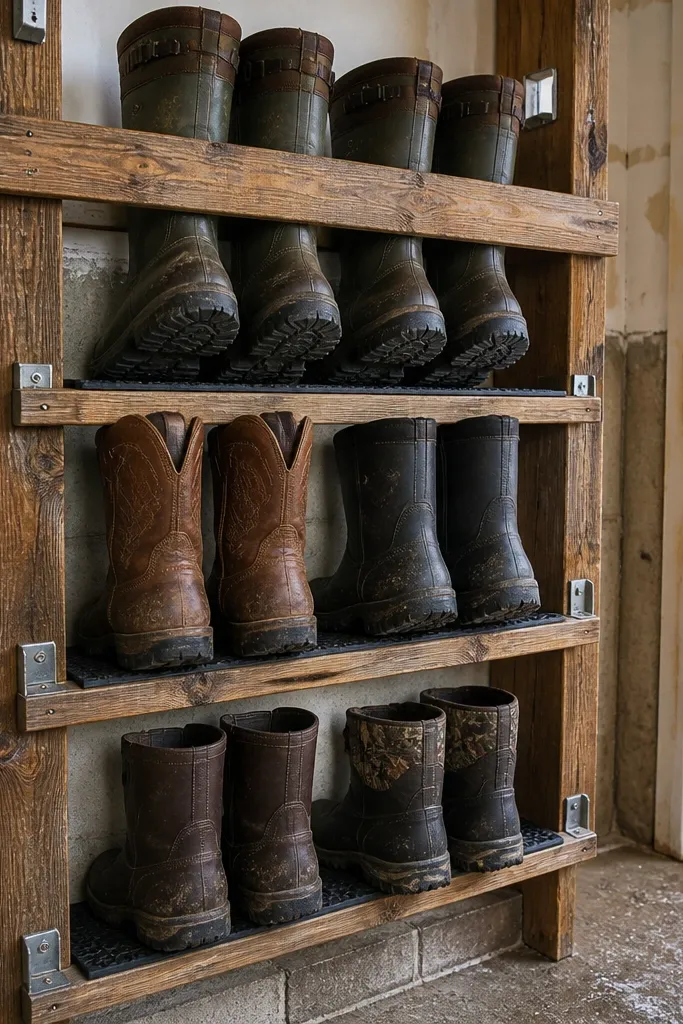
A boot ladder is a clean way to store pairs upright without building a full cabinet. The rungs hold boots by the shaft so the soles stay off the floor, and boots dry better when they’re not crammed flat. You can keep it beginner-friendly by using straight lumber and metal brackets for strength instead of fancy joinery. The removable drip mat at the bottom is the part people skip, and it’s what keeps your floor from becoming a mud tray. This suits seasonal boots, work boots, and rain gear that you want to dry quickly.
Step 1: Cut side rails and attach rungs with metal corner brackets so the ladder handles boot weight. Space rungs 10-12 inches apart for most boots, adjusting based on your tallest pair. Step 2: Mount to studs with at least two brackets per side rail. Step 3: Add a removable mat under the ladder using a rubber doormat cut to size or a piece of outdoor vinyl, then seal the wood so it wipes clean.
Drill and use washers under bracket screws so the wood doesn’t crush and loosen over time.
Avoid storing shoes on the rungs without a mat below — you’ll still get grime on the floor.



