
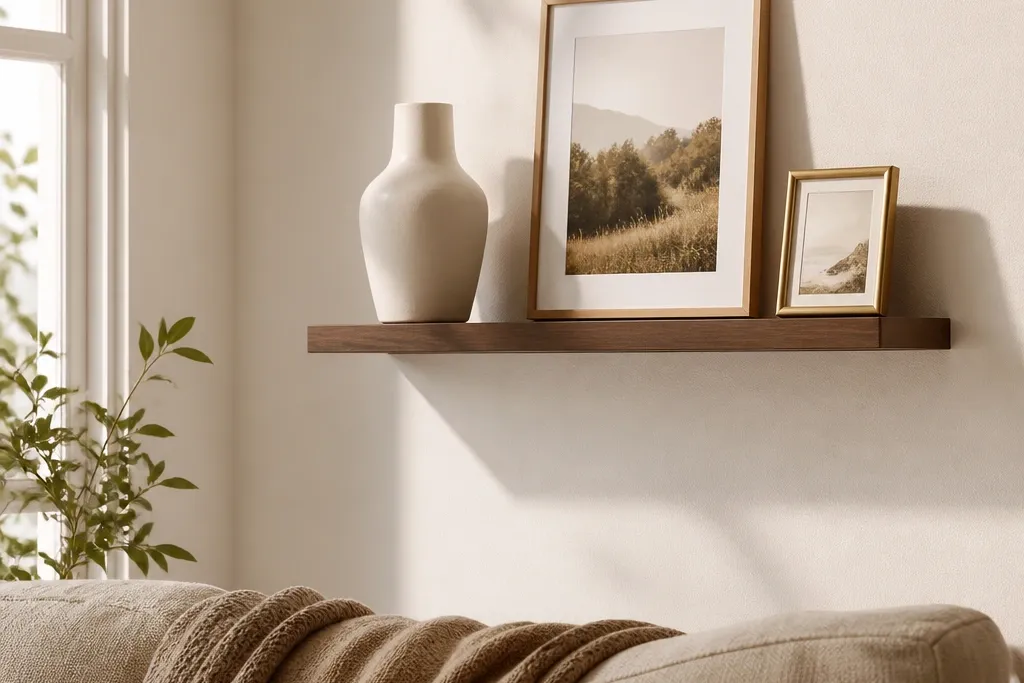
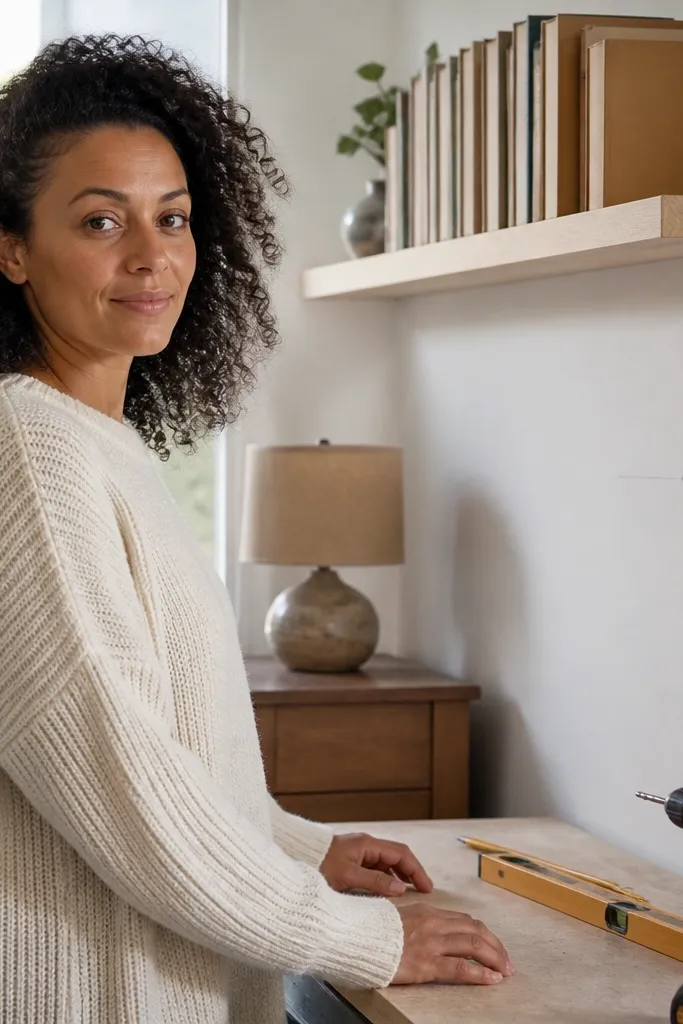
1. Warm Oak Picture Ledge with Hidden French Cleat Brackets
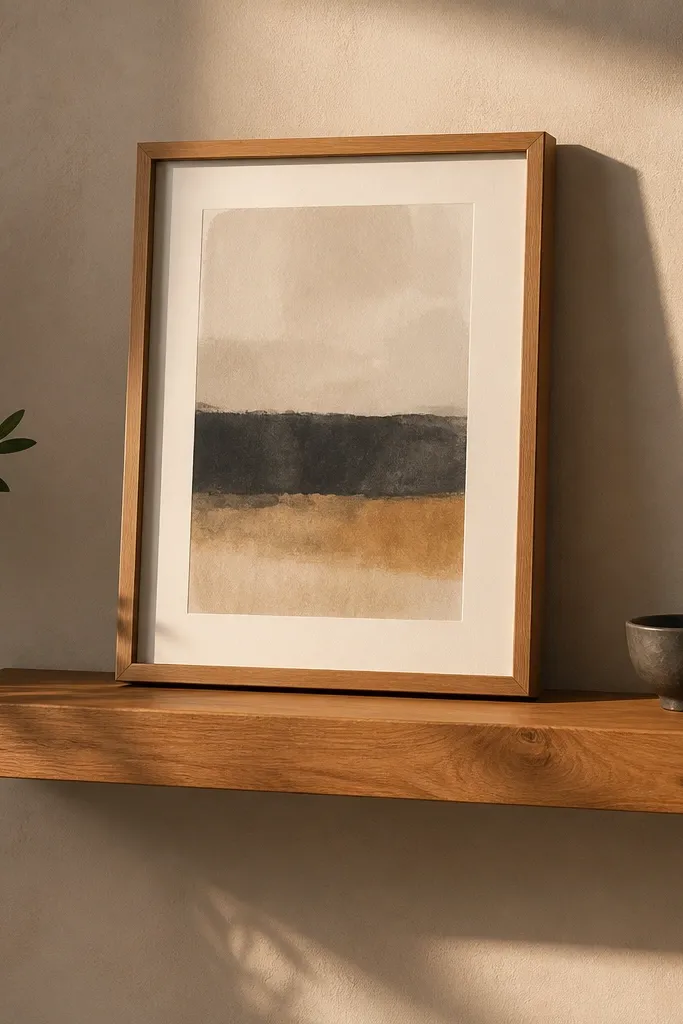
This is the shelf that makes framed art look intentional. The oak finish reads warm and expensive, and the hidden French cleat style keeps the hardware out of view while still holding steady. Keep the shelf board around 2 inches thick and about 7 to 8 inches deep for that clean, gallery feel. It’s beginner-friendly because the cleat lets you fine-tune alignment when you mount the shelf. Put it in a hallway or above a sofa where you’ll see it straight-on in photos.
Cut one shelf board to your length and sand through 180 grit. Build a French cleat system by cutting a matching cleat rail so one half mounts to the wall and the other half attaches to the shelf underside. Mount the wall cleat on a level line into studs where possible, then hang the shelf by sliding the cleats together and locking it with screws from the underside. Finish by sealing the oak with a clear matte or satin topcoat so edges don’t look glossy.
Dry-fit the shelf on the cleat before final screws so you can check the shadow gap and level.
Don’t mount the cleat without a level line; tiny tilt shows up instantly with picture ledges.
2. Black Walnut Floating Bookshelf Ledge (2-Screw Stud Anchors)
If you want functional floating shelves that still look sleek, go for a thicker board and a bracket plan designed for weight. A dark walnut stain makes the shelf feel rich even when you use simple wood. The look comes from the front edge: keep it straight and slightly eased (a small chamfer) so it catches light without rounding over. This idea suits entry displays, a home office, or a living room wall where books will be part of the styling.
Start with a board thickness of at least 3/4 inch, ideally 1 inch, and cut it to 9 to 10 inches deep. Use concealed metal shelf brackets rated for the load and attach them to studs using two screws per bracket. Mark your bracket locations using the shelf’s underside, then pre-drill pilot holes to prevent splitting. Stain the board evenly, then seal with a satin clear coat to keep the dark color from turning blotchy.
Editor's noteUse a light pencil mark on the underside for bracket alignment, then wipe it off before sealing.
Skip thisAvoid shallow 1x4 shelves for books; they flex and the “floating” look collapses.
3. White Shiplap-Style Shelf with Concealed Rail Brackets
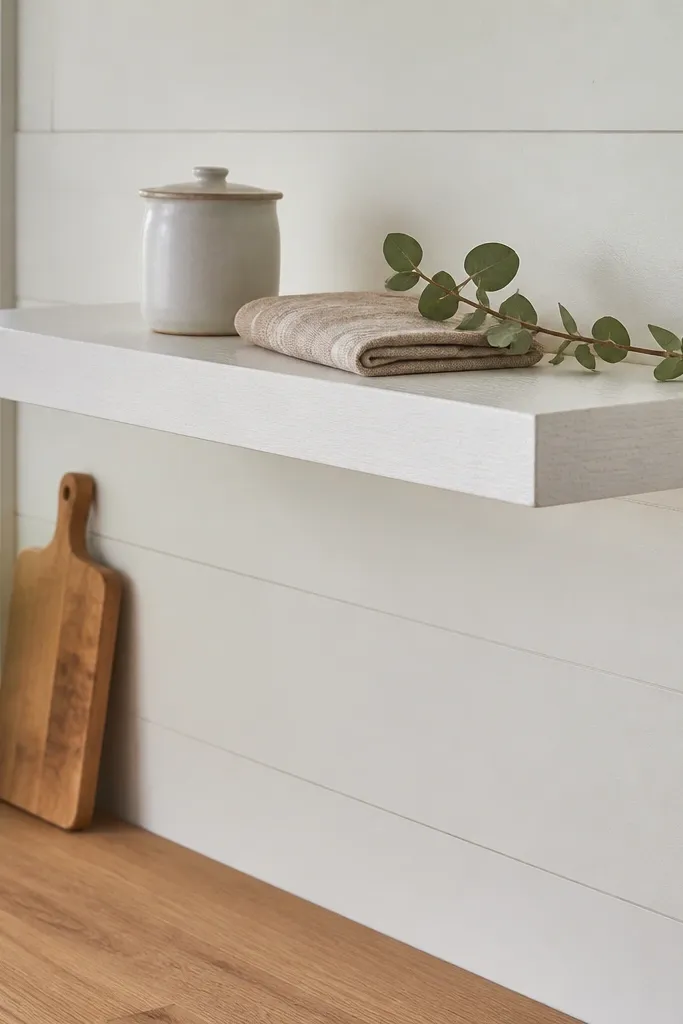
This one looks farmhouse without turning into clutter. The shiplap-style face texture creates depth in photos, and a crisp white finish makes it feel bright. Use a concealed rail bracket so the shelf still looks like it’s floating, not sitting on visible supports. It’s beginner-friendly because you’re working with a straightforward rectangle board and adding texture on top. Great for kitchens, laundry rooms, or bathrooms where you want decor plus a little utility.
Build the shelf face by laminating thin strips (or using pre-grooved boards) onto a base board, then sand the texture so it feels smooth to the touch. Prime with a bonding primer, then paint two coats of semi-gloss or satin white. Install concealed rail brackets on a level line, using anchors only if you’re not hitting studs and the shelf is light. Finally, seal the top edge with a clear coat if the area sees water splashes.
Editor's noteSand the texture lightly after the first paint coat; it helps the white look uniform.
Skip thisDon’t use flat paint on textured shelves; it scuffs and looks patchy fast.
4. Live-Edge Pine Shelf with Minimal Hidden Brackets
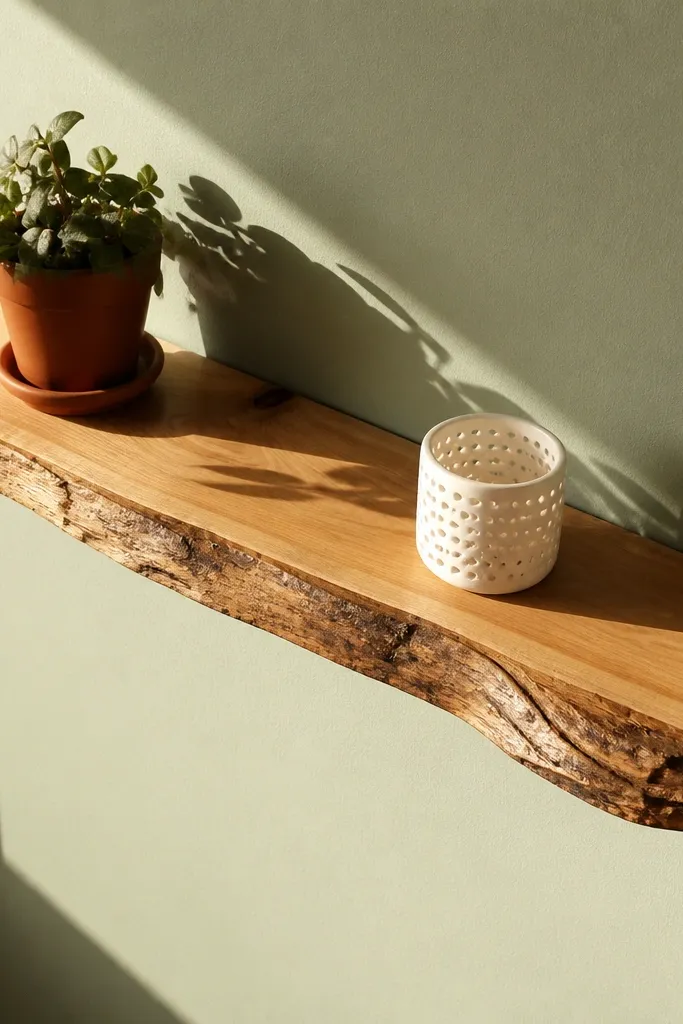
Live edge makes a floating shelf look like a custom piece, even if you’re a beginner. The irregular top edge catches shadows and gives your wall a “wow” moment. Keep it simple: one shelf, one or two styling items, and let the wood grain do the work. The key is using hidden brackets that sit behind the thickest part of the board so the shelf stays level. This works best in rustic-modern spaces and rooms with warm lighting.
Pick a live-edge board with a thickness of 1 inch and cut it to a manageable length, then trim only what you must for a straight back edge. Sand the face up to 220 grit, focusing on smoothing splinters while keeping grain texture. Mount concealed brackets behind the shelf, positioning them where the board is thick enough to screw into solid wood. Finish with oil-based clear stain or a matte clear coat so the live edge stays natural, not shiny.
Mark bracket screw locations on painter’s tape stuck to the underside; it prevents mis-drilling into knots.
Don’t skip sealing live-edge edges; raw sap and exposed grain will dull and discolor.
5. Matte Charcoal Floating Shelf with Standoff Spacers
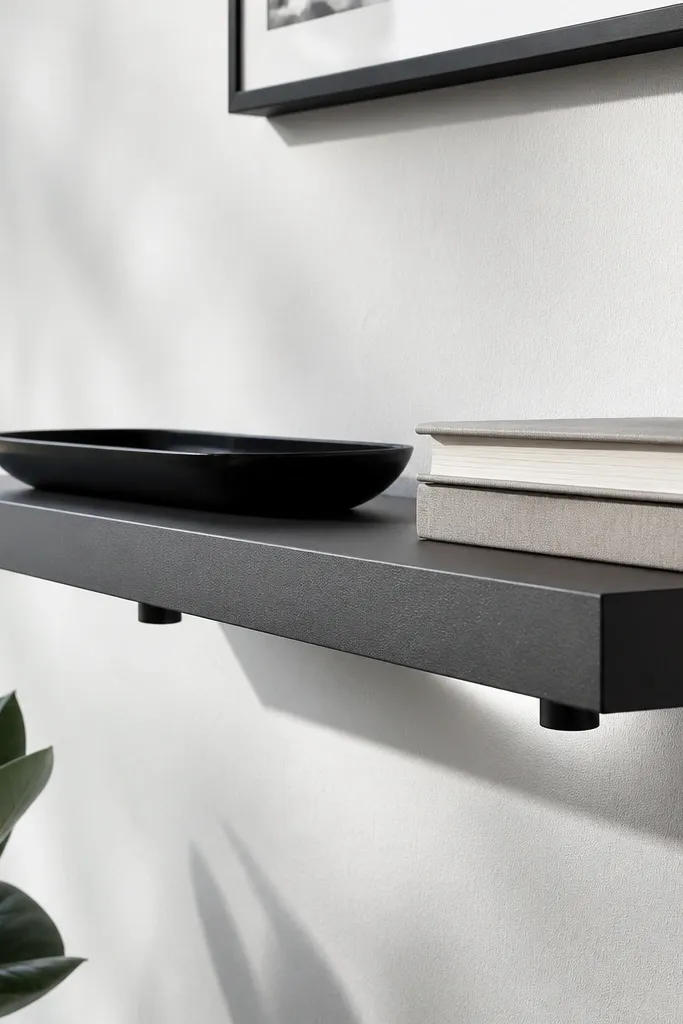
Charcoal shelves look sharp next to light walls, and the matte finish hides fingerprints. The photogenic part is the shadow gap, which you get with standoff spacers or bracket systems that push the shelf out slightly. This is a great option if your room has lots of white, beige, or light oak furniture and you want contrast. It’s beginner-friendly because matte paint makes small edge imperfections less obvious than glossy finishes.
Cut your shelf board to the length and sand all edges roundover lightly with 120 then 180 grit. Prime, then paint with a matte cabinet paint in two coats, sanding lightly between coats. Install concealed standoff brackets on a level line, using spacers so the shelf sits off the wall evenly. After mounting, touch up any paint chips on screw heads and seal with a matte clear topcoat if the shelf will be handled often.
Editor's noteUse painter’s tape along the wall line while painting the underside; it keeps the shadow gap clean.
Skip thisDon’t eyeball the shadow gap; aim for a consistent gap so the shelf reads “floating” in photos.
6. Two-Tone Floating Shelf with Natural Wood Top and Painted Base
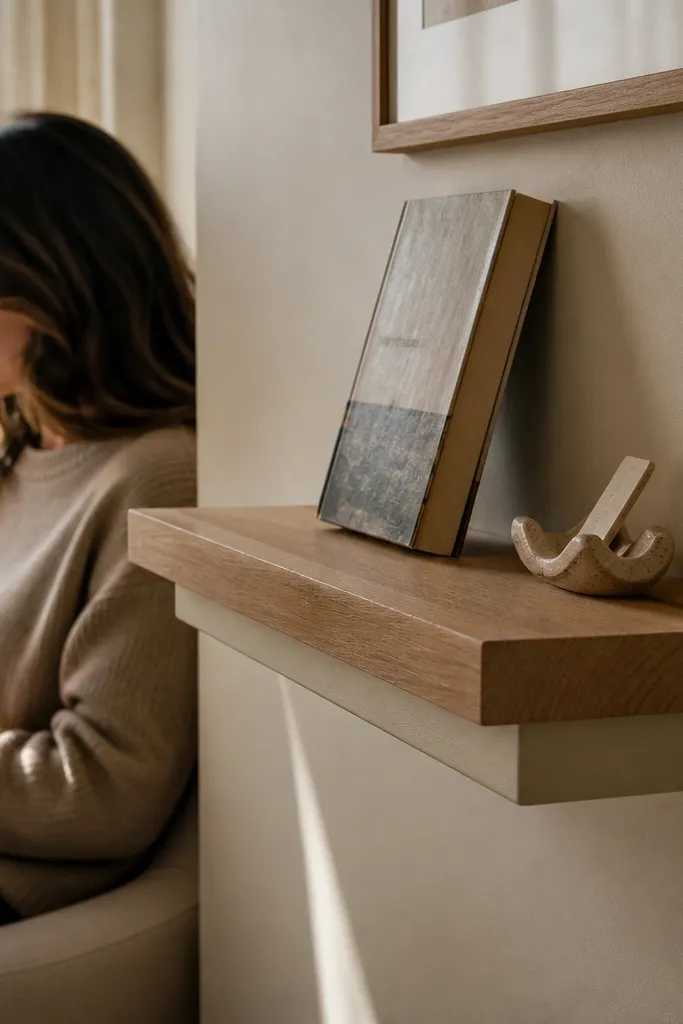
Two-tone shelves look layered and styled, even when you keep the decor minimal. The natural wood top catches warm highlights, while the painted underside makes the shelf feel intentional from the side. This design is perfect for a reading corner or a wall where you see the shelf at an angle. It’s beginner-friendly because you can keep the build simple and focus on finish control. Use it when you want a shelf that photographs well without relying on lots of small accessories.
Make the shelf from a single board, then add a painted underside by either painting the underside directly or attaching a thin painted panel. Sand the underside thoroughly, prime, and paint in a color that matches your room trim. Install concealed brackets on a level line so the underside is hidden from most front views. Finish the top with a clear satin coat over stained or natural wood, then seal the painted underside with a scuff-resistant clear.
Editor's notePaint the underside first, then stain and seal the top so you don’t accidentally color-match wrong.
Skip thisDon’t use glossy paint under the shelf; it reflects lights and can look messy in photos.
7. Extra-Deep Floating Shelf for Plants (12-Inch Ledge Look)

A deeper shelf makes plants look lush instead of crowded. At around 12 inches deep, you get enough surface area for pots, trays, and a little vertical variety. The floating look still works if you use multiple concealed brackets and keep them spaced so the shelf doesn’t sag. This is beginner-friendly if you’re comfortable with a level line and drilling into studs or solid anchors. Put it near a window or in a bright room where the plants catch natural light.
Choose a shelf depth of 12 inches and a thickness of at least 3/4 inch. Plan bracket spacing so you have support along the length — typically 18 to 24 inches between brackets depending on material and load. Mount brackets into studs on a level line, then pre-drill pilot holes into the shelf underside for screws. Sand, stain, or paint the shelf, then seal all edges before styling with plants and trays.
Use a drip tray or saucer under each pot; water marks show up fast on light finishes.
Avoid placing heavy wet pots directly on raw wood; seal edges and use trays.
8. Rounded-Eased Edge Shelf with Brass Pin Brackets

This is the shelf for people who want floating shelves that still feel delicate. A rounded front edge looks smooth and modern, and brass pin-style brackets add a warm accent without screaming “hardware.” It’s beginner-friendly because you’re building one clean board and using the bracket kit as your guide. The look works in bedrooms and bathrooms where you want a lighter, softer vibe. Keep styling minimal: one candle, one framed photo, one small plant.
Cut the shelf board and sand the front edge with a light roundover bit or hand-sand a gentle chamfer. Apply stain or paint, then seal with satin topcoat. Install the brass pin brackets to the wall on a level line, spacing them so the shelf underside screws line up cleanly. Attach the shelf to the pins with the included hardware, then tighten evenly to keep the shelf flush.
Dry-fit the shelf and check front-to-back level before you fully tighten the pins.
Don’t over-round the edge; if it’s too soft, the shelf looks unfinished.
9. Cedar Shelf with Shallow Channel Detail
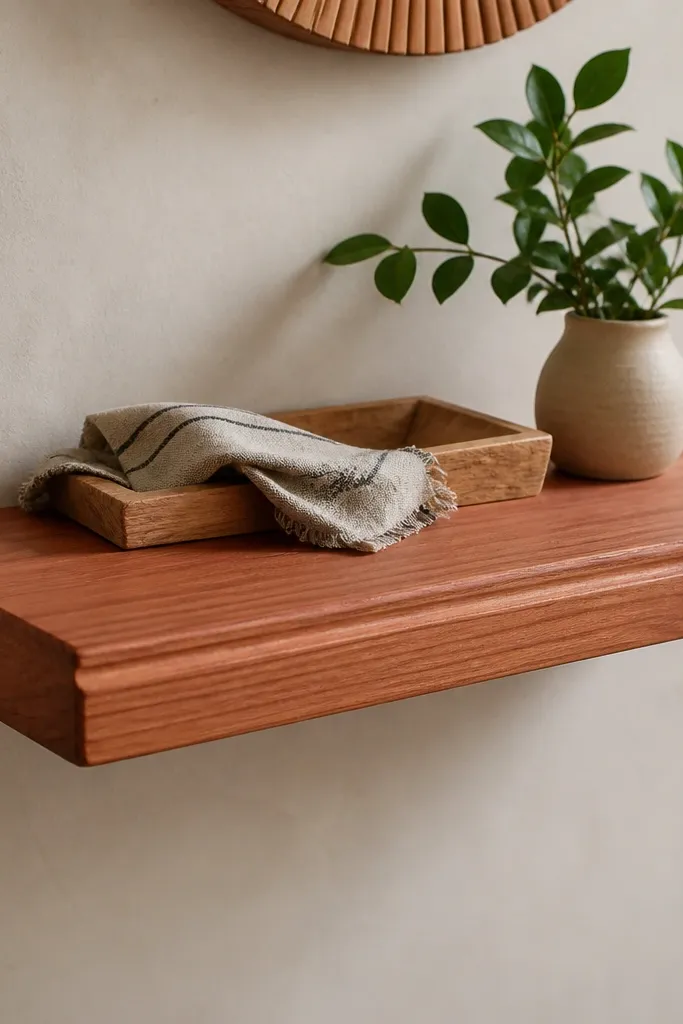
Cedar smells good, but the look is what sells this shelf. A shallow channel detail along the front edge gives it a built-in design feel, and the natural cedar tone looks warm in almost every room. Floating brackets keep it light visually, so the wall doesn’t feel heavy. This is beginner-friendly because you only need one extra cut detail and the rest is normal sanding and mounting. It’s great for entryways, mudrooms, and kitchens where you want practical decor storage.
Use a cedar board and cut a shallow channel along the front using a router or a straight bit set to a small depth. Sand the board to 220 grit, then wipe off dust. Stain lightly if you want a deeper tone, or leave it natural and seal with a matte clear coat. Mount concealed brackets on a level line, secure into studs when possible, and screw from the underside into the shelf. Seal again after installation if you see any raw edge spots.
Editor's noteRun a strip of painter’s tape along the channel line before finishing to keep edges crisp.
Skip thisDon’t skip dust removal in cedar; leftover dust makes clear coat look cloudy.
10. White Floating Shelf with Mitered Box Corners
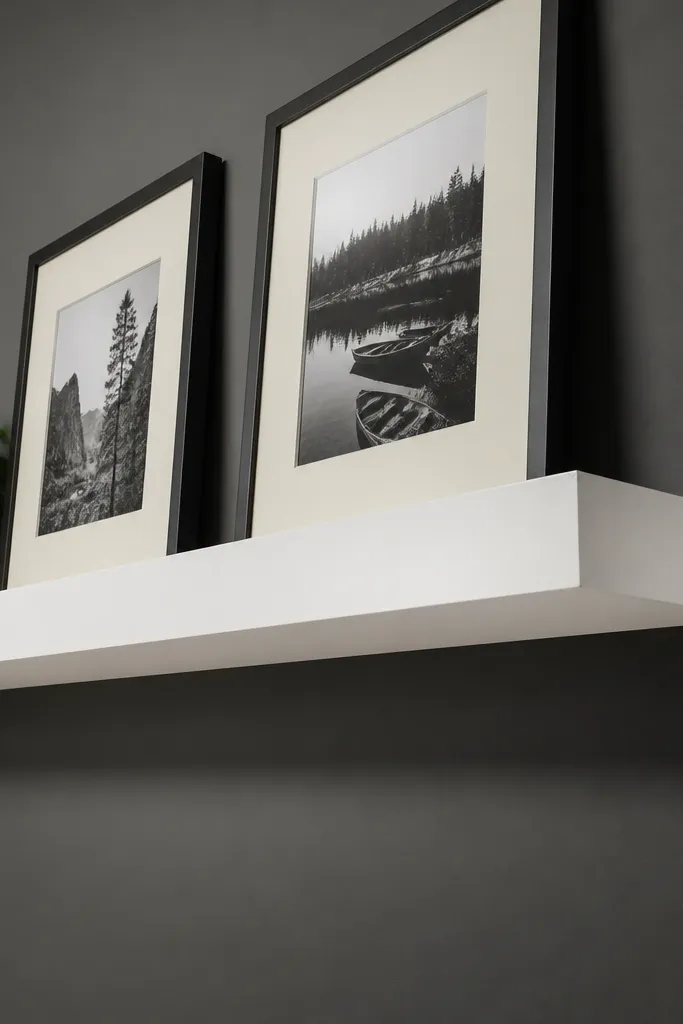
Sharp corners read expensive. This design uses a boxed construction with mitered corners so the shelf has a crisp silhouette from every angle. It’s beginner-friendly if you’re comfortable cutting miters and driving screws carefully, but it’s still straightforward. The white finish makes it feel modern, and the hidden brackets keep the hardware invisible. Put it in a living room above a console or in a bedroom for books and small decor.
Build a simple box shelf using a top panel and side panels cut to miter at 45 degrees. Dry fit the miters, clamp, then glue and pin or screw from the inside. Sand the outside edges smooth, prime, then paint two coats of satin white. Install concealed brackets on a level line and screw up into the shelf underside. Seal the top edge with a clear scuff-resistant coat.
Editor's noteCut miters a hair long and sand to the final fit; it keeps corners tight.
Skip thisDon’t rush clamps — gaps at the miter show up immediately once the paint dries.
11. Walnut Shelf with Micro Bevel Front for a Modern Shadow
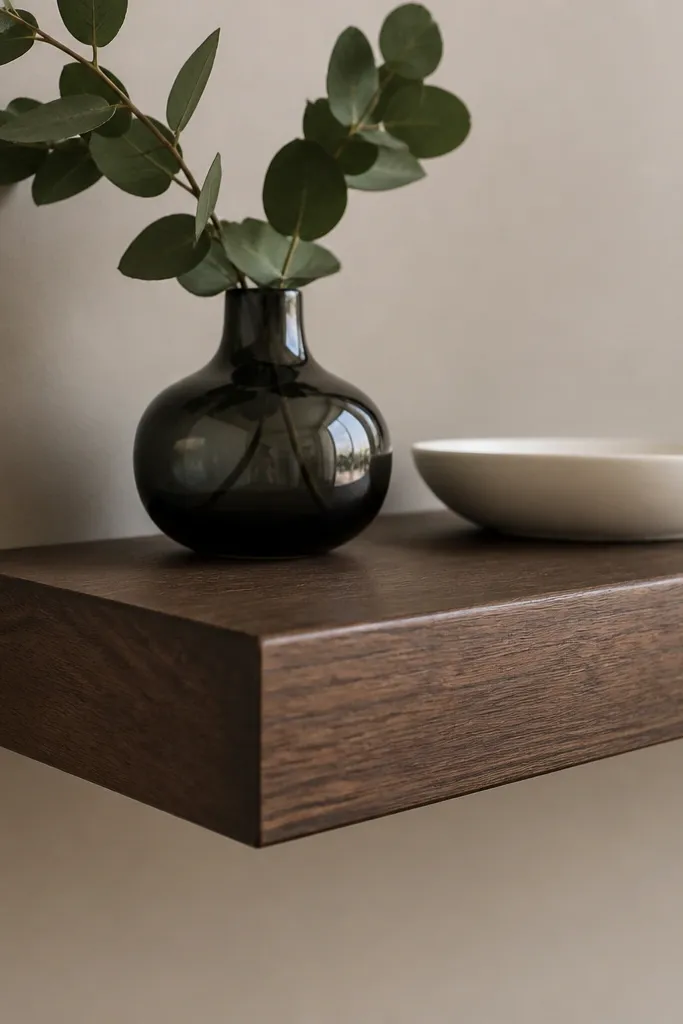
A micro bevel gives you a controlled highlight line. It looks modern, and it makes the shelf look more dimensional than a flat board. Walnut stain keeps the tone deep, and the floating brackets make sure the gap stays consistent. This is beginner-friendly because you can create the bevel with sandpaper if you don’t have a router. It’s best for minimal decor — think framed prints, a single ceramic object, or neatly stacked books.
Sand the board and create a micro bevel on the front edge using a sanding block or a small chamfer bit. Apply walnut stain in thin coats, then wipe evenly so it doesn’t get dark blotches. Seal with satin clear to protect the finish. Mount concealed brackets on a level line and use pilot holes so the shelf underside doesn’t split. Attach and check level across the entire length before styling.
Editor's noteUse a foam brush for stain and wipe in the same direction each time for even color.
Skip thisAvoid thick stain coats; they look uneven on beveled edges.
12. Rusty Iron Shelf with Wooden Top (Industrial Floating Look)
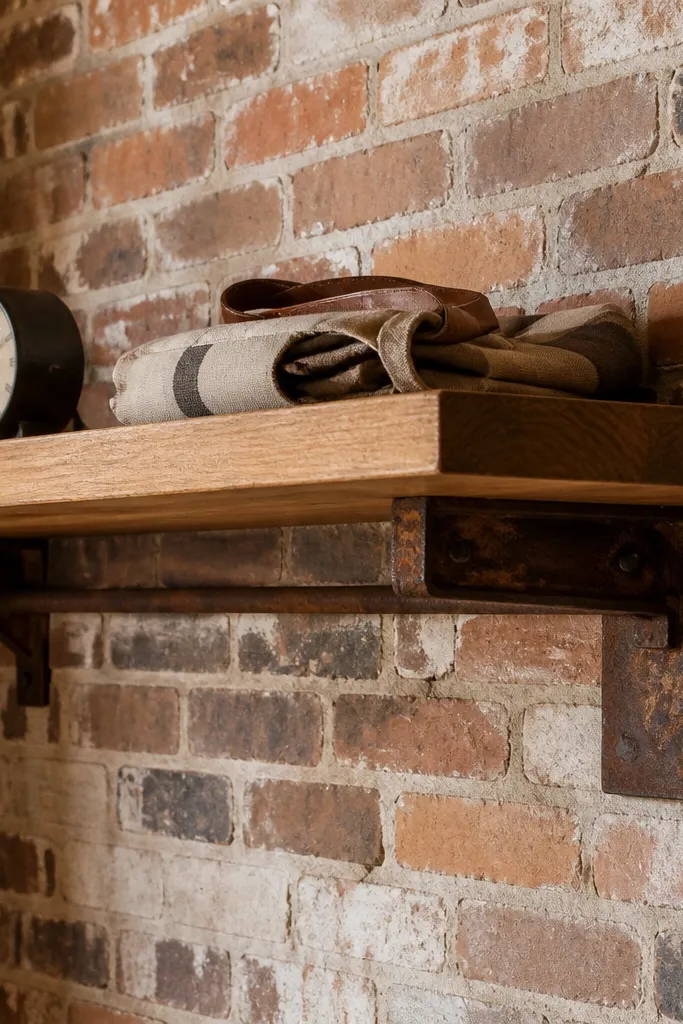
Industrial doesn’t mean messy. A wooden top keeps it warm, while dark metal brackets add that sturdy, architectural feel. The floating part comes from mounting the metal supports behind the shelf line so the top looks like it floats. This is beginner-friendly if you use a bracket kit that matches the shelf thickness and comes with mounting hardware. Install it in a garage-style living room, a loft, or a kitchen with black fixtures.
Cut a wooden top board to your length and thickness that matches the bracket kit. Sand to 180 or 220 grit, then stain or paint the wood top. Mount the metal brackets to the wall on a level line, securing into studs or using appropriate anchors rated for the load. Screw the wood top onto the bracket plates. Seal the wood top with a clear finish that resists scuffs from daily use.
Use thread-lock on metal-to-wood fasteners if the kit includes it; vibrations loosen over time.
Don’t mount metal brackets too close together; it can force the wood top to sit uneven.
13. Painted Terracotta Shelf with Whitewashed Wood Backing
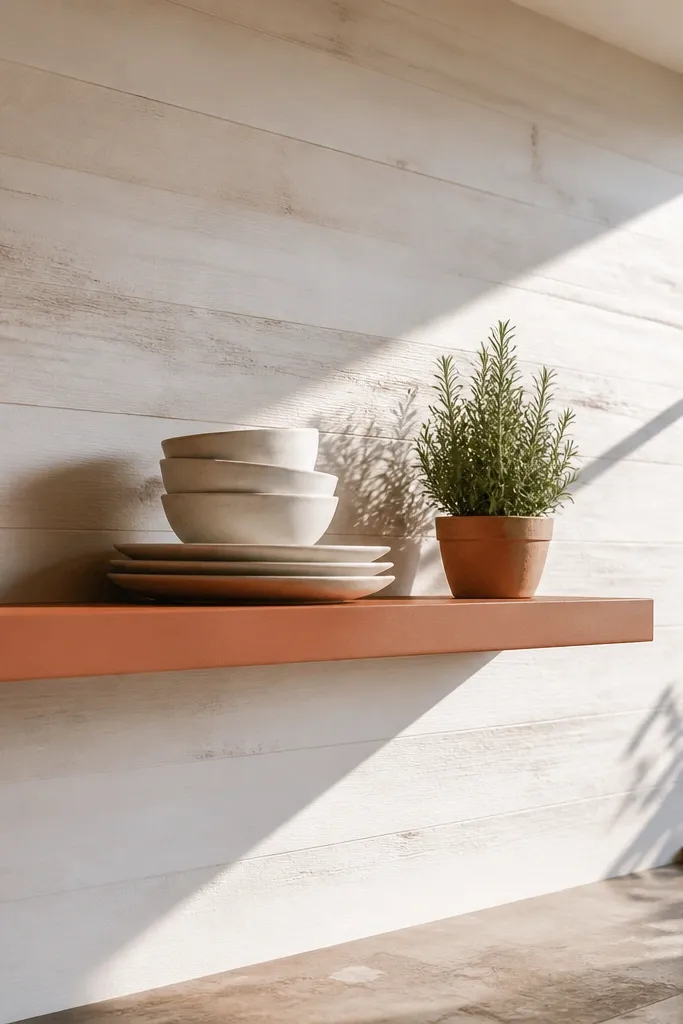
This shelf adds color without turning the wall into chaos. Terracotta paint pops against light walls, and a whitewashed backing makes the shelf feel layered instead of flat. The floating brackets hide behind the shelf so you still get that clean gap. It’s beginner-friendly because you’re painting one main board and adding a simple backing strip behind it. Great for entryways, kitchens, and small reading nooks where you want warmth.
Build or buy a backing strip the same length as the shelf and attach it to the wall or to the shelf underside, leaving space for the brackets. Paint the main shelf board terracotta in two coats, then seal. Install hidden brackets on a level line and mount the shelf so the backing sits behind it. Style with neutral decor so the terracotta reads intentional, not busy.
Editor's noteWhitewash the backing with a watered-down paint and wipe quickly; thicker layers look chalky.
Skip thisDon’t use glossy paint on the top — terracotta glare looks washed out in daylight.
14. Spice Rack Floating Shelf with Small Dividers

This is a floating shelf idea that looks great and solves a real problem — cluttered counters. By adding dividers, you create neat rows of jars that photograph cleanly. Use a narrow shelf depth around 6 to 7 inches and mount multiple small sections with concealed brackets behind each segment. Beginner-friendly because dividers are simple strips, and the jar arrangement makes the result look “designed.” Put it in a kitchen or pantry wall where you’ll see it often.
Cut a shelf base board to length and add divider strips spaced to fit your jar lids. Sand all edges and seal the wood with a food-safe finish if it’s near cooking areas. Install concealed brackets on a level line, then screw the divider box to the shelf base. Attach the whole unit to the wall with the bracket system and check level across each divider row. Add a small lip or backstop strip if jars tend to tip forward.
Editor's noteLabel jars with the same font style; matching labels make the shelf look curated in one step.
Skip thisAvoid random divider spacing; if jar gaps look uneven, the shelf reads sloppy.
15. Corner Floating Shelf with Invisible Triangle Brackets
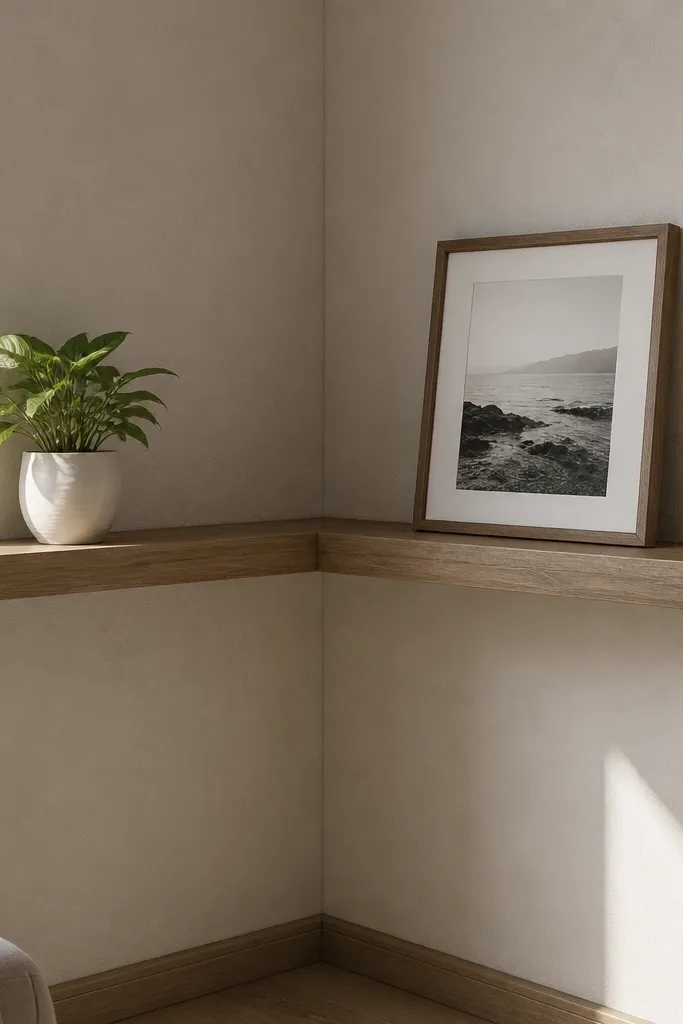
Corner shelves are tricky, but the look is worth it. When built right, a corner floating shelf makes the space feel intentional and gives you a display spot without eating floor area. Invisible triangle brackets keep the hardware hidden and let the shelf sit level across both walls. This is beginner-friendly if you use a corner bracket kit designed for this exact angle or if you cut the shelf to fit the corner cleanly. Best for small bathrooms, entry corners, or reading nooks.
Measure the corner and cut a shelf panel that fits both walls with a clean miter or straight corner joint. Choose a concealed corner bracket system and mount the triangles to studs where you can. Mark a level line that references one wall, then check the shelf alignment against the second wall. Attach the shelf to the brackets from the underside. Sand, stain, or paint, then seal all edges so the finish doesn’t soak into the cut line.
Editor's noteUse a small carpenter’s square to verify the shelf sits at a true right angle to both walls before tightening.
Skip thisDon’t rely on “close enough” for corners; a slight angle makes the shelf look crooked in photos.
16. Floating Shelf with Picture Rail Back and Clips
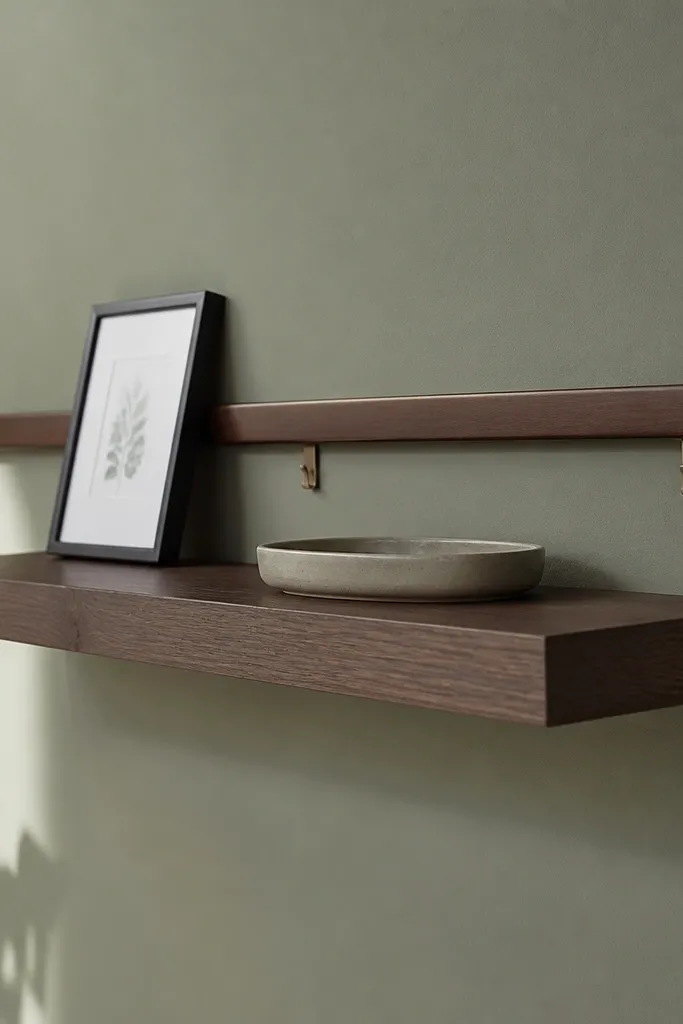
This shelf makes rotating decor easy without changing the shelf look. A picture rail back lets you hang frames or lightweight art using clips, so you can swap what’s displayed without removing the shelf. The floating part still comes from concealed brackets under the shelf board. It’s beginner-friendly because the rail is a separate piece you can install first, then hang the shelf. Great for kids' rooms, hallways, or any space where you want changeable styling.
Install a picture rail strip on the wall first at your chosen height, keeping it level. Mount concealed brackets under the shelf board so the shelf sits just in front of the rail. Attach the shelf to the brackets, then add the clips or hangers to the rail. Finish the shelf board with stain or paint and seal it. Style with a mix of small frames and a single plant or candle.
Editor's notePre-stage your frames and measure their height so the shelf sits at a comfortable viewing level.
Skip thisAvoid heavy art on a picture rail unless the rail is rated for that load.
17. Two-Tier Floating Shelves with Offset Heights
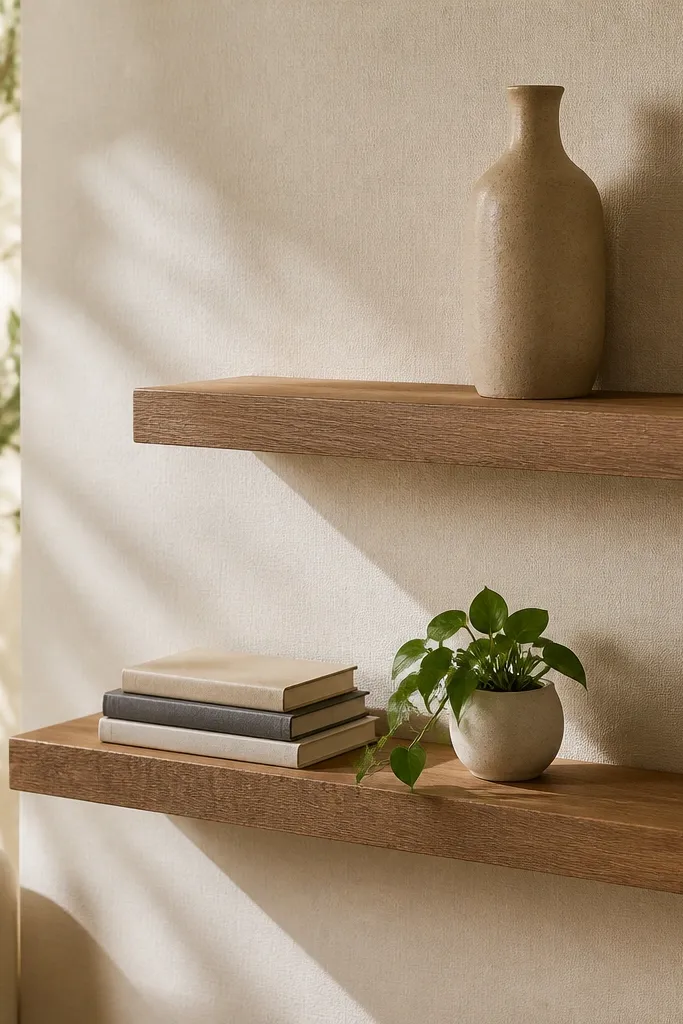
Stacking shelves looks intentional when the tiers are offset, not perfectly aligned. The offset creates visual rhythm and gives your wall depth for photos. Use two shelf boards with concealed brackets and keep the top shelf slightly higher so decor doesn’t overlap. This is beginner-friendly because each shelf is a normal floating install — you’re just repeating the process carefully. Best for living rooms, above a desk, or a narrow wall where you want height.
Decide spacing between tiers, then mark two level lines on the wall. Install brackets for the top shelf first, then mount the top board and check level. Install brackets for the bottom shelf using the same spacing method, then hang the bottom board. Finish both boards together for matching color and sheen, then style with decor that varies in height.
Use painter’s tape to mask the wall under each tier while you paint or seal so you don’t smear finish onto the wall.
Don’t align all decor at the same height; it flattens the look.
18. Thermally Modified Pine Floating Shelf with Dark Stain
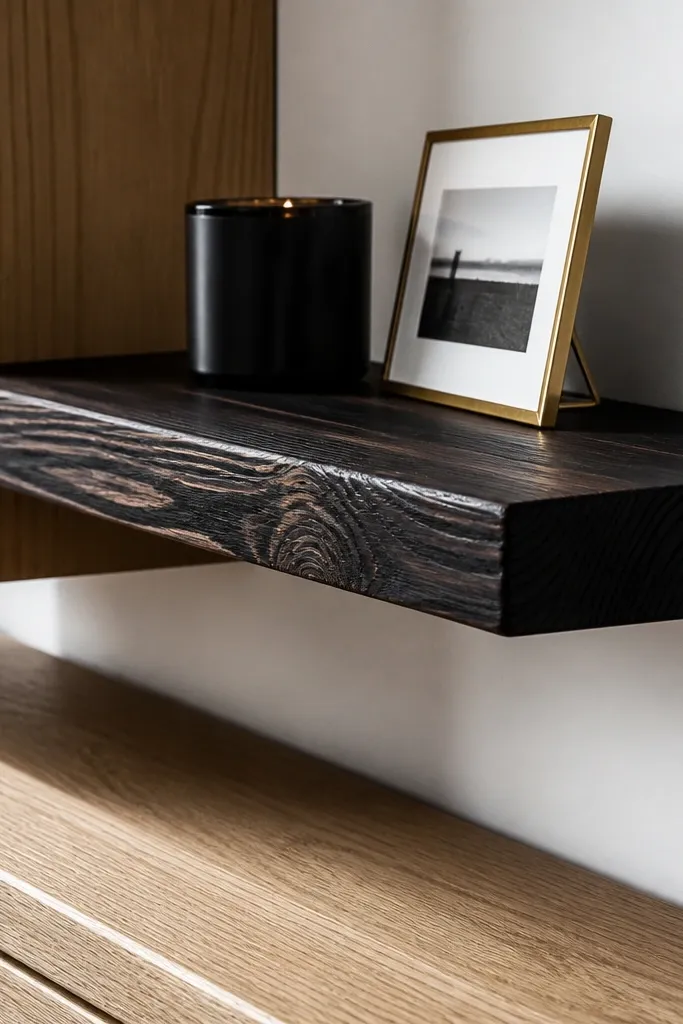
Thermally modified pine (or pine stained dark) gives you that deep, charred look that photographs like a designer piece. The grain stays visible, but the tone reads dramatic. Floating brackets hide behind the shelf line, and the shelf depth can stay modest around 8 inches for a clean, modern wall. This is beginner-friendly if you keep the build simple and focus on an even stain application. Great for modern bedrooms and offices with black frames or dark furniture.
Sand the pine to 180-220 grit, then wipe clean. Apply dark stain in thin coats, wiping off excess quickly so the color doesn’t pool in knots. Seal with matte clear to keep the charred vibe from turning shiny. Mount concealed brackets into studs and attach the shelf from the underside with pilot holes. Let the finish cure fully before loading items so the surface doesn’t mark.
Stain the board flat on sawhorses; vertical staining can create streaks on pine.
Don’t skip sealing; dark stain alone scratches easily.
19. White Floating Shelf with Hidden Cable Cover Channel

This shelf solves the ugly part people don’t talk about: cords. A hidden cable channel behind the shelf keeps chargers and small devices from turning into visual clutter. The floating look is maintained with concealed brackets, and the white finish makes everything feel tidy. It’s beginner-friendly because the channel is a straightforward add-on and you can keep the shelf size small. Use it in a home office, beside a TV, or near a charging station.
Choose a shelf depth of 7 to 9 inches so there’s room for a cable channel. Install concealed brackets on a level line and mount the shelf board. Add a cable raceway on the wall behind the shelf and route your cords into it before you attach the shelf. Drill a small hole through the shelf underside for the cable to exit to the device side, then seal around the hole with a dab of clear silicone. Paint or touch up the shelf so the hole edges don’t show raw wood.
Editor's noteUse a cable grommet in the shelf hole; it keeps the cord from rubbing and fraying.
Skip thisAvoid drilling random holes after mounting; plan the cable exit first.
20. Oak Shelf with Decorative End Caps (Built-In Look)
Decorative end caps make a floating shelf look like part of a built-in cabinet. It’s subtle but makes the shelf photo-ready because the ends frame the display. The oak tone stays warm, and the end caps hide bracket edges so the silhouette looks clean. This is beginner-friendly because you only need to cut two end pieces and attach them after the shelf is mounted. Great for living rooms, dining rooms, and bedrooms where the shelf is a focal point.
Cut your main shelf board and sand it to 180-220 grit. Cut two end caps from matching wood, keeping the thickness consistent so they sit flush. Mount concealed brackets to the wall on a level line, then attach the shelf. Screw or glue the end caps onto the shelf ends and sand any seams. Finish the whole piece together so the color matches and the ends don’t look different from the face.
Use brad nails through the end caps into the shelf for tight seams, then fill nail holes before finishing.
Don’t leave end caps unfinished; raw seams look obvious under warm lighting.
21. Dark Green Shelf with Brass Rod Support Detail
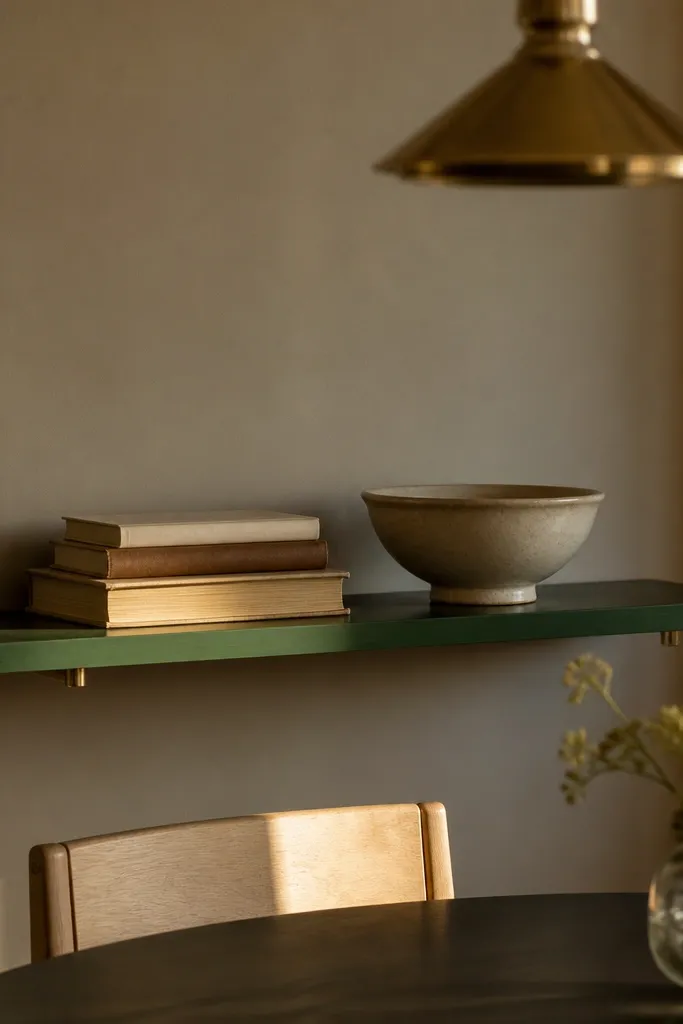
This shelf plays with the floating look by adding a visible but minimal support detail. The dark green paint is moody and looks incredible next to brass fixtures, and the brass rods add a designer feel without turning into heavy industrial. If you want a beginner-friendly build that still looks “styled,” this is it. Use it for a small display — a framed print, a tiny vase, a stack of books. The color does the heavy lifting in photos.
Paint your shelf board dark green with satin cabinet paint in two coats, then seal with a scuff-resistant clear. Mount concealed brackets or a hidden rail behind the shelf, then attach brass rods as the thin support line behind the shelf top. Keep the rods aligned so they look straight and deliberate. Screw everything securely, then touch up any paint on hardware. Style with warm-toned decor to avoid the shelf looking too cold in daylight.
Editor's noteMatch brass sheen across the room; matte brass rods look best with matte fixtures.
Skip thisAvoid mixing shiny brass and matte paint; the mismatch reads cheap fast.
22. Sanded Pine Shelf with Clear Poly and Linen-Soft Styling
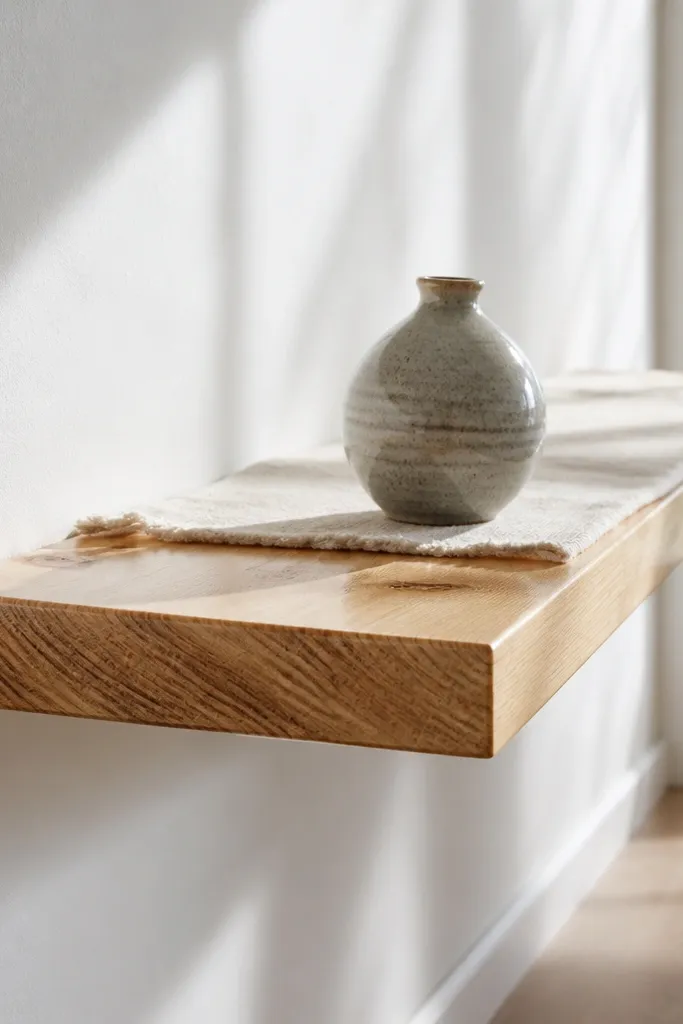
Clear poly looks clean and modern when the wood is sanded properly. This idea is photogenic because the grain lines up with the light, and the shelf stays bright without hiding the wood. It’s beginner-friendly because you’re doing standard mounting and finish steps, not complicated joinery. Keep the shelf depth around 8 inches so it reads light. Great for Scandinavian-style rooms and any space that already has natural wood tones.
Sand the pine to 220 grit and wipe with a tack cloth. Apply a clear matte or satin poly in thin coats, scuff-sanding lightly between coats. Install concealed floating brackets on a level line into studs where possible. Attach the shelf, then add a final light topcoat on any spots you touched during install. Let it cure fully before styling so the surface doesn’t tack under decor.
Editor's noteUse a foam brush for clear coats; it reduces streaks on pine grain.
Skip thisDon’t rush sanding between poly coats; the finish turns rough and catches dust.
23. Painted Beige Shelf with Vertical Slat Back Panel
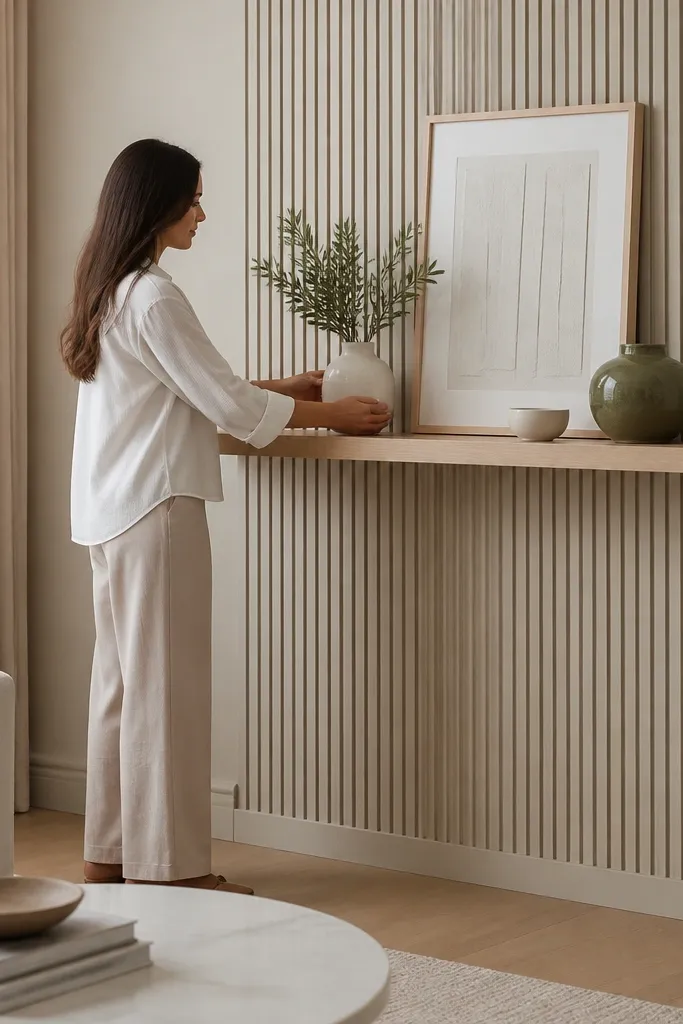
A slat back makes the shelf look like a built-in wall feature. The shelf itself can be simple, but the vertical slats create texture that shows up in photos even with minimal decor. Use a beige paint color that matches your room neutrals, then keep decor in whites, creams, and one muted accent. This is beginner-friendly because the slats are easy strips and the shelf mounting is standard concealed bracket work. Put it in a bedroom wall, dining corner, or above a console.
Cut a slat panel from thin strips and attach it to a backing board or directly to the wall, keeping spacing even. Paint the shelf board beige and seal it after the final coat. Install concealed brackets on a level line so the shelf sits slightly in front of the slat panel, creating a clean shadow. Mount the shelf to the brackets and check that the front edge aligns straight across. Finish edges and touch up any paint where hardware sits.
Editor's noteUse spacers cut from scrap wood to keep slat gaps identical across the whole panel.
Skip thisDon’t choose slat thickness that’s too chunky; it should add texture, not look like a fence.
24. Striped Wallpaper Backed Floating Shelf (One Accent Wall Pop)
Wallpaper behind a floating shelf makes the display look designed, not accidental. The shelf floats in front, and the pattern fills the negative space behind your decor. It’s beginner-friendly because you’re sticking wallpaper to a backing board or the wall area, then mounting the shelf with concealed brackets. Choose bold stripes or subtle texture depending on your room. This works best on an accent wall where the shelf is the focal point.
Apply wallpaper to a backing panel sized to the shelf area, or cover the wall section that will be hidden behind the shelf. Seal the wallpaper if it’s not washable so it doesn’t get scuffed. Install concealed brackets on a level line and mount the shelf board. Trim any wallpaper edges so they sit neatly behind the shelf and don’t peek out. Style with decor that has clean shapes so the wallpaper stays the star.
Editor's noteCut wallpaper slightly oversized, then trim the edges after the shelf is mounted for a crisp line.
Skip thisAvoid busy decor on top; the wallpaper already adds visual noise.
25. Stair-Step Floating Shelves with Built-In Shadow Boxes

Stair-step shelves look amazing because they create a rhythm — your eye moves across the wall instead of landing on one flat line. Built-in shadow boxes between steps hide bracket placement and keep the floating effect clean. This is beginner-friendly if you keep the number of steps small and the shelf depth consistent. It’s perfect for a kids' room or a hallway where you want a gallery of small items, books, and framed art. The look is dynamic without requiring complex carpentry.
Plan your steps on paper first: choose consistent shelf depth and vary heights by 6 to 8 inches per step. Cut multiple shelf boards and small backing/shadow box pieces so each step has a hidden cavity behind it. Install brackets for each step on a level line, then mount each shelf board in sequence. Seal and finish all boards before installation so you don’t fight paint in awkward angles. Attach the shadow box pieces to cover bracket edges and create a neat silhouette.
Use the same wood finish on every step; mismatched sheen makes the steps look unfinished.
Don’t change shelf depth between steps; it breaks the step pattern visually.



