
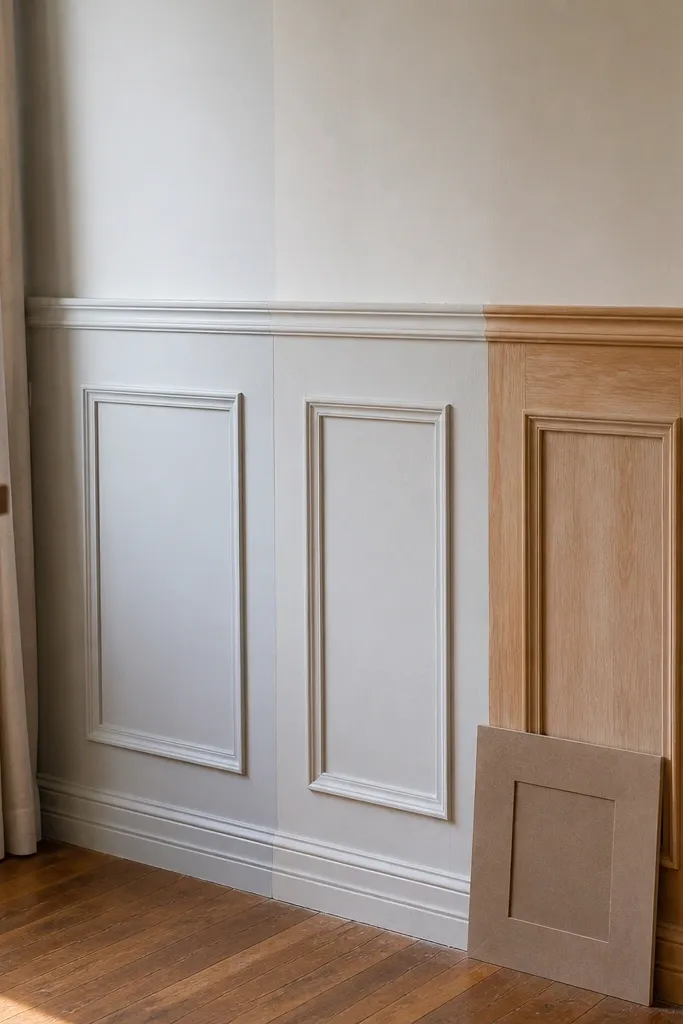
1. 36-inch chair rail with MDF shaker panels
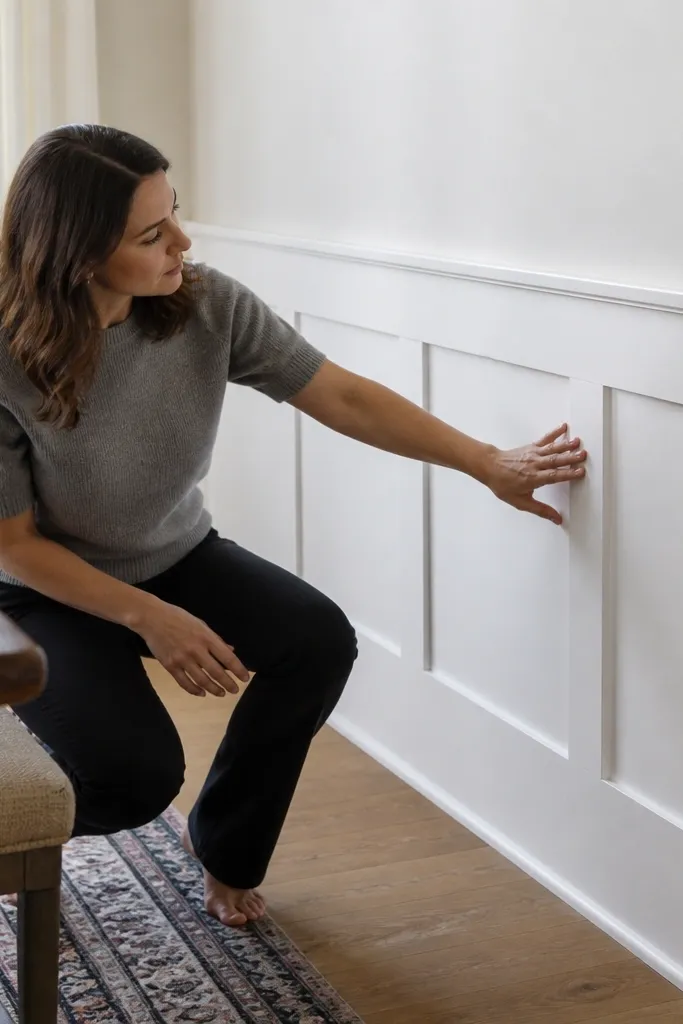
This is the farmhouse baseline that looks intentional even when you’re working with starter tools. The shaker panel style stays flat, so MDF’s smoothness makes it look straight and tidy. Paint hides minor surface texture, but MDF still wins when your walls have light waves. Build the rail and stiles from primed MDF or solid wood, then keep the panels simple so you don’t need fancy router work. It’s a great fit for entryways, dining nooks, and hallways where you want a clean upgrade without a ton of carving.
Measure your wall height and set the chair rail at 36 inches from the finished floor, then confirm level across the room with a 4-foot level. Install the bottom rail first so it’s your reference line, then fasten vertical stiles every 16-24 inches depending on your panel size. Cut panel inserts to fit tight with a 1/16-inch gap for paint expansion, prime all cut edges, then install inserts after the frame is up. Caulk the seams, prime again where caulk touched, and finish with two coats of cabinet-grade paint.
Use pre-primed MDF trim for the frame and prime any cut edges with a stain-blocking primer before assembly.
Don’t skip priming the MDF cut edges — that’s where you get the fuzzy edge look later.
2. Board-and-batten wainscoting with real wood rails
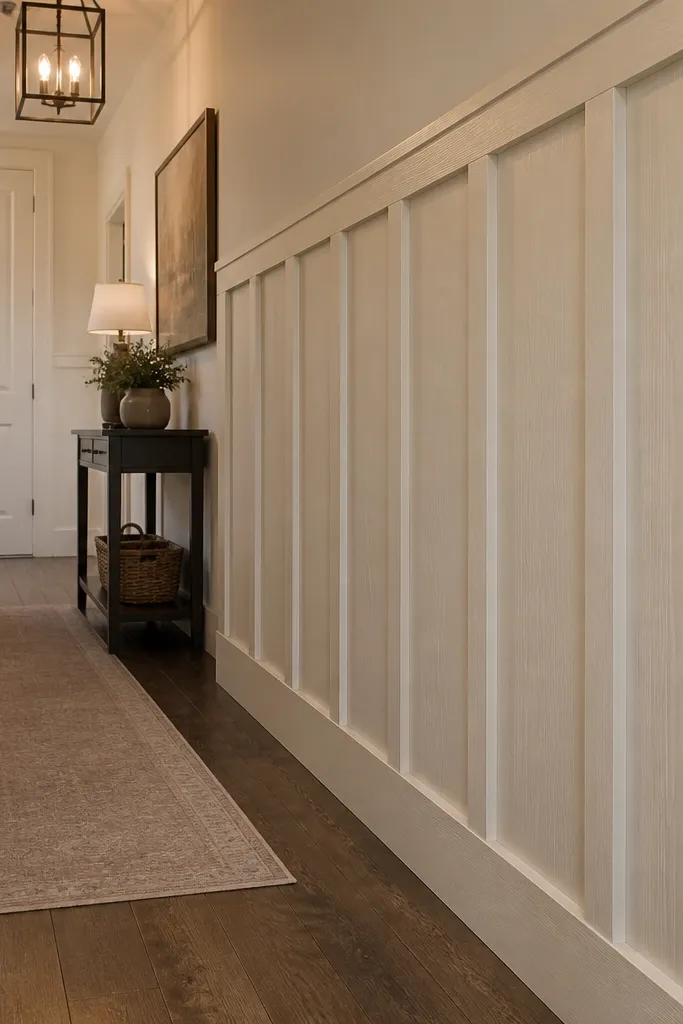
Board-and-batten reads farmhouse immediately because the vertical lines mimic barn siding. If you pick real wood for the battens and rails, the grain adds warmth even under paint, especially if you choose a slightly off-white instead of bright white. This works best on straighter walls because the vertical boards will show any unevenness as a shadow line. Beginners who can handle careful measuring still do fine because there’s less panel cutting than raised-panel styles.
Pick a panel height target first, then lay out battens so you land with widths between 8 and 12 inches for a balanced look. Use 1x3 or 1x4 boards as battens and a 1x3 or 1x4 rail at the top, keeping the same thickness throughout. Start by marking stud locations, then fasten the top rail along the level line. Install the battens, checking each one with a level before fastening, then fill gaps with paintable wood filler and sand smooth before priming.
Stagger battens slightly between adjacent walls so seams don’t line up in a way that looks accidental.
Don’t space battens too tightly — if battens are under 6 inches wide, the look turns busy fast.
3. Raised square panels using MDF inserts
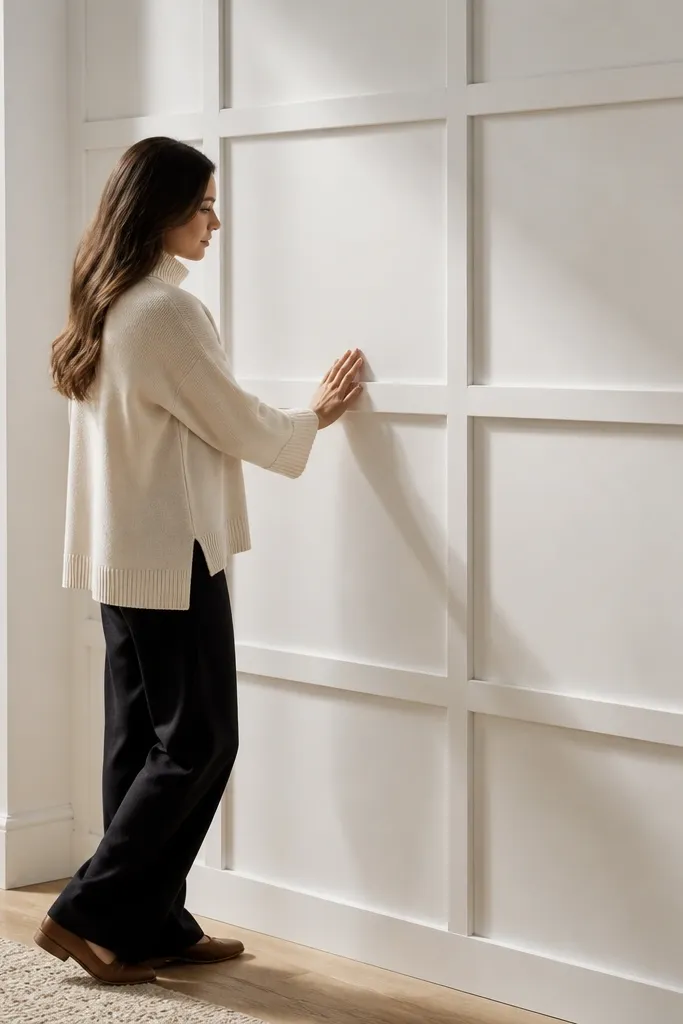
Raised square panels create that built-in furniture look without getting complicated. MDF inserts keep the edges crisp, so the raised lines stay sharp under paint. This is the best choice when you want a classic farmhouse pattern but you don’t want to deal with grain variations or uneven staining. The raised effect also hides minor wall flatness because you have shadow lines instead of only flat planes. Works beautifully in living rooms and bedrooms where you want a statement wall.
Editor's noteUse a brad nailer set for low air pressure so MDF doesn’t blow out around the nail holes.
Choose a panel grid that repeats — a common target is 24-30 inches wide sections with 16-20 inch panel heights. Frame the wainscoting with 1x material rails and stiles, then cut MDF panel inserts to match the opening dimensions minus a 1/16-inch clearance. Dry-fit inserts first, then glue and nail them in place, keeping nail heads consistent. Prime all MDF surfaces, then caulk around insert edges before final paint.
Skip thisDon’t rely on wood glue alone for inserts — MDF needs mechanical fasteners to stay aligned.
4. Flat shaker panels with real wood stiles for warmth
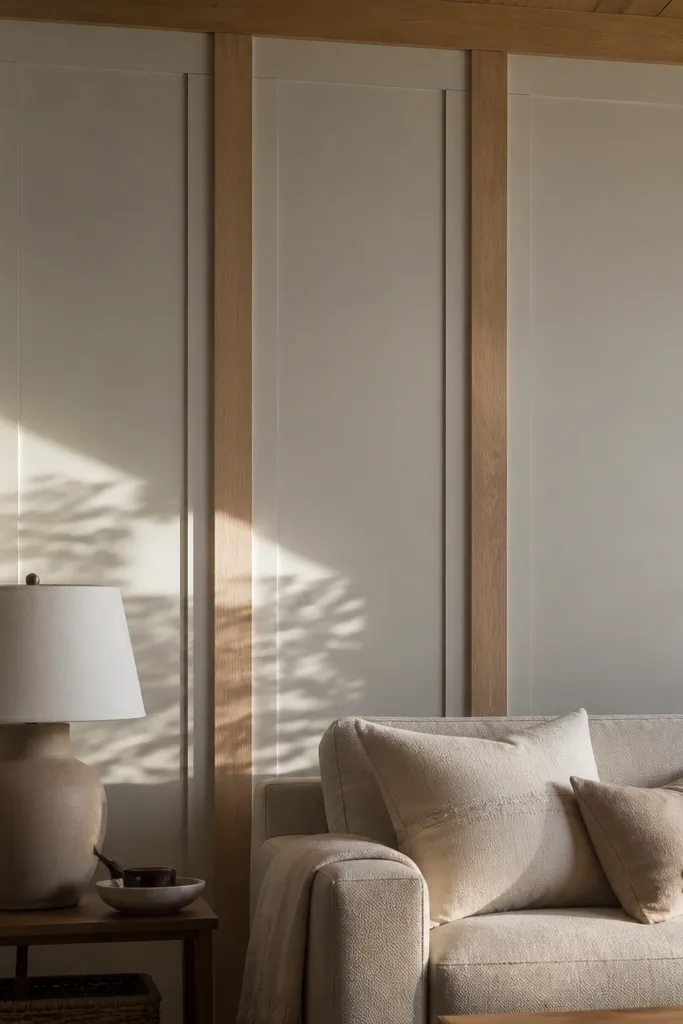
This version keeps the farmhouse lines clean while letting real wood show through as subtle warmth under paint. Flat shaker panels are forgiving because there’s less raised detail to reveal imperfections. Real wood stiles can add depth even when painted, especially if you use a satin finish that catches light softly. This is a smart pick for DIYers who want the easiest install but still want that “real material” feel.
Install a level top rail and a matching bottom rail using a stud layout, then measure each opening width and height. Use real wood for vertical stiles and MDF for the flat panel inserts so you get smooth, stable panels. Cut inserts to fit with a 1/16-inch gap and glue them into place, then nail through stiles into the inserts. Prime everything, fill nail holes, sand lightly, and paint with two coats.
If you’re painting, keep the stiles and panels the same paint system so sheen doesn’t highlight differences.
Don’t set the stiles first without confirming your rail is perfectly level — the whole pattern will drift.
5. Beaded board panels with MDF for consistent grooves
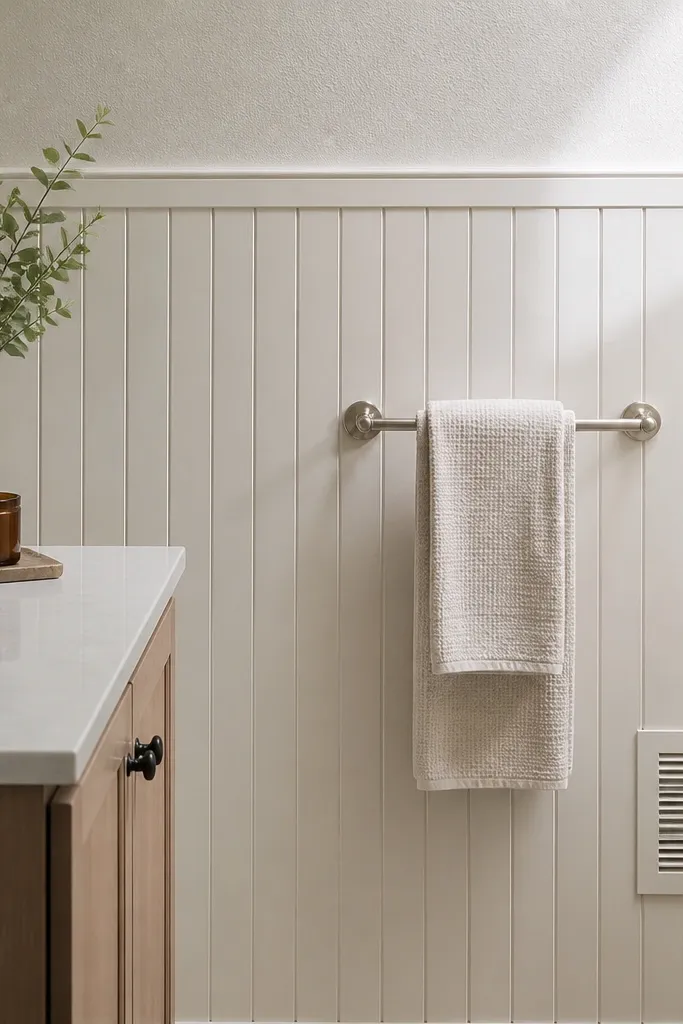
Beaded panels add farmhouse texture without looking rustic or messy. MDF is the clean win here because its grooves stay uniform, so your paint finish looks even. Real wood beading can be gorgeous, but it’s harder to keep consistent if you’re cutting multiple runs and aligning seams. MDF also resists warping, which matters when you’re dealing with multiple panel lengths across a wall. Put this in a breakfast nook or mudroom where you want durability plus charm.
Editor's noteUse a foam roller for paint over grooves after you brush primer — it keeps the bead texture from looking streaky.
Choose beaded panel stock or rip beaded MDF to your panel widths, then frame with rails and stiles. Mark your stud locations and pre-drill where needed so you don’t split trim. Install the rails first, then fit the beaded panels between stiles with a tight 1/32 to 1/16-inch clearance. Prime the grooves carefully using a brush so primer reaches the bead lines, then caulk the frame seams and paint.
Skip thisDon’t paint beaded MDF without a thorough primer pass — the groove edges can drink paint and look uneven.
6. Crown-top farmhouse wainscoting without a chair rail
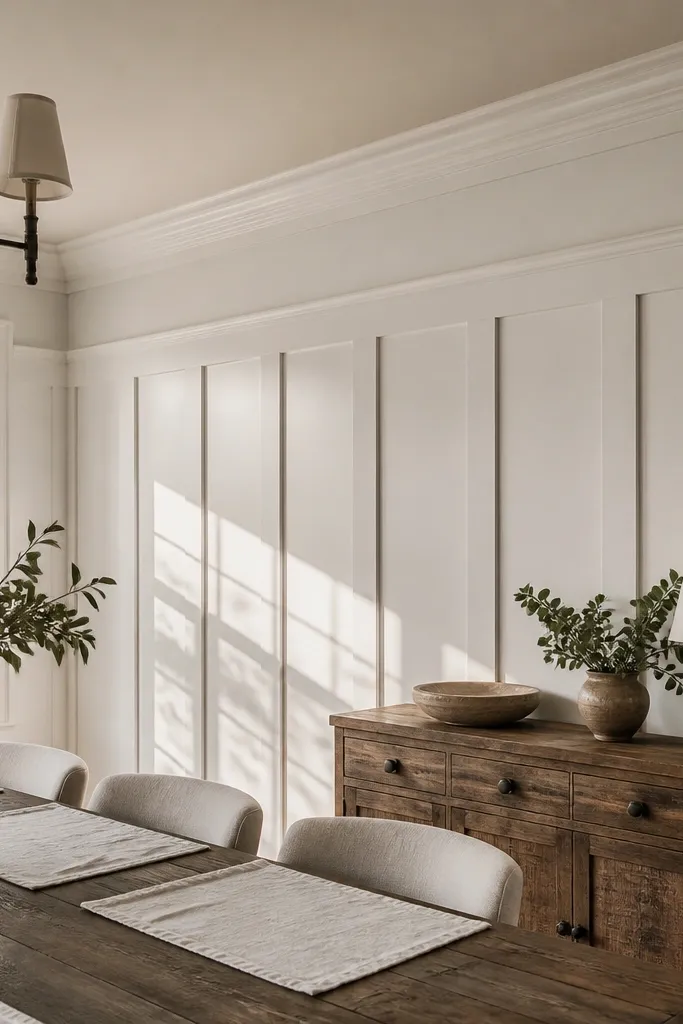
If you hate the classic chair rail look, this is the farmhouse alternative that still reads intentional. A crown-top gives you that built-in feel and makes the wall look taller, especially in dining rooms. MDF is beginner-friendly because the crown profile stays consistent and doesn’t shift as you install. Real wood crowns can look incredible, but they’re harder to keep straight across long runs because wood movement shows up at seams. Use this when your walls are already straight and you want a more architectural finish.
Editor's notePre-fit crown pieces on the floor and label them so you don’t lose track of left/right hand profiles.
Decide your panel height first, then install a flat top rail where the crown will attach. Cut crown molding and test-fit each corner using an accurate miter box or miter saw with fine adjustments. Attach the crown over the top rail, then build the panel frame beneath it with stiles and a bottom rail. Prime and paint the crown and panels in the same schedule so the sheen matches across the whole band.
Skip thisDon’t caulk the crown seams only — prime and paint over caulk seams so cracks don’t show through.
7. Open-frame farmhouse wainscoting for small hallways
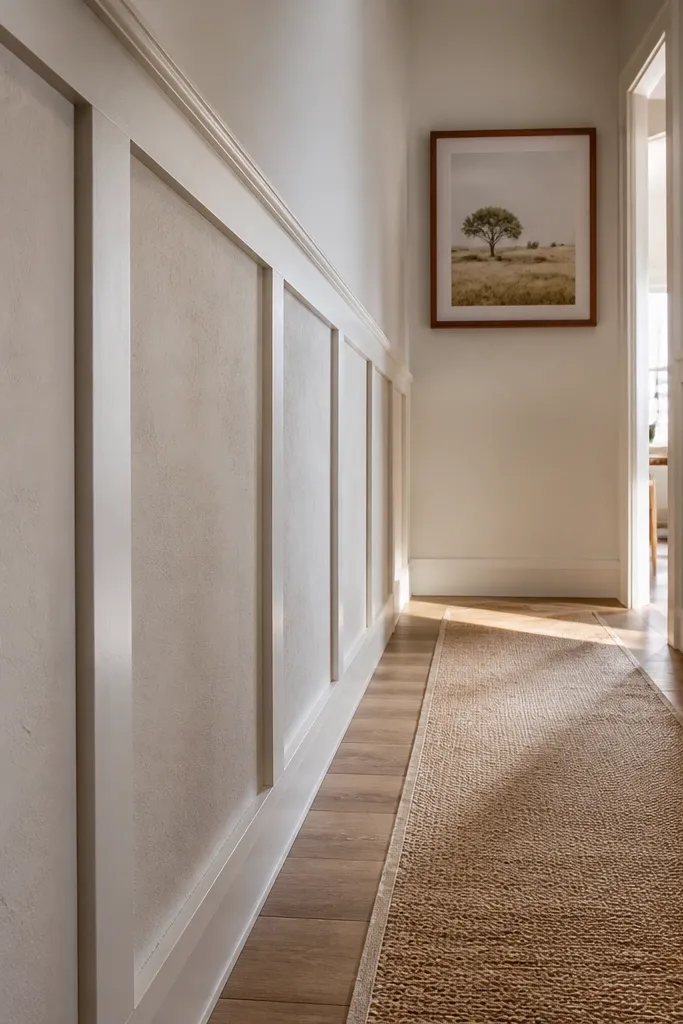
Open-frame wainscoting gives you the farmhouse structure without filling every panel box. That means less cutting, fewer seams, and a faster install. It also hides less wall flatness because you see more of the original wall behind, so it’s best for walls that are already reasonably straight. MDF is a great beginner material for the rails and stiles because it cuts clean and stays stable. Real wood works too, but it usually takes more filler and sanding to keep lines crisp.
Editor's noteUse a laser level for the rail line if your hallway is longer than 10 feet — small errors multiply.
Mark a level top rail line at your chosen height, then locate studs and fasten the rail. Install vertical stiles at 16-inch spacing and lock them plumb before fastening. Add a bottom rail to tie the frame together and keep the spacing consistent. Prime the entire frame, then paint, leaving the wall behind untouched so you get a light, airy look.
Skip thisDon’t skip checking plumb on each stile — open frames show crooked lines immediately.
8. Plank-and-rail wainscoting with real wood planks
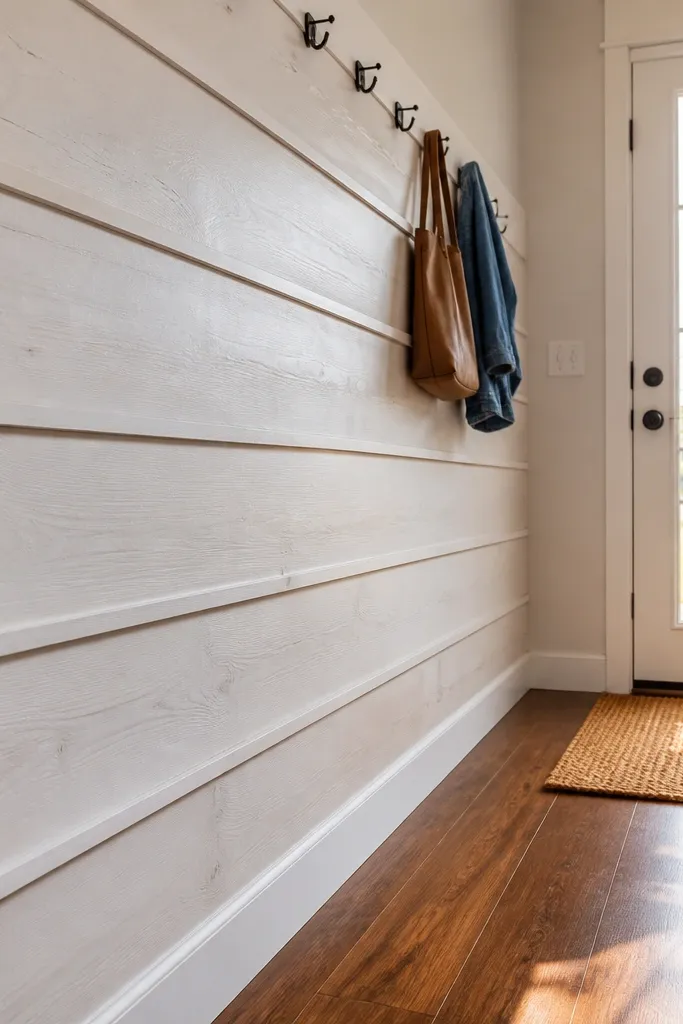
This style looks like farmhouse millwork because it uses wide horizontal planks instead of small panels. Real wood planks add warmth and depth under paint, especially if you choose a slightly warm white. It’s not the best choice for beginners when walls are bumpy because wide boards cast stronger shadows. But if your walls are decent and you’re comfortable sanding filler smooth, it’s a high-impact look that still feels clean.
Editor's noteSand filler twice — once right after it dries and again after primer so you catch pinholes before final paint.
Pick plank widths between 4 and 6 inches so the wall doesn’t look like it has narrow trim everywhere. Use a top rail and bottom rail, then install planks horizontally between them with consistent spacing. Fasten planks to studs and use wood filler for gaps, then sand flush after it dries. Prime with a bonding primer, then paint two coats, keeping edges crisp with a brush around the rails.
Skip thisDon’t use MDF planks for this look if you want grain warmth — MDF stays flat and can look too uniform.
9. Corner-post farmhouse wainscoting with MDF panels
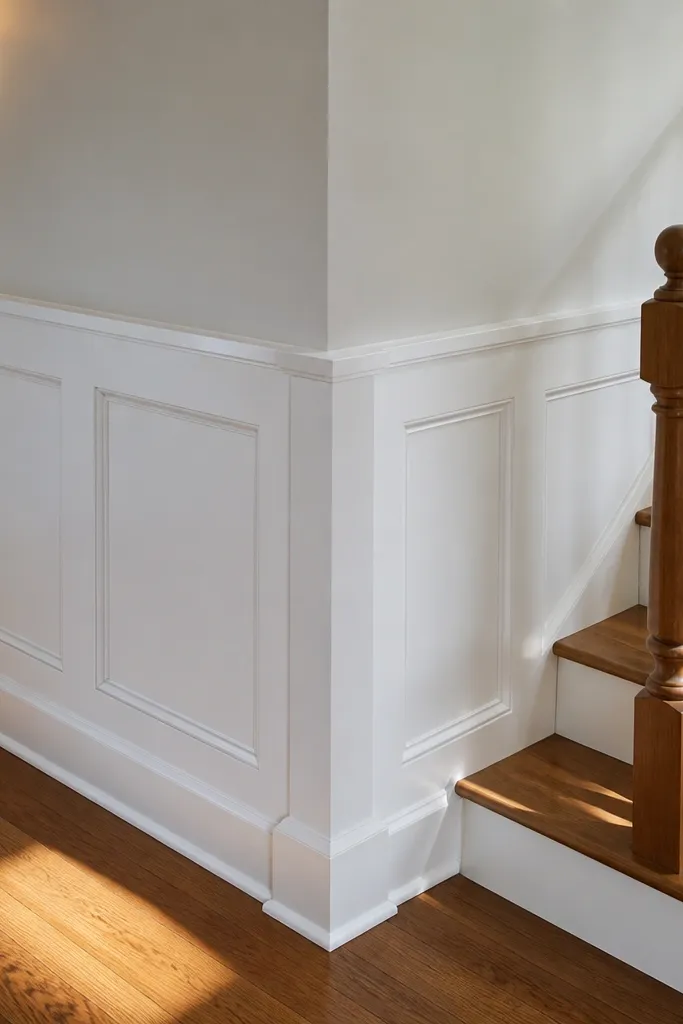
Corner posts make the whole wall look finished, even if the wall has minor unevenness. This style uses thicker vertical corner trim to frame the pattern like built-in cabinetry. MDF panels keep the inside boxes crisp, while the corner posts add structure and hide seam transitions at corners. It’s a beginner-friendly upgrade because you’re not relying on perfect corner craftsmanship as much — the posts visually catch attention. Great for living rooms and bedrooms where you want a more tailored feel.
Editor's noteUse a thicker post profile than your rails by at least 1/2 inch so corners read clearly from across the room.
Start by installing corner posts plumb and fastened to studs. Then build a rectangle frame between the posts using rails and stiles, keeping the panel grid centered. Use MDF for the panel inserts and frame members if you want maximum straightness and easy sanding. Caulk around the posts and panel seams, then prime and paint, making sure you feather caulk smooth at the edges.
Skip thisDon’t butt miter trim at outside corners without backer caulk — it cracks when the wall moves.
10. Diagonal farmhouse accent panels (feature wall)
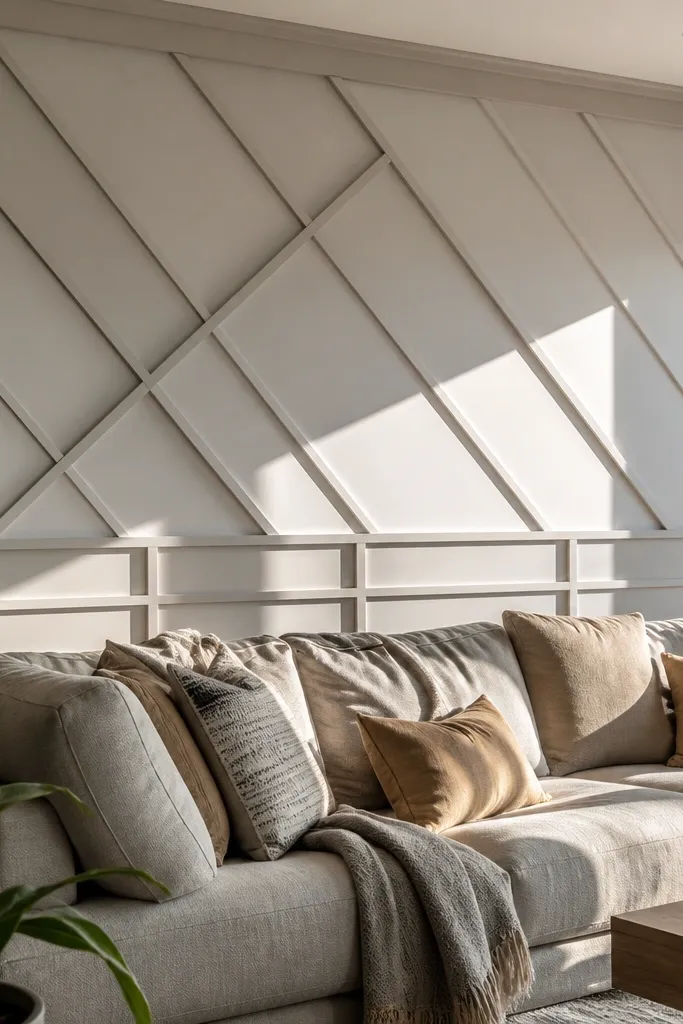
Diagonal accents turn standard farmhouse wainscoting into a focal point. It’s more modern but still feels farmhouse because the base rails and panel framing keep the structure familiar. MDF is the beginner pick because it cuts clean and holds edges sharply for angled lines. Real wood diagonals can look amazing, but grain direction can fight your alignment and you’ll spend more time filling and sanding. Choose this for one wall, not every room, so you don’t overcomplicate your project.
Editor's noteCut one test diagonal and measure it against the opening before you cut the full batch.
Pick a panel area and mark your diagonal layout with painter’s tape so you can visualize the pattern at full size. Build a frame with straight rails and stiles, then cut diagonal panel pieces to fit each opening. Use MDF for the diagonal pieces and leave a 1/16-inch gap at edges for caulk. Fasten diagonals into the frame, prime all pieces, then caulk the diagonal seams and paint with a steady brush technique for crisp lines.
Skip thisDon’t try this on a wall with obvious waves — diagonal patterns exaggerate every uneven spot.
11. Full-height beadboard lower wall with MDF trim
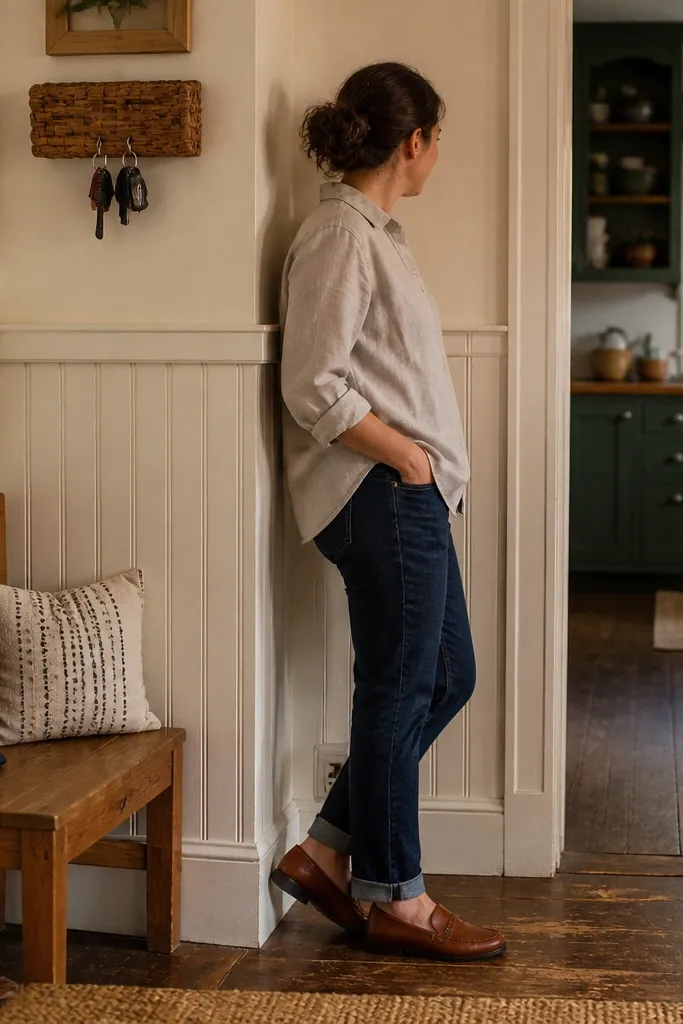
Beadboard lower walls are farmhouse-friendly and practical because they hide scuffs and small dents better than flat drywall. This style uses beadboard panels for the look and MDF trim for clean edges and a more tailored finish. MDF beadboard gives consistent groove depth so paint doesn’t look blotchy. Real wood beadboard can be beautiful, but it’s more sensitive to humidity and can show seam gaps if your home swings in temperature. Use this in mudrooms, kitchens, and laundry spaces where you want a durable wall treatment.
Editor's noteUse a paintbrush to cut in the grooves, then roll the flat areas so the finish matches.
Decide the height of the beadboard band, like 48 inches, then install a level bottom rail and top rail. Fit beadboard panels between rails, using trim to cover seams where panels meet. Nail into studs and keep panel joints tight, then fill nail holes with wood filler. Prime the entire beadboard and trim, paying extra attention to groove edges, then paint two coats.
Skip thisDon’t skip back-priming if your beadboard has any exposed backside — edges can react to moisture.
12. Two-tone farmhouse wainscoting with real wood base rails
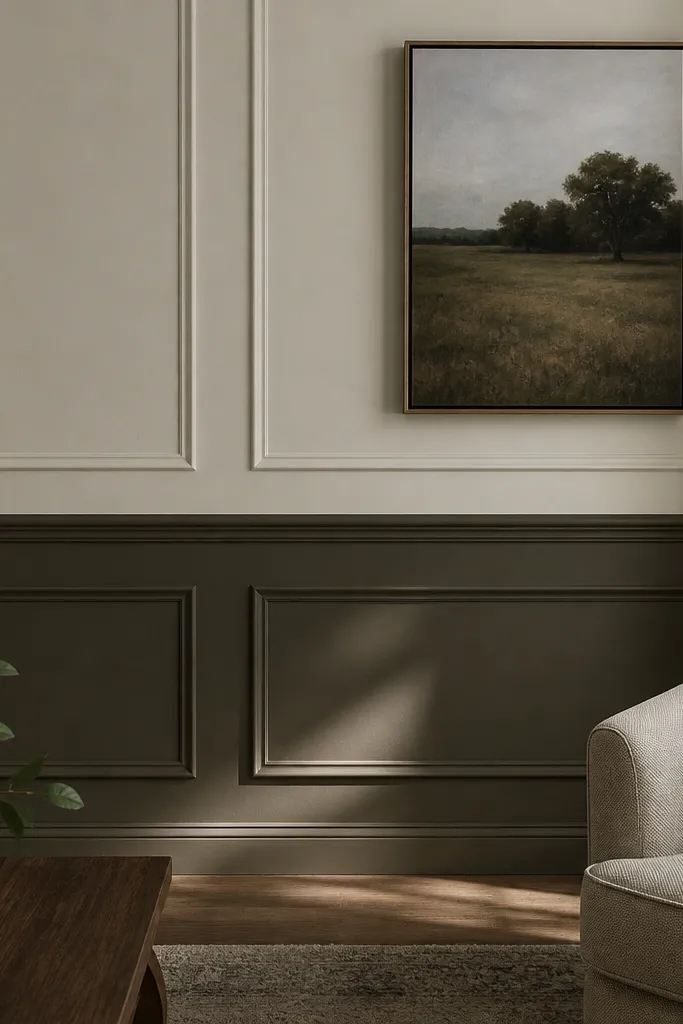
Two-tone paint makes wainscoting look custom because the rails and panels read as separate architecture. If you want the warm, slightly old-house feel, real wood base rails under paint can add a subtle depth even when the color is uniform. MDF panels keep the boxed areas smooth and easy to paint, so the two-tone contrast stays crisp. This works best in dining rooms and entryways where you can see the wall detail clearly.
Editor's noteUse a high-quality tape and burnish the edge so paint doesn’t bleed under and blur your line.
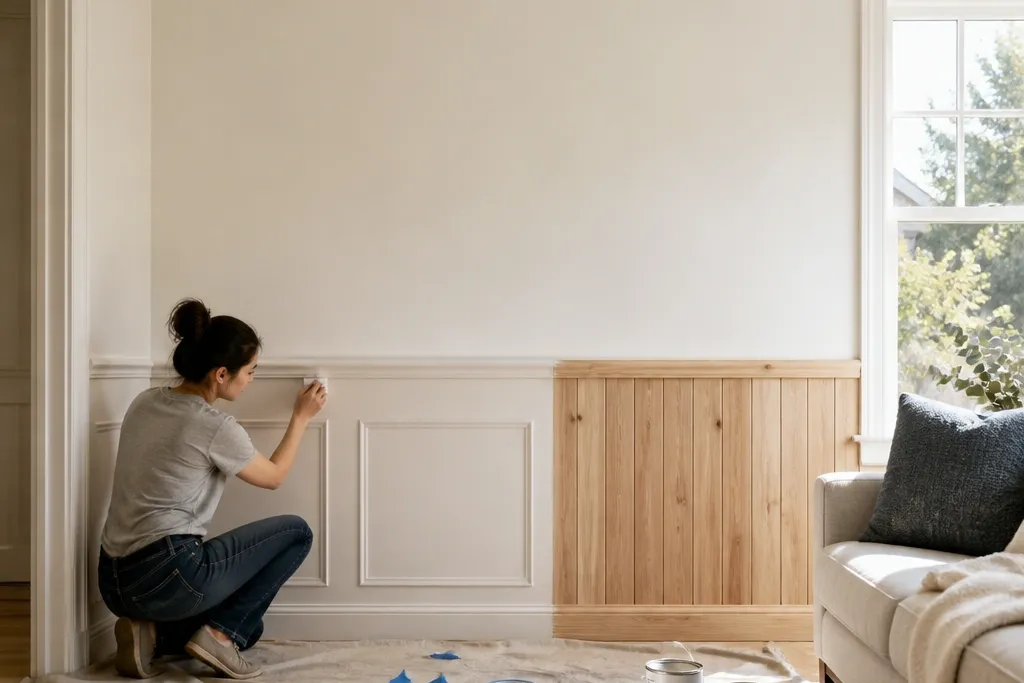
Pick your split line, usually around 36 inches chair rail height, then mask carefully with painter’s tape. Install MDF panel frames and inserts, and use real wood for the base rail if you want extra warmth. Prime everything first, then paint the wall color on the upper area. Paint the wainscoting color on the lower band, remove tape while paint is slightly tacky, and touch up edges with a small angled brush.
Skip thisDon’t rush the first coat — thin coats at the tape line create ragged edges.
13. MDF wainscoting with picture frame panels
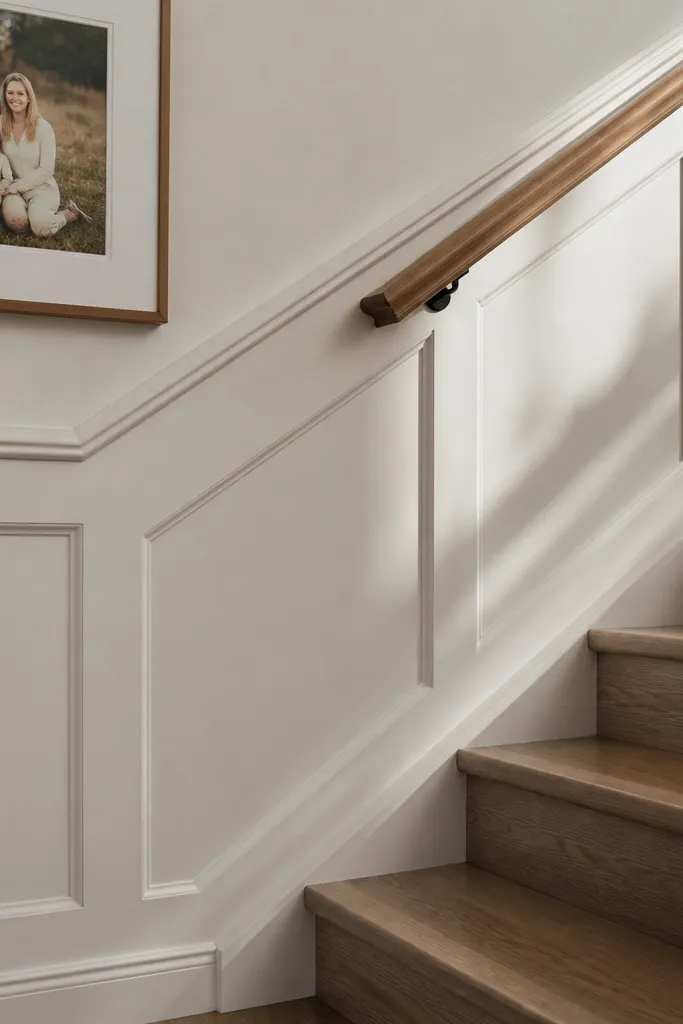
Picture frame panels look like classic farmhouse frames mounted into the wall. MDF is ideal because the frame members stay straight and the inside rectangles can be made very even. Real wood picture frames can look incredible, but they’re more work because you’ll notice every tiny thickness difference at the corners. This is a strong beginner choice if you like the look of cabinetry doors but want a simpler build. Great for stair landings and dining rooms where the wall detail catches light.
Editor's noteUse a consistent reveal by measuring from the same edge every time — don’t eyeball the gap width.
Build the outer wainscoting frame with rails and stiles, then decide how many picture frames you want vertically. Cut MDF picture frame strips to create a shallow inner border, keeping the reveal width consistent, like 1/2 inch. Glue and nail the inner frame strips to the panel backing, then test-fit each rectangle before nailing permanently. Prime all MDF, caulk the outer seams, and paint two coats with a satin or eggshell finish.
Skip thisDon’t use thin MDF strips for the frame corners unless they’re well supported — they snap and chip at miter joints.
14. Farmhouse wainscoting with vertical tongue-and-groove panels
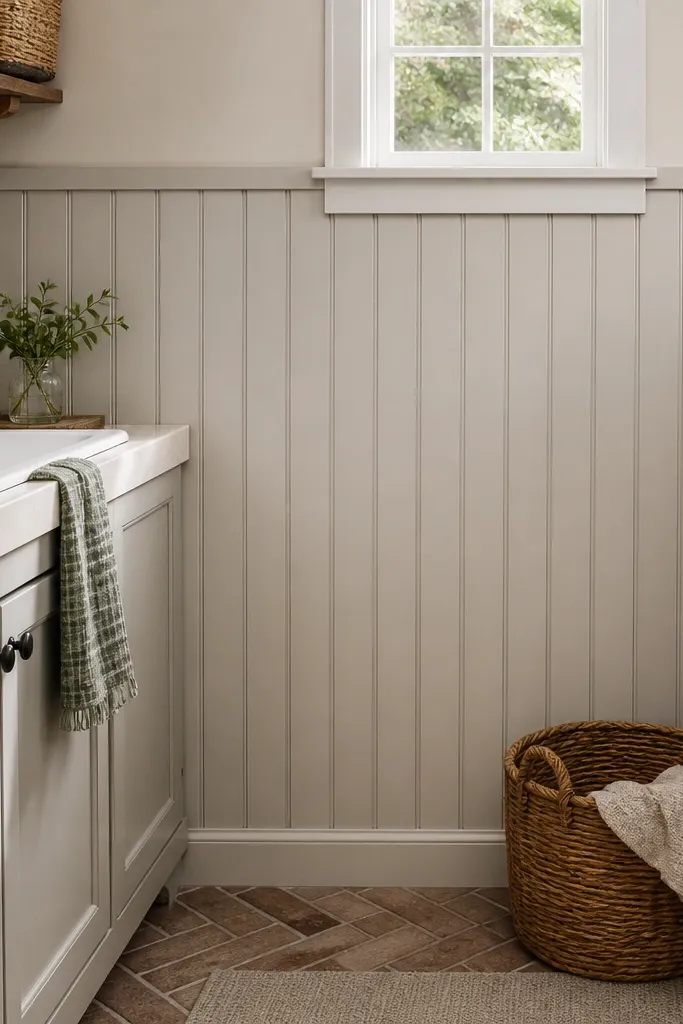
Vertical tongue-and-groove panels add farmhouse texture and a subtle rhythm without complicated panel math. MDF tongue-and-groove is the beginner move because it stays flat and the groove spacing is consistent. Real wood tongue-and-groove looks warmer, but it can expand and contract, which risks seam opening if your home humidity swings. If you want a clean, textured lower wall that still feels modern farmhouse, this is a great pick for living rooms and bedrooms.
Install horizontal rails at your chosen top and bottom heights, then start the first tongue-and-groove panel from a corner and keep it plumb. Use brad nails through the tongue for a cleaner seam, and keep joint lines tight while you work. Cut the last panel to fit and leave a small expansion gap at the ends if needed. Prime the entire surface, including groove lines, then caulk any rail-to-panel gaps and paint.
Pre-fit one panel near the end and adjust your spacing early so you don’t end up with a sliver piece at the far corner.
Don’t skip checking plumb on the first board — the rest of the wall follows that line.
15. MDF wainscoting with simple mid-rail and bead trim
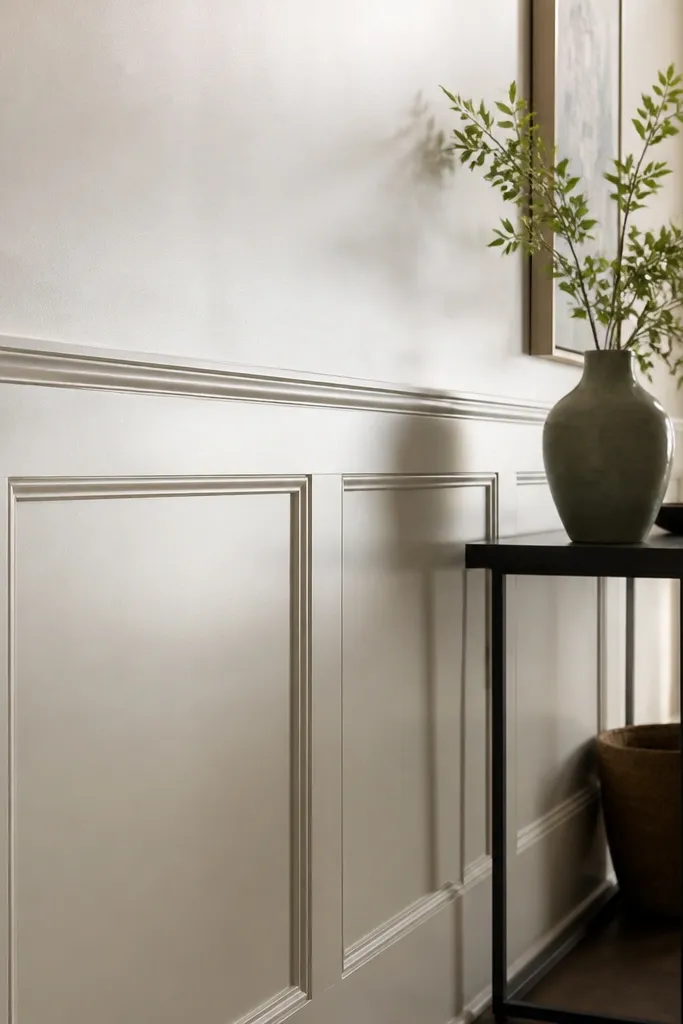
This style gives you farmhouse charm with less work than full raised panels. A mid-rail breaks up the wall, and thin bead trim adds texture you only notice when light hits it. MDF is ideal because you can cut thin trim accurately and keep the lines consistent across long walls. Real wood bead trim can look beautiful, but it’s harder to match grain and can splinter at cut edges. This works well in smaller rooms where you want detail without heavy construction.
Mark your mid-rail height and install a straight rail anchored to studs. Build the lower section panels using MDF flat inserts and frame members, then add thin bead trim along the edges of the panel openings. Cut bead trim with clean miters and glue it in place, then nail lightly if needed. Prime the bead trim and the MDF panels carefully, caulk seams, and paint two coats.
Use a small foam brush to push primer into the bead detail so it doesn’t show as a lighter line after paint.
Don’t use caulk as a filler for big gaps — fill first, then caulk seams only.
16. Farmhouse wainscoting with real wood raised panels and MDF backing

If you want the best of both worlds, use real wood where you see the raised detail and MDF where the structure needs stability. Real wood raised panels bring natural warmth and a stronger shadow effect because the grain catches light differently. MDF backing makes the install more predictable, especially for beginners who struggle with wood warping or inconsistent panel thickness. This is a great “upgrade” path if you’ve already done one simple wainscoting project and you want it to look more custom without switching everything to real wood.
Frame your wall with MDF or straight primed trim so the rails and stiles stay consistent in thickness. Cut real wood raised panel inserts so they fit each opening with a controlled gap for caulk, like 1/16 inch. Glue and nail the real wood inserts into the MDF frame, then fill nail holes and seams. Prime with a bonding primer that grips both MDF and wood, sand lightly after primer, then paint two coats.
Sand real wood panels after primer, not before, so the primer reveals any grain texture you still need to knock down.
Don’t skip sanding between primer and paint — wood grain texture shows through final coats.



